Learn Light Painting And DIY Sparkler Photography!
How Do You Do Light Painting?
Have you ever wondered what is light painting mode or how do you capture photos with sparklers?
Paint photography is a super fun effect which uses slow shutter speeds to capture the trail of a light source. It looks fantastic, and… it’s easier to achieve than you might think!
And if you want to learn how to take sparkler pictures, the main thing you’ll need to do is shoot in manual mode so that you can control your shutter speed. This is the key ingredient in capturing the light trails that create the light painting effect.
Related: Getting Out of Auto

What You’ll Need For Light Painting
DSLR Camera
Or a compact camera with manual functions, allowing you the ability to select a slow shutter release speed.
Tripod
When using slow shutter speeds it’s important to stabilize the camera to avoid any shaking. So a tripod, or a flat surface you can safely set your camera on are essential for this experiment.
Dark Location
For light painting you’ll need a dark environment, so you can see the light trails. This can either be indoors, in a dark room, or an outside scene, at night. If shooting sparkler photography outside, try to not position yourself near street lamps or any other city lights as they’ll compromise the painting light you want to capture.
Light Source
When you’ll first start painting, there will be some experimenting and refining before you get something you’re happy with!
You can also use a torch/flashlight, glow stick, candle, laser pointer… but we love the gold effect achieved with a sparkler! (For my test shots I used the torch light on my iphone!)
Getting Started
Set up
To get started, set your camera on a tripod, and decide your composition.
Focus
This is tricky, because your subject doesn’t exist until you start light painting. So place the main object or person in the position you intend writing, and have them hold a torch or any other source of light. Then, make sure you set the camera to manual focus so that it’s locked in position.
You’ll probably be using a much higher aperture (I used f/14) so even if your subjects move a little, you will still have them in focus!
Settings
Shutter Speed
When you’re looking to create a light painting, your exposure will need to be as long as it takes to complete your “drawing” in the air from start to finish. Most short writing will take approximately 2-4 seconds, then a little longer if you start writing long messages!
Aperture
For this style of shot your aperture is only being used to achieve correct exposure. The depth of field effect is neither here nor there. Start with your aperture at about f/8.. then if your shot is too light, keep increasing the f-stop until you have the exposure you desire.
ISO
Set your ISO at its minimum (100-200), as you don’t need to be letting in more ambient light by increasing your ISO!
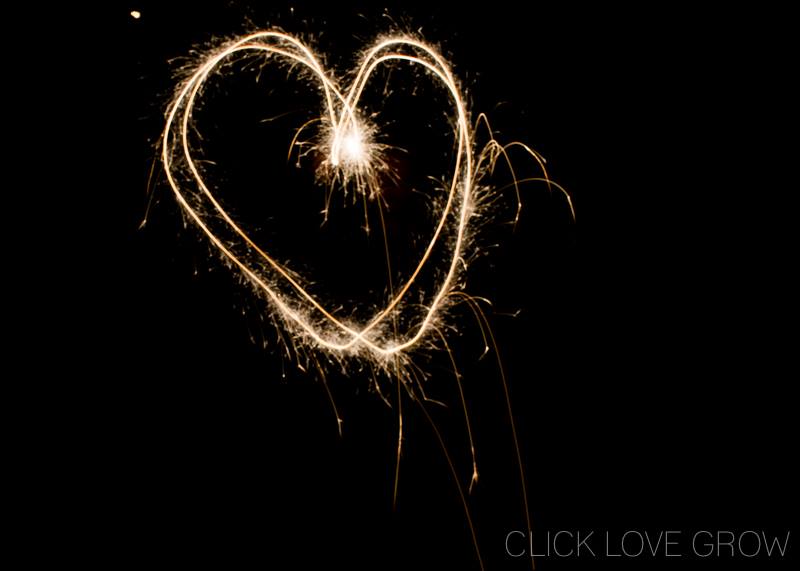
My Sparkler Photography Shots
For the sparkler photography shots below, my camera settings were:
- ISO – 100
- Shutter Speed – 2 seconds
- Aperture – F/14
I had my girls stand in front of the camera with my iphone light initially, to test the set-up. Initially, my settings were at SS 2 secs and f/5 t which was WAY too bright. So I kept increasing the f-stop to close down the aperture until I was happy with it at f/16.
When I introduced the light painting brushes it was a little too dark (they’re not as bright as the iphone torch) so I had to adjust slightly again, and decreased the f-stop down to f/14.
Then it became a fun experimentation! See that lovely swizzle on the right… hmm, that’s me trying to write “click” haha… hopefully you’ll be more successful at the “Writing” part than me… I also forget you have to write backwards!
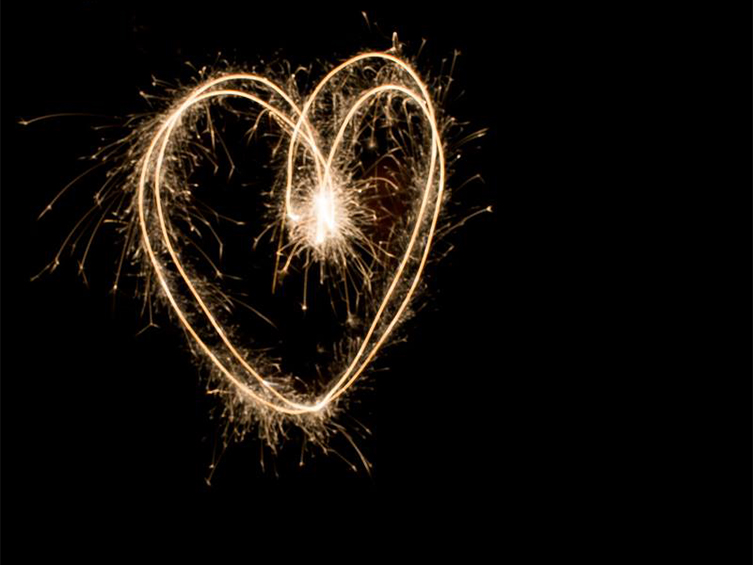
These light paintings have no editing at all, except to export out of Lightroom. But I had my girls wearing black tops, they helped the sparklers out from them, and it was very very dark outside! In the purple heart image up top, I used the white balance hue slider to turn it purple!
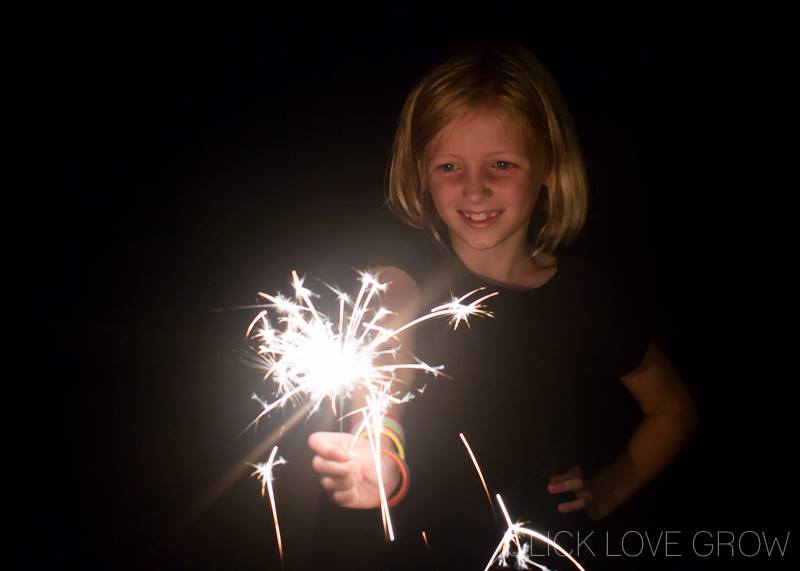
In the final image I wanted to capture my daughter’s face, so I adjusted the settings to ensure a long exposure… I used f/2.8, SS 1/20s and upped my ISO to 1000.
So. Much. FUN!
They honestly had a blast!

Handy Tips For Light Paintings
- If you paint too fast, the resulting work will be too light.
- If you hesitate for too long on any specific spot, you’ll get “burn marks”.
- If you’re writing a word, you need to write it backwards so that it appears correctly in the image.
- Wear dark clothing so the light painting is not lost on you. (My girls had on black tee-shirts)
- Experiment with moving yourself as you write, so your outline doesn’t appear in the image (unless you specifically want that ghost like effect)
And that’s how it’s done! I can’t wait to see you create your own beautiful artistic images with the fabulous sparkler photography technique!
Share your photos with us over on Instagram or in our Facebook group and tag with #clicklovegrow
Join my new workshop and learn How to Shoot Pro-Quality Photos With Your DSLR… and it’s totally FREE to join! Register here…

JOIN the Free 5 Day Mini Course
5 Days, 5 Videos Lessons = Photos You'll LOVE!
Learn How to Use Your DIGITAL Camera!
JOIN the Free 5 Day Mini Course
5 Days, 5 Videos Lessons = Photos You'll LOVE!
Learn How to Use Your DIGITAL Camera!

Leave a Reply Cancel reply
PRIVACY POLICY & SITE TERMS AND CONDITONS
CLICK LOVE GROW ™ Pty Ltd - COPYRIGHT 2024 ©
x
Join Now
Enter your info below to join the challenge!
Want a friendly reminder when I go live?
Pop in your number and I’ll shoot you a text.
* We will send text reminders for our live calls during the challenge! Reply ‘STOP’ to end or ‘HELP’ for help.
We promise not to ever share your details with anyone or send you spam! Check our privacy policy and terms of service.

Be the first to comment