How to Capture a Starburst in Your Photos
How to Capture a Starburst in Your Photos
Have you ever wondered how to create a starburst in your photos? Or maybe you’ve taken some accidentally, and you’re not sure how to do it again, on purpose?
It adds an awesome sparkle to a photo and can become the focal point of your composition… whether that’s including the sun in a landscape image, or the street lights of a city skyline at night.
You can create a starburst effect whenever you’re including a strong light source in your shot, and you don’t need a special lens, filter, or any other fancy attachment… you can even do this with your kit lens.
However, you can’t achieve a starburst purposefully in auto mode, so I’ll guide you through with the exact recipe you need to achieve a starburst in each scenario, in manual mode on your DSLR!
Related: Getting Out of Auto
The Sun
Full Sun
Creating a starburst in full midday sun can potentially be too strong to point your camera at directly, and the resulting photo may contain too much haze and unwanted lens flares.
It helps if you compose with the sun at the edge of your frame, and focus on something else in the foreground. Auto focus can struggle in this situation, so if that happens, just switch to manual focus.
You may need to experiment with your position and framing to reduce the incidence of haze. Both haze and lens flares can look beautiful, as long as they enhance the shot rather than being so overwhelming as to become a distraction.
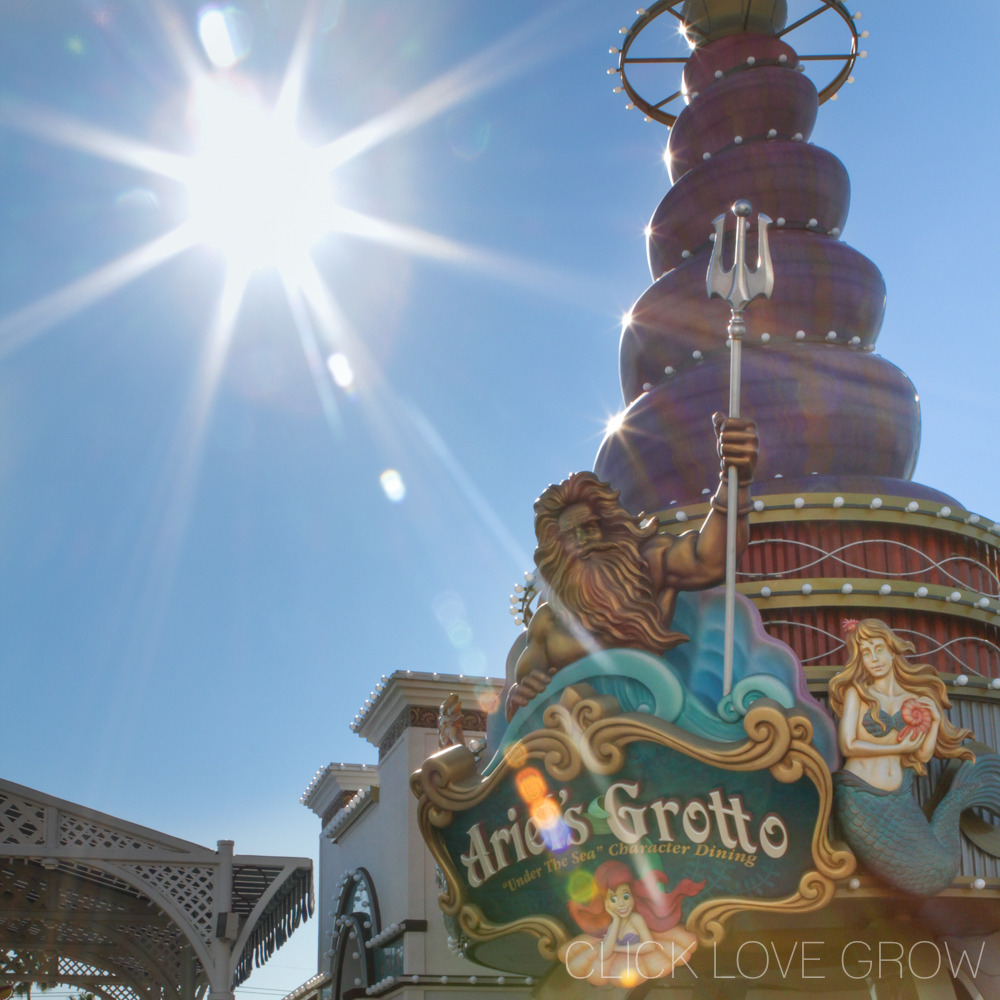
Full Sun taken at f/22
Diffused Sun
An easier way to create the starburst effect using the sun, is to diffuse it.
If you shoot when the sun is low on the horizon during the golden hours (just after sunrise or before sunset), it will be partially diffused naturally by the horizon.
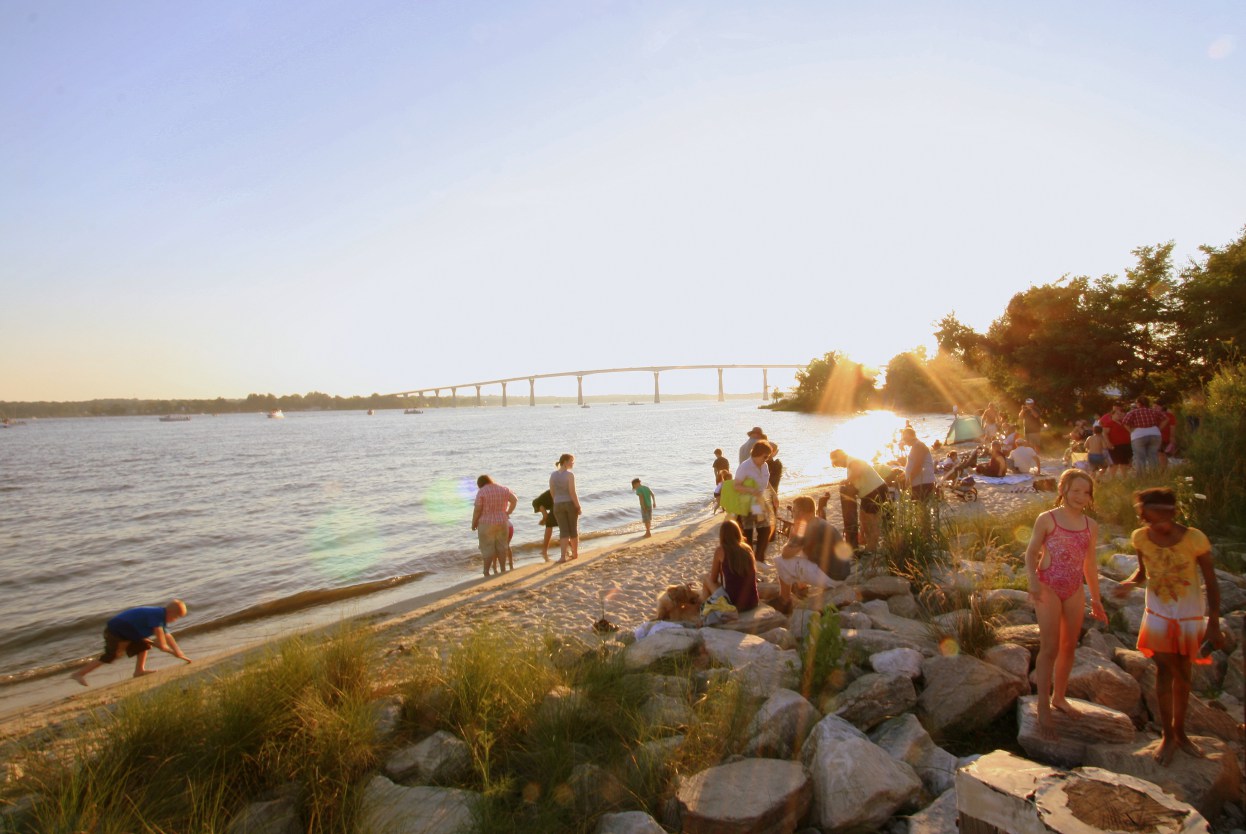
Sun setting over the horizon – f/18
Filtered Sun
Another way to diffuse the strong light of the sun is to compose so that it is filtered through leaves. Frame your shot so that the sun is partially blocked and just peeking through.
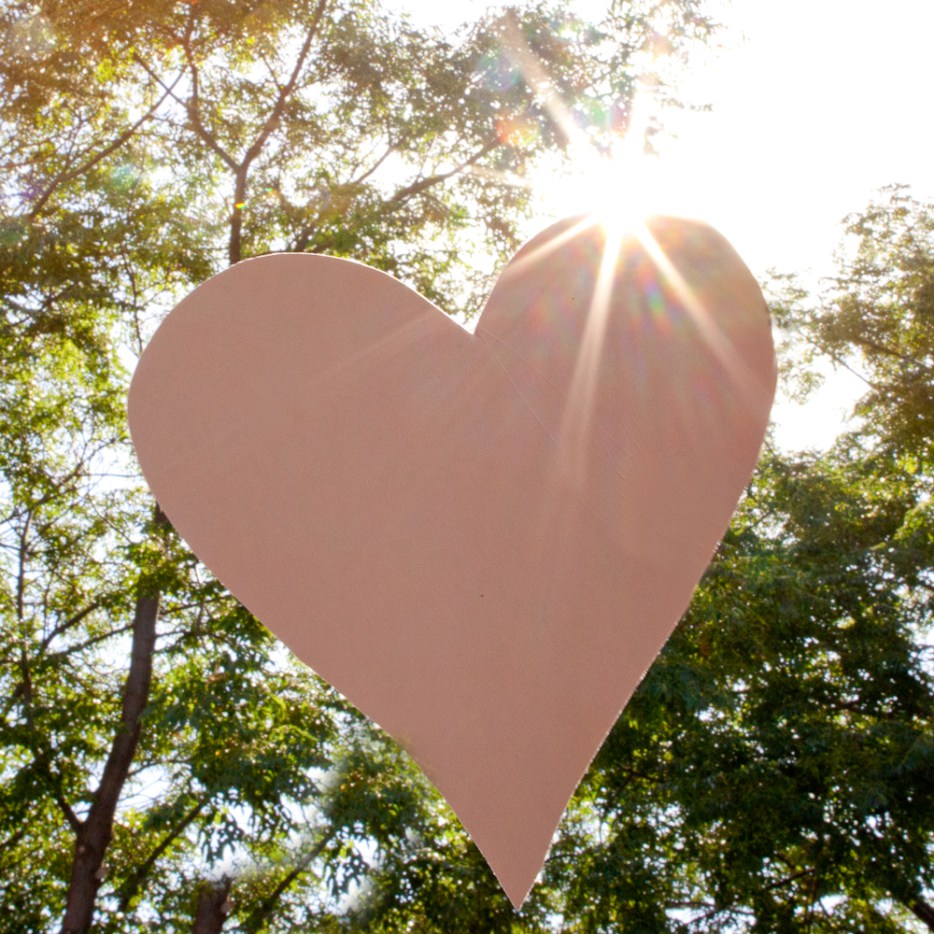
Sun partially obscurred – f/18 at 50mm
Or through the bare branches of a tree, which will cause the light to refract even further.
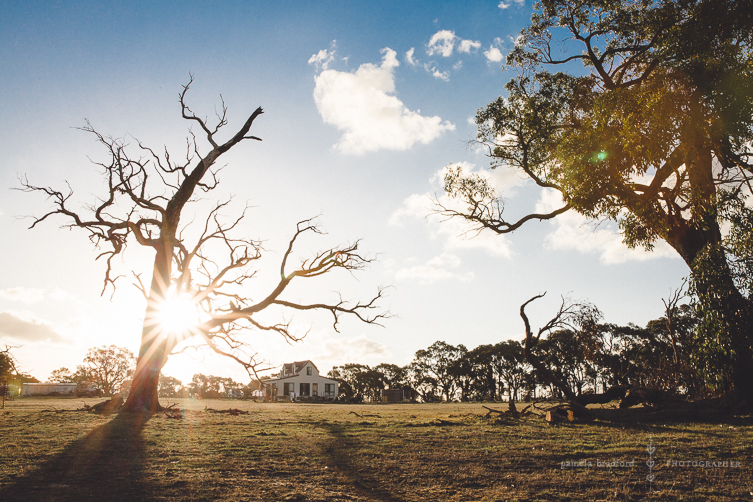
Pam Bradford, Click Love Grow Instructor – f/22 at 33mm
If you’re shooting the sun, as long it’s no less than say an hour (ish) before sunset, and not immediately at sunrise – you should have enough ambient light to shoot handheld, and you can start with the settings below.
How a Starburst is Created
Aperture is the element of manual shooting that creates a starburst, regardless of the light source. When you close your aperture down (higher f-stop number), the opening of your lens gets smaller, and the light entering hits the edges of the opening and refracts into starbursts.
Bear in mind these settings are a starting point, because the way they affect your photo’s exposure is dependent on the how much ambient light is available at the time when you’re shooting.
Settings
Aperture: f/18
Shutter speed: 1/100
ISO: 400
Now take a shot. If exposure is not right, use your shutter speed or ISO to achieve the right balance.
If you can’t get a good exposure without pushing your ISO too far, or reducing your shutter speed, then you don’t have enough ambient light to work with. In this instance, you’ll need to use a tripod so that you can decrease your shutter speed and avoid motion blur that would come from camera shake if you shot handheld.
Related: Why Are My Photos Blurry?
Street Lights and Fairy Lights
This is something that can only be achieved in darkness as these lights aren’t as visible with too much ambient light. You’ll need to use both a closed down aperture to achieve the starbursts, and a slow shutter speed to ensure we capture enough light for our exposure.
Settings
Aperture: f/16
Shutter speed: 1/5
ISO: 400
Due to the very slow shutter speed you’ll need to use a tripod to ensure your image is sharp. The streetlight effect has been beautifully captured in this example taken by a Click Love Grow graduate.
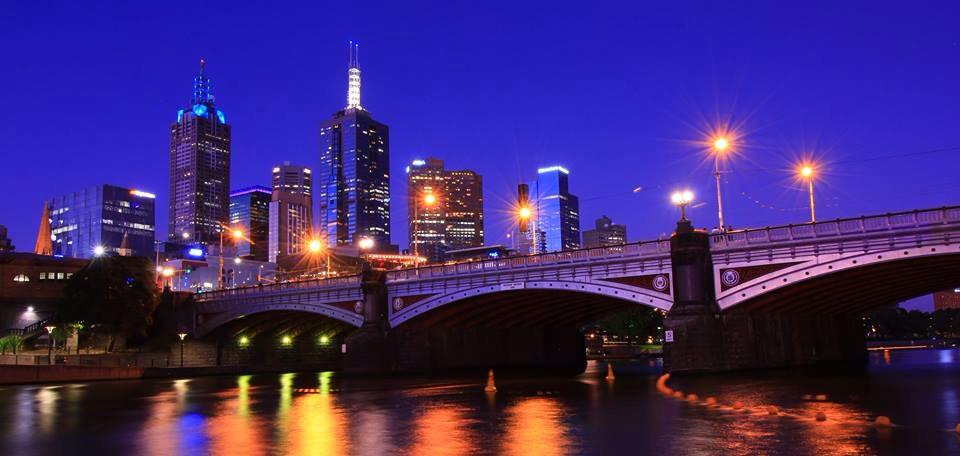
Rebecca Cartwright, Click Love Grow Graduate
Reflected Light
Another way to capture a starburst is through light reflecting off a surface.
This can be achieved beautifully in macro photography where light reflects off water drops such as the beautiful example below taken by another Click Love Grow graduate. Peta found dew drops on her clothesline early in the morning as the sun was rising, so the angles were perfect for capturing the reflected sun.
Settings
Aperture: f/16
Shutter speed: 1/100s
ISO: 400
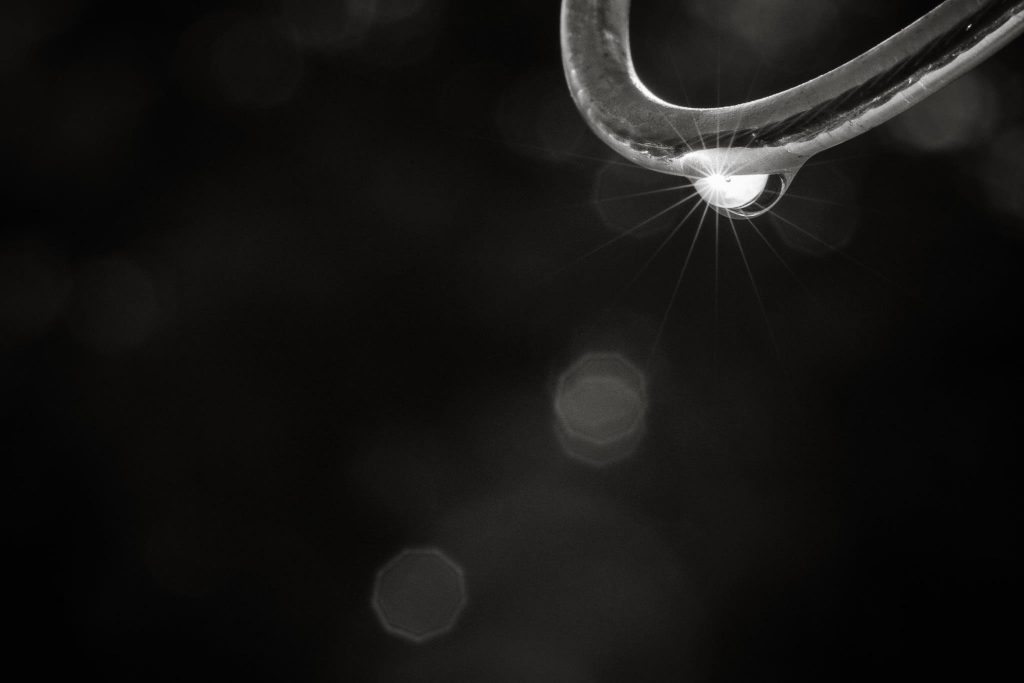
Peta Beckham, Click Love Grow Graduate
Focal Length
Your lens focal length will affect the size and sharpness of your star burst.
- Wide focal length (eg. 18mm) = larger and slightly softer starburst
- Long focal length (eg. 70mm) = smaller and sharper starburst
The starburst in the shot above is small and super sharp because it was taken with a macro lens at 100mm.
Experiment with your lens at both wide and long focal lengths, and compare the appearance of your starburst.
Related: Light Painting with Sparklers
Play!
We hope you’ve got a new appreciation for shooting in a different way! Try the settings we’ve recommended as a starting point, and have fun purposefully including starbursts in your shots!
Free Photography Workshop
Join my new workshop and learn How to Shoot Pro-Quality Photos With Your DSLR… and it’s totally FREE to join! Register here…

Leave a Reply Cancel reply
PRIVACY POLICY & SITE TERMS AND CONDITONS
CLICK LOVE GROW ™ Pty Ltd - COPYRIGHT 2024 ©
x
Join Now
Enter your info below to join the challenge!
Want a friendly reminder when I go live?
Pop in your number and I’ll shoot you a text.
* We will send text reminders for our live calls during the challenge! Reply ‘STOP’ to end or ‘HELP’ for help.
We promise not to ever share your details with anyone or send you spam! Check our privacy policy and terms of service.
Be the first to comment