Grab the Metering Modes Guide
Grab our free metering guide below to know which modes suit which shooting scenario... all in a handy checklist for when you’re out shooting.
I’d been wanting to write a piece about photographing a winter landscape for at least a couple of years. There was only one problem… I’ve never been to an extreme wintery kinda place with my camera, and I’m not planning to any time soon!
Luckily, our Click Love Grow graduate community is choc full of talented photographers, always happy to share their knowledge and mad skillz. Annick Bidiville is one such graduate. She lives in Switzerland, and seems to travel to all.the.places all.the.time, photographing all.the.things. Poor thing, but someone has to do it.
Annick recently shared some stunning landscape photos she took on a trip to Iceland, and of course I was all over that like white on snow! Along with her Iceland series, she also threw in some shots from Norway and the Swiss Alps for good measure, and a big bunch of handy tips so you can take your own beautiful winter landscape photos!
In a winter landscape, the snow changes everything. That blanket of white can turn a common scene into a magical winter wonderland.
It creates very interesting visual elements such as cracks, oddly shaped structures, icicles and patterns on the landscape.


I also love to capture snow covered mountains, trees, mist, frozen rivers, lakes and waterfalls, and whilst they’re more obvious subjects, they’re no less magnificent.


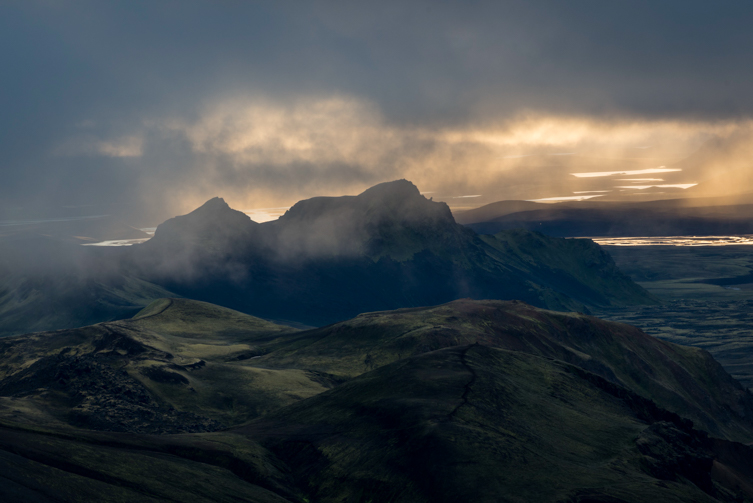
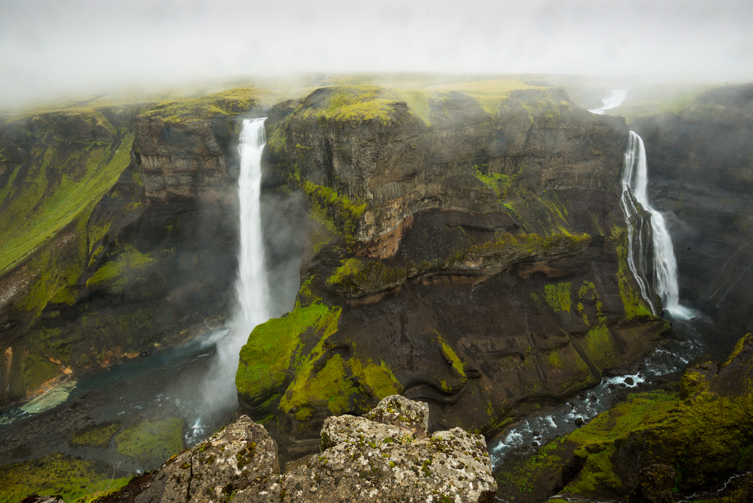
But also, a less obvious subject sometimes comes in the form of ice at the side of a river which can create abstract patterns. This is a great occasion for using a macro lens. Whilst you’re busy looking ahead at the stunning views, don’t forget to look down for these small details.

The first thing I do when I’m getting ready to take a photo is analyse the scene and decide which element is the hero. Is it a specific mountain in a group? An interestingly shaped tree? A small pocket of light on a house? The pattern on a frozen lake?


Once I know what I intend to highlight, I look for elements in the landscape that would lead the eye to this specific element. For example, cracks in the snow leading to a tree or rock patterns leading to a mountain.
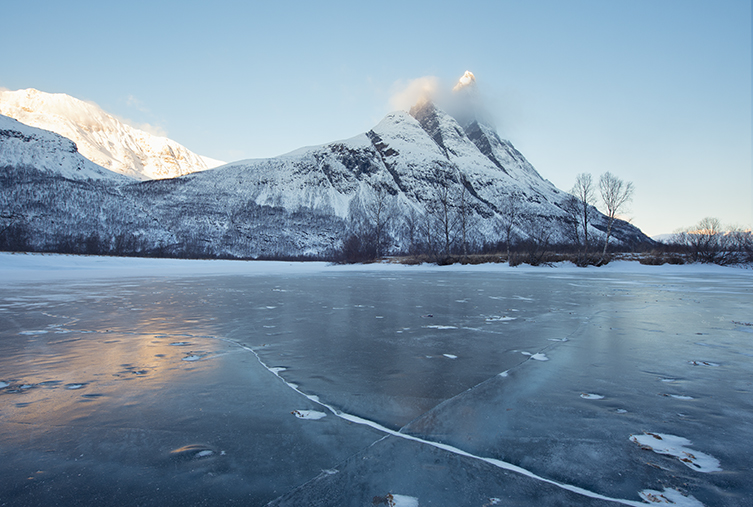


Use layers to help convey depth, by which I mean objects in the foreground, the centre and the back. In this shot, I’ve included the vegetation in the foreground, the hero of the shot is the lake running through the centre, then the inclusion of the horizon and sky adds that third layer. The second shot is composed using the same technique.
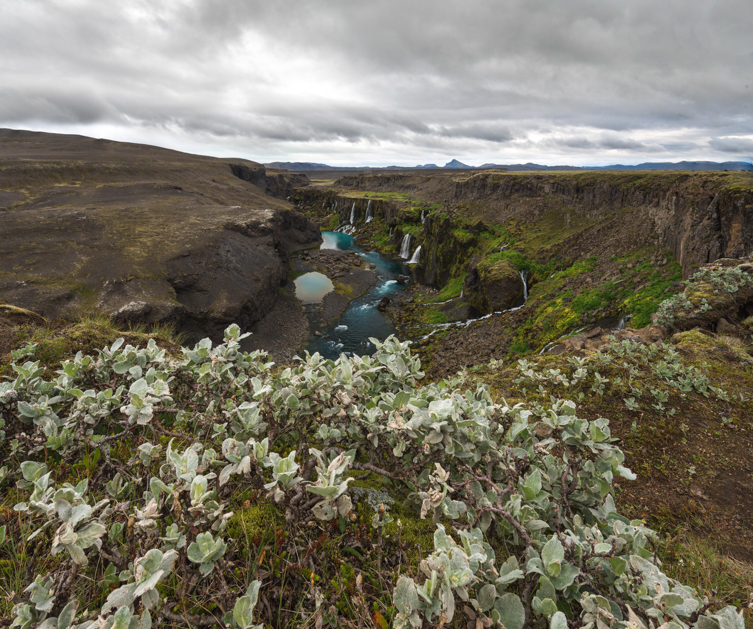

Look for interesting shapes, lines and curves in the environment.
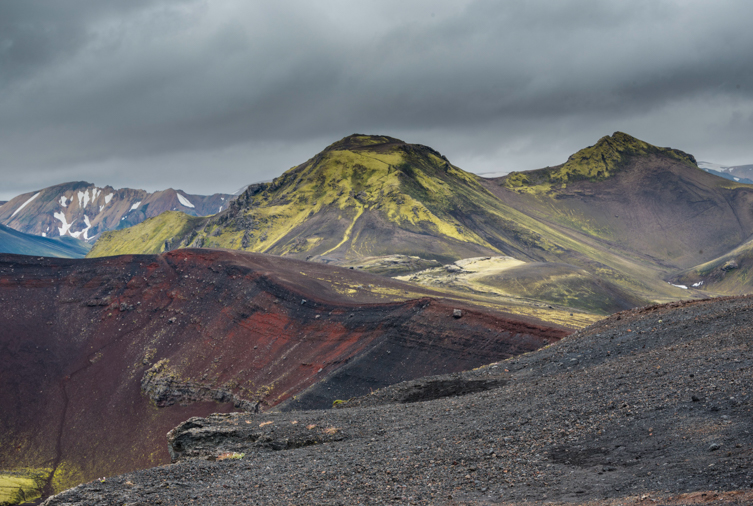
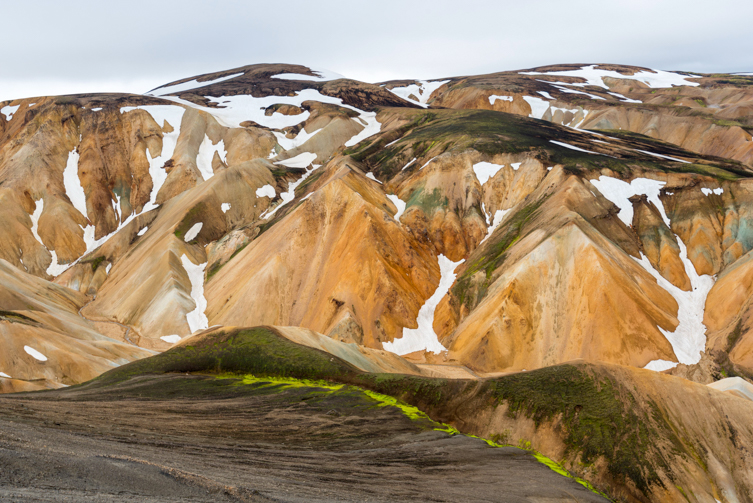
If the subject is reflecting, make sure to include it in your framing. It can also become a subject in its own right.

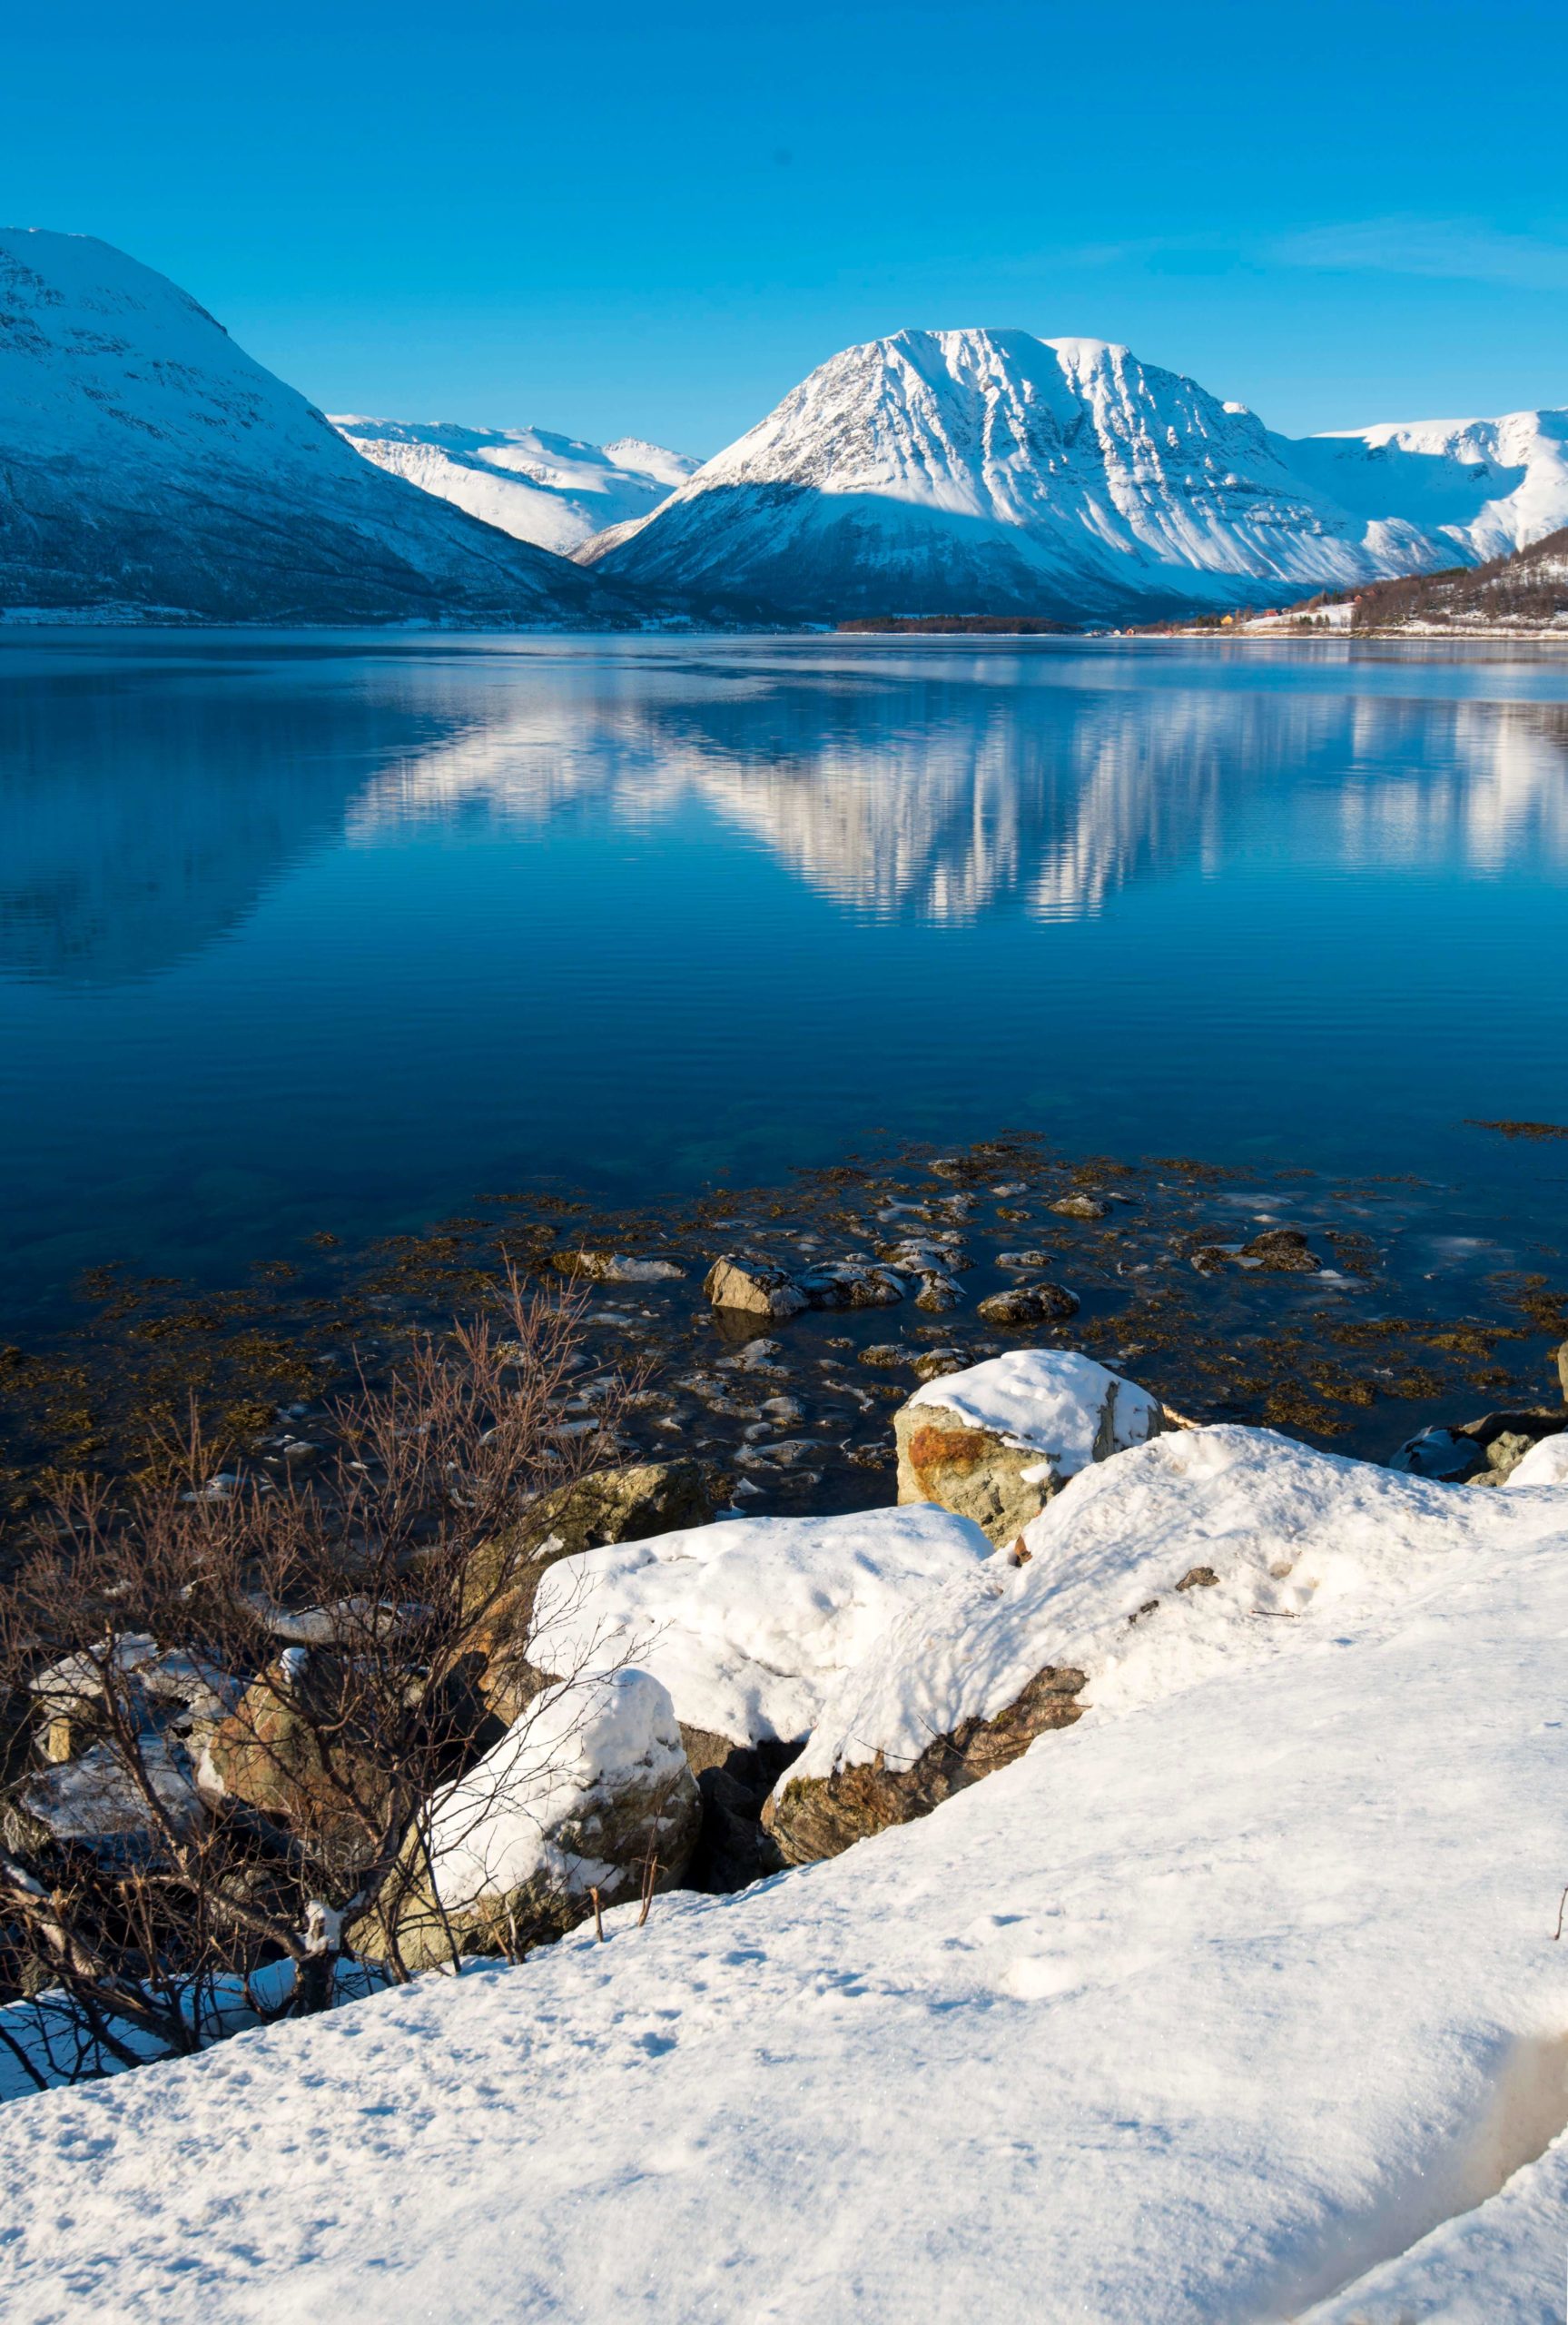
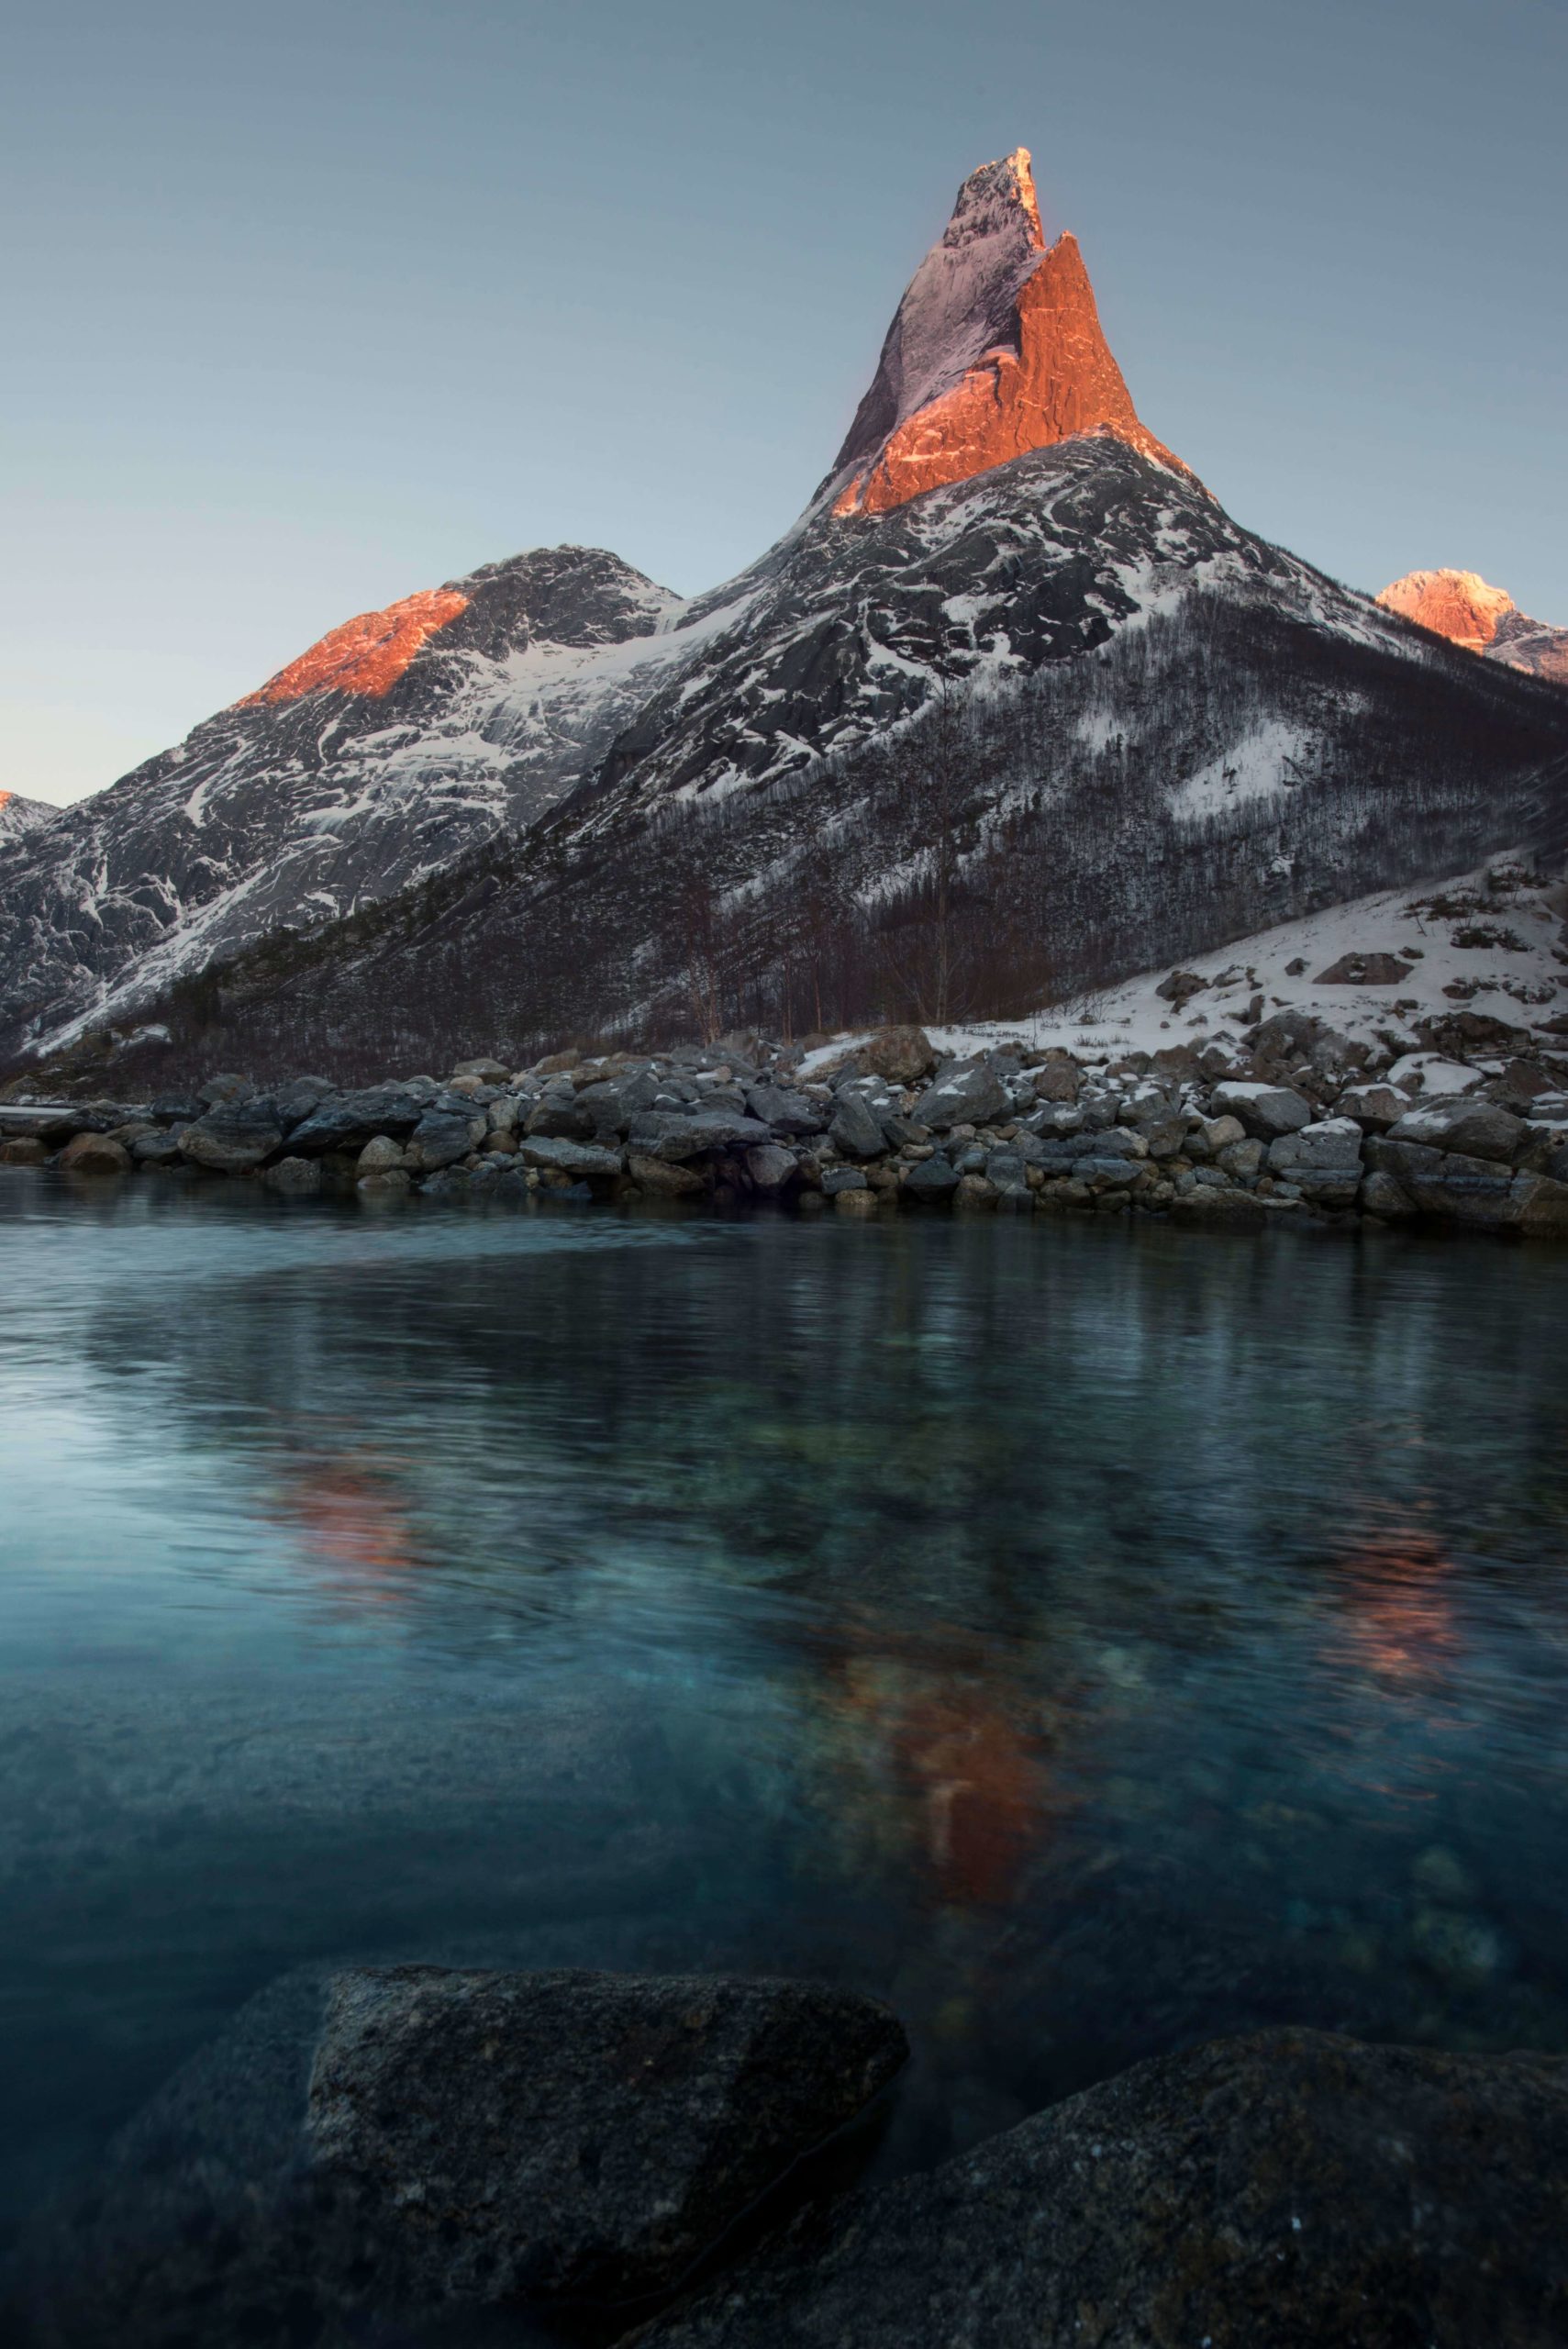
Convey size of the environment by including smaller elements against the backdrop of the vast landscape.


I love playing with wide angle lenses as it distorts the lines and lends a really dynamic feel to the composition. I could spend hours adjusting the framing so that these lines highlight my key element.
Of course, most of the time I have to hurry and cannot spend as much time composing as I would like!

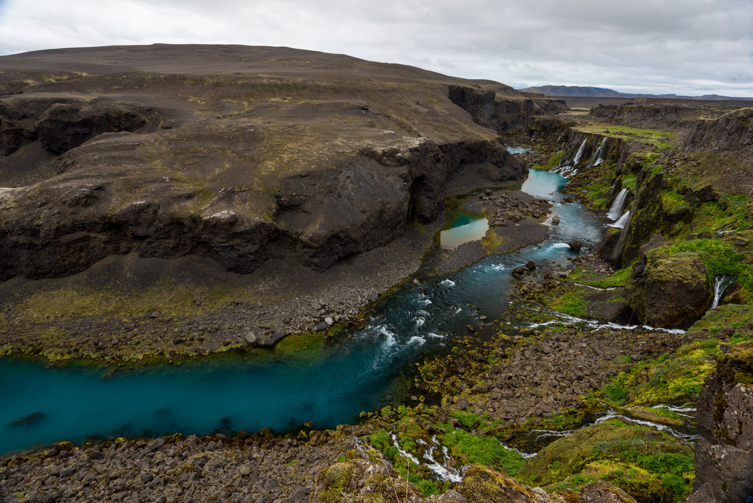
If you meter for snow it will expose a little grey, as the meter attempts to expose for midtones. So to ensure the whites are white and not grey, I often have to slightly overexpose to compensate. So for that reason, I tend to ETTR (expose to the right), and use the histogram to make sure I don’t clip any values (there can be very light and very dark tones in snow pictures).
Related: What is Metering
CLICK HERE to download our guide to metering modes to help you know which mode will help achieve the best exposure for your shot
The best time of day for winter landscapes is during the golden hours (around sunrise and sunset), as you’ll experience very strong shadows if you attempt snow photos in the middle of the day. However it is not always possible to be in some locations by sunrise and after sunset. I usually hike to get to some nice spots and this requires leaving very early in the morning or hiking down at night, but some locations are too dangerous to hike during those hours.
The golden hours bring amazing warmth to the landscape, and the right light can make it look as though it’s being illuminated by fire.
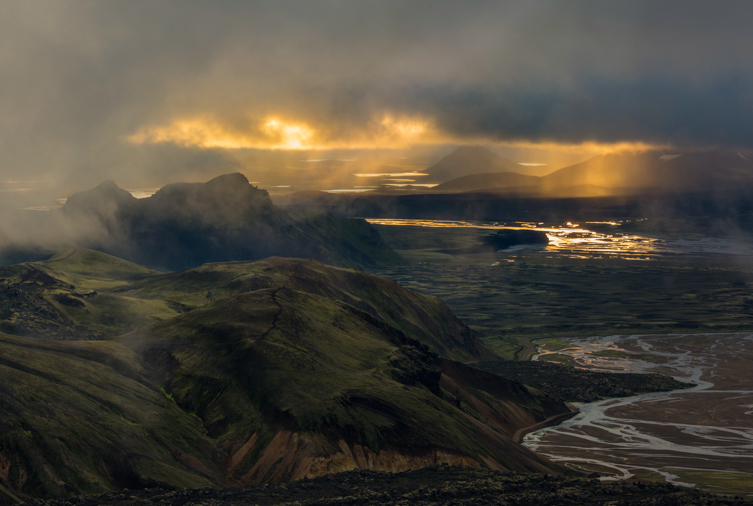
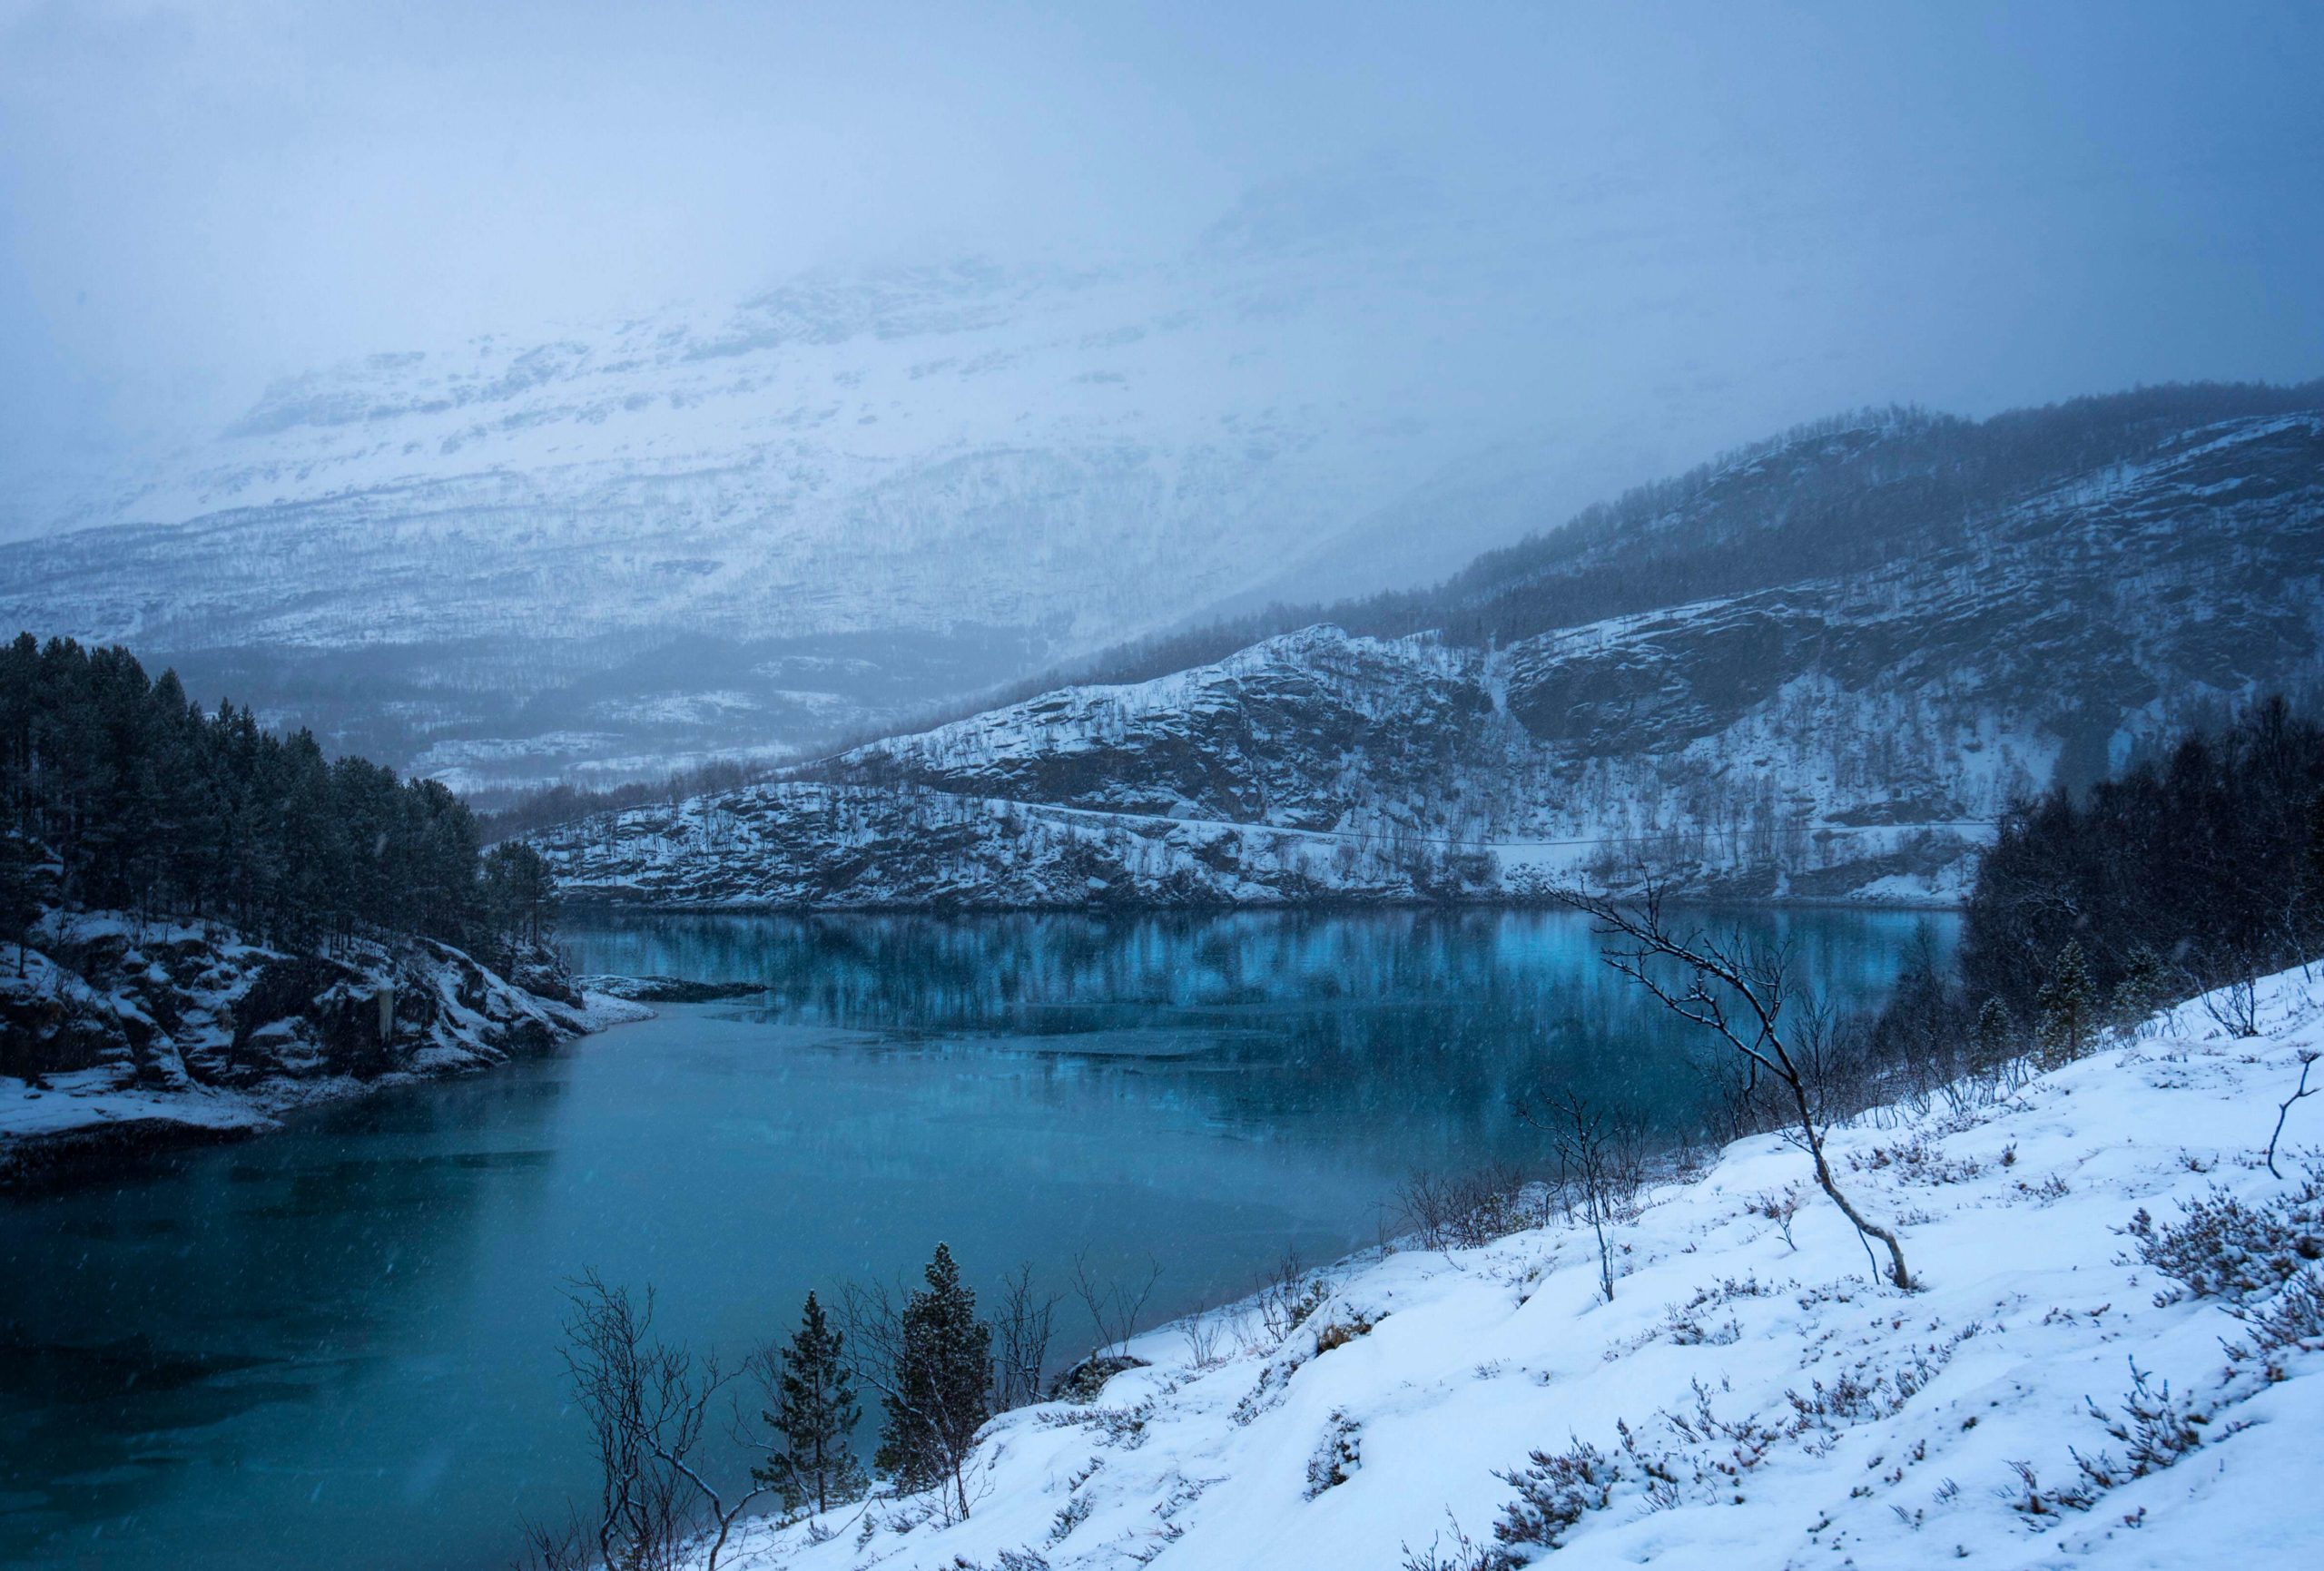
The clean, crisp air of the morning blue hour also has something special that I really love. The stillness and quiet makes everything look so pure!
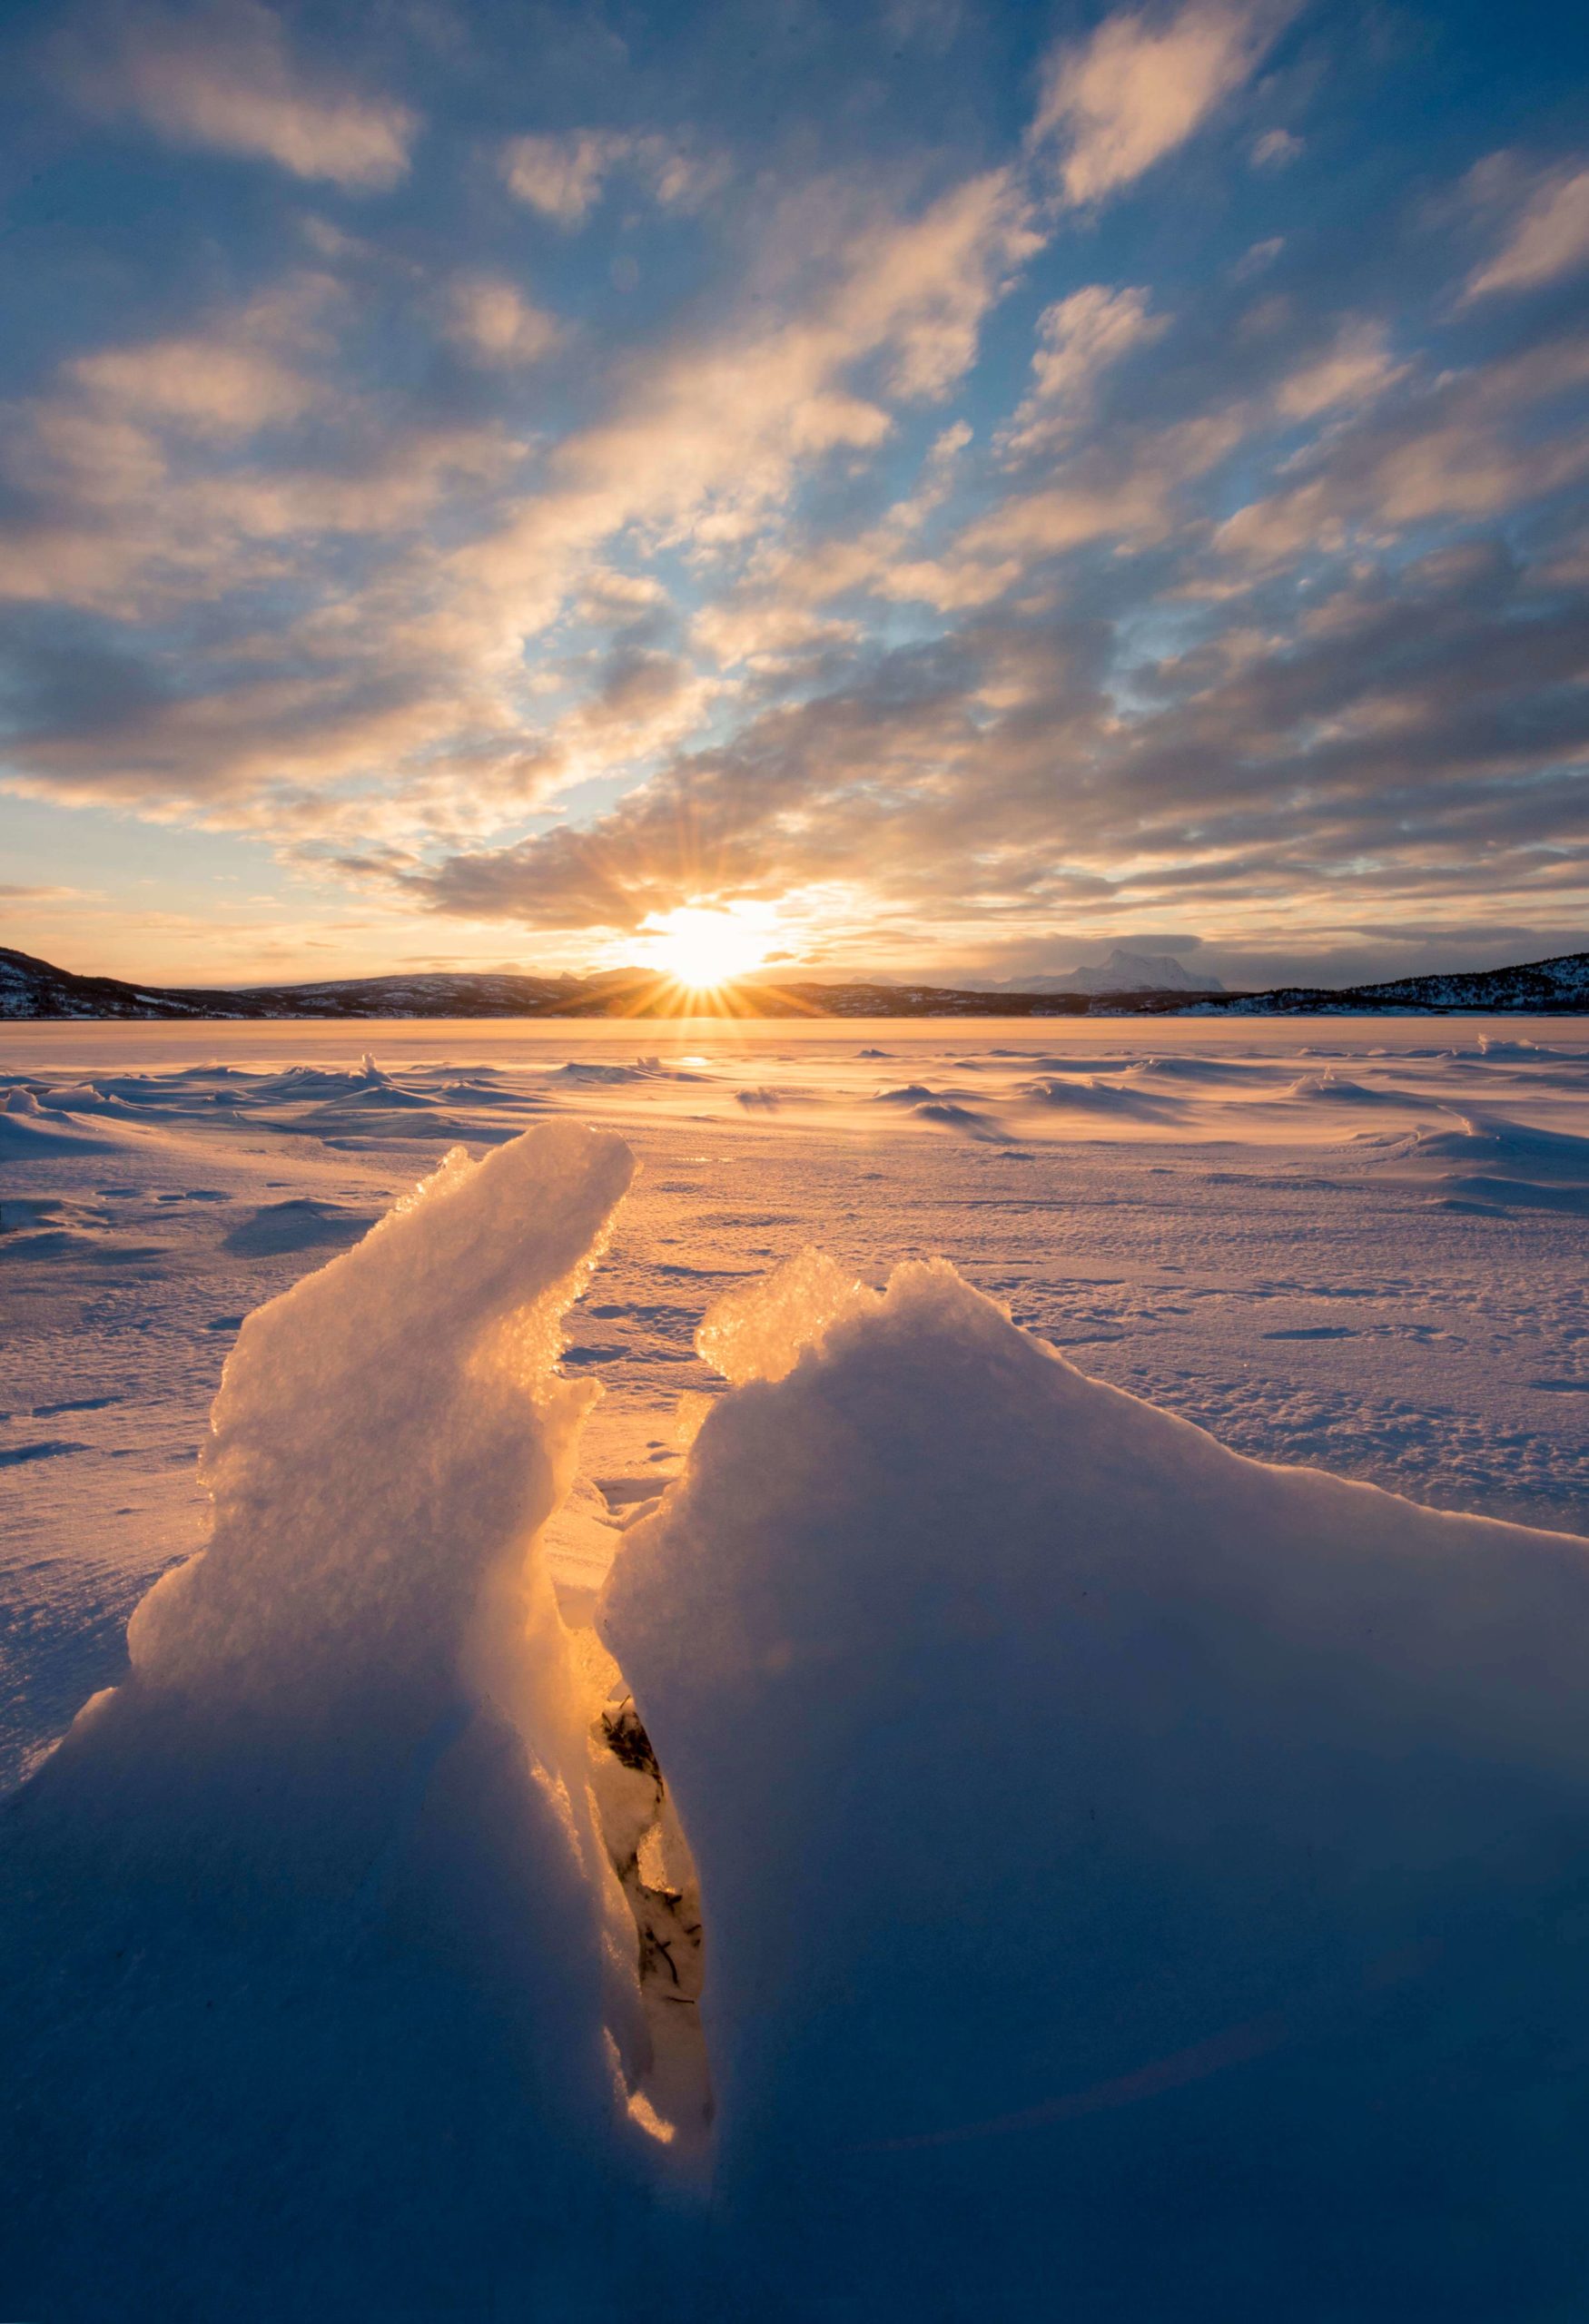
With a very small opening (from f/14) the sun can look like a star which brings something magical to the image.
Related: How to Create a Starburst
My favorite lenses for landscape photography are:
CLICK HERE to download our lens buying guide to help you decide what's your next best purchase!
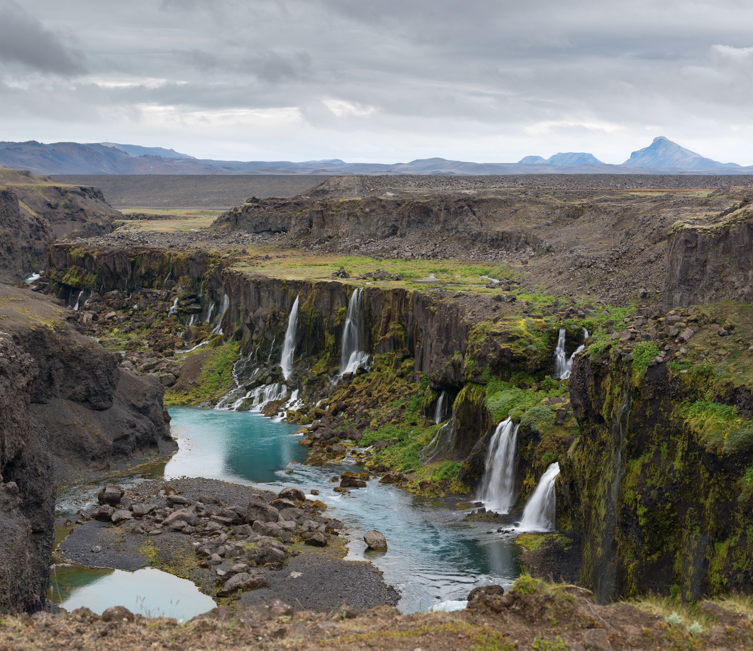
I recommend a tripod, however that being said I don’t always take one! My lenses are heavy, and I am often carrying them for many hours, so I’ll sometimes leave my tripod at home. However, it’s essential for shooting during the golden hours when you’ll need to use slow shutter speeds. But for all other times of the day I can get away with leaving it behind.
I’ve recently started using a polarising filter as it improves the contrast, especially in bright sunlight, and intensifies colour.
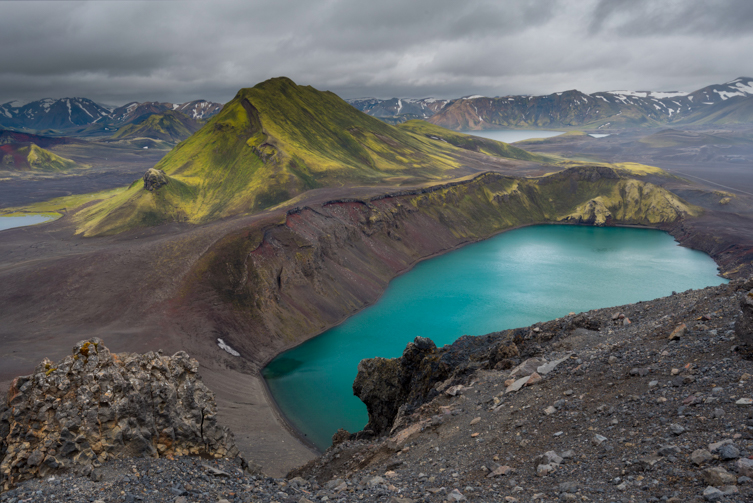
You can experience freezing temperatures in the mountains, and there are measures you should take to protect both your gear and yourself.
Condensation can form in your lens when you expose it to dramatic changes in temperature or humidity. Over time, this can damage the internal workings of your expensive gear.
I experienced it once and it took a week to disappear, during which time I could not use the lens at all.
Avoid it by introducing your gear to the climatic changes gradually, both when heading out and when you return. The simple way to do this is to keep all your gear in your camera bag and ensure the bag is completely closed. Don’t head out with your camera strapped to your body, exposed to the elements! Take it out only when you arrive and you’re ready to take your first shots.
Once you finish shooting, store it back in your bag, properly enclosed. Leave it stored in your bag once you return to warmer temperatures, until it’s had a chance to adjust to the dramatic climate change. It’s not always possible, but ideally you should try to store the bag for a time in a cooler indoor area… placing it next to a roaring log fire is not a great idea!
Protect your gear from rain, snow and mist by using a lens hood. In heavy rain or snow, I put my gear away and wait it out.

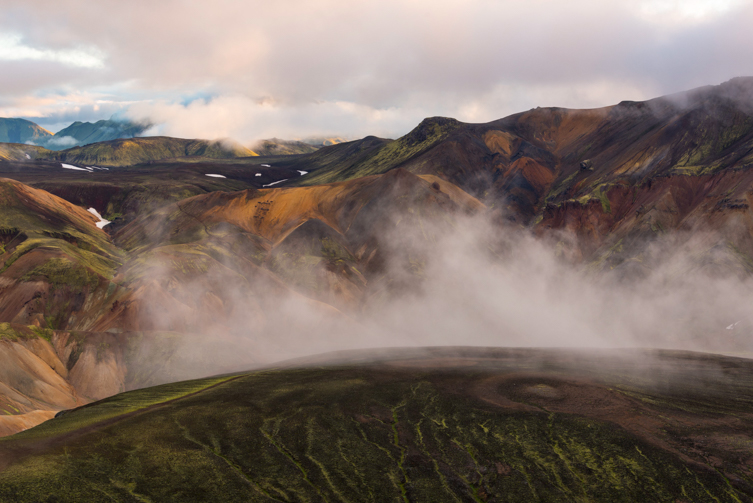
The weather can be quite unpredictable in the mountains, so you should operate on the assumption you may encounter warm, cold and wet weather. For that reason, I wear layers which enable me to adapt to all kinds of climates. I always have something warm and something waterproof with me, even in summer!
For very cold temperatures, my base layer is always a merino wool long sleeved t-shirt and leggings. The benefits of merino wool are:
Over these I will wear a few sweaters, a down jacket, and finally a waterproof and wind proof jacket (Goretex). If it’s very cold I’ll wear ski pants.
When taking photos in the cold, your hands and feet will be your weak spots.
It’s not possible to take photos with big warm gloves, so I use thin wind proof gloves which enable me to operate my camera.
Woolen socks are essential, and heating soles inside your shoes will be very helpful but they don’t last all day.
I often spend a very long time in one position without moving. When I do this, I try to reduce the amount of cold getting to my feet by putting something between my feet and the snow/ice, such as a piece of wood.
Crampons, which are spikes you can attach to your shoes, are helpful to prevent sliding on thick ice.
Don’t forget the head and neck… a hat, scarf and a balaclava.
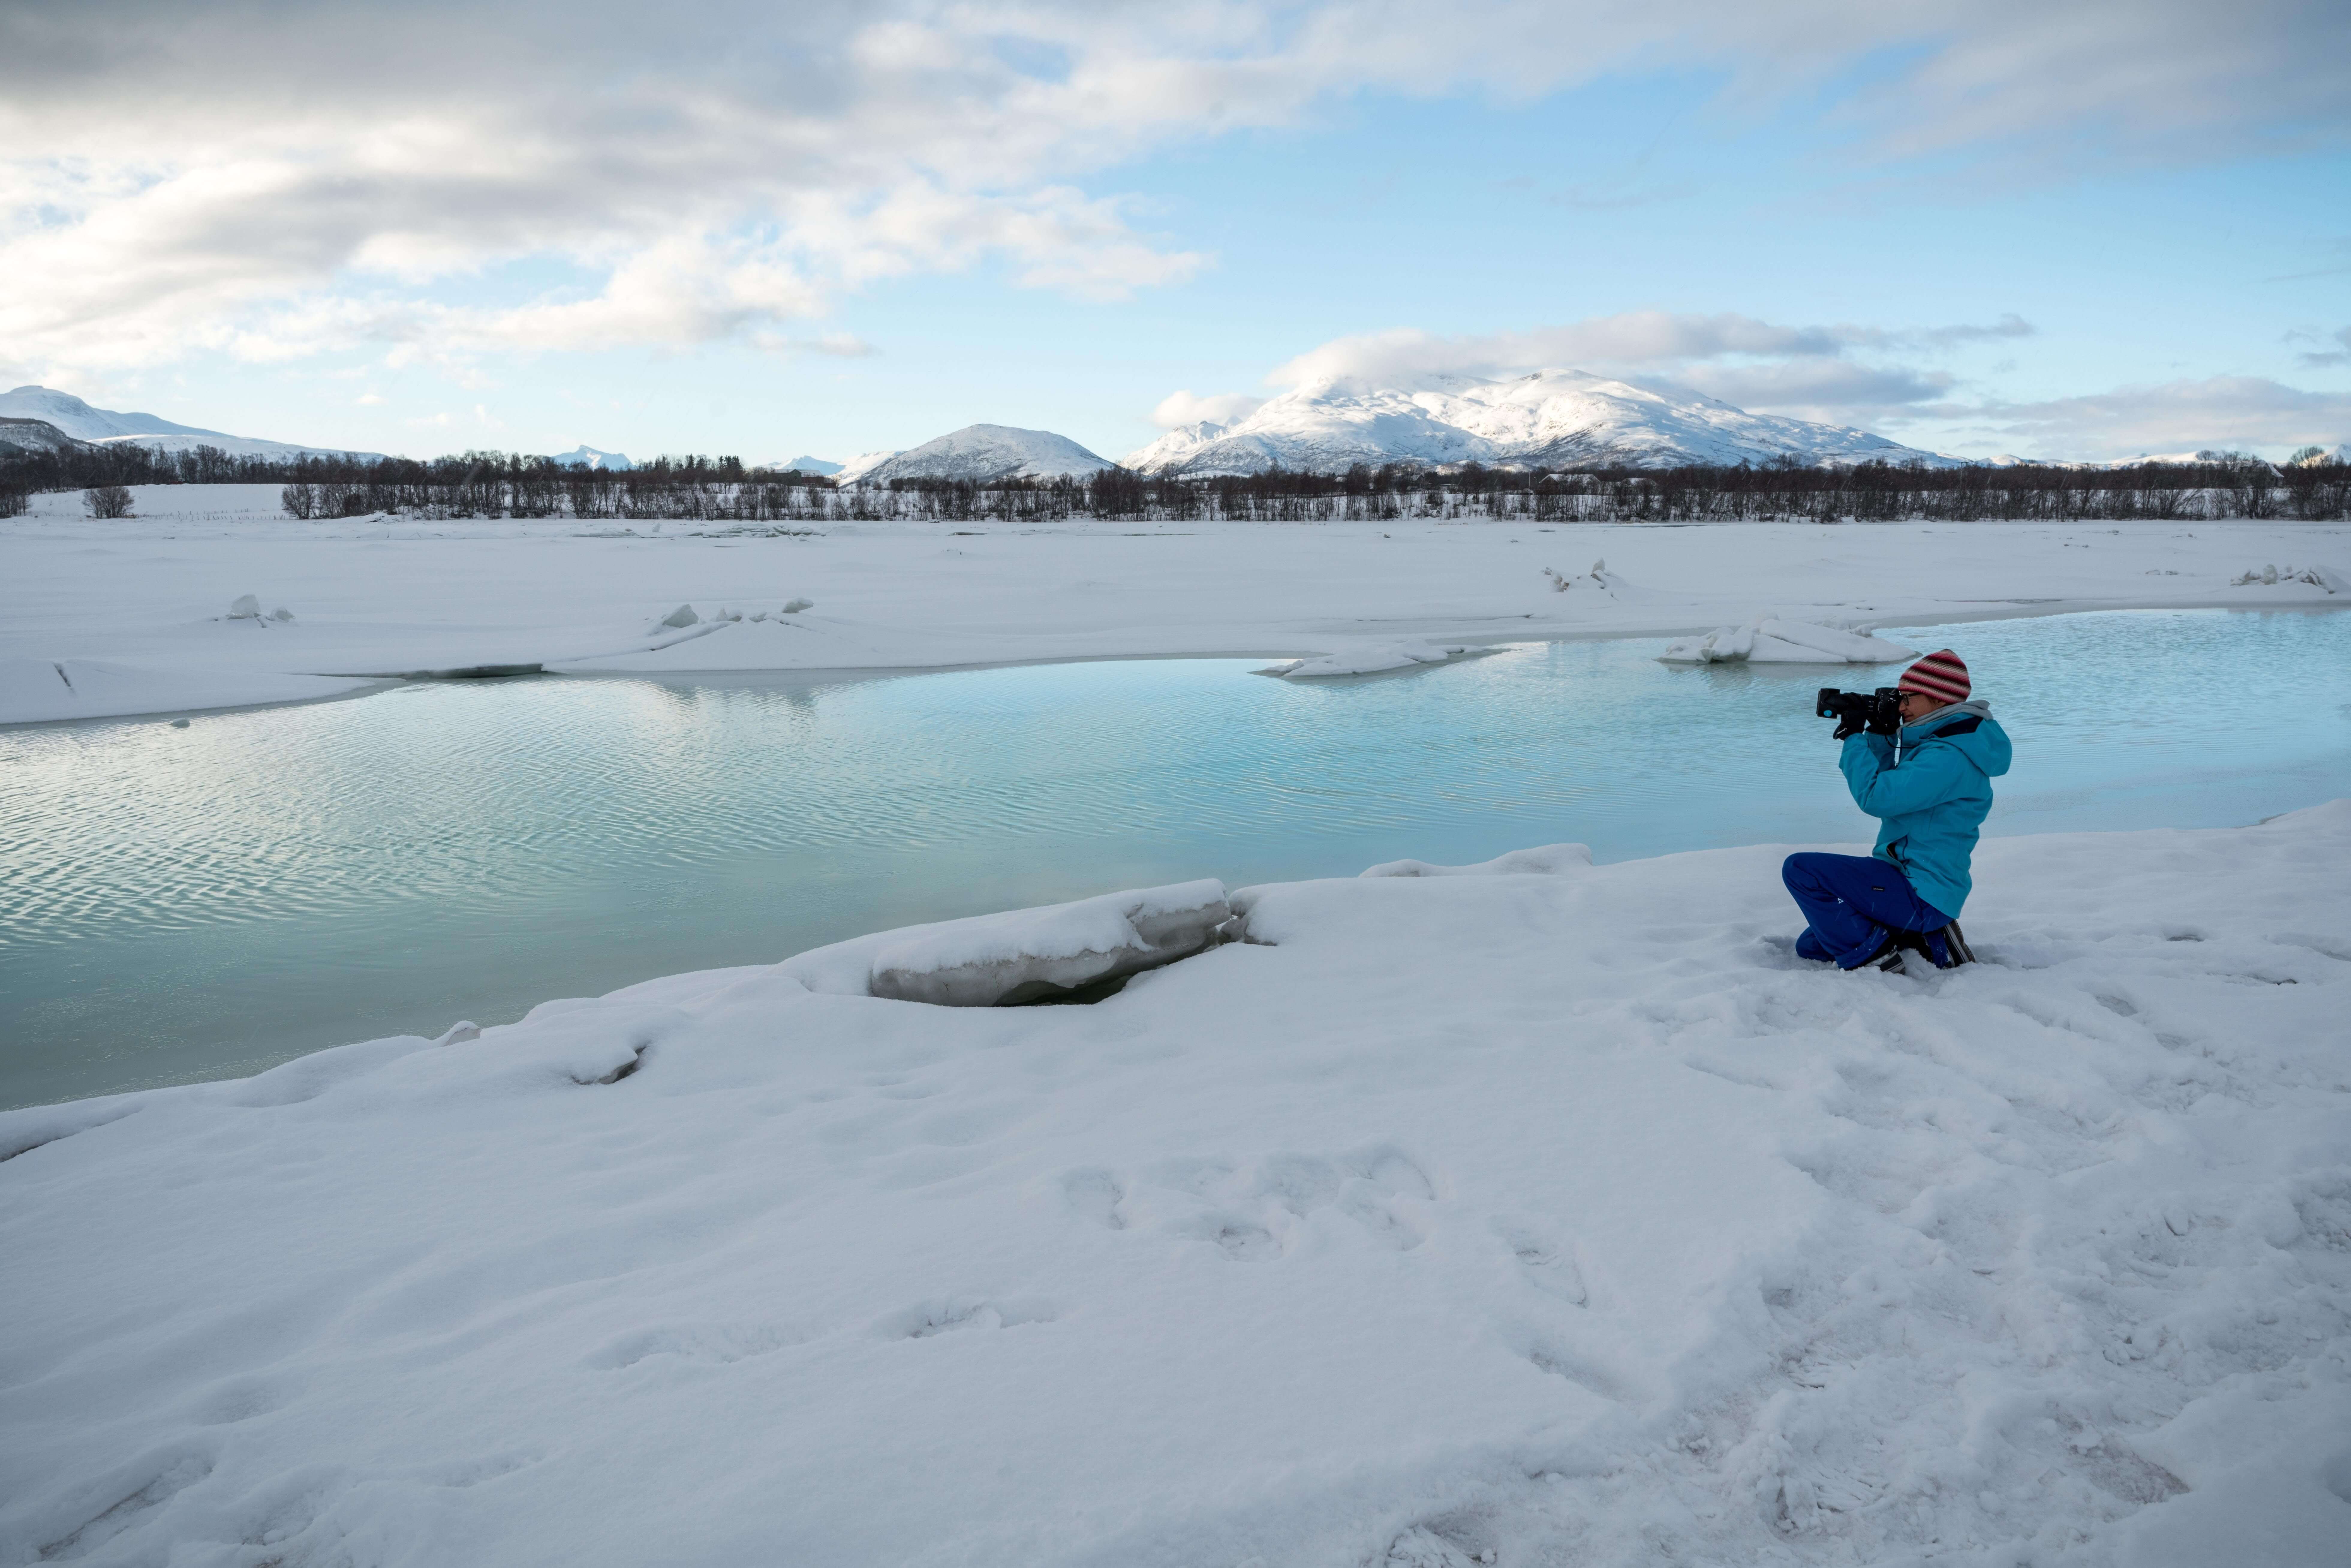
Photo Credit: Cheryl Herrera
Inspired to plan your own winter landscape photography trip?
I love a list, so I’ve written a shopping list for you! Some of the essentials listed are dependent on the climate you’ll be visiting. When deciding which ones you will and won’t need, consider Annick’s advice and your own judgement based on where you’re headed.
If you liked this article, and you’re planning your own trip, let us know in the comments! Bon voyage!
JOIN the Free 5 Day Mini Course
5 Days, 5 Videos Lessons = Photos You'll LOVE!
Learn How to Use Your DIGITAL Camera!

CLICK LOVE GROW ™ Pty Ltd - COPYRIGHT 2024 ©
Enter your info below to join the challenge!
Want a friendly reminder when I go live?
Pop in your number and I’ll shoot you a text.
* We will send text reminders for our live calls during the challenge! Reply ‘STOP’ to end or ‘HELP’ for help.
We promise not to ever share your details with anyone or send you spam! Check our privacy policy and terms of service.
Grab the Metering Modes Guide
Grab our free metering guide below to know which modes suit which shooting scenario... all in a handy checklist for when you’re out shooting.
Lens Buying Guide
Use these prompts to help you decide what your next lens choice should be! Pop in your details below to download the free guide! Xx
Be the first to comment