5 Tips for Beautiful Flower Photography You’ll Want To Frame
Flower photography is one of the most relaxing genres, and one of the most beautiful. So imagine if you could capture flower photos that are so stunning, you’ll want to frame and hang them on your wall with pride!
This tutorial is a taster of our upcoming workshop Mindfulness Photography with Kate McKenna.
Dive in and discover the elements that will turn your floral imagery into works of art!
1. Compose Like An Artist
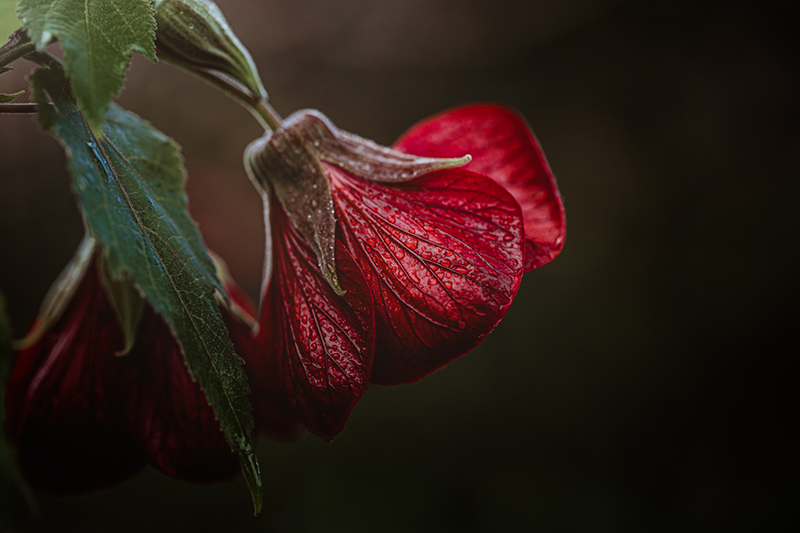
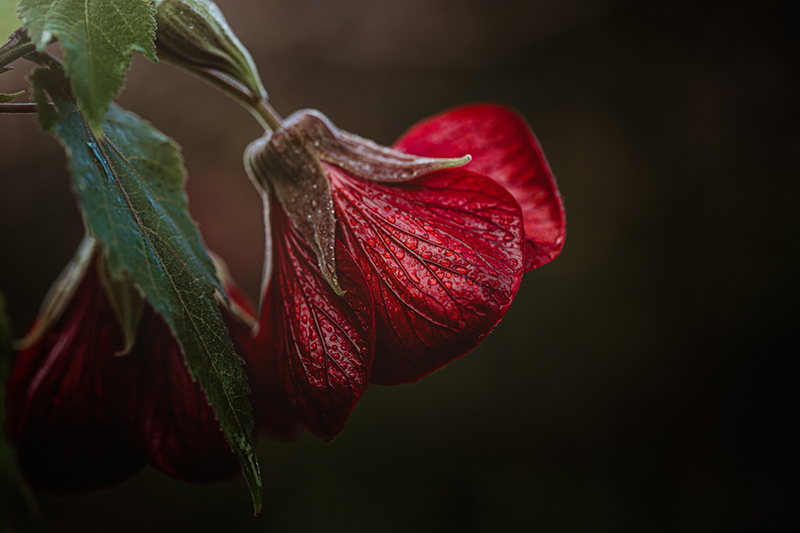
Not all flowers are most flattered by shooting them straight on. Try shooting a flower from behind when it’s front lit. This is a great perspective to add a sense of mystery and surprise to your photos, as it is unusual and unexpected. And depending on how opaque the petals are, the front light will either create a halo effect or illuminate through the petals (or both!).
This flower would look stunning at any angle, but look at all the texture and detail on the back of the petals… sublime!
Related: 6 Ways to Compose a Flower for Breathtaking Images
Kate McKenna, Advanced Grad
Sometimes the background doesn’t work no matter where you stand, and this is another good reason to think about different angles.
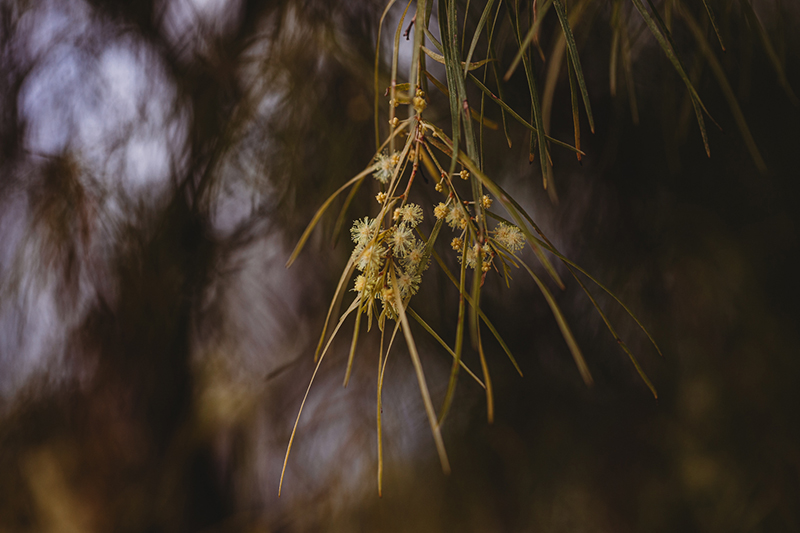
So get down low and shoot up. This can be a difficult with flower that are down low, but try it when you’re taking photos of leaves and flowers in trees. You can capture beautiful bokeh especially if the trees are backlit.
If you’re shooting during the day against flat white skies, your background will be too bright and it’ll look jarring in photos. So for this perspective to work, you either need to shoot during the golden hour when the backlight is soft and diffused, or shoot against a backdrop of dense foliage so the light just peeks through the gaps.
Kate McKenna, Advanced Grad
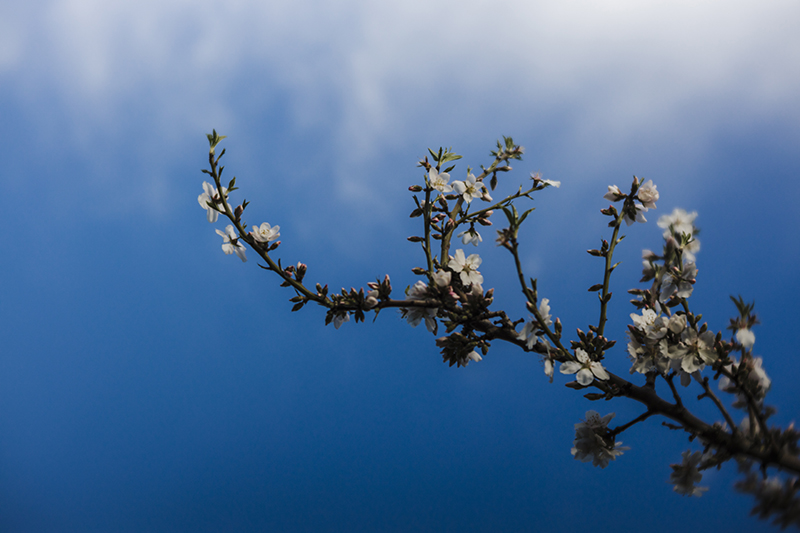
If you’ve got beautiful blue skies like this, shoot up and use it as a backdrop for a pop of bold colour. It can add an interesting scale too as you can exaggerate the height of your subject.
Kate McKenna, Advanced Grad
2. Create a Painterly Look
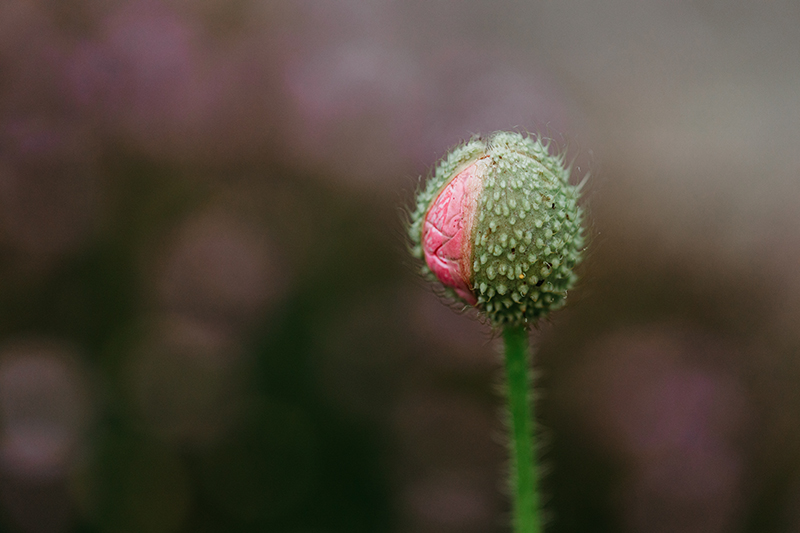
If you’ve ever seen flower photos that appeared to look like a painting or watercolour, it’s easier to do than you’d think. And believe it or not, it’s done in camera not in editing.
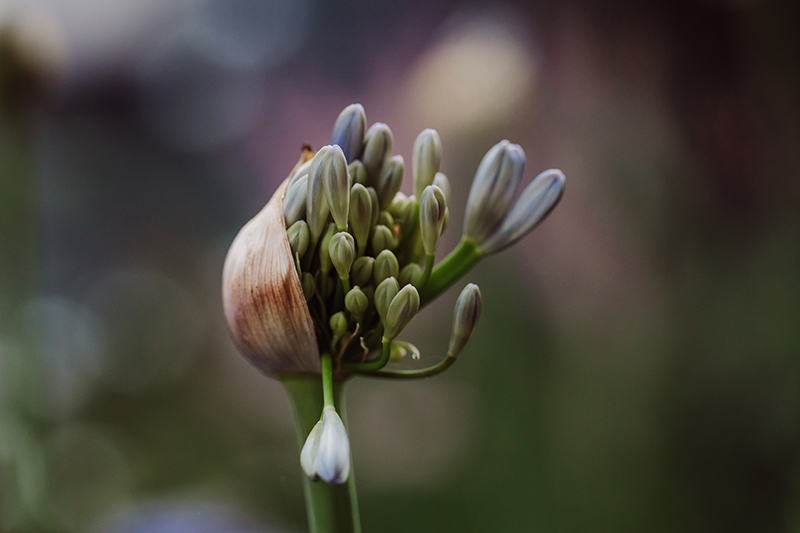
Frame your shot with other flowers in the background, and use a wide aperture (eg. f/2.5). They will blur out significantly to give you that beautiful a painterly or watercolour effect.
This works best if you have your subject in sharp focus against the out of focus flowers in the background. So make sure you have a shutter speed with enough wiggle room to freeze camera shake or breeze, and nail that focus!
Related: Master Your Focus
Kate McKenna, Advanced Grad
Kate McKenna, Advanced Grad
3. Shoot in Stunning Light
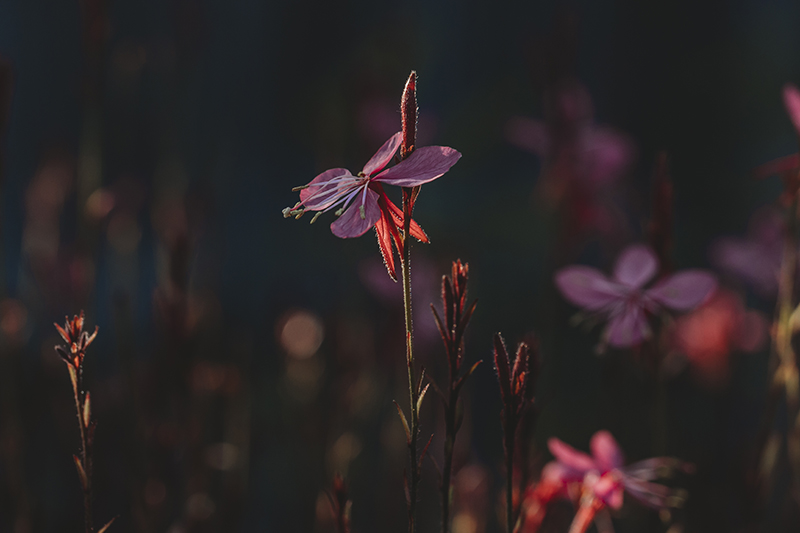
The best light for wall worthy flower photography is during the golden hour. That light is deliciously warm and creates a dreamy feel like this shot below. You should have very little to no hard light with harsh shadow lines falling on the flowers. If you do, you might need to wait a little longer until the sun is diffused a little more, or adjust your angle until your flower is lit in a more pleasing way.
Kate McKenna, Advanced Grad
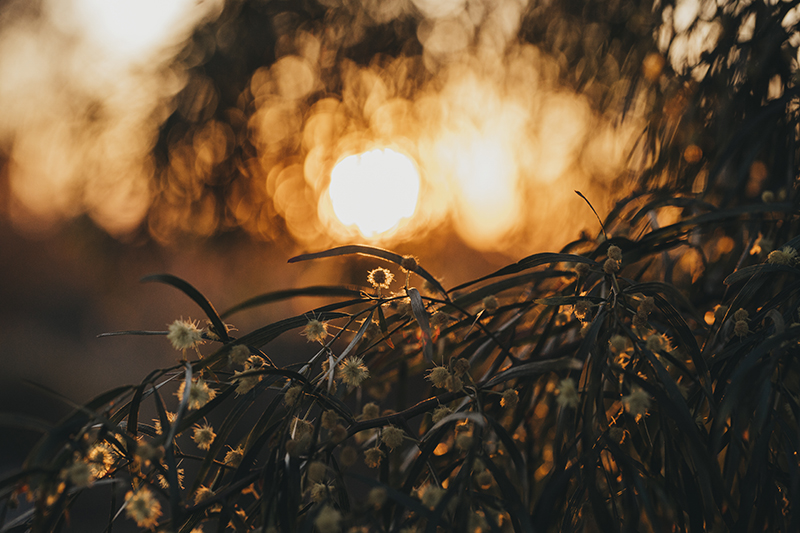
If you’re lucky enough to get stunning golden light like this at sunrise or sunset, make it the hero. For a shot like this, meter to expose for the highlights, and make sure the flowers are illuminated enough that they don’t get lost in the shadows.
Related: What is Metering
Kate McKenna, Advanced Grad
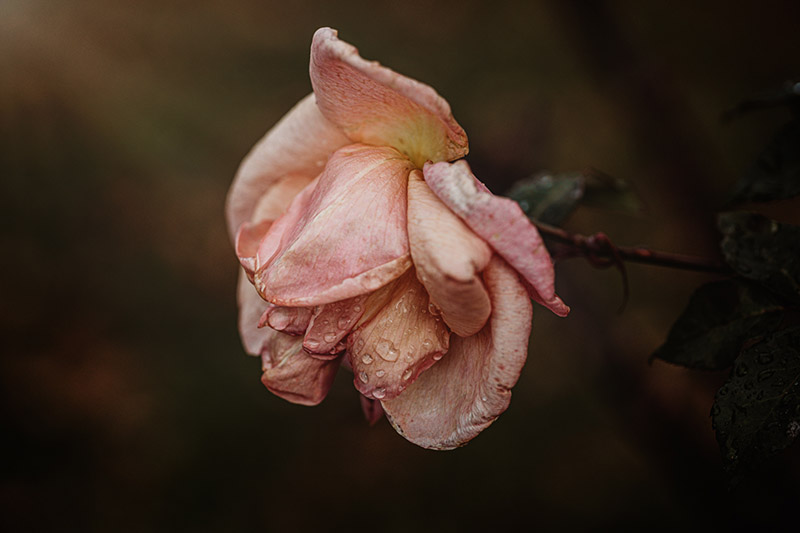
Frame with the setting (or rising) sun behind and slightly to the side of the flower, just out of frame. You’ll capture a little haze and lens flare in the top left or right corner, but make sure the flower itself has good clarity and stands out from the haze.
Kate McKenna, Advanced Grad
4. Best Settings for Pro Results
Aperture
To a large extent this really depends on your vision.
If you’re using a regular lens for flower photography, the first thing you need to decide is what do you want tohighlight, and how much of it do you want in focus. Don’t just always assume it’s the whole flower. There is more than likely one aspect that drew you to it specifically. It could be the colour, layers and layers of petals, textured pattern on the petals, or a perfect flower with one imperfection.
If the area you want to isolate is quite small, use a really wide aperture of around f/2 to f/2.5.
If you want to get more in focus, try f/2.8 to f/4 or even narrower. Check the shot and zoom in and around to see if you got the kind of depth of field you were aiming for, and adjust if you need to.
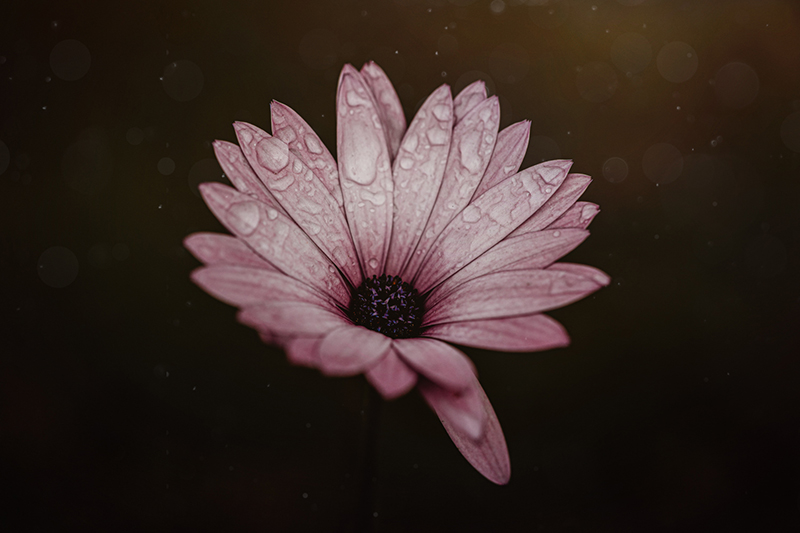
Kate McKenna, Advanced Grad
The further back you stand, the wider aperture you can use and still get good depth of field, eg. f/2.
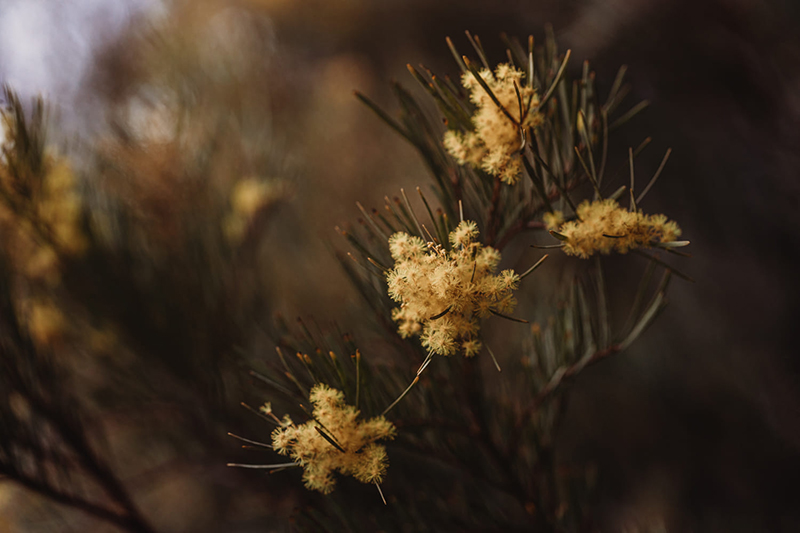
Kate McKenna, Advanced Grad
Aperture for Macro Lenses
If you’re using a macro lens, start with an aperture of around f/9. Adjust depending on how much detail you want to get in focus.
Related: Macro Photography Beginners Guide
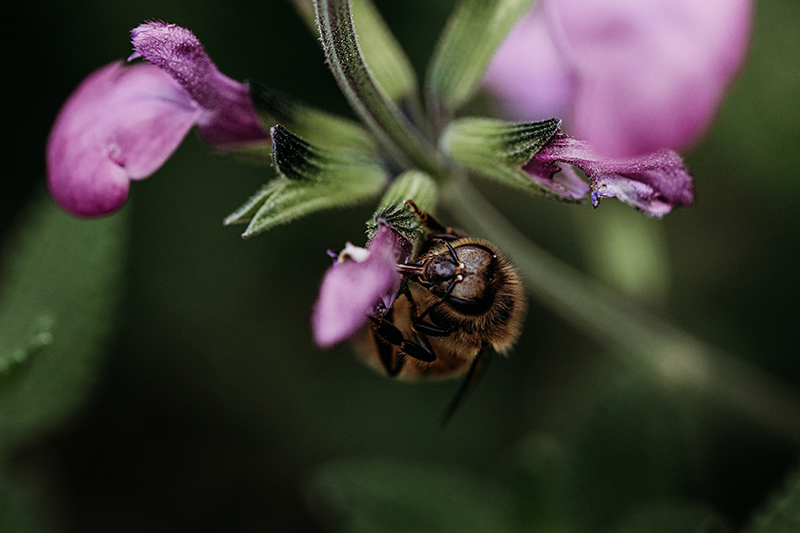
Kate McKenna, Advanced Grad
Shutter Speed
Even though flowers can’t run away when you’re trying to get focus, even a slight breeze will move them. Try to shoot with a minimum shutter speed of 1/200 to freeze any motion. Then choose your ISO to balance your aperture and shutter speed.
If the breeze is really strong, you’ll probably need to take some flowers indoors, or wait for another day. In that situation, it doesn’t matter how fast your shutter speed is. Even if you freeze the motion, the flower will keep moving out of your focal plane.
Related: Intro to Manual Mode
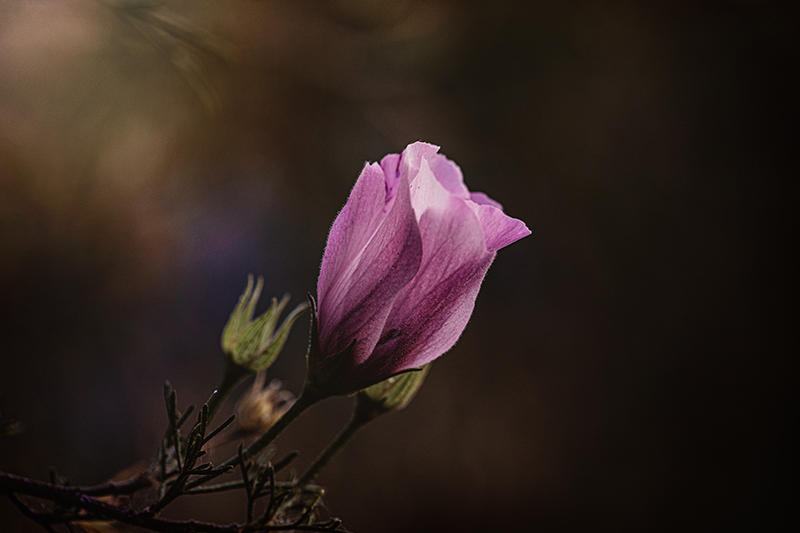
Kate McKenna, Advanced Grad
5. Best Lens for Flower Photography
You can take beautiful flower photos with any focal length, but a sharp lens will get you the best results. A nifty fifty (50mm f/1.8) lens is fantastic for this type of photography. A macro lens or filter will also help you get in close and capture small detail, but it’s not essential.
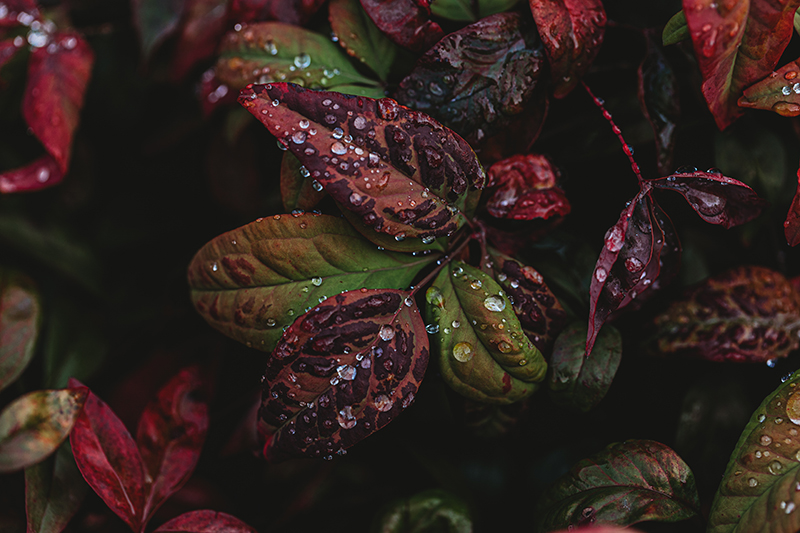
Kate McKenna, Advanced Grad
If you loved these tips and want to learn more, Kate is hosting our newest workshop Mindfulness Photography which starts on 13th November 2023.
It’s ON SALE NOW… click HERE to find out more and secure your seat!
Leave a Reply Cancel reply
PRIVACY POLICY & SITE TERMS AND CONDITONS
CLICK LOVE GROW ™ Pty Ltd - COPYRIGHT 2024 ©
x
Join Now
Enter your info below to join the challenge!
Want a friendly reminder when I go live?
Pop in your number and I’ll shoot you a text.
* We will send text reminders for our live calls during the challenge! Reply ‘STOP’ to end or ‘HELP’ for help.
We promise not to ever share your details with anyone or send you spam! Check our privacy policy and terms of service.
Be the first to comment