AUTO is the Perfect Place to Start!
Overcoming the Fear of Starting…
Two of my favourite sayings that I’ve stumbled across since starting a business and photography are ‘start before you’re ready’ and ‘done is better than perfect’… now these can be applied in a multitude of settings through life… but when it comes to creative pursuits and passions I think they’re perfectly apt. An imperfect creation is better than a perfect intent never executed.
Why do you take photos?
I take photos to record family memories, capture moments of my kids as they grow, and to express myself creatively! Photography as an art form allows me to fall into something I love, it brings me joy.. both the taking, the seeing, and the final producing. It’s an important part of my life and as I listen to women in our Click Love Grow community struggle with confidence and uncertainly holding them back I want to acknowledge that we all have that fear. And I know that fear can often stop us from even starting…

Taking Control Of Your DSLR
The idea of taking complete control of your DSLR and bringing your vision to life on purpose is irresistible, not to mention exciting! The flip side to that is diving in and shooting in full manual can be daunting for the best of us. So if you’re shooting in AUTO I say’ perfect’ because wherever you’re at is the best place to begin!
Well actually, I usually say that Composition is the best place to start.. hehe, so you can read about that HERE. But today’s post is on starting with settings on your camera… deciphering what they mean and setting yourself on the path to taking more control!
What If You Could Do It In Baby Steps?
Let’s start in auto, but set yourself the task of looking at the settings that your camera chooses for each photo and relating it back to the results of each photo (ie. Is it blurry? Is it too dark? Too light? Completely out of focus? Too grainy?)… you could begin to understand why you’re getting the results you’re seeing and what needs to happen to change it.
All you need to know is how to decipher all the numbers that appear on your LCD for each photo.
Which is where we come in!
Keeping it Simple
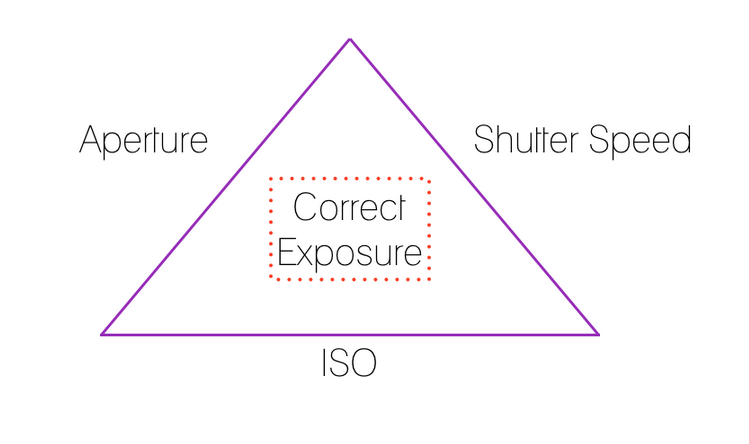
The numbers we’re going to decipher for you are collectively referred to as the exposure triangle. In the spirit of keeping things simple, I’m going to share the concept of the exposure triangle in as brief and basic a manner as I can possibly get away with. Once you’re ready, head here for a more in depth explanation (but still easy to follow and without the boring jargon!), which you’ll need when you decide to switch over to manual.
Exposure Triangle
Ok so let’s decipher all those boring numbers.
In very basic terms, when taking a photo, the intention is to expose it in a manner that enables the viewer to see the subject. There are three elements that combine to make this exposure happen… yep that’s right… “the exposure triangle”.
Each element of the exposure triangle brings light to our photos in a different way, and each element has a different effect on the look of the photo in addition to light.
So with that in mind, when taking a photo a decision needs to be made on what value to set each element, with a view to producing a balance of settings which will achieve correct exposure coupled with the desired overall look (for example, a perfectly exposed portrait with a beautifully blurred background, or freezing the motion of a child playing sport).
In auto, our camera does this for us. In manual, we make those decisions. Yes it’s true… in manual, we the boss! (a little motivation there to eventually get you out of auto forever!).
The three elements of the exposure triangle are:
- Shutter Speed
- Aperture
- ISO
Shutter Speed
The shutter speed is the length of time that the shutter is open after you press the shutter release. A slow shutter speed will let in more light and a fast shutter speed less light. It is measured in fractions of a second, eg. 1/100 = one hundredth of one second. Shutter speed is responsible for freezing or capturing motion.
Aperture
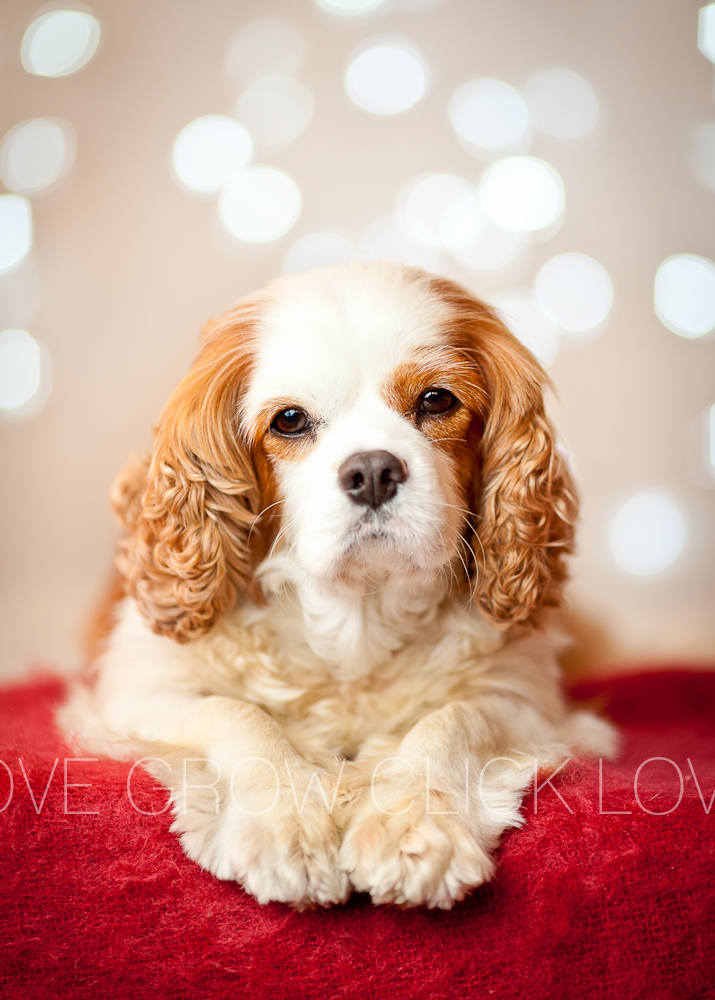
Aperture relates to how big the opening is when you press the shutter release. A large opening lets more light in, a small opening lets in less light. Aperture is measured in “f-stops” and it will appear as an f with a value after it, eg. f/2.8. The smaller the f stop number, the bigger the opening. The larger the f stop number, the smaller the opening. Aperture controls the depth of field, which is how much is in focus in front of and behind your focus point. A wide aperture (smallest f stop number, eg. f/1.6) will have much less area of focus than a deep aperture (larger f stop number, eg. f/16.
Confused? This should help:
Small number = big opening = more light = less depth of field (blurry background)
Big number = small opening = less light = more depth of field (all sharp from front to back)
Lastly on aperture, it is important to note our depth of field is also affected by the length of our lens and the distance between lens and subject, and subject and background.
ISO
ISO is a measure of the sensor’s sensitivity to light. The higher the ISO value we set on our camera when we take a shot, the more the sensor can make of the light. Most cameras start at ISO 100, increasing from there incrementally (ISO100, 125, 160, 200, 250, 320, 400, 500 and so on). Higher ISO settings cause grain in the photo, and at very high ISO settings you might also begin to notice a loss of sharpness and clarity. (ISO 101 here)
Now To The Classroom!
So now when you take a shot in auto, go home and get your images up on your screen, and review the settings for aperture, shutter speed and ISO for every image.
Take note of your exposure. Was your shot too dark or too light? And if so, what would have happened if you increased or reduced one of the settings? What effect would that adjustment have had on exposure, sharpness, depth of field and grain?
Is it blurry or in sharp focus? If it was blurry, was your shutter speed too slow for your subject? Think about how fast your subject was moving. Or perhaps your subject was stationery and it was still blurry. If so, did you take it handheld and what was your shutter speed? Slow shutter speeds can even record the movement our hands make when we hold our cameras. It varies from person to person, and the weight of your gear is also a factor, but I personally find anything slower than 1/60 is too slow handheld for me on an inanimate object.
Did you miss out on a nicely blurred background? If so, what was the aperture setting?
Was the shot was grainy and if so what was your ISO setting?
A Word On Grain
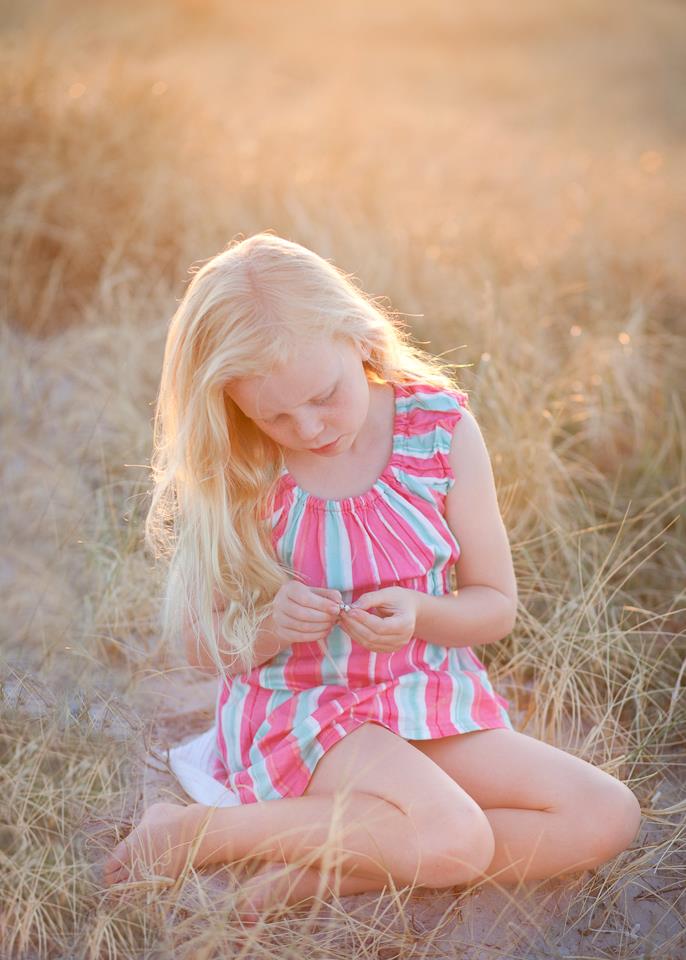
Keep in mind some grain is ok, and in fact it can even be a welcome element in black and white images. But if you have to zoom in to 500% to see the grain, you need not worry about it! I tend not to worry too much about grain until it starts reducing the sharpness and clarity of my photos and when I’m losing detail.
Ready for More?
If you’re ready to start progressing out of AUTO and want to do it the easy way, with me walking you visually through all the steps and giving you hands on practice tasks so it all sinks in AND allowing you to ask questions throughout each step… well our next Enthusiast Photography Course is opening very soon and we’d love to have you join us!
Leave a Reply Cancel reply
PRIVACY POLICY & SITE TERMS AND CONDITONS
CLICK LOVE GROW ™ Pty Ltd - COPYRIGHT 2024 ©
x
Join Now
Enter your info below to join the challenge!
Want a friendly reminder when I go live?
Pop in your number and I’ll shoot you a text.
* We will send text reminders for our live calls during the challenge! Reply ‘STOP’ to end or ‘HELP’ for help.
We promise not to ever share your details with anyone or send you spam! Check our privacy policy and terms of service.
Be the first to comment