How to Take Beach Photos in Full Sun
I avoid harsh light with as much determination and distaste as my kids do with vegetables. It’s unflattering, and totally jarring in photos. It highlights facial imperfections and makes my subjects squint. It can even make it hard to see through the lens and focus. Harsh light, not vegetables. But try telling my kids that.
I aim instead for the soft light of open shade, or the golden hours… in other words, I play it safe.
However sometimes you simply can’t avoid harsh light, and the beach is a perfect example… most beaches have no open shade, making it impossible to avoid hard light for at least 12 hours of the day, unless it’s overcast.
So what do you do? Take your kids to the beach only at sunrise or sunset? Leave the camera at home and miss out on capturing their fun?
You can shoot in harsh light and get great results, and together with Merissa Wakefield of Merissa Wakefield Photography, we have some tips to help you do exactly that. So pack your beach bag, pack the kids, and most importantly, pack your camera and head to the beach!
1. Shoot in Manual Mode
You need to be in control of your exposure in this situation. The light will be strong, and in auto mode camera will want to compensate by reducing exposure, effectively underexposing your subject. If you’re not shooting in manual mode yet, head here to get started…
Related: How to Shoot in Manual Mode

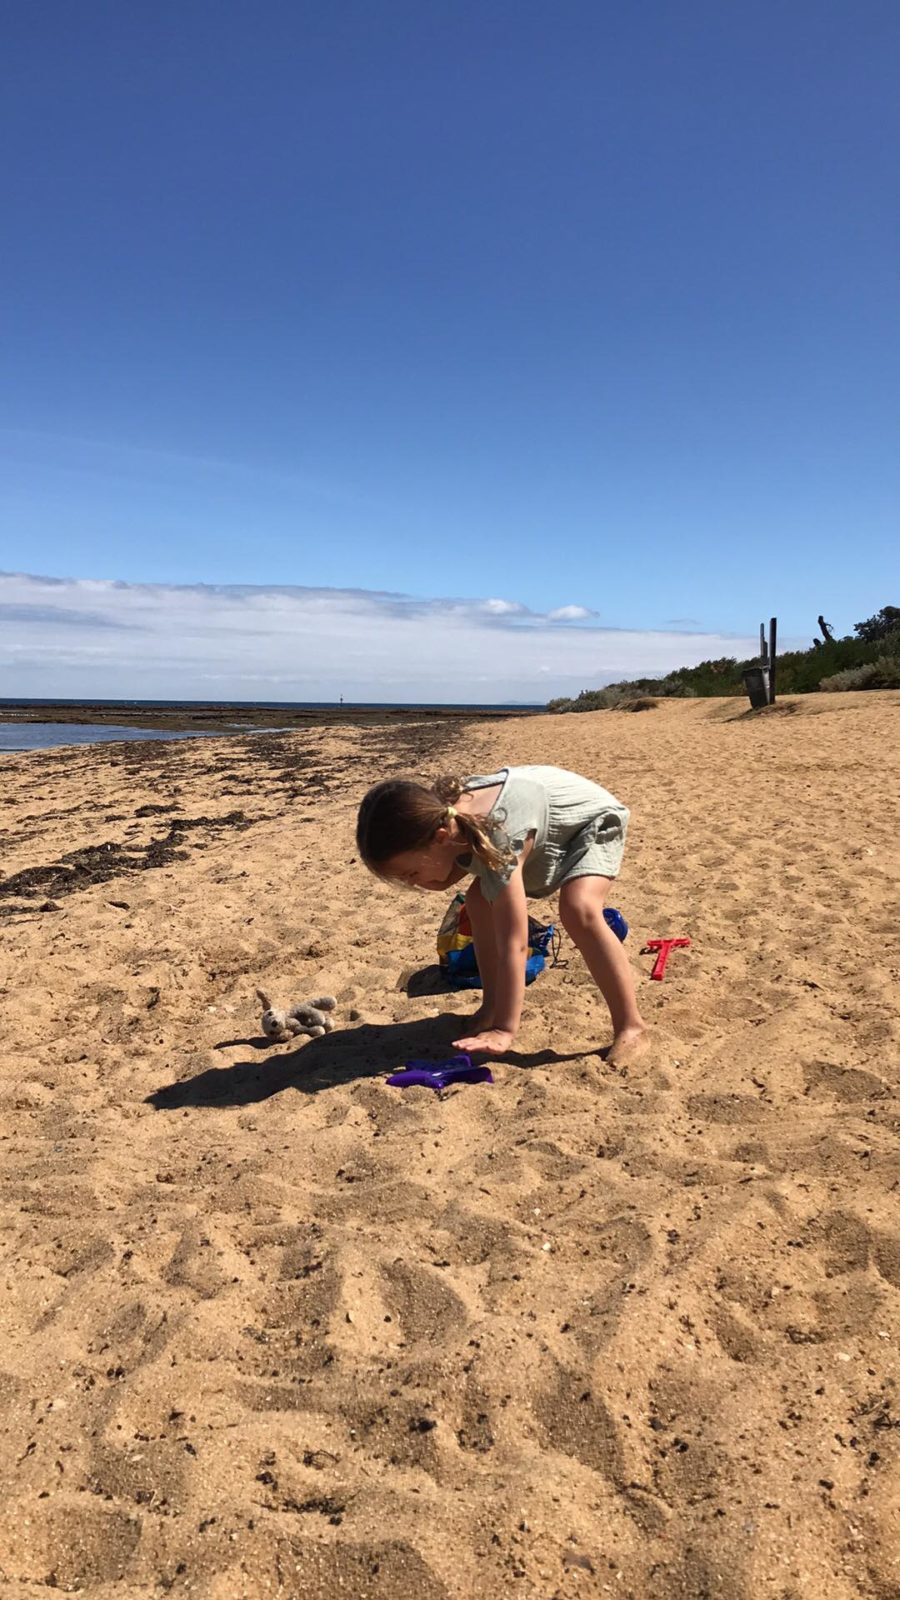
Auto Mode – Well exposed environment… underexposed subject!
2. Shoot in Raw
If you’re not already shooting in raw, switch your camera over.
A raw file gives you more control over the exposure after the fact, and enables you to recover highlights as long as they’re not fully blown out.
3. Front & Side Light
In harsh light on the beach, backlighting will blow out your background to the point of distraction. So position your subject with the sun behind your back or at the side.
Take in the way the light is falling on your subject, and look for hard light shadows on their face. In this shot there are hard light shadows under her nose, lip and on her neck.

Front light looking directly into sun – squinting and hard light shadows on her face
If it’s harsh and patchy, move them around or move yourself around until the light falls evenly on their face.
It helps to acknowledge you won’t get perfect light and therefore this is not the time for traditional portraiture. You can’t avoid harsh light shadows entirely… so the trick is to minimise the distracting element of them by considering where you allow them to land.
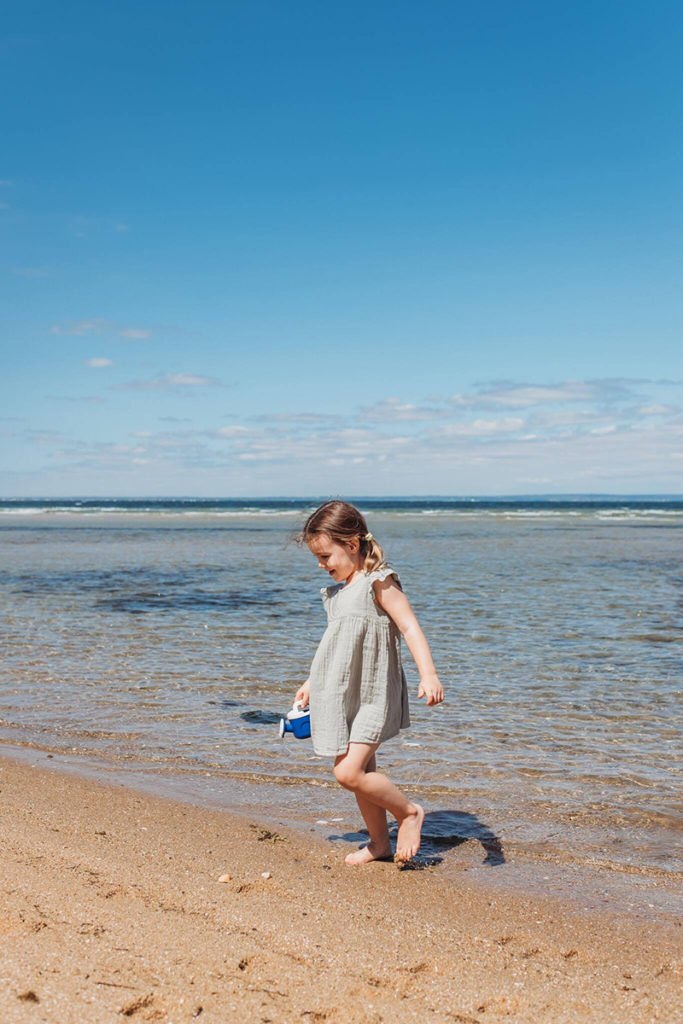
In this shot I’ve moved her so that she is now side lit and the hard light shadows are now falling on her leg, her arm and a little on her shoulders. But they’re not overly distracting, and her face is wrapped in a beautiful soft light.

Side light – face in soft light, hard light shadows are minimised and moved around to be less distracting
4. Midday Sun
At or around midday the sun is directly overhead, so adjusting your subject’s position in relation to the sun won’t change anything.
In this position the direction of the light causes “racoon eyes”, which is when the eye sockets are in shadow. It’s unflattering and you lose the beautiful catchlights that bring sparkle to your subject’s eyes. Not a good look!
So how do you avoid that?!
Storytelling
Midday sun is not at all conducive to beautiful portraits. So instead I suggest just stepping back and taking a storytelling approach.


Slap on a Hat
Hats are like portable open shade, on a much smaller scale. When the sun is overhead, no amount of repositioning will eliminate specular highlights on your subject’s face. A hat will block the light that is coming from directly overhead, and put their features in soft light.
Just make sure it’s a photogenic hat!


Look Down
When your subject tilts their head down, it effectively puts their face in soft light. This was front light but when she looked down, she put her face in shade.

5. Harsh Light for Creative Effect
This is the fun part!
Harsh light doesn’t have to be the enemy… when used with purpose, you can create really interesting, dynamic compositions.
Shadow Play
Play up the difference between light and shade. Look for hard light shadows created by your subject and purposefully incorporate them into your shot. Tips for capturing hard light shadows:
- Avoid “shadow blobs” by ensuring they’re doing something which creates well defined shadow lines. If unsure, ask yourself if you framed only their shadow, would someone viewing your photo know what it was?
- Expose for the highlights to avoid blowing them out.
- If you usually shoot very wide open, narrow your aperture to at least f/3.5 for sharply defined shadow lines.


Bring a Blanket!
Try these fun shots… get them to play under a blanket, and expose for the highlights on their skin.


I hope you get out to practice these techniques for better beach photos in harsh light! If you do, please come share with us on Insta and tag #clicklovegrow
A BIG thank you to the fabulously talented Merissa Wakefield for her tips and gorgeous photos! If you want to see more of her work, you can find her at Merissa Wakefield Photography.
Join my new workshop and learn How to Shoot Pro-Quality Photos With Your DSLR… and it’s totally FREE to join! Register here…

Leave a Reply Cancel reply
PRIVACY POLICY & SITE TERMS AND CONDITONS
CLICK LOVE GROW ™ Pty Ltd - COPYRIGHT 2024 ©
x
Join Now
Enter your info below to join the challenge!
Want a friendly reminder when I go live?
Pop in your number and I’ll shoot you a text.
* We will send text reminders for our live calls during the challenge! Reply ‘STOP’ to end or ‘HELP’ for help.
We promise not to ever share your details with anyone or send you spam! Check our privacy policy and terms of service.
Be the first to comment