Grab the Metering Modes Guide
Grab our free metering guide below to know which modes suit which shooting scenario... all in a handy checklist for when you’re out shooting.
As a lover of taking photos of kids, I know how frustrating it is to be stuck indoors because it’s SO cold outside, and SO dark inside, making natural light indoor photography super challenging!
Sure we can rug everyone up and brave the cold… but as the caretakers of little people, often that is simply not an option. But the good news… there is light in that dark tunnel (pun intended!).
When we look for light indoors during the warmer months, we often find it in abundance. The strength of that light scatters it far and wide, enveloping large areas of our home in warm bright light in which to place our subject. Spoiled for choice!
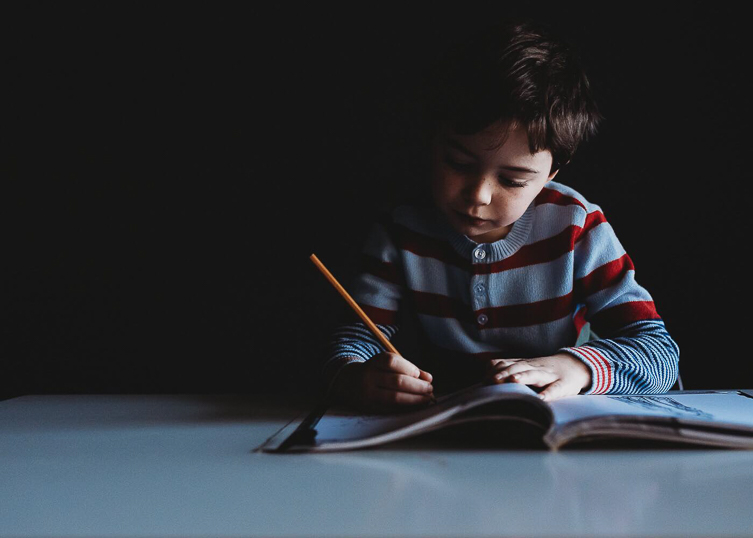
This in turn gives us some delicious directional light, with gentle or muted highlights and dramatic shadows. It lends itself well to the kind of quiet activities kids tend to gravitate towards in the colder months.
Kelly Brown is a Click Love Grow graduate of our Enthusiast Photography Course, and a recent graduate of our Advanced Photography Course. We’ve been loving her winter light photos of her gorgeous boys, and asked (read: begged!) her to collaborate on a post. She said yes!
Kelly shares her indoor photography tips, when light is scarce, the days are short, and it’s too cold to venture outdoors! And of course, it comes with delicious inspiration!
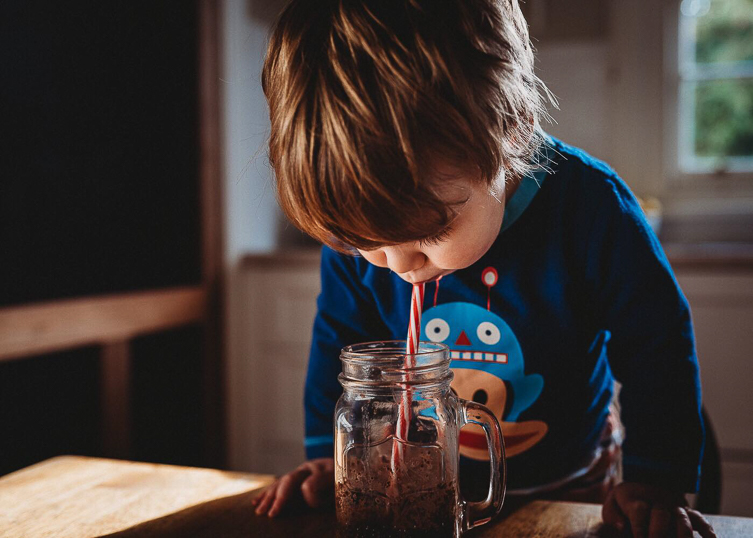
I love playing around with low light indoor photography, because I adore the mix of light and shade. It adds an extra level of depth and drama to my images that I find difficult to achieve with other photographic genres.
So in that regard, winter light is perfect because the light and shade is already there. It’s just a matter of putting your subject in it.
For a really creative and dramatic effect, I will play around with the curtains and blinds, creating just a small sliver of light by only partially opening them.
If you ensure your subject is placed at an angle to the light source, you’ll make the most of the surrounding shadow areas.
Related: How to Use Dramatic Natural Light
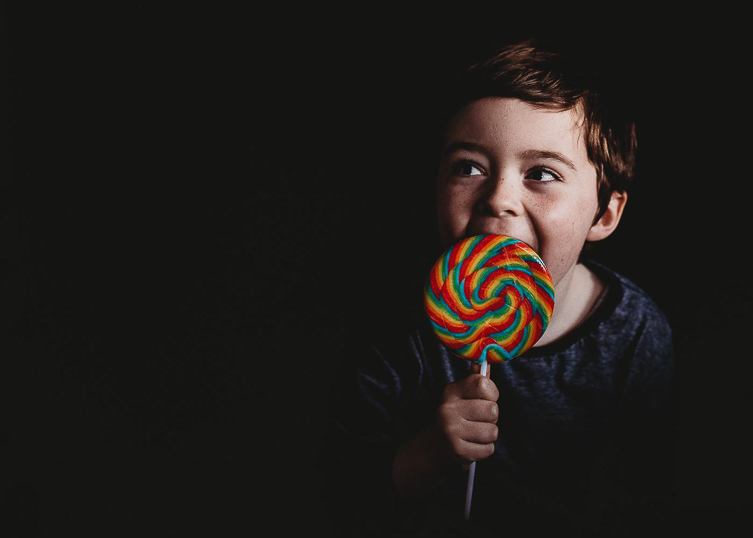
Subject placed at a 45 degree angle to the window light
In this shot I experimented by adding torch light for some deliberate creative hard light. I exposed for the highlights, I held the torch in one hand and my camera in the other, and I exposed for the highlights.
Related: Using Hard Light for Creative Photos of Kids
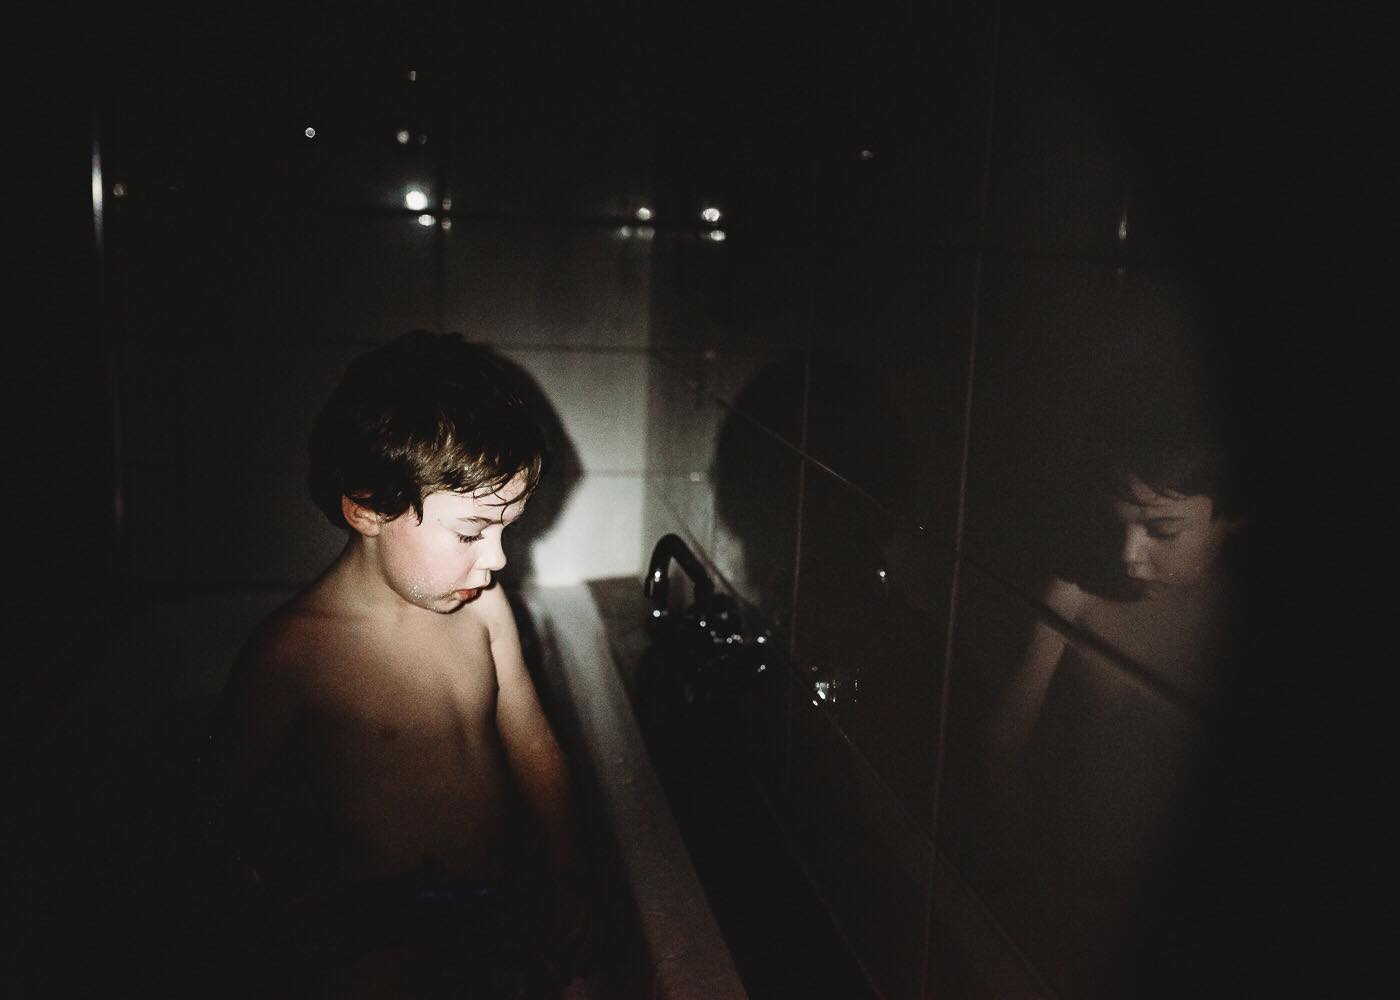
Settings: 5000 ISO | Aperture f/2.8 | Shutter Speed 1/200
When you’re stuck indoors with limited light in winter, window light is the bomb! Play with it!
Look for pockets of light falling in patches from windows and doorways and set up activities or place a chair in it.
Get your subjects to move around it, eg. side on, front on, 45 degree angle, close in, further back… and watch how the light falls on your subject.
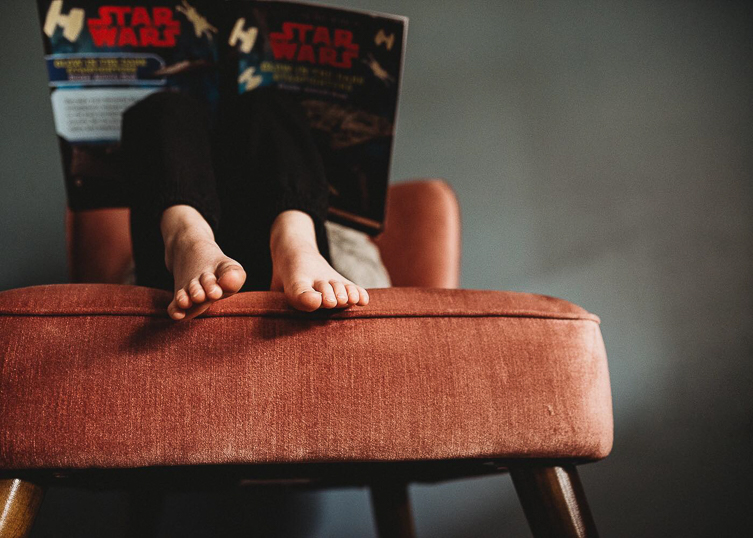
It’s not so much posing as getting them engaged in an activity… if they’re engaged they will happily stay in place in the good light long enough to allow you time to take their photos.
If I popped my boys in good light and asked them to sit and look at me, I’d have a window of about 13 seconds! What’s more, I want to capture their everyday, not posed portraits.
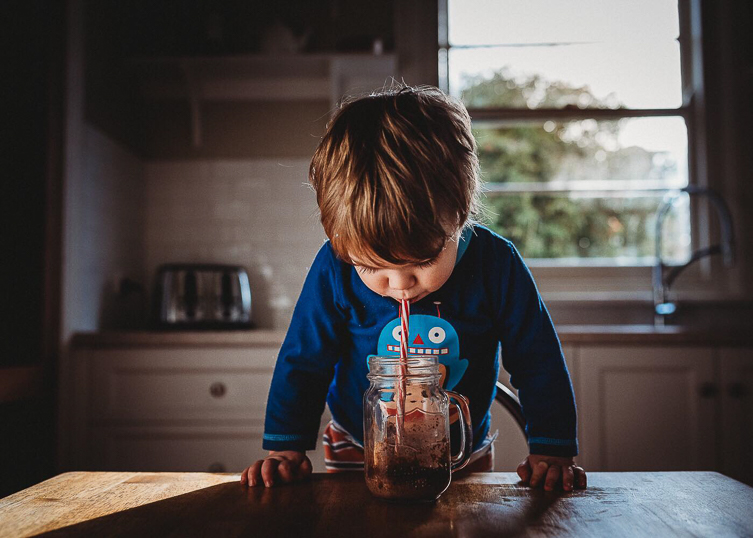
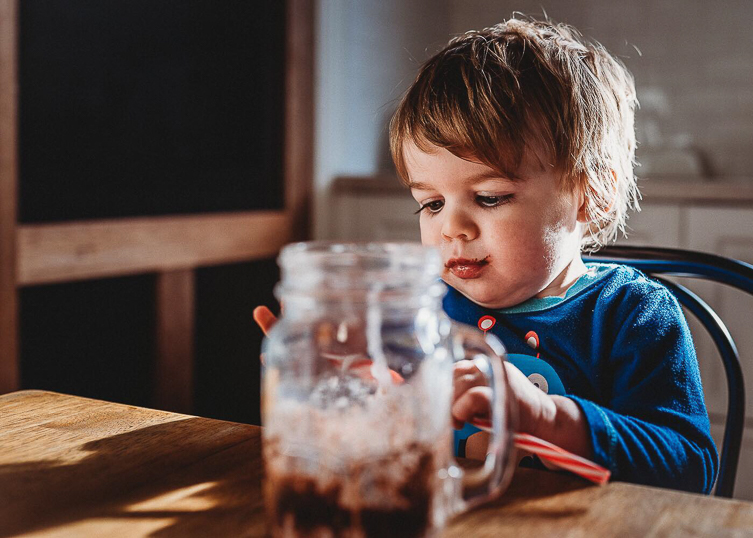
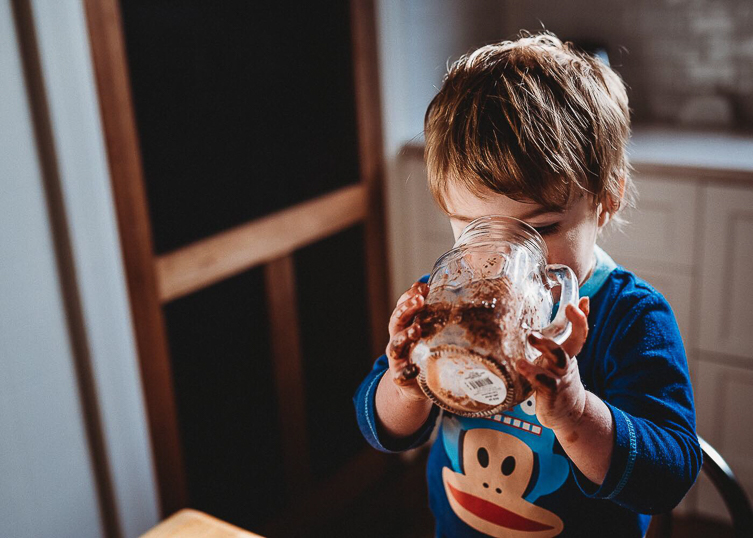
One of the best ways to do this is by setting up activities you know your kids enjoy, in the best light. Quiet activities are best as it means less movement from the kids, and that means you can use a slower shutter speed!
Try these ideas…
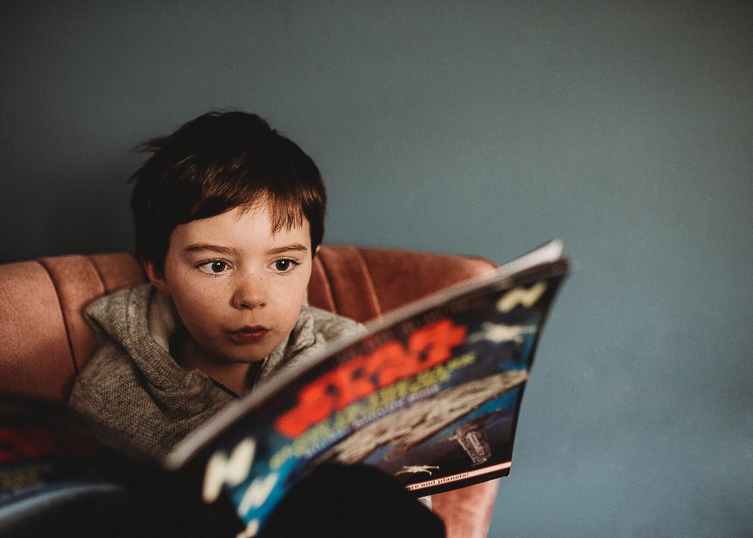
Make milkshakes in photogenic containers (think vintage jars or mini milk bottles).
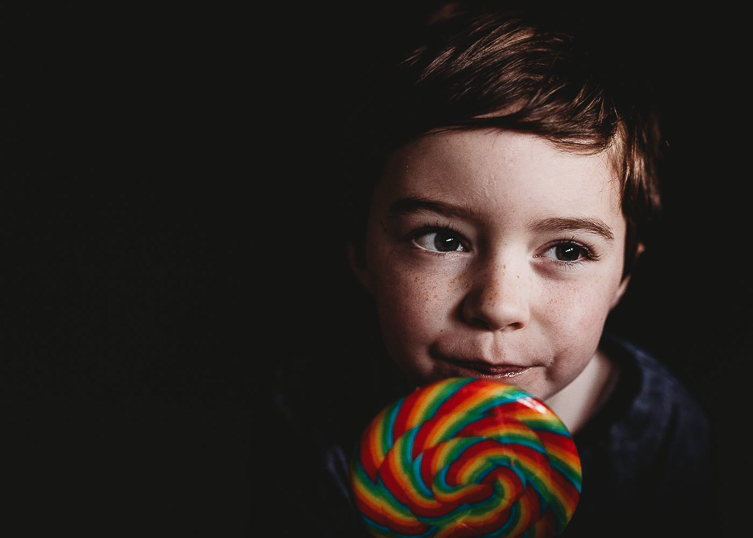
Gigantasaurus lollypop anyone?
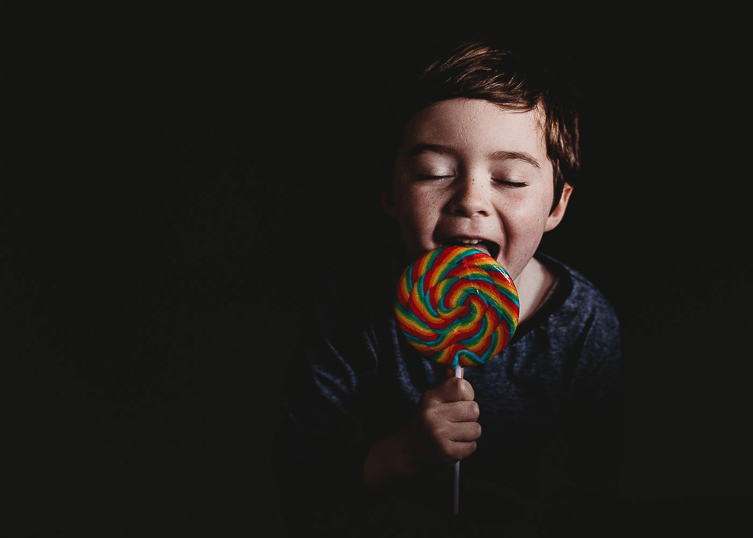
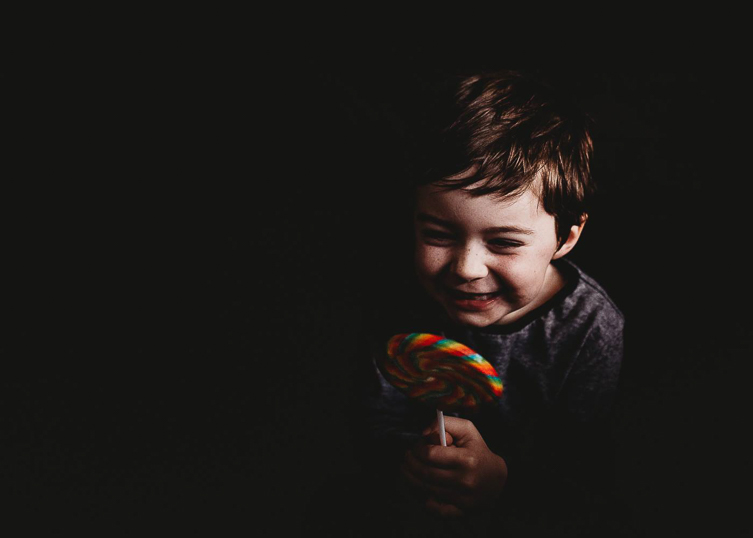
Capture them in quiet moments looking out the window. If you can brave the cold, also take this opportunity to head outside and capture them through the window.
Related: Dramatic Light Portraits with Window Light
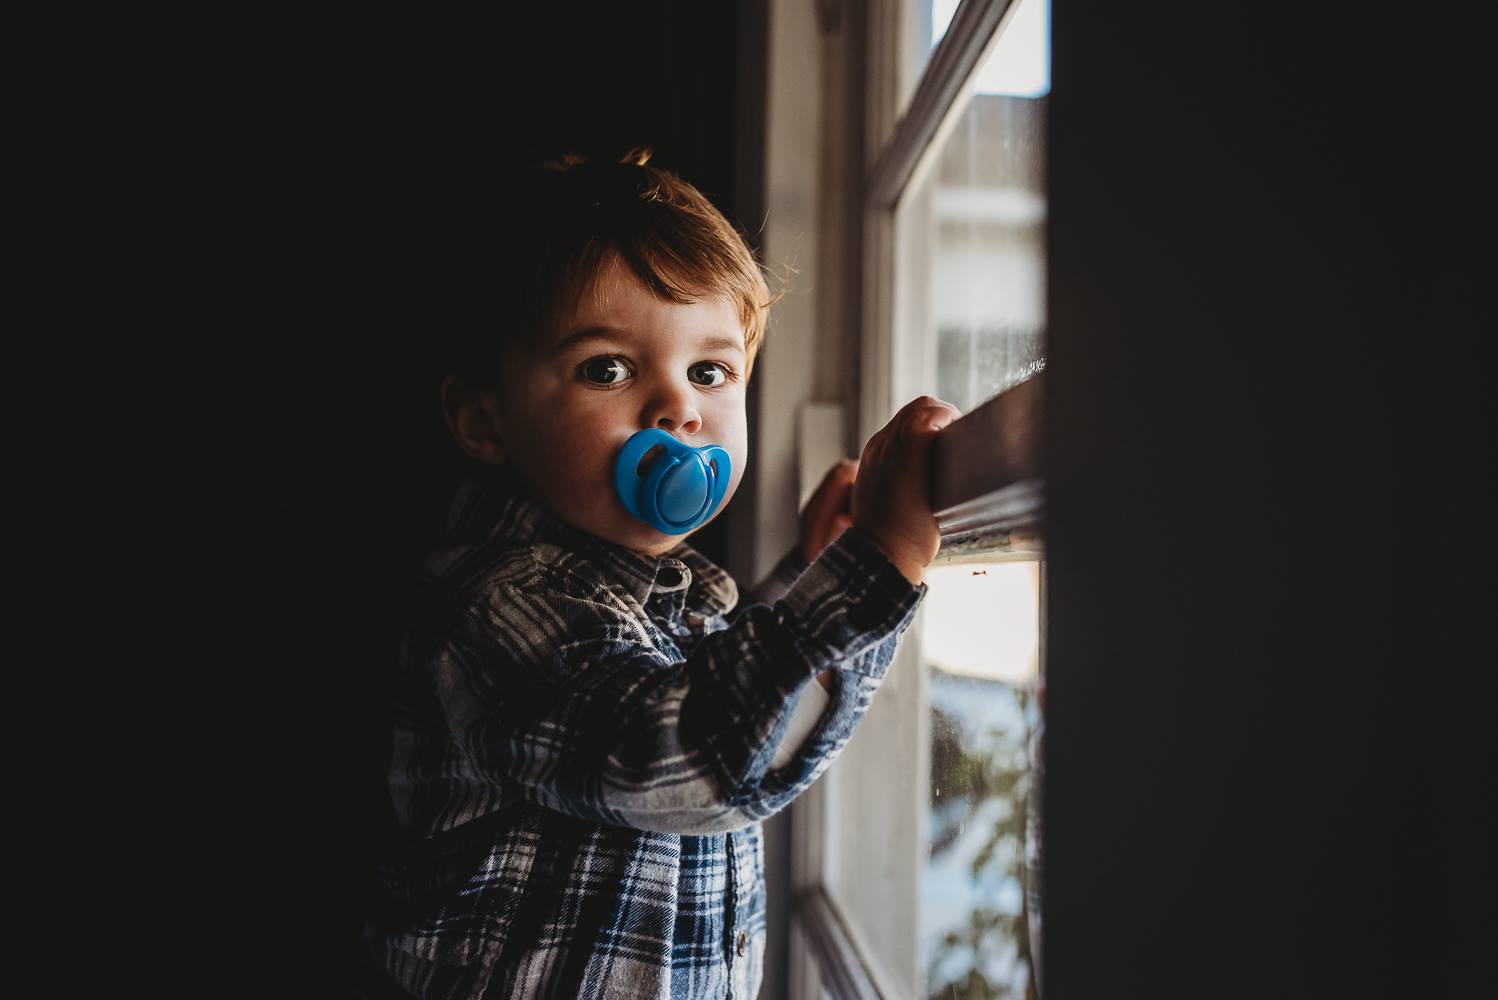
I shoot from a wide variety of angles and perspectives to capture different compositions – up high, down low, at eye level, and I will stand on furniture if I need to. If they’re doing an activity, stand behind them and shoot over their shoulder down at their creations.
I’ll also get shots from varied distances – up close to capture details, and further back to include the environment for context.
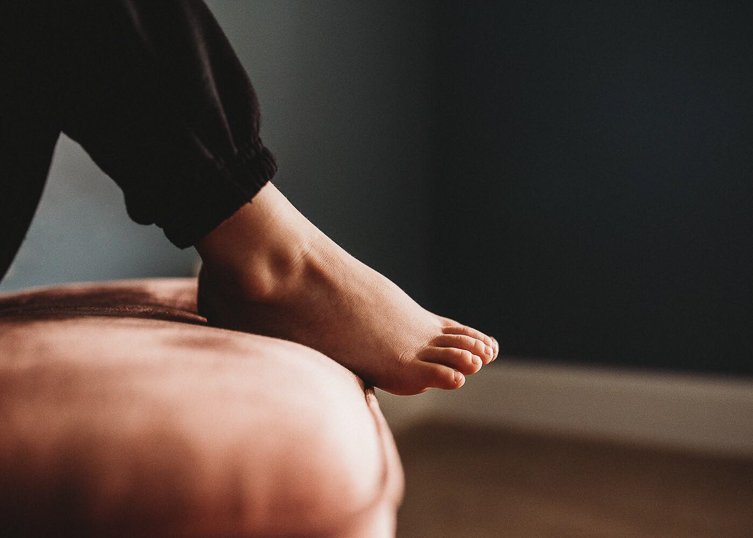
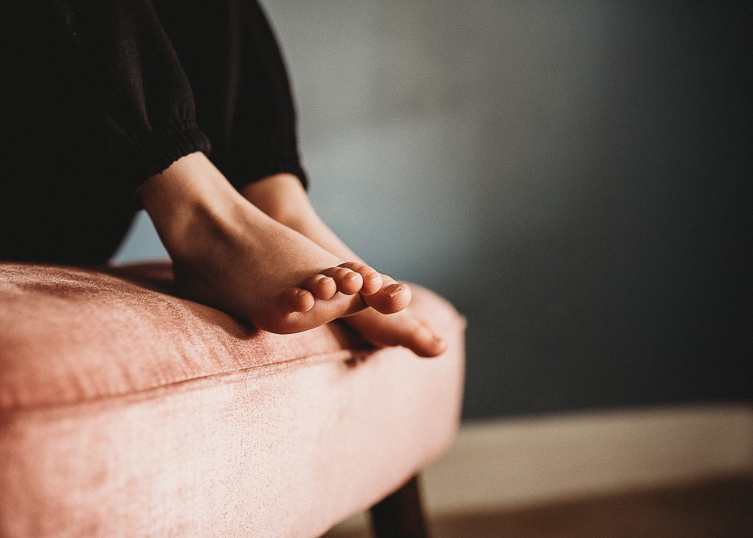
When capturing details, think little fingers, little toes, the tools of their play, and faces scrunched up in concentration.
This is the easiest way to get a decent sized and varied gallery of images from the one set up.
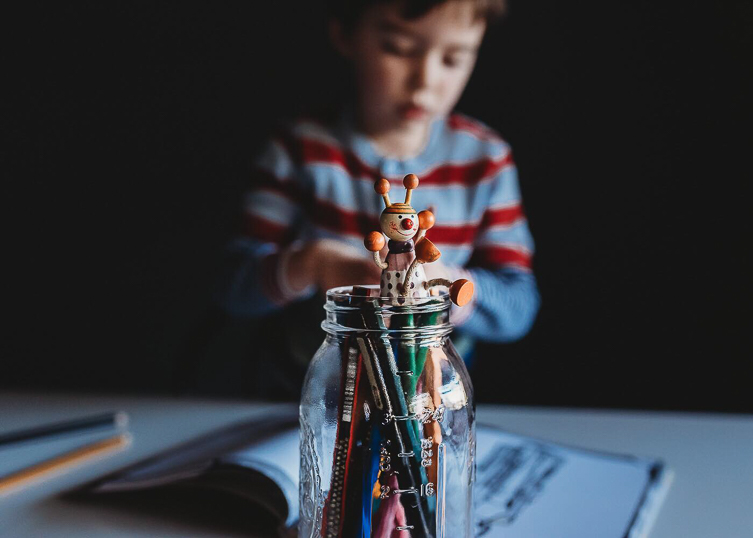
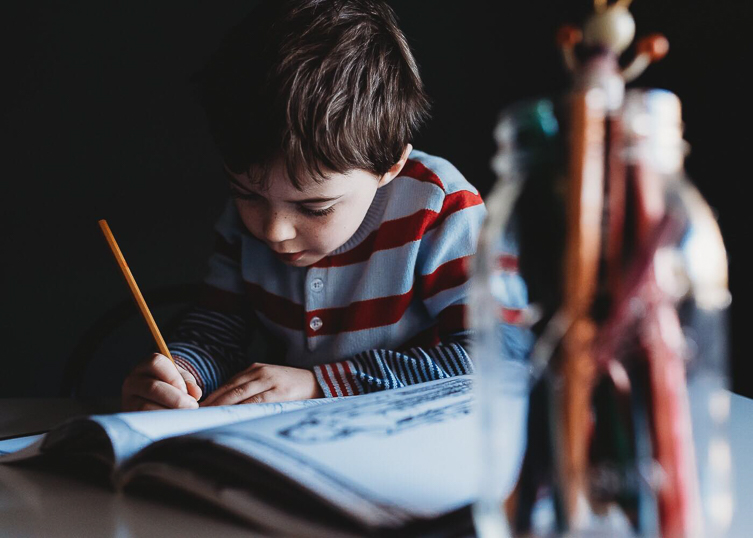
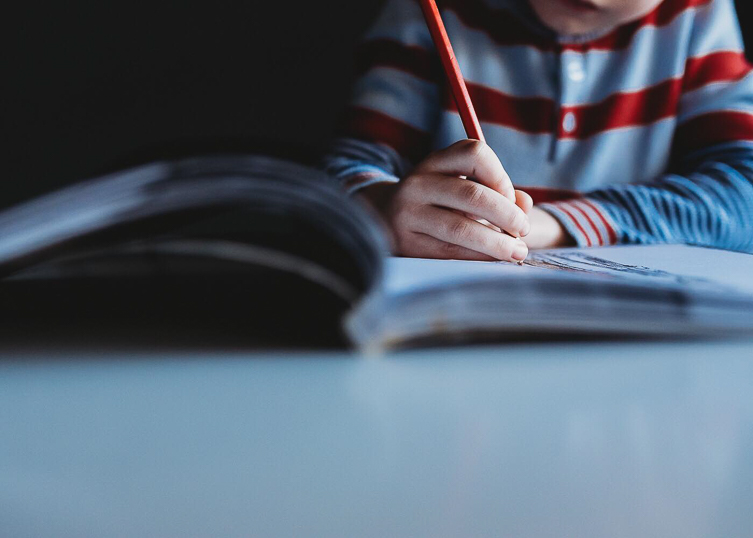
I prefer spontaneous, documentary style shots of my kids because I want to remember them exactly as they are. Their authentic selves is so much more important to me than a beautifully styled shot.
So I rarely dress them in designer clothes or stage my shots. I will however make sure their faces and clothes are clean, and I’ll quickly move any distracting objects I don’t want in my frame. Basically I’ll look for and remove anything that’s going to drive me nuts in post processing.
Don’t forget to be on the look out for moments happening organically – not all my shots are planned, expected or set up.
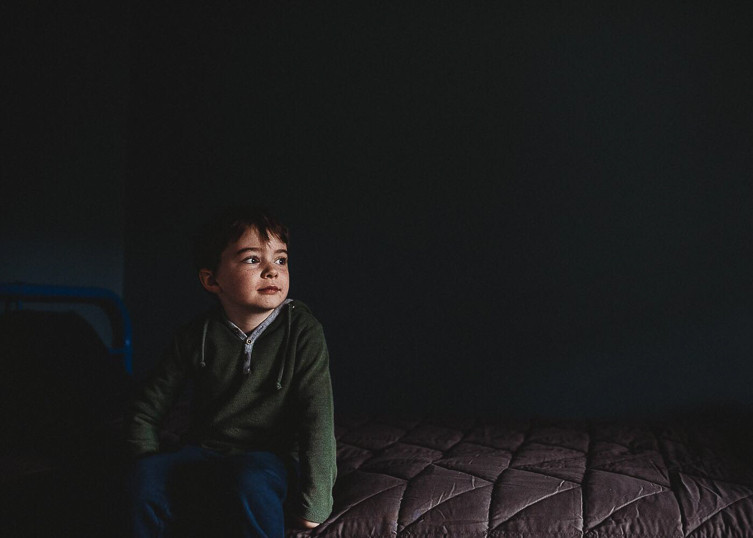
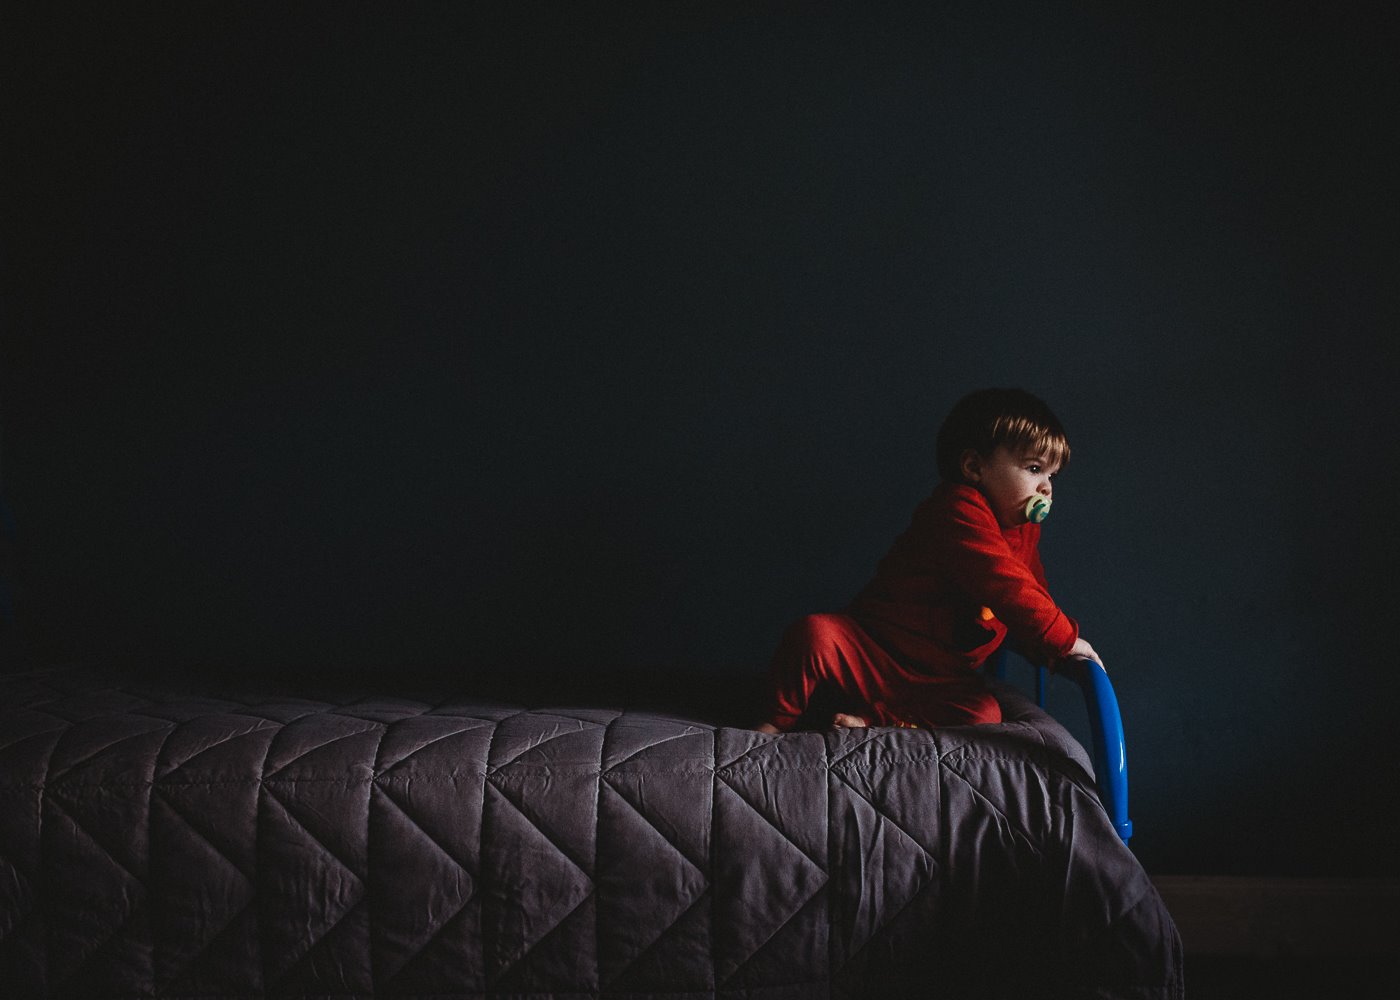
Listen to your little ones. When you get a sense they’ve had enough (especially if they loudly vocalise it!)… stop. Don’t get cranky if they’re not ‘playing out your vision’, even if you’re feeling bummed about it.
As tempting as it is to keep going when you’re intent on creating something special, the last thing you want is for them to start hating the camera. So try to keep it as lighthearted and as fun as possible, and let them call it when they’ve had enough.
Related: Tricks to get Real Smiles from Kids for Photos
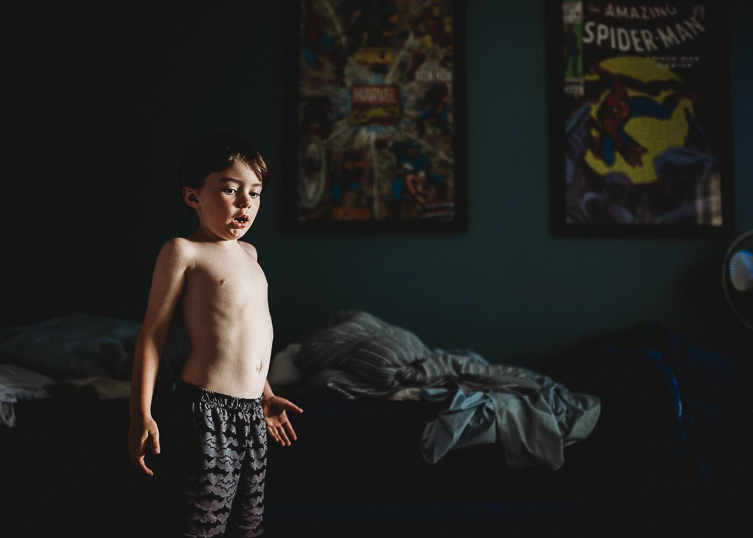
Expose for the highlights and let the shadows do whatever they please to create a dramatic light portrait.
Related: How to Meter for Exposure
CLICK HERE to download our guide to metering modes to help you know which mode will help achieve the best exposure for your shot
You will need to bump up your ISO to make the most of the limited ambient light. I know, I know… but don’t be afraid of it, learn to embrace it!
One of the biggest mistakes you can make when shooting at high ISO is to underexpose slightly, thinking it’s better to fix your exposure in processing later. Wrong! In doing this, you’ll create even more grain.
When shooting in this way, my ISO is often set anywhere between 2000-5000. Personally I don’t mind a little grain in my low light shots as it adds to the nostalgic feel, and it suits B&W really well too.
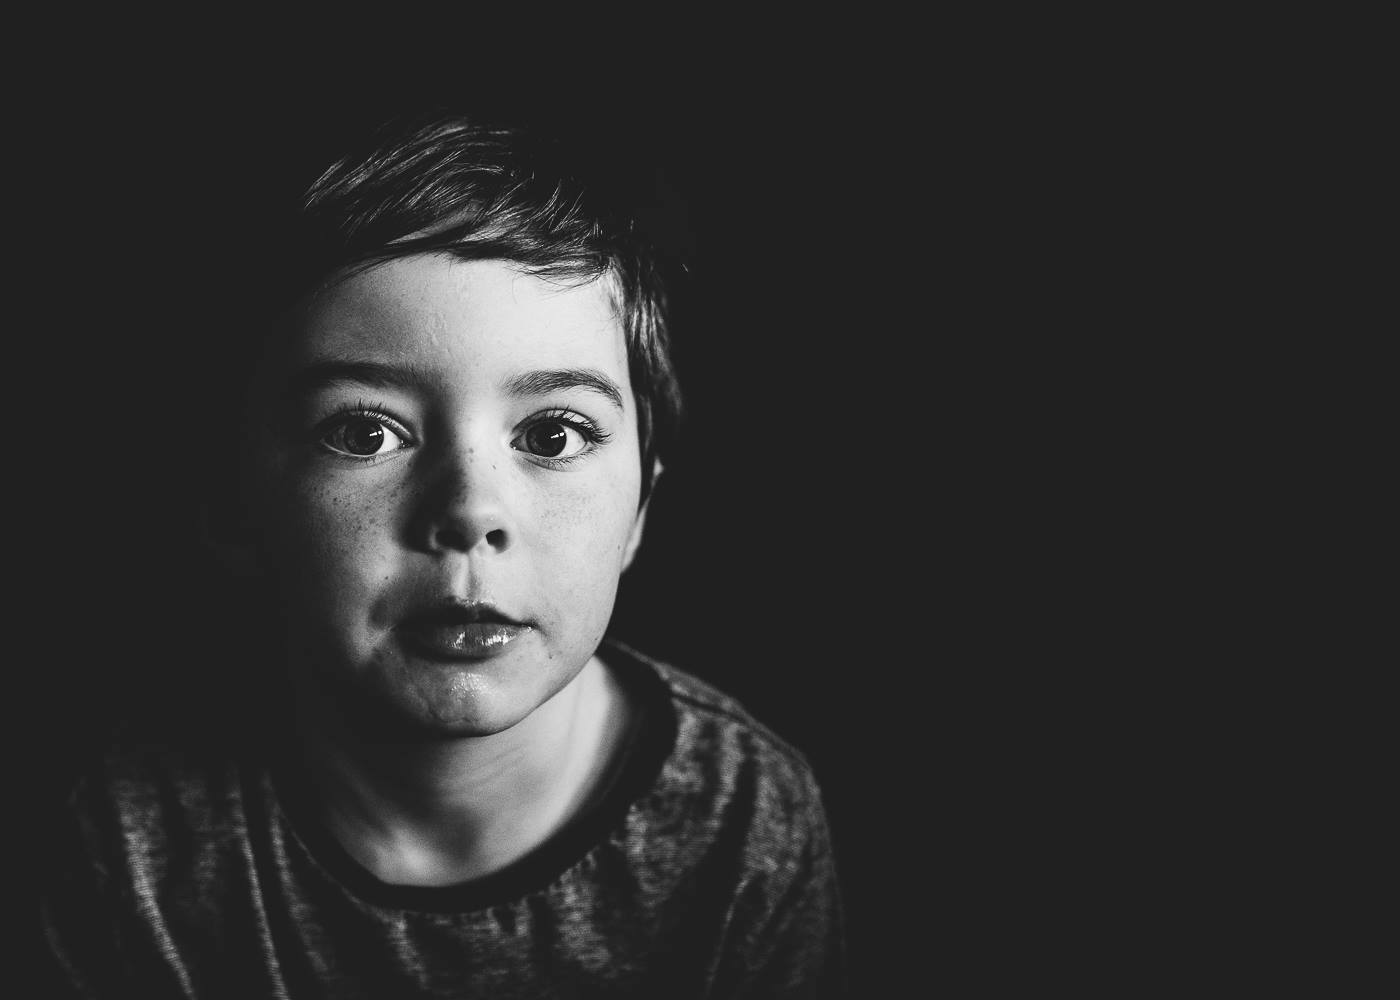
Settings: ISO 5000 | Aperture f/2.2 | Shutter Speed 1/250 – Expose properly at high ISO and the grain will not be detrimental to the shot.
I would rather deal with a little grain than sacrifice my shutter speed, which I never let go below 1/200. That being said, my preference is to have a much faster shutter speed whenever I can (particularly for fast moving subjects, like kids!)
Related: How to Get Better Results at High ISO
Sigma Art 35mm 1.4 (great focal length for indoors)
When indoors, I tend to shoot with my aperture around f/2.8. My kids rarely look at my camera front on. They’ve always got their heads turned to an angle and I hate out of focus eyes. So unless I need the extra light I rarely shoot wider than f/2.8.
I’d love to shoot wider but that seems to be the sweet spot for my Sigma lens.

CLICK LOVE GROW ™ Pty Ltd - COPYRIGHT 2024 ©
Enter your info below to join the challenge!
Want a friendly reminder when I go live?
Pop in your number and I’ll shoot you a text.
* We will send text reminders for our live calls during the challenge! Reply ‘STOP’ to end or ‘HELP’ for help.
We promise not to ever share your details with anyone or send you spam! Check our privacy policy and terms of service.
Grab the Metering Modes Guide
Grab our free metering guide below to know which modes suit which shooting scenario... all in a handy checklist for when you’re out shooting.
Be the first to comment