Create a Photo Display Feature Wall
A Fun Project to Display Your Photos
What do you do with your photos at home? Do you have a photo display proudly on show in most rooms of your home? Or are they tucked away on a hard drive somewhere, forgotten because the mere thought of wading through thousands of photos fills you with dread?
At present I’m sitting somewhere between options A and B. Mostly because (at the time of writing) we haven’t been in our house very long (ahem, ok 2 years).
But I am finally getting organised to set up a photo display feature wall! Its a perfect way to brighten up a room, show off your photos, and its cheap and easy. As a bonus, it can even go up in a rental with no fuss! What better motivation is there to create your own photo display feature wall?!
Read on and learn how to get started, your printing options, and the easiest way to get them on the wall so they’re perfectly spaced!
1. Choose your photos
So number one priority for this photo display was to print some awesome photos of my family. No brainer right?
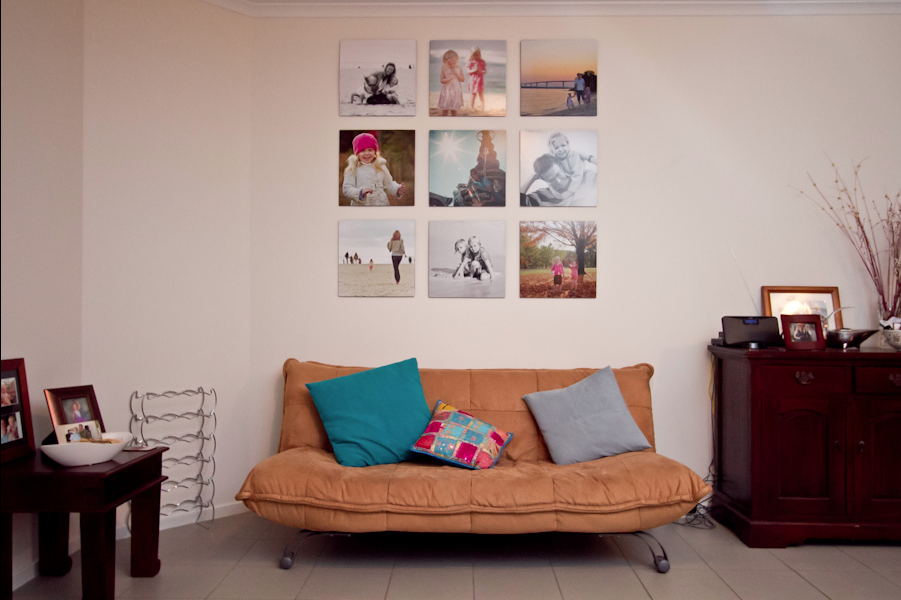
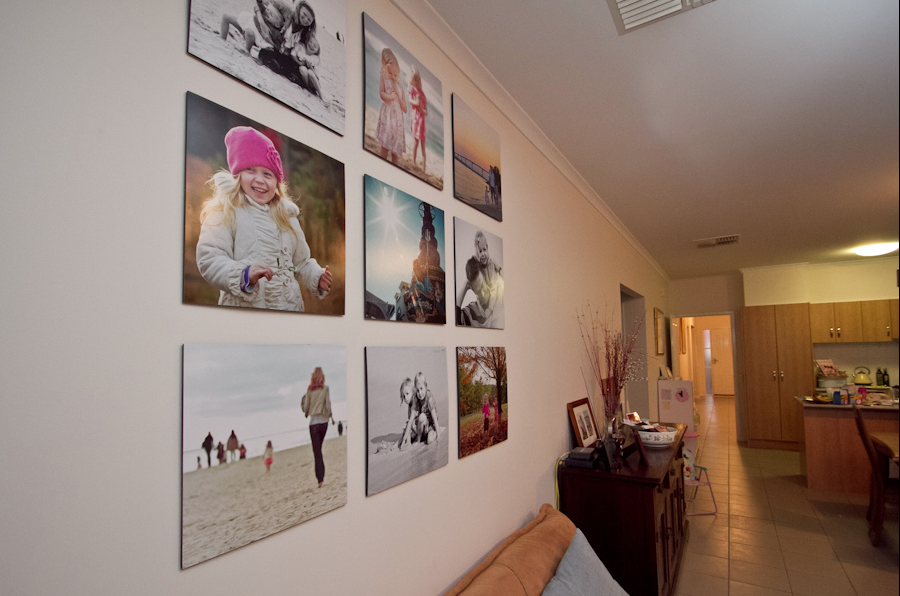
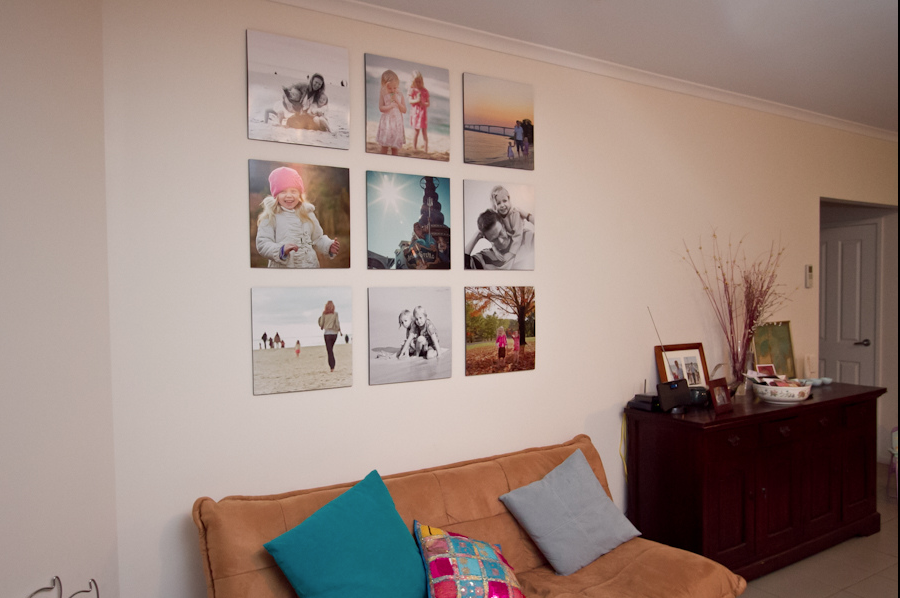
But I was also looking for colour, movement, texture, close ups and wide shots. I wanted the photo wall to be dynamic and interesting, and to tell a story about a recent trip we’d been on.
If I had 9 squares of smiling faces of my kids it’d be cute. But it wouldn’t give me the same sense of who we are and what we love!
2. Arrange your Layout
So I chose a bunch of images that I loved (way more than 9 initially), and cropped them into squares. Not all images will work as a square crop, but as a bonus that did help with the culling process.
Then I copied them into a power point presentation (I know, I’m old school! I experimented with multiple formations of 9 until I found a combination of images and colours that I loved. It actually took a good week of moving them around and swapping shots out. But it’s worth taking your time, because you’ll be looking at this photo display every day.
3. Printing Options
Ok, so you do have a few options for how you print your images.
These pictures are 16 x 16inch prints matted on foam core, which you can order as an option from printing places such as RGB Digital or Digital Works in Australia, or My Pix in the US.
Other options you might want to look into for photo displays are aluminum, metal, acrylic, stone and canvuas.
Alternatively Ikea and sometimes Target have square frames that are reasonably priced and look great!
However my top pic is foam core though because:
- Its very affordable.
- Super lightweight, so you can adhere with sticky hooks or 3M velcro, making it a perfect option for rentals.
- You’re not limited by the available frames when it comes to printing images.
4. How to Assemble Your Photo Display
It’s best to take the time to plan your layout on the wall so that you get it beautifully straight! I have an engineer for a husband, and he was excited to get the spirit level out for this job, so I let him take charge.
I’d say it’s definitely easier as a two person job. However it was a very straightforward process to get 9 images perfectly spaced, and anyone can do this without help.
The first thing you need to decide is how big you want the border between the images to be. As I said my images were 16×16 inches, and we decided we wanted 2 inch borders between each image. So for the purpose of keeping it simple, lets assume you want your own photo display to have a 2 inch border.
- Hang your middle image first;
- Use a ruler and measure out exactly 2 inches) to the side and above each corner of the middle image;
- Then using a lead pencil, make small dots in those positions, ensuring the dots are exactly in line with the corners;
- Hang your next four images in line with these dots – that’s your top middle, bottom middle, left and right middle images;
- Then your last four images will easily line up using the spaces left behind.
So we measured out 2 inches from each side, top and bottom of the middle image and placed a dot in line with each corner of the middle image.
Then when you hang your remaining images, as long as they line up with the dots, your photo display will be perfect!
I’m feeling very inspired to get our new one assembled, so I’ll be sure to post you an update when I do!
Join my new workshop and learn How to Shoot Pro-Quality Photos With Your DSLR… and it’s totally FREE to join! Register here…
JOIN the Free 5 Day Mini Course
5 Days, 5 Videos Lessons = Photos You'll LOVE!
Learn How to Use Your DIGITAL Camera!

Leave a Reply Cancel reply
PRIVACY POLICY & SITE TERMS AND CONDITONS
CLICK LOVE GROW ™ Pty Ltd - COPYRIGHT 2024 ©
x
Join Now
Enter your info below to join the challenge!
Want a friendly reminder when I go live?
Pop in your number and I’ll shoot you a text.
* We will send text reminders for our live calls during the challenge! Reply ‘STOP’ to end or ‘HELP’ for help.
We promise not to ever share your details with anyone or send you spam! Check our privacy policy and terms of service.


Be the first to comment