How to Shoot in Manual Mode
How to Shoot in Manual Mode
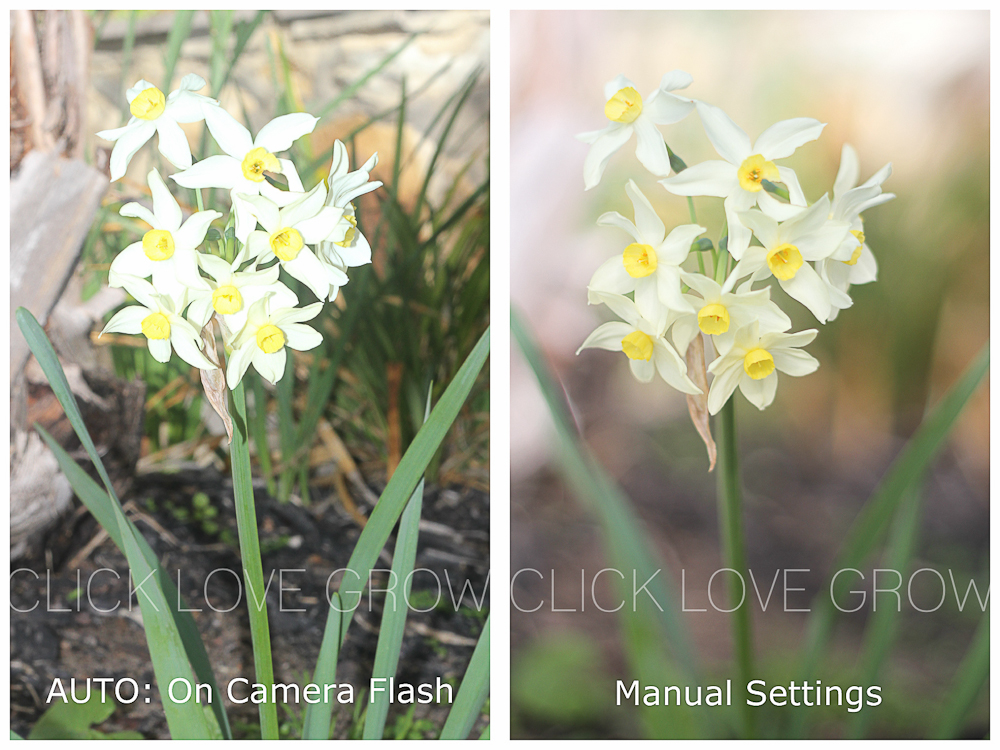
So you’ve bought your first DSLR and it’s not living up to your expectations. You’re taking hundreds of shots… just to fluke a few keepers.
Is this where you’re at?
When I bought my first DSLR, I thought there was something wrong with it. It simply didn’t live up to my expectations and produce the awe inspiring photos I pictured in my mind’s eye.
I’d pinned all my hopes on creating beautiful light filled images with gorgeous blurry backgrounds. But I couldn’t seem to create those effects on purpose. The only way that ever happened was by accident, after taking about 300 shots I might get one or two that matched my vision.
Of course, I know now the camera wasn’t failing me… it was simply the fact I was shooting in auto, and I needed to learn to use it in manual mode!
Why Shoot in Manual Mode?
Taking Control
Regardless of how expensive or fancy your camera is, when used in auto, it’s not going to take any better shots than a decent compact camera.
When you shoot in auto mode, you let your camera make decisions about exposure and the overall look. When the light is good, without too many variations between light and shadow, your camera will do an ok job. The rest of the time will be a hit and miss affair.
This defeats the purpose of spending good money on a DSLR.
But when you shoot in manual mode, you take complete control of three key things – exposure, creative effect and focus.
Exposure
This is quite simply how light or dark your photo is. Above all, the ability to control how much light you capture to ensure your photo is exposed the way you want it to be is the number one reason for switching out of auto mode.
Creative Effect
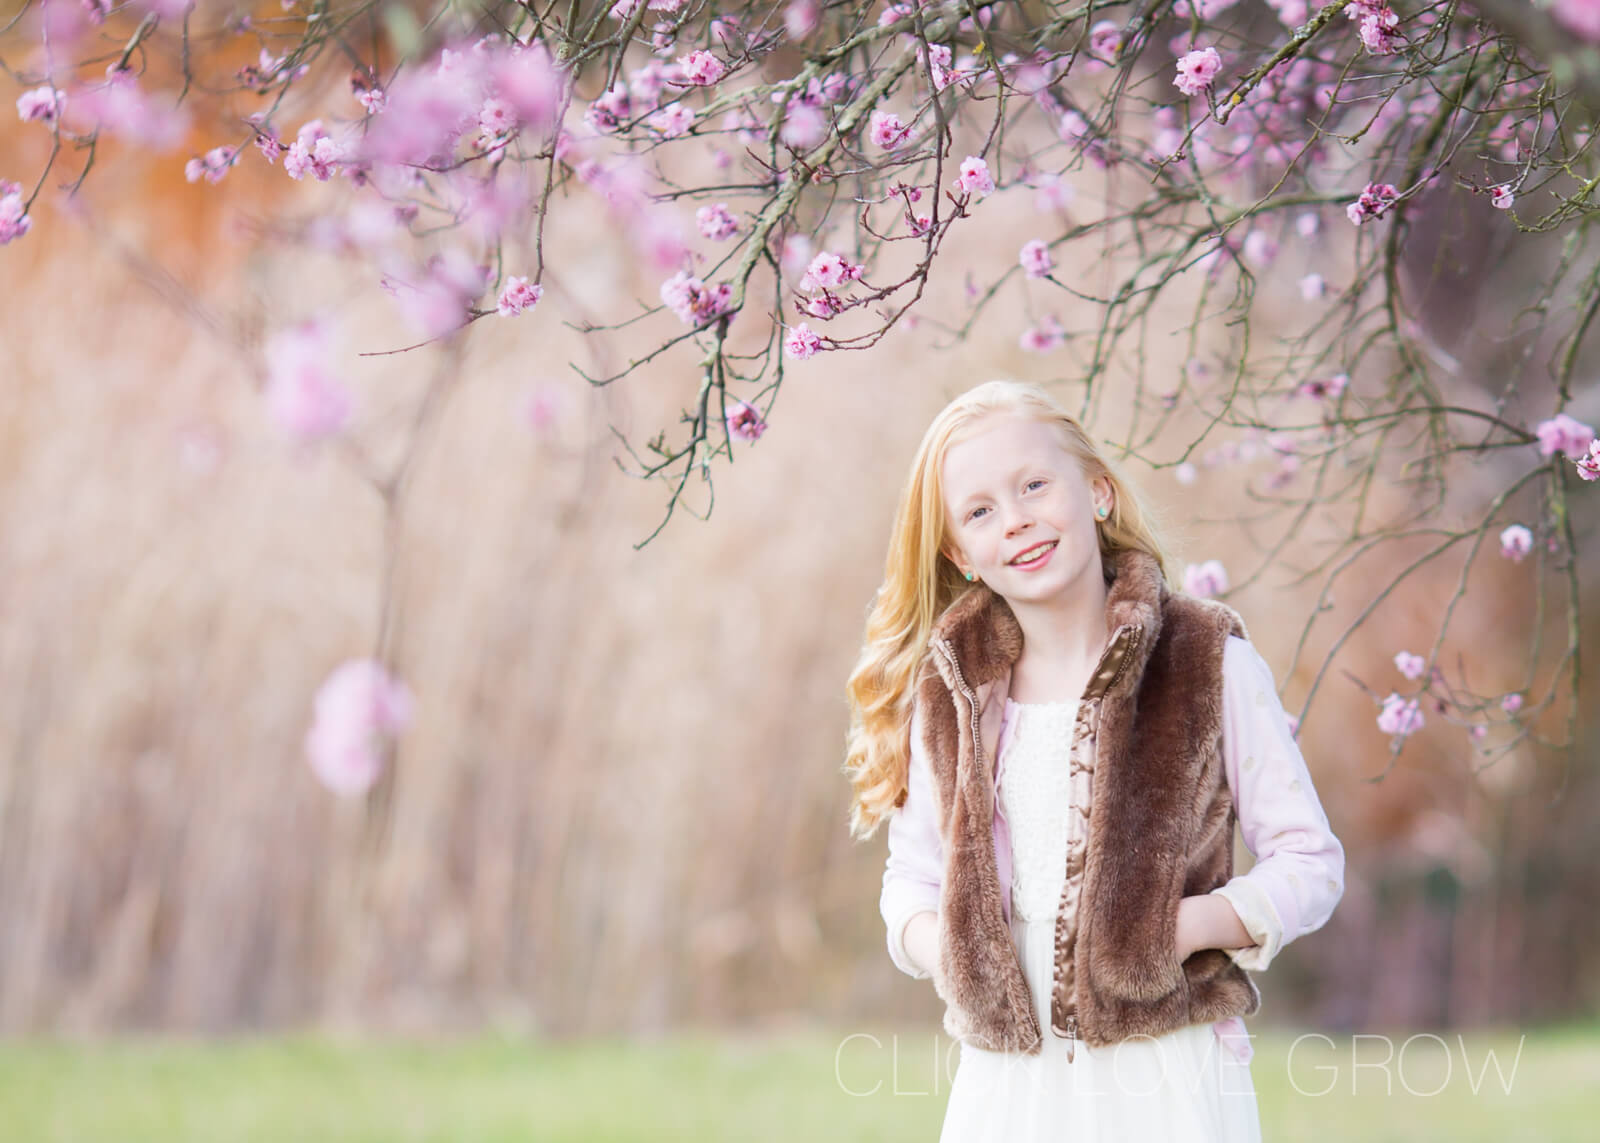
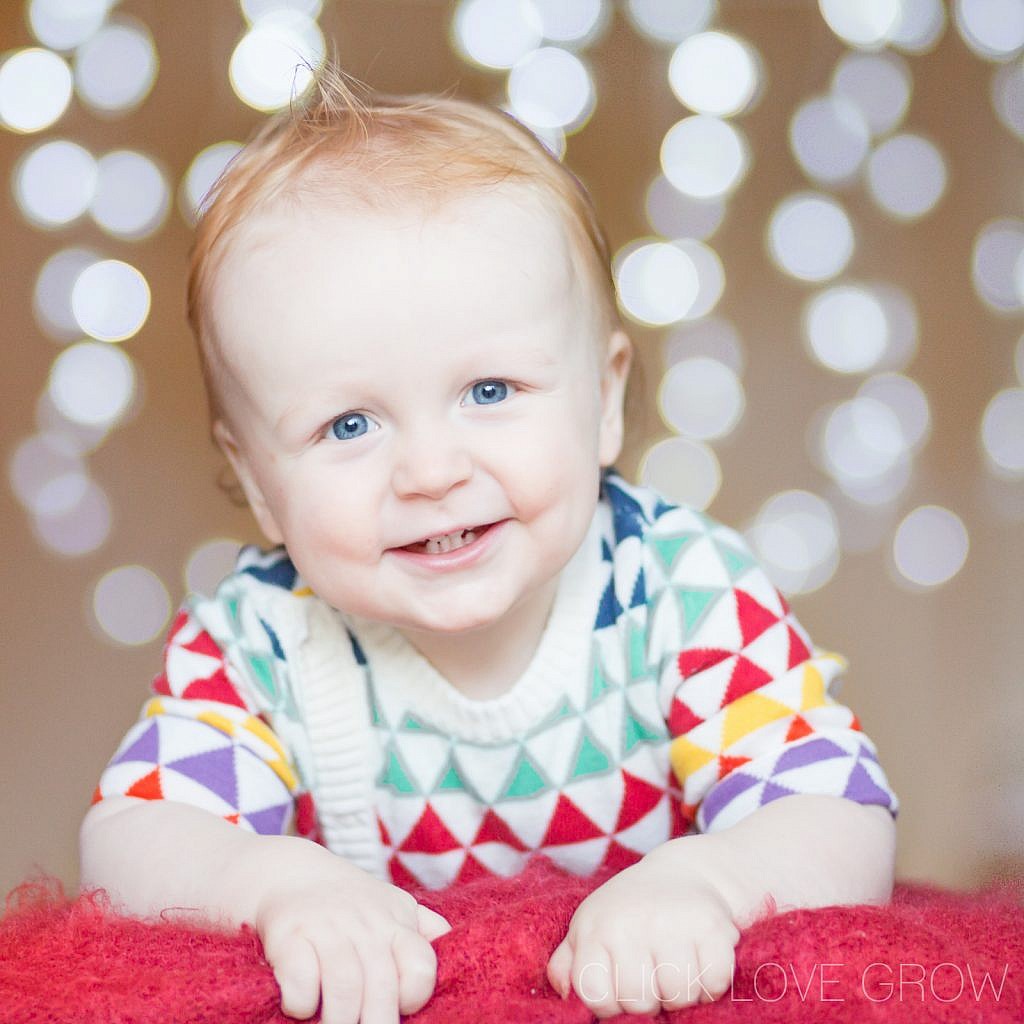
The second most important reason for switching to manual mode is the ability to control the creative look. For example, you might want to eliminate unwanted motion blur or create a those gorgeous blurry backgrounds we love in professional photos, like this one below.
Focus
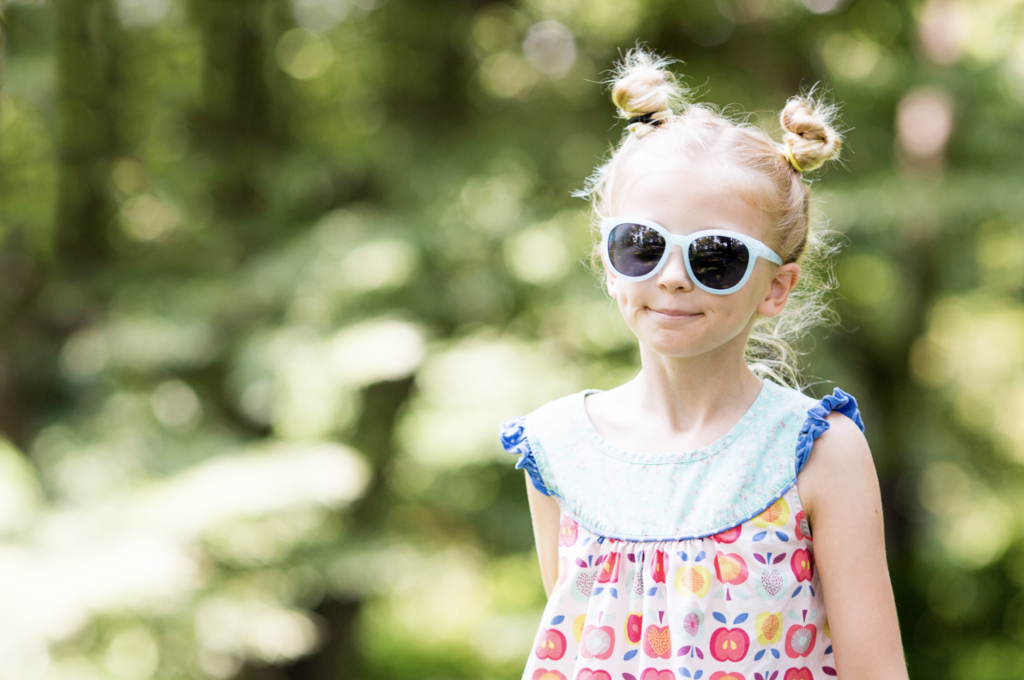
When we select where focus falls, our image is much stronger compositionally. Selecting focus like the image below draws attention immediately to our subject and creates beautiful separation. However we can’t control our focal point in auto mode.
Related: How to Focus Accurately

So how do we shoot in manual mode? By understanding a concept called ‘the exposure triangle’.
Watch this video, where I share with you an introduction to the exposure triangle, in simple language… guaranteed sugar and jargon free! Use my suggestions in the video to start experimenting, then keep reading and we’ll dig a little deeper!
The Exposure Triangle
There are three elements (or settings) that allow light to hit the camera’s sensor:
- Shutter Speed
- Aperture
- ISO
Collectively, they’re referred to as “the exposure triangle”.
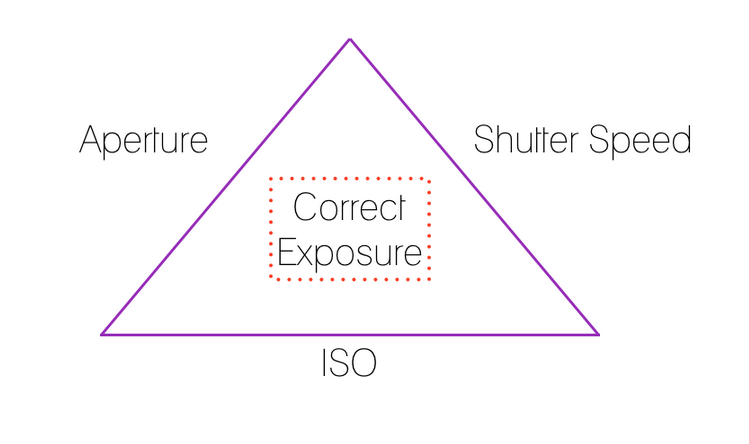 The exposure triangle offers a visual way to remember that a correct exposure will require a balance of all three elements.
Each element:
- Captures light in a different way, and;
- Has a different creative effect on the photo.
When we shoot in manual mode, we choose the setting of each of those three elements, to create a balance that results in our desired exposure and our artistic vision.
So we need to examine the exposure triangle and gain an understanding of how each element captures light, and what effect each one has on the photo. Only then can we make decisions on our settings for the purpose of avoiding problems such as images that are too dark, too light, or out of focus, etc.
Elements of The Exposure Triangle
Shutter Speed
What is it? Shutter speed is the length of time the shutter remains open after you press the shutter release. The longer it remains open, the more light gets to the sensor.
How is it measured? Shutter speed is measured in fractions of a second. Eg. 1/100 = one hundredth of one second; 1/10 = one tenth of one second. A shutter speed of 1/100 is faster than a shutter speed of 1/10.
How does it affect the photo? Shutter speed captures or freezes motion. The longer the shutter is open, the more motion it captures (resulting in blur). A faster shutter speed will freeze motion.
Related: How to Take Perfect Action Shots

Aperture
What is it? Aperture is the size of the opening of the lens when you press the shutter release. The bigger it opens, the more light it lets in. The smaller the opening, the less light.
How is it measured? Aperture is measured in f-stops, a value that is based on the diameter of the lens opening. Depending on the lens, f stops can range from f/1.2 to f/22.
How does it affect the photo? Your aperture lets in light. f/1.2 has a very large opening, and lets in lots of light. f/22 has a very small opening and lets in less light.
Aperture also controls the depth of field, which is how much is in focus in front of and behind your focus point. A wide aperture, say f/2.8, will have much less area in focus than a small aperture of say f/16. A low numbered aperture (eg f/2.8) is referred to as a wide or large aperture. A high numbered aperture (eg f/16) is referred to as a small aperture.
To put that into a real world situation, you would use wide apertures if you wanted a sliver of focus on your subject and a nicely blurred background, such as a portrait.
Related: How to Get Blurry Backgrounds with a Kit Lens
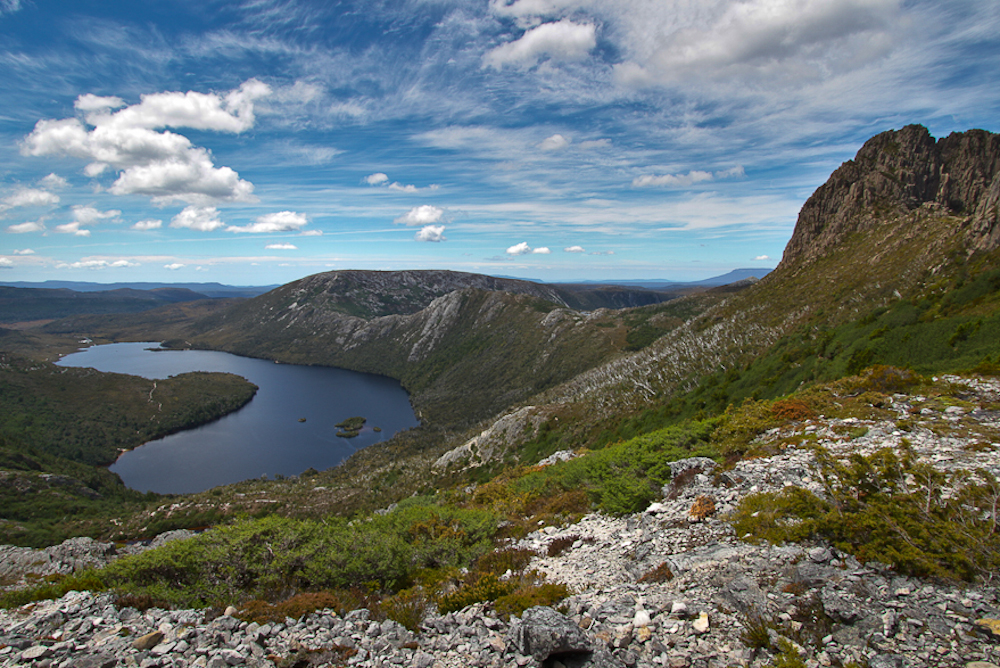
You would use a small aperture eg. f/22 if you want most of the scene in focus, such as a landscape photo.
ISO
What is it? ISO is a measure of the sensor’s sensitivity to light. The higher the ISO value we set on our camera when we take a shot, the more the sensor can make of the light.
How is it measured? Most cameras start at ISO 100, increasing incrementally:
100 125 160 200 250 320 400 500 640 800 and so on
Each increment increases the sensitivity of the sensor to the light by one third more than the previous setting. This means that your sensor will be twice as sensitive to the light at ISO 200 as it is at ISO 100.
How does it affect the photo? As you push your ISO higher and higher, more and more grain becomes evident in the shot, and at very high ISO settings you might also begin to notice a loss of sharpness. BUT pushing your ISO lets you capture images in lower light situations!
Related: Better Results at High ISO
So Now What?
So now you need to choose a setting for each of the three elements that together will create an exposure and give you the creative effect you’re envisioning. How do you do that?
By choosing a setting for each of the three elements that get your light meter to zero.
The Light Meter
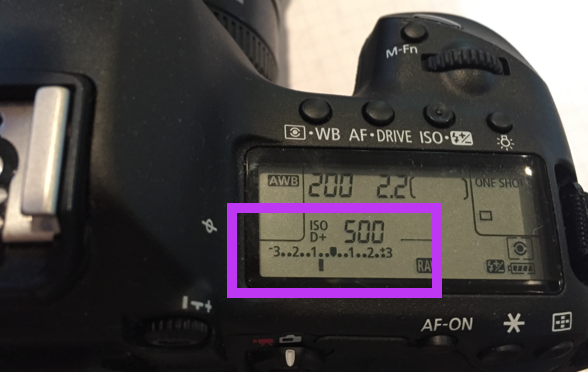
Your camera has a light meter, otherwise known as an EV Meter, and it is an indicator of how much light is hitting the camera’s sensor (see image).
When you hold your camera up to the scene, and half depress the shutter button, the needle will settle somewhere on the meter to indicate how much light is hitting the sensor. Where it settles indicates whether your photo will be over exposed, under exposed, or perfectly exposed if you took a photo at that moment.
- If the light meter needle is centred (sometimes shown as zero), it’s an indicator of perfect exposure.
- If it’s right of centre, it’s an indicator of over exposure (too bright).
- If it’s left of centre, it’s an indicator of under exposure (too dark).
It’s important to note that if the ambient light or tones are overly bright or dark, the camera can be tricked. Also, the camera’s idea of perfect exposure might not match your vision. However this is a great starting point for choosing your settings for that first test shot, and they might just require a little tweak.
Related: What is Metering?
Join my new workshop and learn How to Shoot Pro-Quality Photos With Your DSLR… and it’s totally FREE to join! Register here…

PRIVACY POLICY & SITE TERMS AND CONDITONS
CLICK LOVE GROW ™ Pty Ltd - COPYRIGHT 2024 ©
x
Join Now
Enter your info below to join the challenge!
Want a friendly reminder when I go live?
Pop in your number and I’ll shoot you a text.
* We will send text reminders for our live calls during the challenge! Reply ‘STOP’ to end or ‘HELP’ for help.
We promise not to ever share your details with anyone or send you spam! Check our privacy policy and terms of service.
I am very interested in the course. How much is the course?
Hi Annie,
Thanks for your message! We’d love to have you join us on our next round!
You can find all the details here: https://clicklovegrow.com/enthusiast-online-photography-course/