10 Still Life Photo Ideas
This week’s highlights reel is a collection of our ten fave images taken from the Grad’s Group challenge album, the theme of which was Still Life – Hard Light. We loved the creative ideas that came out of this theme, particularly because they show us that all it takes is a hard light source and an everyday object to create art!
What is Still Life Photography?
It’s an image depicting inanimate subject matter, such as everyday objects, food and plants. What we love about still life photography is the nature of the subject leaves you free to practice for as long as it takes to create a powerful composition. It’s also great practice for new photographers as the principles of light and composition that apply to still life photography, also applies to all other subject matter and genres.
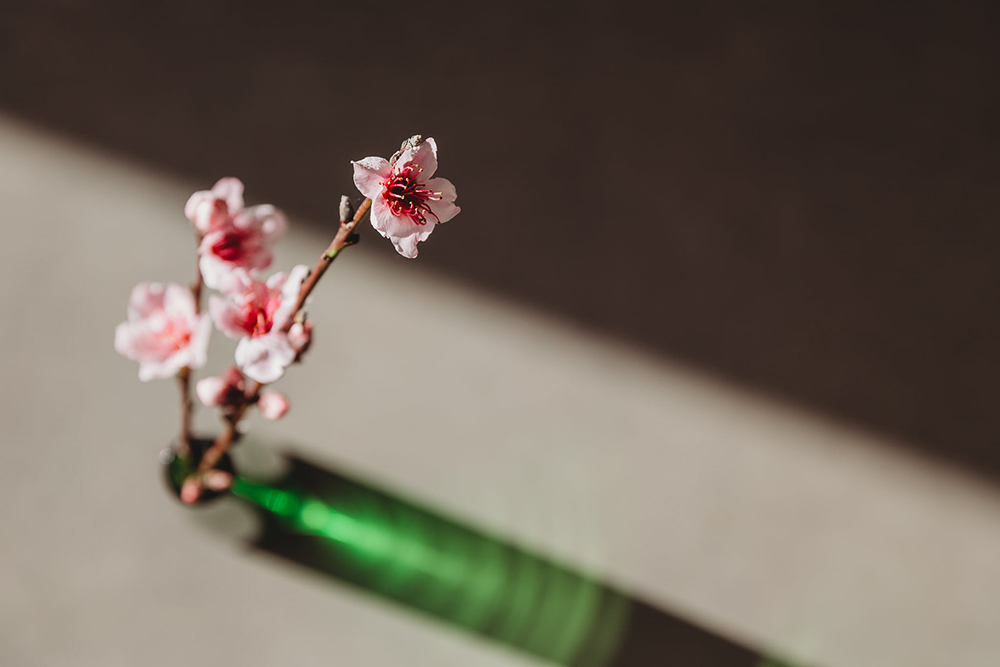
Anna Menendez, Graduate
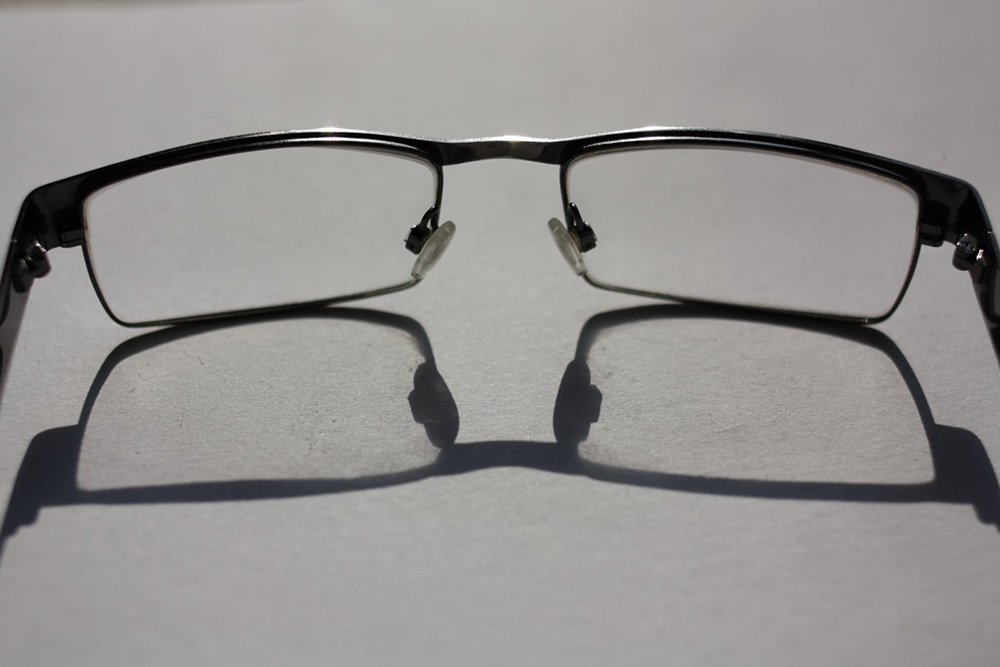
Anna Rickard, Graduate
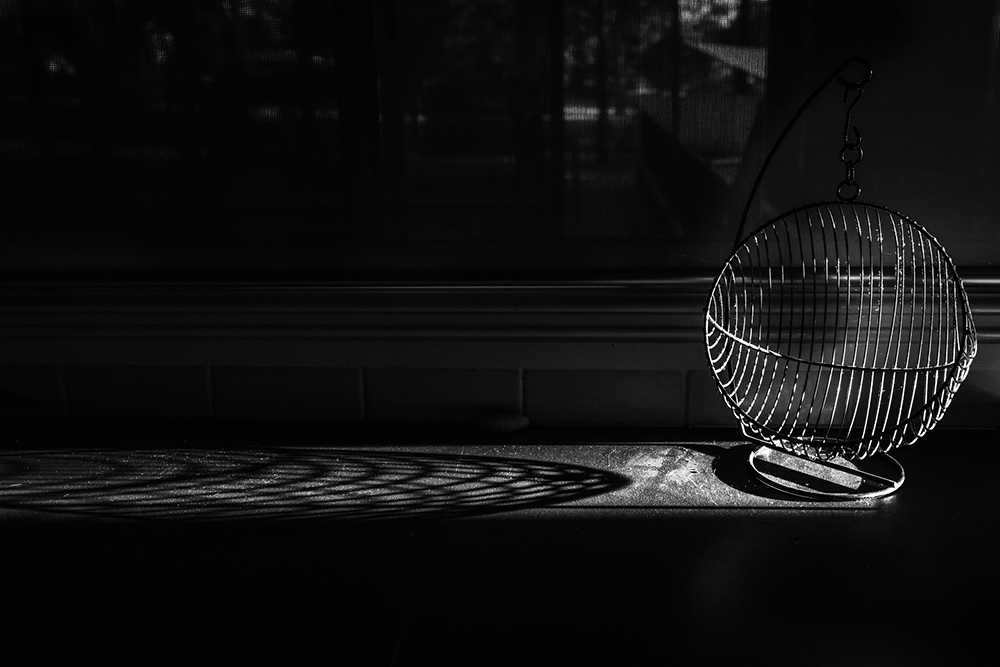
Kirsty Nealon, Advanced Graduate
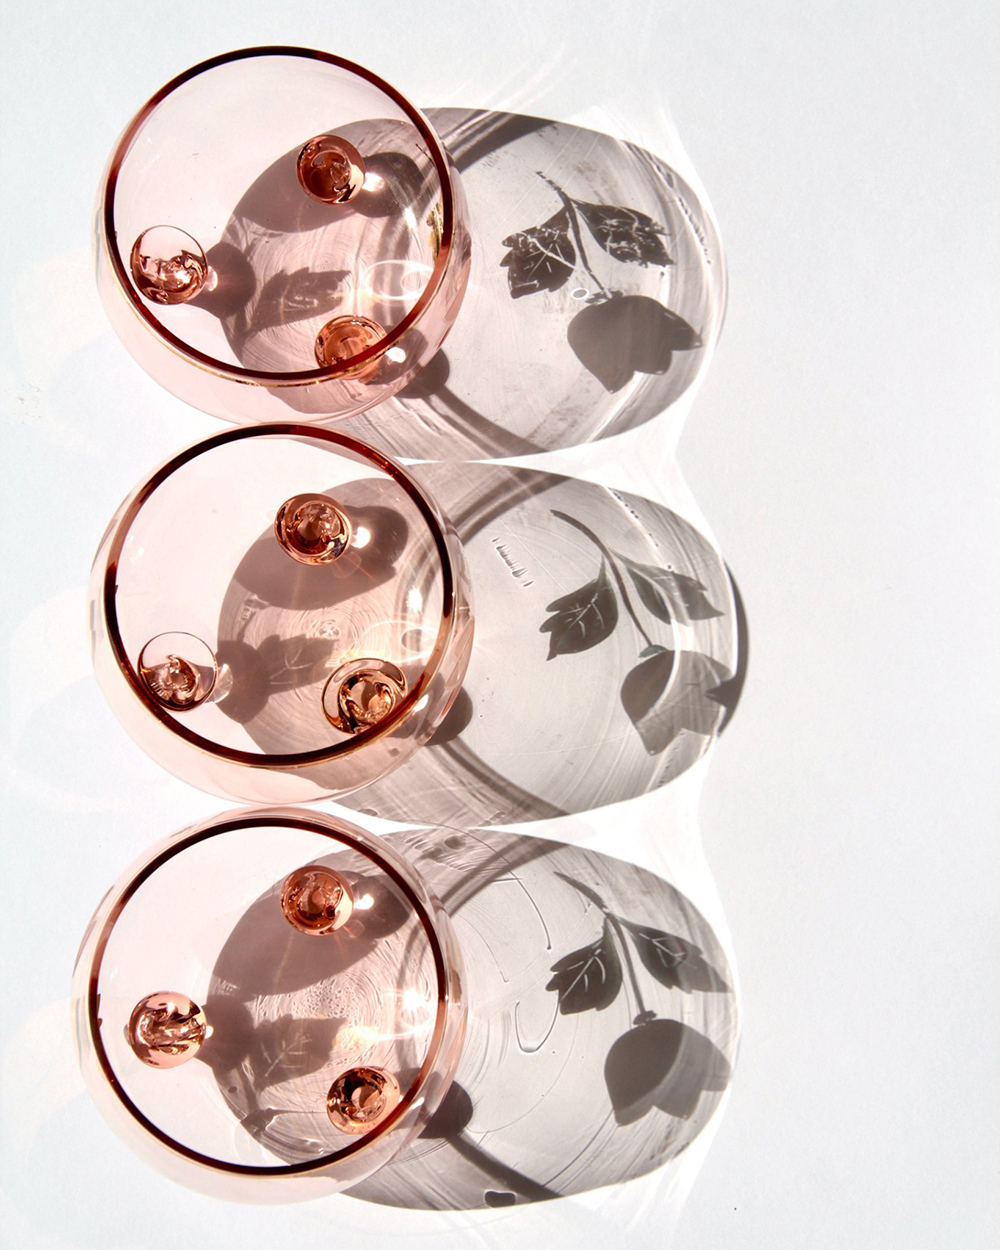
Jodi Petty, Graduate
Light
Soft, directional light is most commonly used in still life photography, however there are no rules so play to your heart’s content.
Hard Light
For this challenge we added a second layer of interest by asking our grads to use only hard light, which they did variously through the use of both natural light and artificial light sources in the form of regular light bulbs.
This shot was lit simply through the overhead light bulb, creating sharp shadows underneath the cutlery. Alternatively you can set up indoors and grab a flash light or small lamp as your light source. Position your object then move the light around taking note of the shadows it creates. Make adjustments until you see a shadow pattern that is both pleasing to the eye, and well placed for a strong frame.

Janet Widner, Advanced Graduate
You can use natural light indoors if it’s hard light. Look for strong patterns on the floor and place an object in the pocket of light. You could also try framing out the object itself and capturing only the shadow it creates.
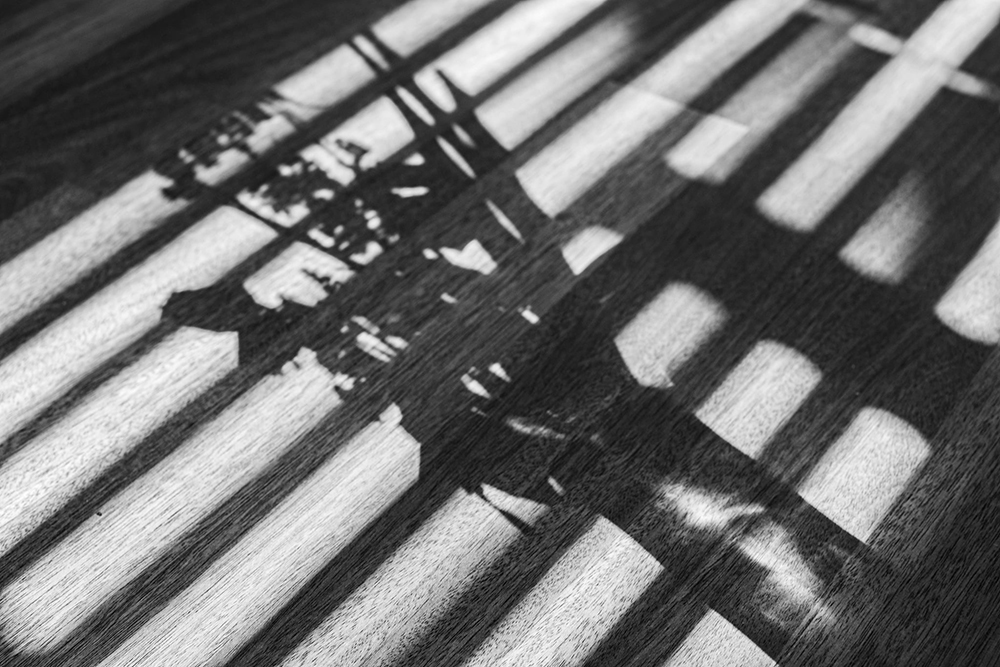
Laura Everitt, Advanced Graduate
Or head outdoors and set up in full sun. For this shot the photographer positioned herself opposite the light source, so the object is effectively backlit.
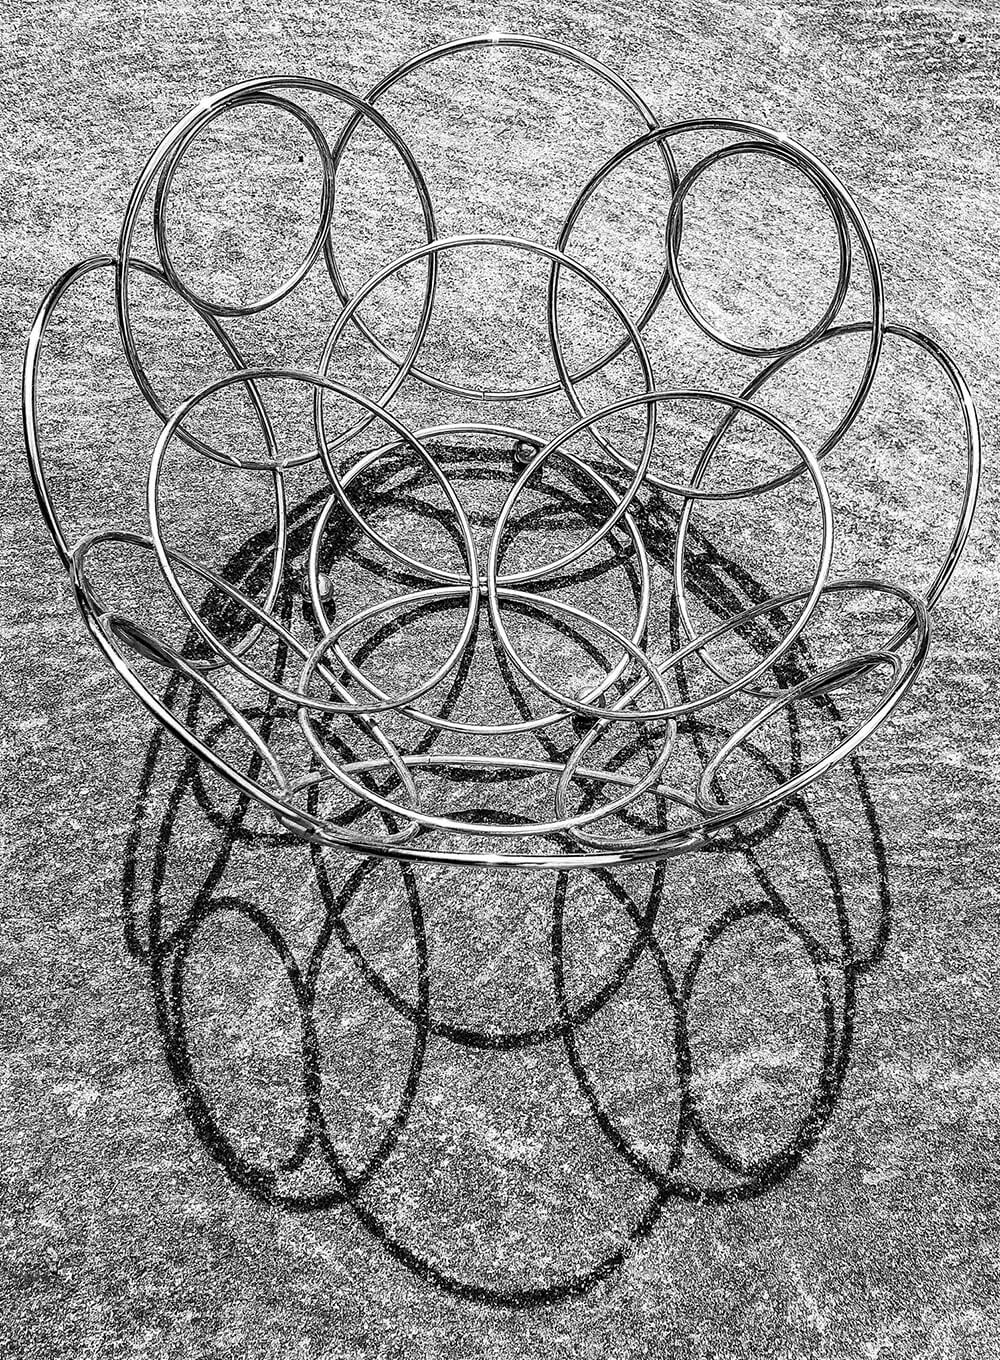
Heather Lingard, Graduate
Coloured Glass
This shot was created by placing a coloured glass in natural light, and the transparent nature of the glass creates a vibrant reflection on the opposite side of the light source.
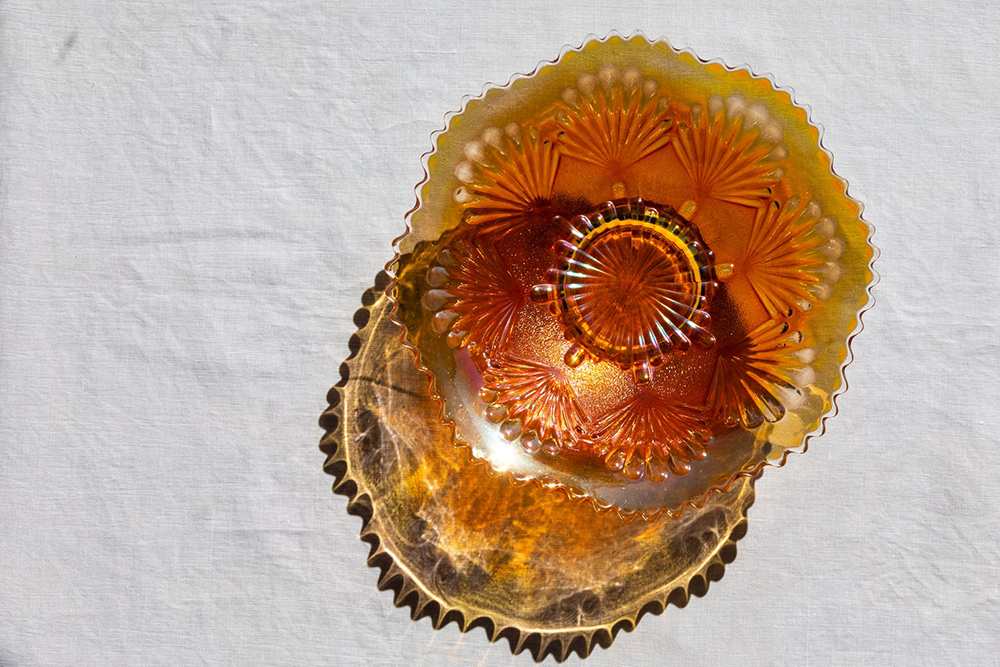
Dawn Balcombe, Advanced Graduate
Don’t limit yourself to coloured glass. This shot of a clear textured glass created an eye catching pattern in the reflection.
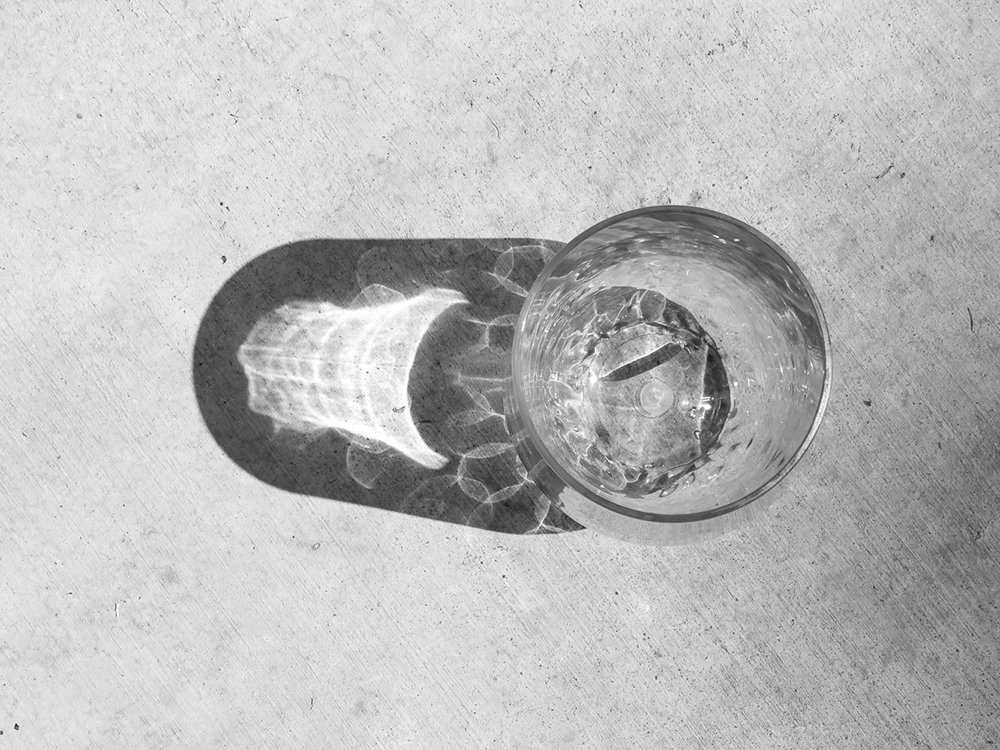
Patricia Adams Brooks, Graduate
CLG Tip
The narrower your aperture, the sharper the shadows will be. For a shot like this, focus on the object and with an aperture of around f/4 you should get a nice sharply defined shadow.
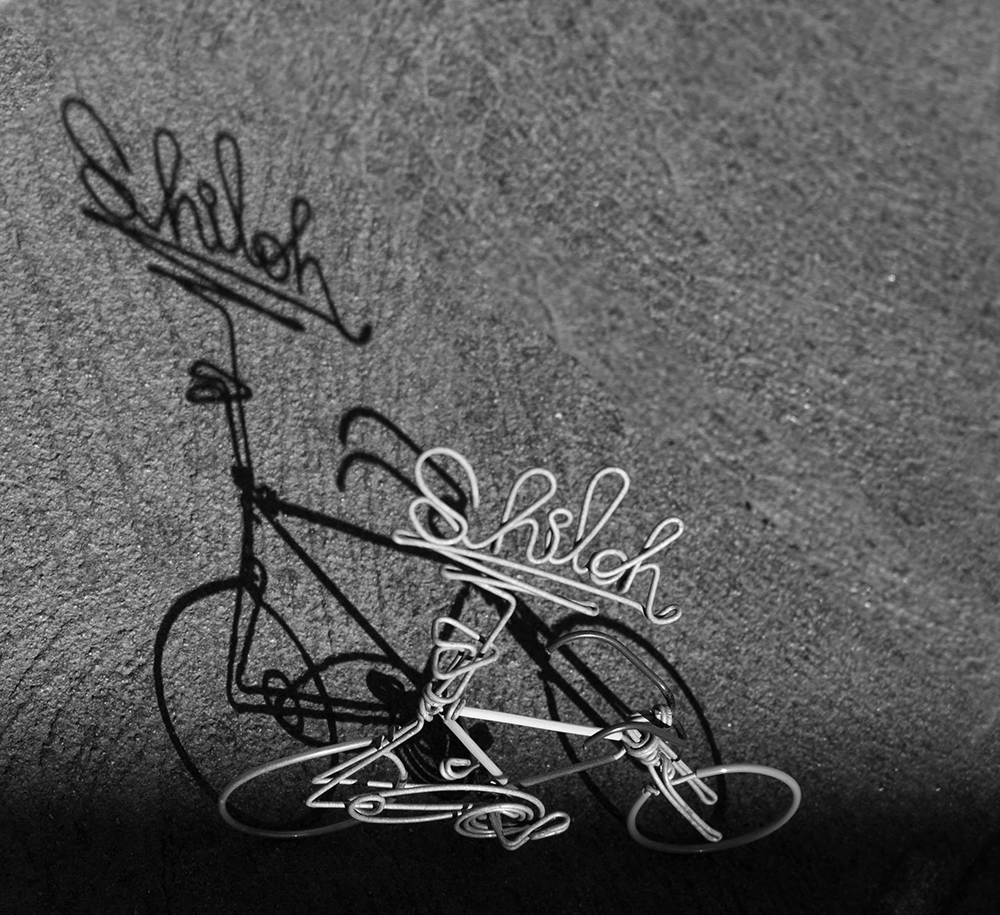
Neha Ting, Graduate
We hope you enjoyed this collection and our tips and it inspires you to try it yourself!
Join my new workshop and learn How to Shoot Pro-Quality Photos With Your DSLR… and it’s totally FREE to join! Register here…


Be the first to comment