Grab the Metering Modes Guide
Grab our free metering guide below to know which modes suit which shooting scenario... all in a handy checklist for when you’re out shooting.
Hard light is much maligned in portrait photography for various reasons. But what do you do when you can’t avoid it? Embrace it…in the form of shadow photography. It’s a thing, and it’s addictive!
Those of us who love taking photos of people tend to think of hard light as the enemy. We steer away from it because it’s challenging to render in a way that flatters our subject — and tends to distract with its harsh lines.
However, avoiding it limits us and frustrates us in equal measure. Although challenging, hard light can give our photography drama and interest in the form of striking shadows and patterns. When used mindfully and with purpose in our compositions, hard light can be incredibly creative!
Our talented Click Love Grow graduates have been experimenting with shadow photography. Such is their beauty, the light could be considered the subject. So we asked Merissa Wakefield, Megan O’Donnell and Kailey Nagymarosi to share their tips for shadow photography.
When shooting in the undiffused midday sun, try and have the light source behind you to ensure your subject is evenly lit. Also, avoid the dreaded squinty eye photo by encouraging them to look away from the sun.
Related: How to Take Golden Hour Beach Photos


Merissa Wakefield
Related: How to Take Beach Photos in Harsh Light
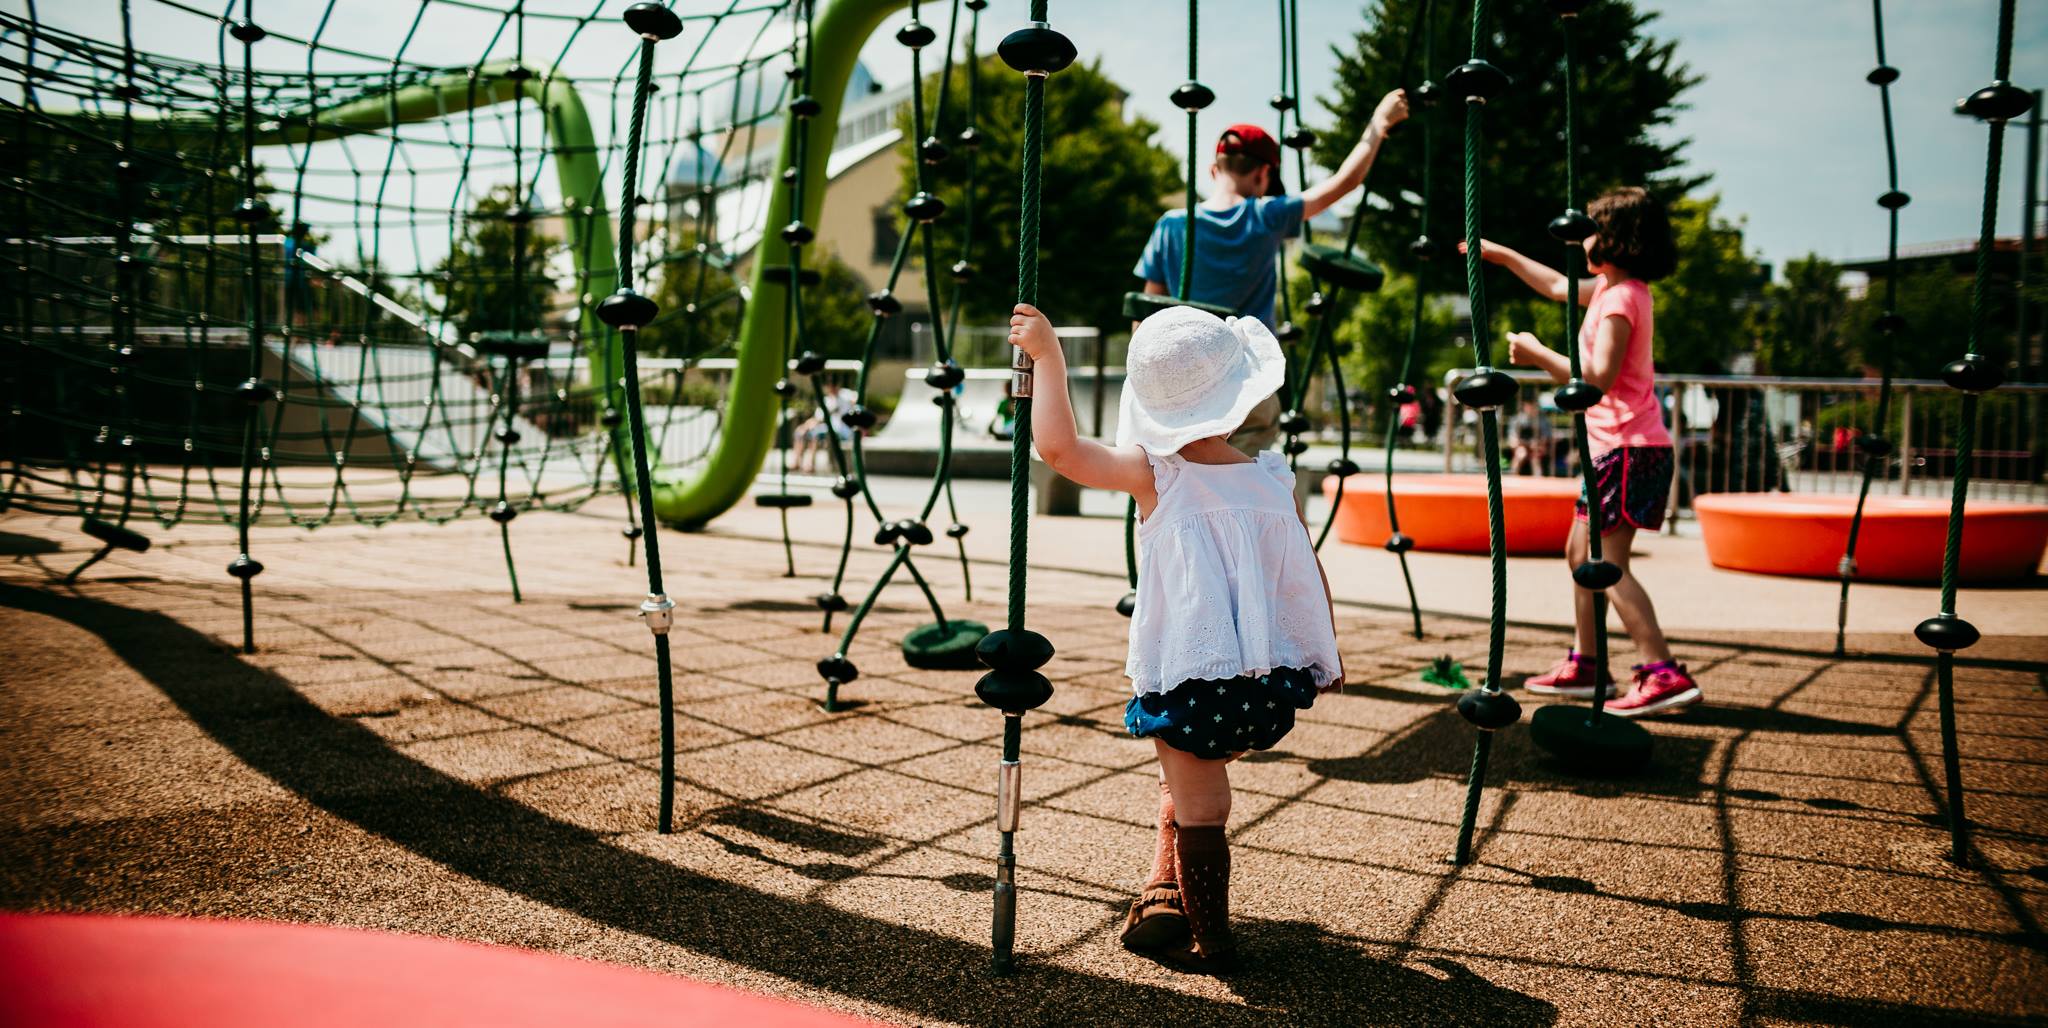
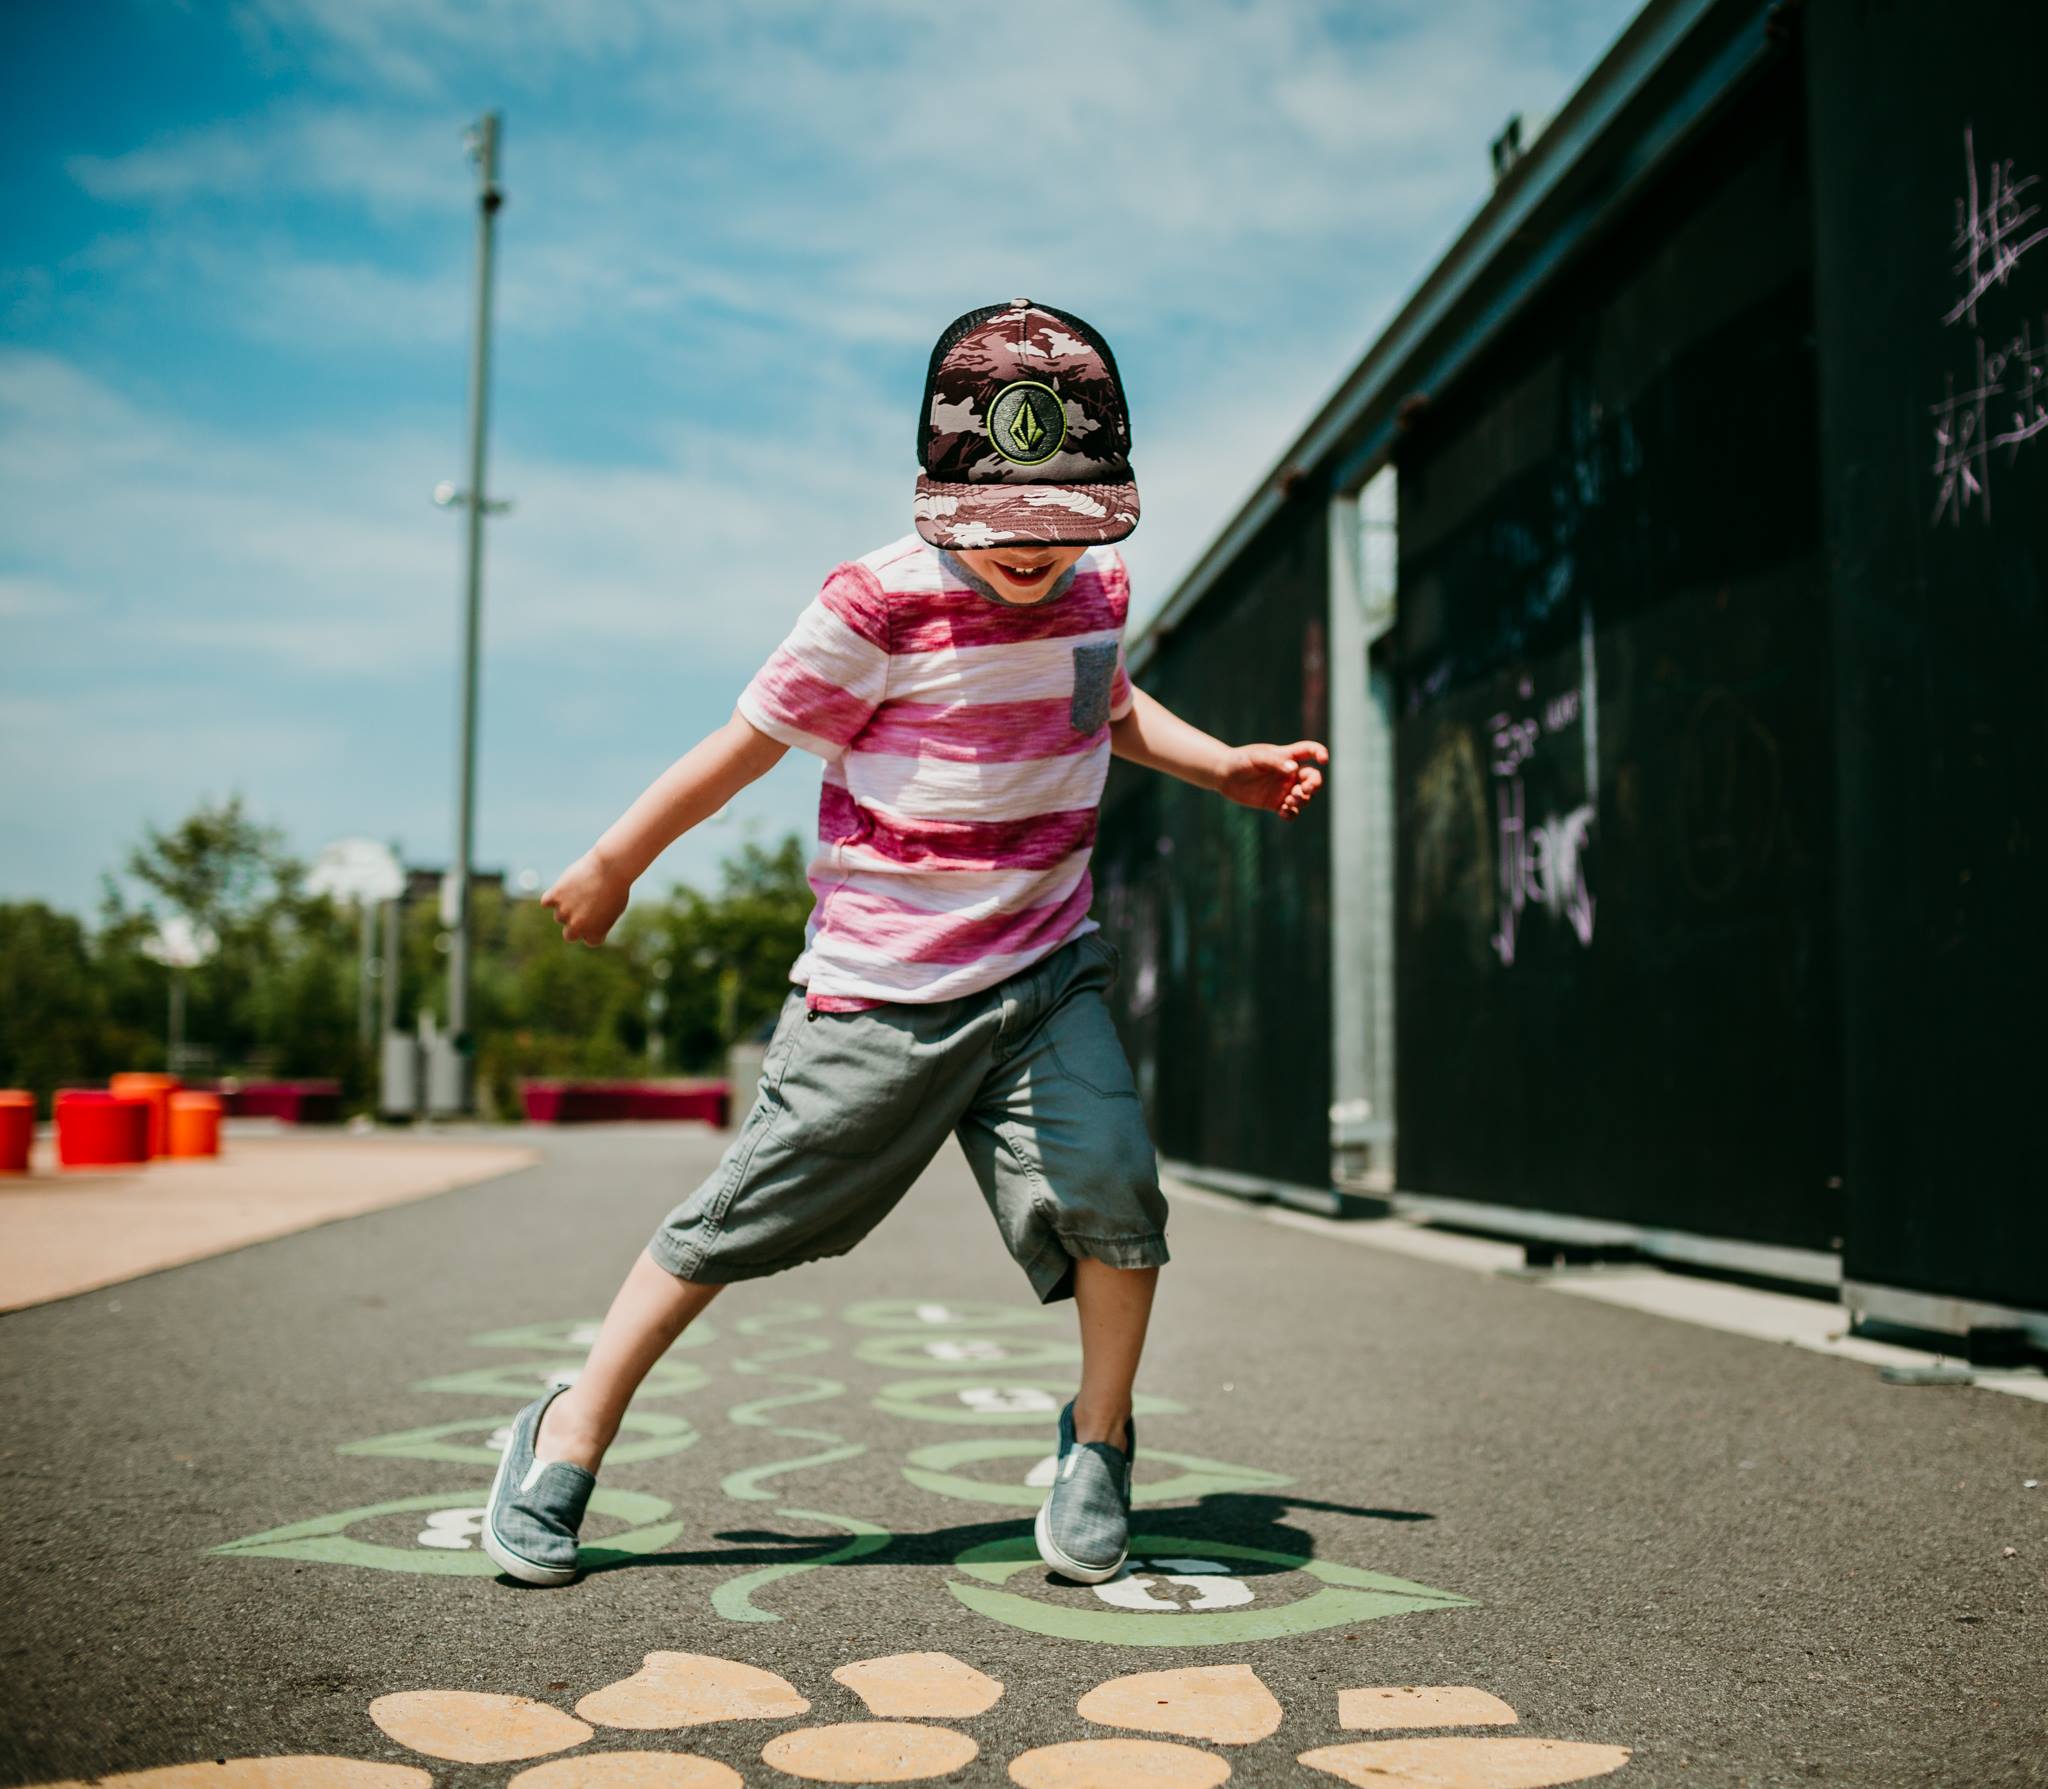
How often do we head to the playground and not even bother taking pictures because of the horrendous harsh light?
Instead of lamenting the lack of open shade and soft lighting, make the most of it by looking for the dramatic shadows it creates and capturing them intentionally.
The first shadow image was taken under some play equipment.
I shot these at f/2.2 and exposed them for the highlights.
Kailey Nagymarosi
Related: Kids Photography – Capturing Kids at Play
Look for moments where your model is projecting the shadow and compose for it. Merissa says she sometimes focuses on the shadow as the main subject, leaving her daughter a little bit out of focus.
Also, place your model with the light behind them. This will make the shadow fall in front of them to make the most of it in your composition.
A hotspot is an area of blown highlights, and you want to avoid them on your subject’s skin at all costs! For that reason, check that the light is falling evenly on them, especially their face. If you see hotspots, slightly adjust your position, or your subject’s, until you see it even out.
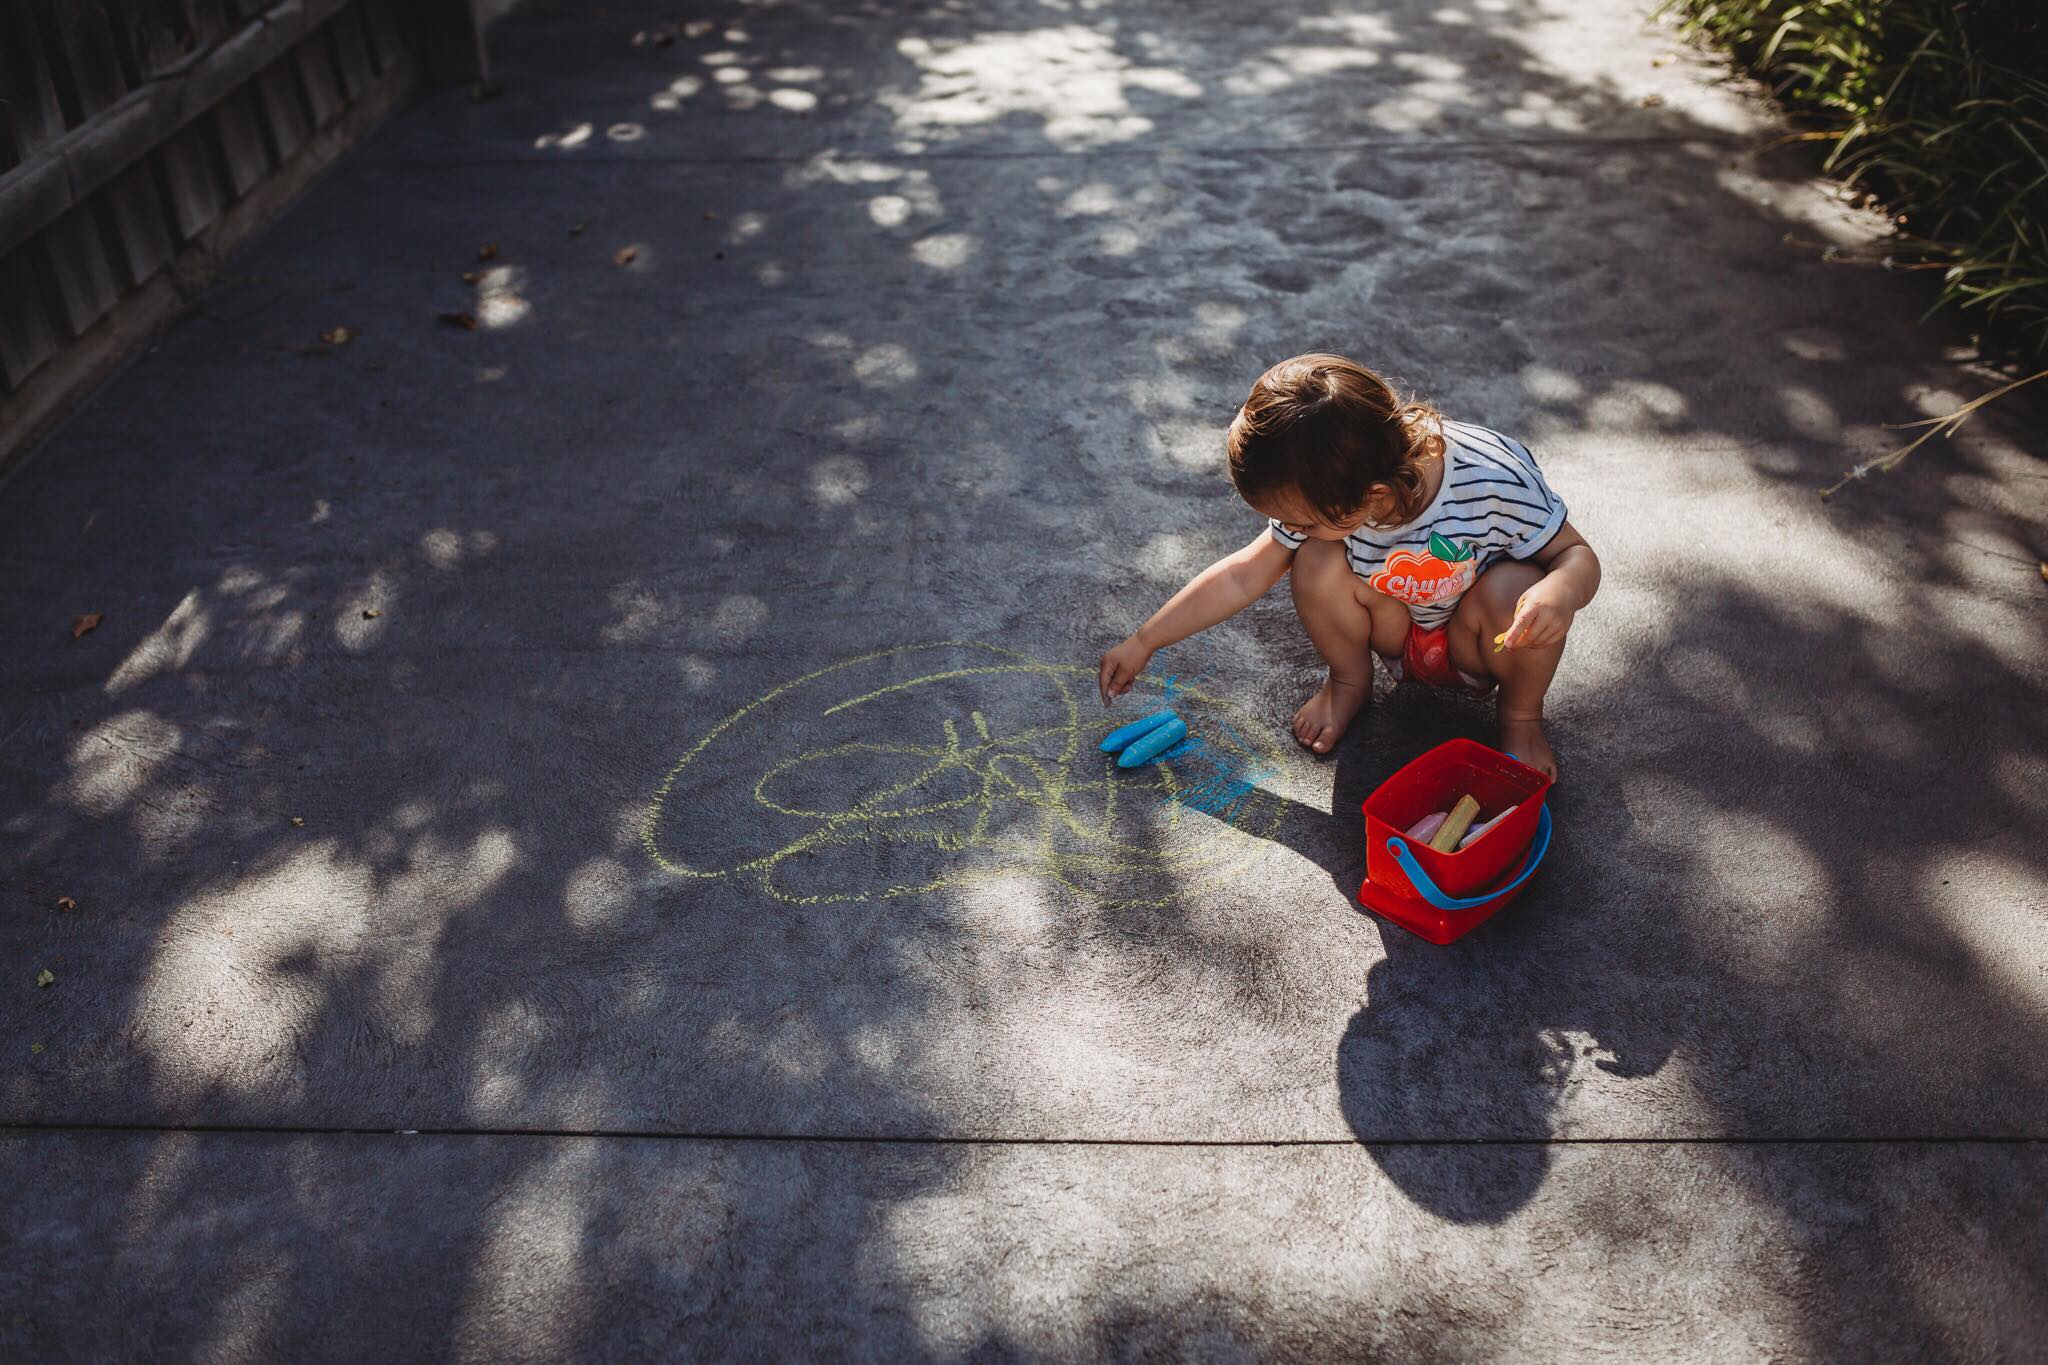
Choose your settings to expose for the brightest highlight in the scene. I usually love shooting very wide open, but for shadow photography, I’m more inclined to shoot at f/3.5 because hard light lends itself really well to a sharply focused shot.

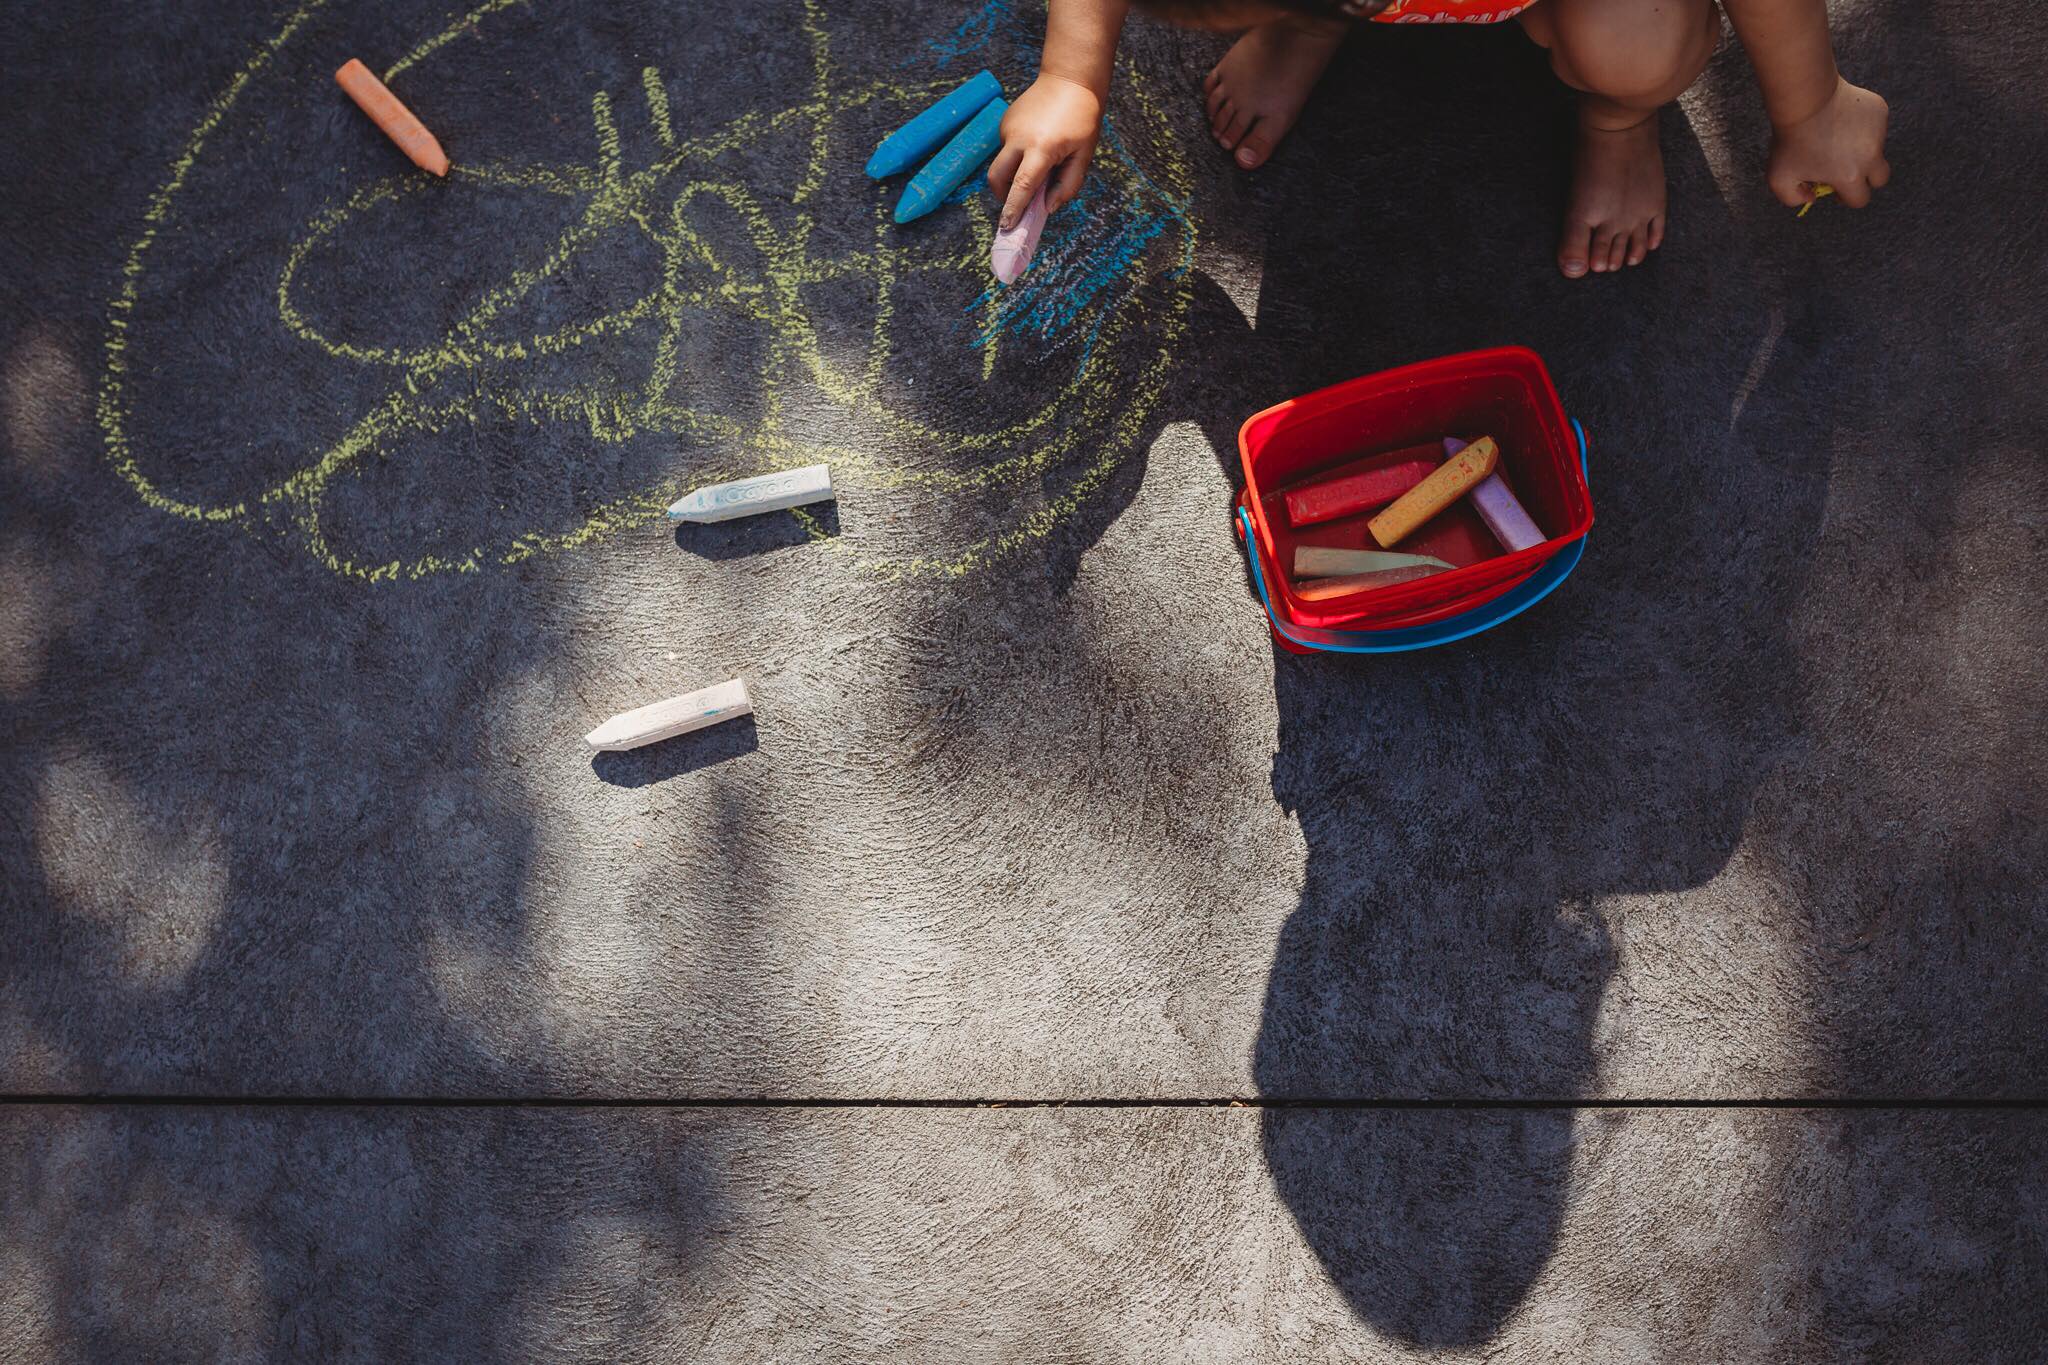
Merissa Wakefield
When out and about in your neighbourhood, keep your eyes peeled for well defined, interesting shadows. In particular, patterns created by trees on fences, garages, walls and other buildings can take an otherwise ordinary scene to a whole other level.
Take note of the time and then try and head back at that time with your kids and place them somewhere in the shot. Expose the highlights so they’re not blown out.

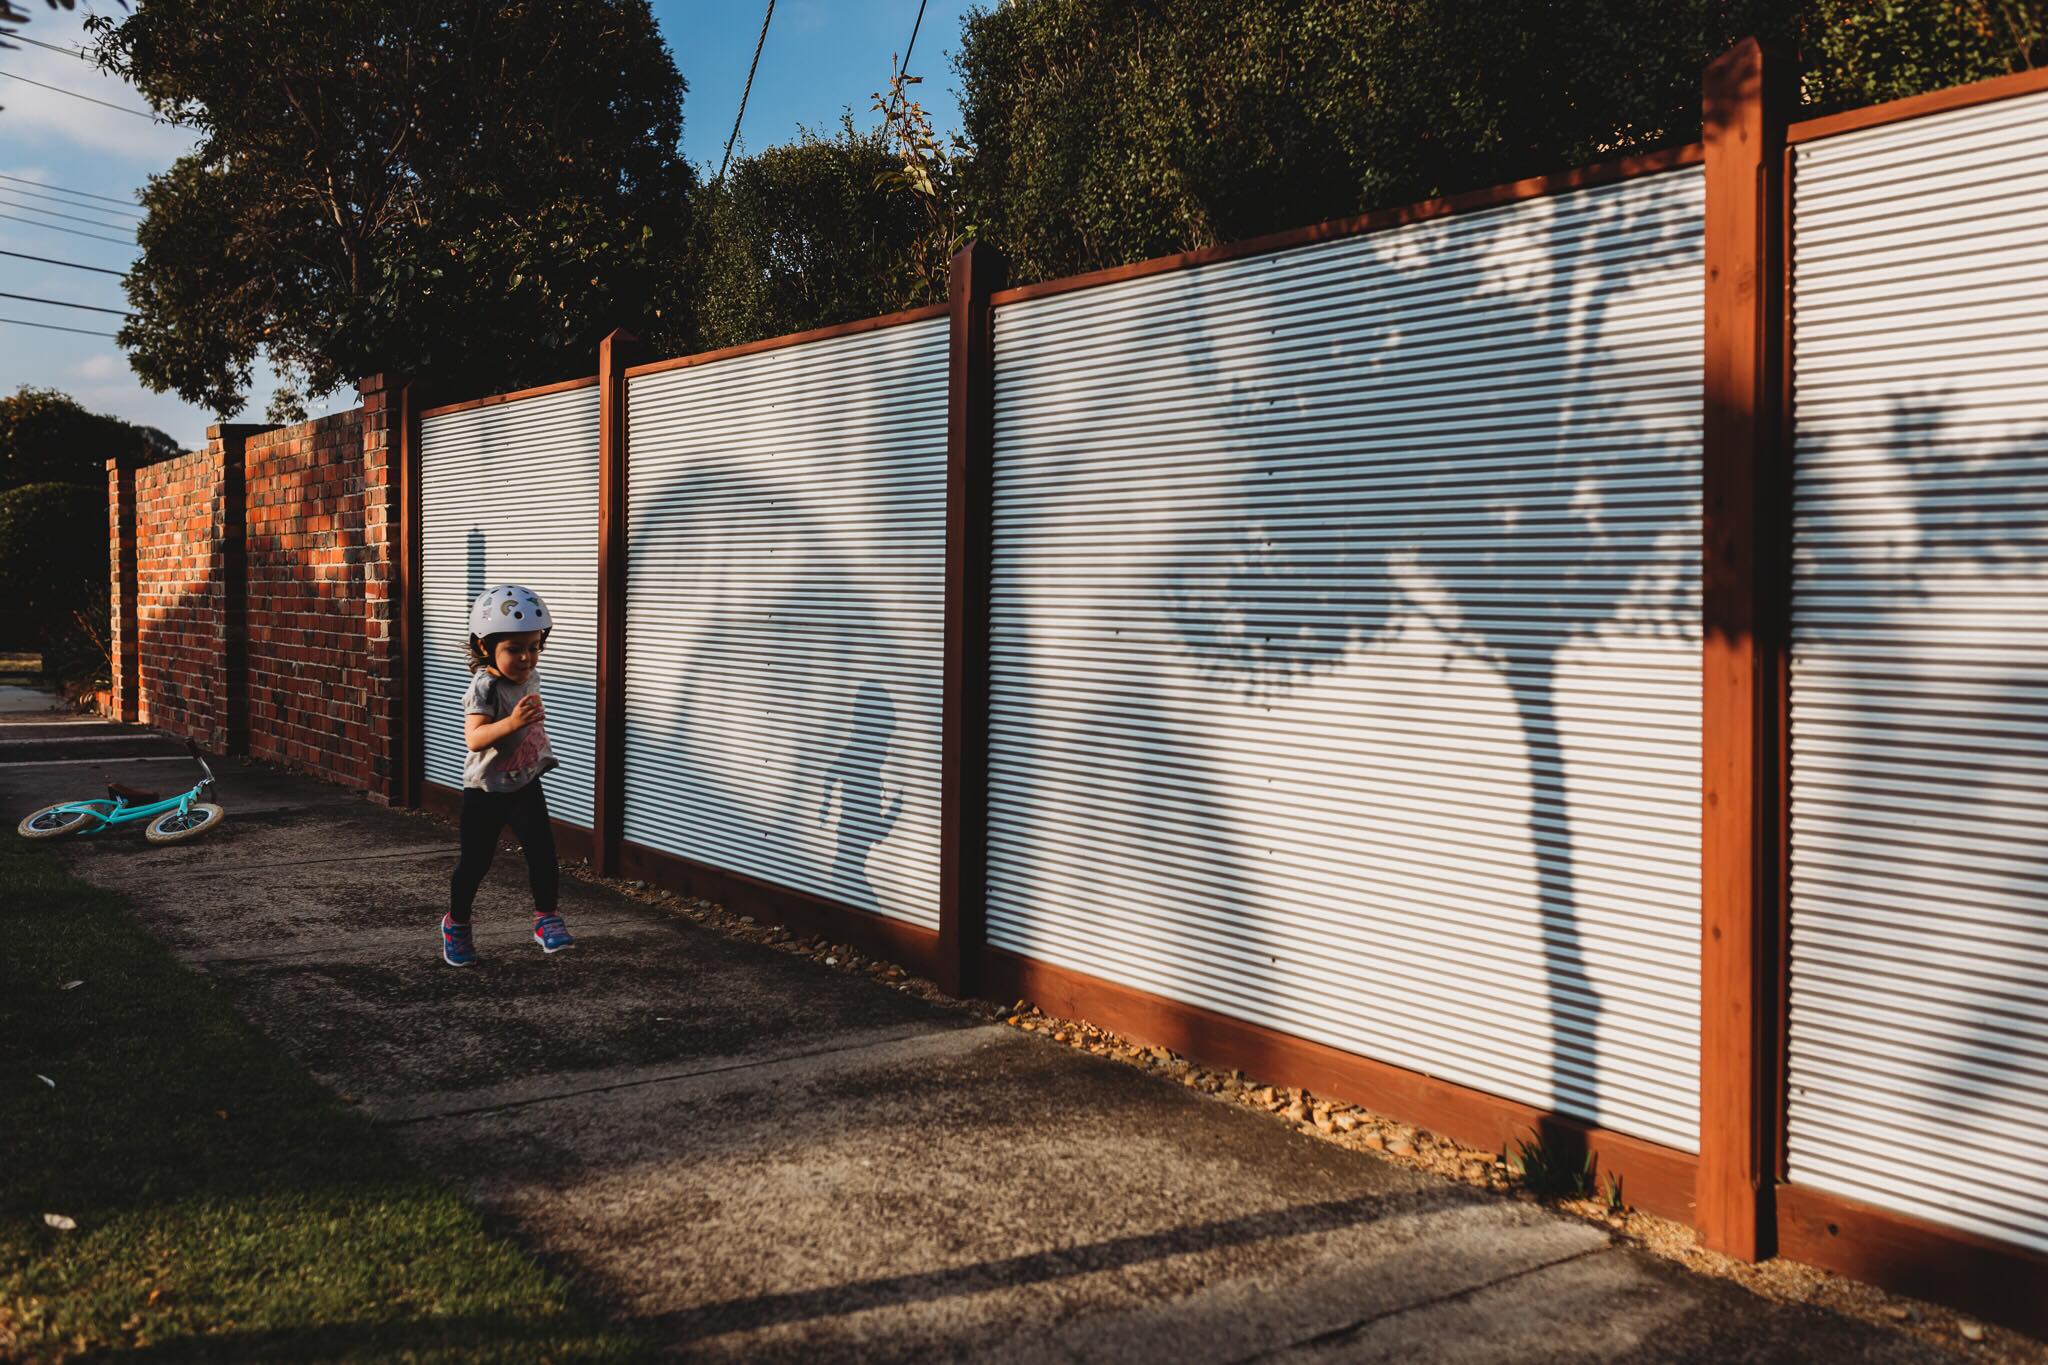
Merissa Wakefield
Related: 22 Striking Compositions You’ve Never Tried
At the beginning and end of the day, when the sun is low in the sky, keep your eye out for shadow picture opportunities indoors. At these times, it will filter through your windows and doors and bounce off objects to create gorgeous light patterns.
Those daggy security doors are amazing for creating light patterns!
Related: Black and White Aesthetic – Capturing Mood in Monochrome
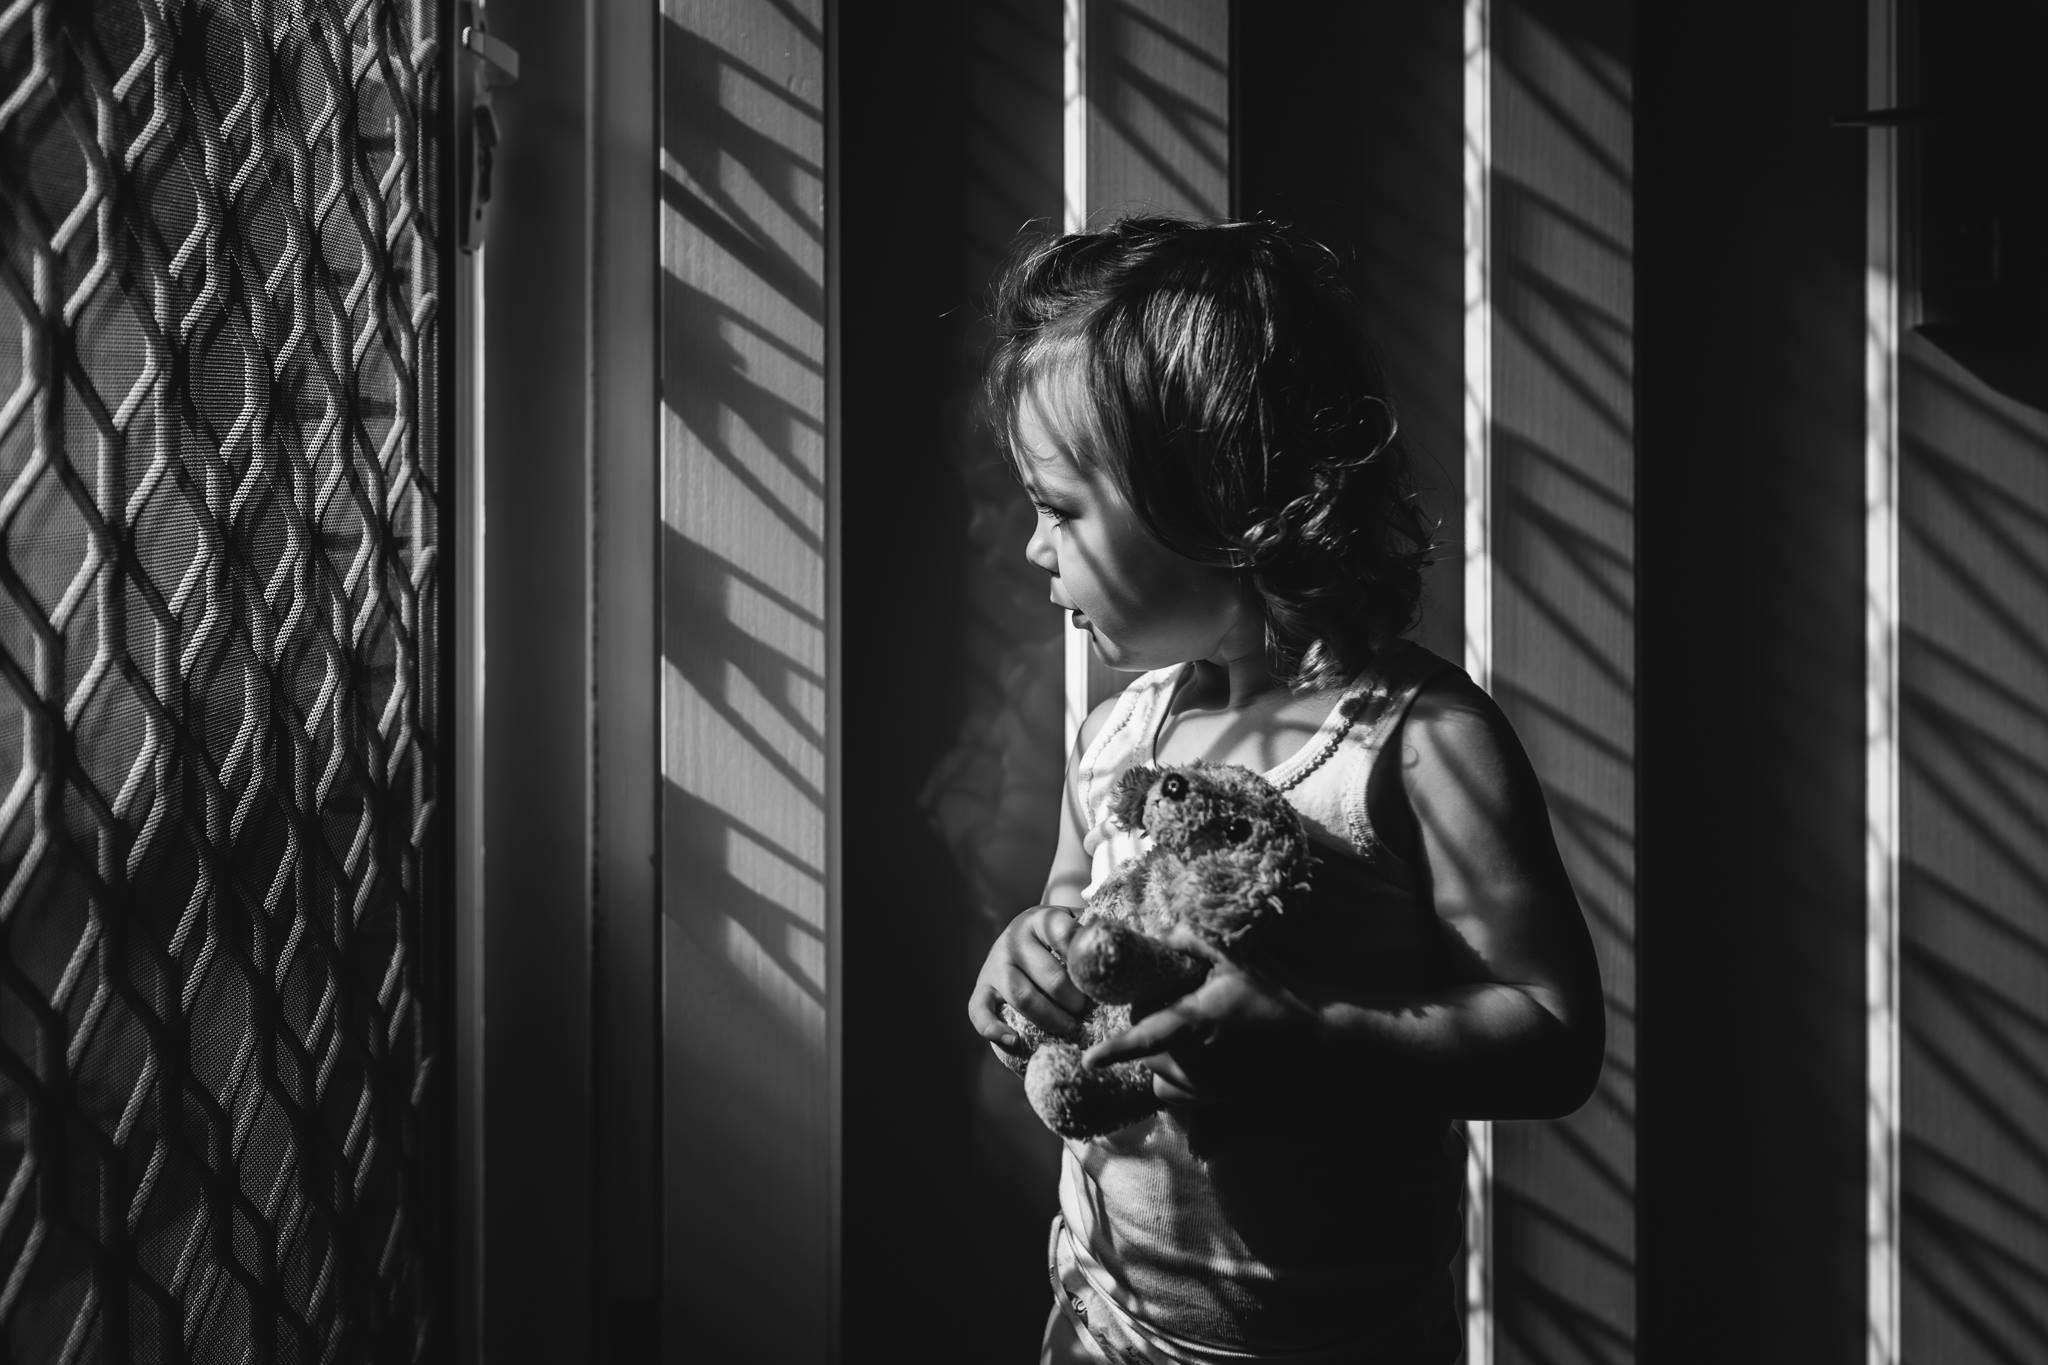
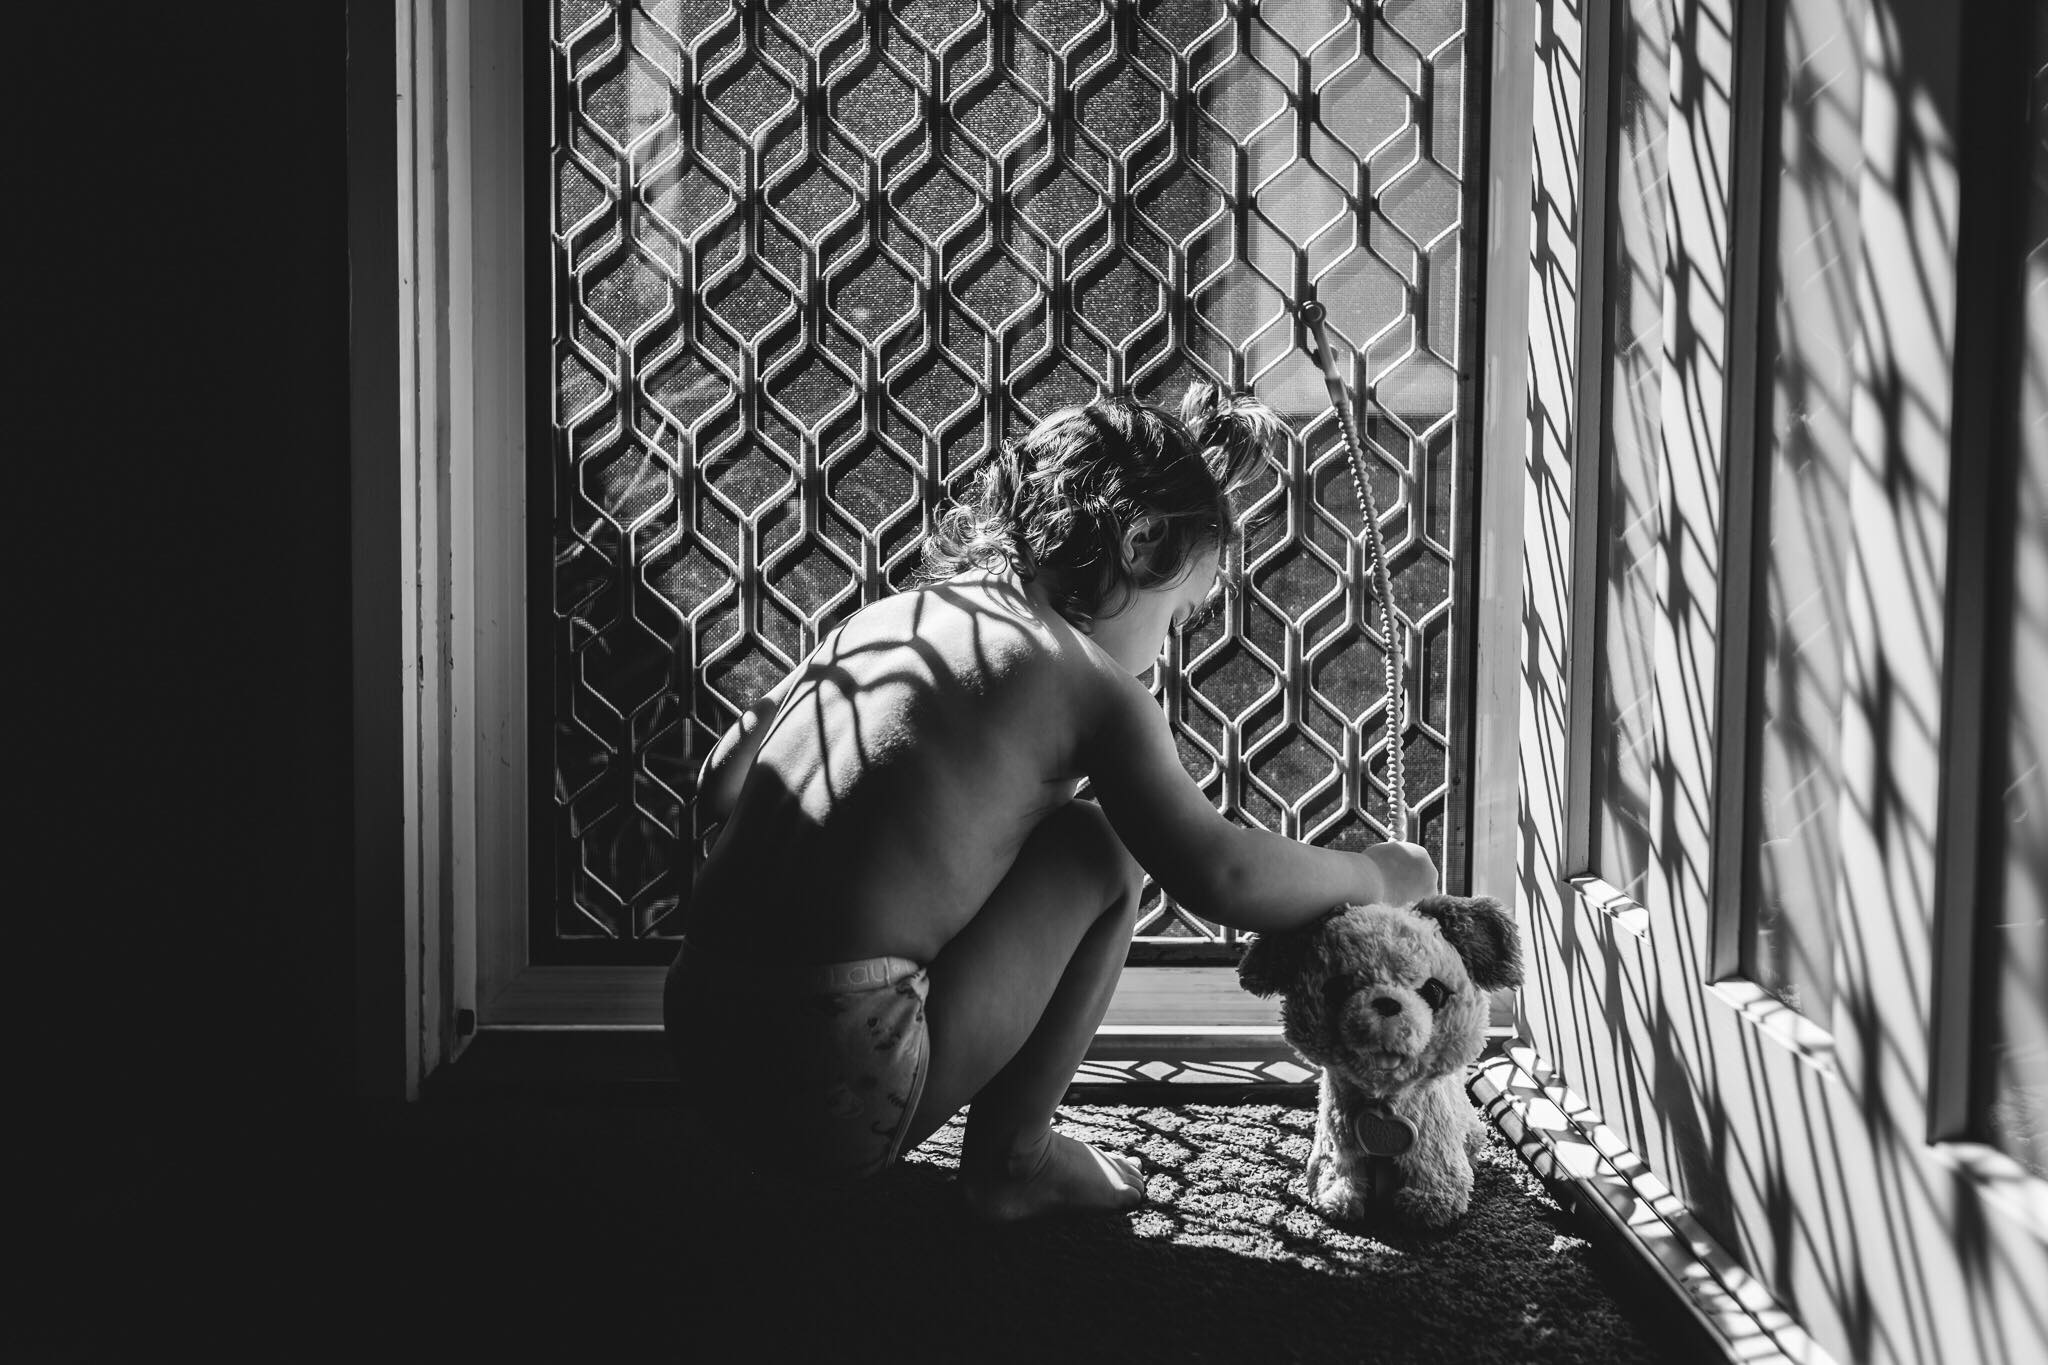
Merissa Wakefield
Megan says she loves the mystery and graphic effect of light and shadow photography. It’s something that you see every day but don’t really notice. When you spot them, you can set the kids up at quiet activities in those spots…or not so…what child can resist bouncing on the bed?!
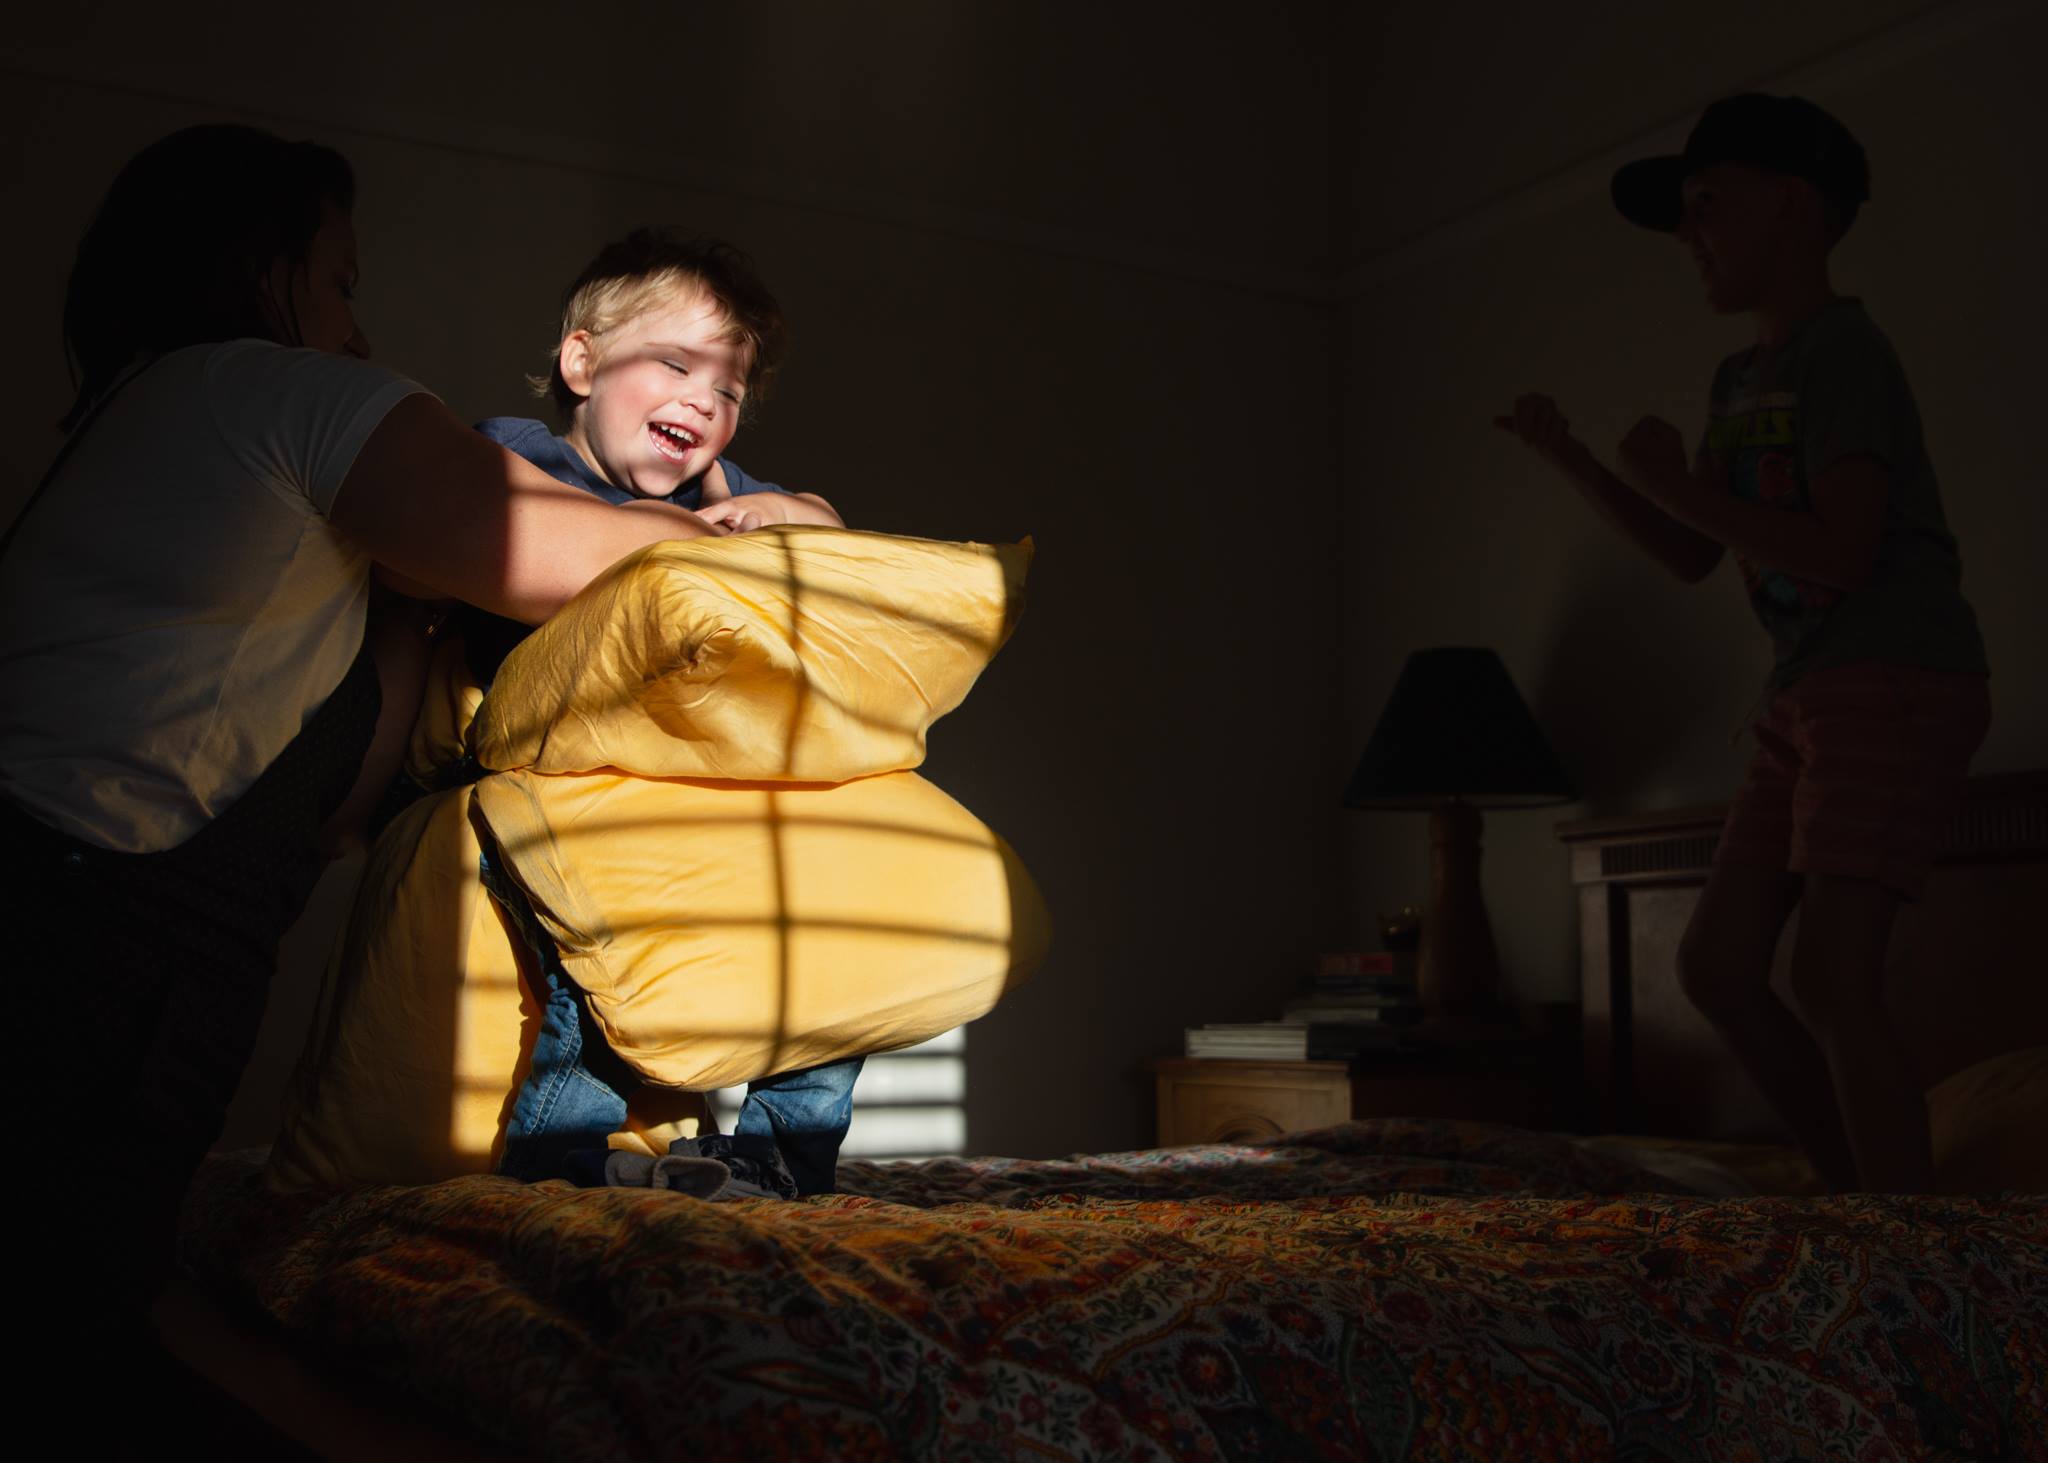
Megan O’Donnell
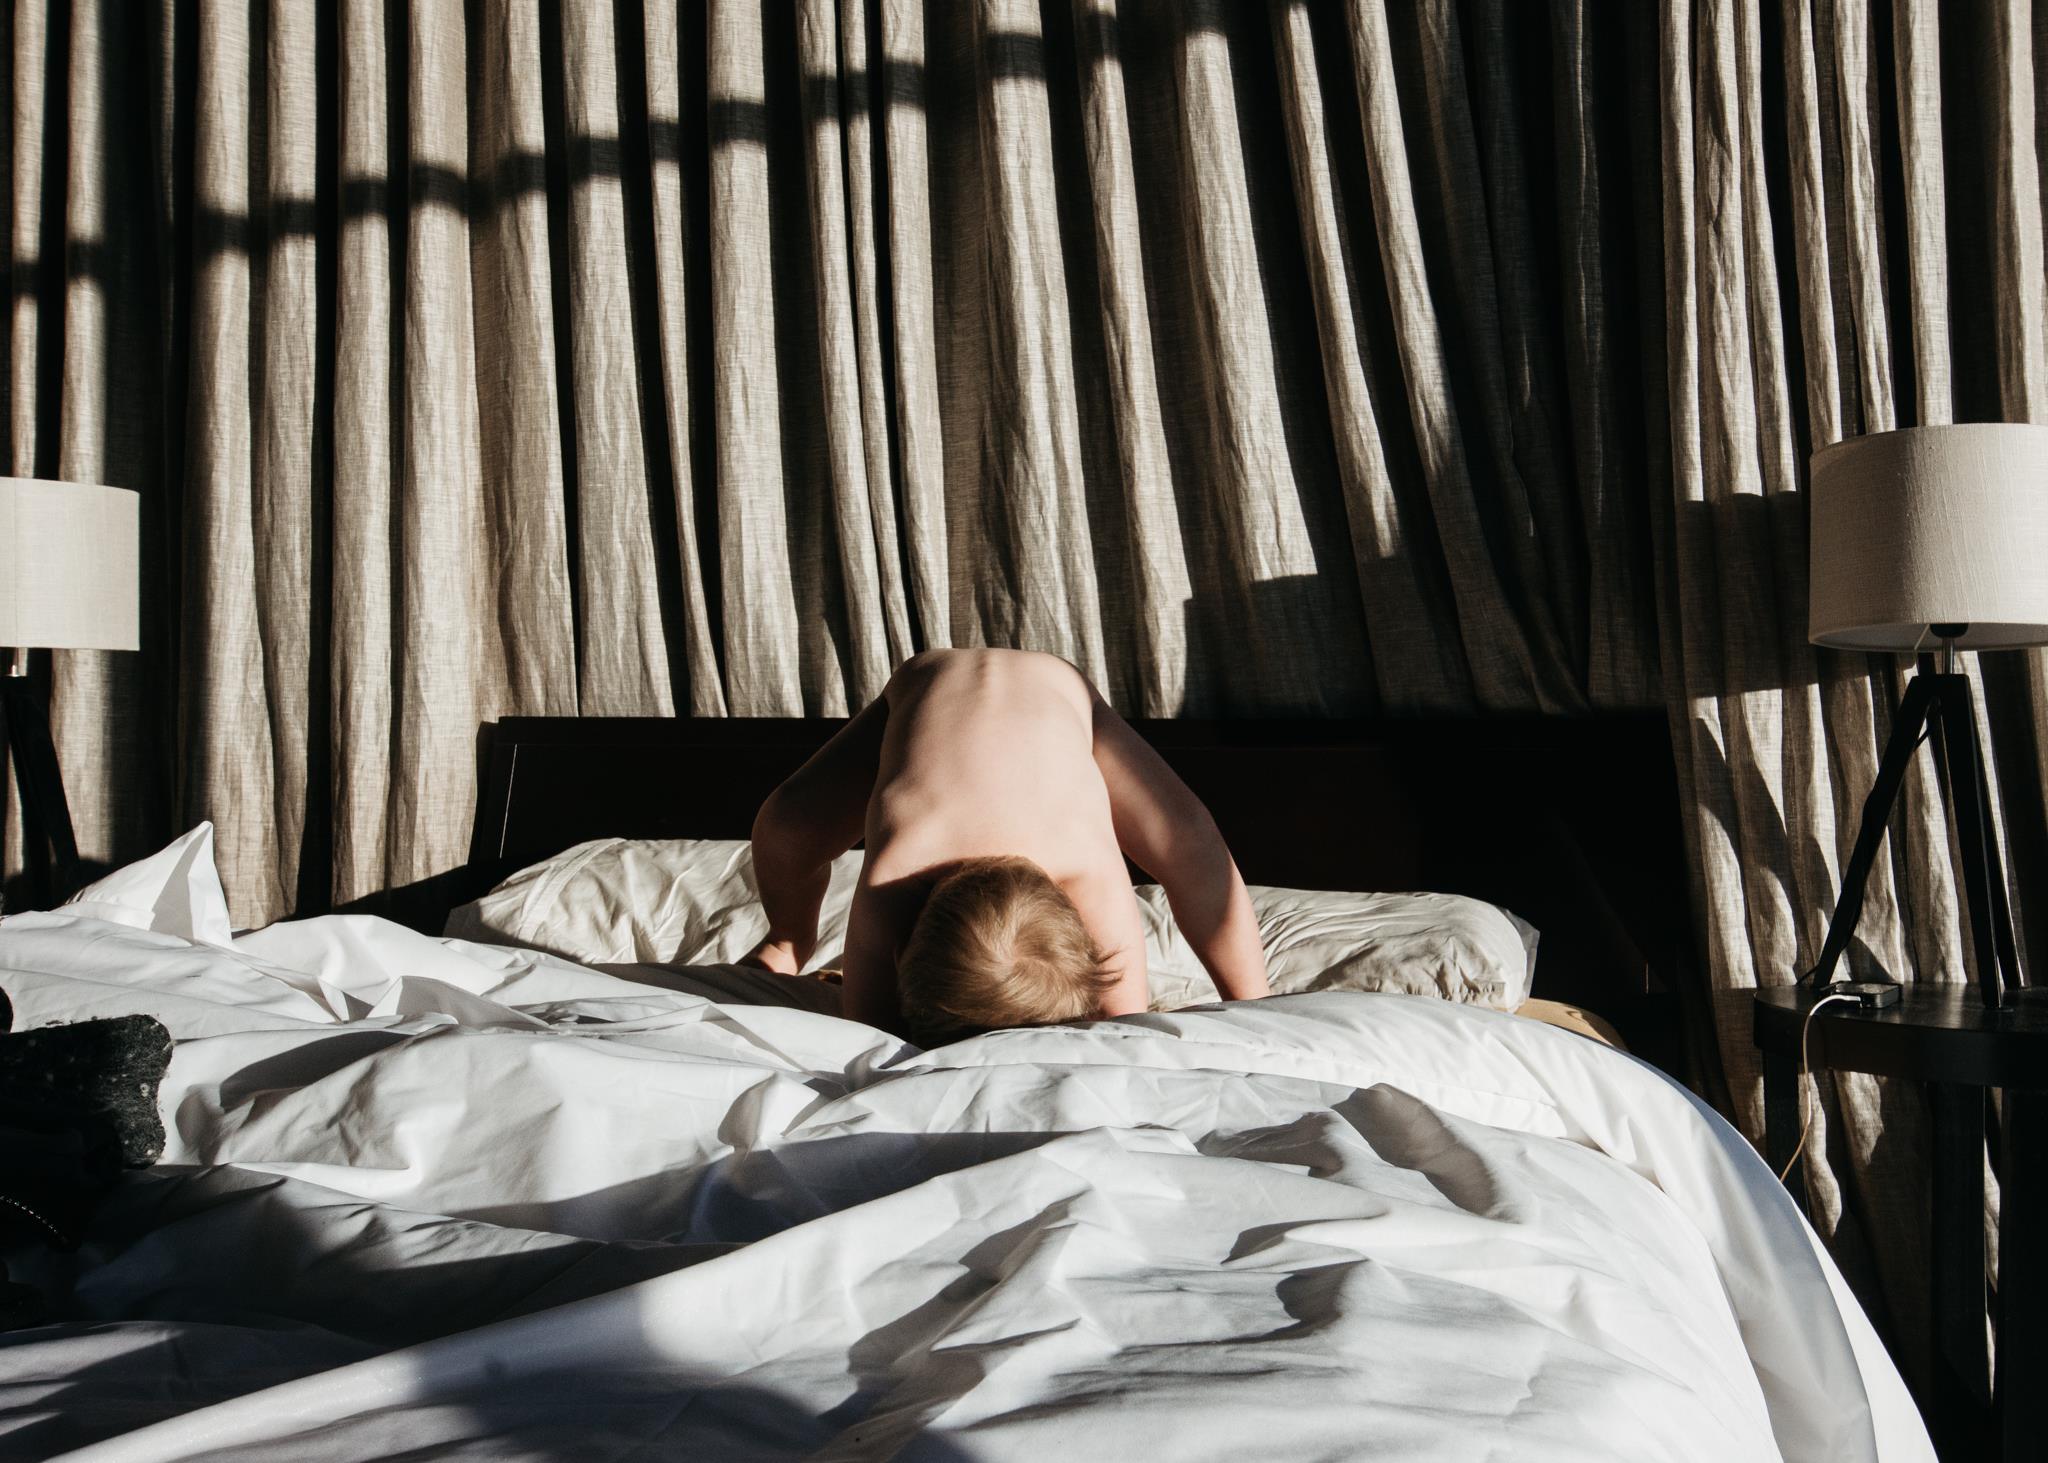
Megan O’Donnell
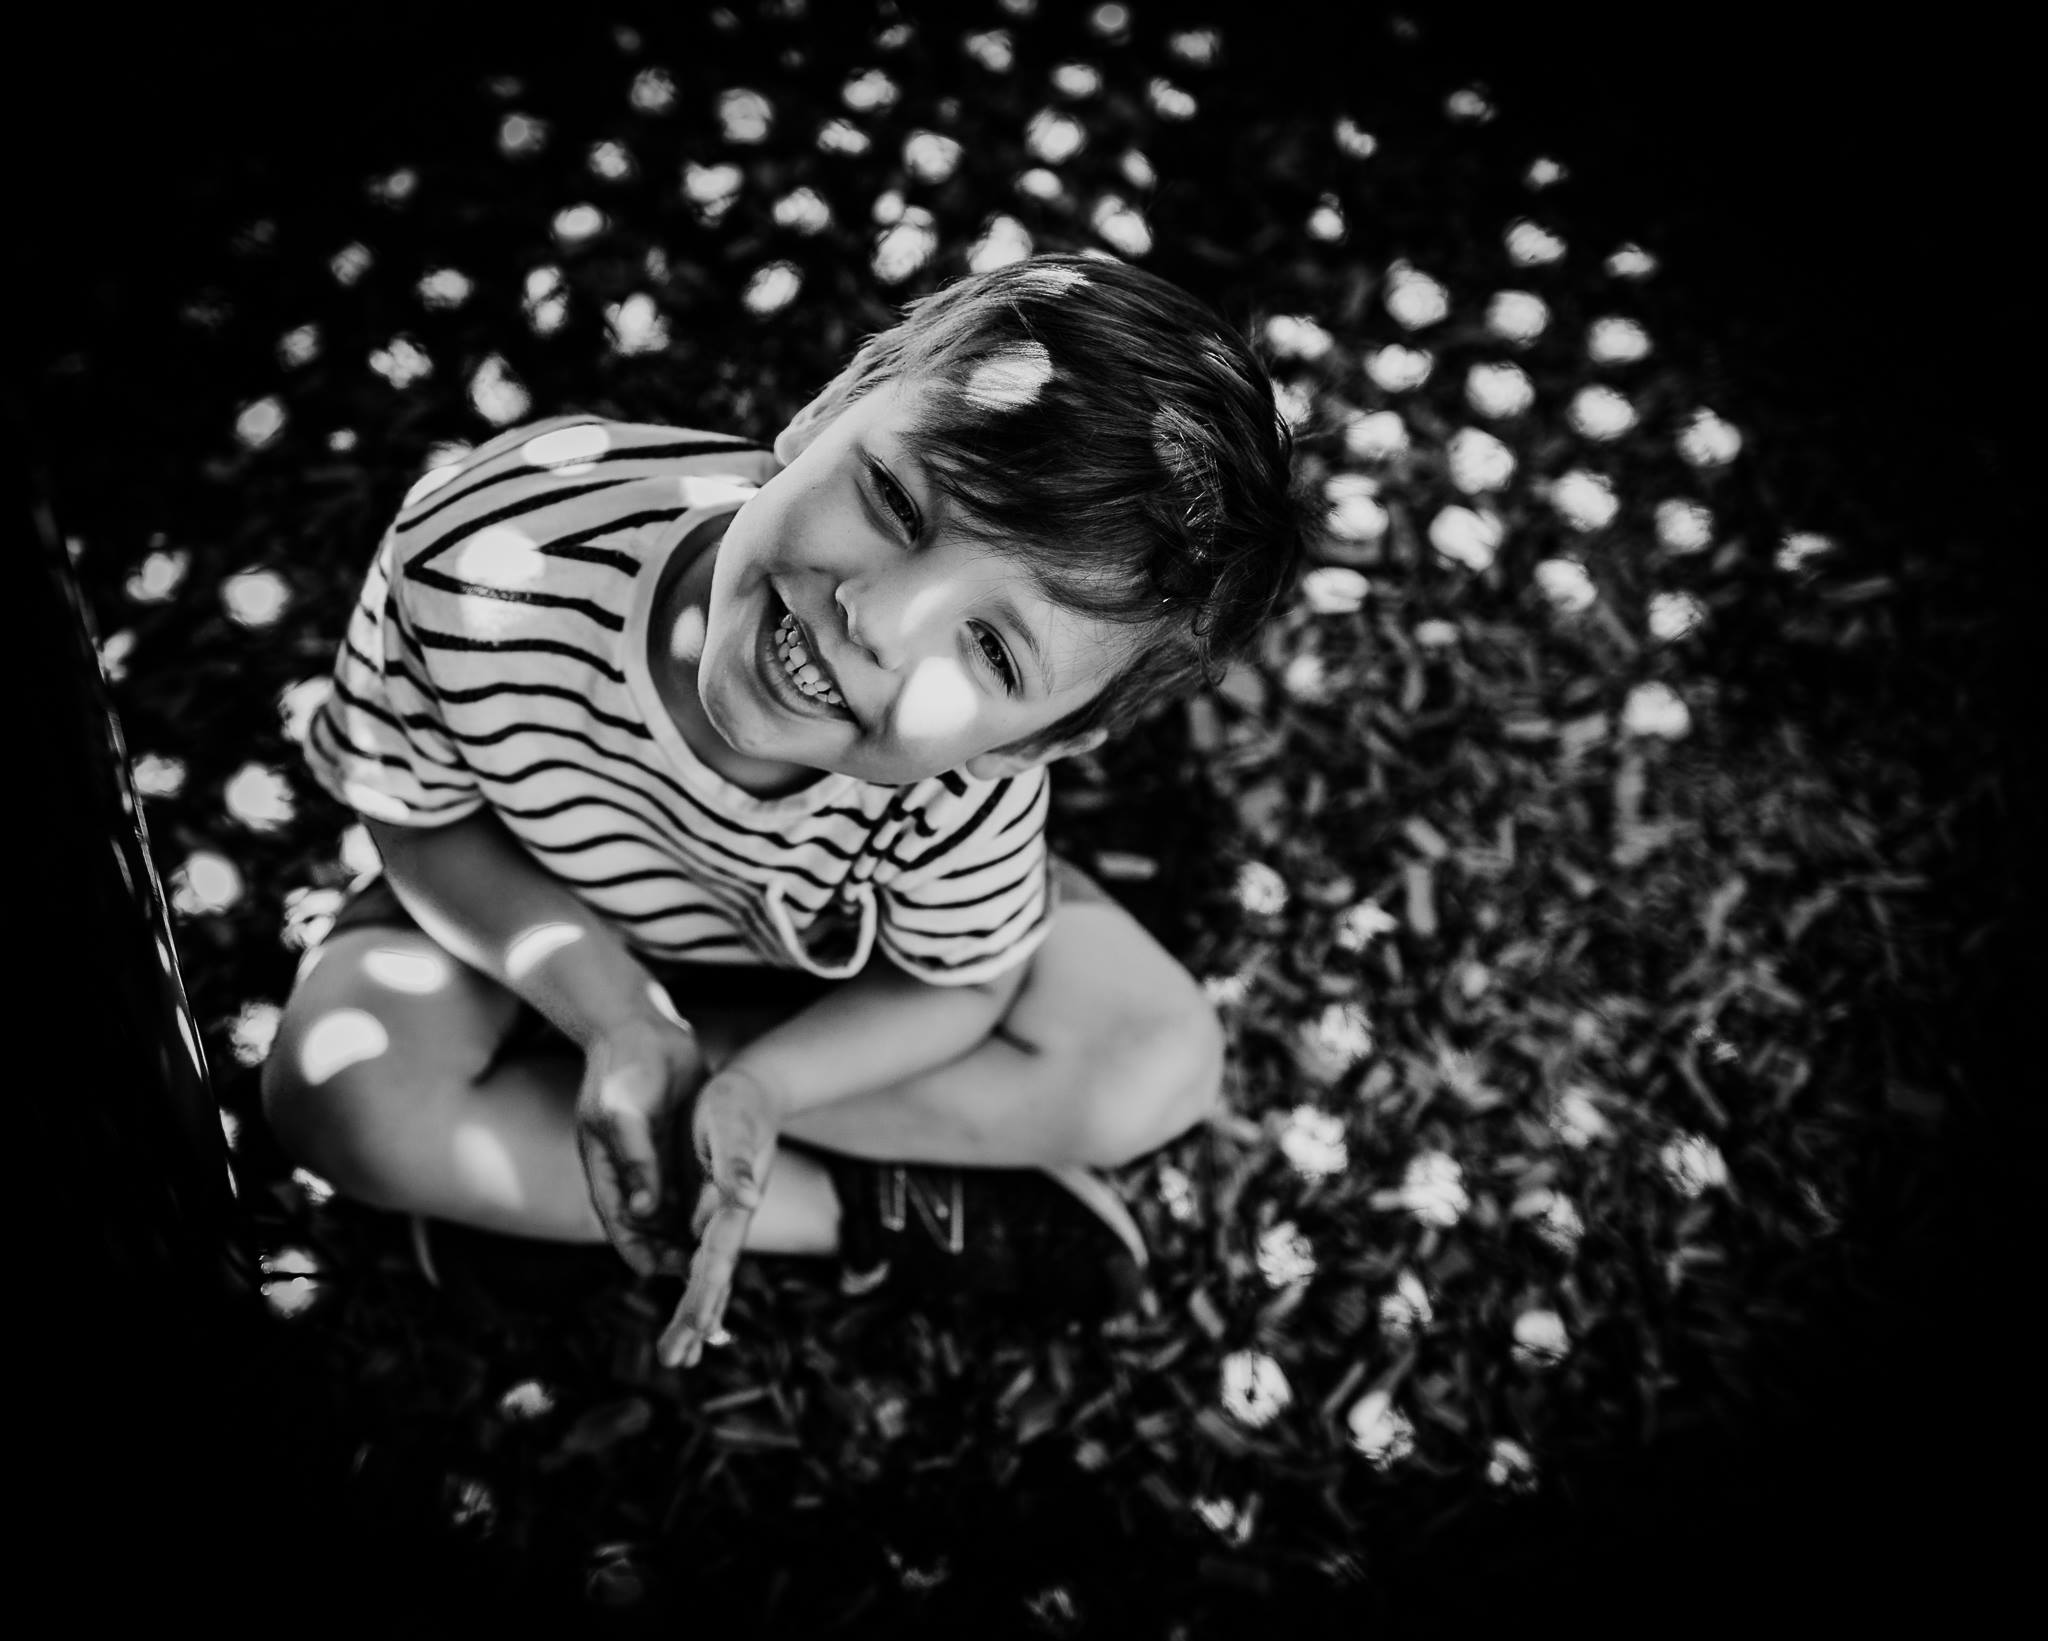
For hard light images, you don’t need to expose light and bright — make the most of the shadow play by exposing for the highlights. In light situations like these below, exposing for the highlights will give you a low key shot. The bonus is the depth and drama it will lend to your shots.
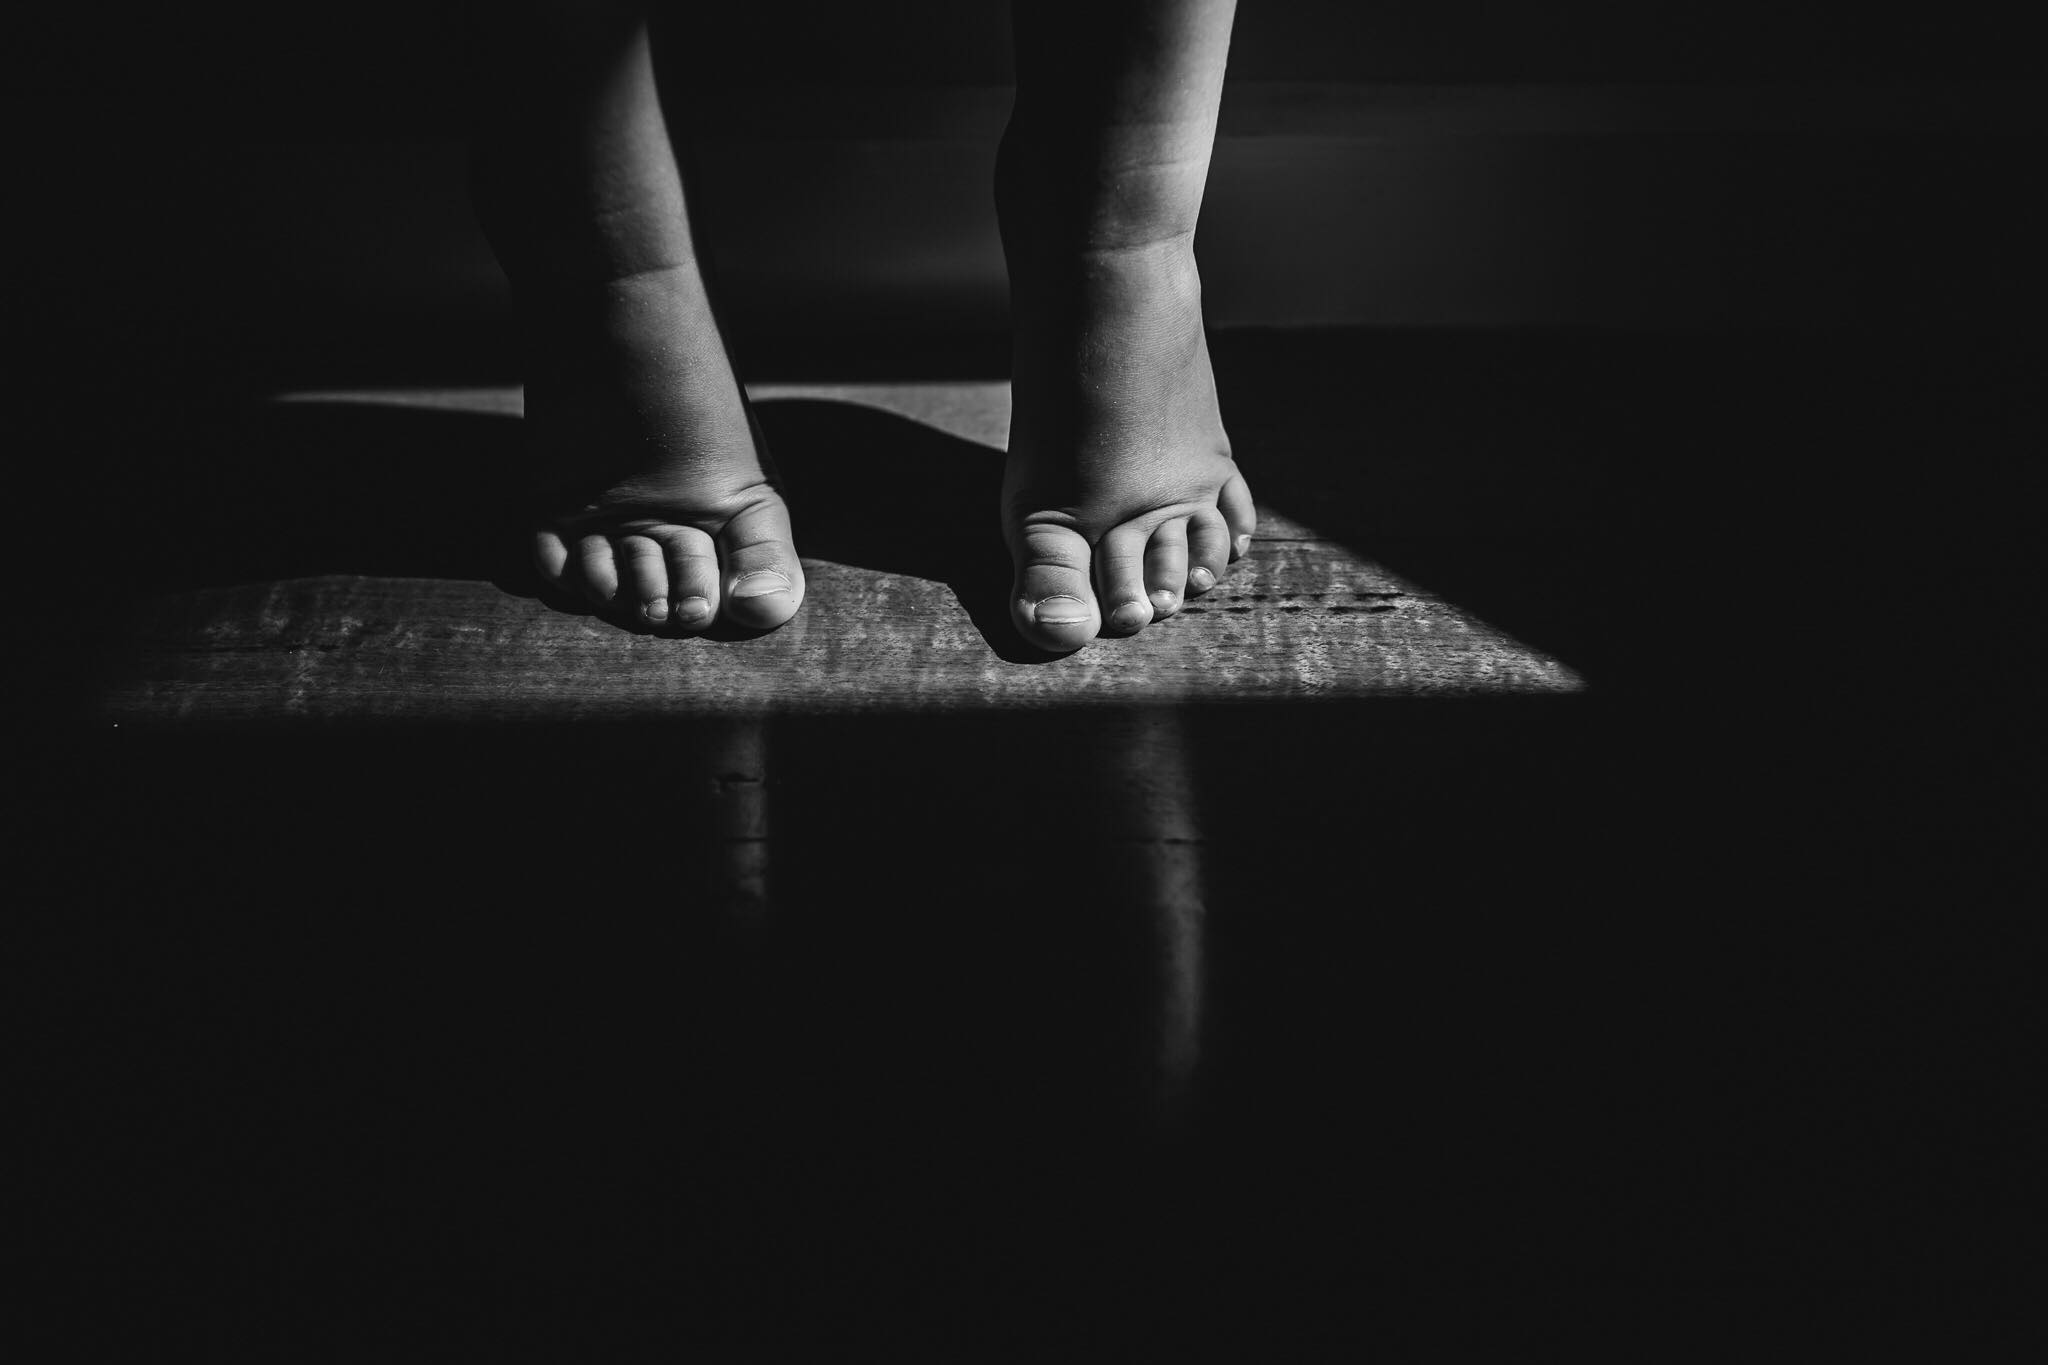
Merissa Wakefield
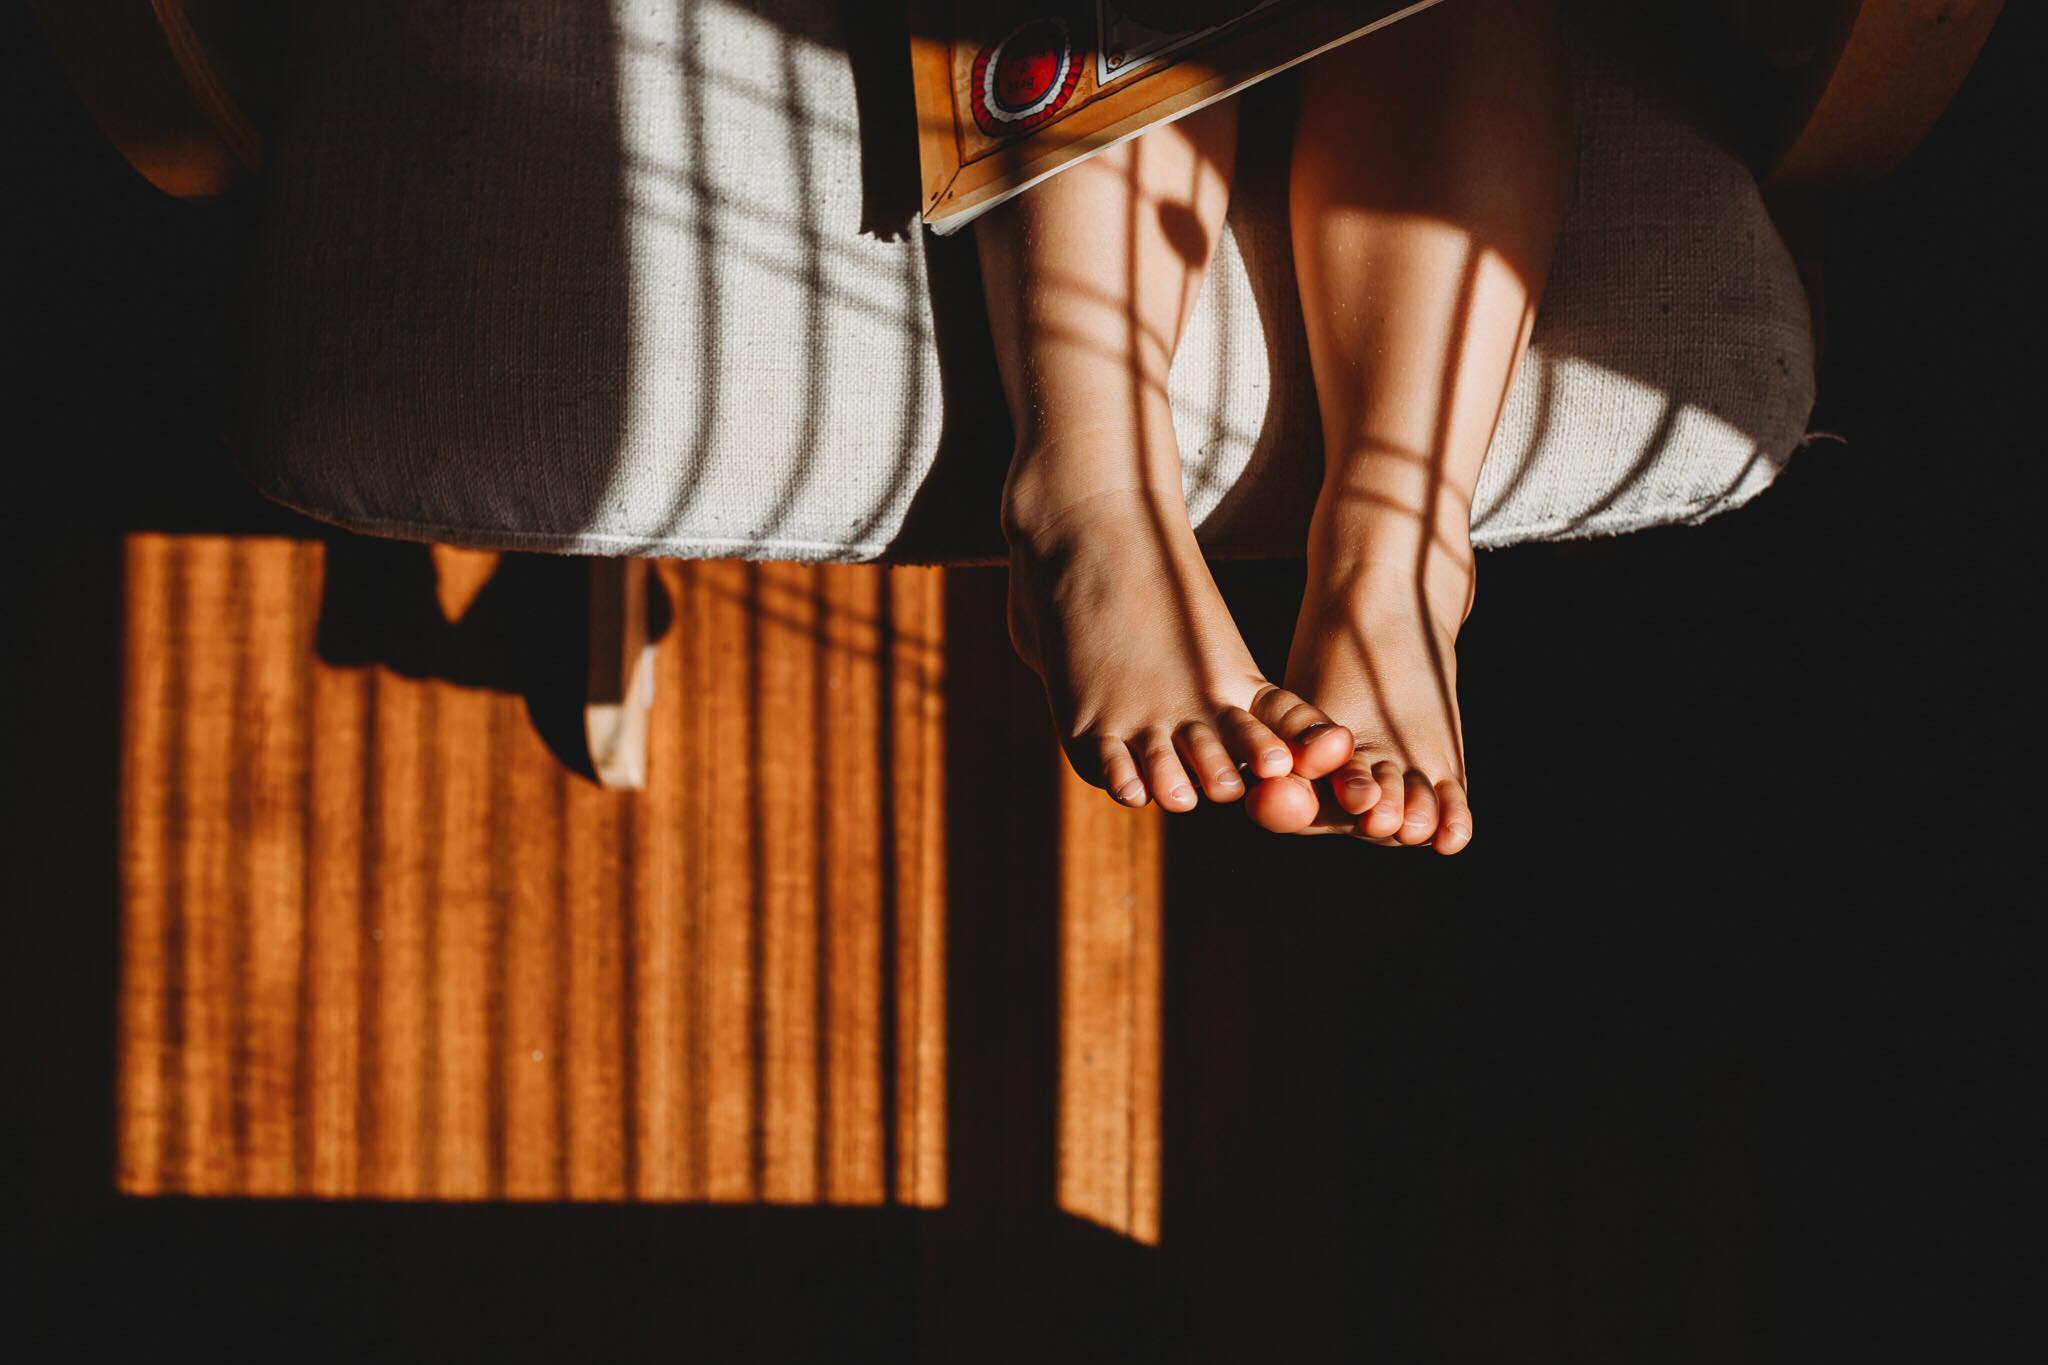
Merissa Wakefield
Take lots of shots experimenting with different framing, perspectives, and positions in relation to the light. Keep shooting until you achieve the expression or emotion you’re hoping to capture. Or until you’ve made the best of the light pattern.
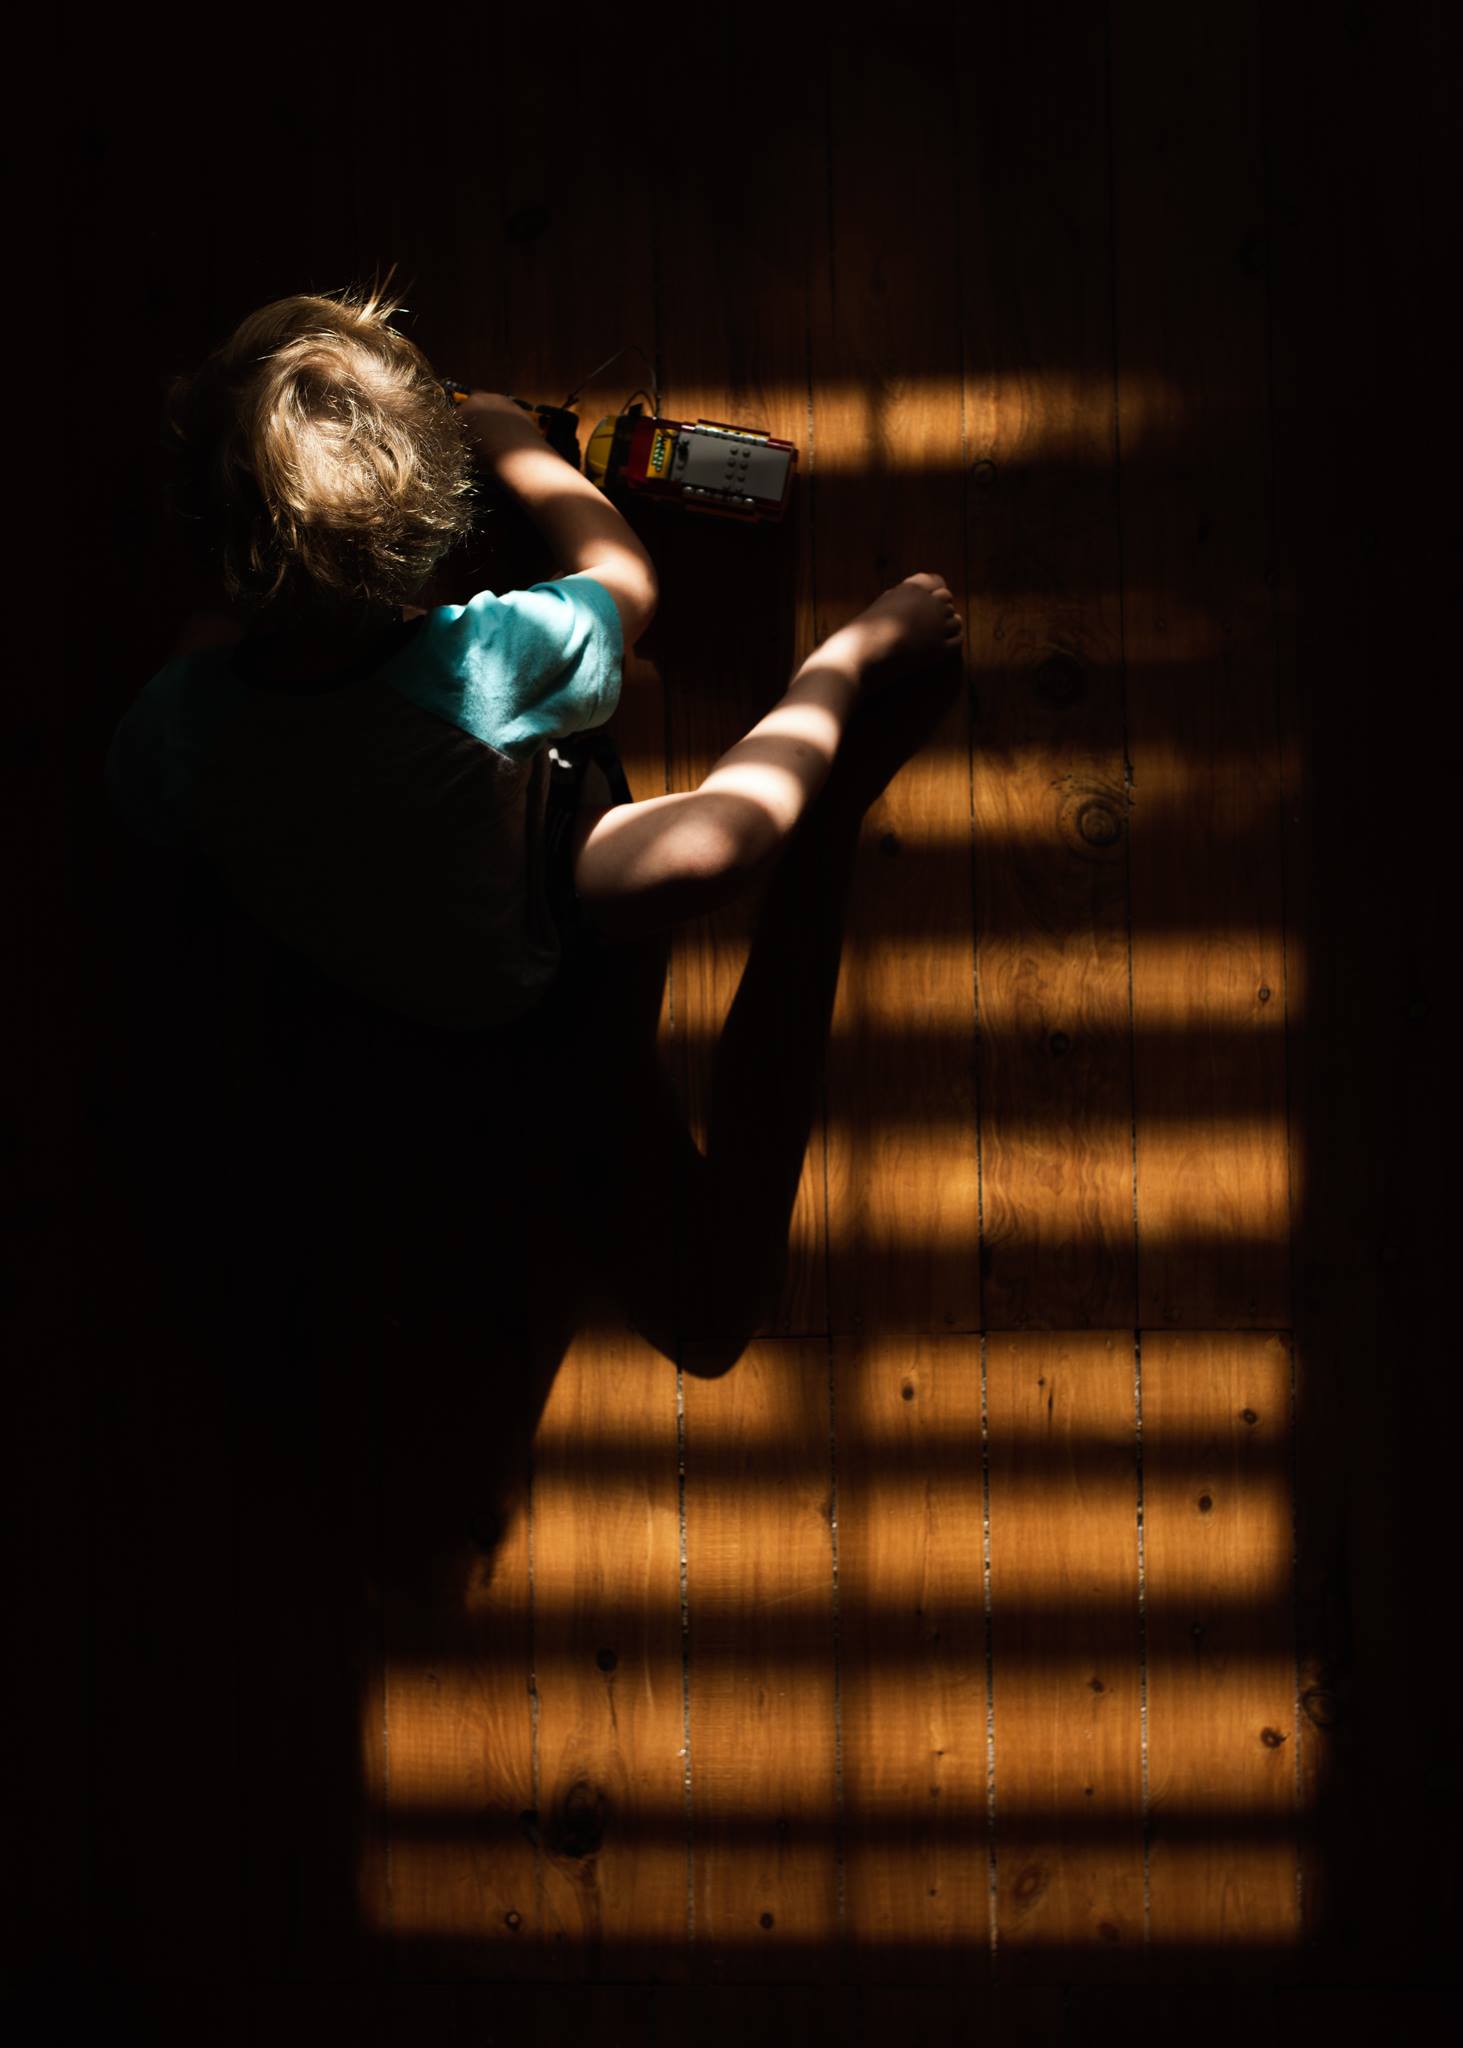
Megan O’Donnell
This one is for the brave!
In these photos CLG grad Kailey Nagymarosi gave the kids a bag of flour (oh yes she did!) and let them go wild in the shadows! The filtered light streaming through the slatted window coverings catch the flour grains floating in the air giving the images a misty feel. It’s worth noting Kailey did this in an empty room just before renovations!
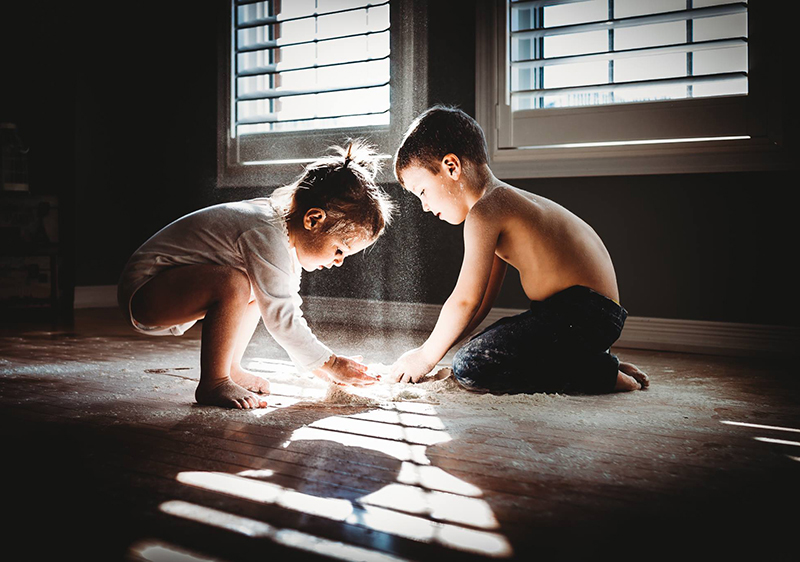
Kailey Nagymarosi

Kailey Nagymarosi
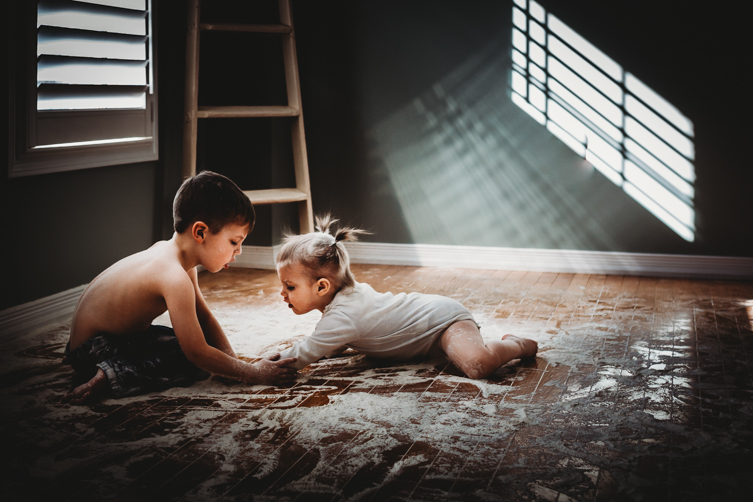
Kailey Nagymarosi
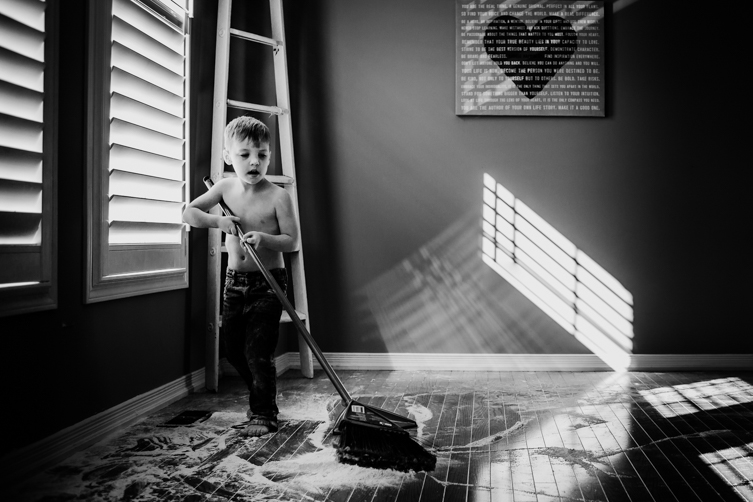
Kailey Nagymarosi
Another way to use hard light creatively is to look for rainbow light patterns. These form when light moves through a coloured transparent surface such as stained glass windows and other coloured glass.
Kailey created this rainbow mask effect by placing a glass prism in front of the window light. She adjusted its position until the coloured light patterns it created fell onto her son’s face in a way she was happy with.

Kailey Nagymarosi
Another way to create your own rainbow reflections is by holding a CD (remember those?!) and angling it in different ways to refract the light and watch rainbow light patterns appear as it reflects off nearby surfaces.
Related: How To Create Rainbows In Your Pictures
See the beauty in the most ordinary of scenes by looking for little pockets of beautiful light and well-defined shadow lines.
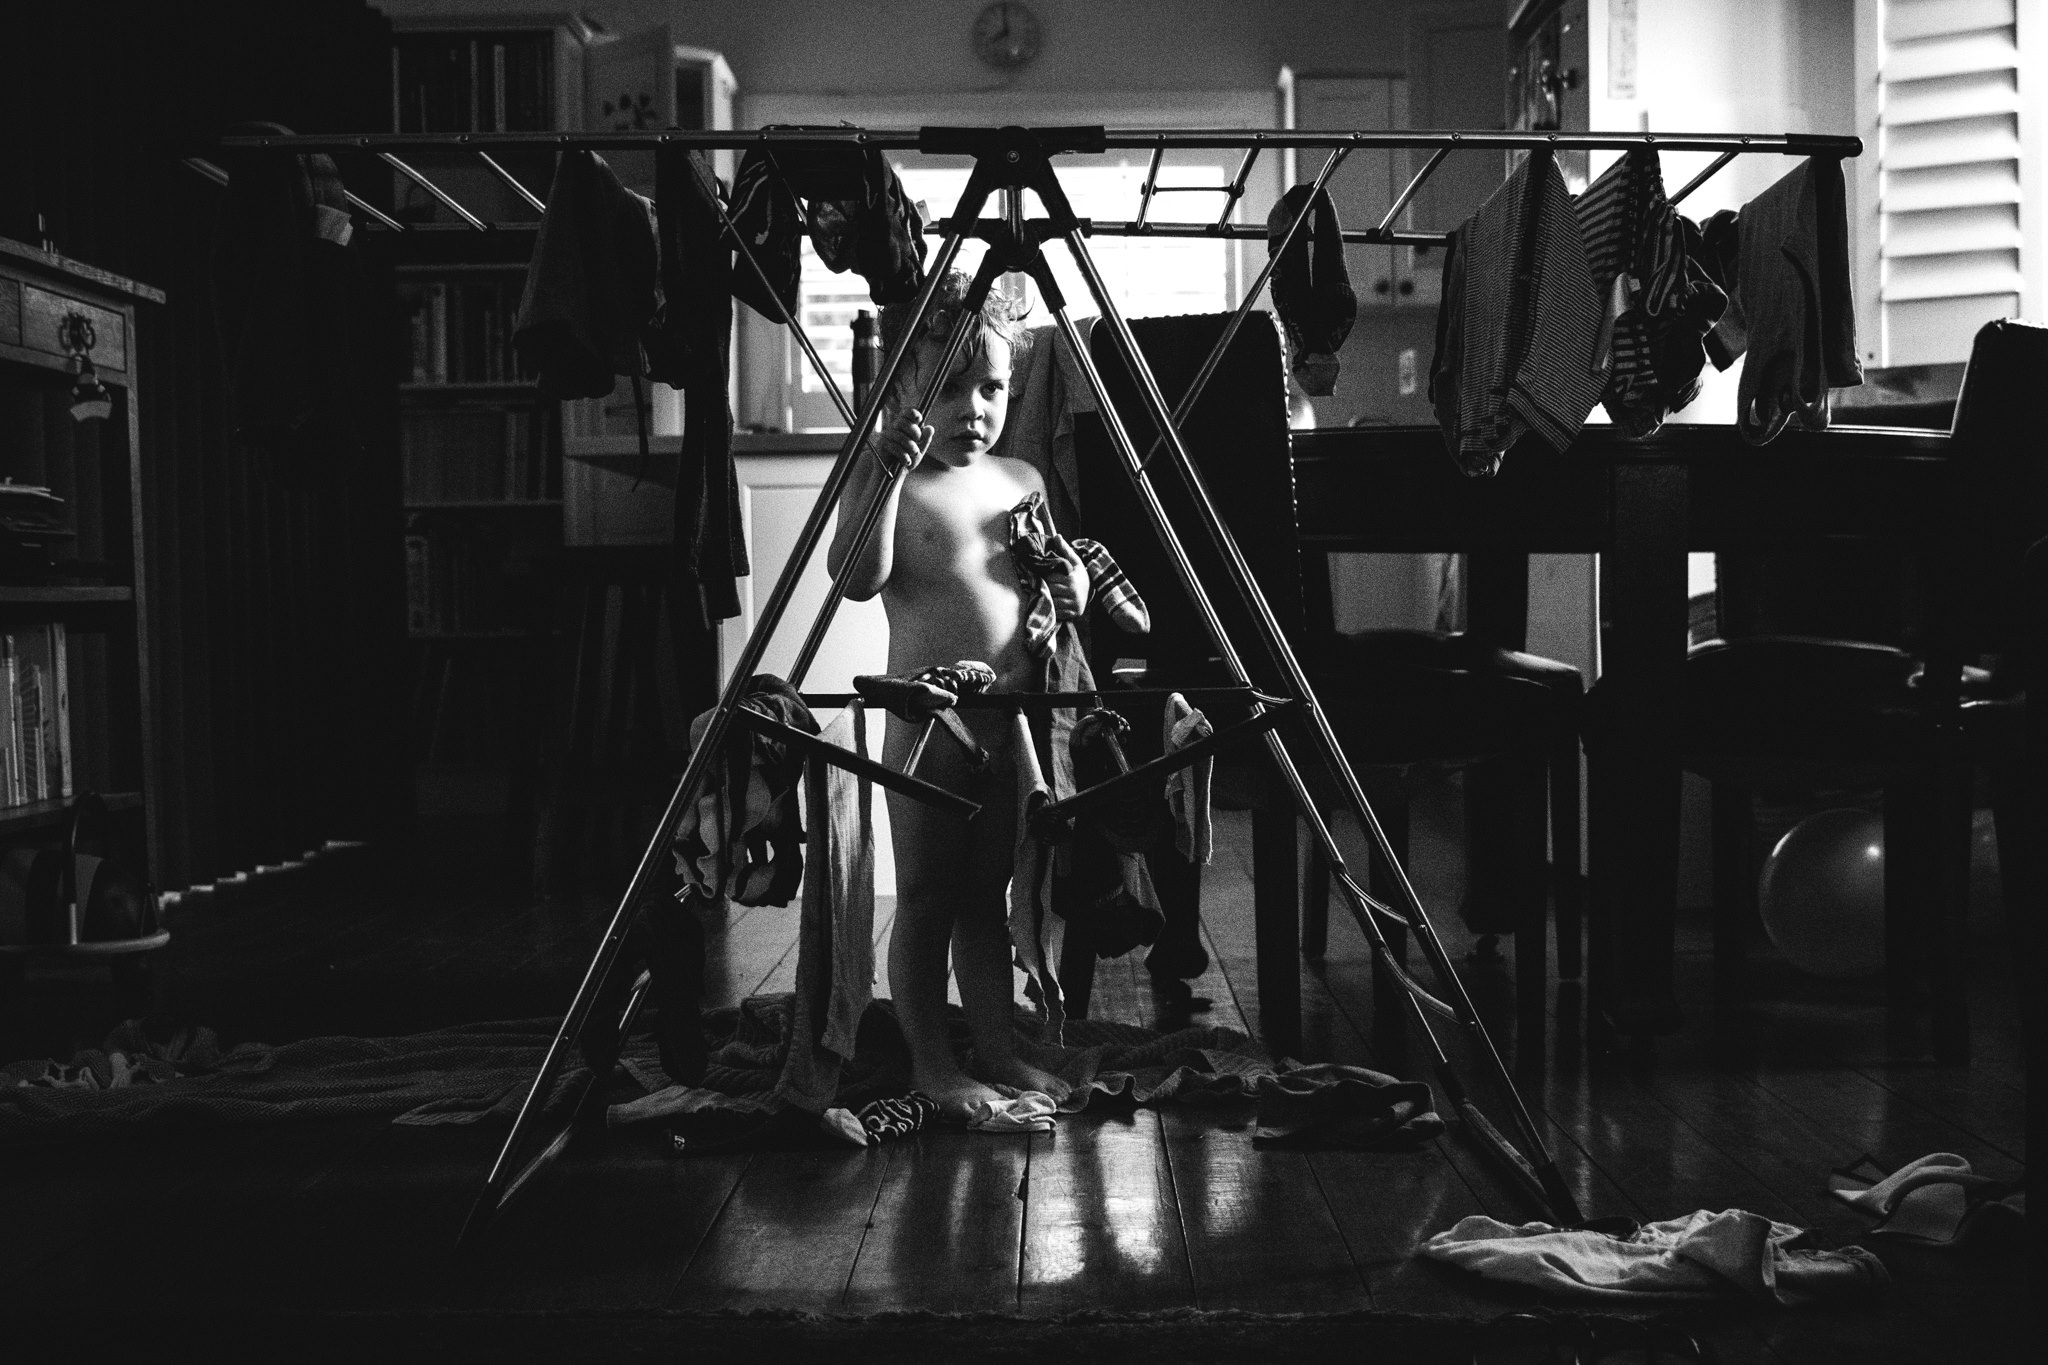
Megan O’Donnell
Related: 18 Gorgeous Photos Using Pockets of Light
The light pocket found here is beautiful and dramatic. In these instances, expose the subject.
If you’ve found the light before your subject, get your settings ready before bringing them in. Put your hand into the spotlight and meter for it, then bring your subject in so you’re ready to shoot immediately.
Related: How To Meter
CLICK HERE to download our guide to metering modes to help you know which mode will help achieve the best exposure for your shot
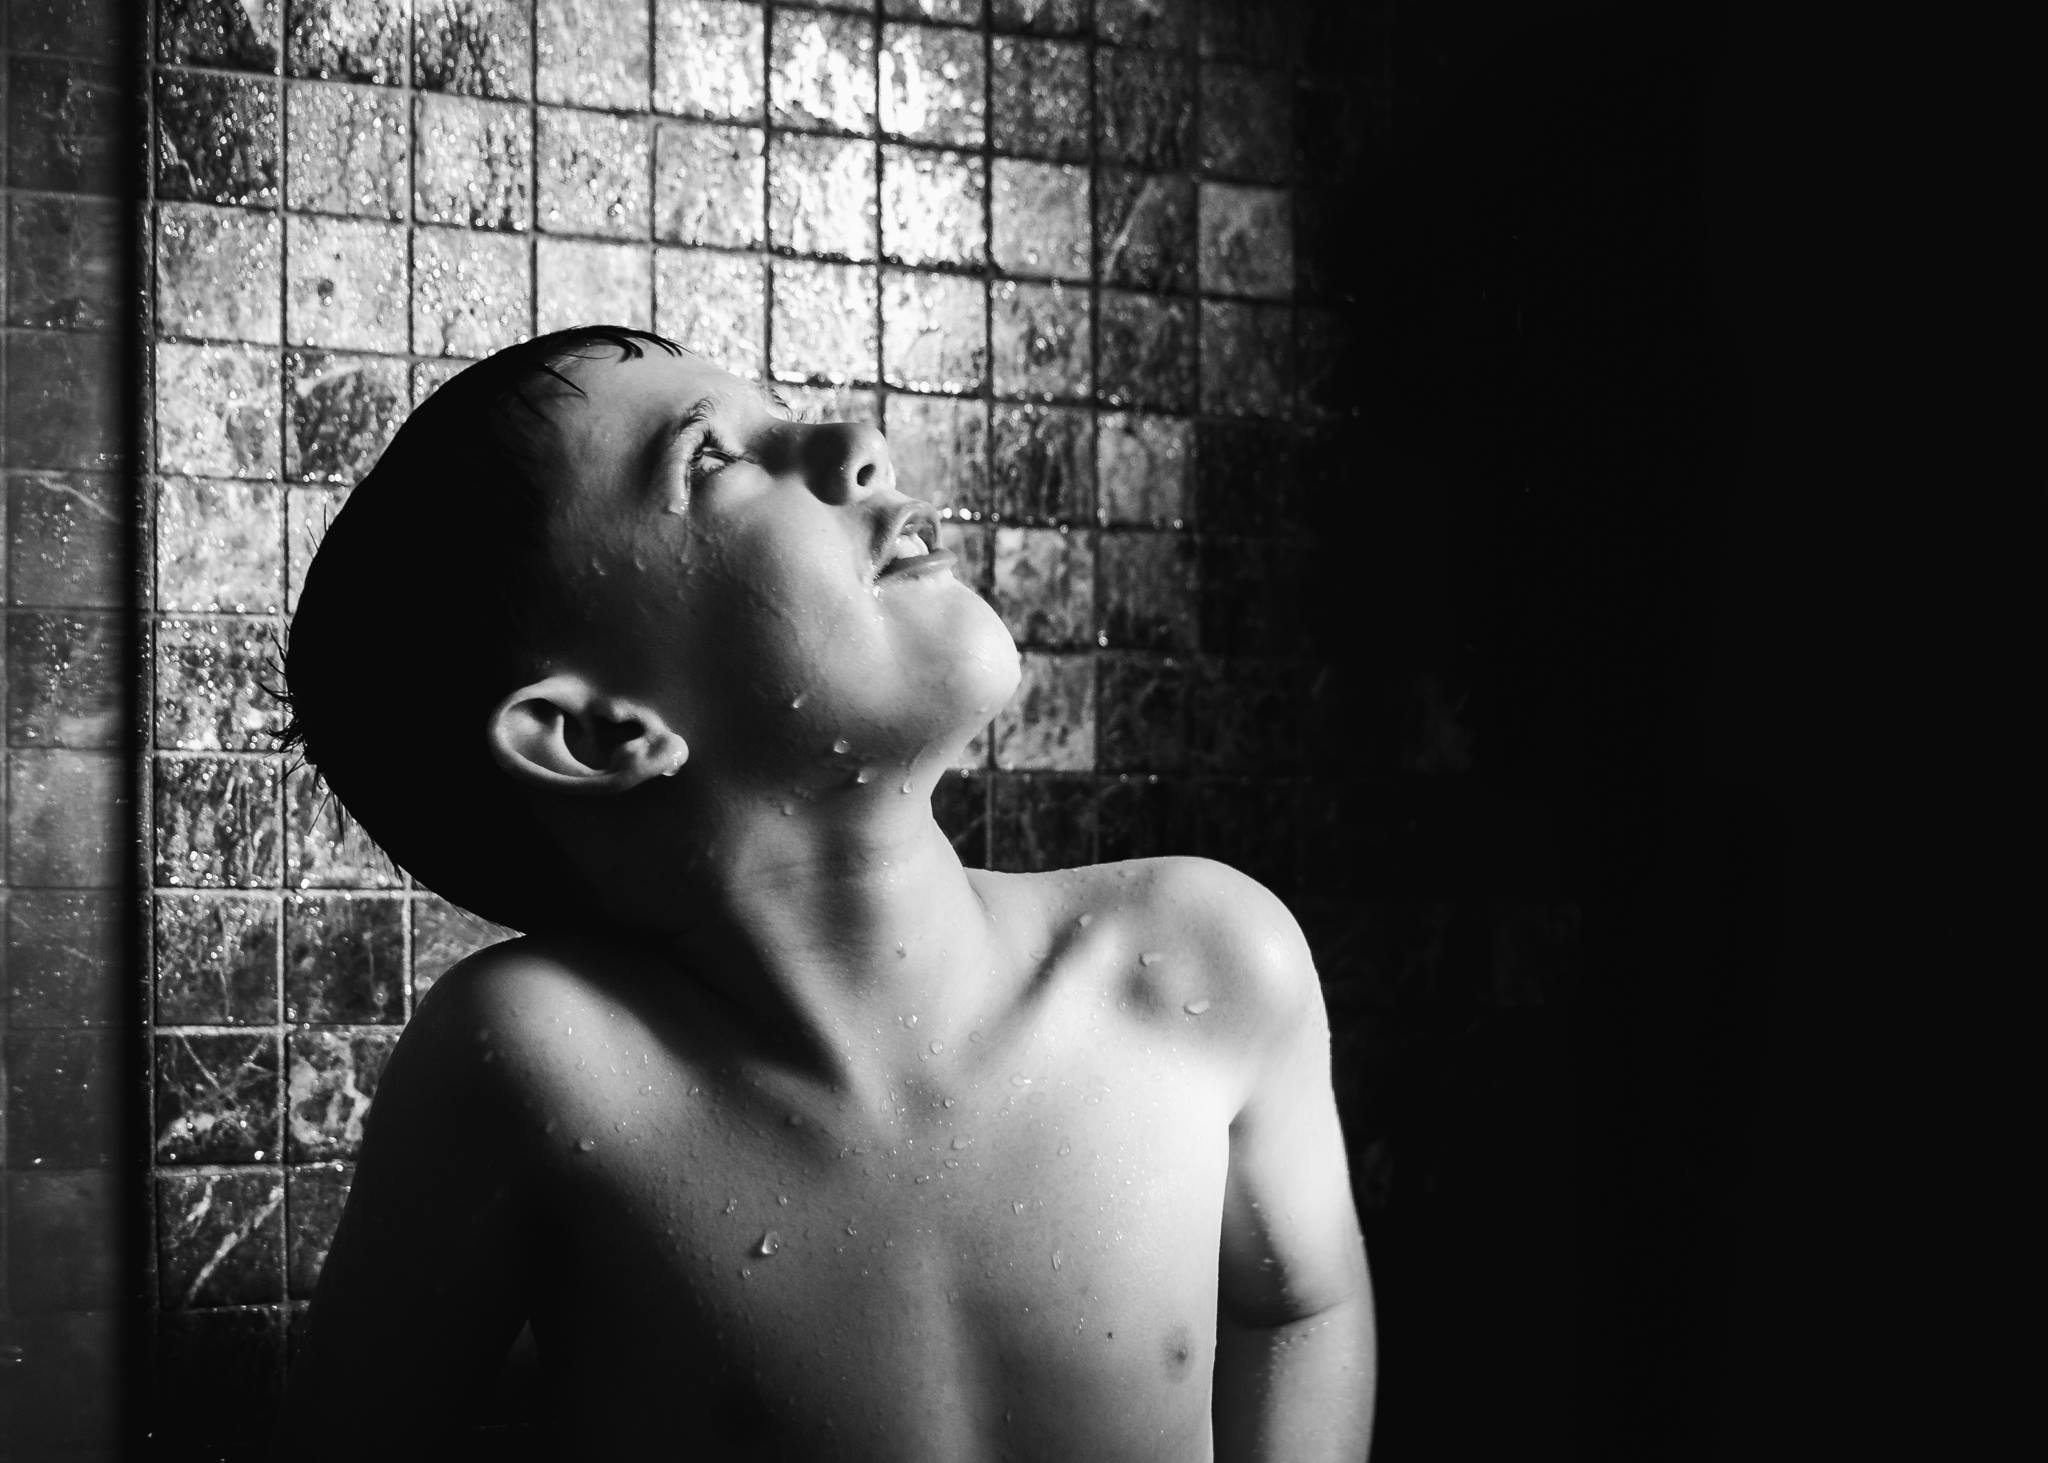
Megan O’Donnell
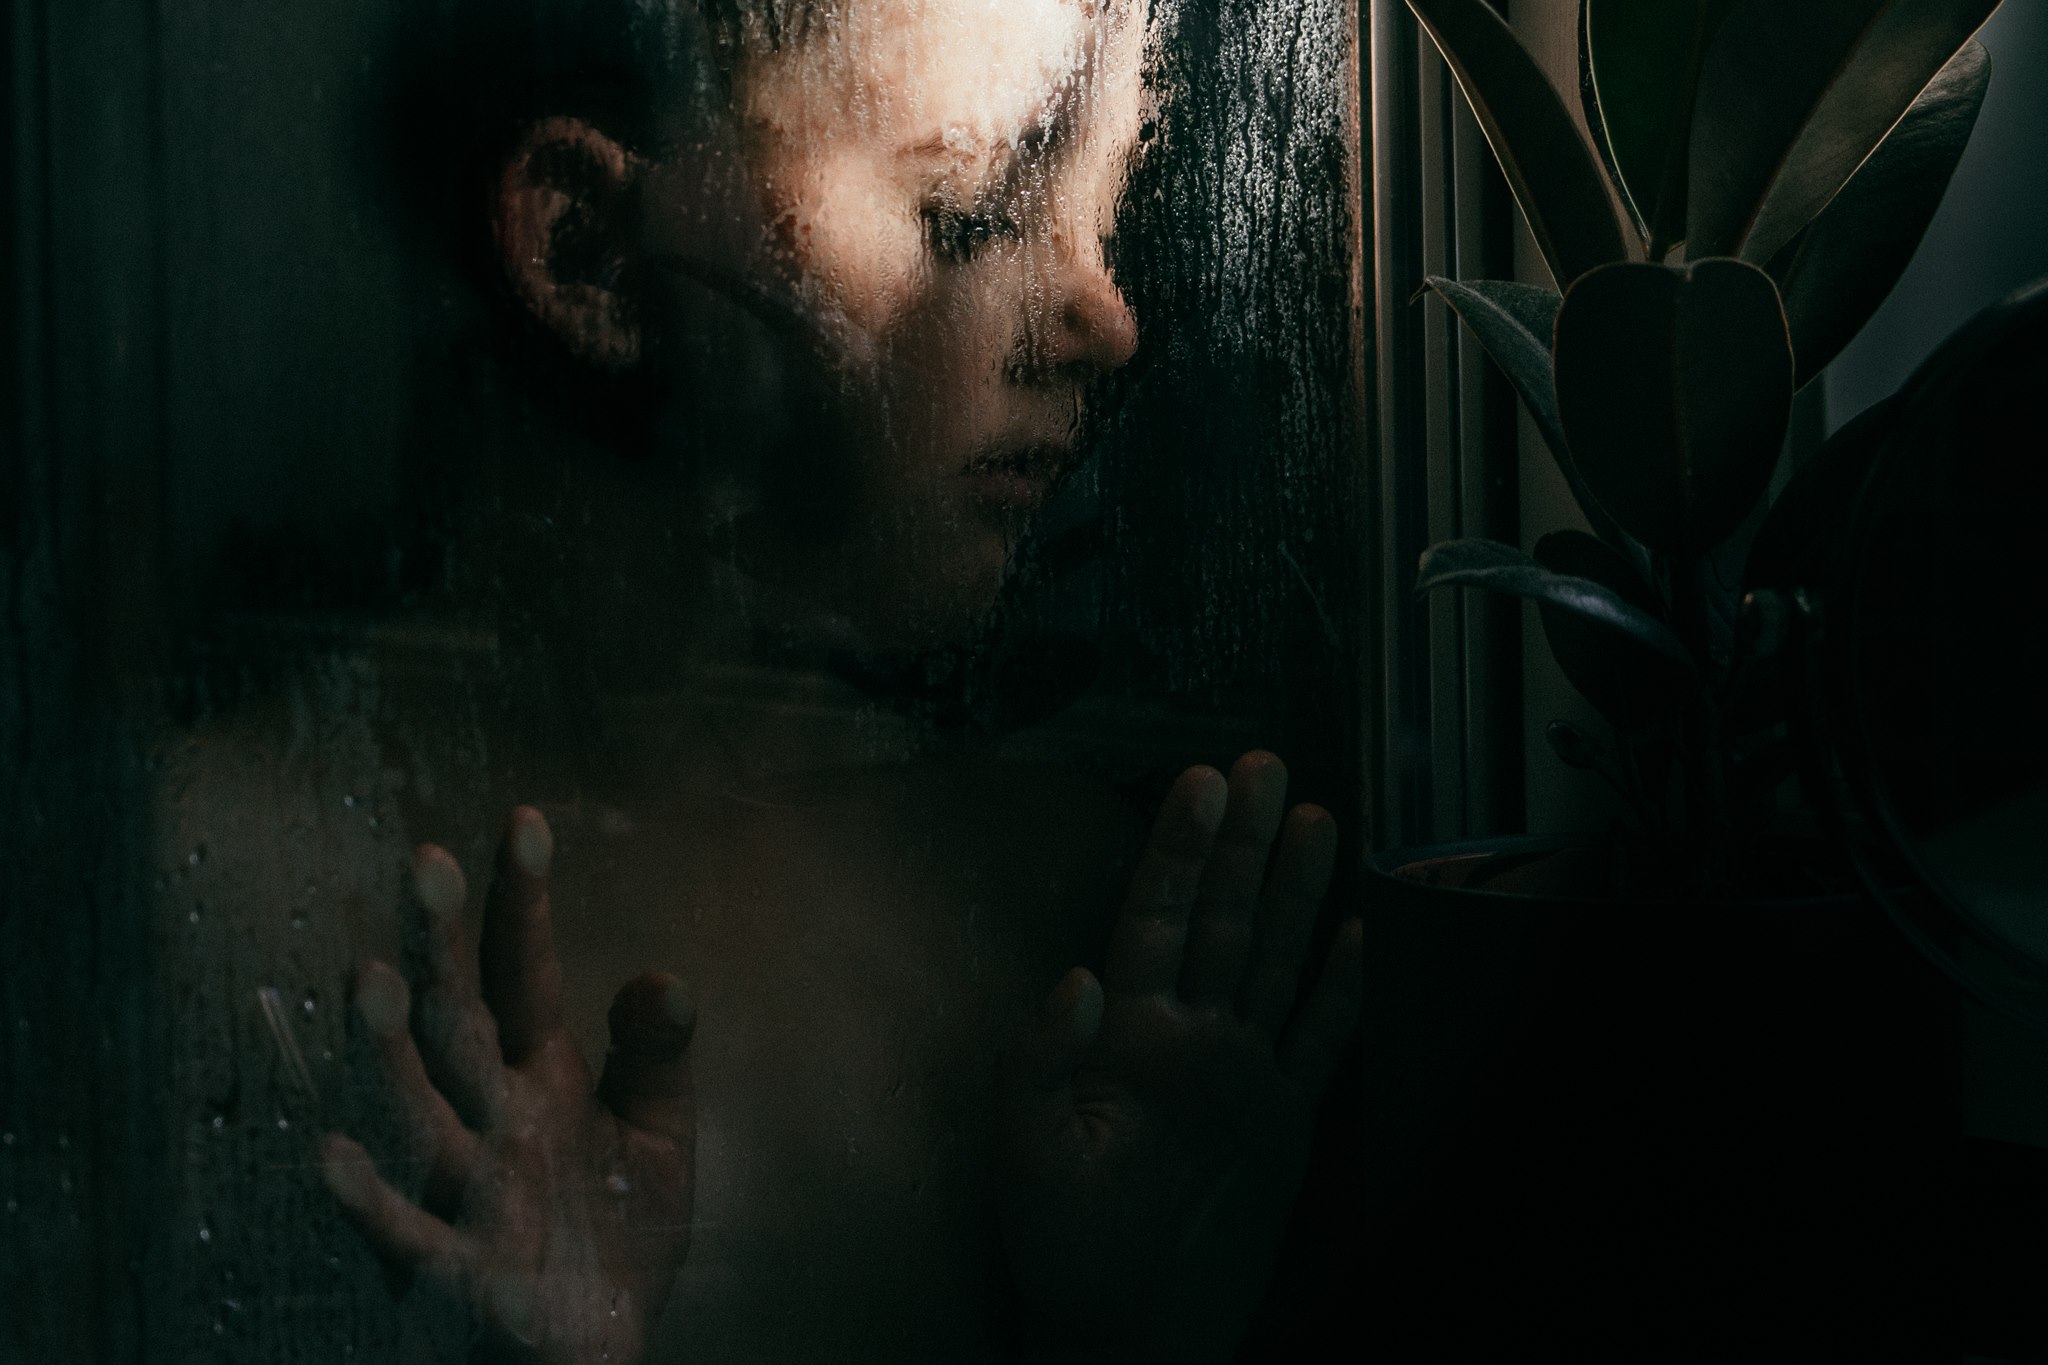
Megan O’Donnell
Kailey says ever since she took the Click Love Grow Advanced Photography Course, she has become much more aware of light and shadow in her everyday moments. She’s drawn to a ray of light beaming through a window, illuminating specks of dust, or the patterns of a shadow cast on the wall.
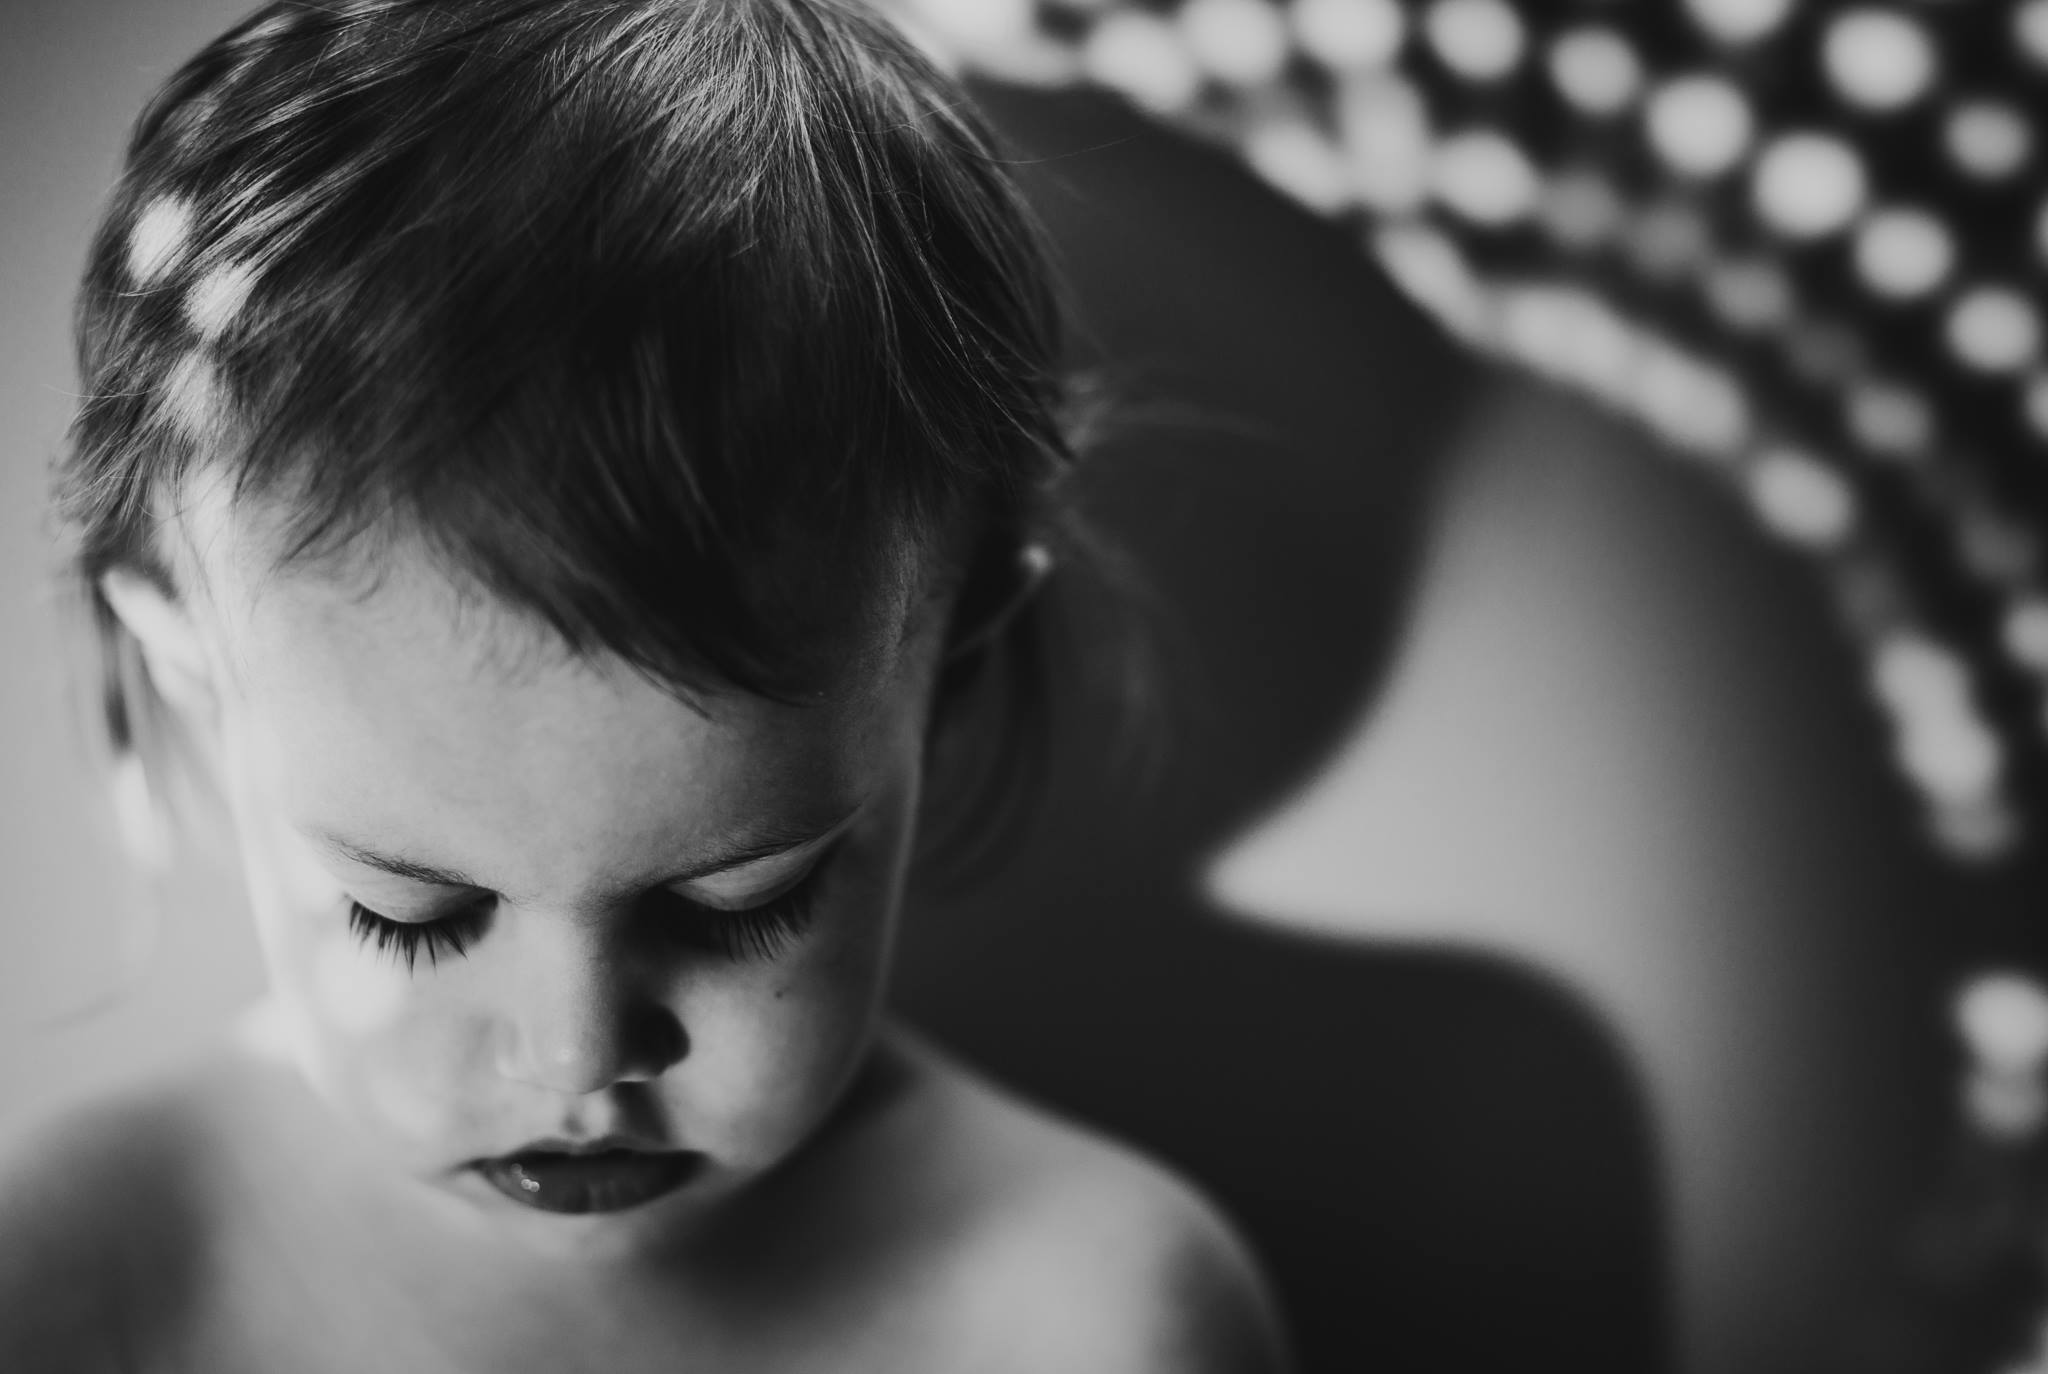
Kailey Nagymarosi
Kailey loves to involve her little ones in the creative process and tends to follow the moments they create in their play. The only control of her sessions comes from exploring her space, watching for where the light lands and encouraging her kids to play there.
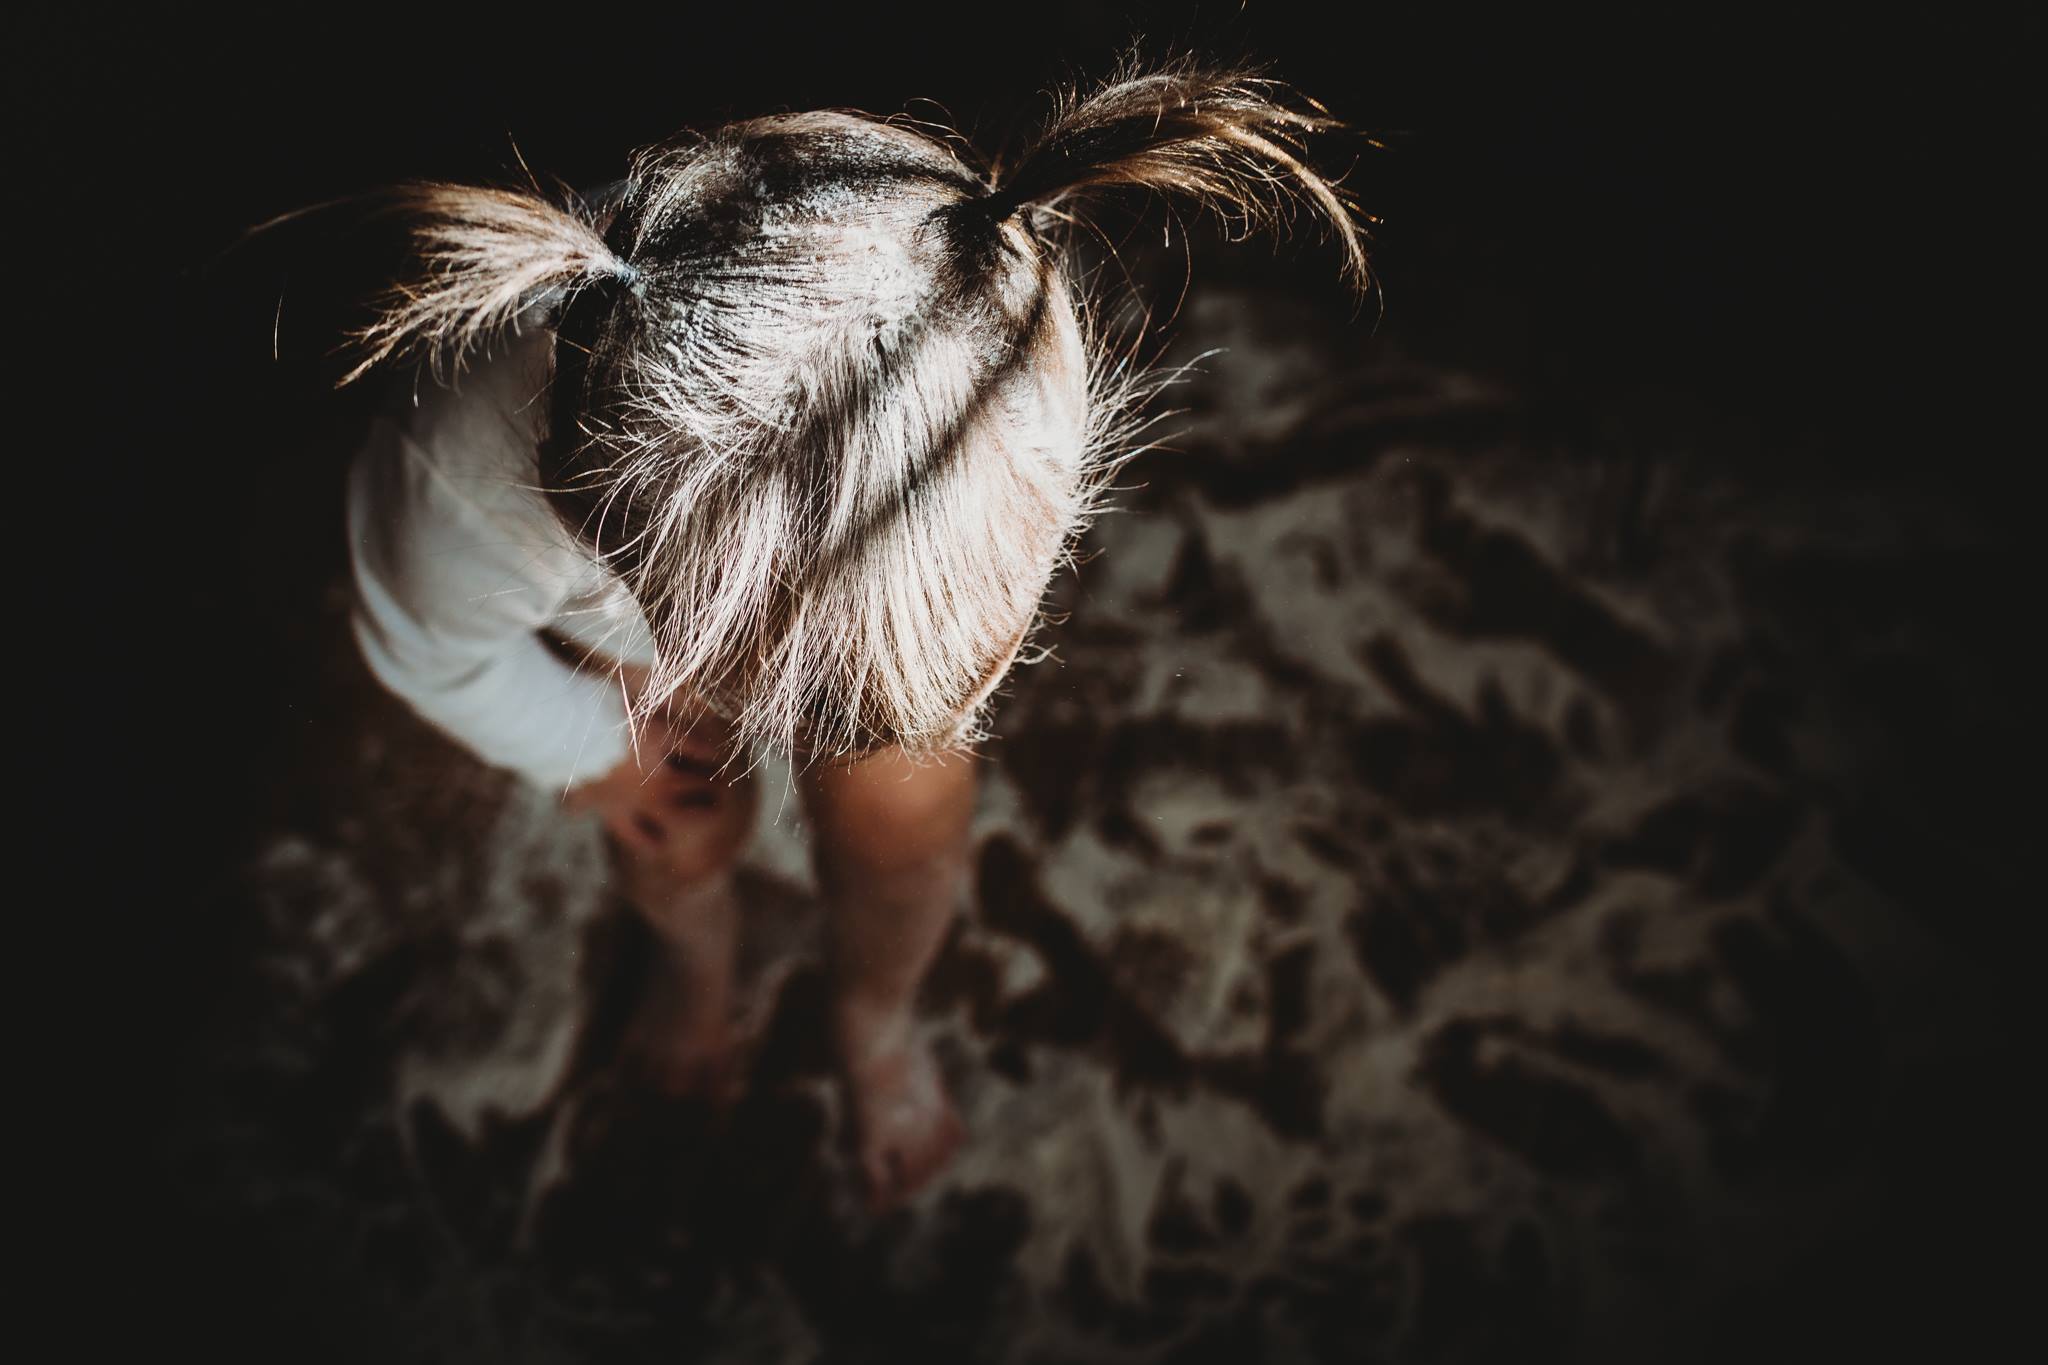
Kailey Nagymarosi
Encourage role-playing games, for example playing zebras and cheetahs. Play hide and seek in harsh light under a blanket…and watch how the light sneaks in.
For these images, Kailey climbed under the blanket using her body to hold it up like a tent — the light was to the left.
Related: 10 Tricks to Get Real Smiles

Kailey Nagymarosi

Kailey Nagymarosi
For these shots, I was specifically hunting for spotted light, and found it created by the back of a wicker chair!
Expose their skin, use a minimum shutter speed of 1/300 to freeze the motion of child’s play, and don’t fear a high ISO!
Related: Better Results at High ISO
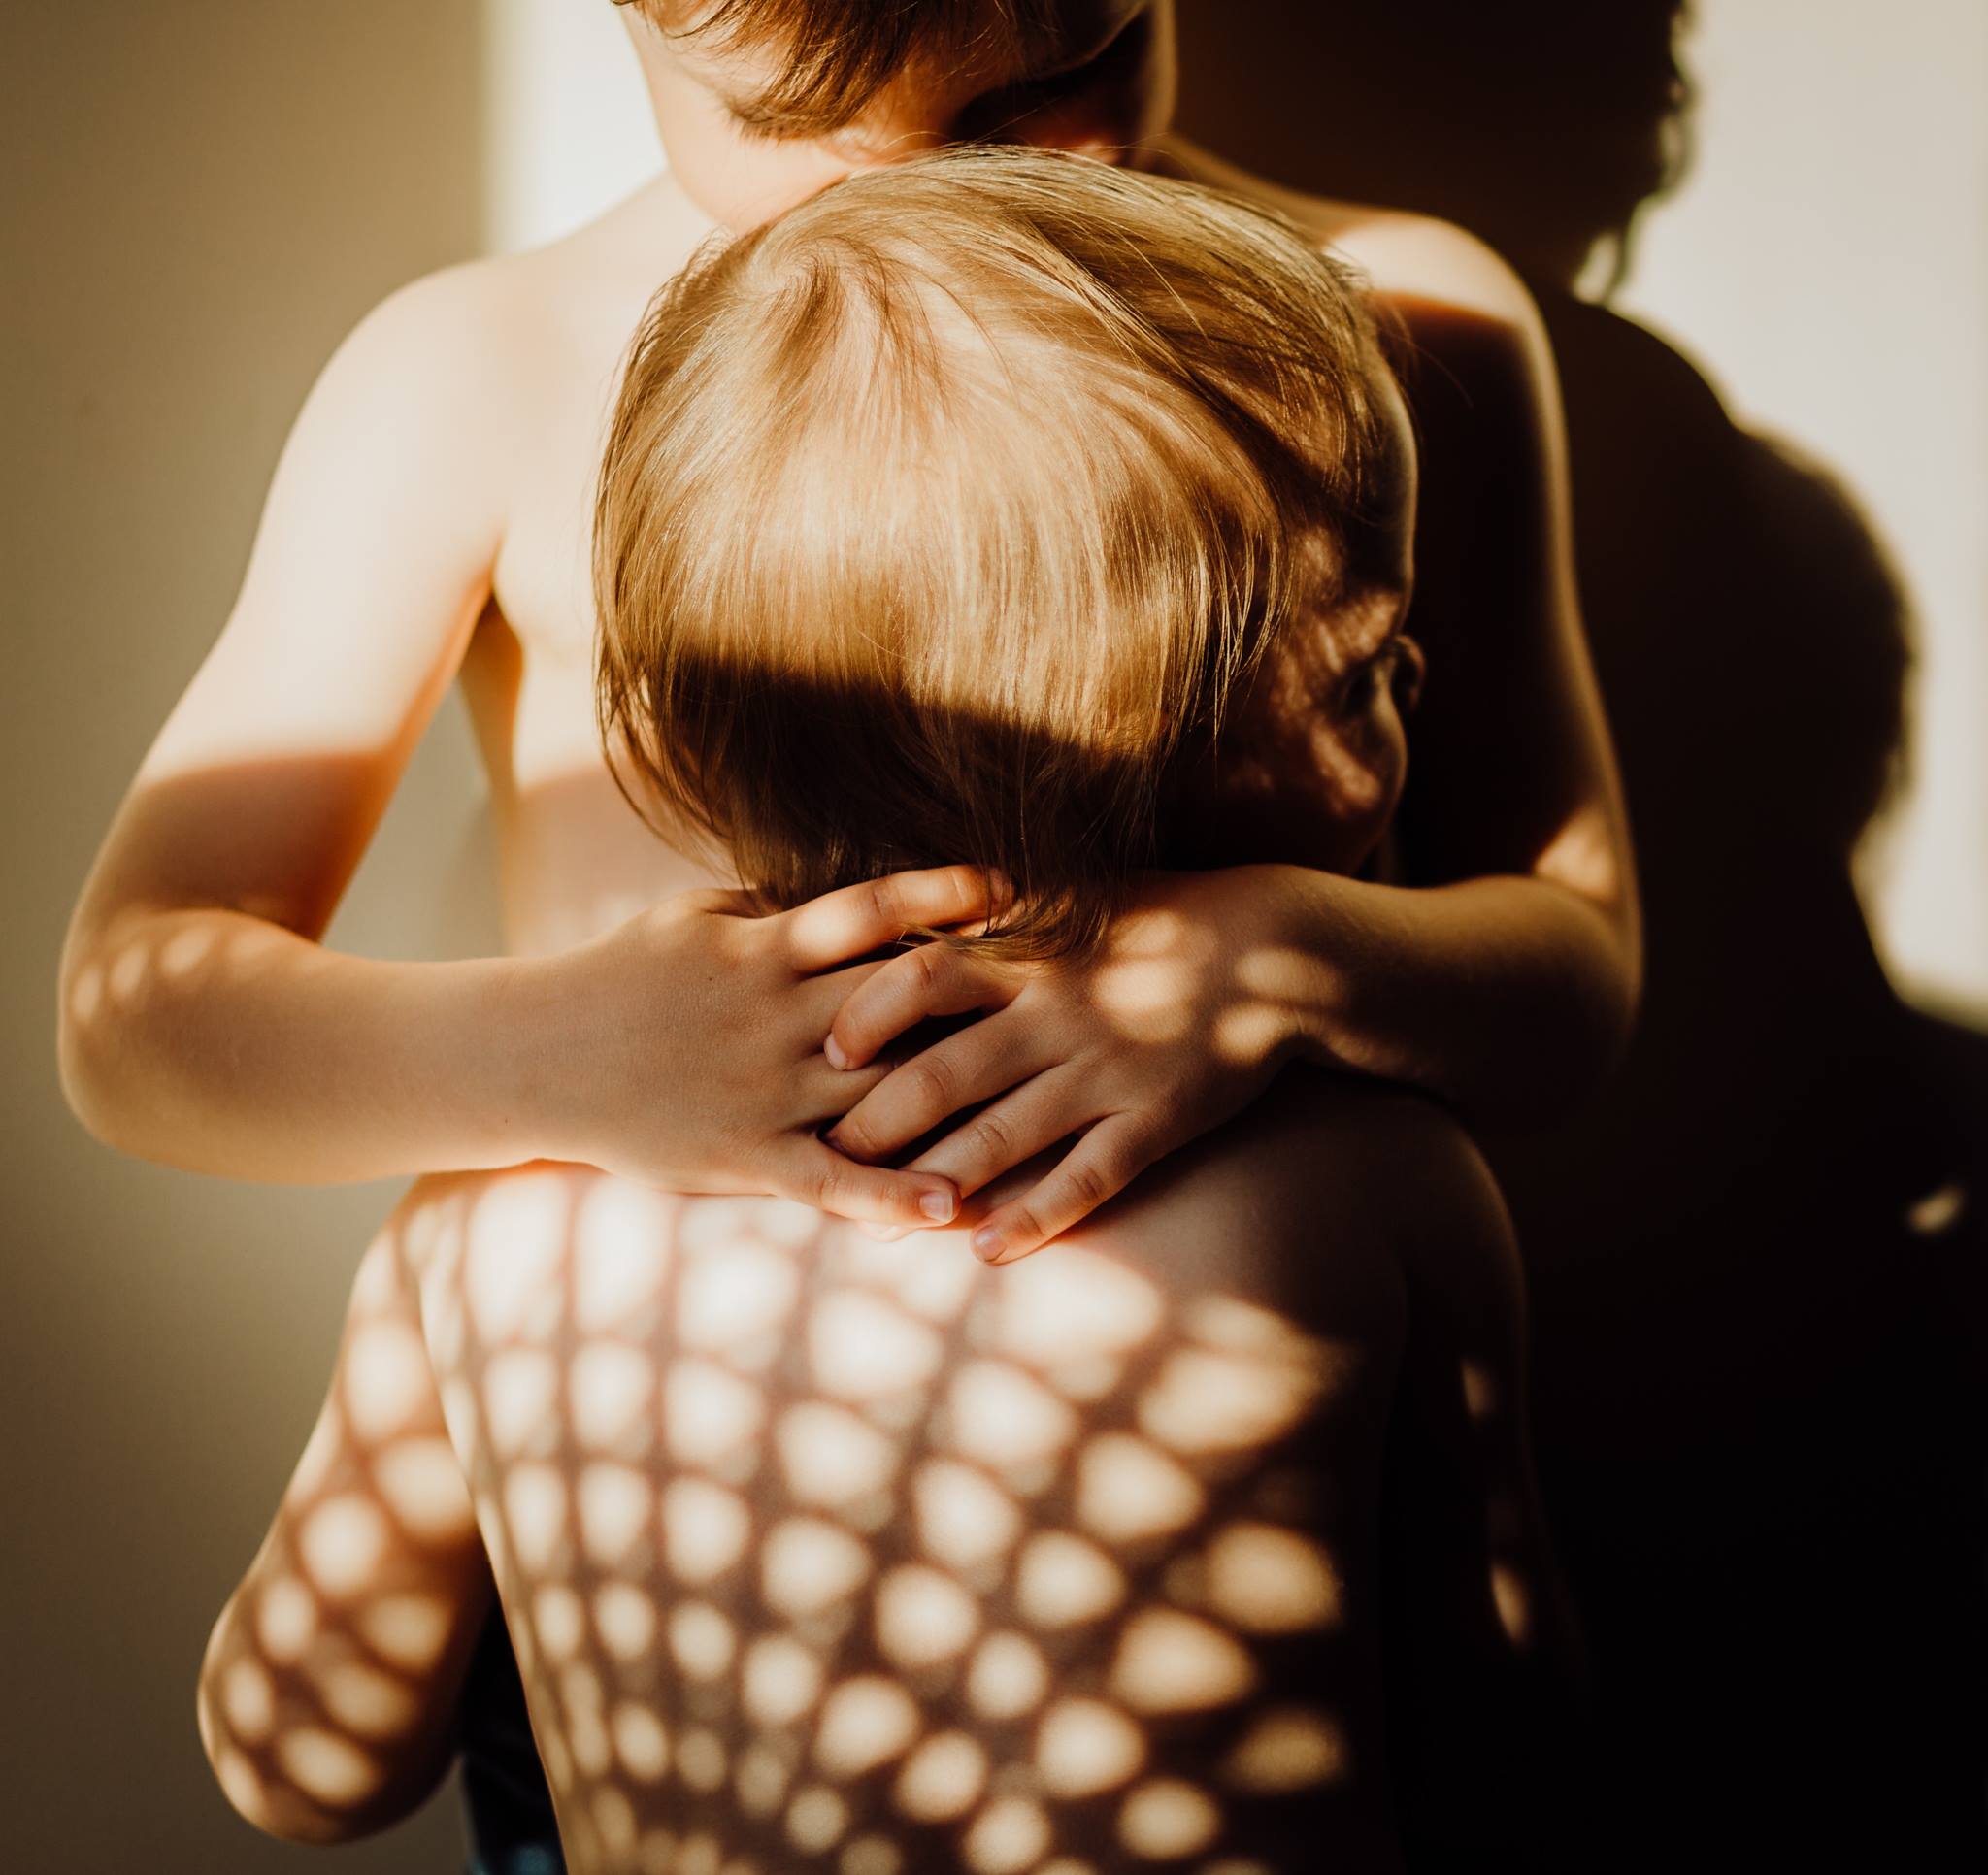
Kailey Nagymarosi
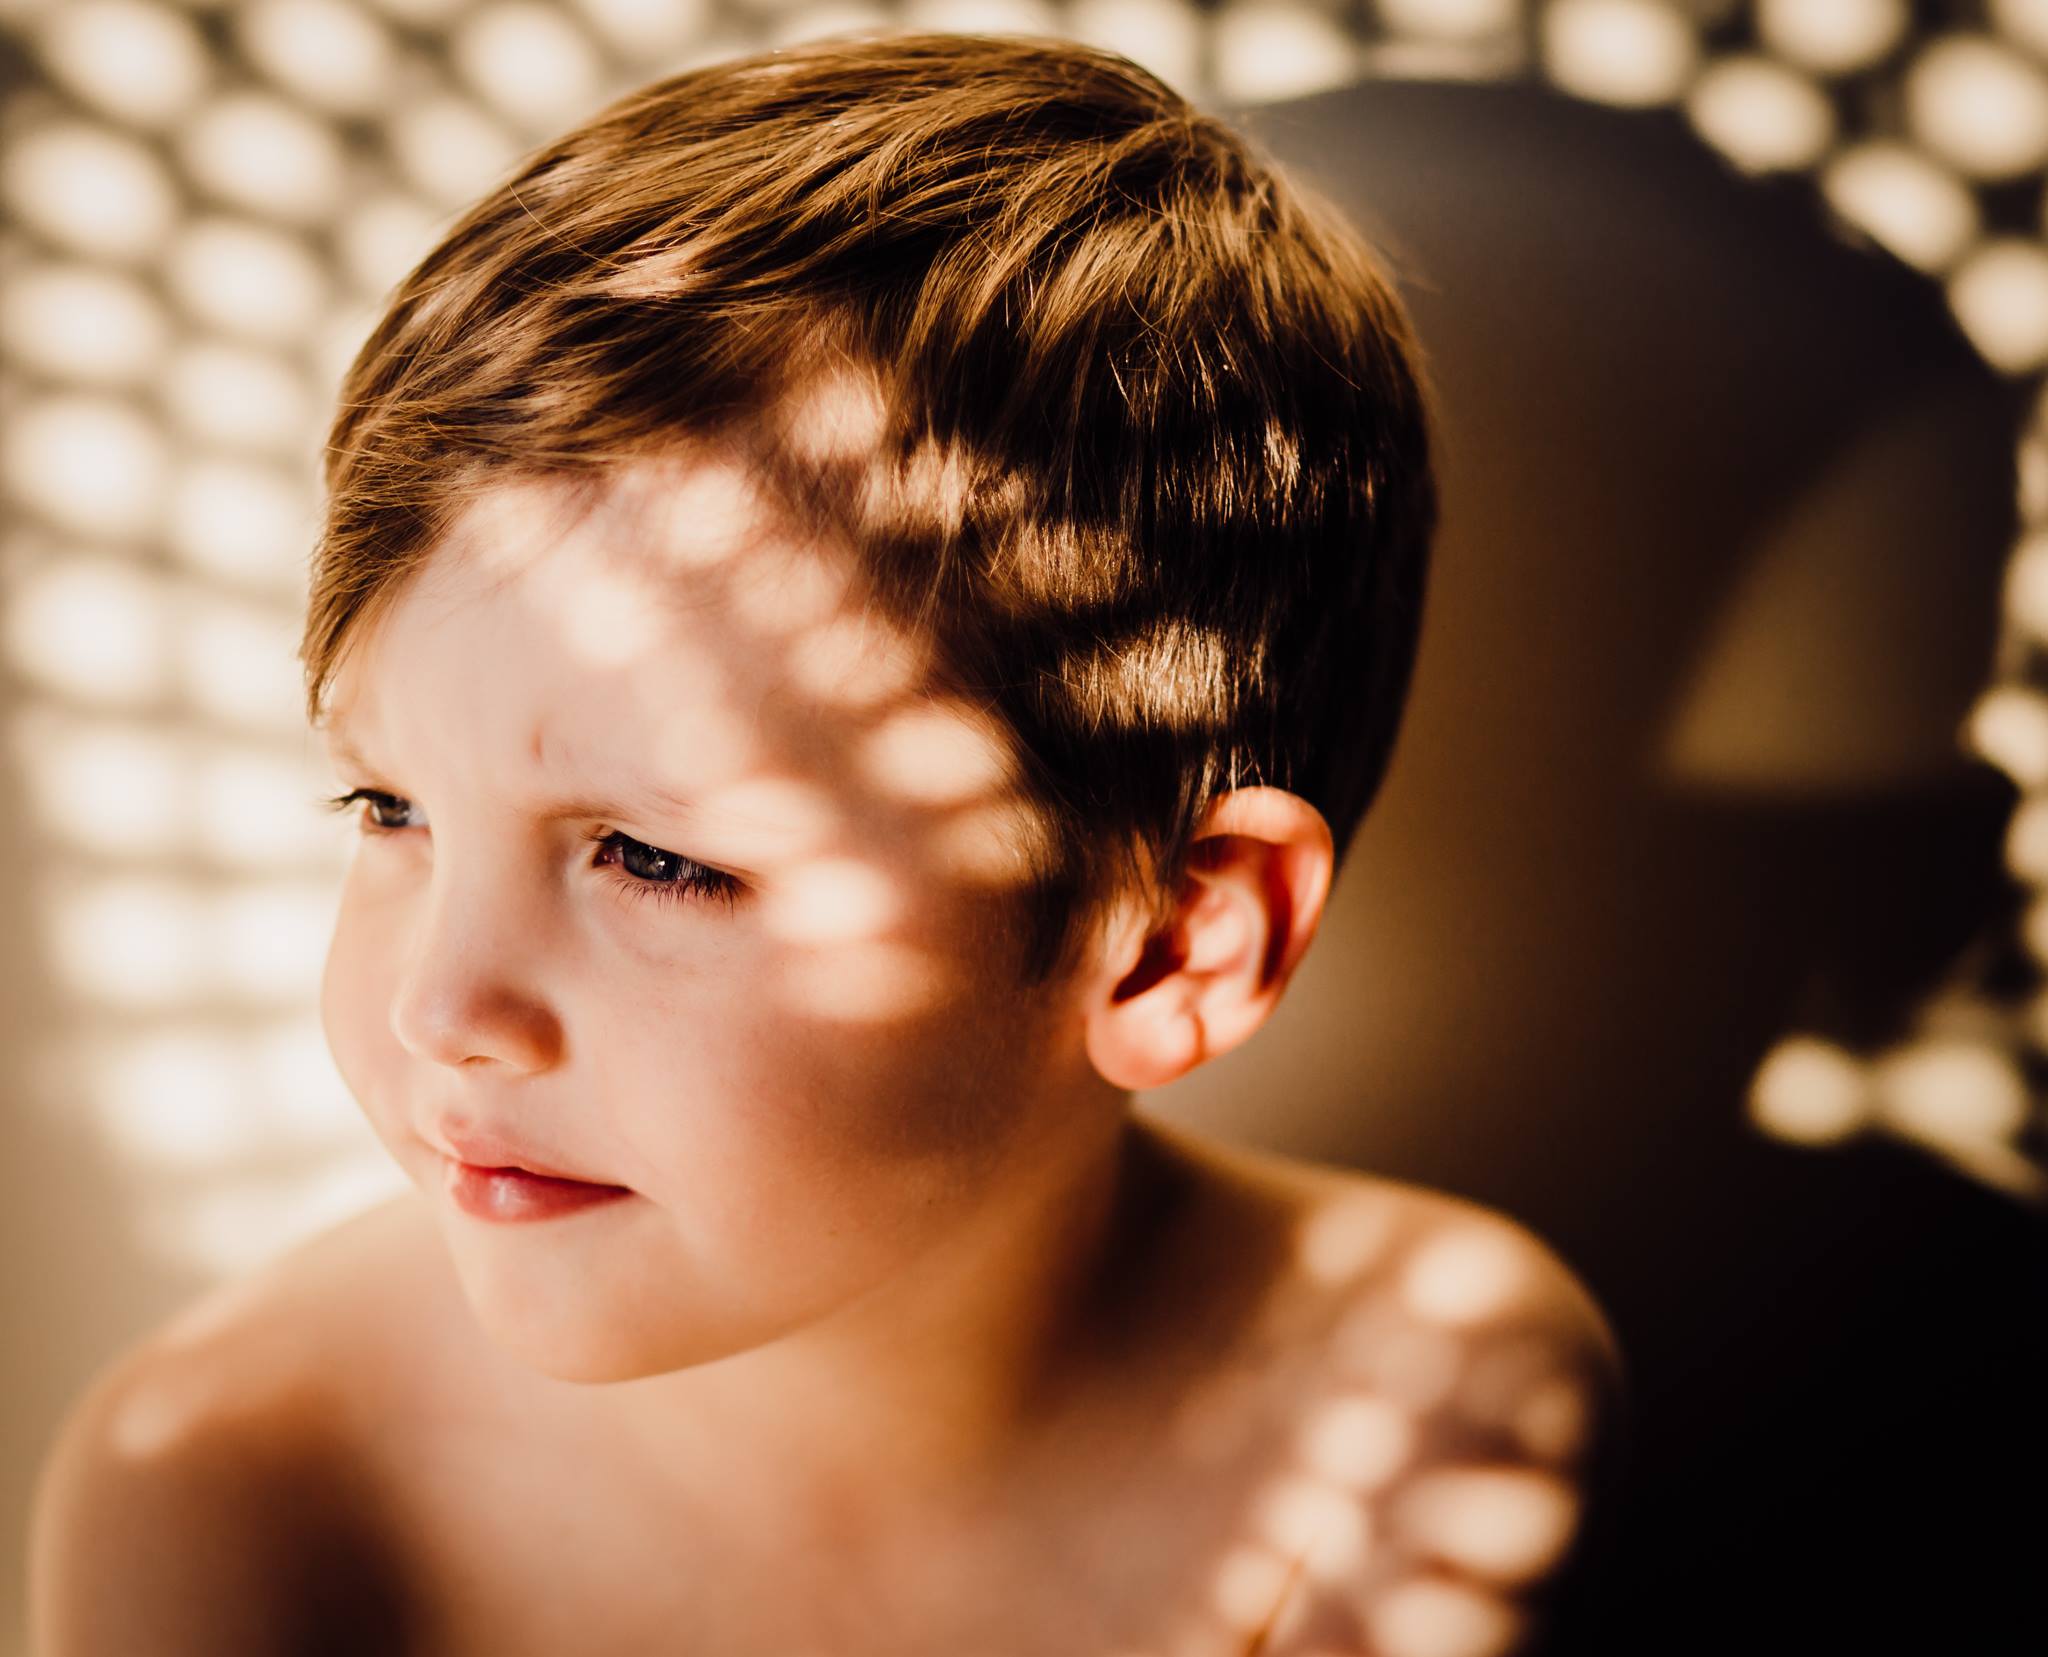
Kailey Nagymarosi
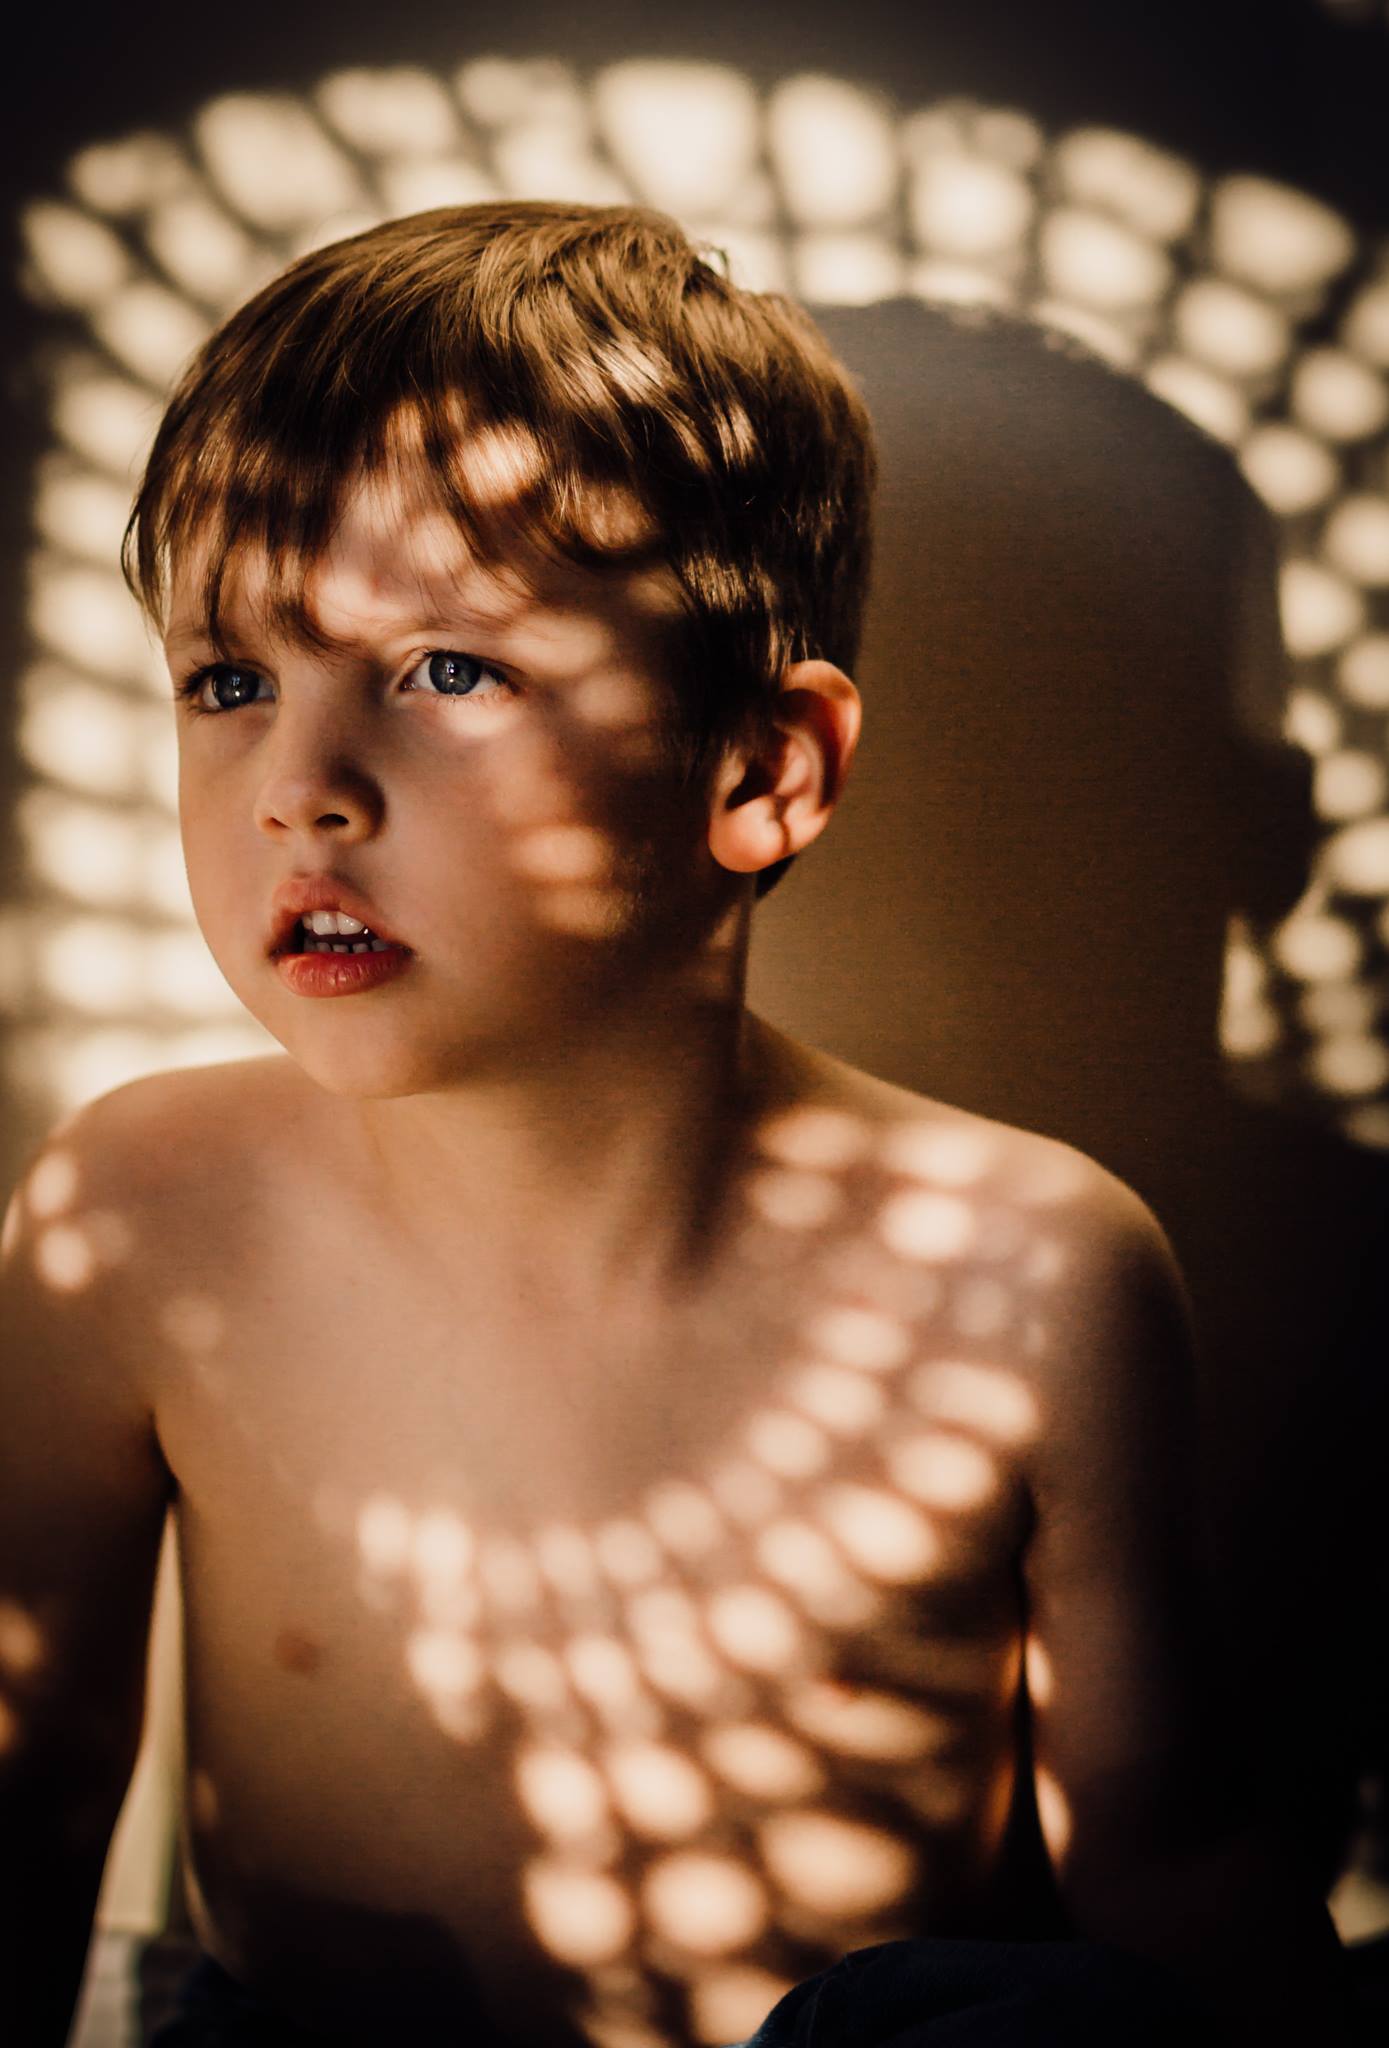
Kailey Nagymarosi
A BIG thank you to Merissa, Kailey and Megan for their generous tips and stunning shadow photography images! Want more inspiration from these talented ladies? Head to Merissa Wakefield Photography, and Kailey Jane Photography, and we’ll let you know the minute Megan decides to share her work with the world outside of Click Love Grow!
Download the Guide
4 Steps to Beautiful Kids Photos
Use these tips & tricks to help you take gorgeous non-cheesy photos of your kids! Xx

CLICK LOVE GROW ™ Pty Ltd - COPYRIGHT 2024 ©
Enter your info below to join the challenge!
Want a friendly reminder when I go live?
Pop in your number and I’ll shoot you a text.
* We will send text reminders for our live calls during the challenge! Reply ‘STOP’ to end or ‘HELP’ for help.
We promise not to ever share your details with anyone or send you spam! Check our privacy policy and terms of service.
Grab the Metering Modes Guide
Grab our free metering guide below to know which modes suit which shooting scenario... all in a handy checklist for when you’re out shooting.
Be the first to comment