32 Contemporary Portrait Ideas
Our highlights reel this week is a celebration of our Contemporary Portraits Creative Workshop which just finished up earlier this month! This collection was taken by workshop students and our talented mentor Bronwyn Pickering, and are a stunning visual of all they took away when learning how to plan and execute a contemporary portrait session.
If you want to experiment with contemporary portraits, try these tips to shake up the way you frame or light your portraits and create some really visually impactful imagery!
1. Light
Get out of your comfort zone, move away from soft light and mix it up.
Golden Hour
Golden hour sunlight is always beautiful but not new. The difference in this stunning, summery shot is that it was front lit. So we have light directly on their faces, but it’s not jarring at all, and the light patterns it has created around them add interest and depth.
Related: How to Shoot Golden Hour Beach Photos
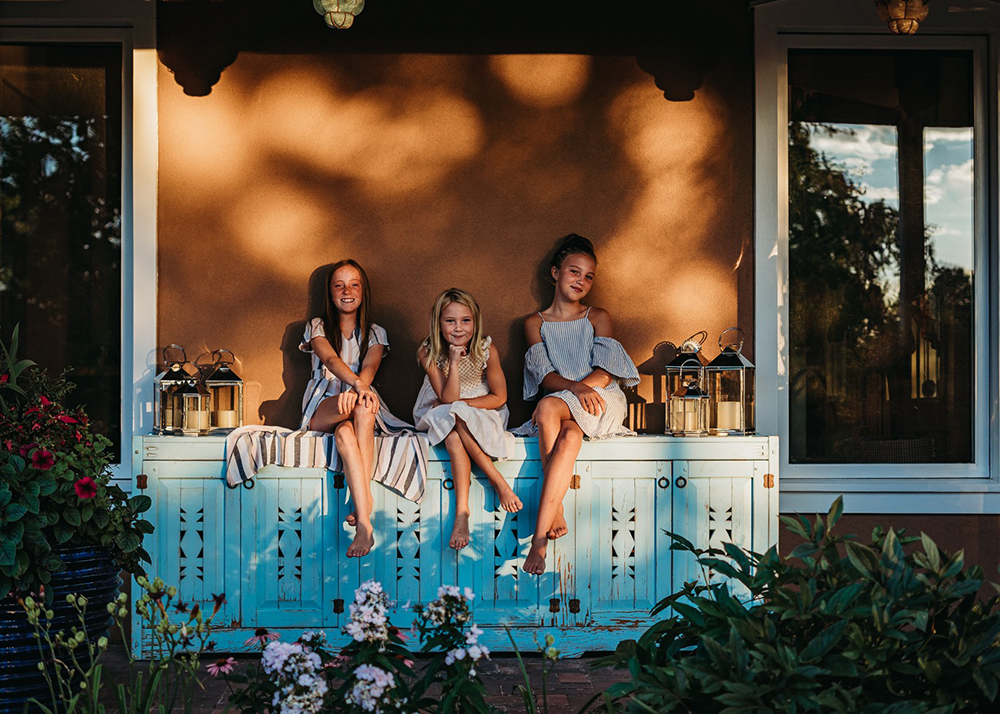
Hope de la Rosa, Advanced Graduate
Golden hour again, this time back lit to create some stunning light bokeh and rim light around her subject. For best results, frame so that the sun isn’t directly hitting your lens, which you can do by blocking it with your subject, filtering it through dense trees, or framing it just out of the shot.
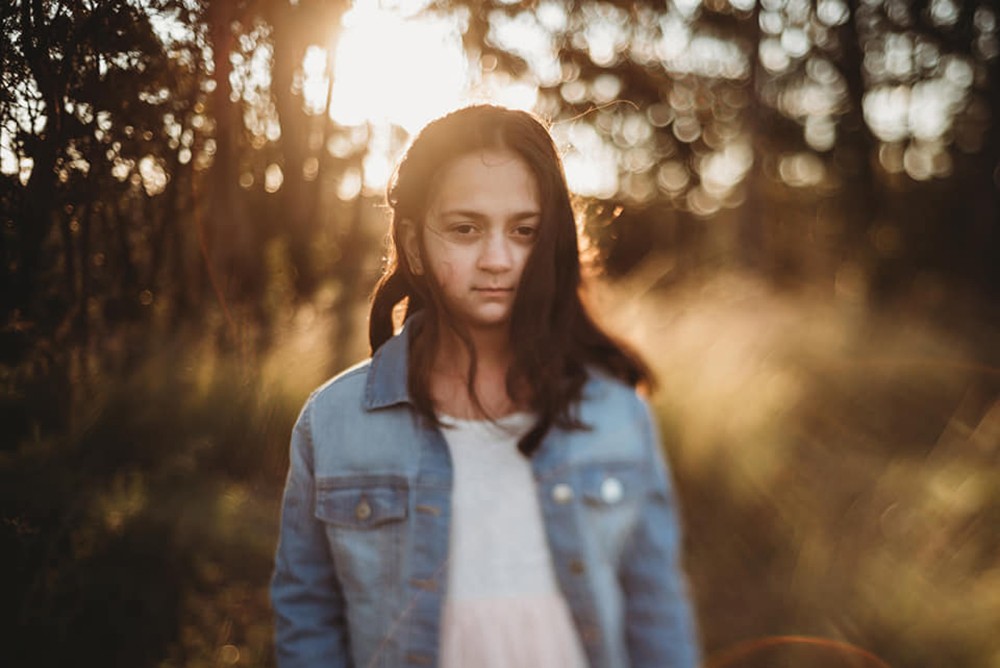
Sonia Ragusa, Advanced Graduate
Light Bokeh
Light bokeh creates a stunning, dynamic backdrop every.single.time. The good news is you don’t need special gear. You can create light bokeh even if you have an entry level camera and kit lens, you just need to know a few tricks.
Related: How to Take Beautiful Light Bokeh Photos
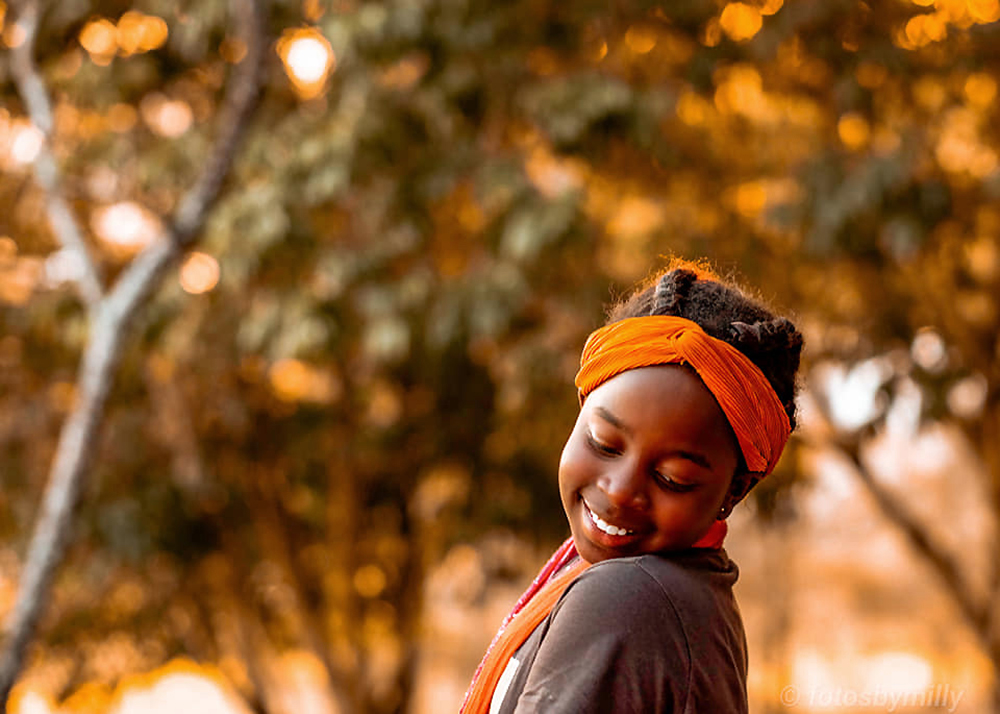
Milly Chitabwa, Graduate
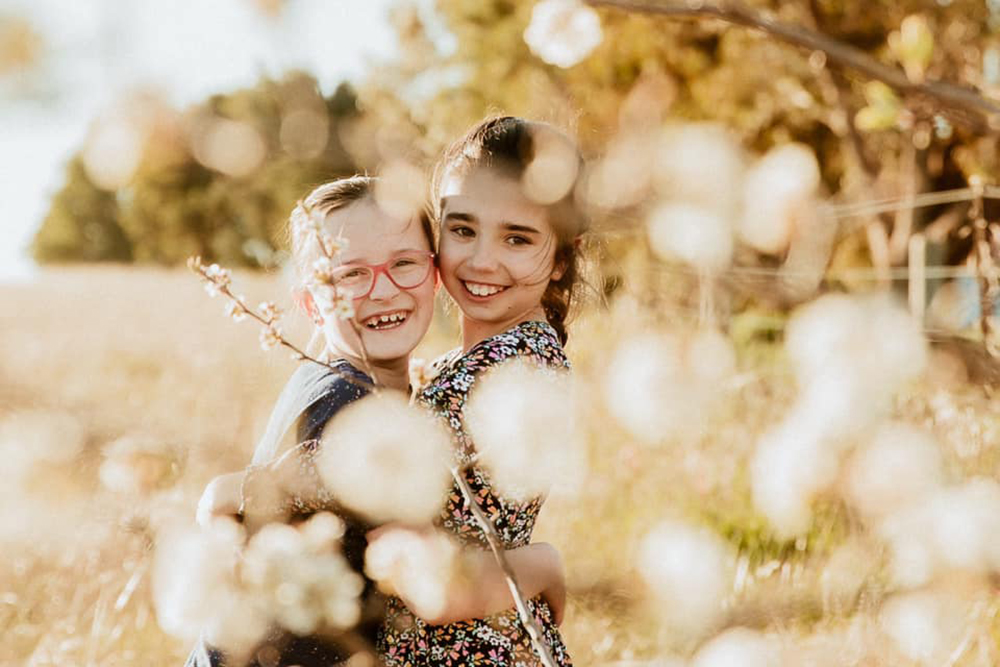
Toni McDonald, Graduate
Water Bokeh
Another way to use light bokeh for creative effect is to capture your subject running through the sprinkler or other water spray. The light will bounce off the water and combined with a wide aperture (say f/2.2) you’ll achieve this beautiful sparkle effect. You’ll need a fast shutter speed of at least 1/800 to capture the motion of your subject.
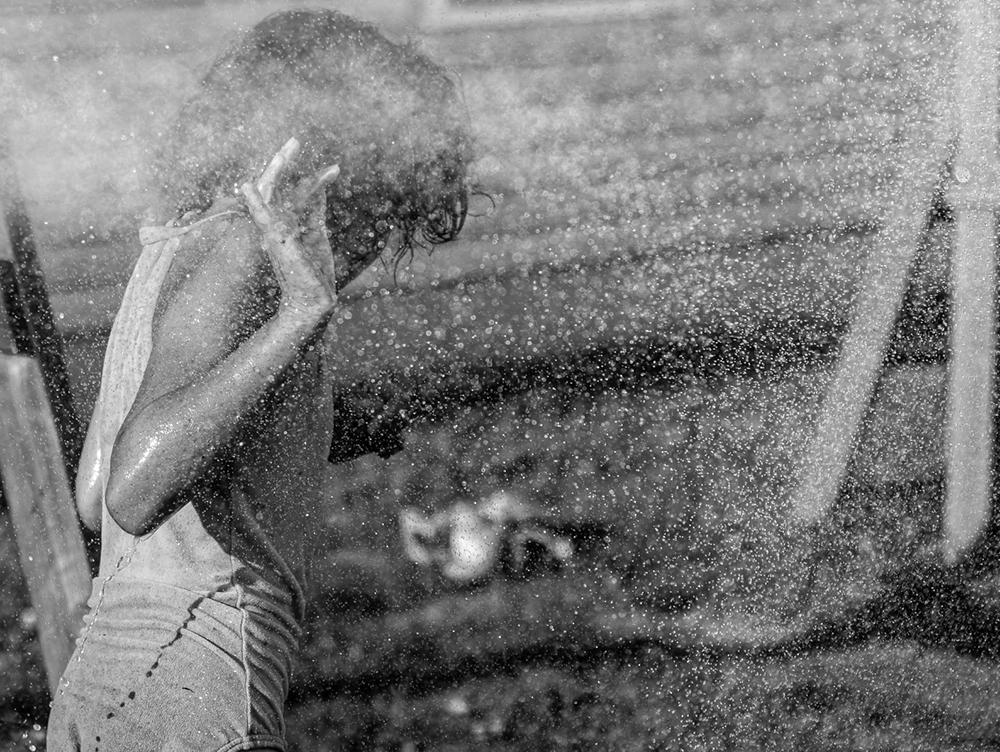
Nicole Suter-Johnson, Advanced Graduate
Lens Flares
Purposefully creating gorgeous lens flares and haze without Photoshop is easy! They happen when the light hitting your sensor reflects internally and scatters.
Take off your lens hood, and with the light behind your subject, shoot into the sun. Experiment with your position and angles to adjust the light in your frame, which will enable you to manipulate (to some degree) the intensity and position of the lens flares. You can also play with them by partially blocking light hitting the lens with a cupped hand on one side.
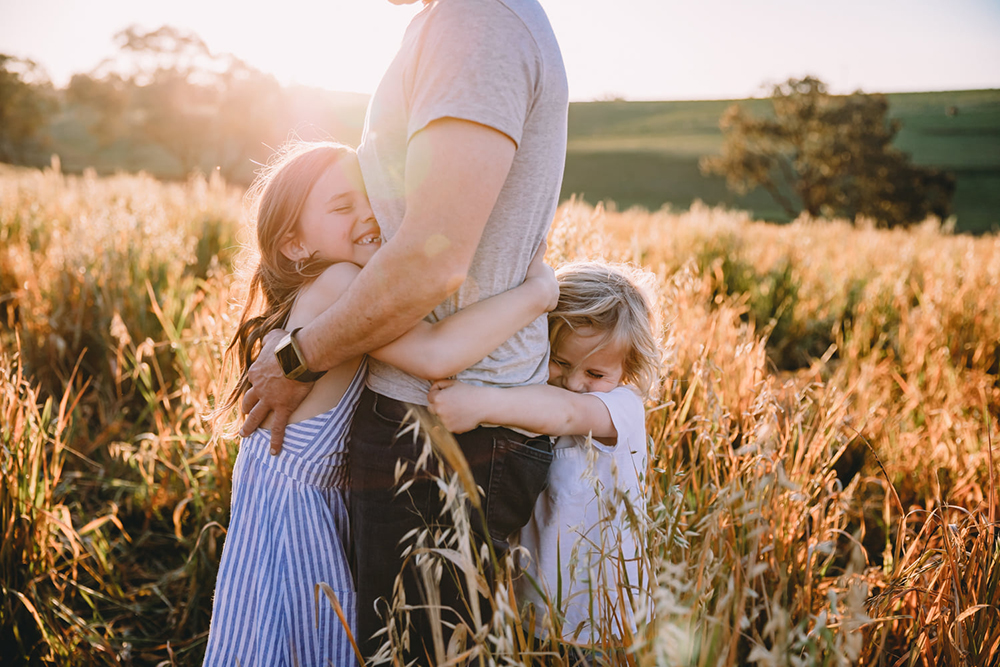
Jennifer Precians, Advanced Graduate
Dreamy Haze
Shooting into the sun will also create haze, which lends the shots a dreamy feel. However be careful not to let the haze take over the shot and reduce the clarity if your subjects to the point it looks accidental.
You can control the intensity of haze by experimenting with your position to increase or reduce how much light hits your lens. Aperture also plays a part: a wide aperture will give you more haze, and a narrow aperture will decrease it. Then you can tweak in Lightroom using the dehaze and clarity sliders.
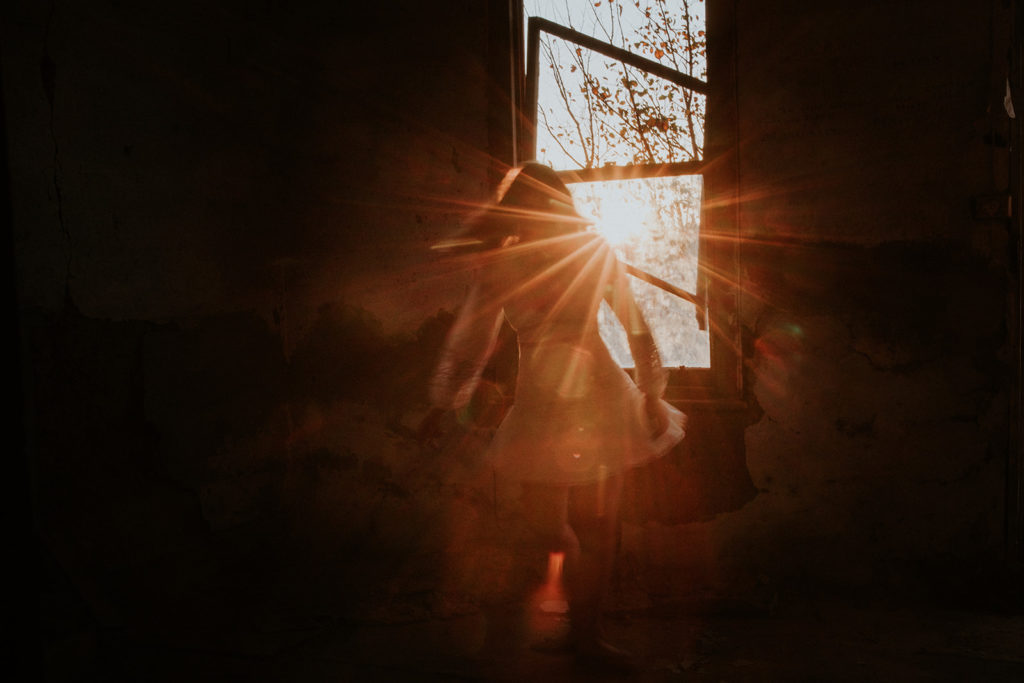
Bronwyn Pickering, CLG Instructor
Starburst
Include the sun in the frame and choose a narrow aperture to define the sun’s rays and create a starburst. Start with around f/13 and experiment – the narrower your aperture, the more sharply defined your starburst will be.
Related: How to Capture a Starburst
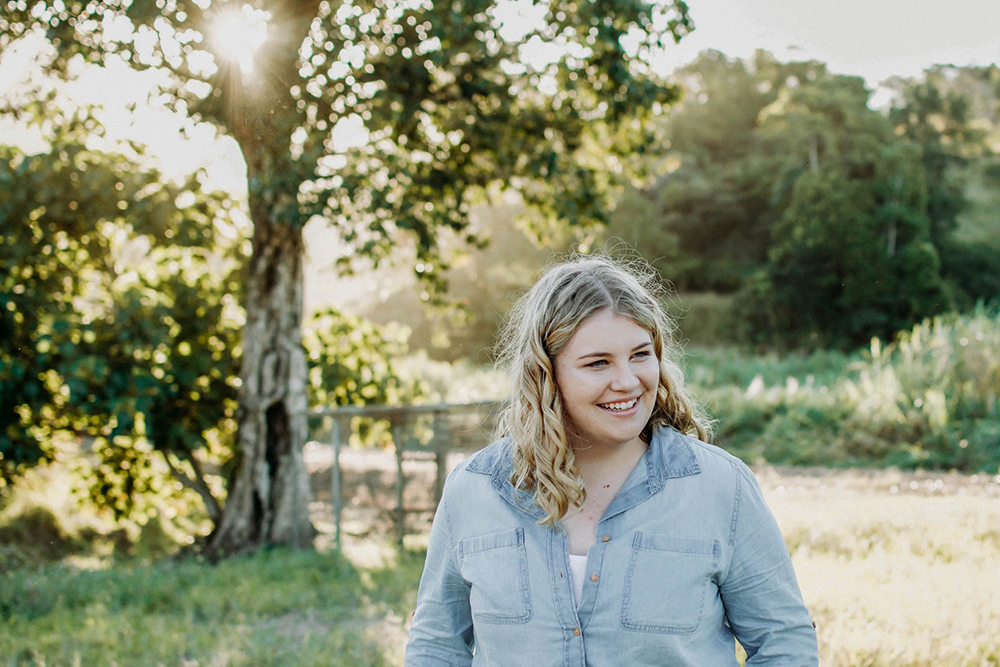
Donna Fletcher Lauridsen, Graduate
2. Locations
Level up your portraits with stunning backdrops, or unexpected locations.
Fields of flowers offer a beautiful backdrop of pattern and repetition which is naturally appealing to the human eye.
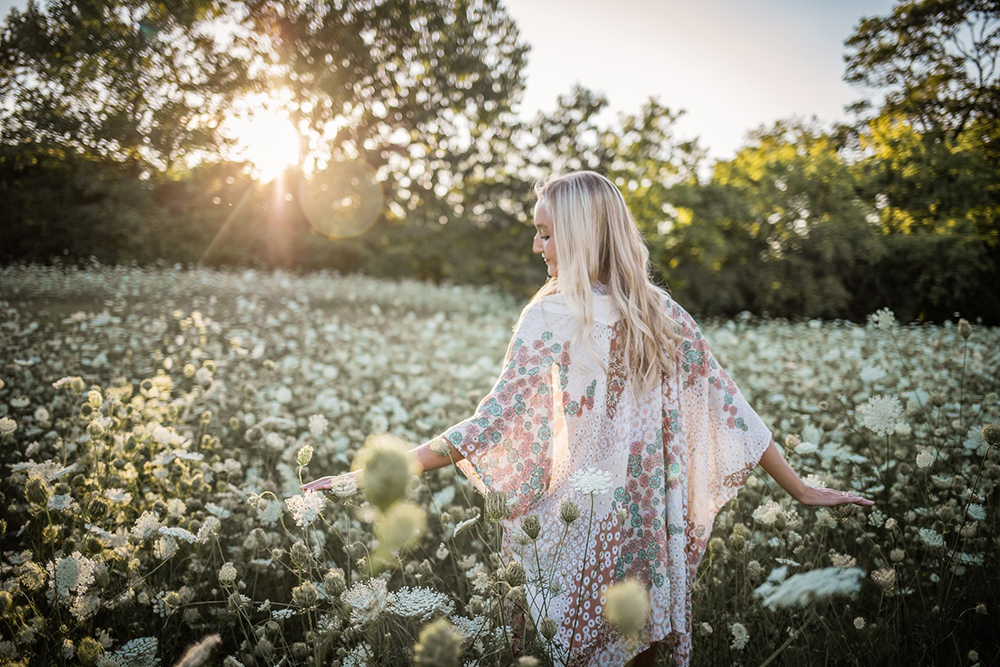
Pam Thorne-Gosenheimer, Advanced Graduate
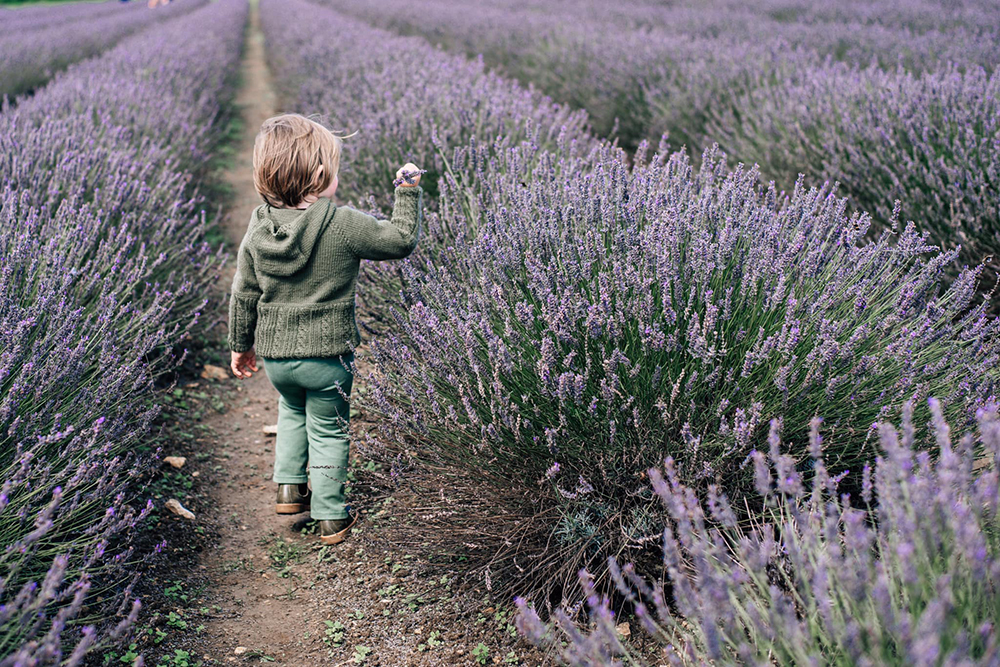
Sue Costello, Graduate
This shot has really simple ingredients of an open field + long grass + open sky + golden hour. Position yourself with the light between you and your subject just outside of the frame, and make sure the horizon line sits in the bottom third of the frame so it doesn’t cut through the middle of your subject or worse, their head! Use a wide angle of around 24-35mm, and include a large expanse of negative space.
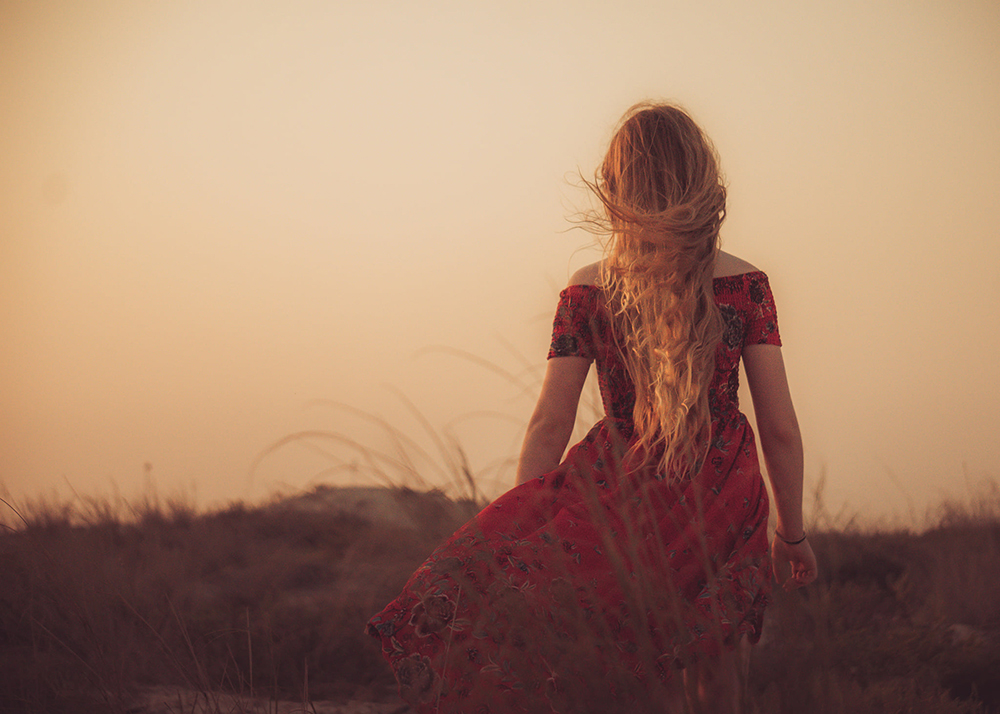
Kendle Kubick Enter, Advanced Graduate
Set your shutter speed to around 1/500 depending on the speed of movement, and direct your subject to spin and you’ve got another incredible portrait.
Tip: Take lots of shots in high speed burst mode using a continuous focus mode to ensure some sharp shots.
Related: Get Sharp Photos of Moving Subjects
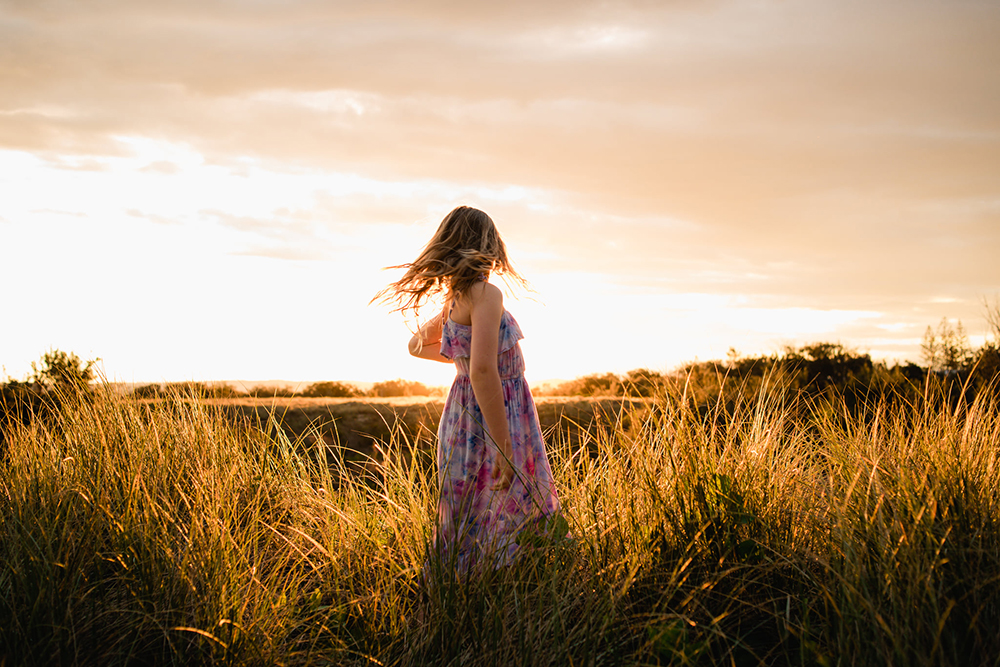
Melissa O’Neill, Advanced Graduate
Hit the road and find… a long stretch of empty road to shoot on.
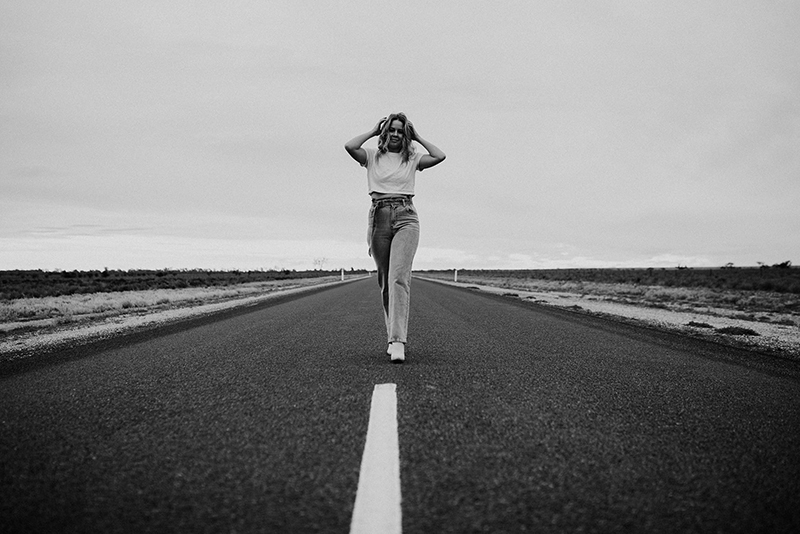
Bronwyn Pickering, CLG Instructor
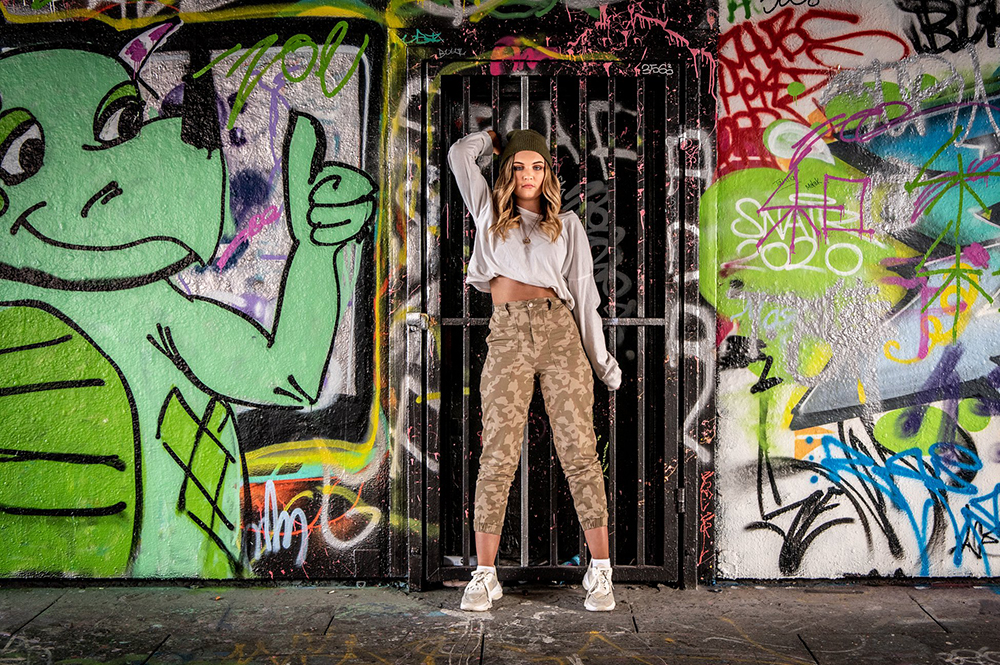
One of the bonuses of urban laneways is the abundance of beautiful open shade, combine that with the bold colour of graffiti walls and you have an instant backdrop that pops.
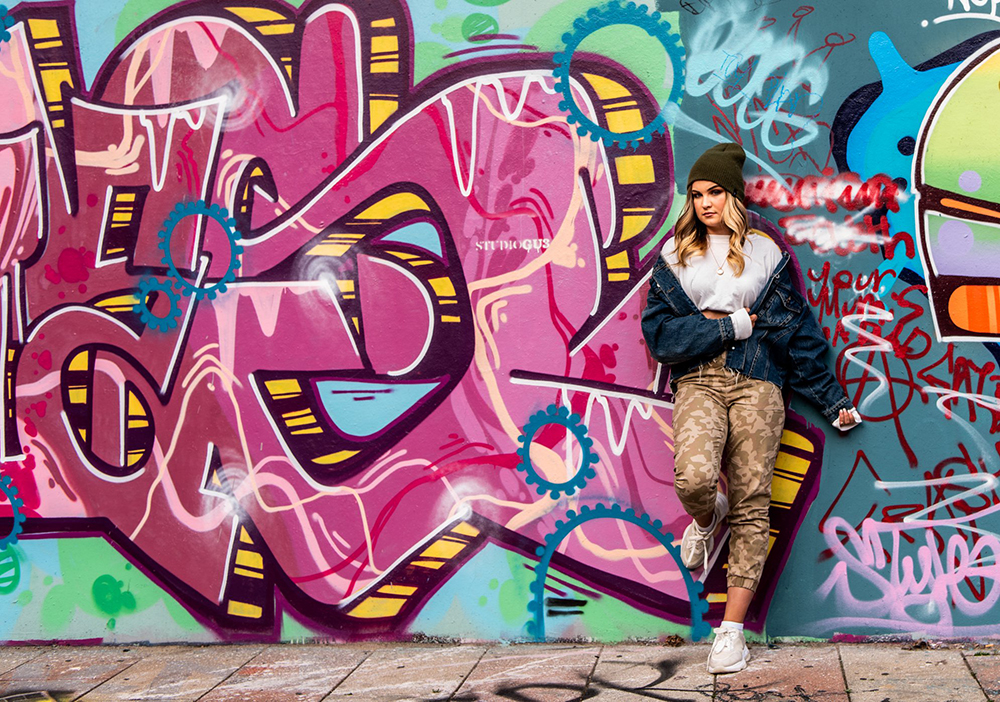
Dana Pentland, Advanced Graduate
3. Negative Space
This first shot was taken by Bronwyn Pickering, CLG Instructor and our mentor for the contemporary portraits workshop. It’s a classic Bronnie shot – vast areas of negative space used mindfully to create a mind-blowing powerful visual.
Head out to an open field just after a storm and use negative space to capture the dark, dramatic skies and make them the hero.
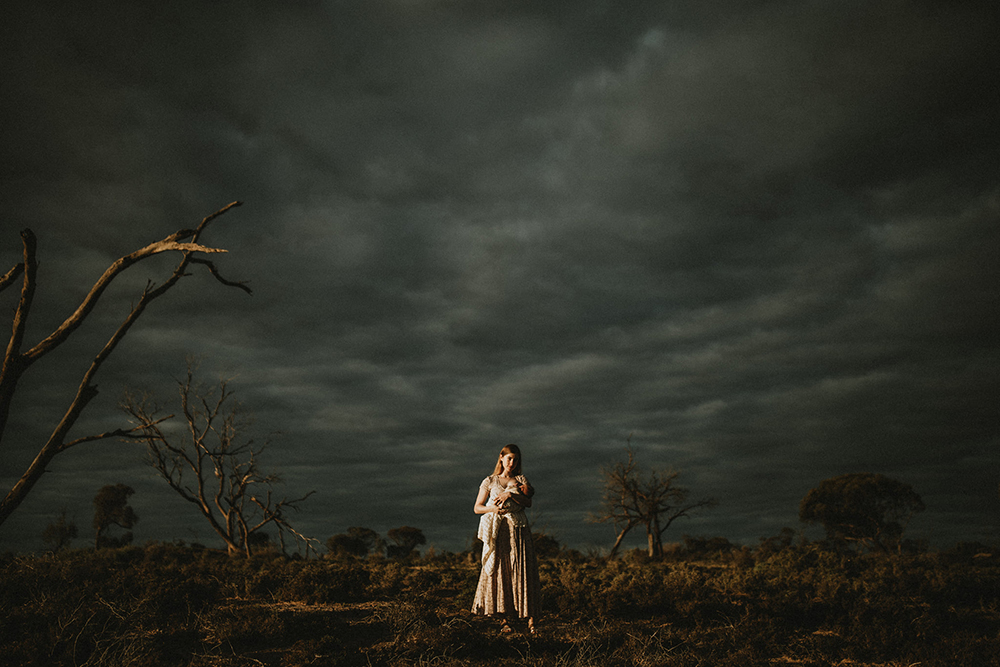
Bronwyn Pickering, CLG Instructor
In this shot negative space is used to convey the size of her subjects relative to the environment. Note she also got down low to capture the image from the child’s point of view.
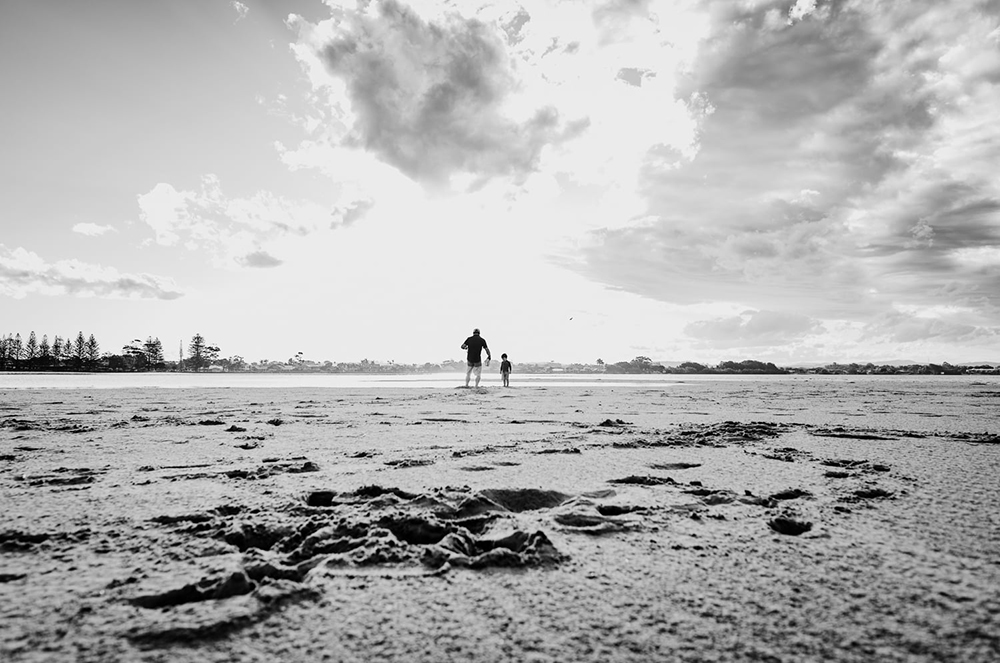
Amber Shay, Advanced Graduate
4. Framing
Look for objects to shoot through or frame your subject such as mirrors, windows, doorways and other architecture, trees and foliage, other people, or your subject’s own arms… anything.
When shooting through glass embrace the reflections and make it part of the shot for added interest and extra layers.
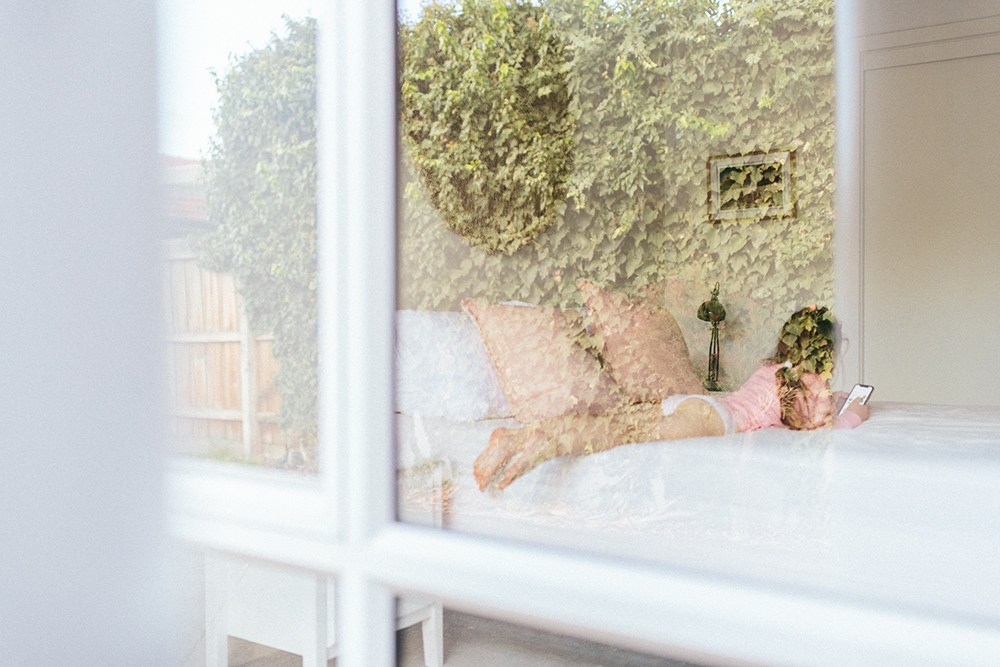
Merissa Wakefield, CLG Instructor
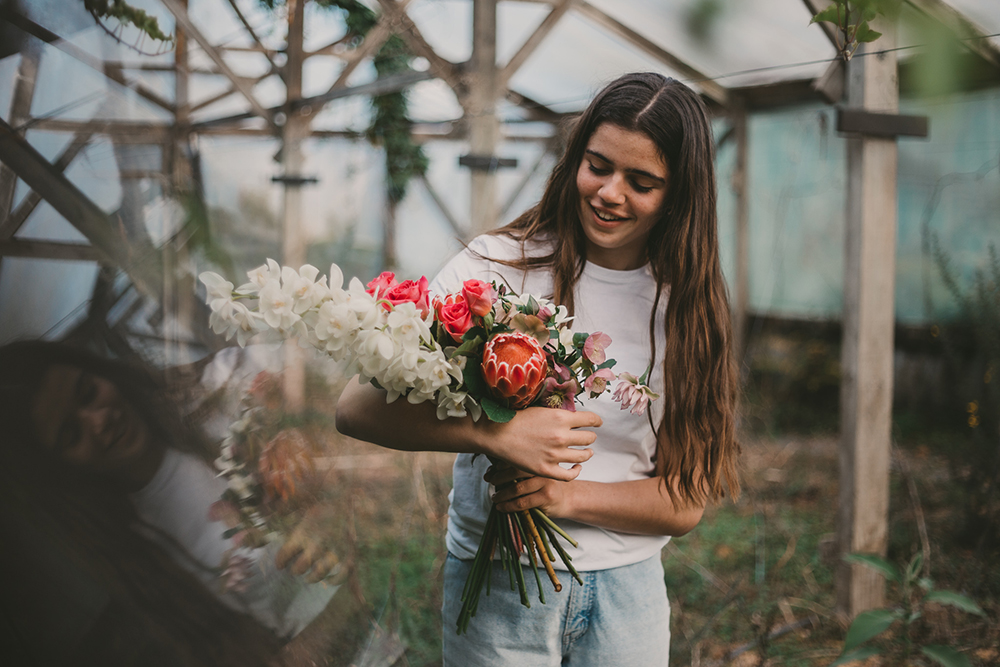
Anna Menendez, Graduate
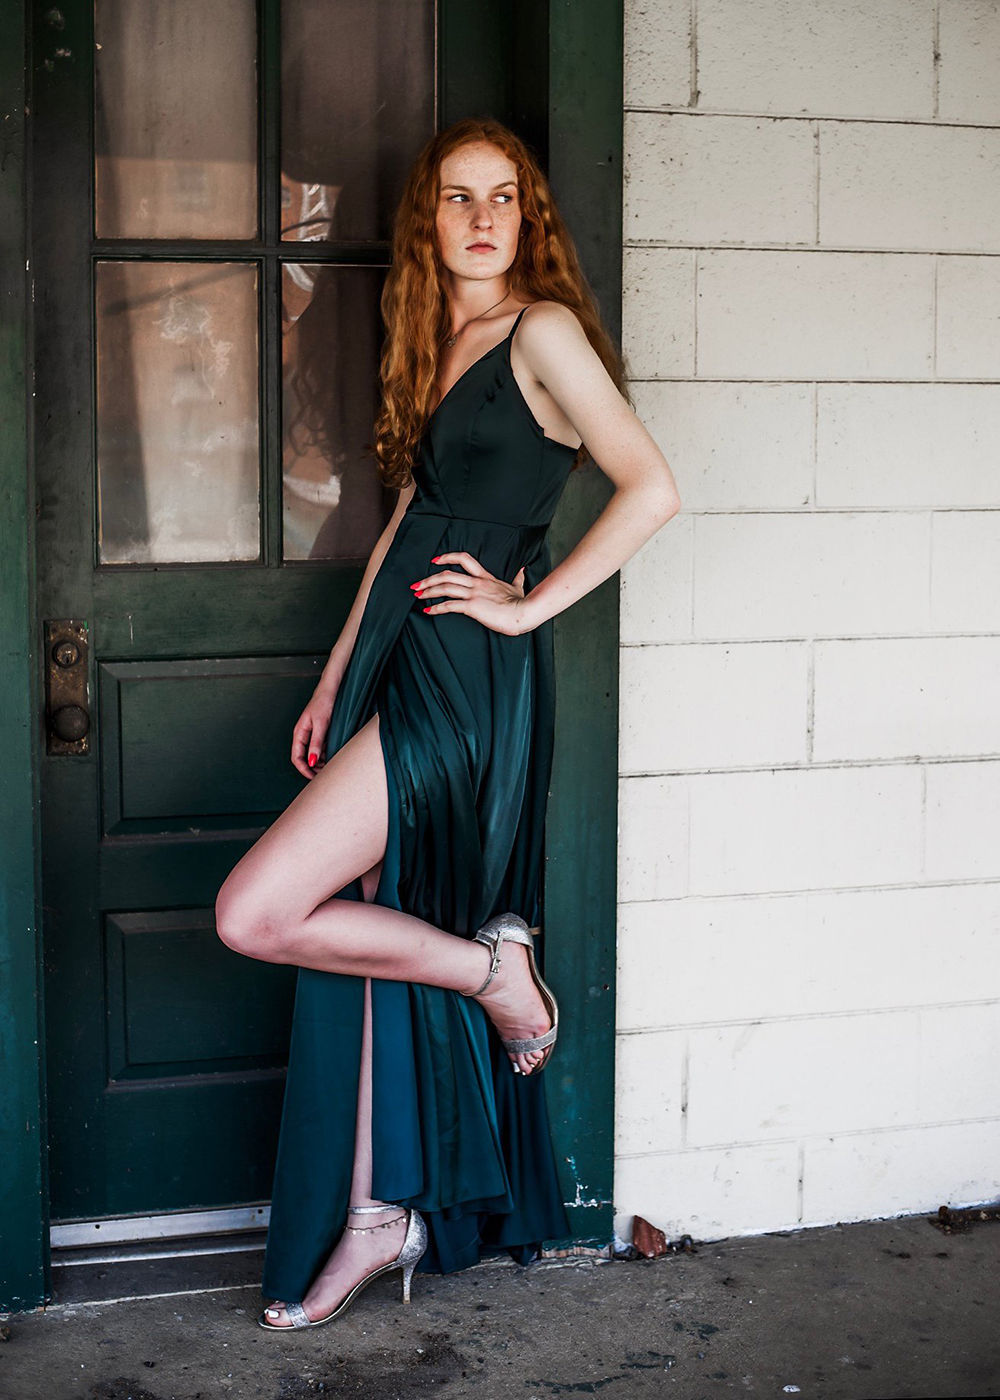
Beth Rogers Farmer, Advanced Graduate
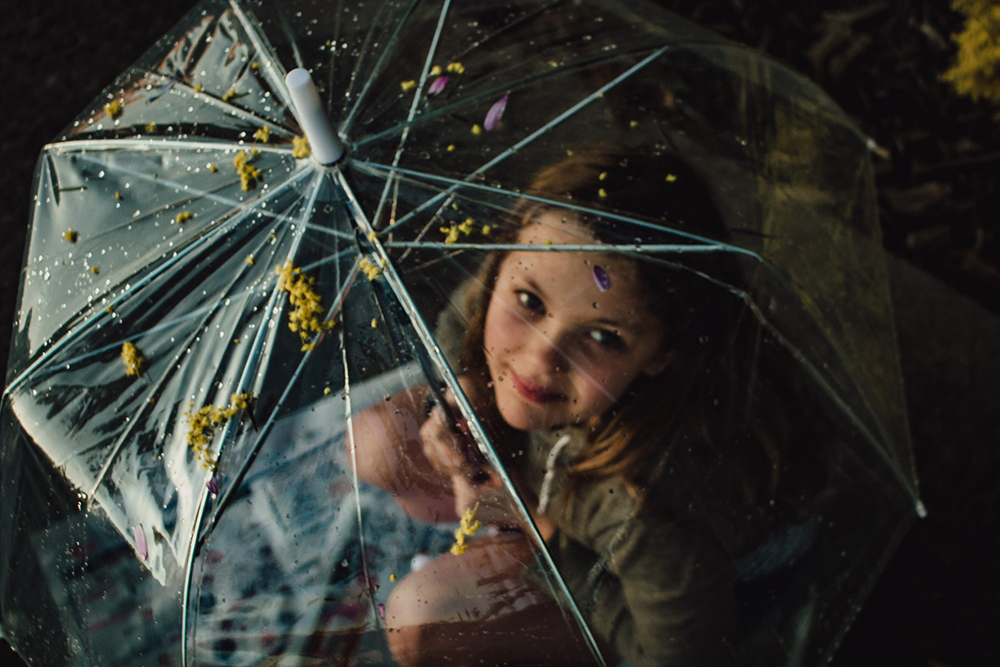
Migissi Hewitt, Advanced Graduate
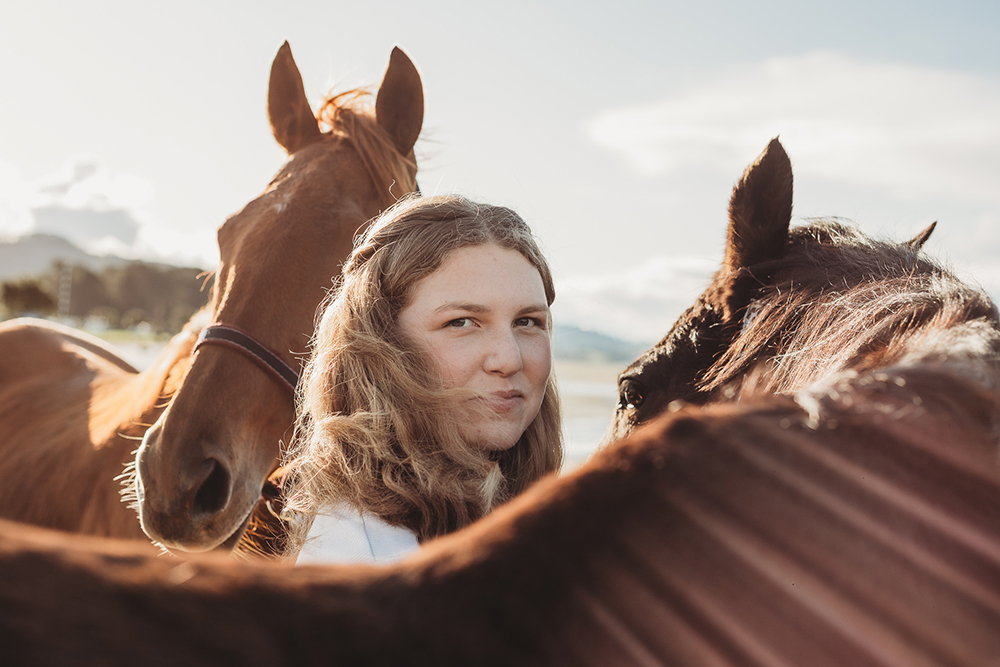
Anna Menendez, Advanced Graduate
Dana Pentland, Advanced Graduate
Try shooting through lace, curtains or any sheer fabric. This can create both a dreamy feel, and a sense of quiet or intimacy.
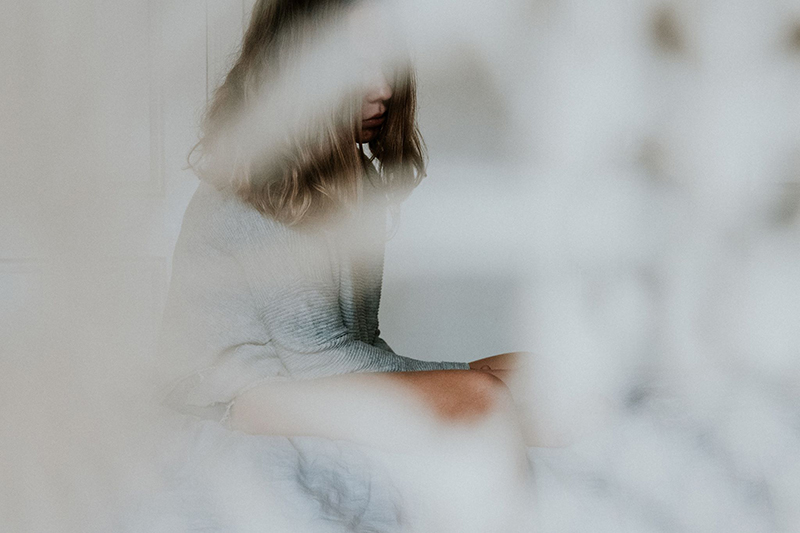
Bronwyn Pickering, CLG Instructor
5. Movement
Capturing movement can be tricky – you want to balance your shutter speed in a way that captures the movement without appearing to be accidental motion blur. It can look accidental when there’s only enough blur that it simply looks out of focus rather than highlighting movement. Is there a rule of thumb? I wish I could say there is but it really is subjective to your vision, the speed of motion, type of motion, and the story you want to tell.
So we suggest simply ask yourself ‘what do I want to tell my viewer?’. We love this shot below because she’s slowed her shutter enough to capture the motion of her hands and her dress, but it’s still fast enough that her face is in sharp focus. So we understand she’s dancing, but we can also see the joy in her face.
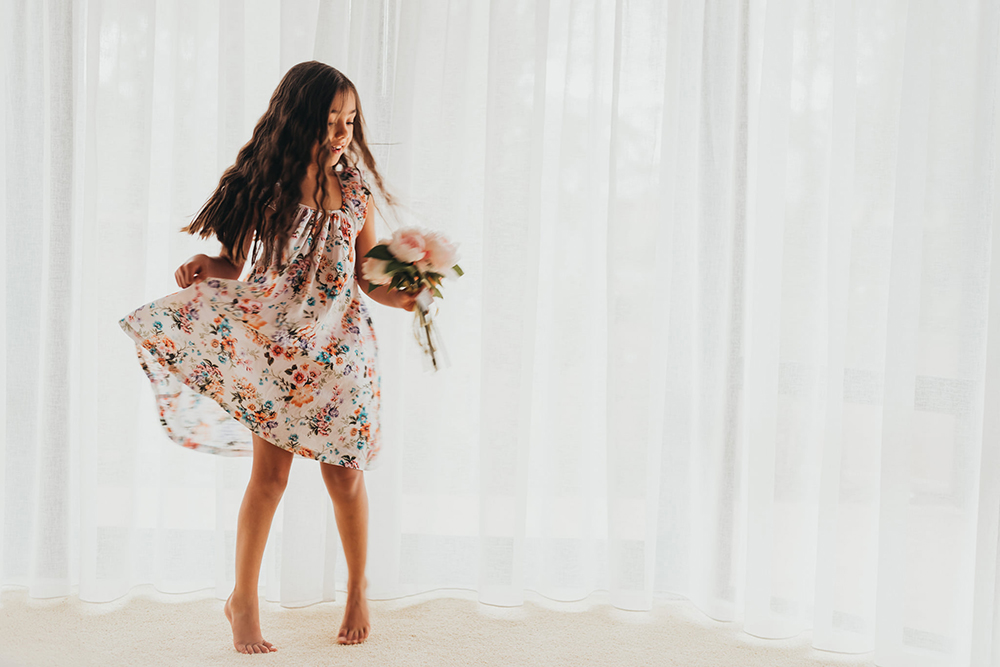
Angela Nicolle, Graduate
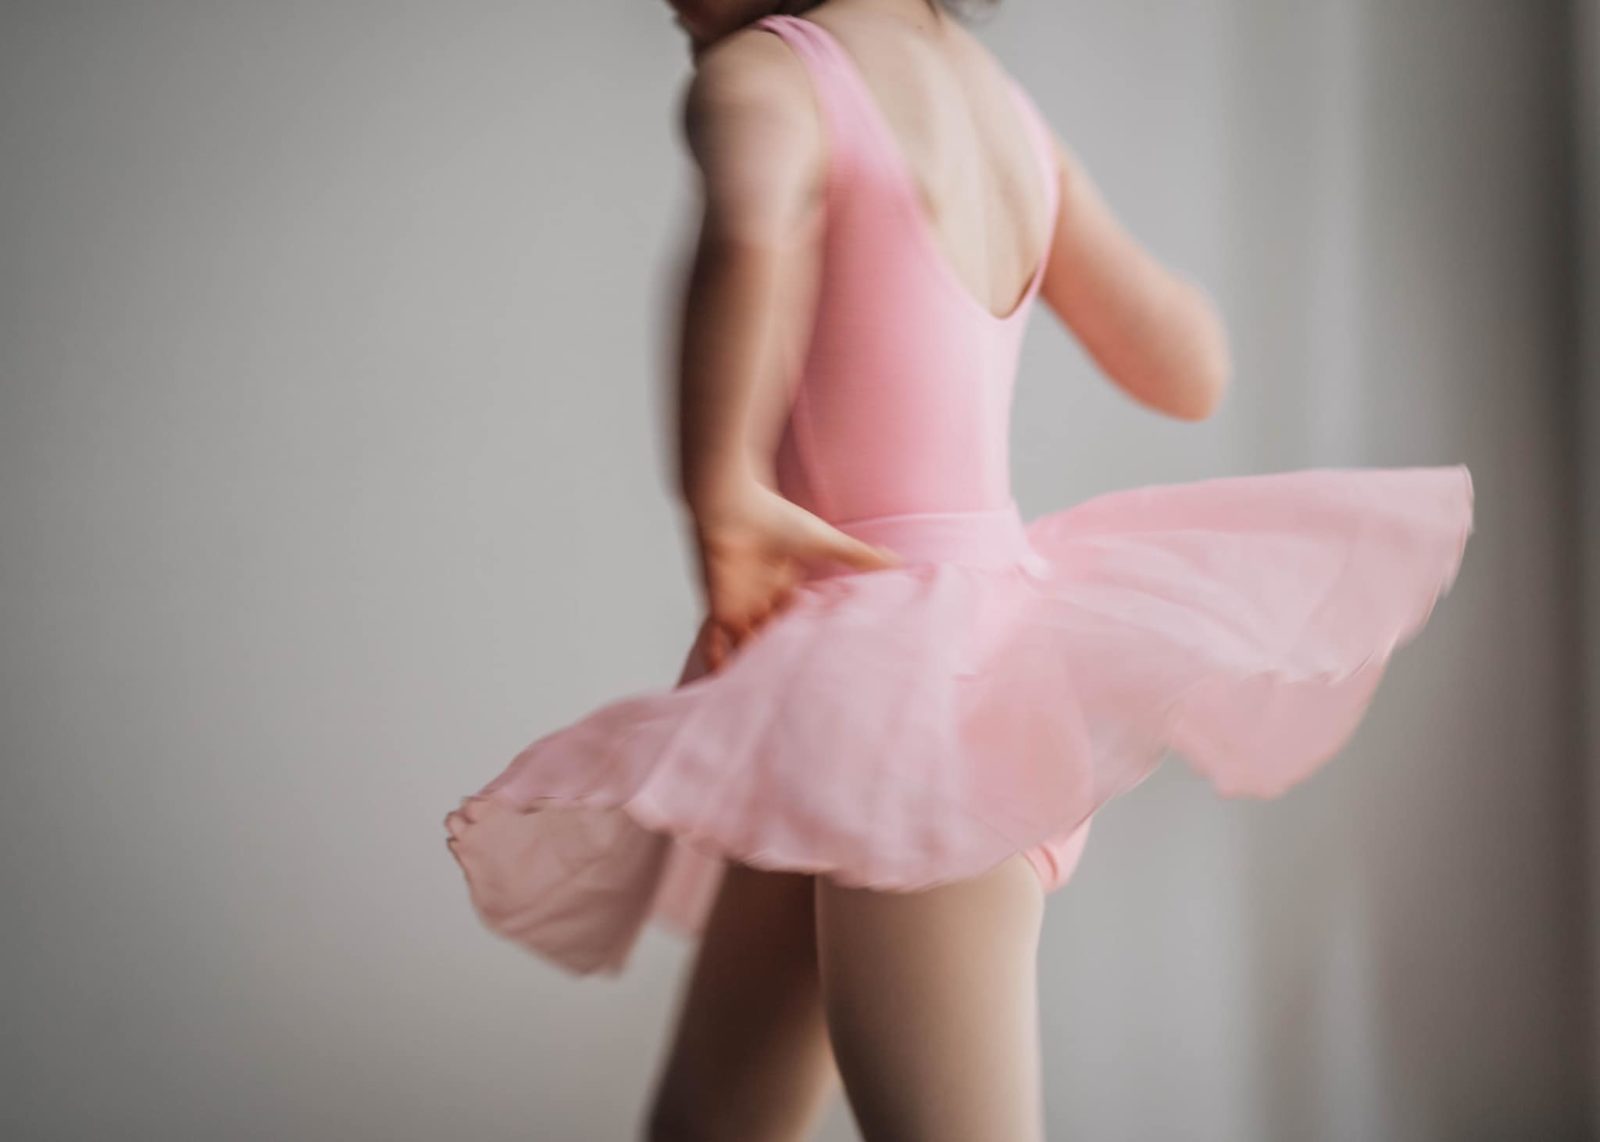
Sara Sparrey, Advanced Graduate
6. Props
Use simple props to give your subject something to do, bring a piece of themselves to the image to convey personality, or use them to frame your subject. The trick with props however is less is more. Try to resist using more than one, and ensure it adds to the shot without overpowering.
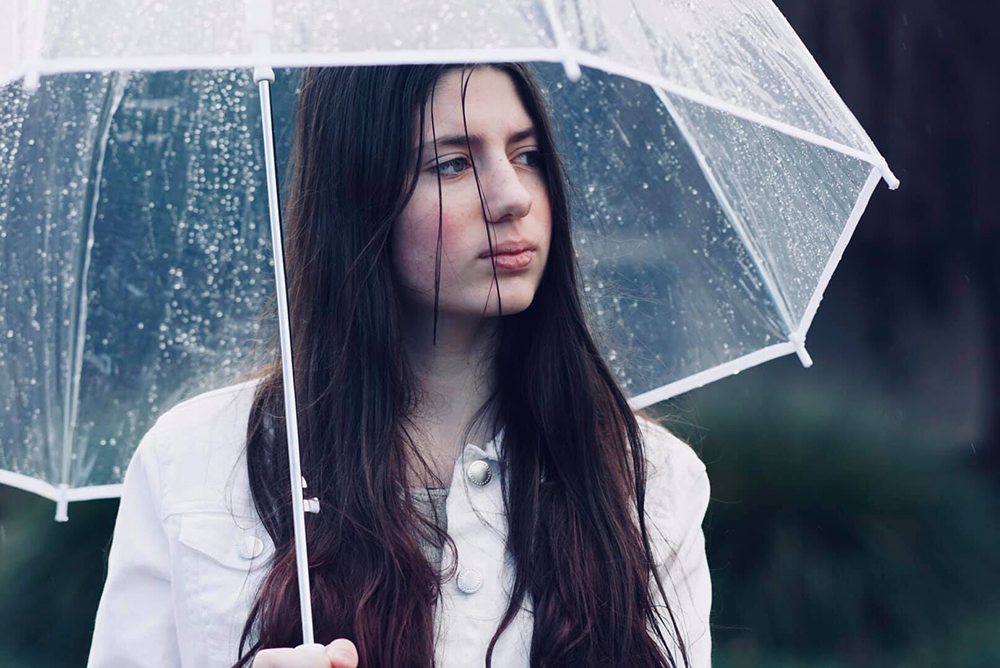
Jacqui Hutton, Advanced Graduate
A prop can be an item of clothing chosen specifically for the contrast it creates in the environment you’re planning to shoot.
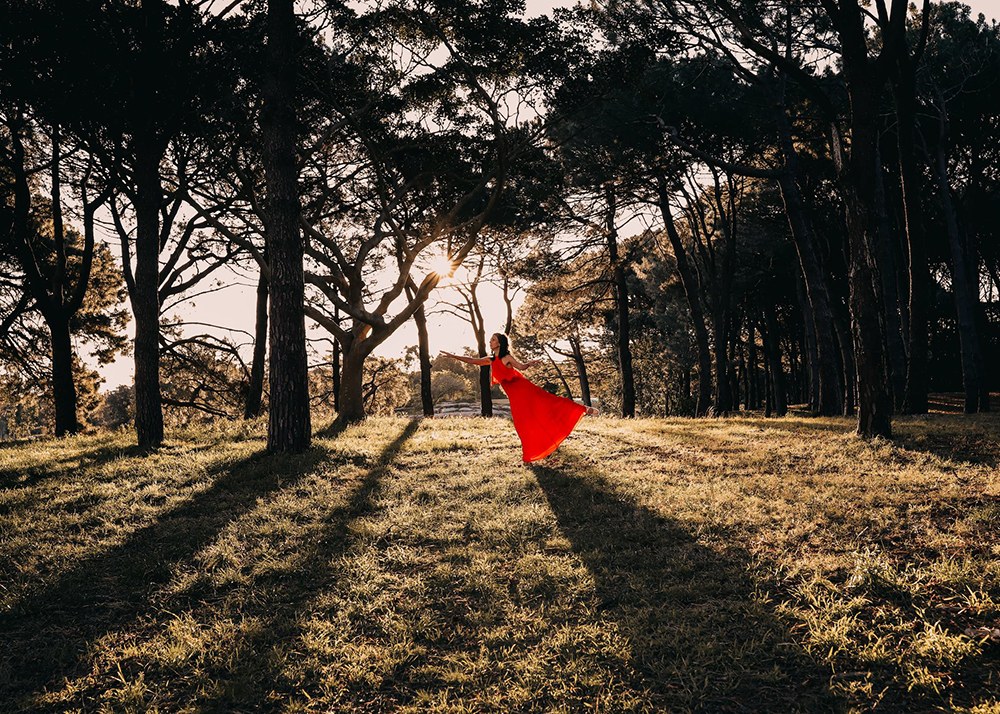
Christie Veen, Advanced Graduate
Subjects feel so much more relaxed when they can do something with their hands, and in this instance just giving them a hat not only provides them with something to hold, but it brings opportunity for loads of variety (think holding it, wearing it, slipping it down over one eye, throwing it into the air, hiding behind it…).
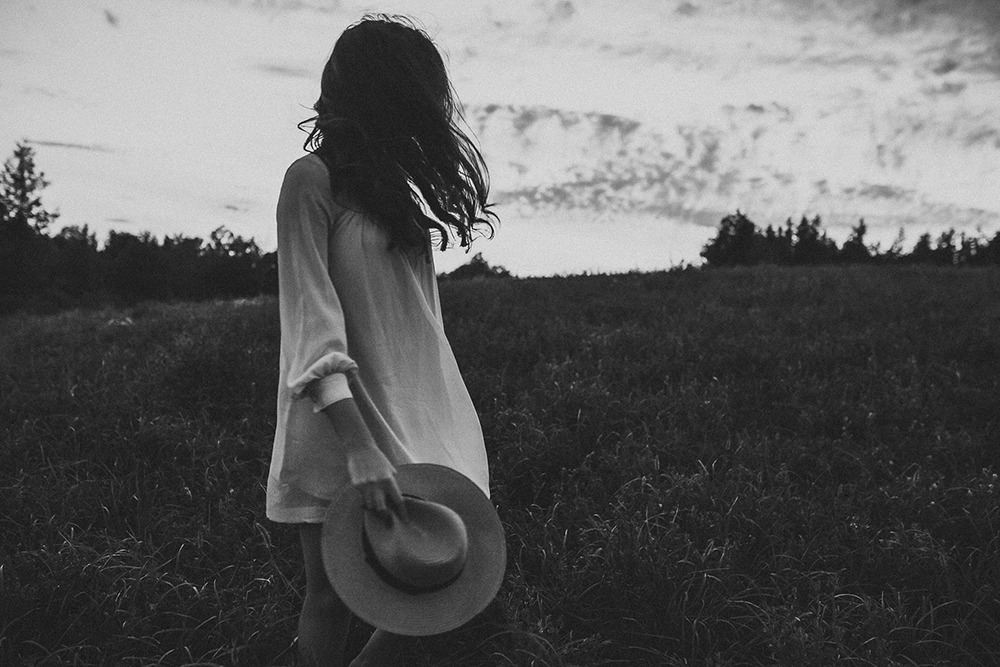
Charlie O’Neill, Advanced Graduate
7. Creative Crops
You don’t always have to include your subject’s face. Think outside the square, get in close to details such as hands or feet, or details of their props or the movement of their clothing or hair.
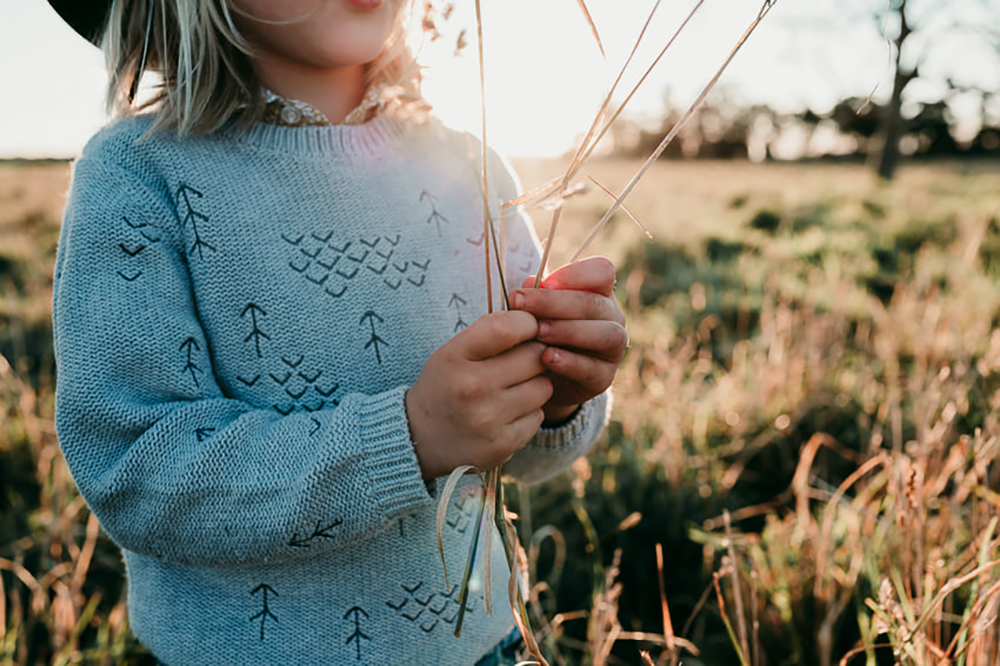
Laurie Bingley, Advanced Graduate
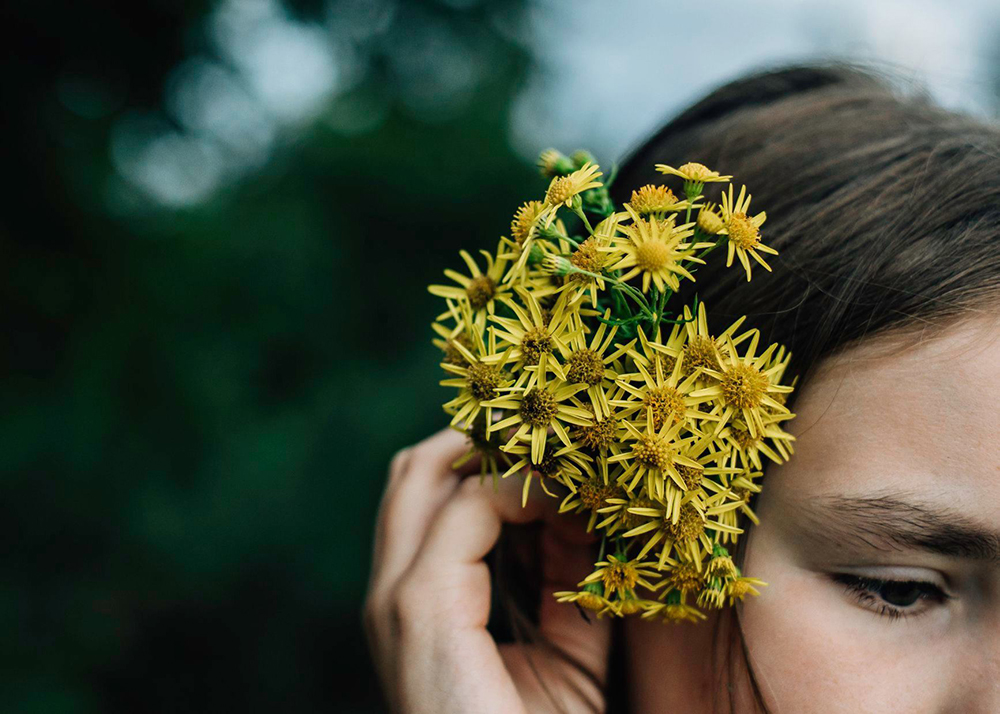
Elise Peel, Advanced Graduate
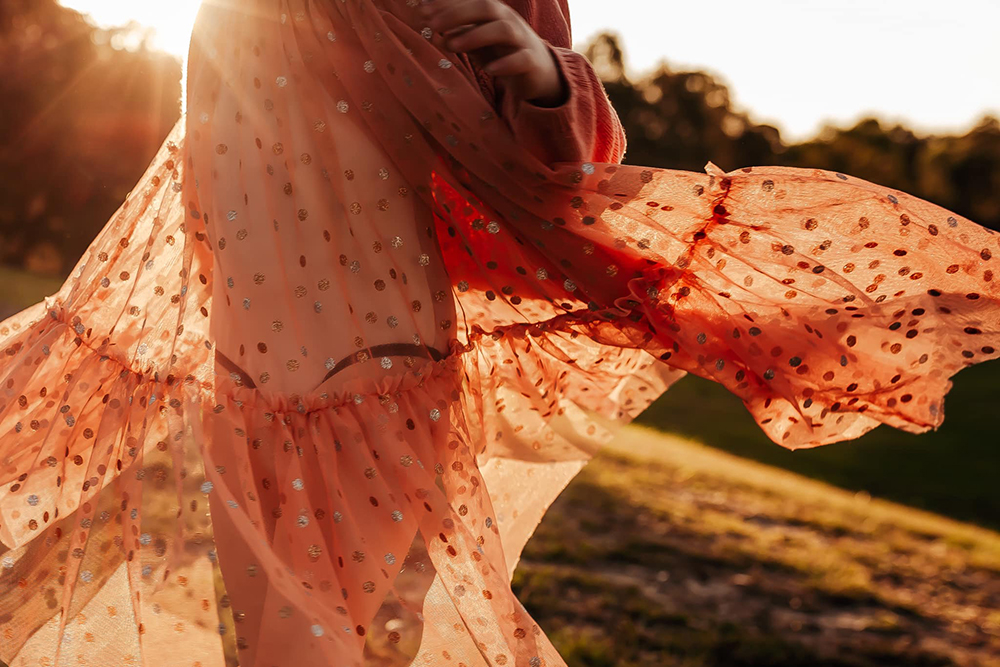
Jess Cartner, Advanced Graduate

Bronwyn Pickering, CLG Instructor
Join my new workshop and learn How to Shoot Pro-Quality Photos With Your DSLR… and it’s totally FREE to join! Register here…

Leave a Reply Cancel reply
PRIVACY POLICY & SITE TERMS AND CONDITONS
CLICK LOVE GROW ™ Pty Ltd - COPYRIGHT 2024 ©
x
Join Now
Enter your info below to join the challenge!
Want a friendly reminder when I go live?
Pop in your number and I’ll shoot you a text.
* We will send text reminders for our live calls during the challenge! Reply ‘STOP’ to end or ‘HELP’ for help.
We promise not to ever share your details with anyone or send you spam! Check our privacy policy and terms of service.
Be the first to comment