Manual Settings Cheatsheets
Want to know what settings to use for the best shot?
Download our easy to follow cheatsheets detailing the manual settings you need for different shots & locations!
When we’re new to photography, we tend to avoid dramatic lighting and instead look for flat, soft light.
And why not? It’s a perfect place to start as this type of light allows you to create flattering and beautiful portraits. But flat soft light lacks depth and interest. As a result, you might start to notice the creamy, delicious, beautiful light that makes you fall in love, and want to give it a try.
So if you’re wondering how to shoot dramatic photos and you crave to become a more creative photographer, you’ve come to the right place!
This post explores some dramatic lighting techniques, including how to use them in a way that still ensures flattering portraits.
When soft light is directional, it creates shadows that add depth to your pictures. This results in more dynamic images.
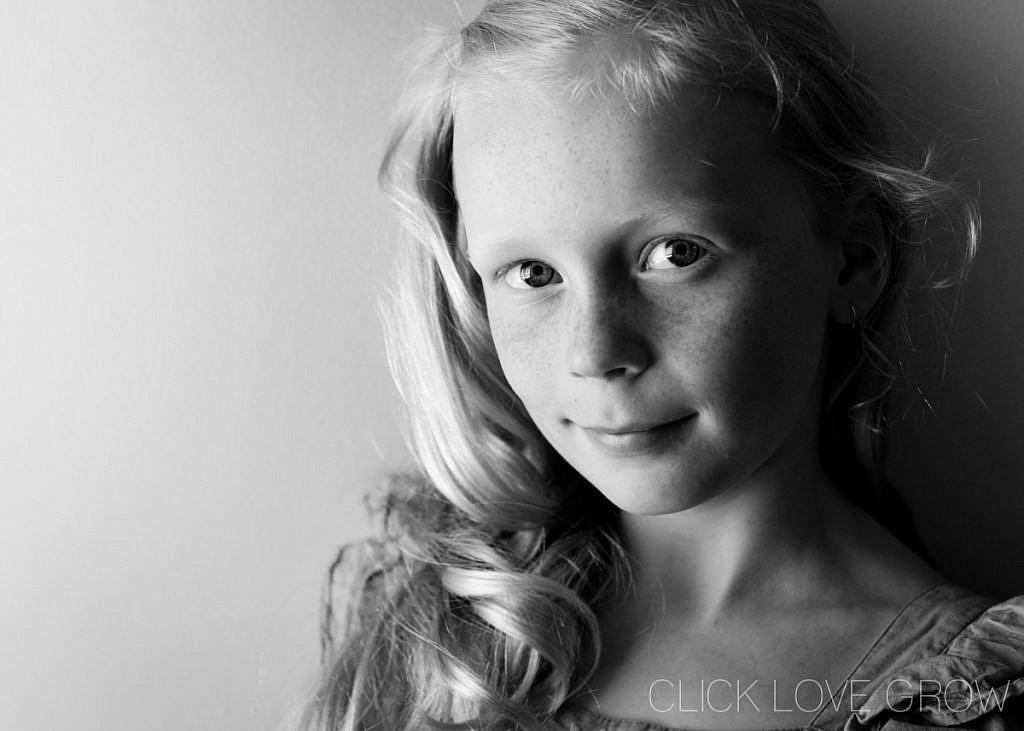
Turn your subject so that they’re at a 90 degree angle to the light source. The trick is to have a gentle graduation between light and shade areas, not sharply defined lines. Experiment by moving your subject closer to, or further from the light source, until you have a good balance of light and shade.
In this portrait, the light is positioned 90 degrees to her front right. This creates shadows on her left part and results in an image with much more dramatic lighting than if she had faced the light directly.
In contrast, this next image was taken with very flat light, by placing the subject directly facing a window.
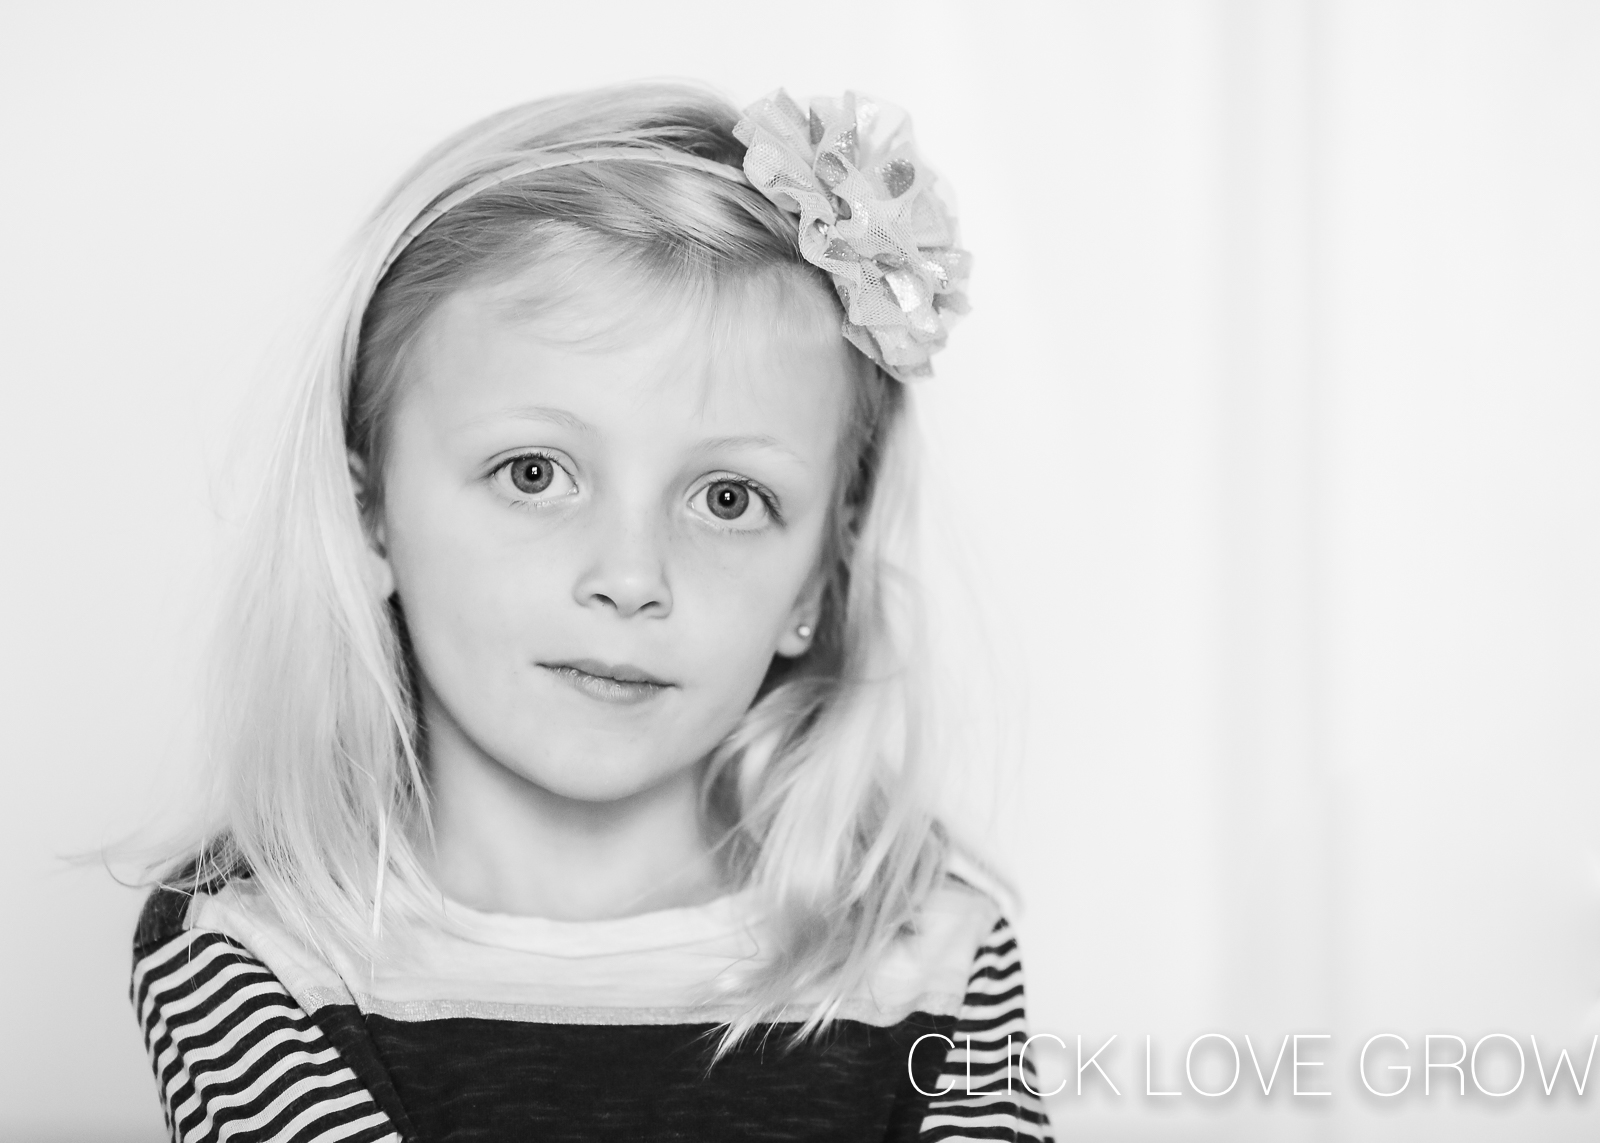
These two photos illustrate perfectly the difference between flat soft light vs directional soft light. Flat, low key light is lovely and flattering, but the photo lacks depth and drama. By contrast, the directional light created a more dynamic and moody photo.
Related: Dramatic Window Light
Golden hour lighting is perfect for shooting beautiful portraits! It can also be part of a great dramatic lighting technique.
In photography, golden hour refers to the hazy light we get late in the day and early in the morning, when the sun is low in the sky. It washes over our subjects with a warm glow, and adds a gentle softness to our photos. It also creates the beautiful halo effect (also known as rim light) that we see in the photos below.
Related: How to Shoot Portraits in the Golden Hour
However, backlighting can be tricky to master because the camera can have a hard time working out how to expose the shot correctly. So it’s easier to practice this technique once you’ve learned how to use your camera in manual mode.
For a dramatic portrait impression, expose your subject’s face for the best photographic effect. Also ensure you can see some light bouncing into your subjects eyes from the open sky behind you. If you can’t see any catchlights in their eyes, make minor adjustments to their position (or yours).
Above all, make sure the sun is positioned directly behind the people, to avoid hot spots of light on their face.
Related: How to Meter for Correct Exposure
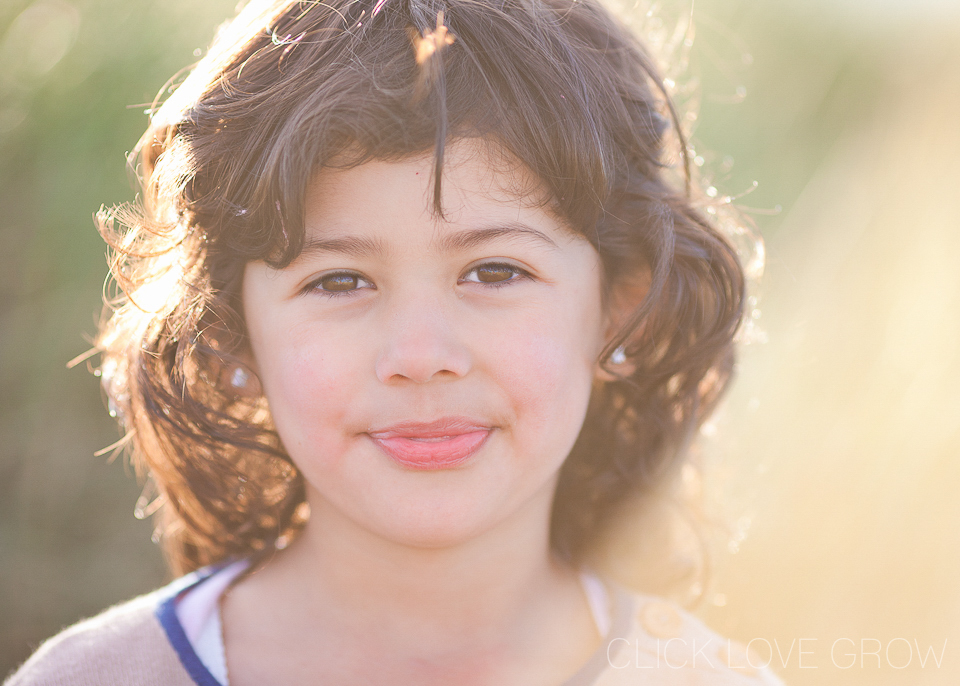
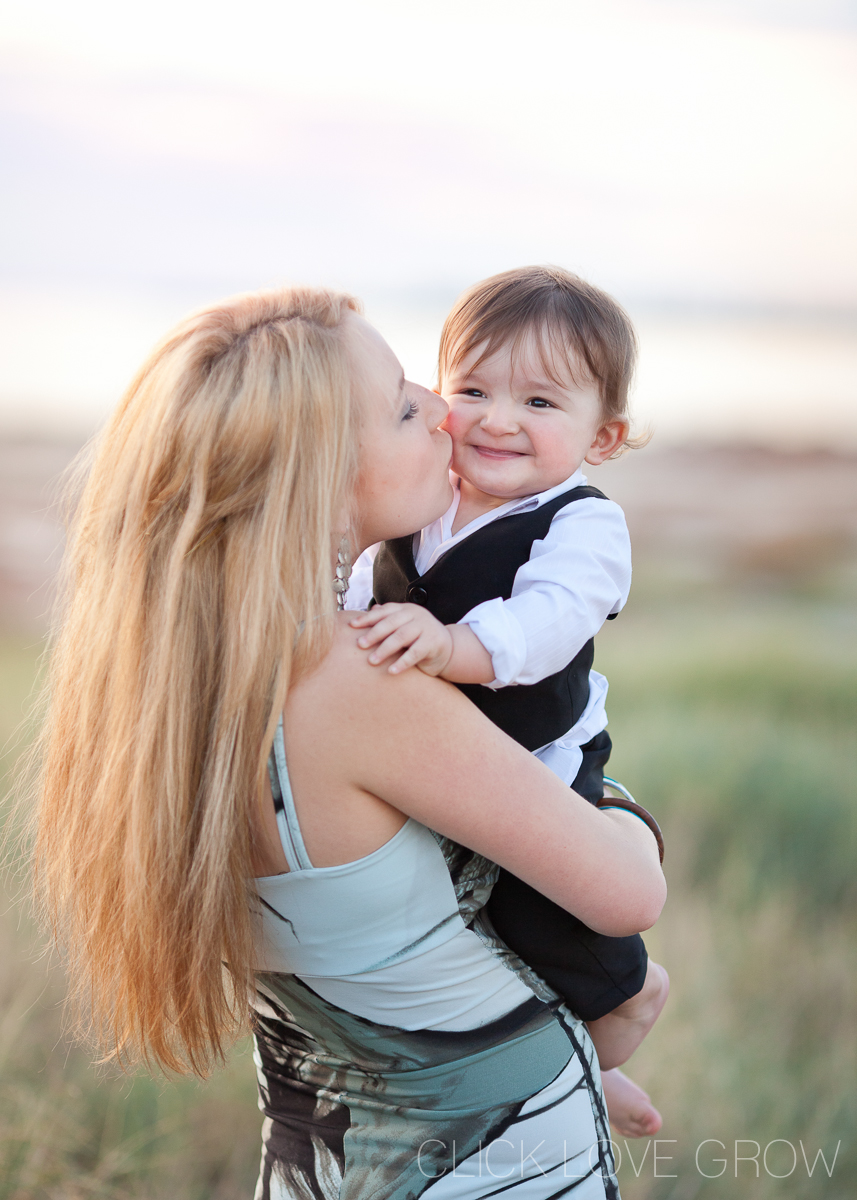
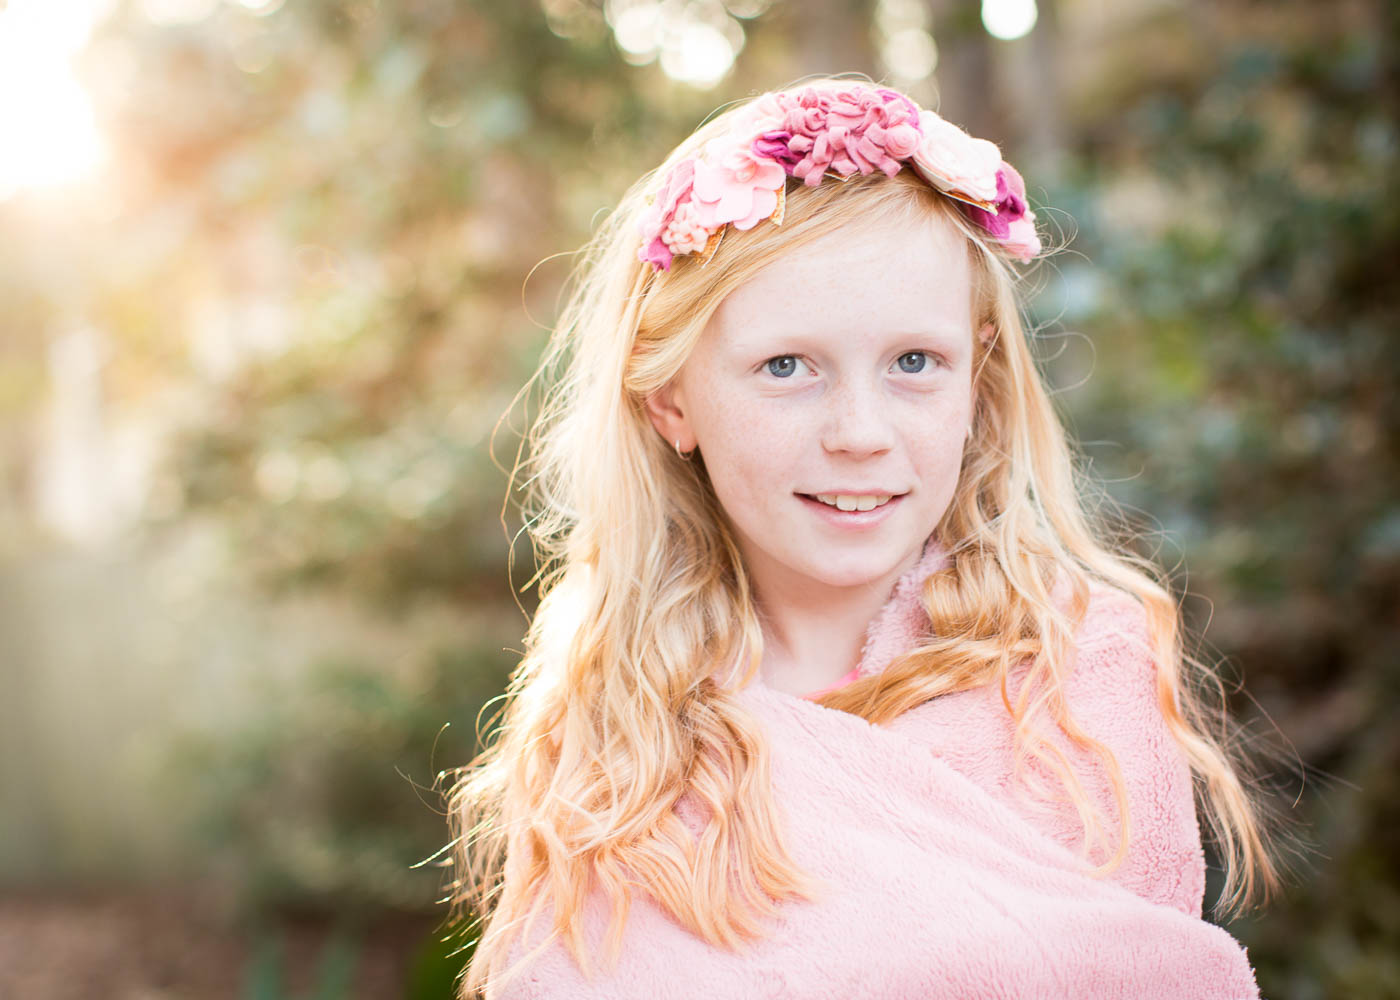
With this technique, your images can achieve an overall softer look and feel. To create some light bokeh you can filter the sun rays through something, such as trees or bushes. This is easier to work with as the sun doesn’t hit your lens directly, causing focus challenges or unwanted lens flares. For this reason, bokehs are a great place to start experimenting with backlighting.
The same techniques apply for exposing and metering. But as the light gets filtered, you do have a little more flexibility as to how you position your subjects in rapport to the light. You can position them so it is directly behind them, or a little to the side.
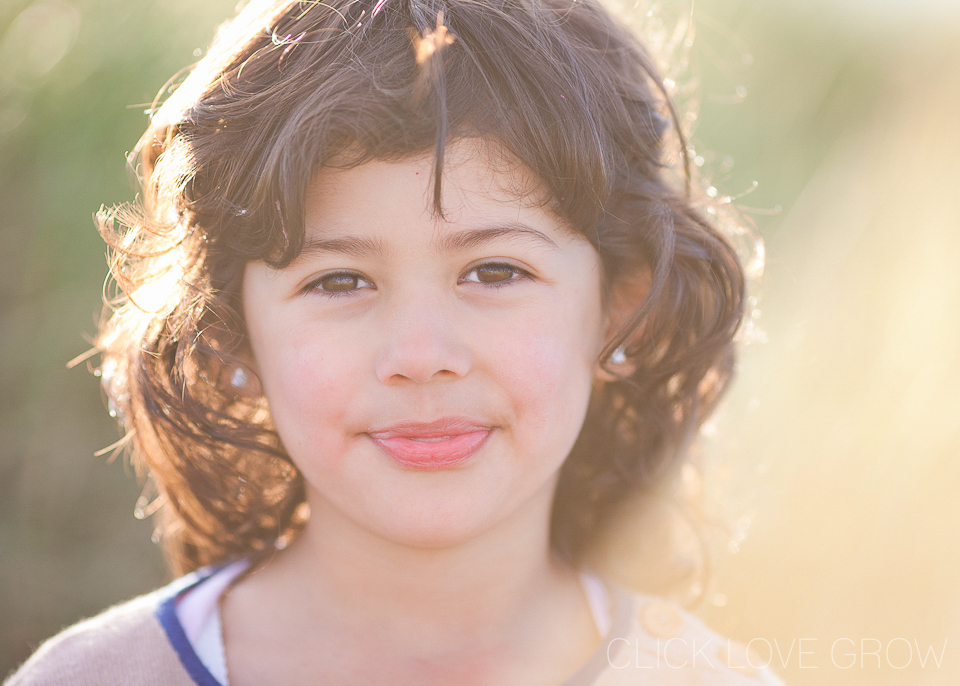
In this scene, the sun was filtering through the trees, and I positioned the light slightly to the side. This allowed it to illuminate my subject’s hair, and captured light bokeh in the background.
Related: How to Capture Light Bokeh
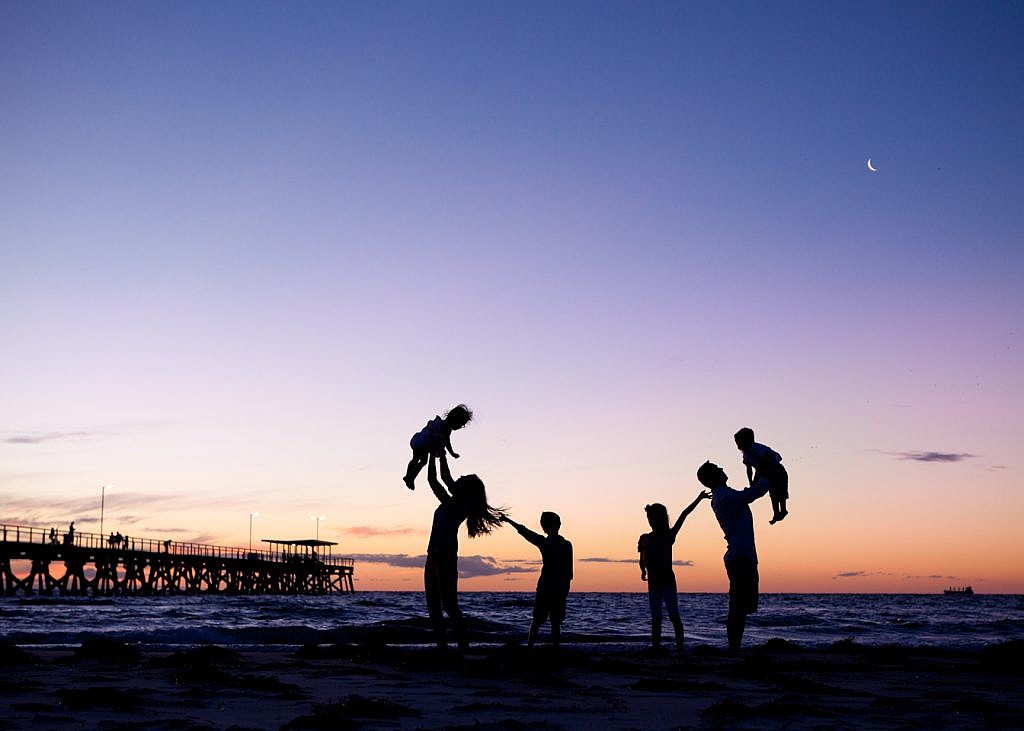
Silhouettes are another popular form of backlighting.
A silhouette is created when, instead of exposing for the subject, you expose for the sky behind them. In most cases this leaves the subject appearing very dark, so you only see their outline.
The trick to taking a beautiful silhouette is to create strong shapes. The easiest way to do this is by having your subject pose in such a way that creates clearly defined and interesting shapes.
Position yourself so that your background is mostly sky to create really dramatic lighting photography. Oftentimes when taking silhouette photos, I lay low on the ground and shoot upwards. The result is a gorgeous effect like in this image below. So much sand in my clothes… but always worth it!
Related: How to Take a Silhouette Photo
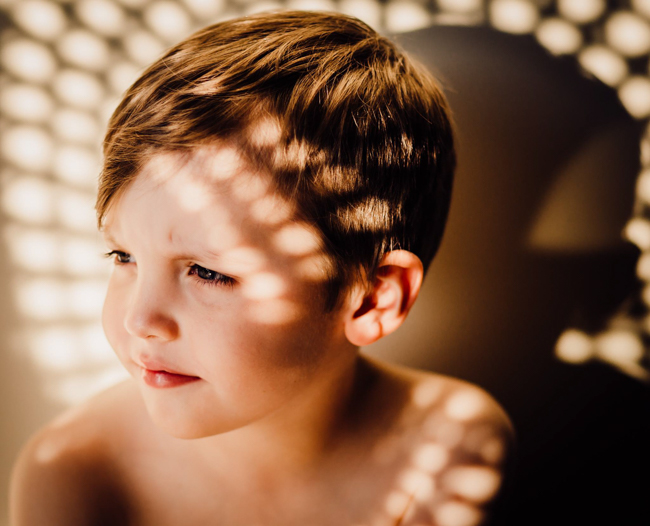
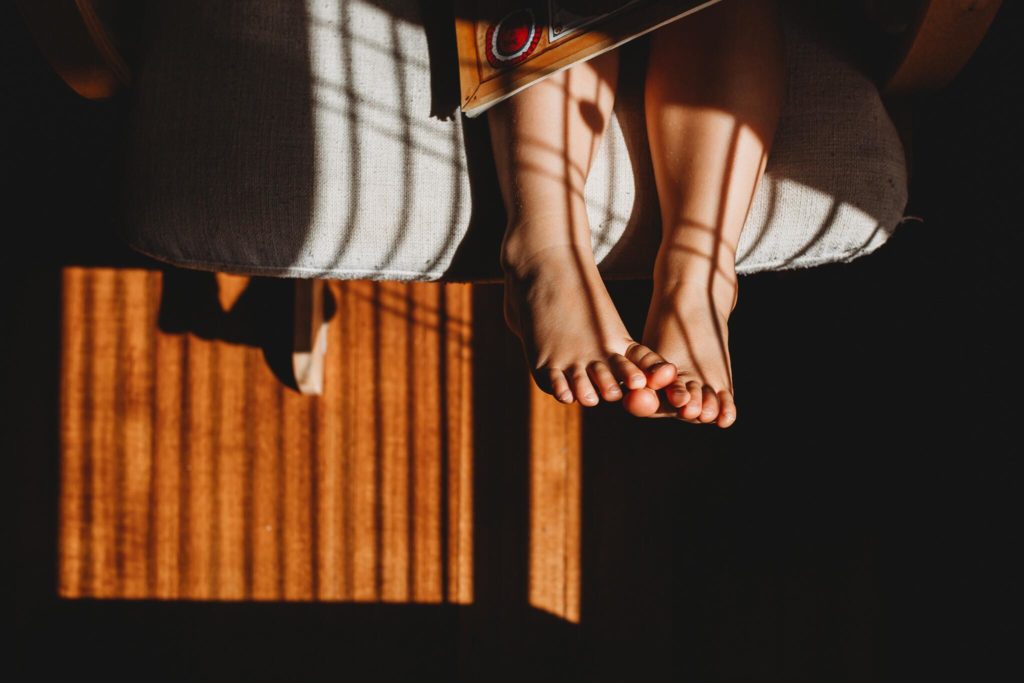
Hard light can be a hero, when used mindfully and with purpose. Look for patterns created by hard light both indoors and out, and expose for the highlights.
Related: How to Use Hard Light Creatively
Kailey Nagymarosi
Merissa Wakefield, Click Love Grow Instructor
The biggest step towards mastering the use of natural lighting for dramatic effects is to learn how to see the light’s strengths and qualities. Also, how it affects your subjects.
You can do this by taking notice of how light plays and falls on your point of interest. Also, by experimenting with the distance between your model and the source of light.
Play with placing your subjects in multiple positions in relation to the light. Take note of how the light creates shadows, and how much depth it adds. You also want to make sure there is light at least in the eye that is closest to the light source. If there’s not, adjust your subject’s position.
To master the art of dramatic lighting photography, you should first understand light. And light can be in many ways. It can be hard or soft, warm (yellow) or cool (blue), depending on the time of day, the weather, and even the seasons. You’ll soon discover a whole world of opportunities to use light creatively, from standing in the same location!
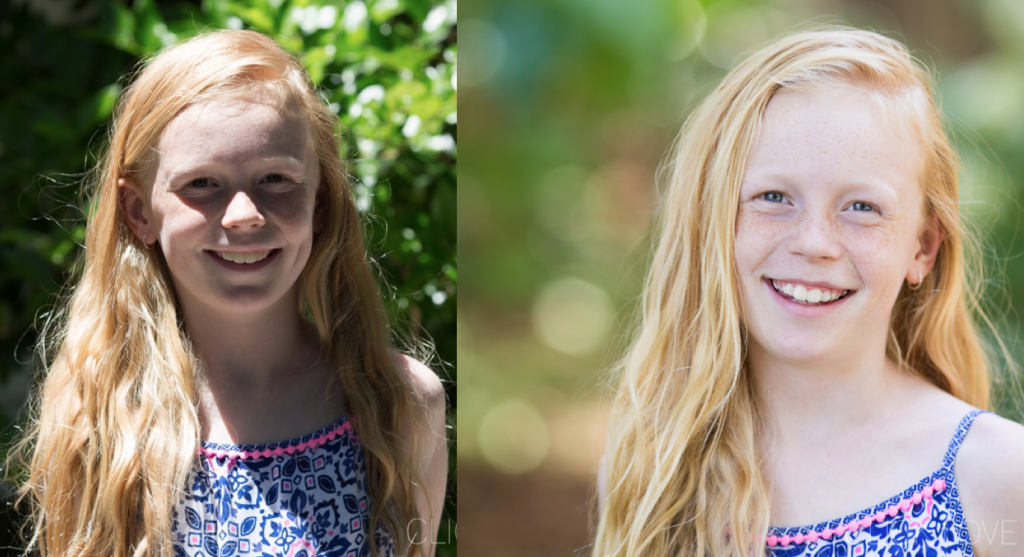
To help you understand what type of lighting is best for portrait photography, let’s look at the two pics below.
These two shots were taken in the same location, at different times. The shot on the left shows the quality of hard light – notice the sharp line between light and shadows? Not only is it distracting, but it’s also highlighting the girl’s nose and puts her eyes in the shadow. Not exactly flattering!
The shot on the right shows how soft light wraps evenly around the subject. She has light in her eyes, and there is nothing to distract from her.
When shooting indoors near light coming from a window or door, try to vary the distance between subject and light. Take notice of how those small changes affect the strength of that light, and decide whether or not it flatters your subject.
What you’re looking for specifically is:
Hot spots are little patches of highlights on your subject’s skin, that are too strong. Adjusting your exposure won’t eliminate hot spots entirely, and you can’t fix them later in processing either.
You have a few options here to solve the problem of hot spots:
Look for patches of soft or golden light falling in among the shadows and place your subject in that light.
Related: Low Light Photography Tips
We hope you enjoy exploring these 5 techniques for more dramatic lighting photography! Come show us the results on Instagram and hashtag #clicklovegrowchallenge
CLICK HERE to download our manual settings cheatsheets to help you know which settings to use in different light & scenarios!
CLICK LOVE GROW ™ Pty Ltd - COPYRIGHT 2024 ©
Enter your info below to join the challenge!
Want a friendly reminder when I go live?
Pop in your number and I’ll shoot you a text.
* We will send text reminders for our live calls during the challenge! Reply ‘STOP’ to end or ‘HELP’ for help.
We promise not to ever share your details with anyone or send you spam! Check our privacy policy and terms of service.
Manual Settings Cheatsheets
Want to know what settings to use for the best shot?
Download our easy to follow cheatsheets detailing the manual settings you need for different shots & locations!
Beautiful, I love the first shot in black and white
[…] balance of the light on the subject and the background. You should also familiarize yourself with dramatic lighting photography […]