How to Get Sharper Photos of Kids in Motion
Why Your Action Photos are Blurry (& How To Fix It!)
Have you ever tried to take photos of your kids on the move or playing sport in auto mode on your DSLR?
How did they turn out? Were they blurrier than you’d hoped? Or did it all happen so fast you didn’t get the shot?
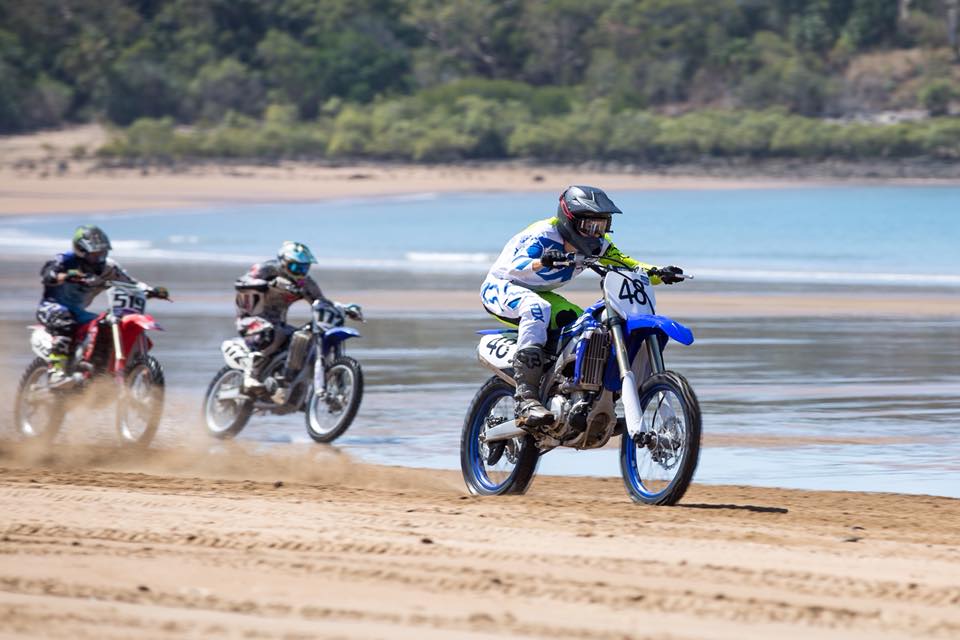
Whether they’re chasing a football, swimming a 200m butterfly, or speeding toward you on dirt bike… the action is fast.
If you’re getting blurry photos more often than you’d like, shutter speed is the culprit.
In this post I’ll walk you through how to take control of your shutter speed for sharp photo, and show you what settings you need for specific types of action! Because once you have this mastered you’ll be taking action shots like a pro!

Renee Johnson, CLG Advanced Grad

Antje Whyte, CLG Advanced Grad
Why Your Photos Are Blurry!
Rest assured it’s not you, and nor is your camera broken!
Shutter Speed Controls Motion Blur
Shutter speed is one of the three elements of manual shooting, and a measure of how fast your shutter opens and closes. When the shutter is open, it captures light and motion:
- Fast shutter – freezes motion resulting in a sharp image, lets in less ambient light
- Slow shutter – captures motion, resulting in blurry photos, lets in more ambient light
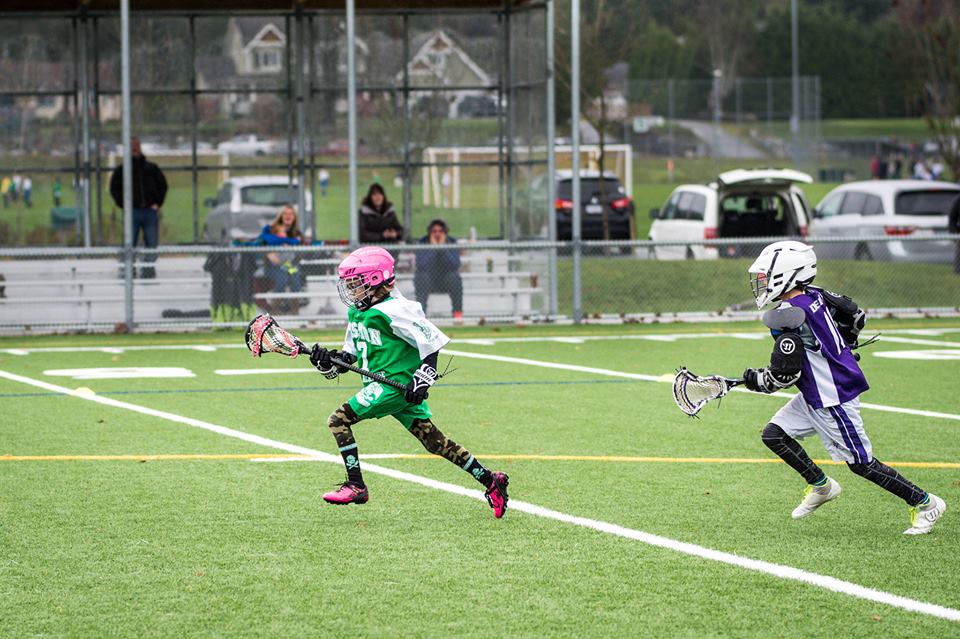
As kids sport generally involves fast motion, you need a fast shutter to freeze it.

Bronwyn Pickering, Advanced Grad
Shelley Bell, Advanced Graduate
Why Auto Mode Fails
Your camera’s number one job is to properly expose a photo. It doesn’t care how it achieves that, and it has no awareness of art or your vision! So if it has to leave the shutter open long enough to properly expose but creates a blurry photo in the process, the camera doesn’t recognise that as a problem.
So for that reason, successfully freezing motion when shooting in full auto mode will always be hit and miss.

Dinithi Ranatunga, Advanced Graduate
Take Control
So how do we get around that? You need to show your camera who’s boss and start using it in manual mode so that YOU dictate the exposure and the effect!
If you’re ready to dive into full manual mode, head here for an introduction…
Related: Getting Out of Auto
But if that feels too daunting right now, you could try this small step towards manual mode where you control only the shutter speed and let the camera make the other decisions.
One Small Step to Manual Mode
An easy way to get more control in this specific situation if you’re not ready to commit to learning full manual mode just yet, is to learn to shoot in the partial manual mode of shutter speed priority, known as TV mode on most cameras.
If your camera doesn’t appear to have a TV setting, check your camera’s user guide to find out what the shutter speed priority setting is called. Whilst you’ve got that user guide out, also look up which dial on your camera will change the shutter speed.
So simply turn that dial to TV, and change your shutter speed to a setting that will freeze the motion, using our guide below, and shoot.

Lauren Green, Advanced Graduate
If you’re still experiencing blur, increase the shutter speed. If you’ve frozen the blur but your photo is dark, try reducing your shutter speed by one click, and try again.
If your photo is too bright, you can increase your shutter speed until you have a good exposure. When it comes to freezing motion, no shutter speed is ever too fast.
Experiment until you get the right balance of good exposure and frozen motion.
TV mode will work outside if you have plenty of light to compensate for the fast shutter speed. Indoors may present challenges however unless you have an abundance of natural light, and for that reason full manual mode is necessary as you’ll need to use other settings to get more light into the camera.
So What Do the Numbers Mean?
Shutter speed is represented in fractions of a second and indicates the length of time your shutter is open from the instant you press the button.
1 is, quite simply, 1 full second, 1/6 equals one sixth of a second, 1/250 is 250th of one second, and so on.
Emma Bushnell, CLG Enthusiast Grad
A Shutter Speed Guide
How well your camera freezes motion is dependent on both the shutter speed and the speed of the motion you are attempting to freeze.
The faster the motion, the faster your shutter speed needs to be to keep up with it.
You can never be 100% certain exactly what shutter speed you need when you take that first shot.
Suggested Settings
But you can have a rough idea, take a test shot and go from there. Use the following guide as a starting point:
- Dirt bike riding – 1/2000 (minimum!)
- Bike riding – 1/1250
- Running at their top speed – 1/1000
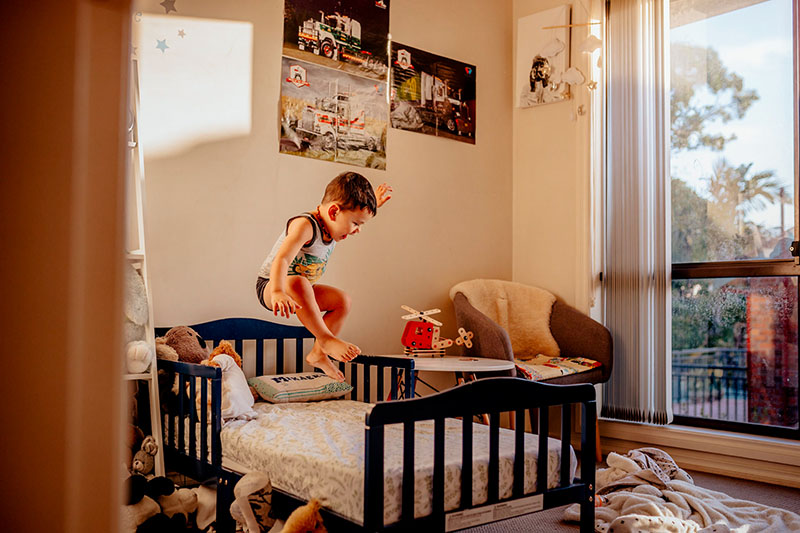
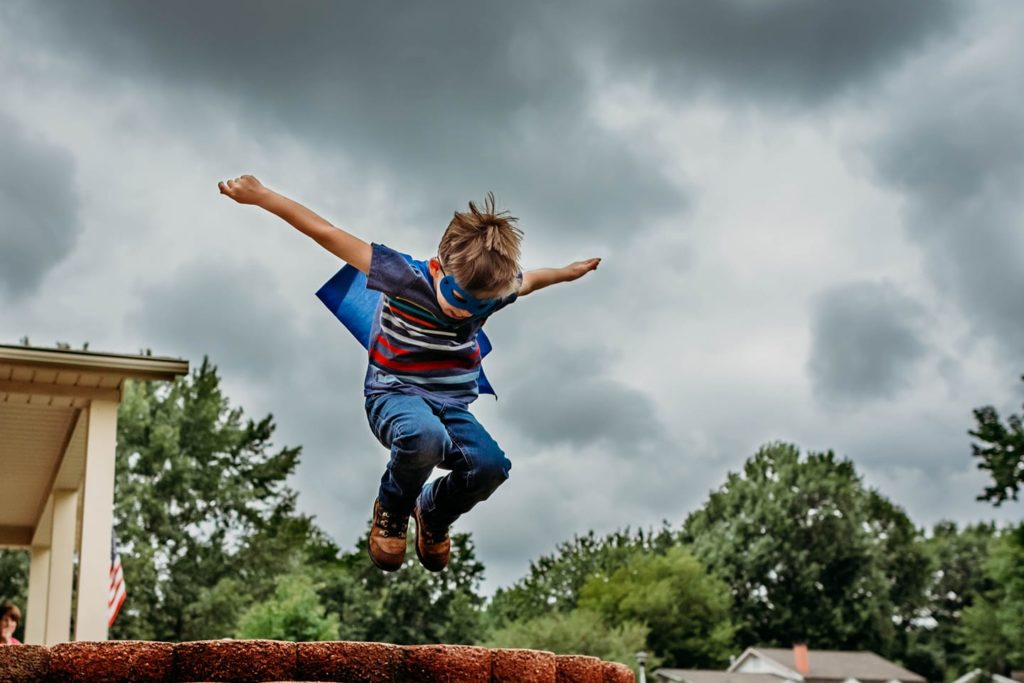
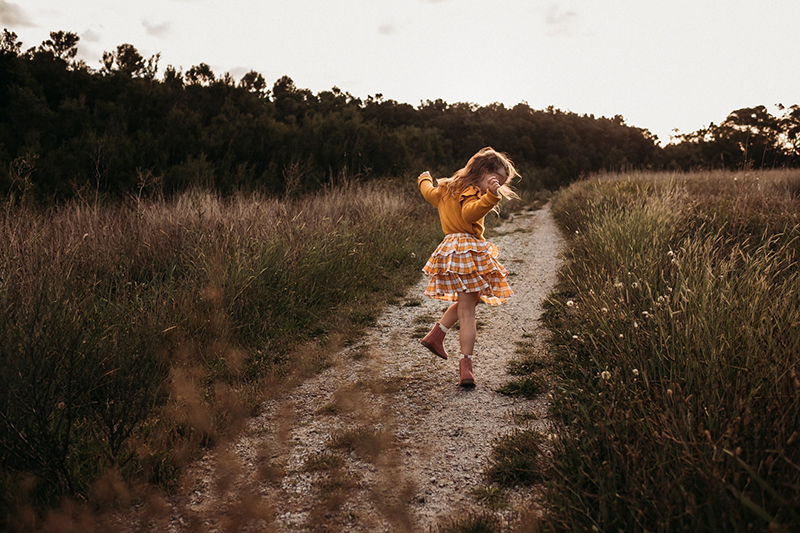
- Jumping, cheerleading, spinning – 1/800
- Kicking or hitting a ball, dancing – 1/500
This will obviously vary depending on the age of the child and how fast they are generally at these activities.
Emma Davis, CLG Instructor
Melissa Macklin, Advanced Graduate
How to Focus on a Moving Subject
Aha… I know what you’re thinking! You know how to freeze the motion now… but how to focus on your moving subject?
You need to get to know your auto focus drive mode.
Most DSLR cameras have at least two drive modes. One for stationery subjects where you half depress the shutter, the camera grabs focus, and locks. This is the one you’ve probably been using by default all along, especially if you’re shooting in auto mode.
Another option is continuous drive mode which will keep recomposing if the subject you’re focusing on moves.
However, you need to be in full manual mode for this function to be available to you, so if you want to play it safe for the time being and stick with TV mode, take a lot more photos to factor in the chance of missed focus, and also learn to be ready to snap any time your subject pauses for a second.
But if you’re shooting in full manual mode, switch to continuous focus mode and choose continuous burst or high speed continuous burst mode.
Then aim a focus point at your subject’s face, half depress to grab focus then push it down and hold it. As your subject moves and your focus point moves off their face, you will need to slightly adjust your framing to get it back.
Expect a good number of missed focus shots, that’s the nature of this shooting style. But by using continuous burst mode you can take a gazillion shots and only keep the ones that grabbed focus where you needed it.
Now go forth and capture some action!
Dana Whitley, Advanced Grad

Corina Clarke, CLG Advanced Grad
Kids On The Move
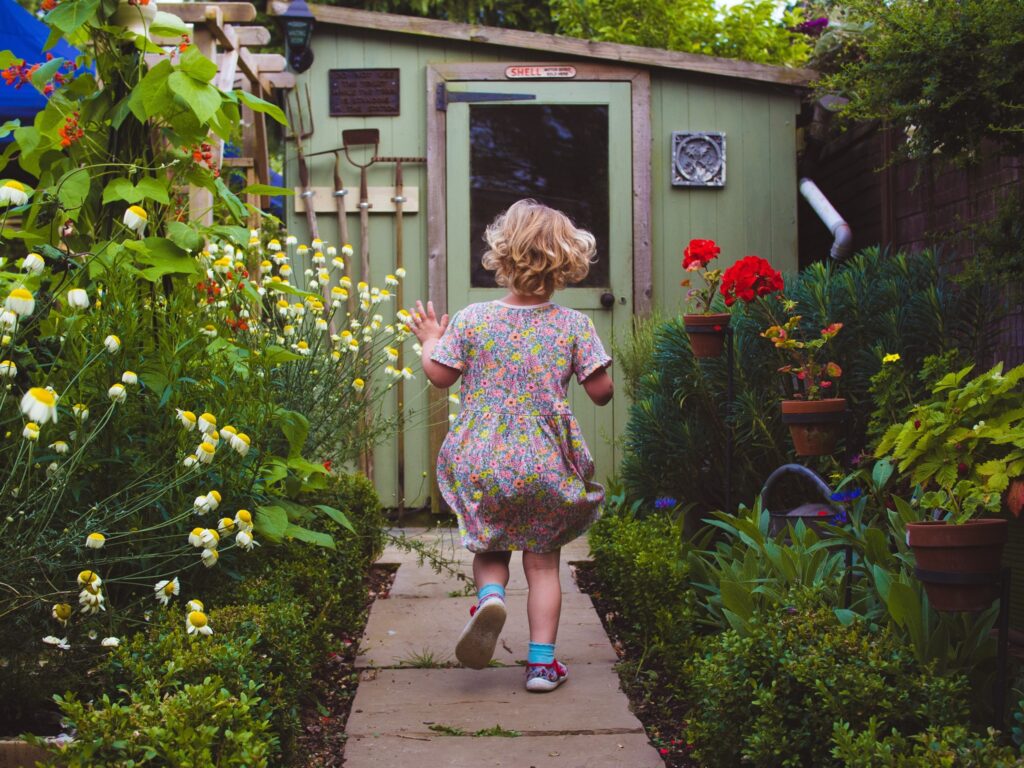
This shutter speed and focus technique works to freeze any motion, both sport and general play.

Kristen Gurney, Advanced Grad
We hope that helped you! If you have any questions, ask us in the comments, or join our Facebook community!
Free Photography Workshop
Join my new workshop and learn How to Shoot Pro-Quality Photos With Your DSLR… and it’s totally FREE to join! Register here…
PRIVACY POLICY & SITE TERMS AND CONDITONS
CLICK LOVE GROW ™ Pty Ltd - COPYRIGHT 2024 ©
x
Join Now
Enter your info below to join the challenge!
Want a friendly reminder when I go live?
Pop in your number and I’ll shoot you a text.
* We will send text reminders for our live calls during the challenge! Reply ‘STOP’ to end or ‘HELP’ for help.
We promise not to ever share your details with anyone or send you spam! Check our privacy policy and terms of service.
Be the first to comment