Storytelling Travel Photography
Tell Stories with your
Travel Photography
Ok so I’ll reluctantly admit the holidays are sneaking up on us!
So I thought it would be perfect timing to put together some travel photography tips so you can take fabulous photos on your holidays and travels.
Documenting our travel adventures through images is not just a way to record memories of the places we visit. It’s also an opportunity to get really creative!
Storytelling
I like to approach travel photography as though I’m telling a story through the photos. Travel stories will naturally include landscape images of the destination, but they should also document its culture, people, history, food, celebrations, architecture, and all the colourful and texture filled details.
You’ll then have a great range of varied images which are perfect for blog posts, photo books or storyboards to frame and hang on your walls.
Consider these shots for your story…
Introducing the Scene
Take wide angle shots that present the scene. This could also include a creative detail shot of a sign that gives a clue as to the location or activity.
- Landscapes (all those fantastic views)
- Streetscapes, including night photography
- Your accommodation
- Places you ate and shopped
- Landmarks and tourist attractions
- Locals
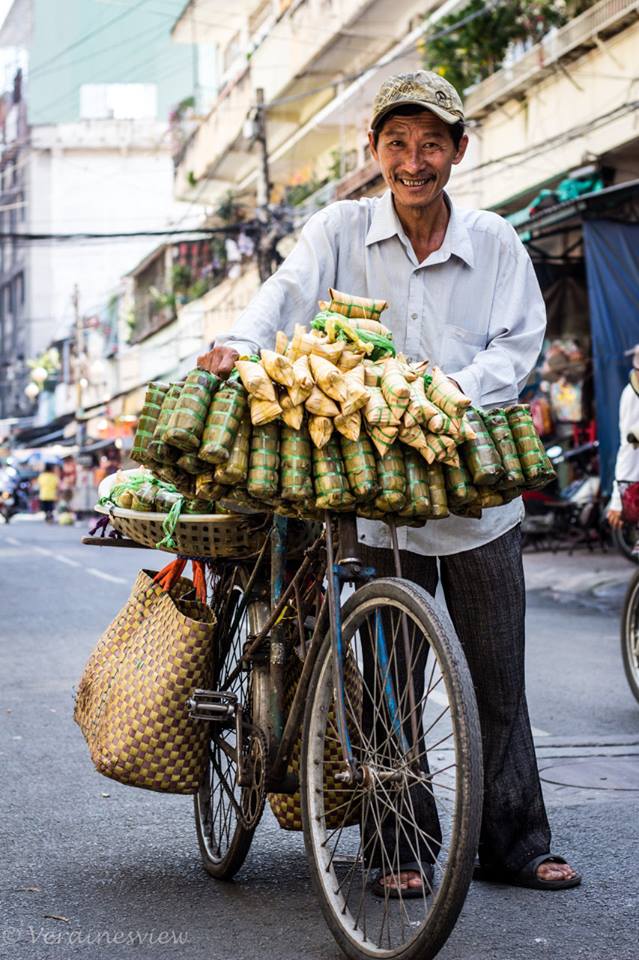
Veraine Spiller, Click Love Grow Graduate
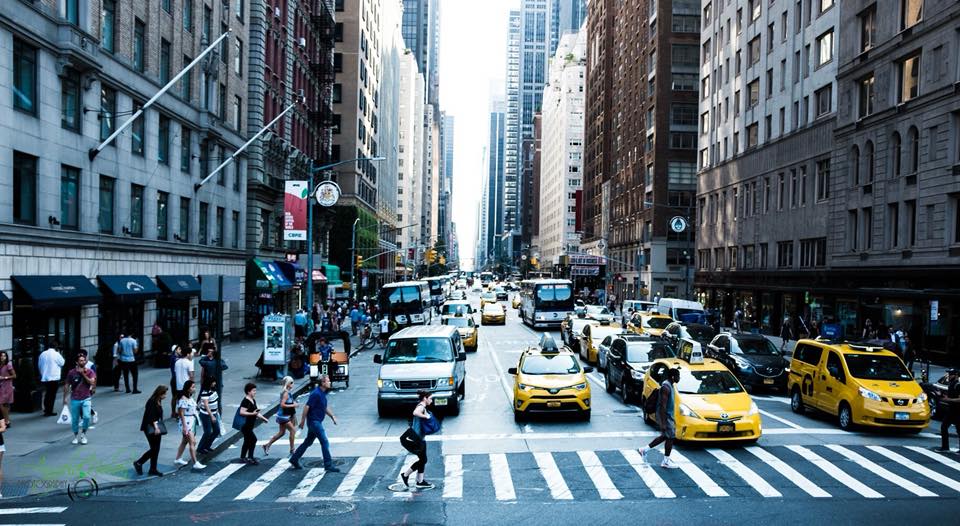
Angela Nolan, Click Love Grow Graduate
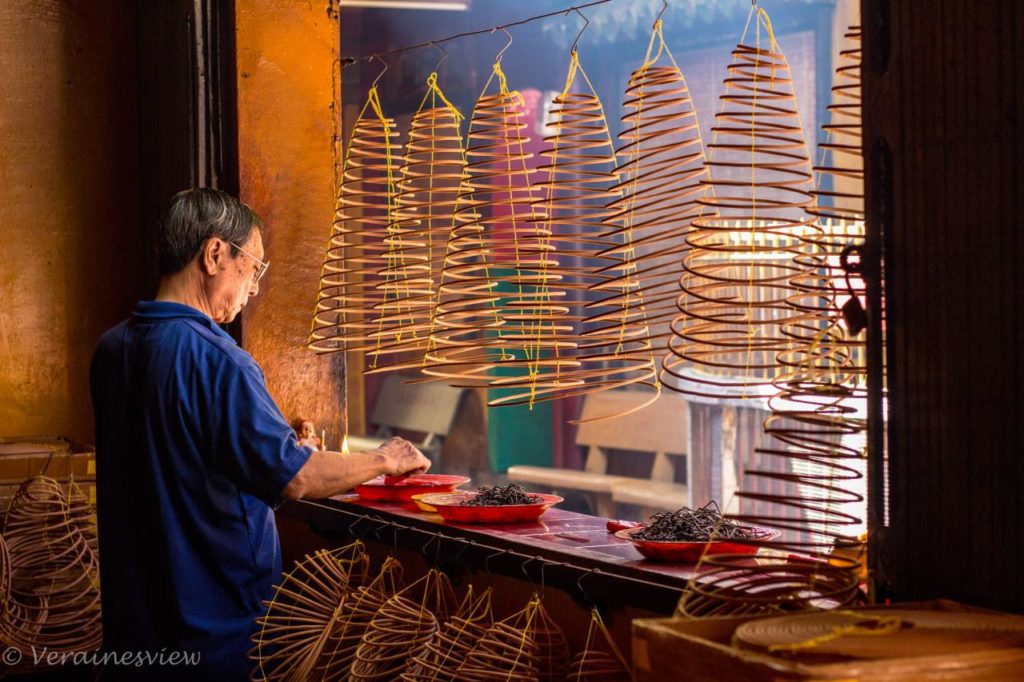
Capture the Action
Take photos of people participating in activities, eating, playing, relaxing, shopping, visiting landmarks.
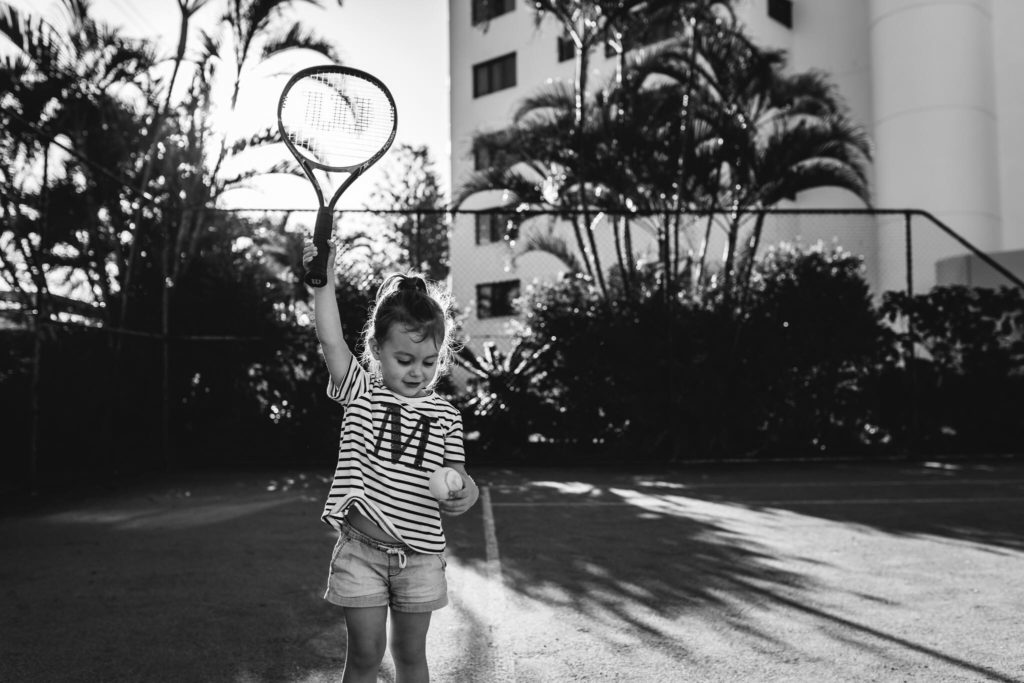
Merissa Wakefield, Click Love Grow Instructor
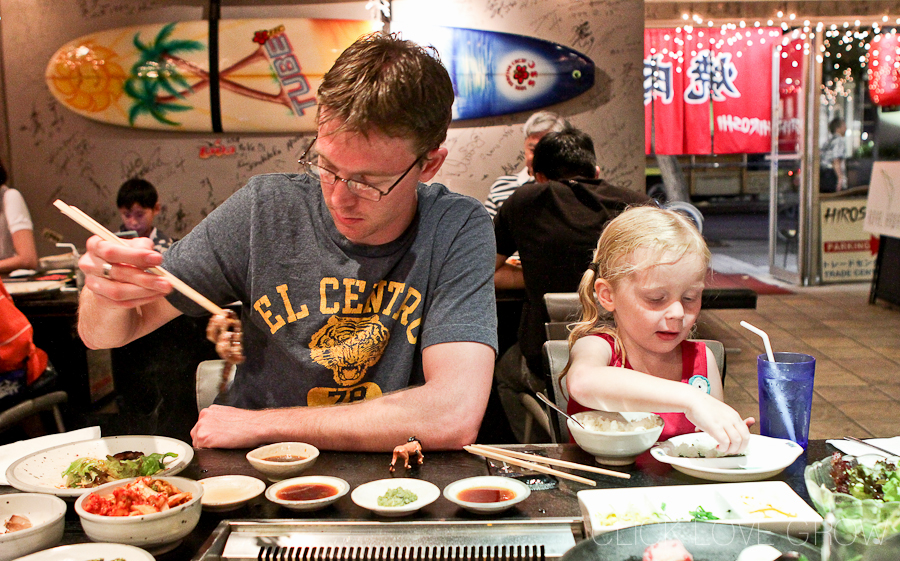
Try some documentary style photography for those everyday moments.
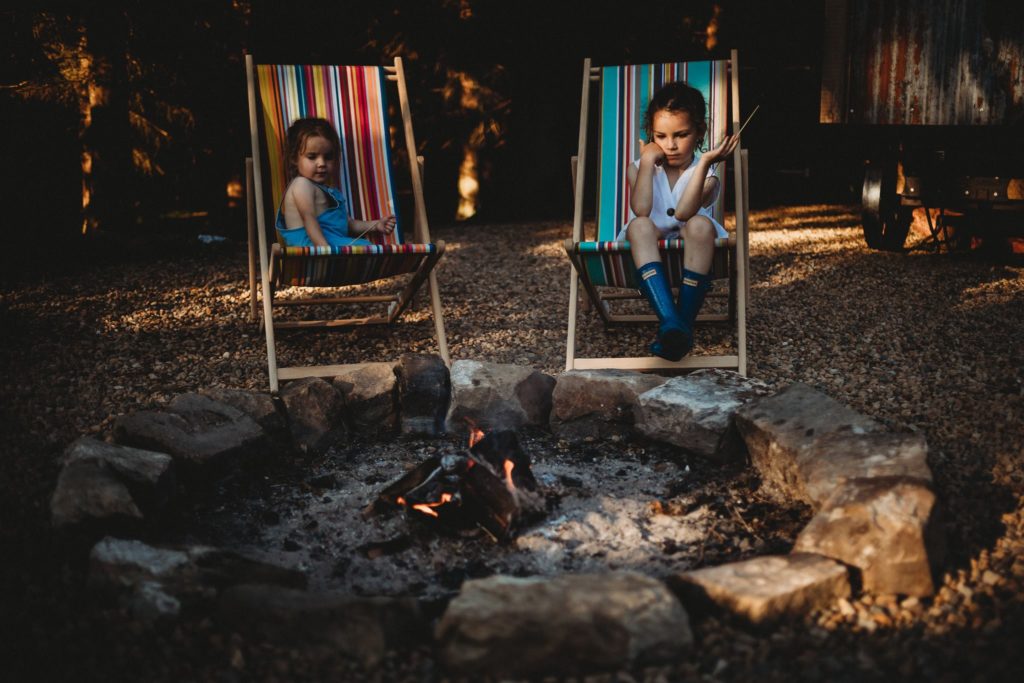
Morvern Shaw, Click Love Grow Graduate – sitting around the campfire.
Show Off the Details
Consider all the senses and try to capture colour, taste, movement, texture, shape.
These shots are perfect for adding colour to your storyboards and photobooks. Moreover, they’ll add another layer to your travel series, helping to tell the full story of your adventure.
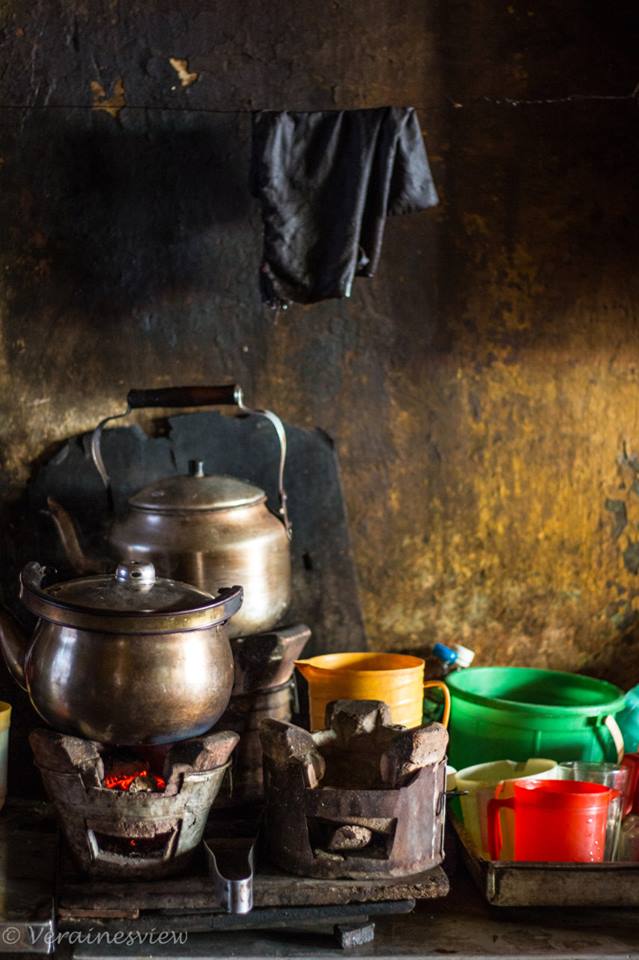
Veraine Spiller, Click Love Grow Graduate – texture is a subject in its own right, as is any ordinary object in beautiful light.
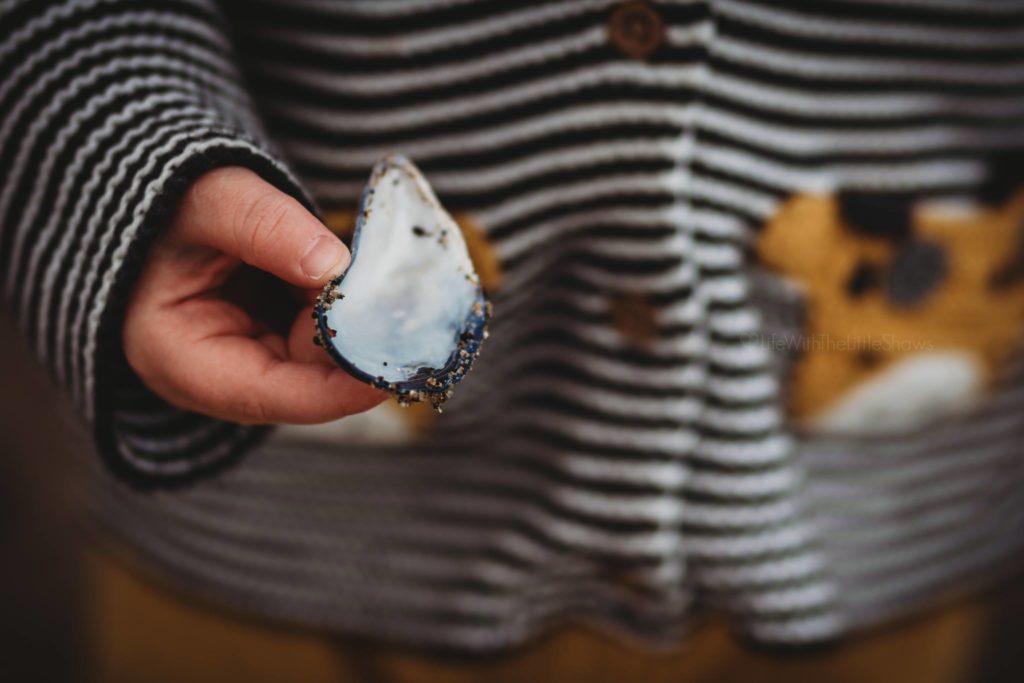
Morvern Shaw, Click Love Grow Graduate – experiment with a shallow depth of field to make it abstract and interesting.
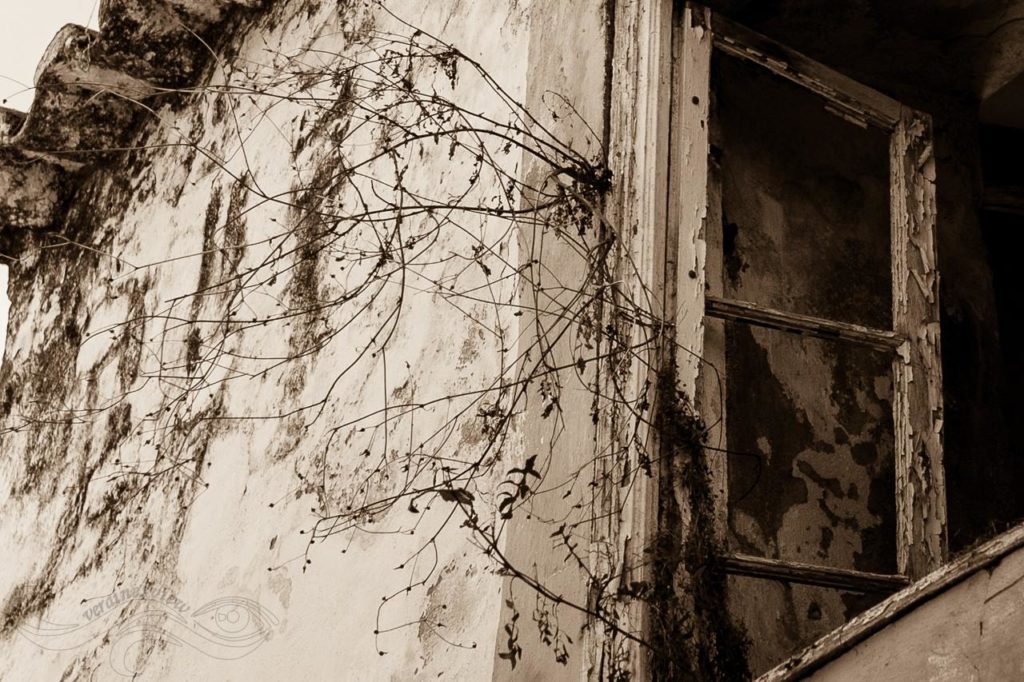
Veraine Spiller, Click Love Grow Graduate – Look for texture and interesting architectural details.
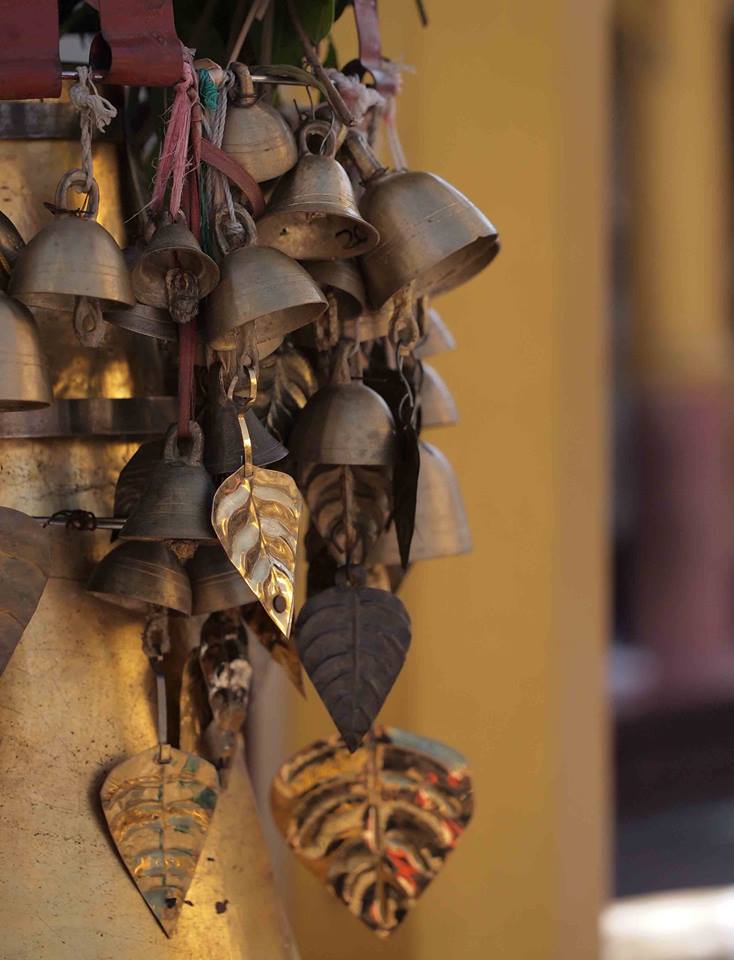
Annick Bidiville, Click Love Grow Graduate – get in close to highlight the texture and form.
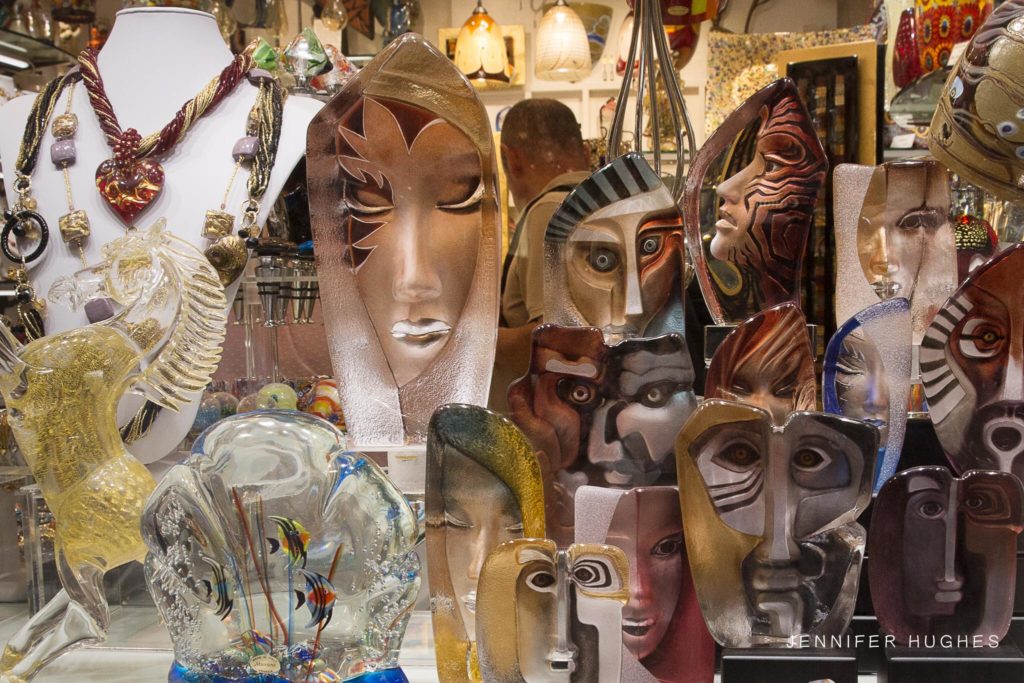
Jenny Hughes, Click Love Grow Graduate – colour makes a dynamic addition to your series.
Wide Angle Lenses
Speaking of wide angle lenses, if you have one they’re great for travel! They’re perfect for the wide shots as they can capture the full breadth of the view, and has the fantastic effect of stretching out the sky and landscape.
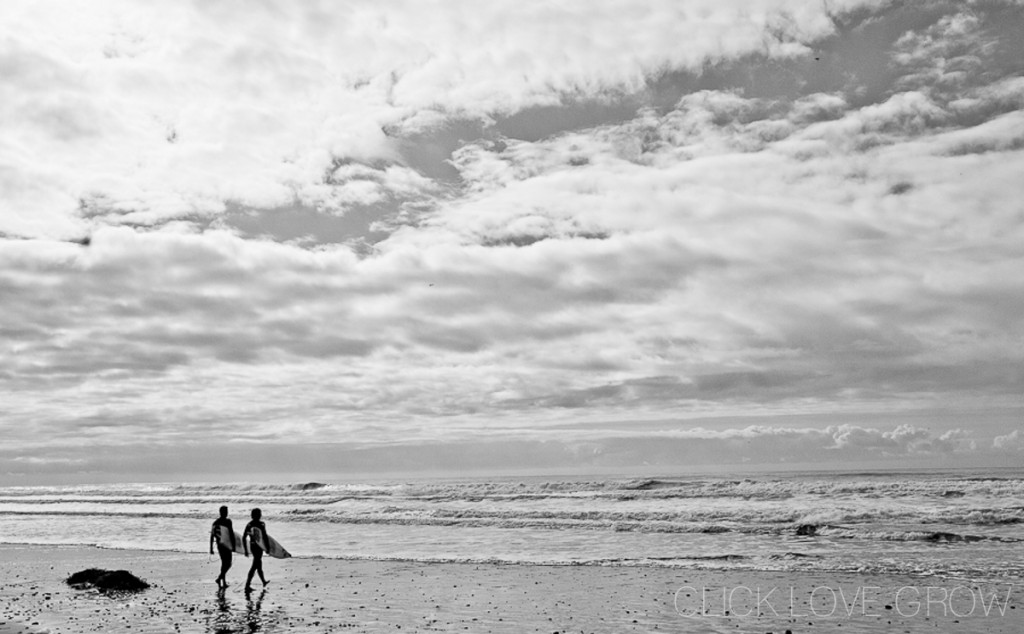
Wide angles are also great for shooting in small spaces, such as shops or restaurants.
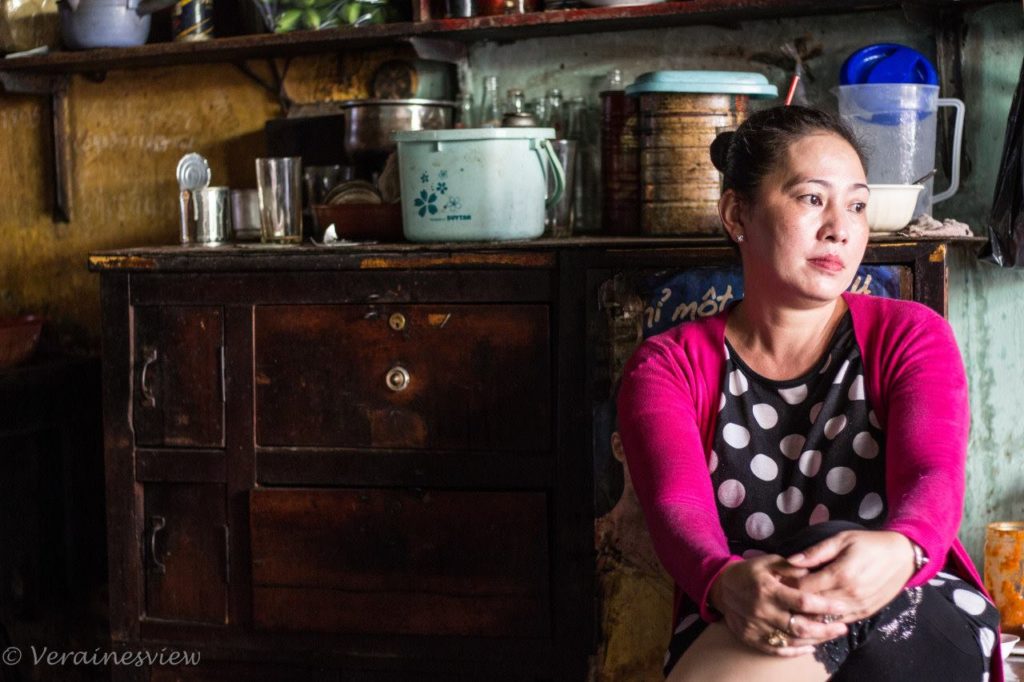
Veraine Spiller, Click Love Grow Graduate
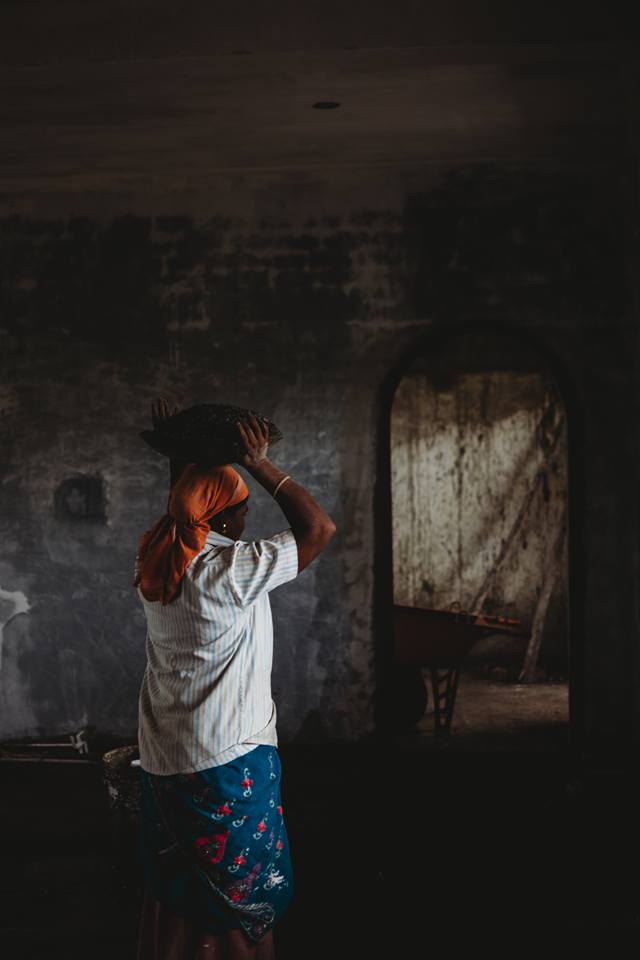
Dana Whitley, Click Love Grow Graduate
You can include the environment in your people shots, without stepping back so far you lose your subject, by using a wide angle lens such as 24 or 35mm. Just be careful not to distort your subject. You can avoid this by ensuring they’re not too close to the lens or the edges of the frame.
Related: What Lenses do to Faces
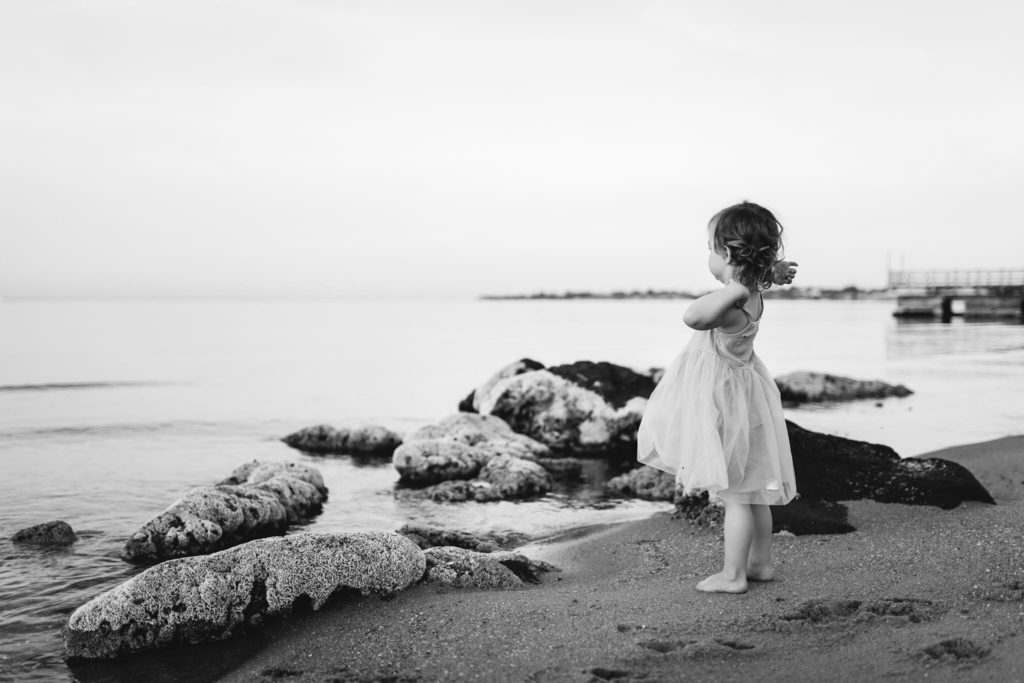
Merissa Wakefield, Click Love Grow Instructor – taken with 35mm lens to include the environment.
Perspectives
When you’re visiting a new location or old favourite, spend time exploring the area. Make a point to really notice your surroundings, and look for opportunities for compelling shots or angles and take time to stop.
Don’t take photos of everything from your standing height. Try different perspectives… get down low and shoot down.
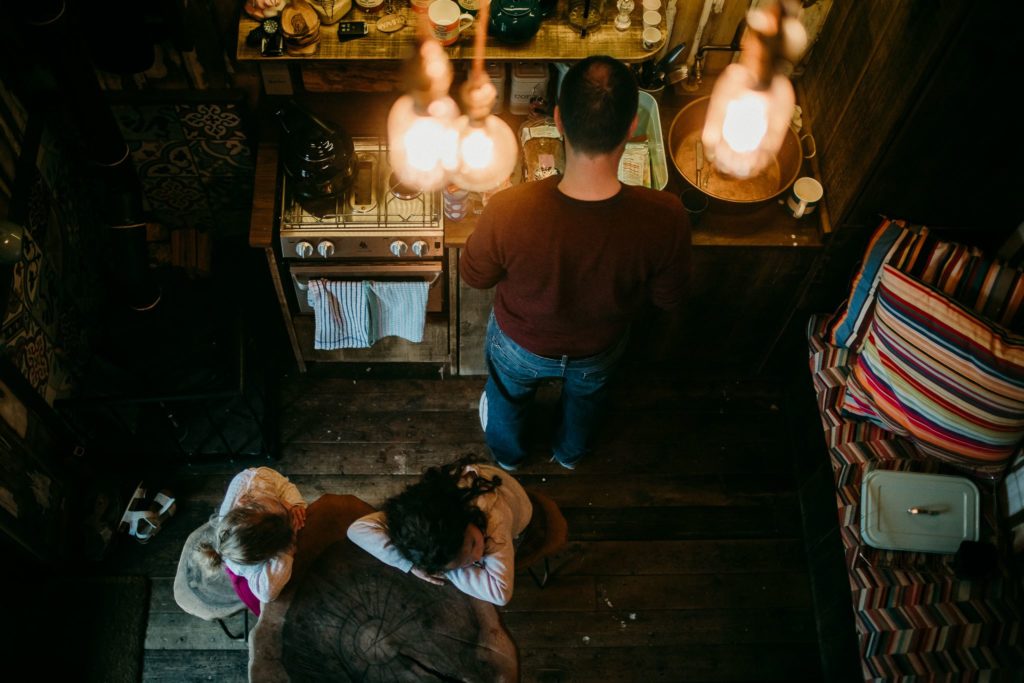
Morvern Shaw, Click Love Grow Graduate
Get down low or underneath and shoot up.
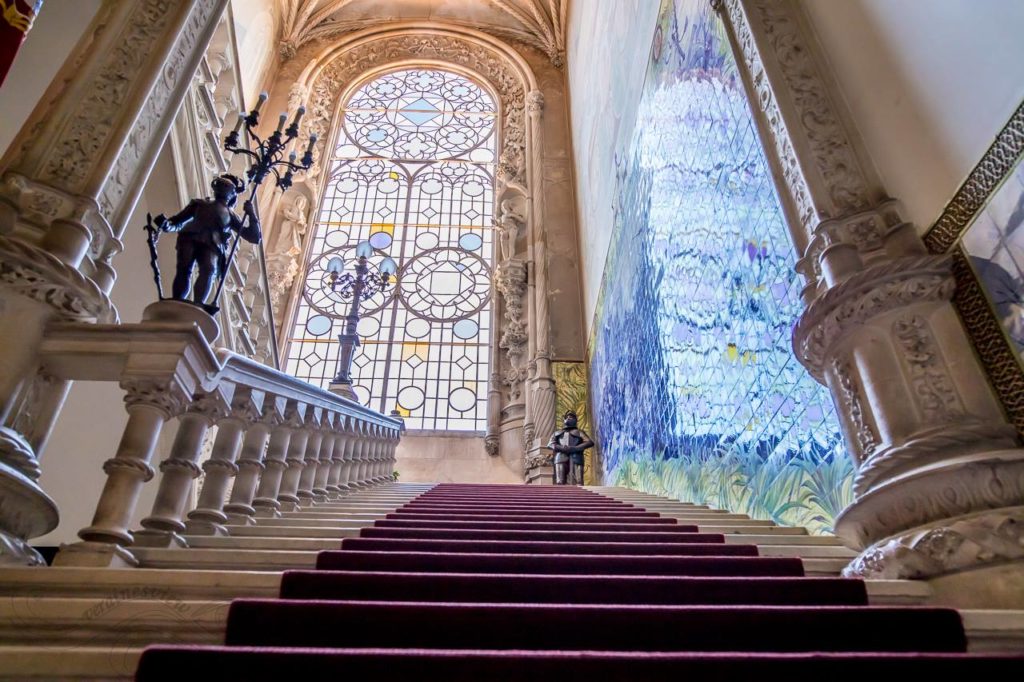
Veraine Spiller, Click Love Grow Graduate
Walk around a subject to look for different or more interesting compositions. Shoot through other objects and use them to frame your subject.
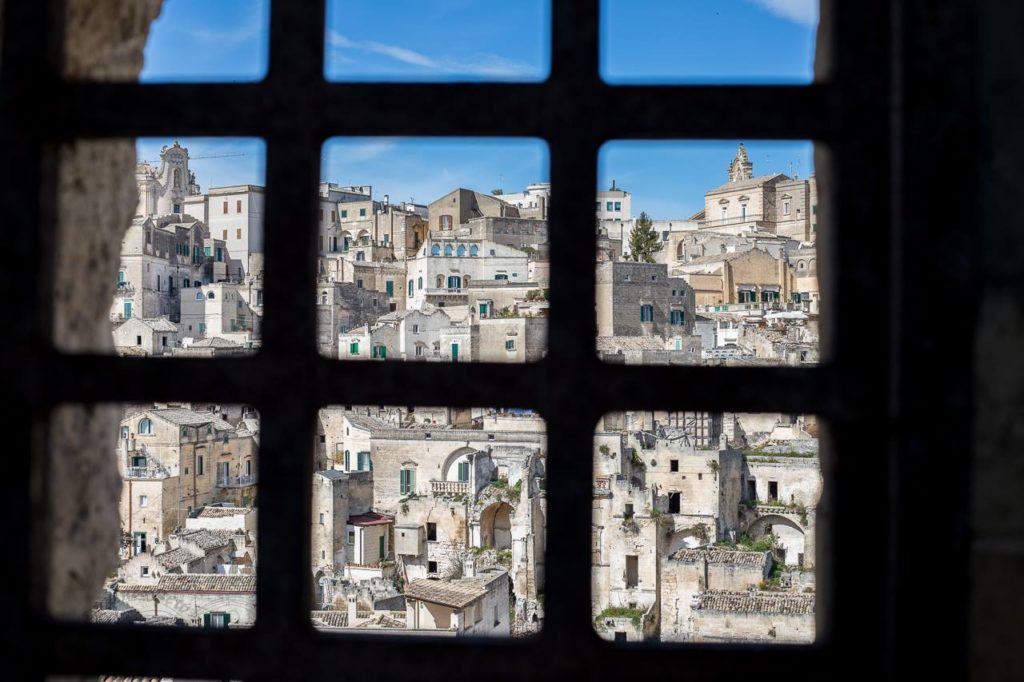
Veraine Spiller, Click Love Grow Graduate
Head out Early
Head out early in the morning, it’s a beautiful time to wander as it’s usually quiet and peaceful. As a bonus, you can find beautiful light during the ‘golden hour’. This is the time around sunset and sunrise when the sun is low on the horizon, and is beautifully diffused by the atmosphere. It can provide a delicious range of colours in the sky… perfect for creating holiday memories of wherever you are.
Related: How to Shoot in the Golden Hour
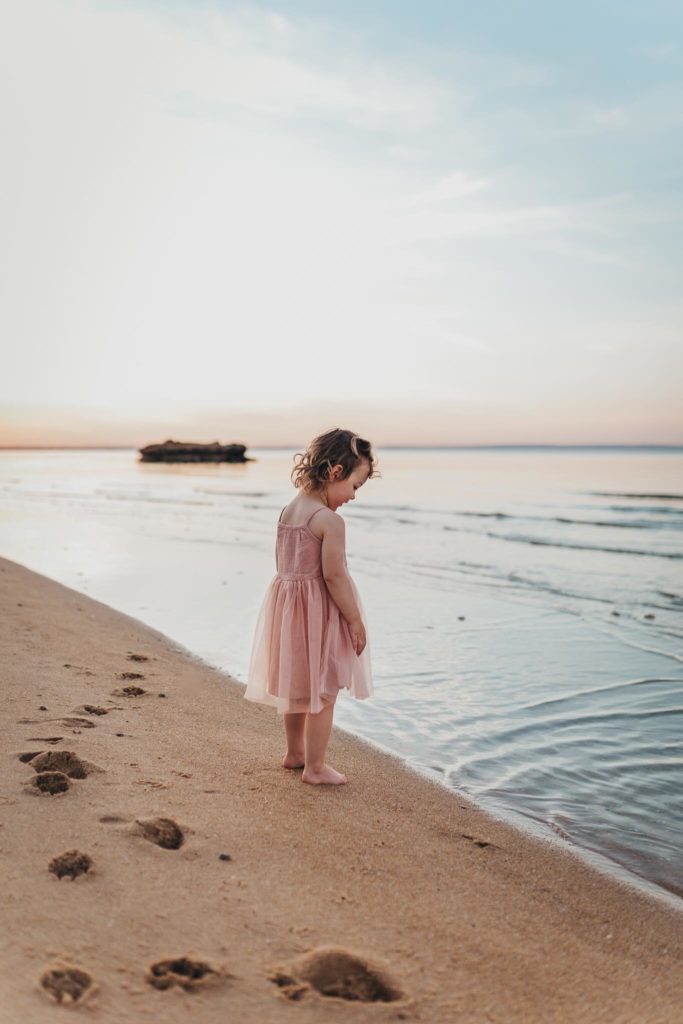
Merissa Wakefield, Click Love Grow Instructor
Settings
Holidays are a great time to experiment and practice using manual modes, so here are some tips for you!
Related: How to Shoot in Manual Mode
Landscapes
Usually in landscape photography it’s recommended that you have everything in focus from the foreground to background.
To achieve this deep depth of field you should aim to have your aperture at least f/16. If light permits, you can set it at the smallest aperture your lens has available (highest f stop number). For most lenses this can be anything from f/16 to f22.
Then either focus on something in the centre plane of the frame using auto focus, or set your lens to manual focus, set the focus ring to infinity, frame and shoot.
Personally I love to shoot landscapes at wide apertures around f/2.8 – f/4.
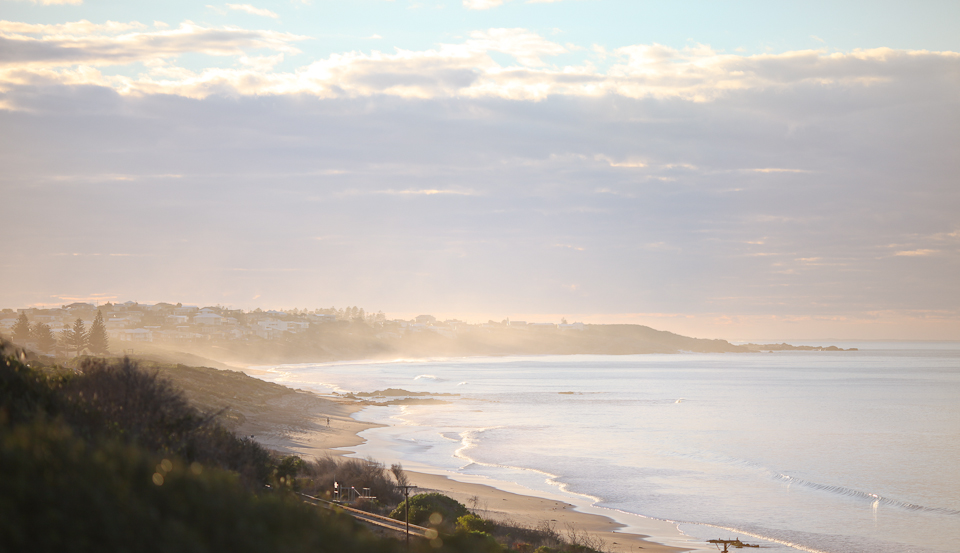
Close Ups
When capturing the small details of your destination, a shallow depth of field (small f stop number) allows you to take beautiful creative images where only your chosen subject is in focus and everything around it is beautifully blurry. This is also great for shooting in places with low light, as your wide aperture will allow a lot more light into your camera.
Shutter Speed
When using small apertures in landscapes, you capture less ambient light. Combine that with the fact we’re often shooting landscapes in low light conditions, a slow shutter speed is required to make up for that loss of light. Slow shutter speeds are also used in landscapes to capture that beautiful smooth effect of water and misty waterways.
You’ll need a tripod or something else to secure your camera in place so that you don’t record any camera shake or blur due to the slow shutter speeds.
Photographing action requires just the opposite! When people are in movement or taking part in activities it’s important to remember to select a high shutter speeds to freeze that action without any blur!
Related: How to Take Action Shots
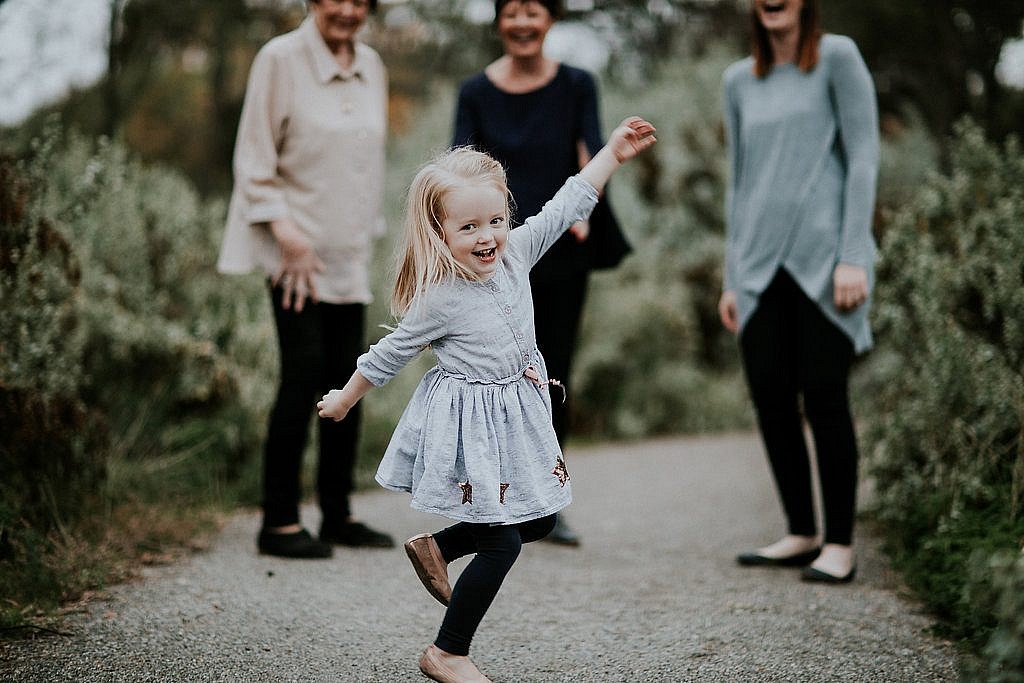
Bronwyn Pickering, Click Love Grow Graduate – use a fast shutter speed to freeze action
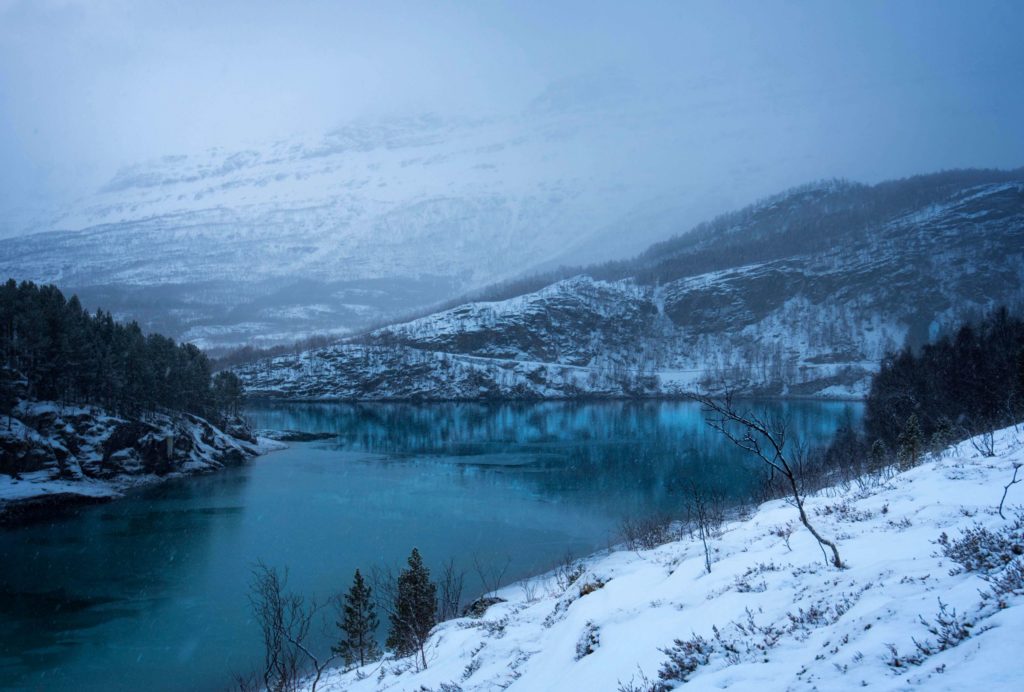
Annick Bidiville, Click Love Grow Graduate – shooting landscapes in low light can require a slow shutter speeds
JOIN the Free 5 Day Mini Course
5 Days, 5 Videos Lessons = Photos You'll LOVE!
Learn How to Use Your DIGITAL Camera!
Free Photography Workshop
Join my new workshop and learn How to Shoot Pro-Quality Photos With Your DSLR… and it’s totally FREE to join! Register here…

Leave a Reply Cancel reply
PRIVACY POLICY & SITE TERMS AND CONDITONS
CLICK LOVE GROW ™ Pty Ltd - COPYRIGHT 2024 ©
x
Join Now
Enter your info below to join the challenge!
Want a friendly reminder when I go live?
Pop in your number and I’ll shoot you a text.
* We will send text reminders for our live calls during the challenge! Reply ‘STOP’ to end or ‘HELP’ for help.
We promise not to ever share your details with anyone or send you spam! Check our privacy policy and terms of service.
Be the first to comment