The Unexpected Lighting Trick For Colourful & Vibrant Portraits
Are you missing out on capturing some of your kid’s most fun moments because they’re happening in the midday sun?
We’ve all been there – the sun is high up in the sky, casting harsh shadows, and you find yourself hesitating to capture that perfect shot. But parents of young kids know that outdoor life tends to unfold outside the golden hours, in harsh light. Especially during summer when bedtime arrives before sundown!
So you may be avoiding midday sun, but did you know it can actually be the ingredient for really bright and colourful portraits?
While it may be trickier to shoot in, by embracing this time of day through the tips in this blog post, you’ll not only open up new opportunities to document your kids, but you’ll be able to bring vibrancy, colour and fun into your photos!
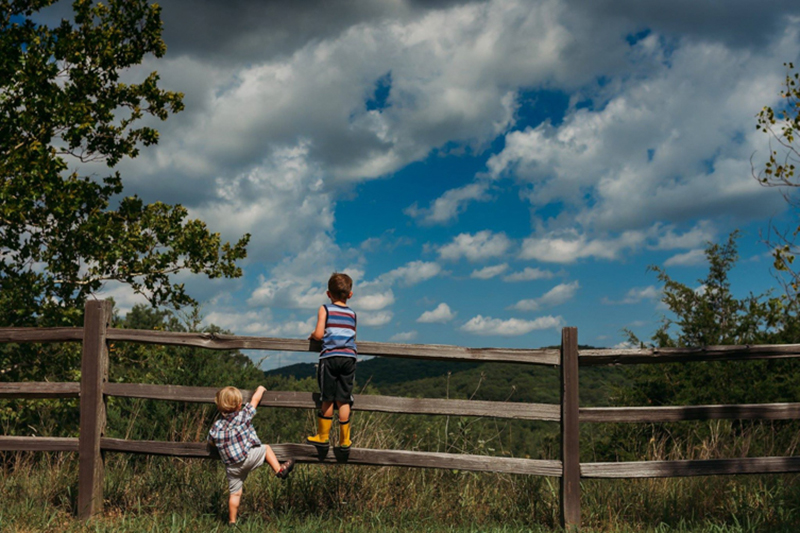
Dana Whitley is a CLG Grad with two young boys, and she prefers an authentic documentary approach to capturing their childhood. And because much of their outdoor life happens in full sun, Dana committed herself to learn how to take great photos in that harsh light.
And the result is crisp and clean, bold and colourful photos, that tell a story of a carefree childhood filled with wonder!
If you’ve ever missed a moment because the light was too harsh then kicked yourself later… read on to learn Dana’s tricks!
Life in Between the Golden Hours
The majority of our family fun and adventures take place during that scary, dreadful time of day – midday! Yikes!
Like many photographers, I spent the first couple years of my photography journey avoiding photographing midday light at all costs! You know what the cost ended up being?
So many memories that did not get captured!
Once I realized that, I started getting my camera out and playing with what I could do in harsh light. And the truth is, I love it now!
It brings a crispness to details and such vivid colors to photos that I have never been able to achieve in other lighting scenarios. Just like indoor light, shooting captivating photos at midday comes down to manipulating that harsh light and the shadows to your advantage!
So how do we shoot in between the golden hours without herding them into the shade, and take really great photos?
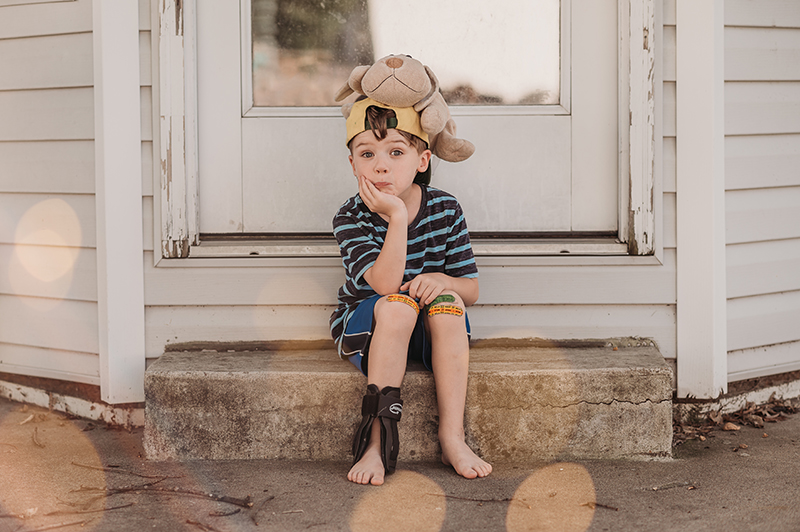
Open shade for the win… but life doesn’t always happen in this light!
Why Do We Avoid Midday Sun?
You’d think the more light the better, right? And while quantity of light is important, even more important is quality of light.
During golden hour the light is soft because it’s closer and diffused by the atmosphere. Add to that it has a beautiful golden glow which looks gorgeous and dreamy in photos.
It also scatters gently over your subject’s features, with subtle graduations between the light and shadows, so it’s really flattering too.
But the light we get around midday (and several hours on either side) has a completely different quality and therefore falls on your subject’s face differently too. As the sun is further away, it’s stronger, brighter, more directional, and the shadows are more sharply defined.
Think about it like this – if you turn on a flashlight or a lamp, and hold it close to a subject aimed directly at their face, you get that same sharply directional and harsh look. Move it further and further away, and the light becomes less directional, less strong, and scatters more.
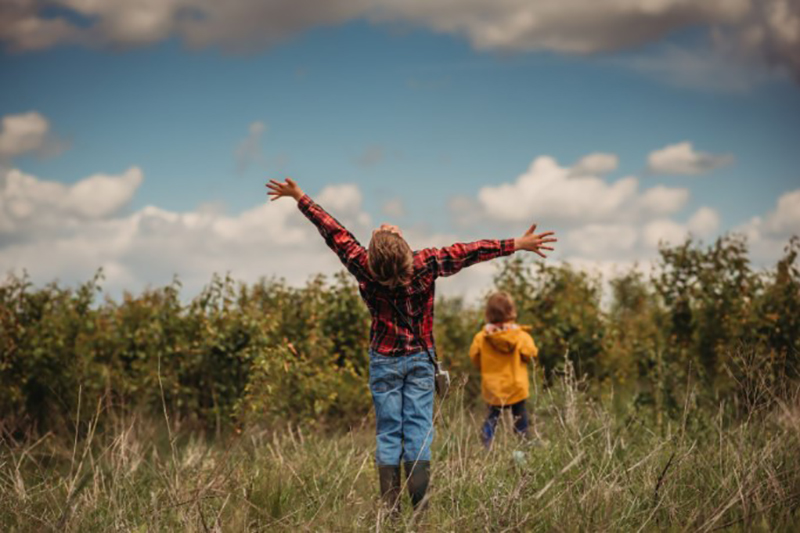
Embrace the Shadows
Be aware of shadows, but not to avoid them… we want to include them because shadows add depth, interest and a whole other dimension to your photo when used correctly.
But it is also easy for them to become distracting so the trick is to be mindful of where they’re falling.
I love this photo below but the shadow falling across my son’s face is distracting and jarring, and in most instances this lighting would take away from his adorable expression.
So how do we manipulate that light so we can take really great photos?
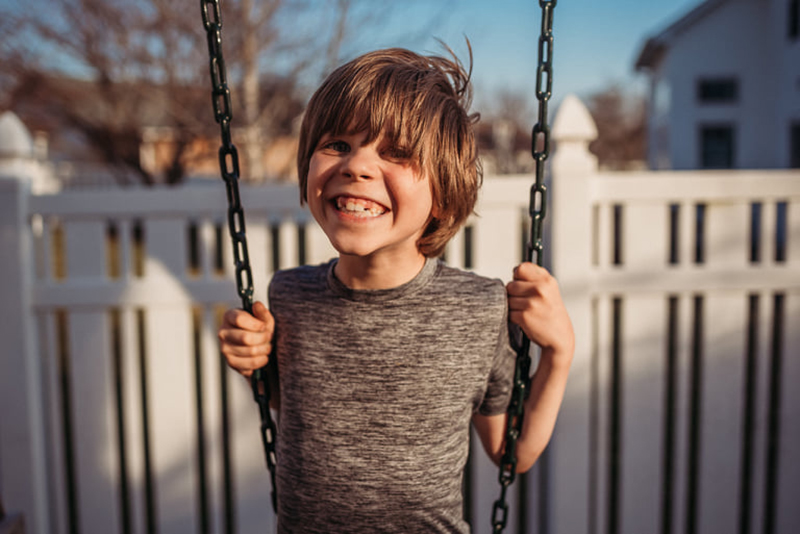
The Secret is… Front Light!
At any other time of the day we would want to side or backlight our subjects.
Backlight can give us a beautiful glow, and a gorgeous halo effect that creates great separation.

That delicious glow created by golden hour backlight is irresistable.
Side lighting when the sun is lower in the sky always creates a pleasing effect too. You get lovely shadows on the opposite side which sculpt your subjects features, without the harsh lines of midday sun.

Sidelit: The sun is at camera left, creating very subtle shadows on the right.
But when the sun is high in the sky, you want to do the opposite. I know it probably seems counter-intuitive to front light in harsh light.
So why would I do that?
We can’t back light because the sun is too high, it’s not behind them. Side lighting in harsh light creates jarring and distracting shadow lines.
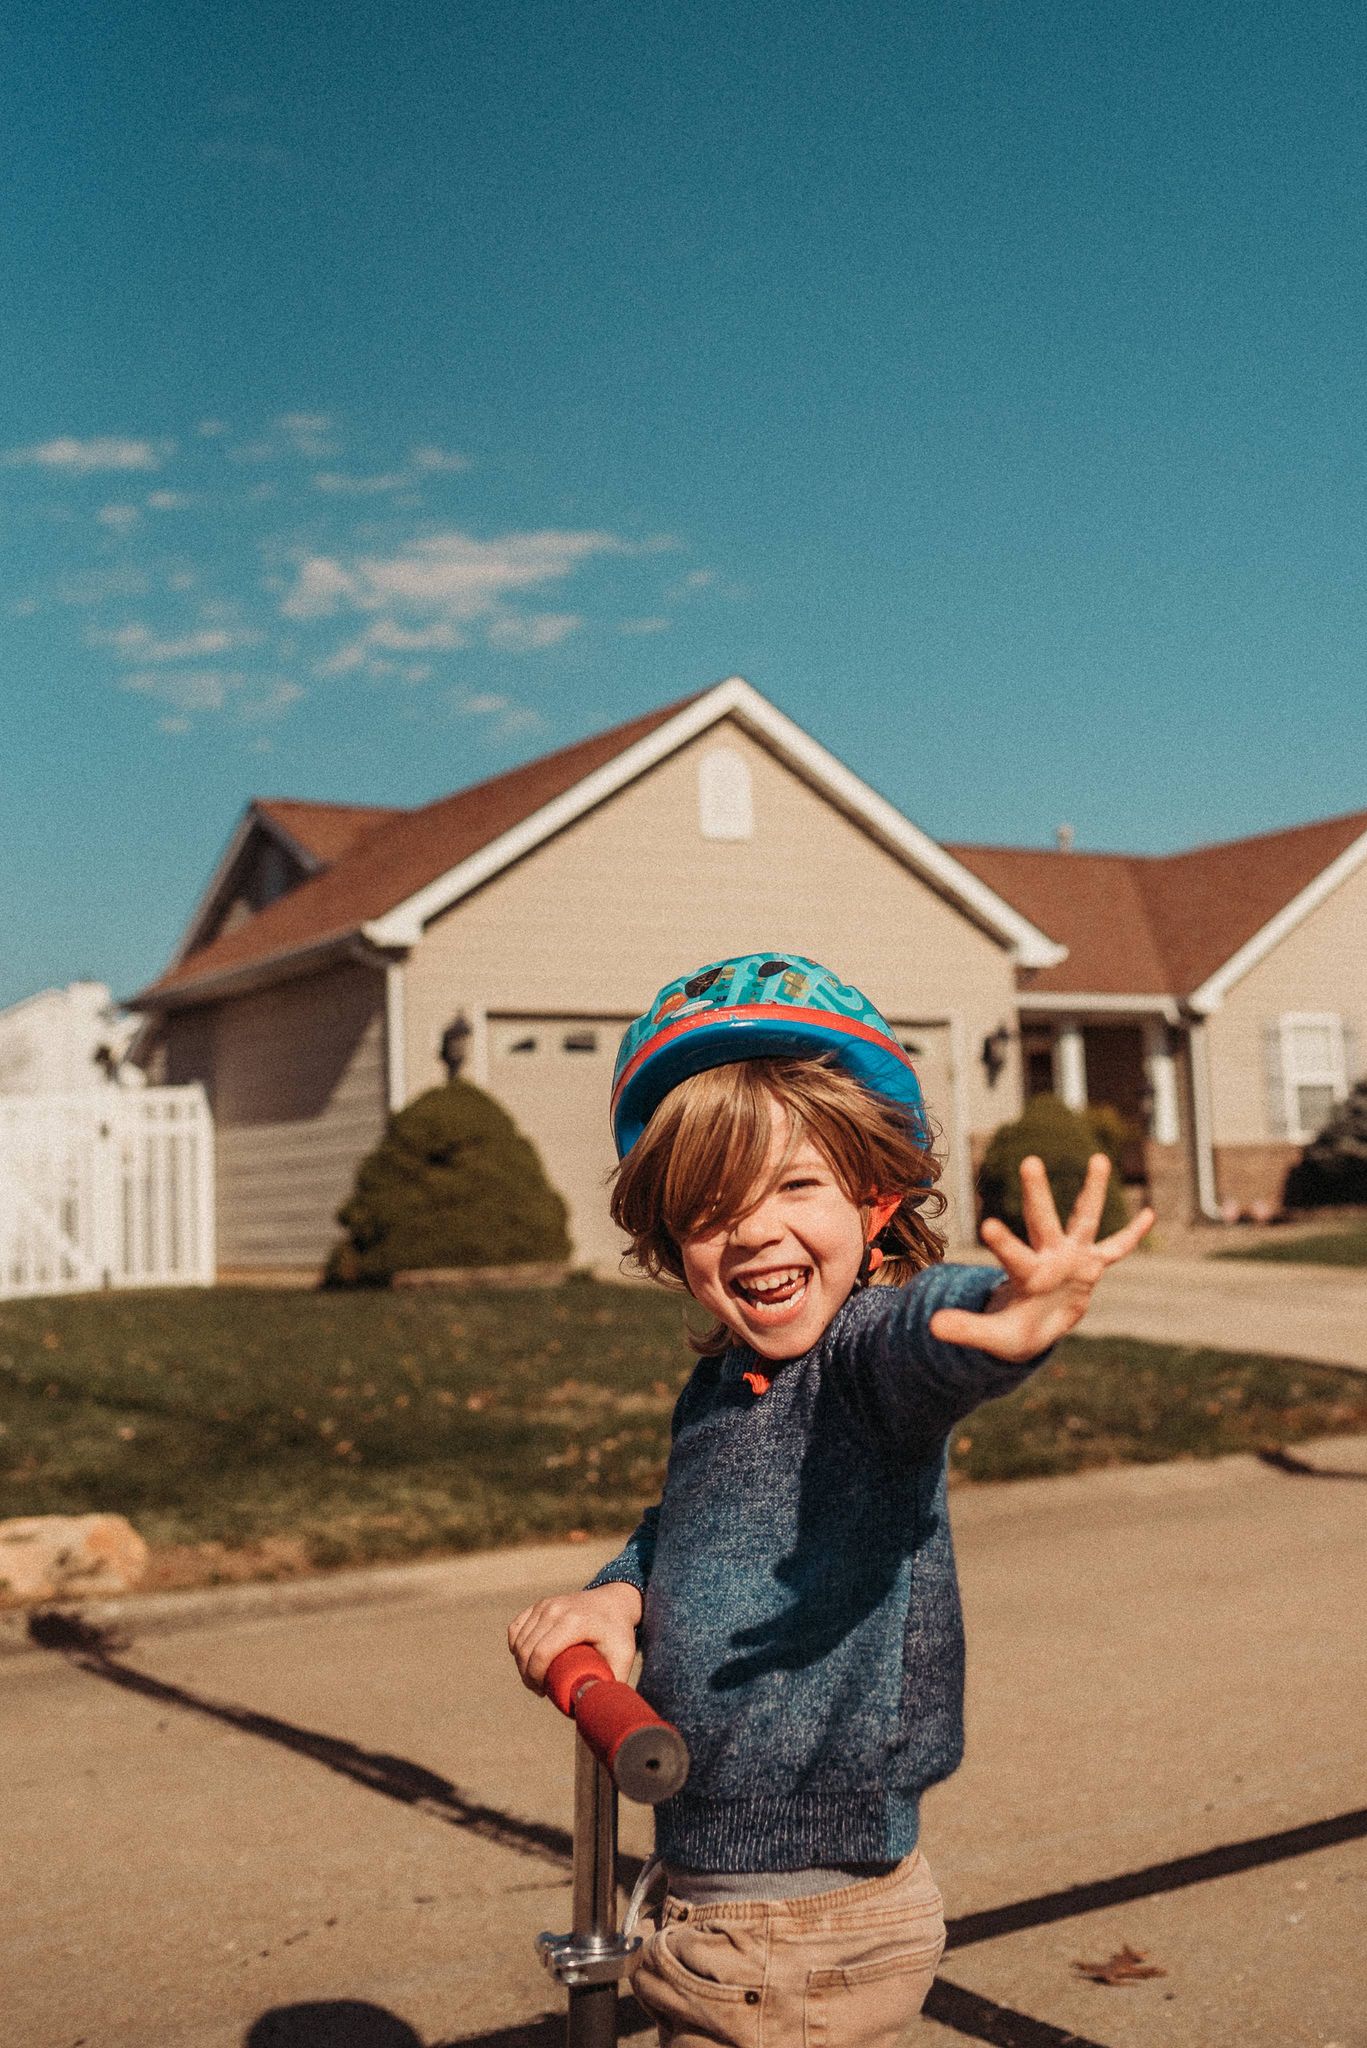
The two examples below were taken only seconds apart in high, full sun at mid morning. The settings and edits are identical; the only difference is that in the first shot, he was side lit and that created strong shadow lines across him which distracted from his sweet face.

In the second photo I turned him to face the light, and the hard light shadows are minimised and falling in places that aren’t as noticeable or distracting (under his chin and on his arm). But importantly he has even lighting across his face and chest.

Watch Your Own Shadow
Take note of where your own shadow is falling and be careful that it doesn’t obscure your subject or create a distraction.
You could step back in an attempt to frame it out, or if unavoidable, ensure it falls somewhere separate from your subject so you can minimise it or remove it altogether in editing.
Try Different Positioning
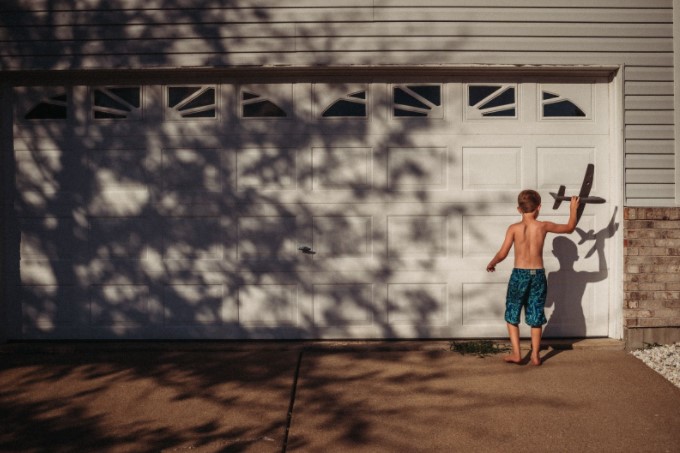
Also try moving to the side of your front lit subject and capture them in profile, being sure to include the shadow they’re casting being them. Those long shadows add depth and convey a sense of long lazy days and summer.
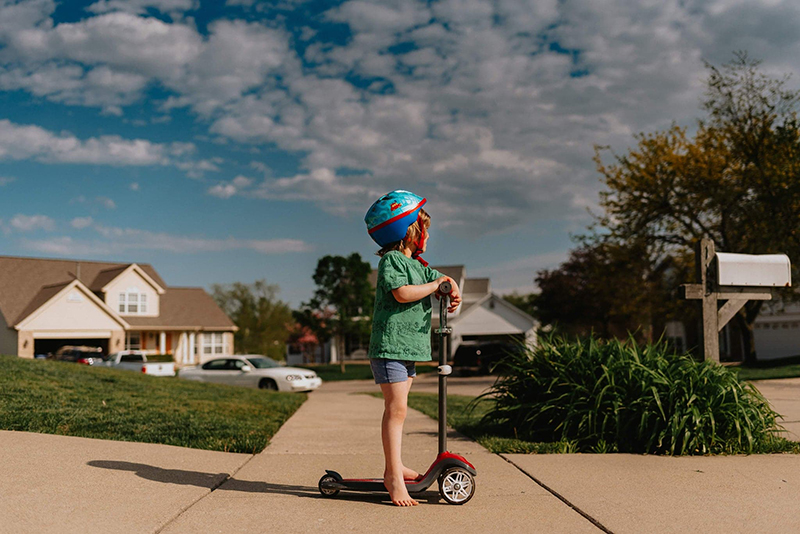
If they’re playing but they’re backlit, move behind them – this shot taken from this position captured fun shadow lines.
How to Expose for Full Sun
As the light can be quite bright, you need to make sure you don’t get blown out, distracting highlights. So expose properly for the brightest part of the scene, and one of the easiest ways to do this is to turn on the highlight warning function in your camera and test shoot until just before you get blinkies in the brightest part of the scene.
If you’re not sure how to turn on your highlight warning, check your camera’s user guide – most camera’s have this function.
Then you’ll need to increase exposure on your subject in editing. So, let’s talk about editing!
Editing
Editing for Bright Surroundings
When the surroundings or background are much brighter than our subjects, we can’t expose for both at the same time. So as mentioned above, the best option is to underexpose our subject in order to avoid blowing out the surrounding highlights.
Luckily Lightroom’s new subject selection tool makes it so much easier to work with this kind of photo than it’s ever been. That said, it’s not always a simple matter of selecting your subject and increasing exposure.
So it really helps to have a good foundation in hand editing – partly because it’s a skill that develops your eye to see subtle issues in the first place, and partly so you know exactly which tools or combination of tools you can use to fix them.
Do You Struggle To Get Consistency in Your Photos?
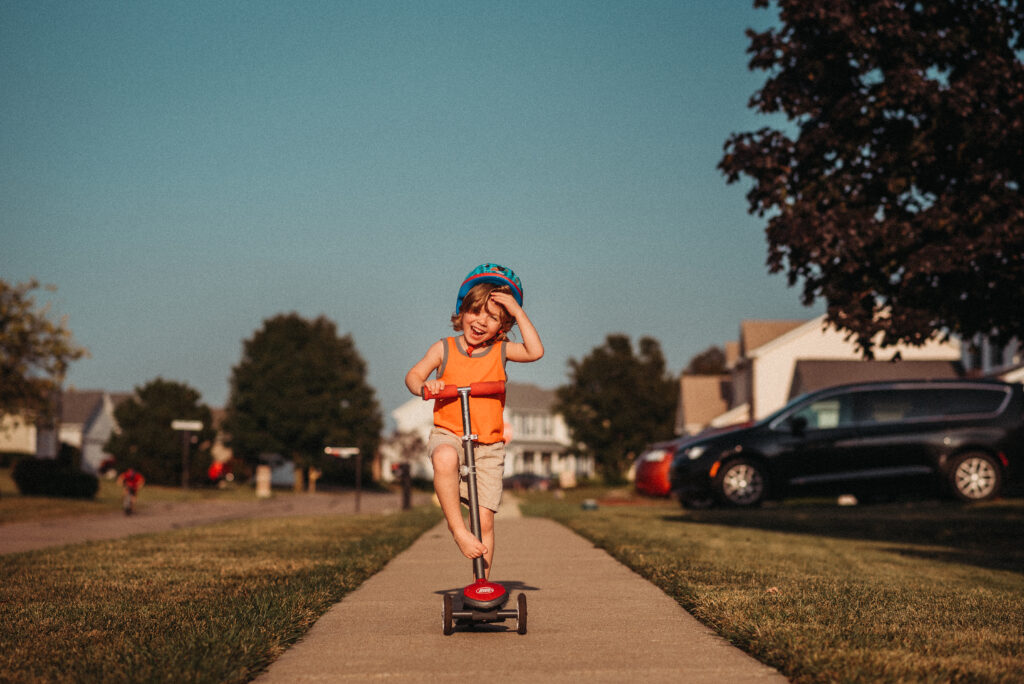
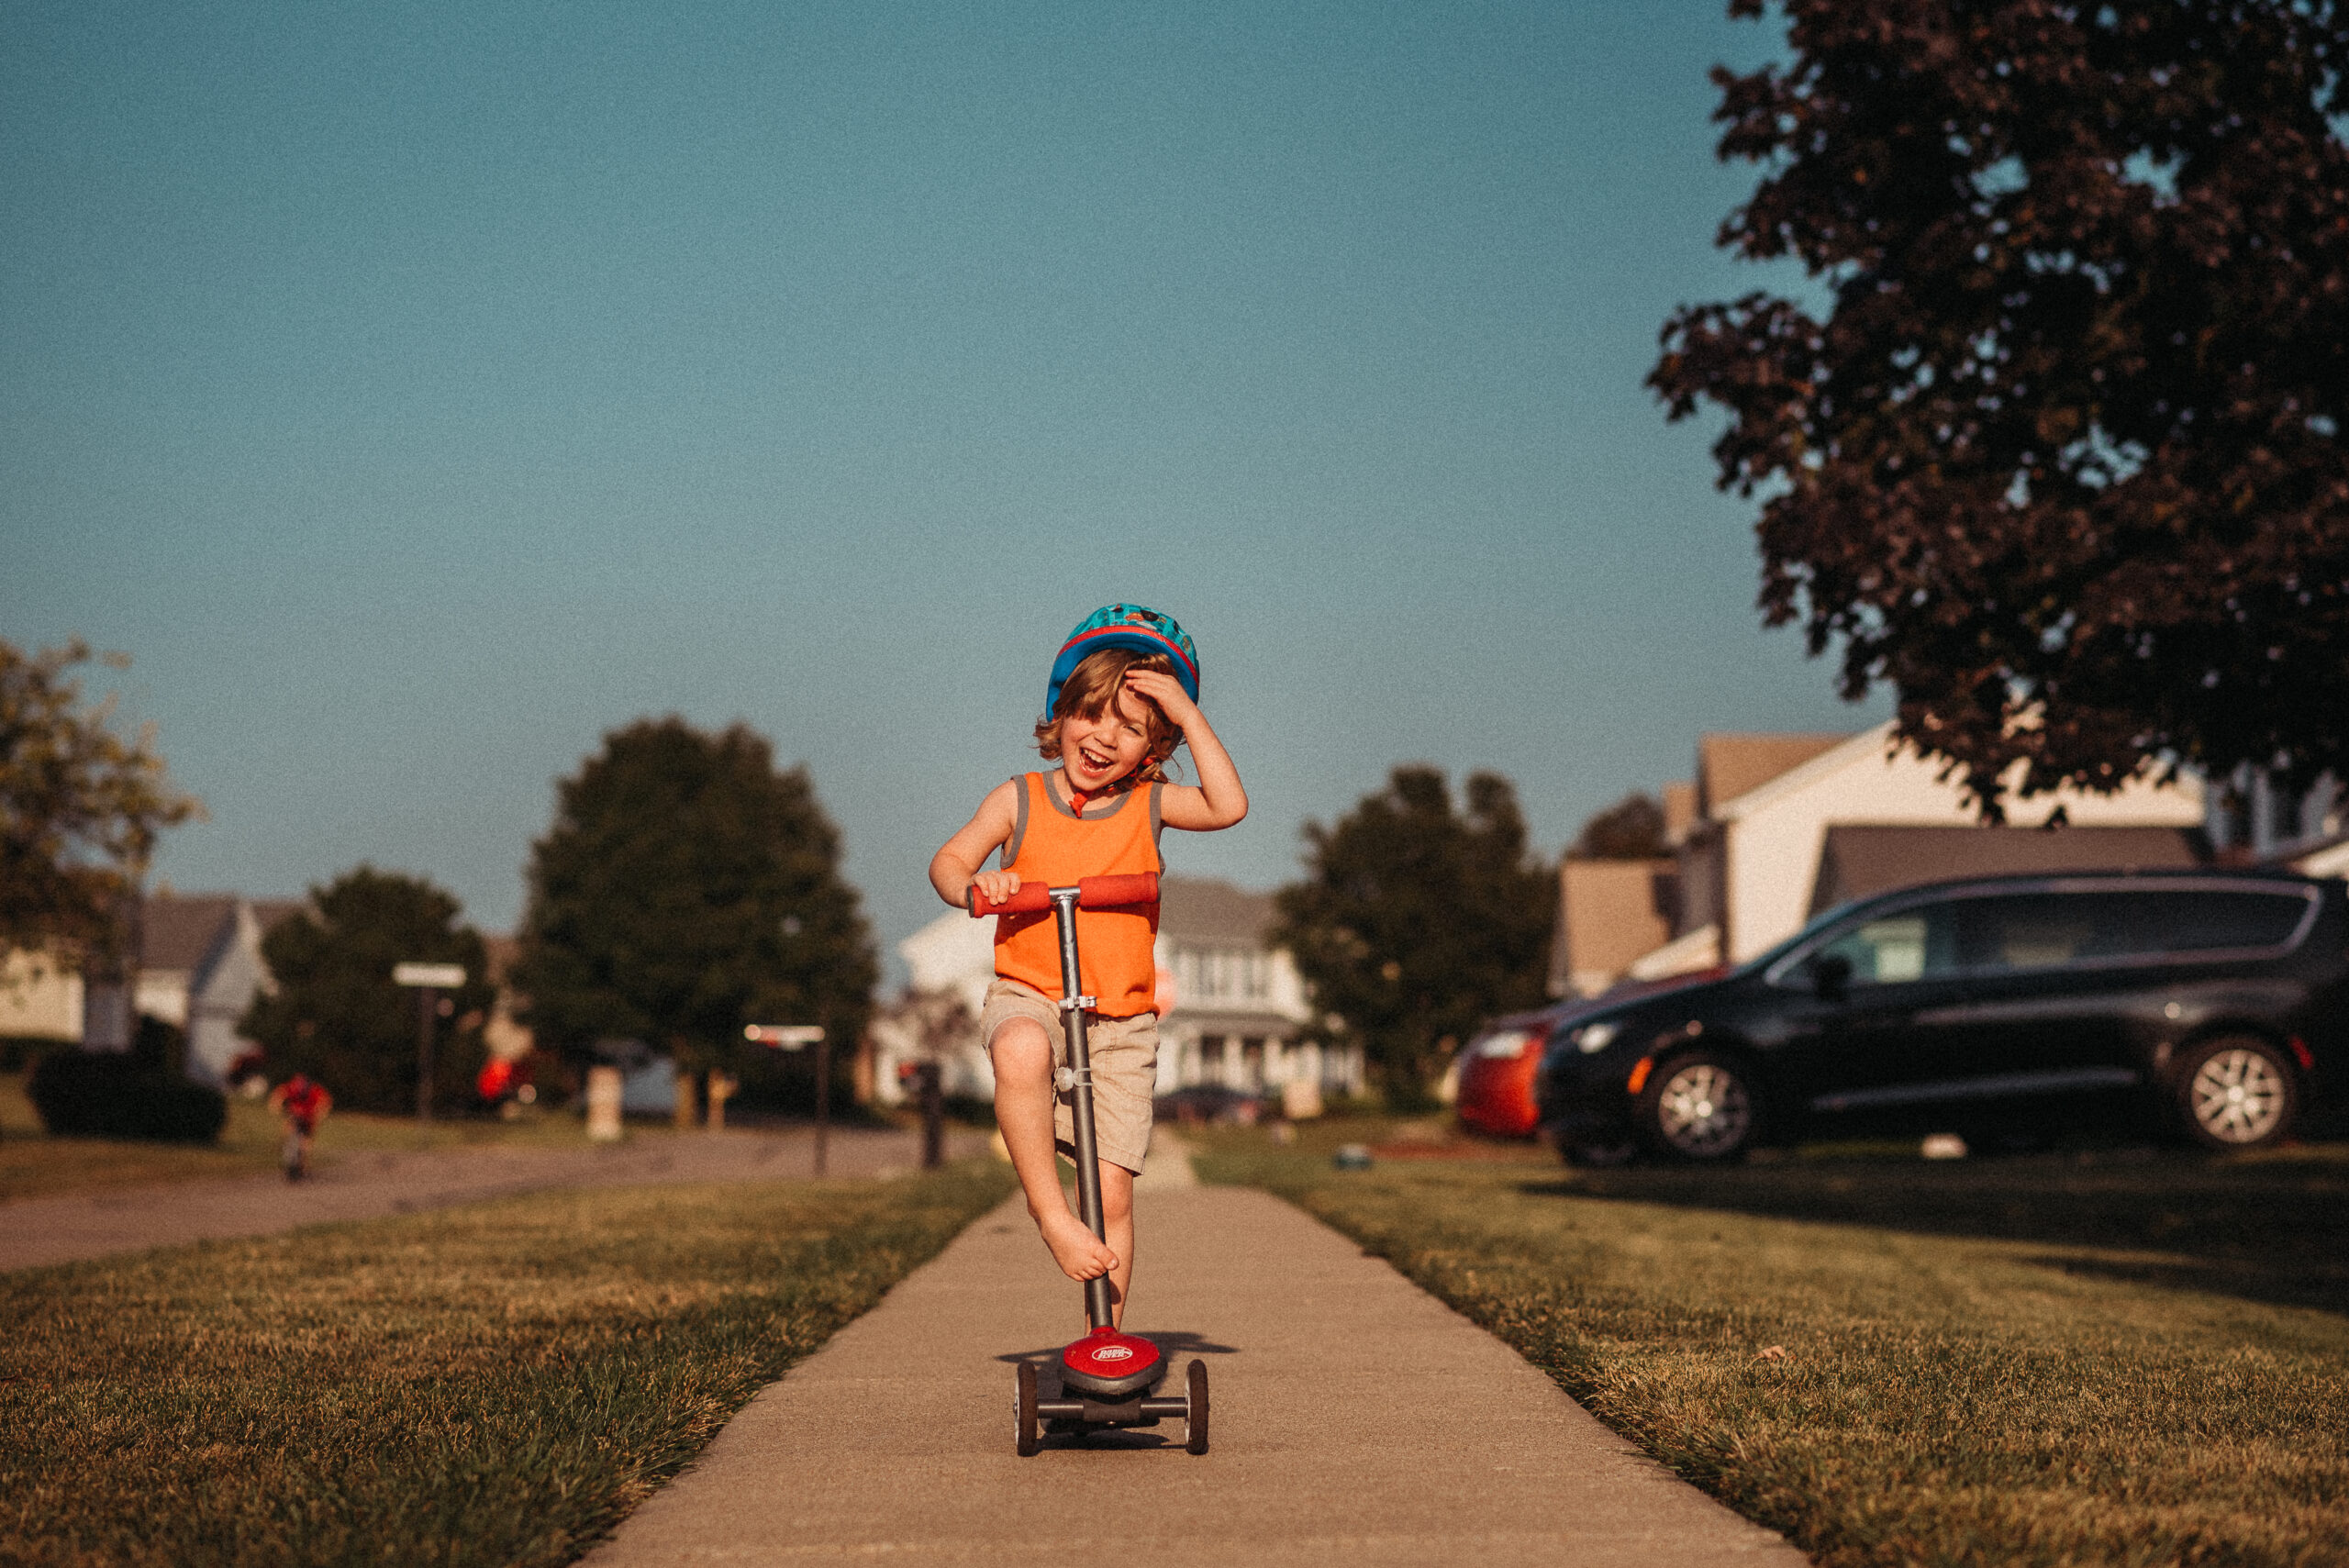
Inconsistent photo edits are painful! And in this kind of light it’s a common problem. The position of your subject relative to the light, as well as the fact sun can move in and out behind clouds, means your exposures, white balance and colour can vary a lot from one frame to the next.
That’s another reason why a strong understanding of all the Lightroom tools is a fantastic skill to have as a photographer. Even if you use Presets, strong hand-editing skills will enable you to confidently tweak your presets like a pro to get a consistent look across all your photos.
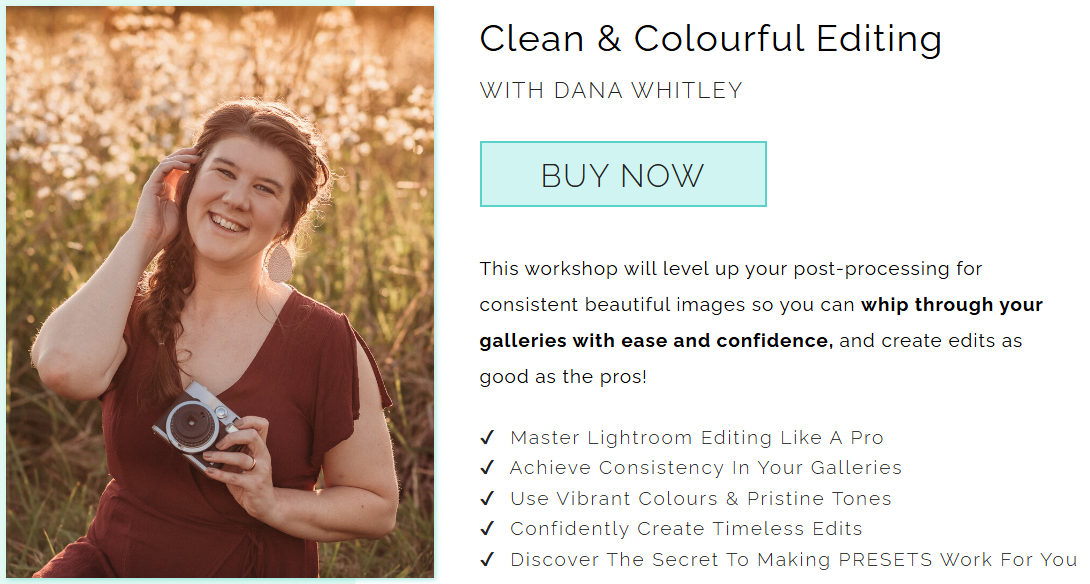
Clean & Colourful Editing Workshop
If you love Dana’s vibrant editing styling and would like how to recreate that look in your own photos, check out her Clean & Colourful Editing Workshop here.
Leave a Reply Cancel reply
PRIVACY POLICY & SITE TERMS AND CONDITONS
CLICK LOVE GROW ™ Pty Ltd - COPYRIGHT 2024 ©
x
Join Now
Enter your info below to join the challenge!
Want a friendly reminder when I go live?
Pop in your number and I’ll shoot you a text.
* We will send text reminders for our live calls during the challenge! Reply ‘STOP’ to end or ‘HELP’ for help.
We promise not to ever share your details with anyone or send you spam! Check our privacy policy and terms of service.
Be the first to comment