Grab the Metering Modes Guide
Grab our free metering guide below to know which modes suit which shooting scenario... all in a handy checklist for when you’re out shooting.
Metering is a term that gets thrown around a lot in photography and “do I need to meter?” is a question most photography enthusiasts ask at some point early on.
When I was learning, I could never find any articles that explained it in terms I understood (ie. without the jargon!).
Metering is the process of reading light in order to determine the settings needed (aperture, shutter speed and ISO) to get a correct exposure.
Yep, that’s all it is!
In auto, your camera will do this automatically when half depress the shutter to get focus. But if you’re shooting in full manual mode, you can use metering yourself to decide your own settings and really take control of your images.
Related: Getting out of Auto – Using the Exposure Triangle
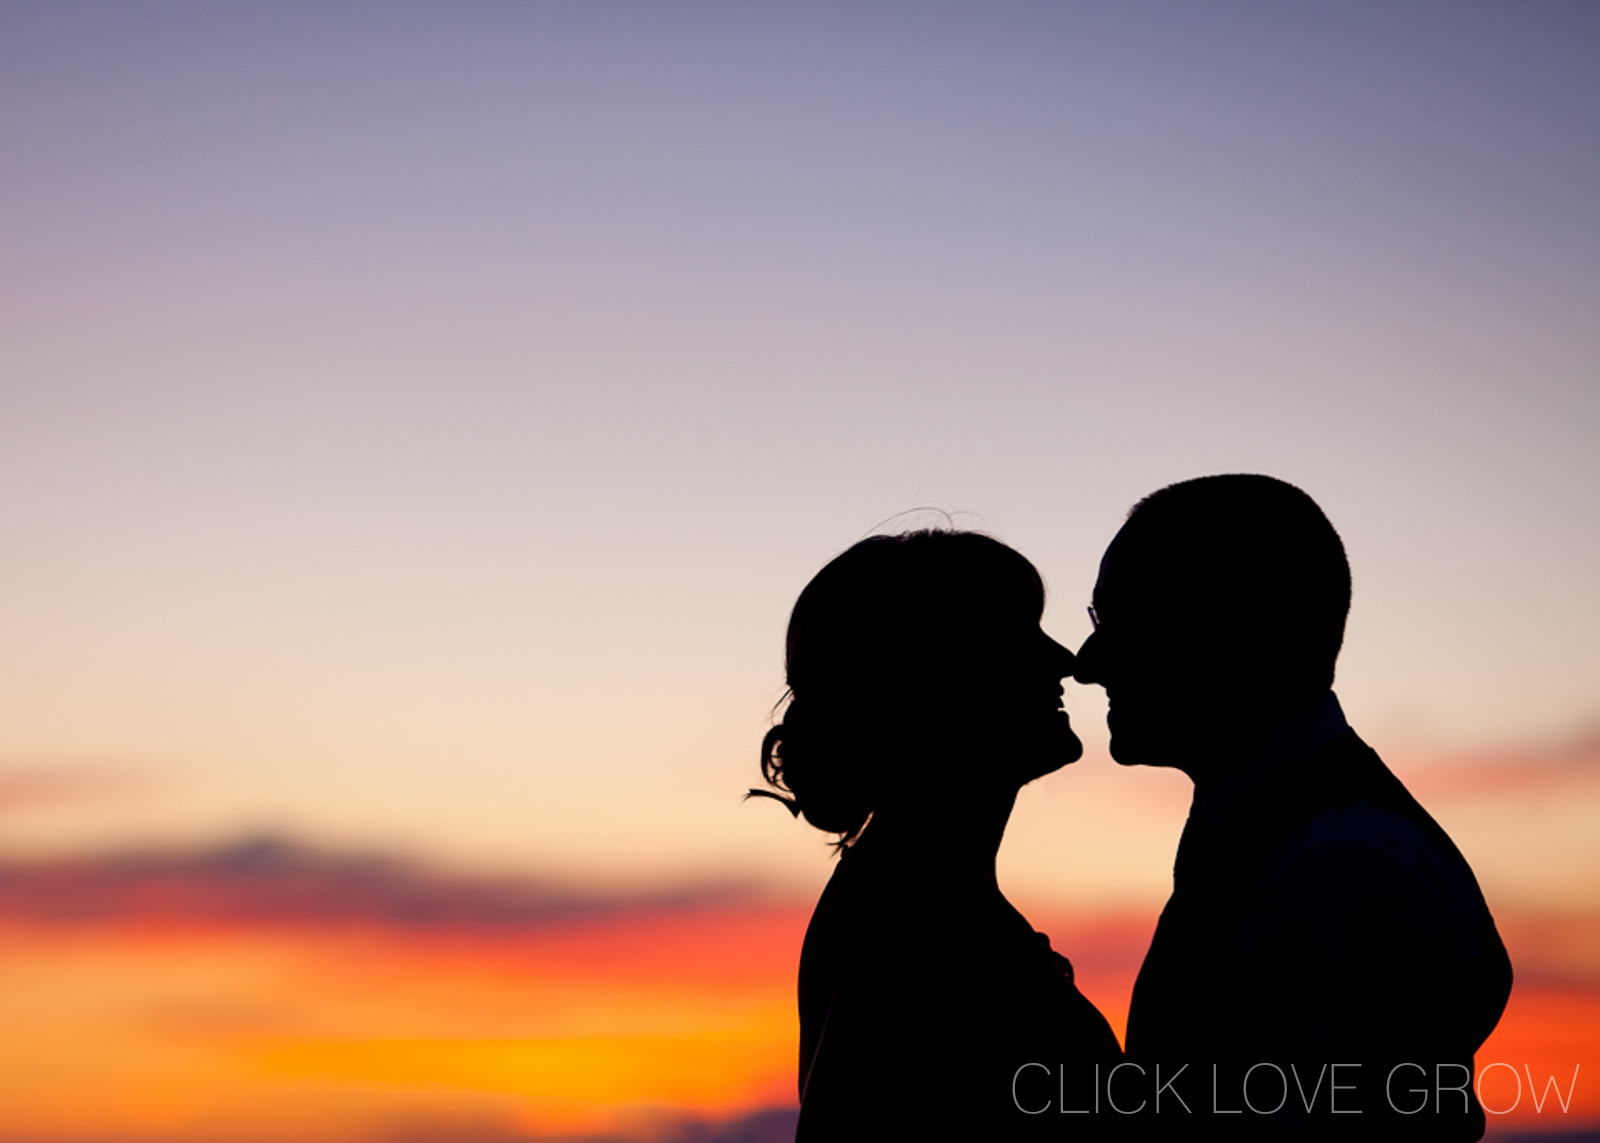
The camera reads the light through an in built metering system when you hold your camera up to the scene and half depress the shutter button.
In that moment, the meter translates all the ambient light into light and dark tones and then calculates the average of those tones.
In auto mode, the camera will adjust its settings to get what it considers to be correct exposure based on its calculated average tone of the overall scene.
If you’re in manual mode, once the camera has metered, it will tell you via a light meter whether the exposure will be under, over or perfect if you took a shot of that scene, at that moment, using the settings you have already dialed in.
However, in its default metering mode, the camera will read the light across the entire scene. It doesn’t recognise which element in the scene is your subject, Nor does it understand how you want to expose for your subject. So in most cases, an exposure that has come from averaging out the light in the entire scene will result in an over or under exposed subject.
Luckily, your DSLR will have multiple metering modes and these allow you to communicate how much of the area surrounding your point of focus you want it to read.

When you’re about to take a photo, how do you decide which settings to start with? Once you’ve been shooting for a long time, you will instinctively know what balance of settings will achieve both your artistic vision and a correct exposure.
However if you’re just starting out, you probably need a little guidance. You could just pick a combination based on your artistic vision, take a test shot, then adjust. But this could take some time and the process of taking a dozen test shots before you have a correct exposure could see your subject bored and running away!
So, the answer is metering!
You may need to check your user guide for your specific camera model to locate how to adjust your metering modes. I shoot with a Canon 5d Mk III and the options for Canon are Evaluative, Centre Weighted, Partial and Spot. For Nikon they are Matrix (the Nikon equivalent for evaluative), Centre Weighted, and Spot.
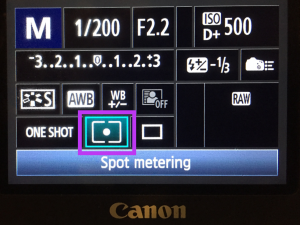
If you want to get more in depth about the different metering modes and which one you’d use for every situation, download our free guide.
CLICK HERE to download our guide to metering modes to help you know which mode will help achieve the best exposure for your shot
So now we understand what metering is, why we would use it, and the different metering modes, how do you get the reading?
Ahh… let me introduce you to your new friend…
On your camera’s viewfinder you’ll see a representation of the internal light meter, known as the EV Meter (Exposure Value).
Whilst in manual mode, hold your camera up to the scene and the camera will average out the tones it sees. It will then take into account the settings already dialled in, and will show you on the EV meter how your image will be exposed if you took the shot without changing your settings:
(Nikon is the opposite of above… aka the needle goes to the left if overexposed and right if under, but many people prefer left to right and so you can adjust this setting in your camera to flip it)
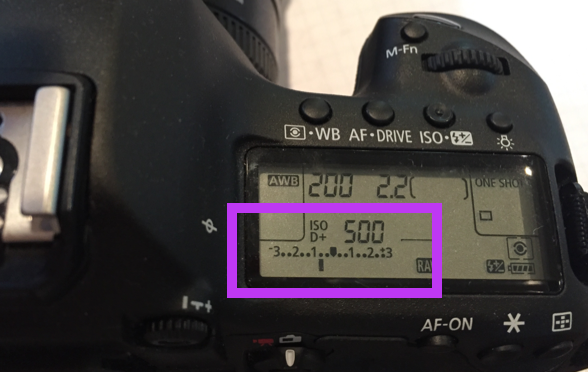
When metering, you must also take into account the tones in the scene, and decide if the camera’s light meter is being tricked.
What? My camera is tricking me?
A camera’s sole job is to average out the light to get an exposure that is known as 18% grey, or middle grey.
The presence of predominantly light or predominantly dark tones in a scene can trick your camera’s light meter. If you have lots of black or dark tones, it will think your photos is going to be underexposed. If there’s lots of white or light tones, it will think your photos is going to be over exposed.
Therefore an EV meter that is sitting in the centre doesn’t necessarily mean perfect exposure. But it is a very handy guide for choosing your initial settings.
You can tell it to under or over expose in those situations by using something called exposure compensation, which involves adjusting your EV meter. But in my opinion that’s over complicating the matter!
Whilst many people still use light meters, DSLRs have quite sophisticated internal light reading meters now. Additionally, they have multiple metering modes for different subjects. So most people find them to be superfluous for the task, and rely instead on their camera’s internal metering mode.
But if you love a gadget… when using a hand held light meter you need to enter the aperture and ISO you intend to shoot at. Then take a reading of the scene, at which point the meter will tell you which shutter speed you need in order to gain correct exposure.
If you were shooting a portrait, you usually want to meter for their skin so you would need to hold the meter up to their skin to get a light reading.
Ok, you’ll be forgiven for thinking “but if I have to do that for every shot, I’ll miss every shot!”.
This is not something you need to do for every shot, or even for any shot.
The meter is just a guide, and helps you pick some settings to start with to get an exposure that is as close to perfect as possible. This saves you a tonne of test shots!
Once you gain a little experience you won’t need as much help in choosing settings. Yaay! Eventually it will become second nature and you’ll know instinctively the settings you need, for any subject or light situation!
The meter is just a guide, you get to make the call!
So to make that process easier – grab our free metering guide below for when you’re out shooting.
Grab the Metering Modes Guide
Grab our free metering guide below to know which modes suit which shooting scenario... all in a handy checklist for when you’re out shooting.
CLICK LOVE GROW ™ Pty Ltd - COPYRIGHT 2024 ©
Enter your info below to join the challenge!
Want a friendly reminder when I go live?
Pop in your number and I’ll shoot you a text.
* We will send text reminders for our live calls during the challenge! Reply ‘STOP’ to end or ‘HELP’ for help.
We promise not to ever share your details with anyone or send you spam! Check our privacy policy and terms of service.
Grab the Metering Modes Guide
Grab our free metering guide below to know which modes suit which shooting scenario... all in a handy checklist for when you’re out shooting.
Be the first to comment