8 Things You Can Do Today To Take Better Photos
Are you not loving your photos, but can’t put your finger on why?
I remember feeling really frustrated with my camera and wanting to take better photos of my kids and travels. But it felt so overwhelming when I tried to dive into learning photography.
There was so much online help, but I had no idea where to begin. I didn’t even know what I needed to know, if that makes sense?!
So this post is all about the first fundamental steps you need to take to finally start taking the photos you really want to take, starting today!
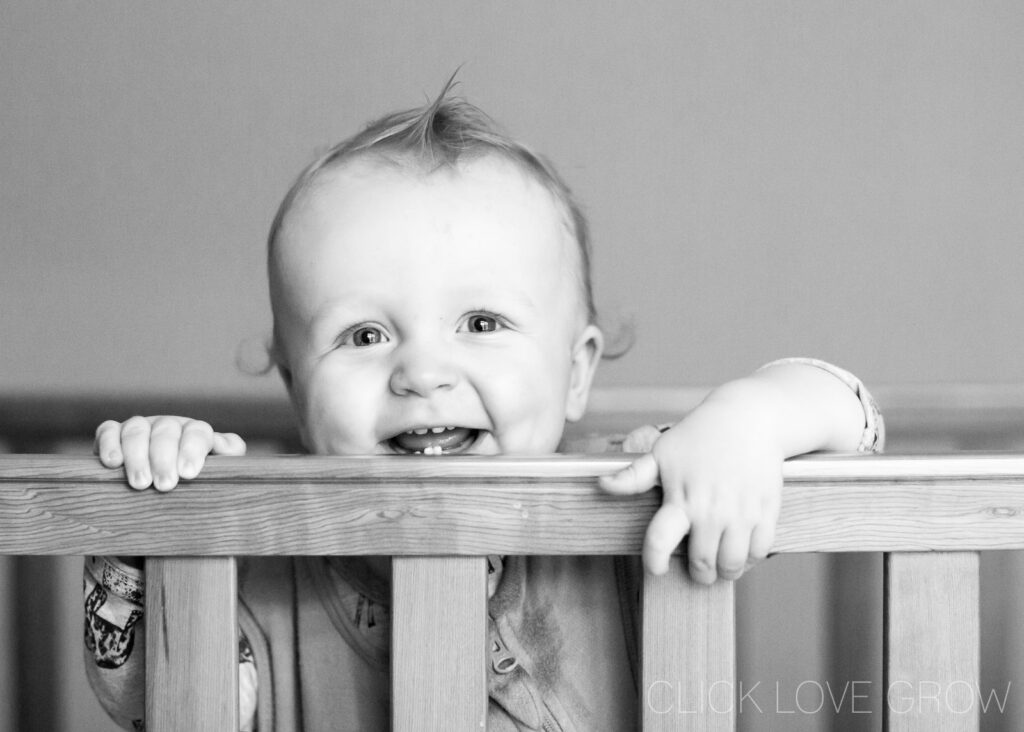
1. Find the Light
Light is the big kahuna of photography, and we simply can’t write an article that teaches you how to take better photos without mentioning light. There is no faking great light or fixing it after the fact.
Light (or the lack thereof) will play a big role in whether your shot comes out as you intended (or hoped). And when you’re photographing people, light makes a huge difference in just how flattering your images are!
So how do we recognise lovely, pretty light? Where do we find it? And how do we use it without researching and studying and googling and practicing for months? Read on and I’ll tell you!
Soft Light for Portraits
Soft light is the best place to start learning light in photography, because it’s easy to find, easy to use, and flattering to all subjects.
The best way to recognise soft light is by recognising the difference between hard and soft light.
What is Hard Light?
Hard light is easily recognisable by it’s sharp defining lines between light and shade areas, as in the shot below right.
It’s harsh, bright and causes you to squint. Middle of the day sunshine is harsh direct light. You can also see in this image that its quality is unflattering to faces.
Notice she’s in the hot pocket of sun…. she’s squinting, has harsh shadows under her eyes, and patchy light with some areas bright and others unevenly in shadow!
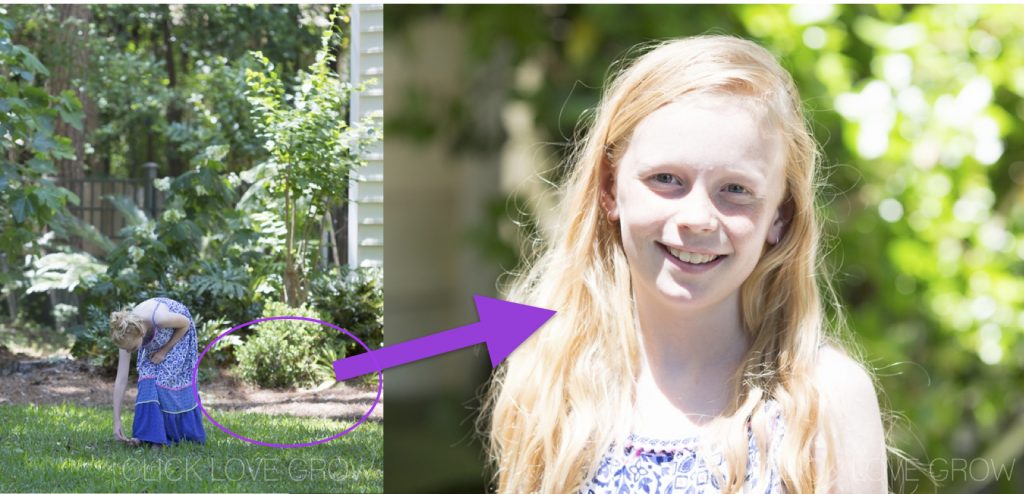
But… remedying this harsh light situation is as simple as moving into or finding areas of shadow to take immediately more flattering portraits!
Where Do We Find Soft Light?
Soft light is found in open shade such as porches, gazebos, open doorways, or under trees. But when shooting under trees try to avoid dappled sunlight on faces.
You can also find it down laneways that are shaded by building walls on either side.
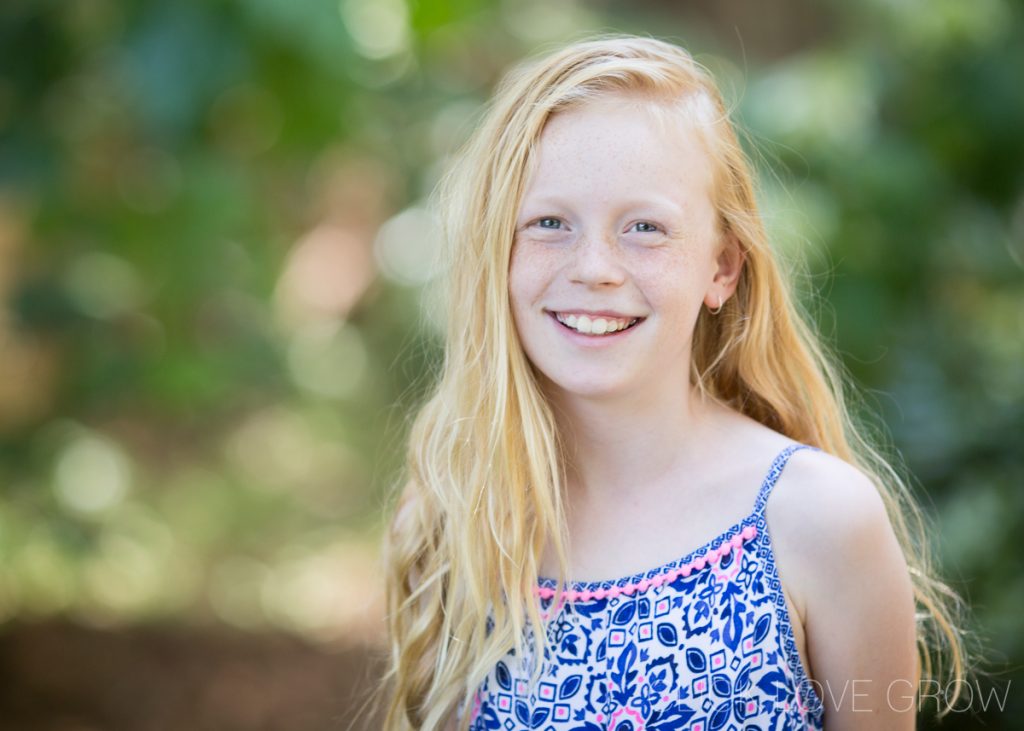
It’s recognisable by the gentle graduation between the light and shadow (yes, the opposite of the hard light effect), and it’s much more flattering to faces.
See the difference in our portrait taken in the shade… so easy to make a big difference!
How To Position Your Subject
Once you locate soft light in open shade, be mindful that your shaded area isn’t so shady as to produce an underexposed image. Try positioning them at the edge of the open shade just before it opens onto full sun.
Angle them at a 45 degree angle to the light source to create some gentle shadows on the opposite side for a little drama and interest.
2. Vary Your Perspectives
When you take photos do you always take them from a standing position?
If yes… every photo you ever capture will be taken from exactly the same perspective regardless of the subject (unless you’re still growing!).
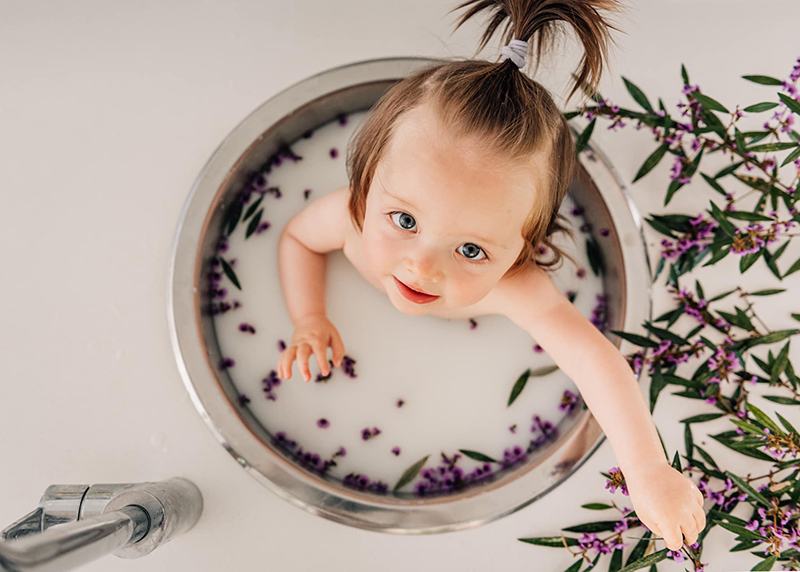
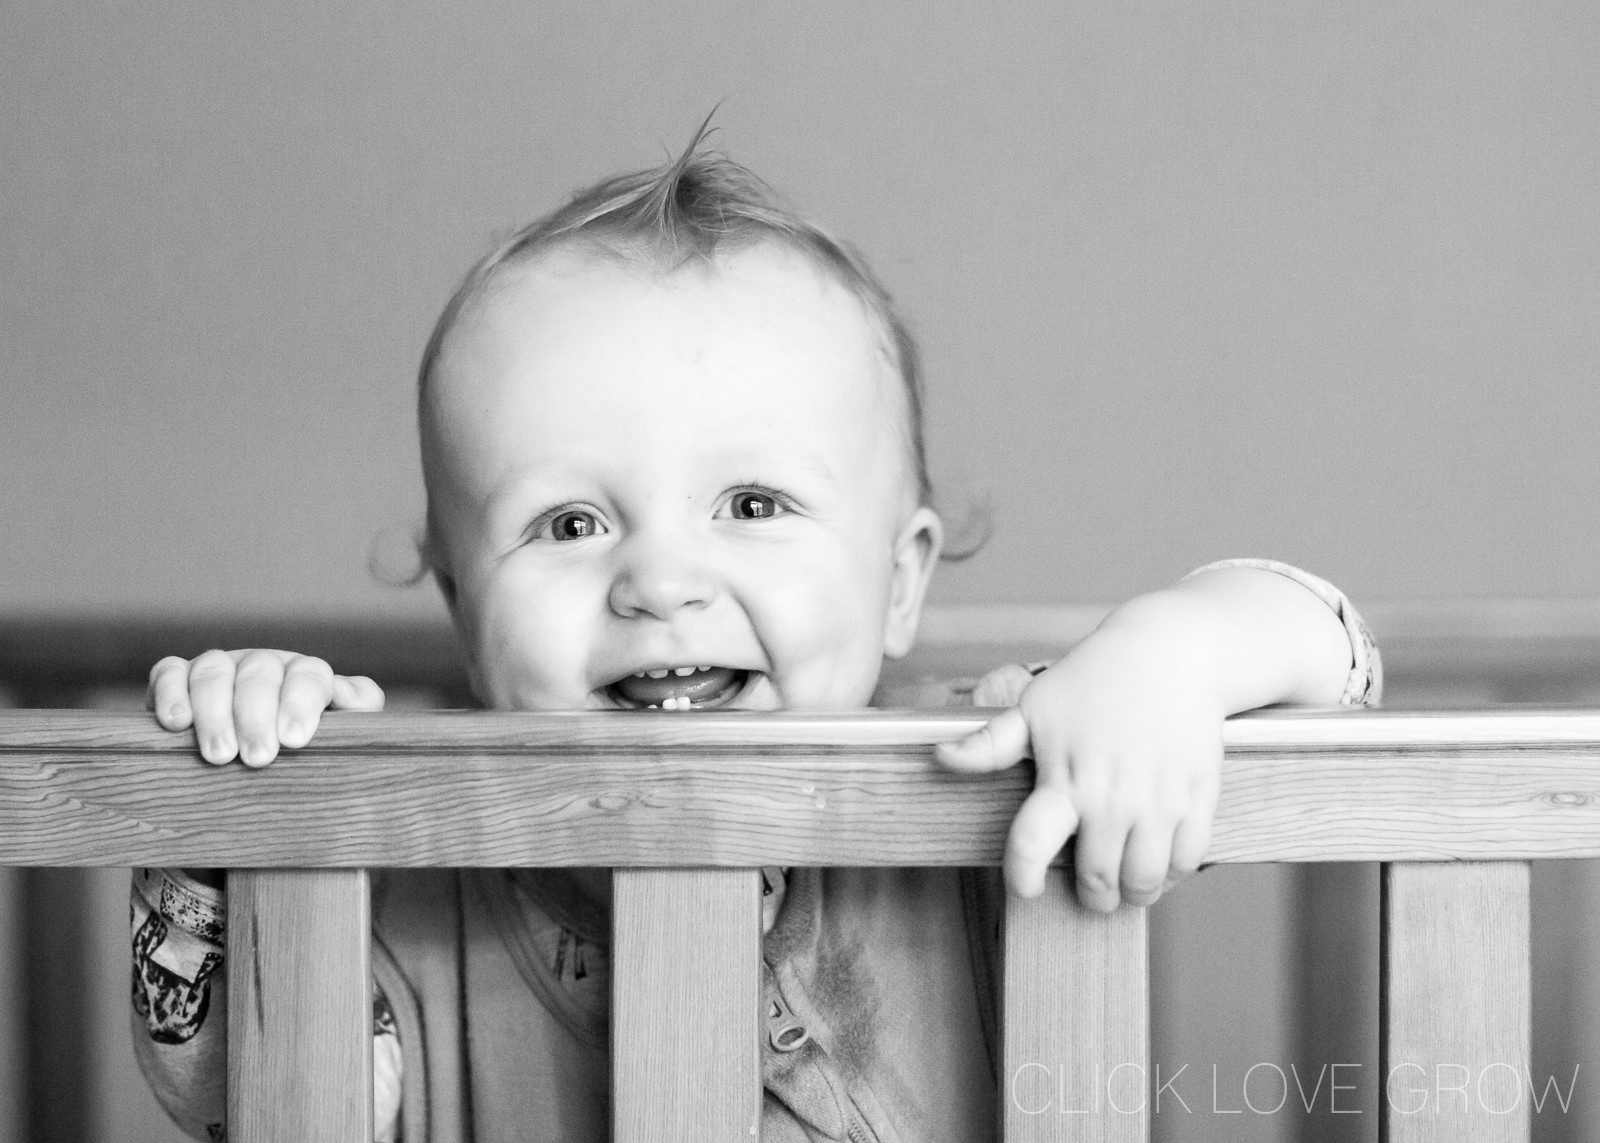
Shake things up… get down low, lie on your belly, lie under your subject and shoot up, stand over it and shoot down, shoot portraits at eye level, stand on a chair, walk around your subject and look for more interesting angles.

Amanda Marenghi, Click Love Grow Grad
Keziah Krikmann, Click Love Grow Grad
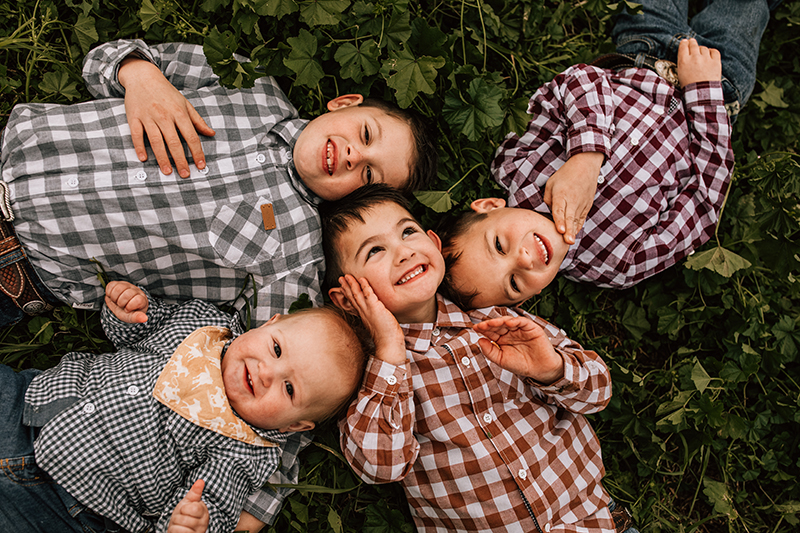
Amy Holcombe, Click Love Grow Grad
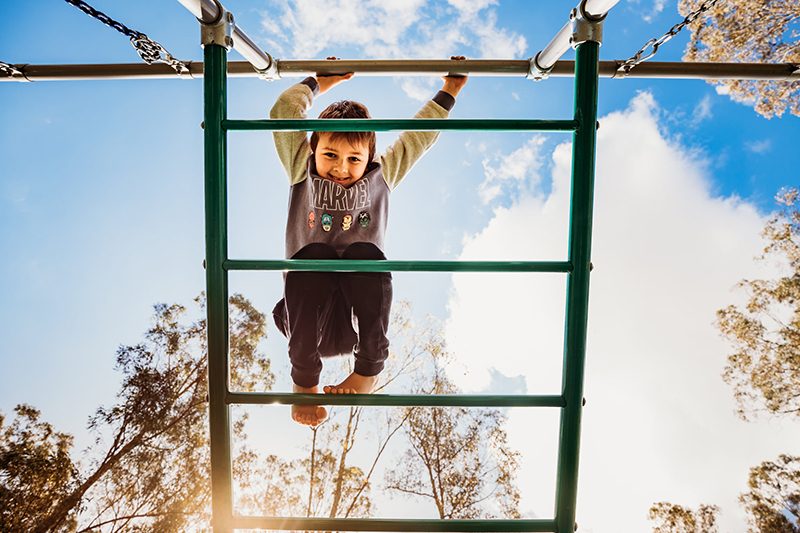
Kirsty Nealon, Click Love Grow Grad
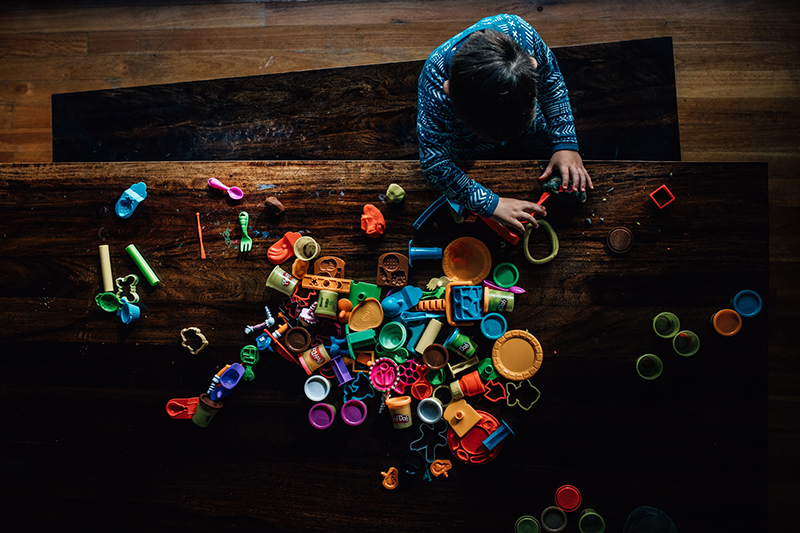
Kirsty Nealon, Click Love Grow Grad
Getting down to eye level is one of the best things we can do to strengthen our portraits, but that doesn’t mean we have to take all our shots at that position.
However, when shooting down on your subject it’s important to ensure they’re looking back up at you so that the viewer can engage with the subject.

Kylie Ruscoe
However, there are exceptions!
In the shot of the boy playing with playdo above it works because he’s engaged with his play and it has a strong storytelling aspect. In fact that perspective is of added benefit because it’s such a great way to showcase what he’s doing and incorporate all that beautiful colour.
In this shot Anna is higher than eye levek, and even though she’s looking down, it works because the obvious focal point is her eyelashes.

Anna McLaughlin, Click Love Grow Grad
In a nutshell, you can create some beautiful and unique compositions smply by seeing things from different angles! What’s more, you can create a huge variety of images without even moving your subject just by taking them from a variety of angles and trying different framings for each one.
3. Control Your Focus
This one will change your life!
If you’re shooting in manual mode already, do you find yourself fighting with your camera to focus on your subject? It wants to focus on something just behind, in front or beside it… anything but your subject.
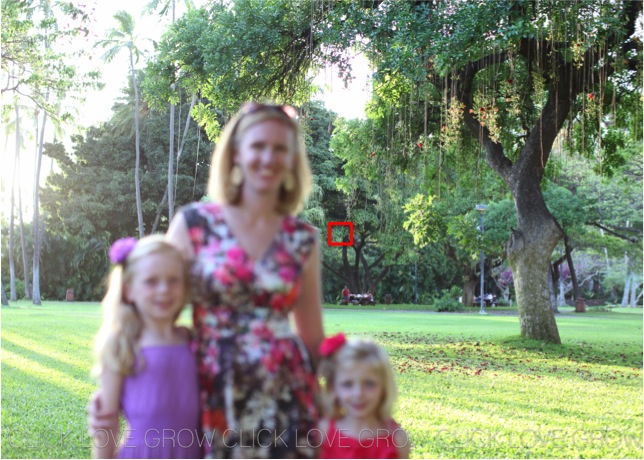
It can be so frustrating!
If this is happening, you’re in auto focus point selection mode. You can change it to manual selection mode which will allow you to choose the focus point the camera uses.
Check your user guide for your specific camera to discover how to change to manual focus point selection to manual, then choose the focus point that sits over the spot you want to focus on.
Related: How to Master Your Focus
4. Clear the Clutter
I say this a lot… but once you know this one you’ll never be able to unsee it again!
One key factor of professional photos is a good separation of subject from background. And one of the easiest ways to ensure that is to clear the clutter!
Anything in the background of your shot that doesn’t need to be there is going to compete for attention with your subject.
Look through the viewfinder and identify things that don’t need to be there that are causing a distraction.
I’m talking stray toys, that basket of laundry, a pile of yesterday’s newspapers, parked cars or passing cars, pedestrians, a rubbish bin, a tree branch that appears to be growing out of your subject’s head.
There are many ways to clear the clutter.
- Jump in and move it
- Change your angle or move yourself so the offending items/distractions are no longer in the shot
- Find a new location that’s clutter free; or
- Get a little creative and create your own backdrop!
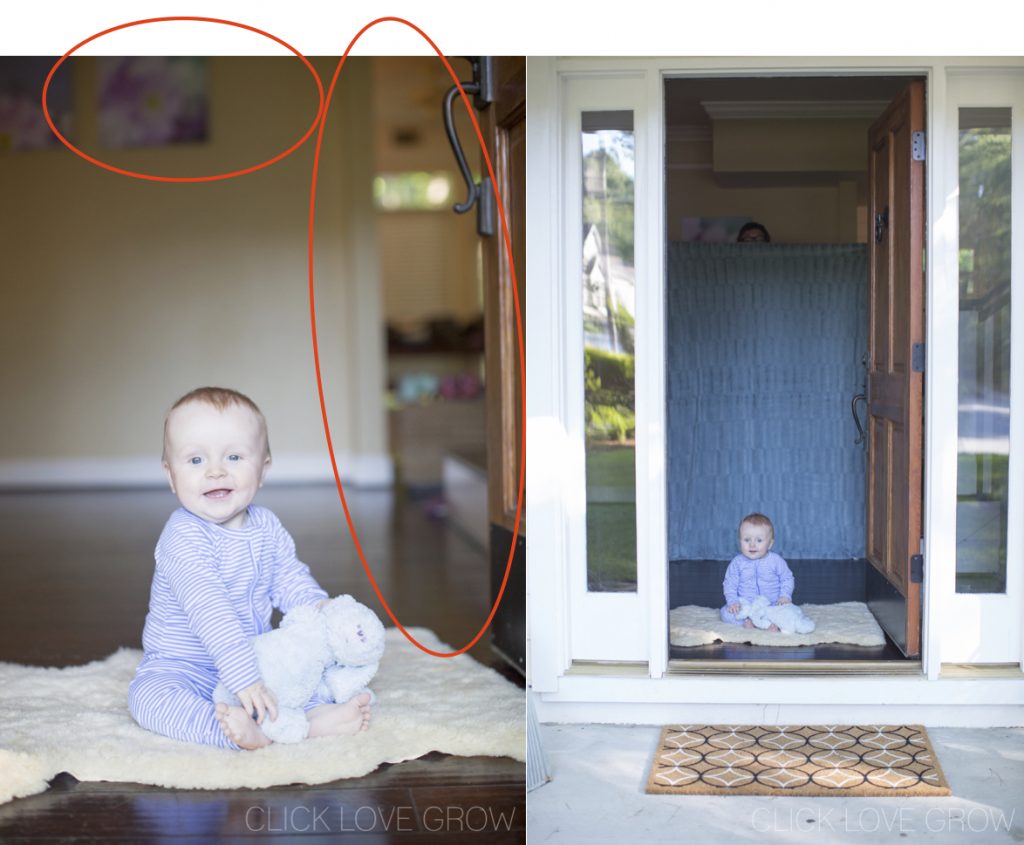
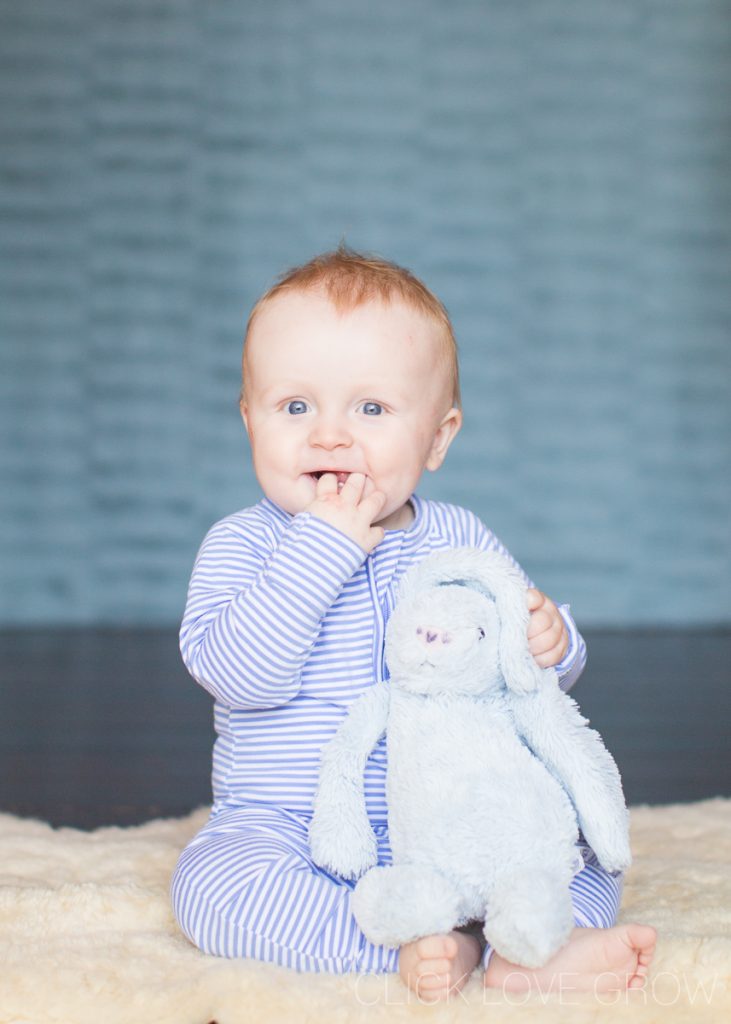
Check out the photo below… I found my beautiful light, set up my baby… but look at everything going on in the background, aghhh!
So enter helpful husband and a blue blanket… voila! Hello cute baby!
Related: DIY Backdrops
Speaking of doorways… they’re the perfect place for open shade.
Related: Doorways are the Perfect Place to Shoot
5. Get in Close
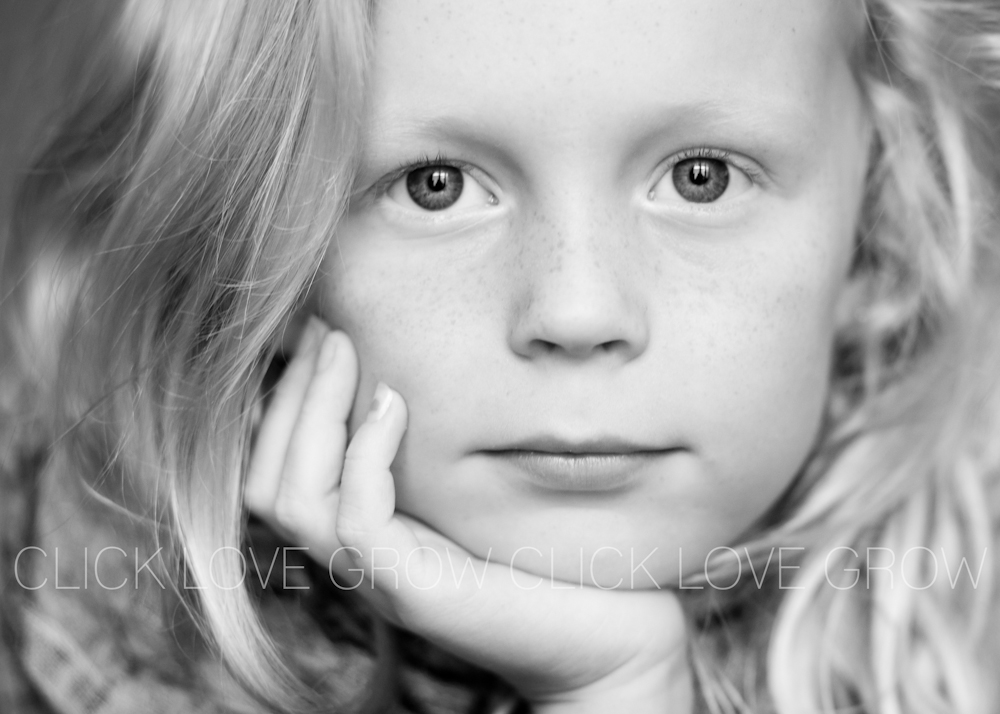
This is an extension of our clearing the clutter! Such a simple change but so effective – just get in closer, and we have enhanced compositions that can be much more interesting and striking.
You’ll make it clear who or what your subject is. You don’t need to include the entire of your subject in the frame. It’s also an easy way to cut out clutter you can’t work around.
A couple of pro tips when getting in for a close up portrait:
- Yes you can crop off part of the forehead but for balance, ensure you leave room under their chin
- Don’t cut limbs off at the joint (ie. wrists, ankles, fingers)
- Ensure you focus on your subject’s eyes, unless you’re deliberately intending to focus on eyelashes or lips or a baby button nose
- When getting in close, unless you’re aiming for distortion, don’t shoot wide angle. Try to zoom in to at least 50mm.
Related: What Lenses do to Faces
6. Join a Community
There is no better and more social way to learn, grow and be inspired than by talking to like minded people online. Somewhere to ask questions, share your photos, celebrate your wins and bemoan your frustrations!
There are lots of fantastic groups you can join either in your community, such as camera clubs, or you can join our Free ‘Click Love Grow Photography Group HERE.
7. Enter a Photo Challenge or Competition
Nothing gets the creative juices flowing more than a challenge, especially when you’re in a photo rut.
You can enter local show competitions or camera club challenges… you can google challenge themes and set one up yourself and invite friends.
Another great way to improve your photos is to set yourself a themed project, like a 365 or a Project 52.
Related: How I Became a Better Photographer
A great challenge to get you inspired is our FREE 7 day Mini Photography Course. You’ll also get a pro tip delivered to your inbox every day for a week!

Louise Glendon, Click Love Grow
8. Shoot in Manual Mode and Take Control
Ok, so perhaps this one won’t happen in a day, but you can take steps to master your camera and start taking control of your photos!
This shot below could never be captured in auto mode. Why? Because the camera only knows how to get an exposure that is an average of the tones it sees. So this means it will often underexpose your subject, or overexpose your sky, etc. For a shot like this, you need total control because the camera doesn’t understand your creative vision.
So switch over to M mode and familiarise yourself with the dials or buttons which allow you to adjust the three elements of exposure – aperture, shutter speed and ISO. Take a shot, and note whether the image is too dark or too light. Make an adjustment of one element. Take another shot. Note how it changes the image. Rinse and repeat!
It’s a start, it’s fun, and I guarantee you’ll rediscover that excitement you felt when you first brought home that shiny new camera!
The tutorial below will give you a good overview of the exposure triangle and get you on the road to total control.
Related: Manual Mode for Beginners

If you want to be supported through the process of learning manual mode, in easy step-by-step lessons, fun challenges to practice on and professional feedback on your images so you know exactly what you’re getting right and what you need to do to improve… join our Enthusiast Photography Course!
Leave a Reply Cancel reply
PRIVACY POLICY & SITE TERMS AND CONDITONS
CLICK LOVE GROW ™ Pty Ltd - COPYRIGHT 2024 ©
x
Join Now
Enter your info below to join the challenge!
Want a friendly reminder when I go live?
Pop in your number and I’ll shoot you a text.
* We will send text reminders for our live calls during the challenge! Reply ‘STOP’ to end or ‘HELP’ for help.
We promise not to ever share your details with anyone or send you spam! Check our privacy policy and terms of service.
Be the first to comment