6 Backlight Photo Ideas to Try
Backlight usually makes us think of golden hour beach photos… warm light, sandy feet and sunkissed faces. Yum! But there’s so many ways to use backlight beyond the beach, and today’s highlights reel of images from our talented Grads is the inspiration for this tutorial. Read on experiment with backlight to bring a little magic to your photos!
1. Lens Flares & Haze
Have you ever seen images with this beautiful glow of light and circular flares illuminating the subject like it came directly from heaven? It’s actually created in camera by shooting directly into the sun. It’s not always desirable to have a lens flare or haze in your shot, but when used mindfully it can be utterly delicious!
Lens Flares
Leave your lens hood off and shoot into the light, adjusting yourself or the angle of your lens until you see lens flares. As you make micro adjustments of your position or camera angle, watch how the colours, intensity and size of the flares change. Look for a pattern you like then shoot it.
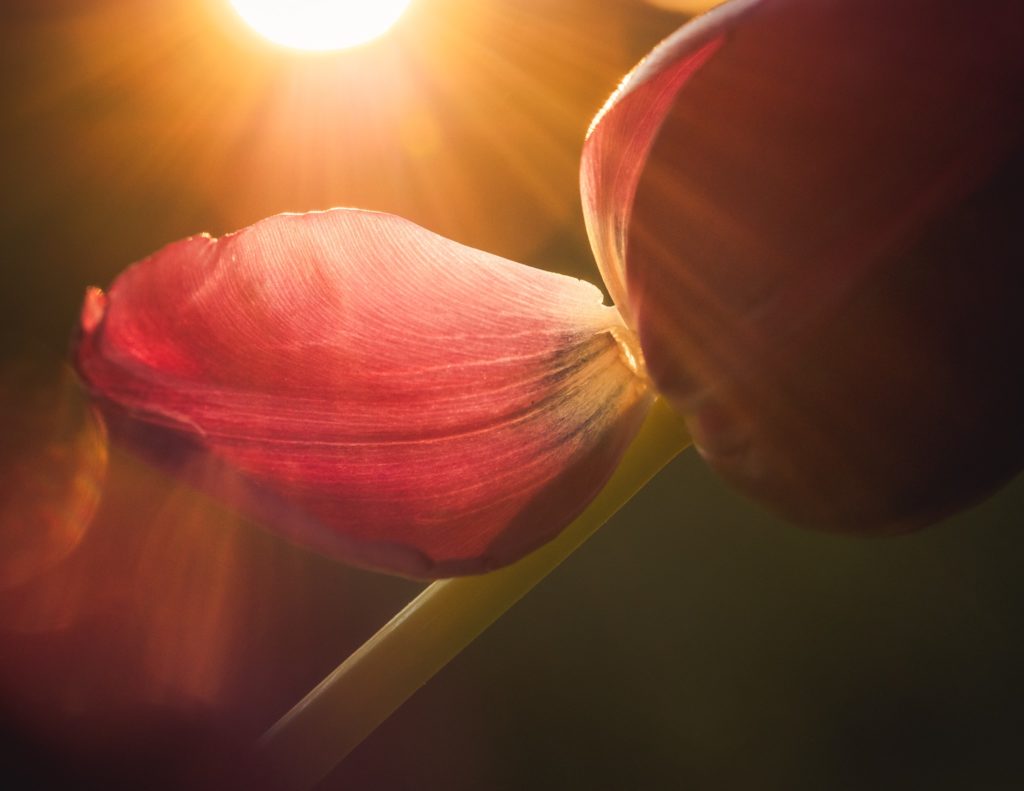
Alice Mariette, CLG Instructor
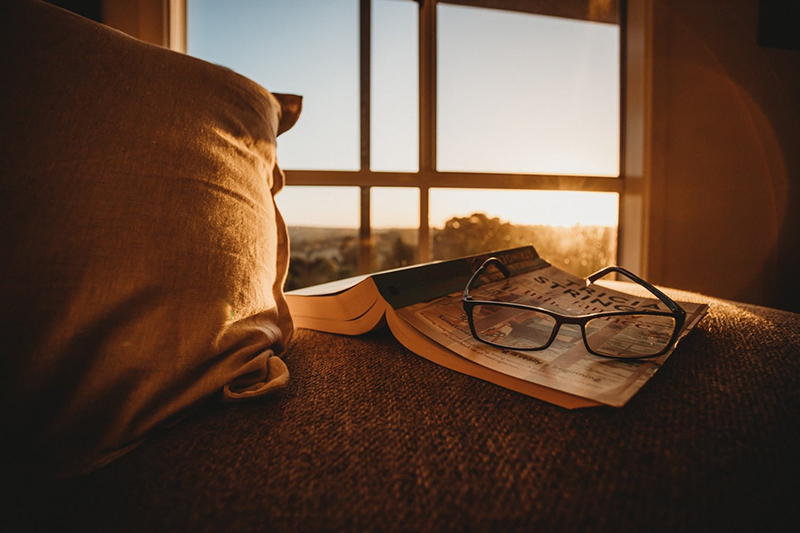
Jess Stoakes, Advanced Graduate
Haze
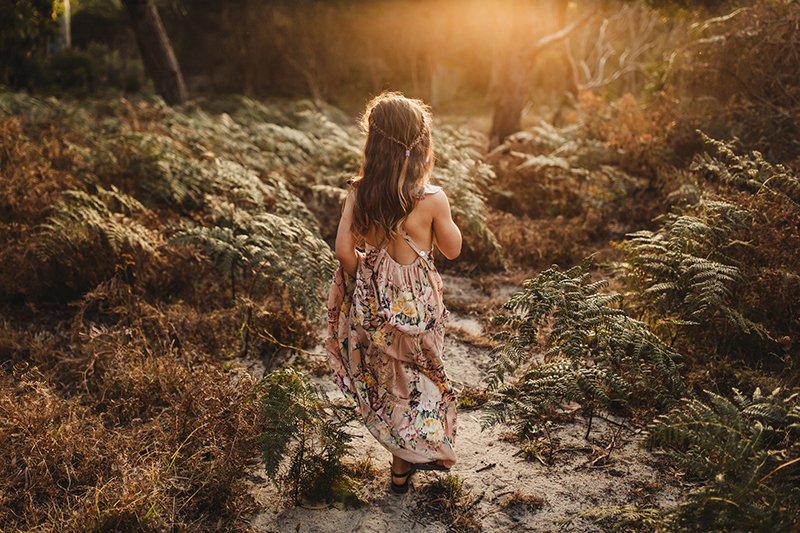
Including haze in your image is a great way to convey a dreamlike feel to your images. You can incorporate haze in your photos by shooting without your lens hood and aiming it into light that is largely unfiltered and and low enough on the horizon to be able to see the source through the viewfinder or at the edge.
You can see haze through the viewfinder which makes it easy to control the look of your images. Cup the lens with your hand if you want to control the intensity of the haze. If you want a little clarity, for example if you’re capturing a portrait and you want some separation between their face and the haze, frame with the sun at the edge or just outside the frame. Editing is a big help when using haze mindfully in your photos – the dehaze or clarity and contrast sliders will help get the final look you’re after.
For a really glowy, dreamy haze that scatters throughout most of the scene, use wide apertures. To sharpen it, narrow your aperture. And to create a really defined starburst use an even narrower aperture of around f/16.
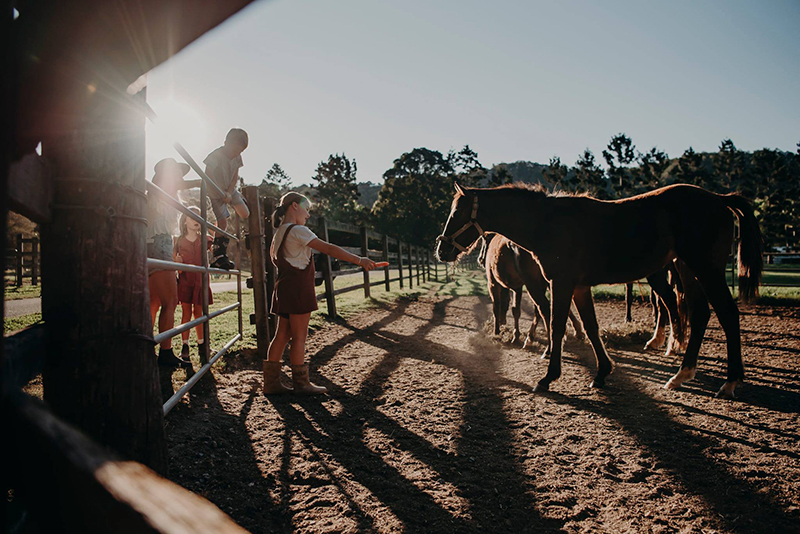
Heidi Talic, Advanced Graduate
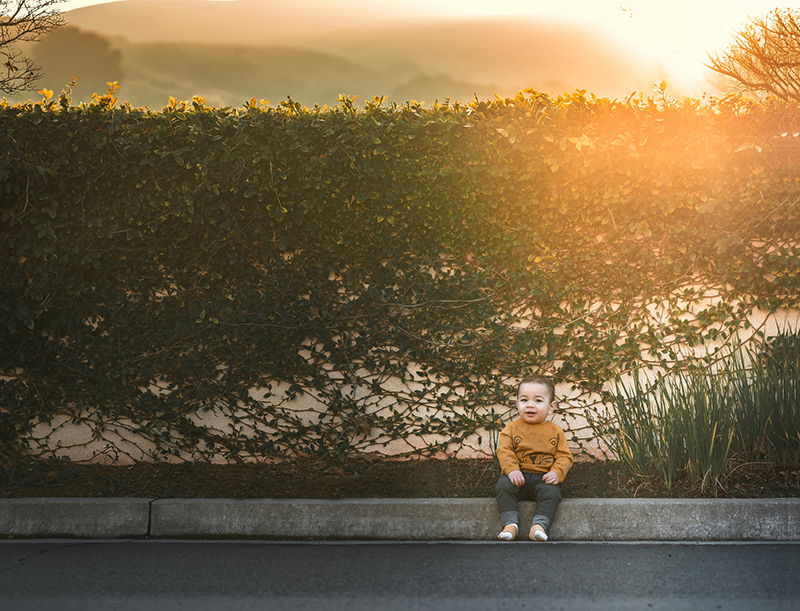
Lupita Trujillo, Graduate
Merissa Wakefield, Advanced Graduate
2. Backlight Bokeh
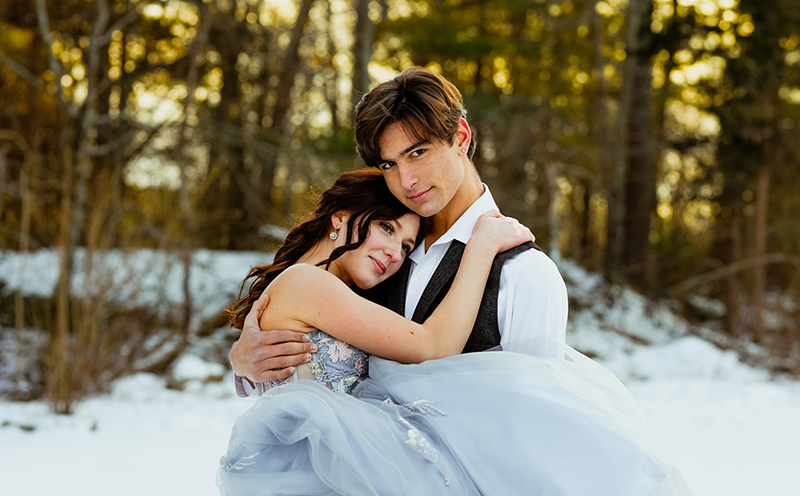
Head for the trees! When the sun is low in the sky and ducks down behind a dense grouping of trees, golden light peeks through the gaps to create a bling like bokeh, and it makes the most incredible backdrop for portraits! To make the most of it, use a wide aperture of around f/2.2-2.8. If your lens only opens up to f/3.5, bokeh is also affected by the distance between your subject and background. So compensate for your lens’ limitations by bringing your subject as far forward of the background as you can.
Related: How to Get Blurry Backgrounds with a Kit Lens
Jennifer Rudkin Whelan, Advanced Graduate
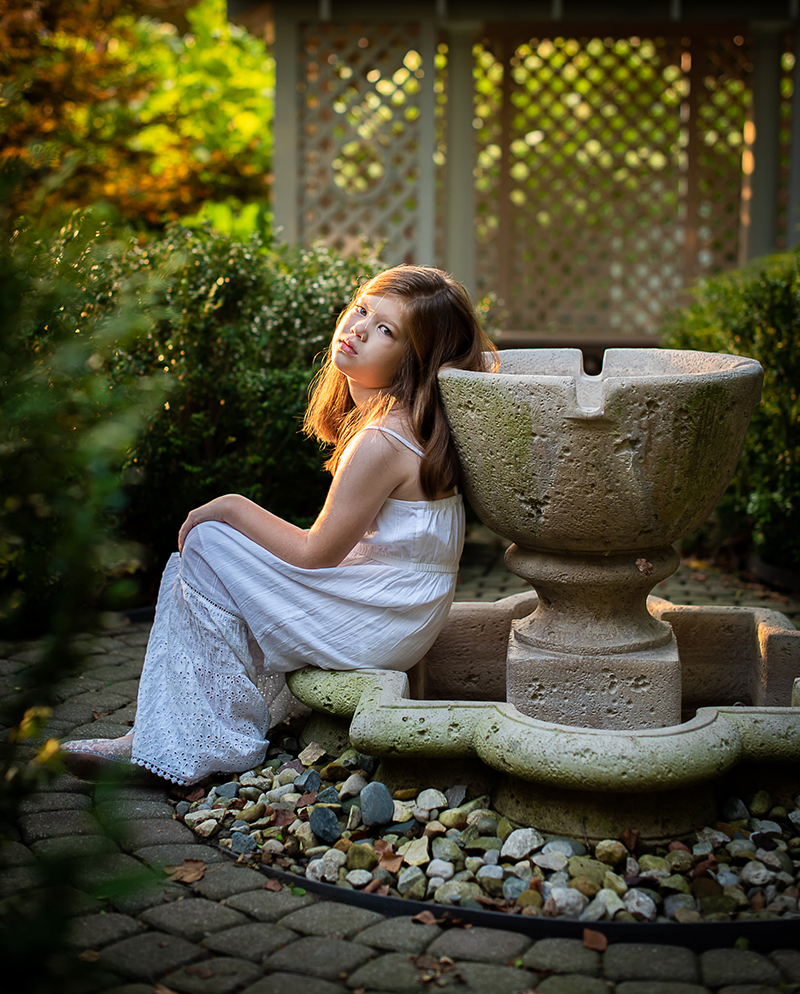
In this shot below the sun which is low in the sky is filtering through the trees and the lattice structure. This has created a beautiful effect with lots of depth. Also notice the light falling on her hair has created beautiful separation between her and the foliage at her immediate right.
Laura DiBernardino-Tilly, Advanced Graduate
That swirly bokeh backdrop… sublime! And you don’t need fancy gear… this photo below was taken with the super inexpensive nifty fifty 50mm f/1.8 lens.
Related: Why You Need a Nifty Fifty Lens

Laura Kennedy, Graduate

Linda Delnooz, Advanced Graduate
This was taken against a backdrop of snow being turned into bling by the sun. Again, focus on the subject and use a wide aperture to turn that light into bokeh.

Kellsie Read, Graduate
3. Rim Light
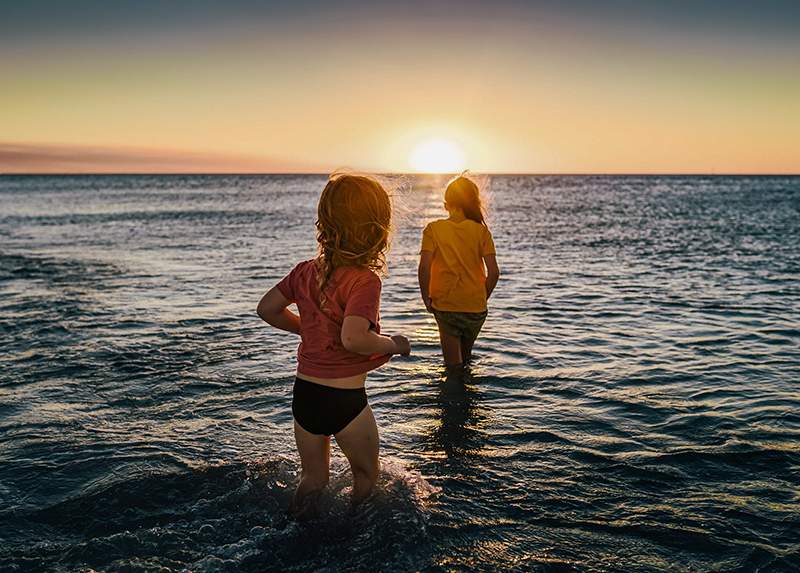
When backlight peaks around the edges of our subject, it creates a rim of light that adds depth to the shot and makes them really come alive from the background!
Courtney Morey, Graduate

Gaajidmaa Sukhbaatar, Advanced Graduate

Heidi Talic, Advanced Graduate
4. Silhouettes
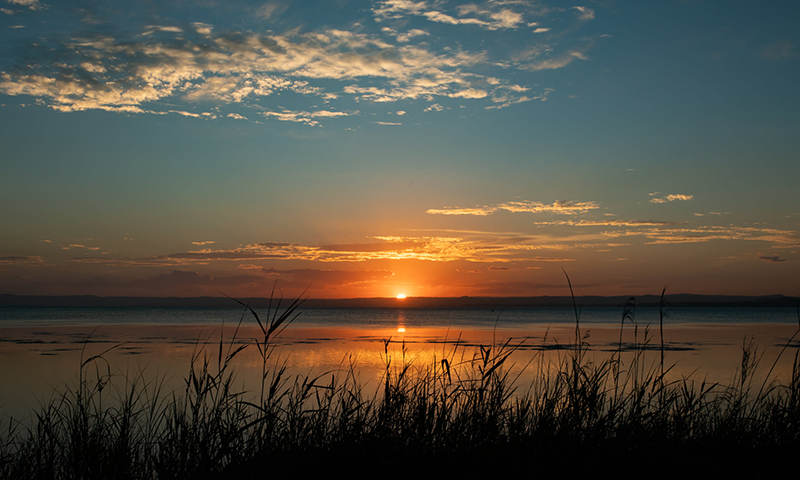
Who doesn’t love a silhouette of their peeps pirouetting mid-air on the beach at sunset against a backdrop of dazzling colour? But silhouettes don’t have to involve people. Anything with good form – that is, an object with great shape and sharply defined lines – can be silhouetted and dazzle the viewer. What’s more… there is one element that every single genre of photography needs in order to make a great photo, and that’s depth.
And it can be incorporated in loads of different ways, but in this instance its the inclusion of foreground, middle ground and background elements. In the foreground, anchored in the bottom third of the frame, we have the silhouetted reeds. In the middle ground we have the ocean lapping at the shoreline and that sun set. Lastly in the background, we have the sky which is the real hero here.
Check out the blog post below to learn the settings you need for perfect silhouette photos in any situation and any subject.
Related: How to Take Silhouette Photos
Kirsty Nealon, Advanced Graduate
5. Water
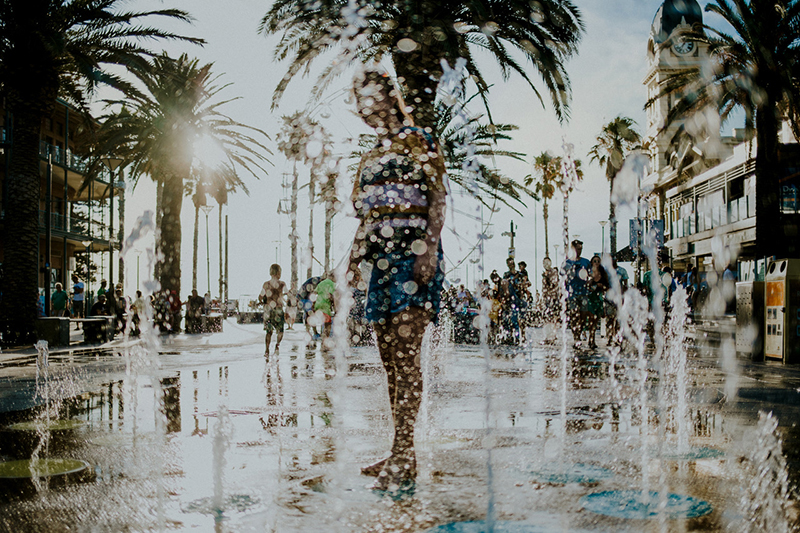
Use backlight behind water to create a stunning effect simply by capturing the light bouncing of water spray and droplets.
Related: 10 Tips for Water Play Photos
Bronwyn Pickering, Advanced Graduate
Now this is backlighting in expert hands! In this shot the light hitting the sand sends up a glow that illuminates the entire scene. Stunning shot that screams warmth and summer! Notice the sun is a big blobby glow? Achieved through the use of a wide aperture of f/2.5. If she’d shot it at say f/16 she’d get sharply defined sun rays and less glow. Either way would be gorgeous, just a very different look artistically speaking. Try both!

Emma Davis, CLG Instructor
6. Window Backlight
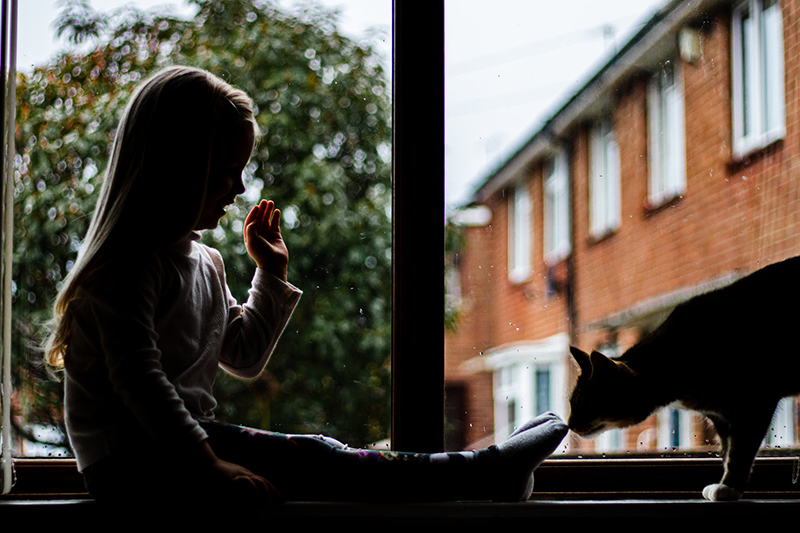
It’s not essential to head outdoors to backlight, and windows and doorways create the perfect opportunity to do this. In this shot below she’s created rim light which gives him a subtle glow around his head and really makes him pop!

Lupita Trujillo, Graduate
You can also try silhouetting your subject, by exposing for the background. In other words, aim to expose so the outside is perfectly lit. Depending on the contrast between the indoor and backlight, this can put your subject in silhouette.
Just make sure whatever is outdoors adds to the story and doesn’t distract. For example if the only thing outside the window is a bank of parked cars and someone’s rubbish bin, think about finding another window.
Estella Ward, Advanced Graduate
Natasha Louise Eves, Advanced Graduate
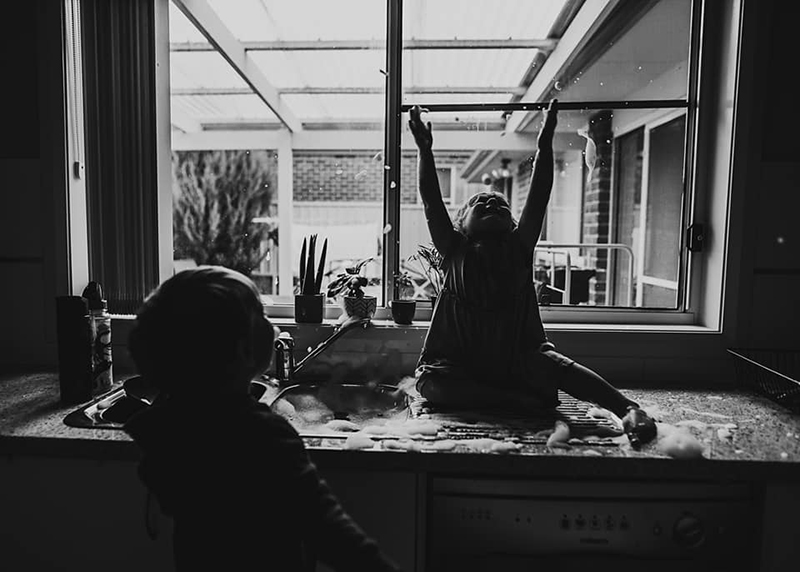
This rainbow reflection was created through a combination of backlighting and the horizontal tilt windows you can see in the background. At a certain time of day when light hits them, it will refract and create a rainbow effect. Emma tilted the windows to get the rainbow to land where she wanted it, lay on her belly and wait for her toddler to come along and investigate.

Emma Davis, CLG Instructor
Watch Our Free Golden Hour Portrait Class!
If you enjoyed these tips, I’d love to invite you to a FREE CLASS with Charlie O’Neill.
She’s a professional photographer from Ontario, Canada who specialises in golden hour portrait sessions. All of the images in this tutorial were taken by Charlie… gorgeous huh?!
Click HERE to find out when it’s on and how to watch.

Leave a Reply Cancel reply
PRIVACY POLICY & SITE TERMS AND CONDITONS
CLICK LOVE GROW ™ Pty Ltd - COPYRIGHT 2024 ©
x
Join Now
Enter your info below to join the challenge!
Want a friendly reminder when I go live?
Pop in your number and I’ll shoot you a text.
* We will send text reminders for our live calls during the challenge! Reply ‘STOP’ to end or ‘HELP’ for help.
We promise not to ever share your details with anyone or send you spam! Check our privacy policy and terms of service.

Be the first to comment