


Manual Settings Cheatsheets
Want to know what settings to use for the best shot?
Download our easy to follow cheatsheets detailing the manual settings you need for different shots & locations!
Creating background blur in your photos is one of the biggest differences between a snapshot and a professional photo. It’s also one of the most effective ways to isolate your subject, and add depth to your photos.
“How do I make the background blurry? or “How do you blur a lens” are among the questions I am being asked often by those that are new to photography.
To put it simply, it’s all controlled by your aperture and your lens focal length. But, you do need to be in manual mode in order to control your aperture.
So if you’re ready to take that step, read this first.
Related: Getting out of Auto
CLICK HERE to download our manual settings cheatsheets to help you know which settings to use in different light & scenarios!
You might have read that you need an expensive lens to create a blurred background. Or maybe this has happened to you…
You’re ready to shoot a close up portrait with your kit lens. You choose the widest aperture your lens allows you to go (f/3.5) because you understand the small numbers are responsible for those blurred backgrounds in photos.
You zoom the lens in to your longest focal length because you want to get in really close.
Your aperture is going up…and up and up! It’s now f/5.6! No no no! You want to shoot at f/3.5!
Cue frustration and confusion! Is it broken?
It’s not broken. I’ll tell you what’s going on… and how you can use your kit lenses to achieve the blurred background you’re after!
The reason your kit lens is not allowing you to shoot at f/3.5 and create a blurred background when you’re zoomed all the way in, is because it’s a variable aperture lens.
What does that mean exactly?
All lenses have either a fixed aperture or variable aperture.
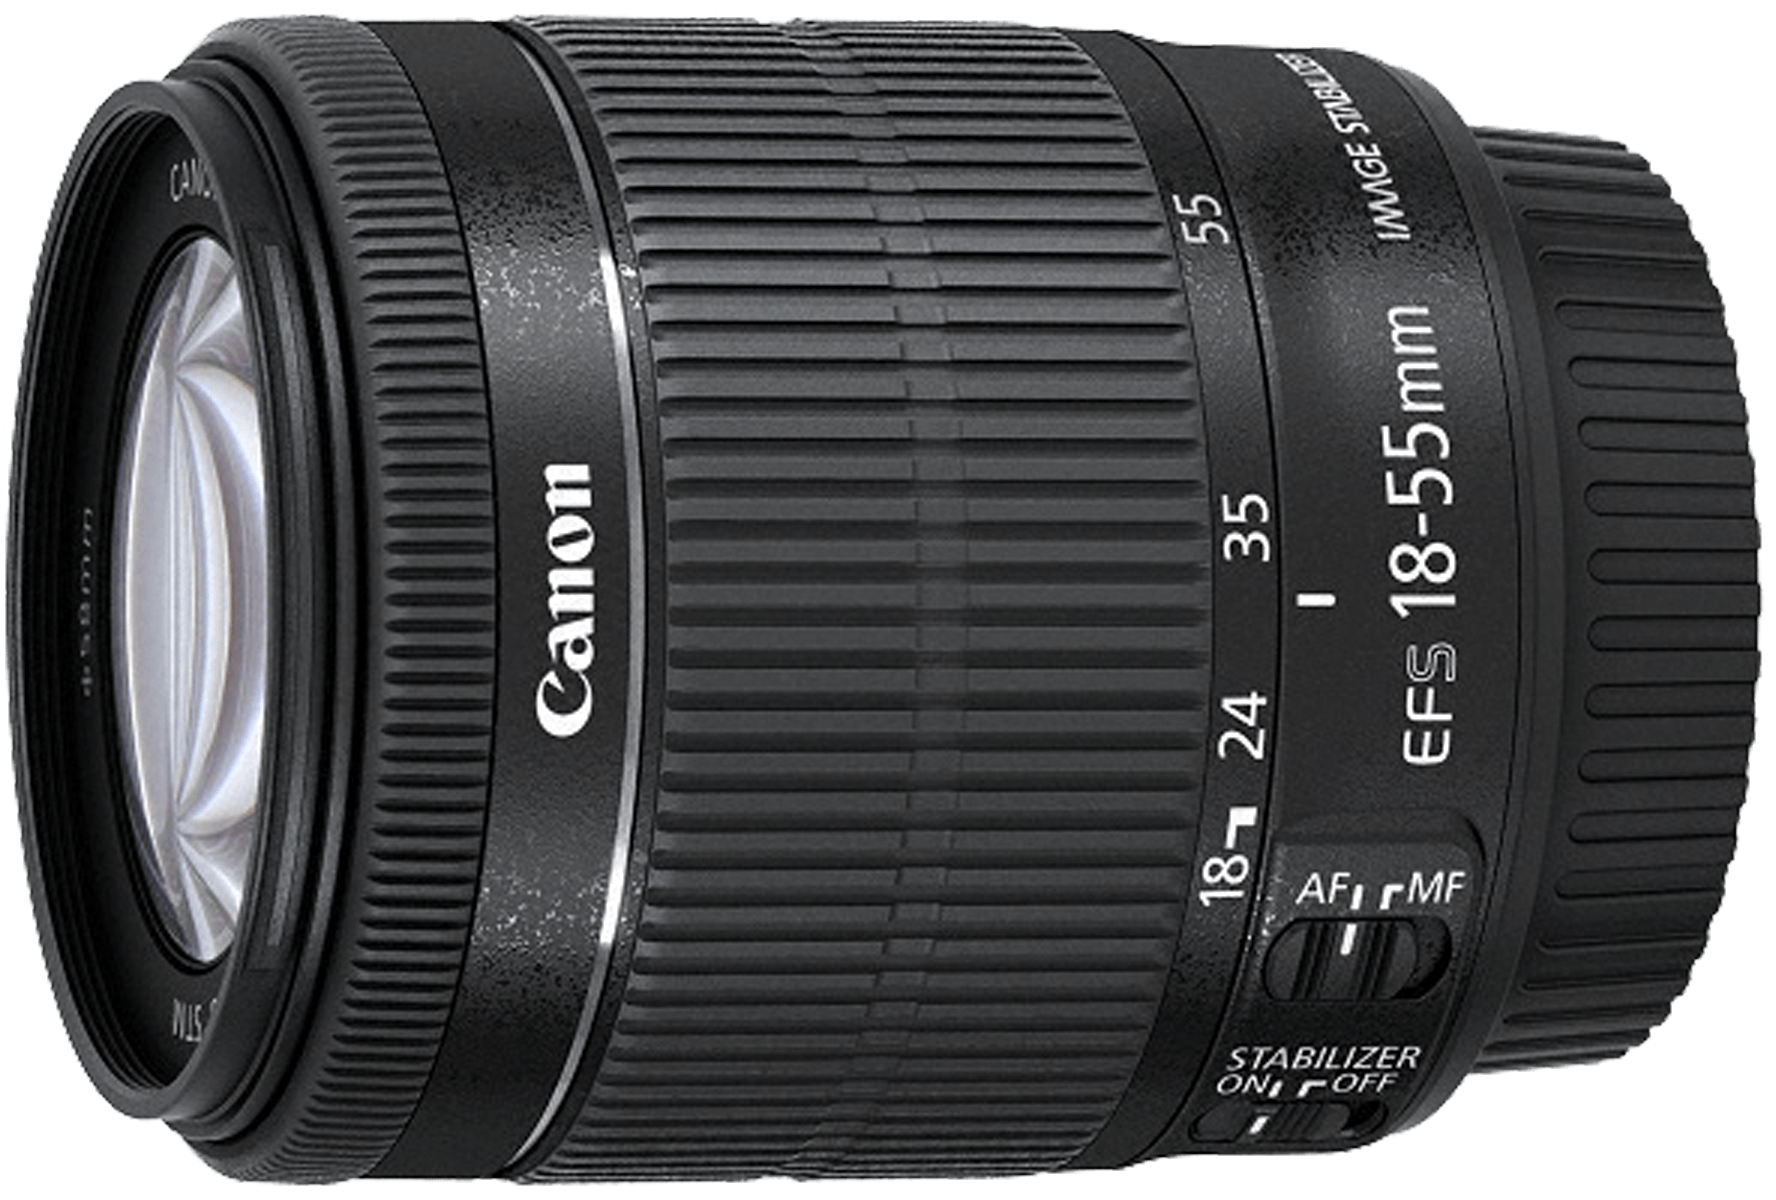
Most entry level lens have a variable aperture. One of the most common examples of a variable aperture lens is 18-55mm f/3.5 – f/5.6.
This means you can shoot at f/3.5 at the widest focal length (18mm) but as you zoom in, the aperture starts to close down incrementally until it gets to f/5.6.
And that’s frustrating if you want to take a portrait at 55mm using a wide aperture of f/3.5 – you simply can’t.
So you have to compromise. You can zoom all the way in and shoot at f/5.6, and diminish your blurry background or gorgeous light bokeh.
Or you can shoot at the wide end of your lens and f/3.5, but you’ll get a distorted looking portrait like this one below. It’s fun and if you’re aiming for a cartoonish portrait then wide angle lenses are lots of fun. But traditional close up portraits that are flattering to faces should be captured at around 50mm and longer.
Related: What Lenses do to Faces; Wide Angle Fun

Sigma 12-24mm Lens
The other type of lens is a fixed aperture and they’re a feature of mid range and professional grade zoom lenses.
An example of a fixed aperture lens is a 24-70mm f/2.8 (zoom lens). Whether you are using it at 24mm, 70mm, or anywhere in between, you can shoot at f/2.8. It won’t change as you zoom in. Exciting huh!
No more compromises! But there’s a hitch – fixed aperture zoom lenses are not cheap.
But that doesn’t mean you’re stuck. There IS a way to get the best of both worlds with your kit lens.

Pam Bradford, CLG Instructor – Canon 24-70mm f/2.8 fixed aperture zoom lens
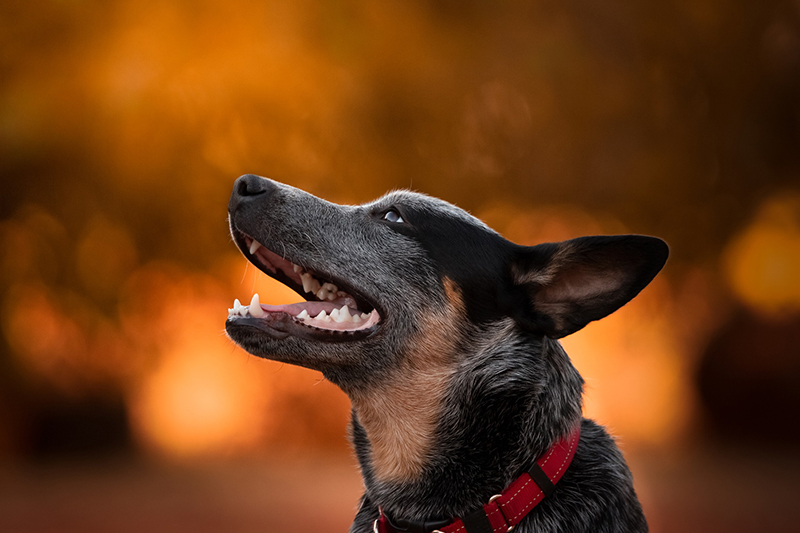
Aperture is one of the three elements of manual mode shooting, and it’s the setting that blurs backgrounds and turns light into beautiful bokeh (like these images below).
Ideally, you’d capture a shot like this at around f/2.2 to f/2.8. Yes I know – a kit lens doesn’t even open up to f/2.8.
But that doesn’t mean your creative control is completely limited. Read on to learn the hacks to get this beautiful bokeh with a kit lens.

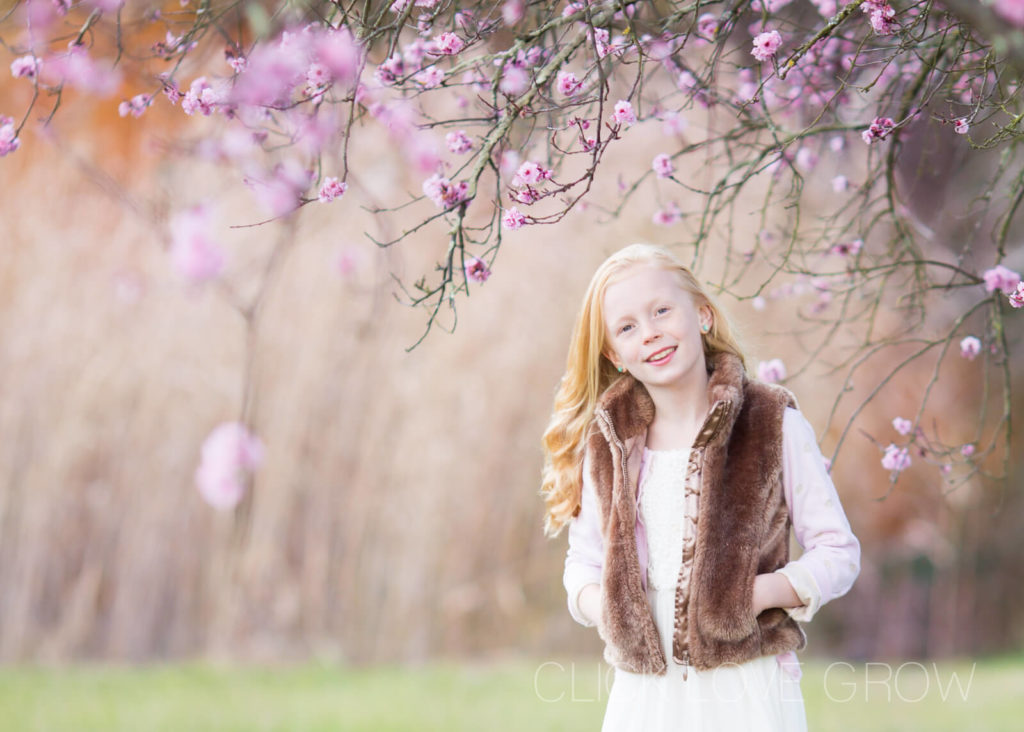
Pam Gosenheimer, Click Love Grow Grad
Corina Clarke, Click Love Grow Grad
Focal length also plays a big part in creating a blurred background. The longer your focal length, the more it compresses your background, and that adds to the blurry effect. It’s that simple.
So start by zooming all the way in with your kit lens.
Related: 6 Things You Need to Know Before Buying a New Lens
Canon 135mm f/2 lens – that blurry background is created in large part due to the compression of shooting at 135mm.
The third things that affects background blur is the distance between subject and background.
Think about it. Even when you’re not looking through the viewfinder of a camera, the further away from an object you stand, the blurrier it appears to be.
So make sure you place your subject with at least 5 metres of space behind them and the nearest element (eg. a bank of bushes). The more distance you can put, the better. Then with your lens zoomed in all the way, capture your portrait at f/5.6.
The longer focal length will be more flattering to your subject, it will add some compression to the background, and the distance between your subject and the background will create even more blur.
So in a nutshell, the secret to creating beautiful blurred backgrounds with a kit lens is:

Settings: 18-55mm kit lens @ 55mm, Aperture f/5.6, Shutter Speed 1/160, ISO 500
Now you’ve finished reading you’re probably wondering why you bothered buying your camera in a kit at all. Or why do they even make kit lenses?!
If you’re ready to upgrade your kit lenses, check out our lens buying guide.
CLICK HERE to download our lens buying guide to help you decide what's your next best purchase!
But if you’re new to photography, there’s a couple of very sound reasons why a kit lens is a great option especially when you want to be the author of special effects like blurring the background of your images.

Jodi Gardner, Click Love Grow Graduate – Nikon 18-135mm.
It’s true kit lenses have their limitations. But mid range and professional grade lenses are expensive.
And when you’re new to photography, you probably won’t know if you’re going to love it enough to keep at it.
So the last thing you may want to do is fork out at least quadruple the price of a kit lens for a higher quality lens, only to discover in a few months that photography is not for you.
Conversely, maybe you’ll fall in love with photography, but different lenses do different things. You probably won’t know from day one which genre of photography is ultimately going to capture your heart, so it makes more sense to start out with a good lens that is versatile, and suits many genres.
Kit lenses are versatile because their focal range allows us to cut our teeth on all manner of photography genres and styles. And they are capable of taking a gorgeous photo, like this one below.

Jacqui Hutton, Click Love Grow Graduate – Sony 55-210mm kit lens
So for those reasons, kit lenses are a great starting point because they’re an inexpensive way to discover:
These types of lens are also light, easy to carry and you CAN have loads of fun with them when creating beautiful blur background imagery… it’s just knowing how to get the most from them!
Related: Beautiful Images at Wide Focal Lengths
CLICK LOVE GROW ™ Pty Ltd - COPYRIGHT 2024 ©
Enter your info below to join the challenge!
Want a friendly reminder when I go live?
Pop in your number and I’ll shoot you a text.
* We will send text reminders for our live calls during the challenge! Reply ‘STOP’ to end or ‘HELP’ for help.
We promise not to ever share your details with anyone or send you spam! Check our privacy policy and terms of service.
Excellent article, Louise. You have explained this concept very well.