10 Ideas For Great 4th Of July Pictures
Professional Looking 4th of July Pics – Without The Overwhelm!
Your 4th of July pictures don’t need to be expensive or involve sourcing a dozen expensive or hard-to-find props.
We LOVE the styled setups that we see in the CLG community…but not that many people have the time, money, or mad styling skills to pull it off! (Hello, Pinterest fail!).
So, for those of you who (like me) love simple and thrifty, we’ve sourced 10 of the best ideas we could find to help you take your own 4th of July pics without overwhelming yourself.
1. Radio Flyer & Flags

Source: Mandy Ringe Photography
If you have one of these radio flyer wagons, yaay! All you need is some flags to stick in the ground, a gorgeous field like this, and you’re good to go. In the case you don’t, you might want to invest in one. They’re not overly expensive, and kids of all ages love them! They’re also fantastic for containing older babies and toddlers who are hard to capture.
Alternatively, substitute it for a 3 wheeler bike, a wooden chair, or a crate. Basically anything you can sit on that’s either neutrally coloured or…yes, red white, or blue!
This idea is simple, and your 4th of July pictures will turn out striking! Easy? Tick! Inexpensive? Tick! Looks awesome? Tick!
Photo Tips – Light & Location
If your backyard doesn’t look like this… find an open field in a large park or reserve.
As this will be an open sky session, you’ll be subject to harsh light. So aim to shoot during the golden hours – that’s the hour or two after sunrise and before sunset. At this time, the sun is low in the sky and filtered by the horizon, giving you a much softer light that’s more flattering to your subject.
If you place it behind them, you’ll get even light on their face and avoid squinting.
Related: Golden Hour Photo Tips
2. DIY Fourth Of July Backdrops
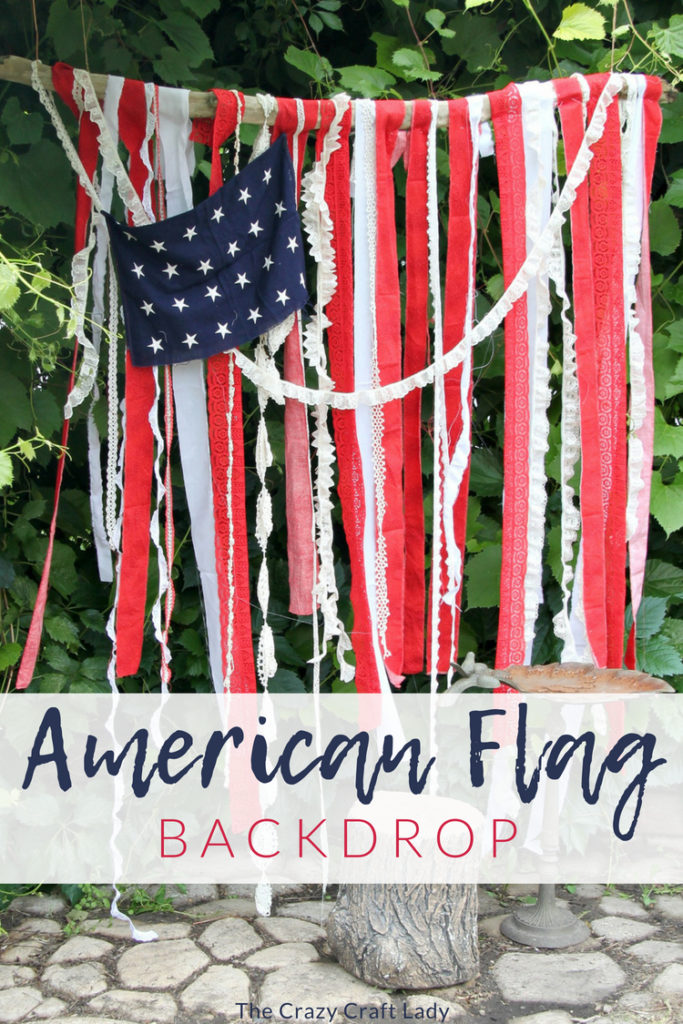
Source: The Crazy Craft Lady
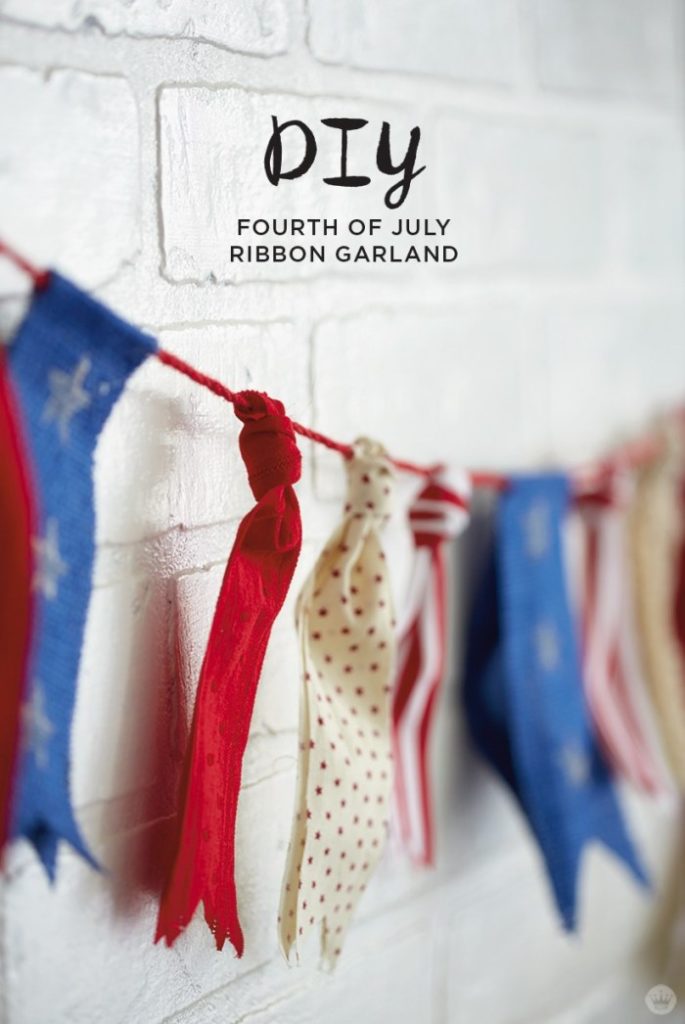
Source: Think Make Share Blog
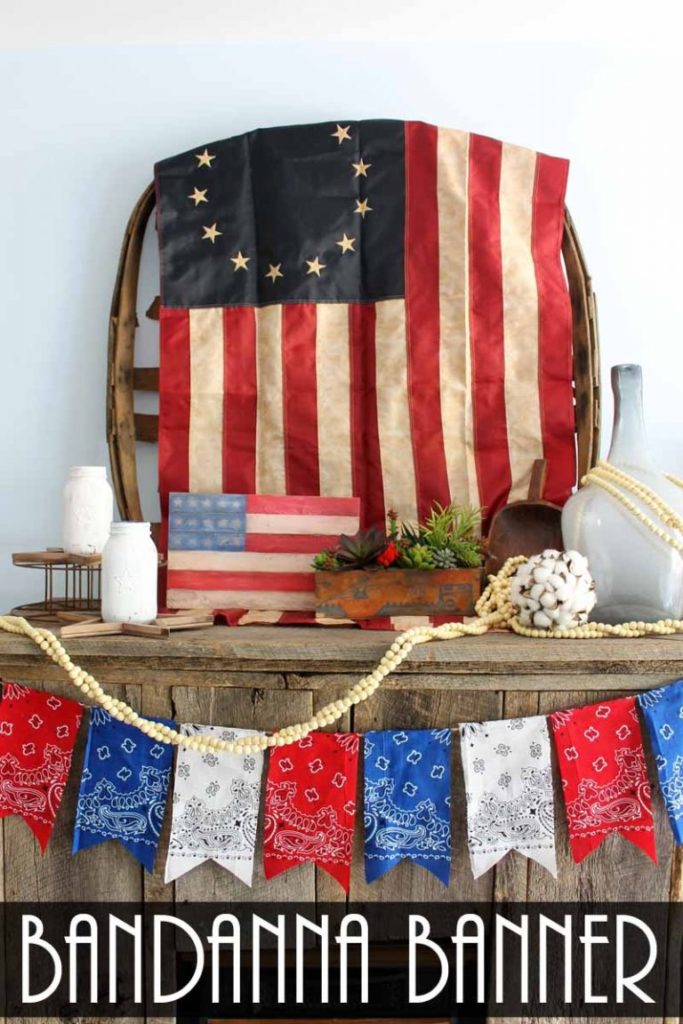
Source: The Country Chic Cottage
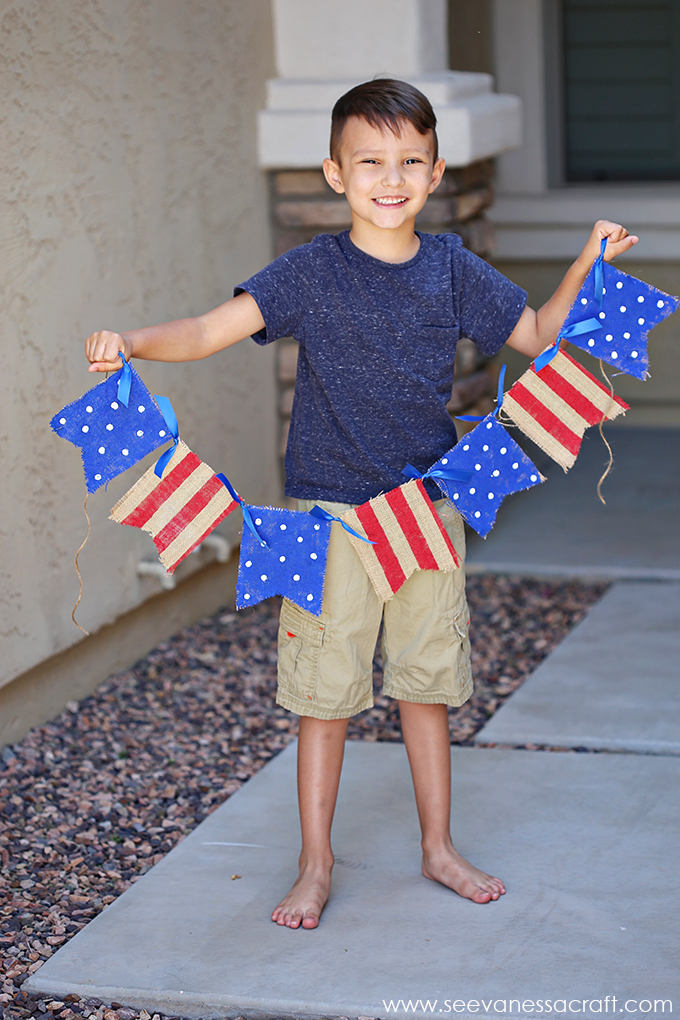
Source: See Vanessa Craft
With gorgeous backdrops like these, who needs more props when shooting 4th of July pictures?
Seriously though, adding anything other than your subject will create a lot of clutter in your image, and it can be quite jarring. You know what they say… less is more!
Just add your little subjects, dress them in something very simple (red, white and blue, of course!) and go for it.
If you’re crafty, go you! Follow the links to these ideas for the DIY how-to. If not… try Etsy!
Photo Tip – Bokeh
Hang your backdrops from a tree, with light coming in from behind. If in doubt, just check our previous tip about golden hour shooting when the sun is low in the sky.
Then use your settings to create some beautiful bokeh – you know those beautiful spots of light you see in professional images?
Alternatively, hang it indoors against a white wall for a really pared back, light and airy photo style.
Related: How to Take Bokeh Photos
3. Flag Balloon

Source: Hello My Love
One inexpensive helium balloon, one white wall, one cute kid. That’s it. Consider buying 2 or 3 balloons, just in case of accidental popping!
This shot is a perfect example of what we’re always saying…simple is striking. Less is more.
Photo Tip – Composition
Getting down to their eye level is the easiest and most effective thing you can do to level up your 4th of July pictures instantly! This is one of those tips all professional photographers learn very early on. It makes it easier to engage the child, and creates a better connection between subject and viewer.
Related: Get Down to Their Level
4. Balloon Bike
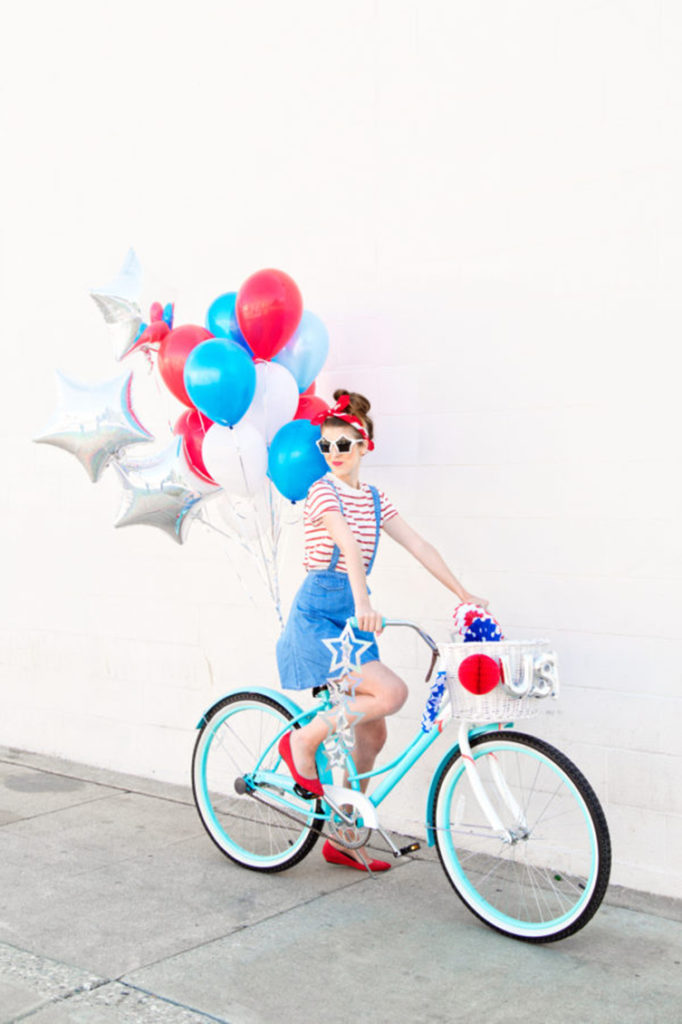
Source: Studio DIY!
Another way to use balloons for gorgeous 4th of July pictures!
In fact, you could seriously pull this one off with coins! Balloons, streamers, novelty glasses… it doesn’t get much cheaper. Plus, you could source it all from a dollar store or reject shop.
Photo Tip – Focal Length
A wide angle lens was made for shots like this. They allow you to get in close while still including the environment. As an added bonus, the slight distortion adds an element of fun.
Try shooting with anything from 24mm to 35mm.
Related: Wide Angle Lens Fun
5. Spray Chalk Photos
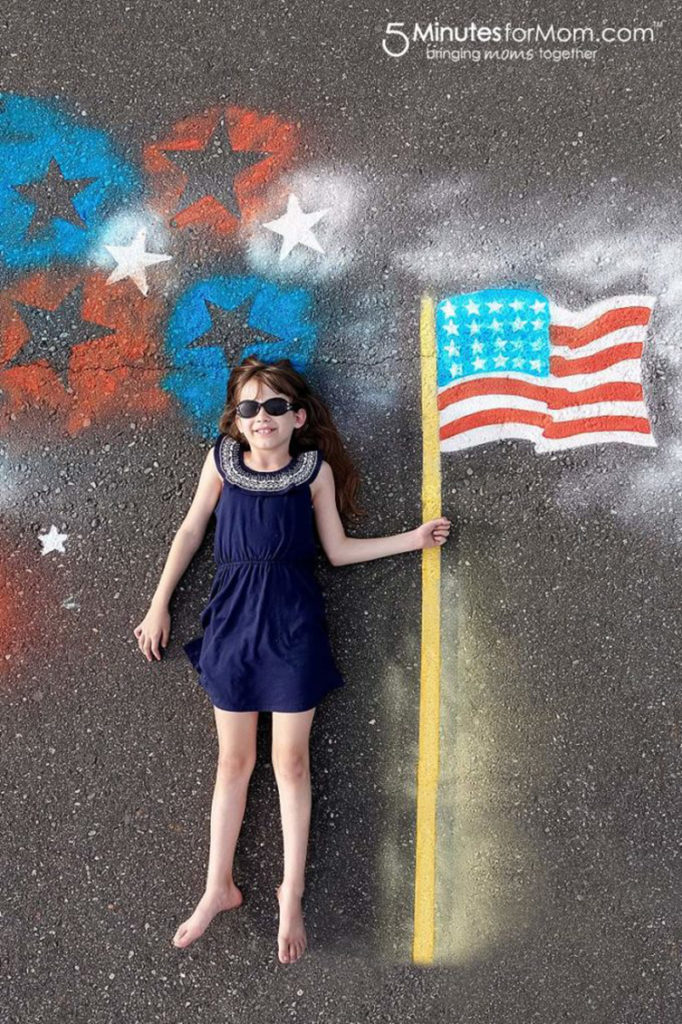
Source: 5 Minutes for Mom
That’s right, I said spray chalk. If you’re familiar with sidewalk chalk photos, this is next level. It’s a spray… and it’s chalk! I know, right? And don’t worry, it washes away with a quick hose!
Photo Tip – Perspective
Perspective is the key to success with this type of 4th of July pics. It won’t work if you are standing at an angle, or using a long lens. You need to get up high. So stand on a stool if you have to, and shoot directly down with a wide-angle lens.
Also, a word on safety…make sure you use your camera strap when you’re elevating yourself and shooting down. When you’re looking through the viewfinder it can be easy to lose your balance, and you definitely don’t want to drop your camera on your subject.
6. Red, White & Blue Portraits
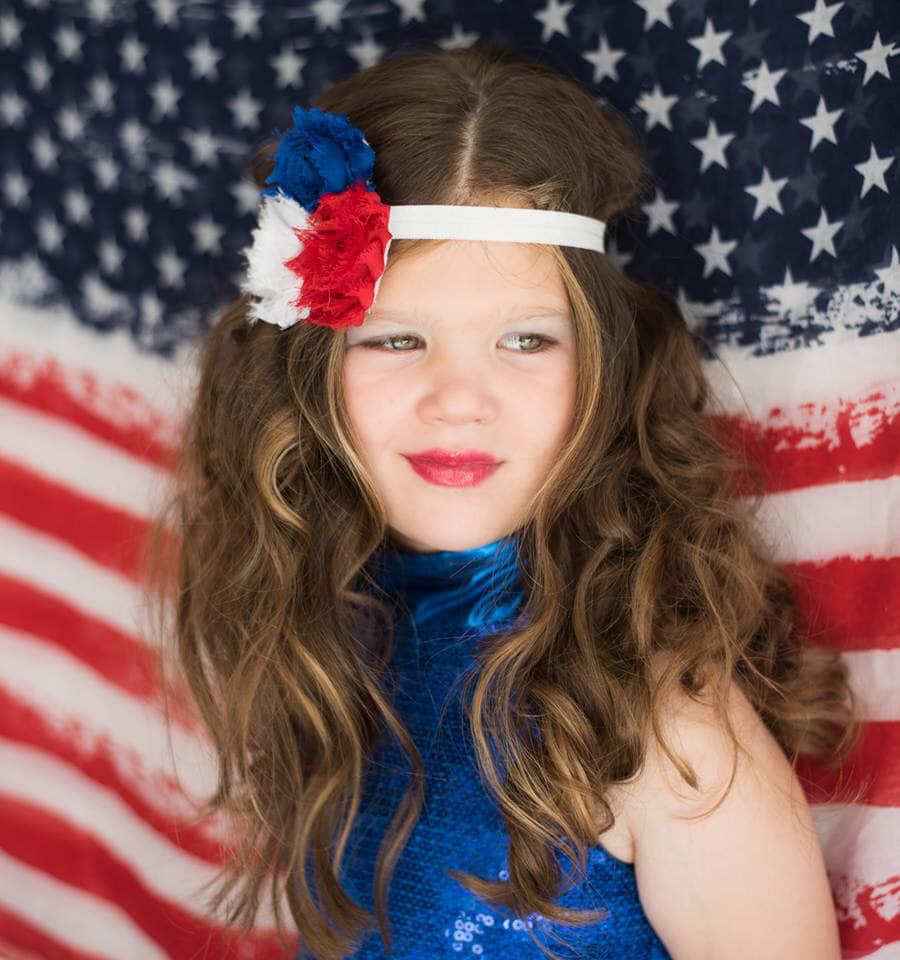
Source: Laura DiBernardino-Tilly
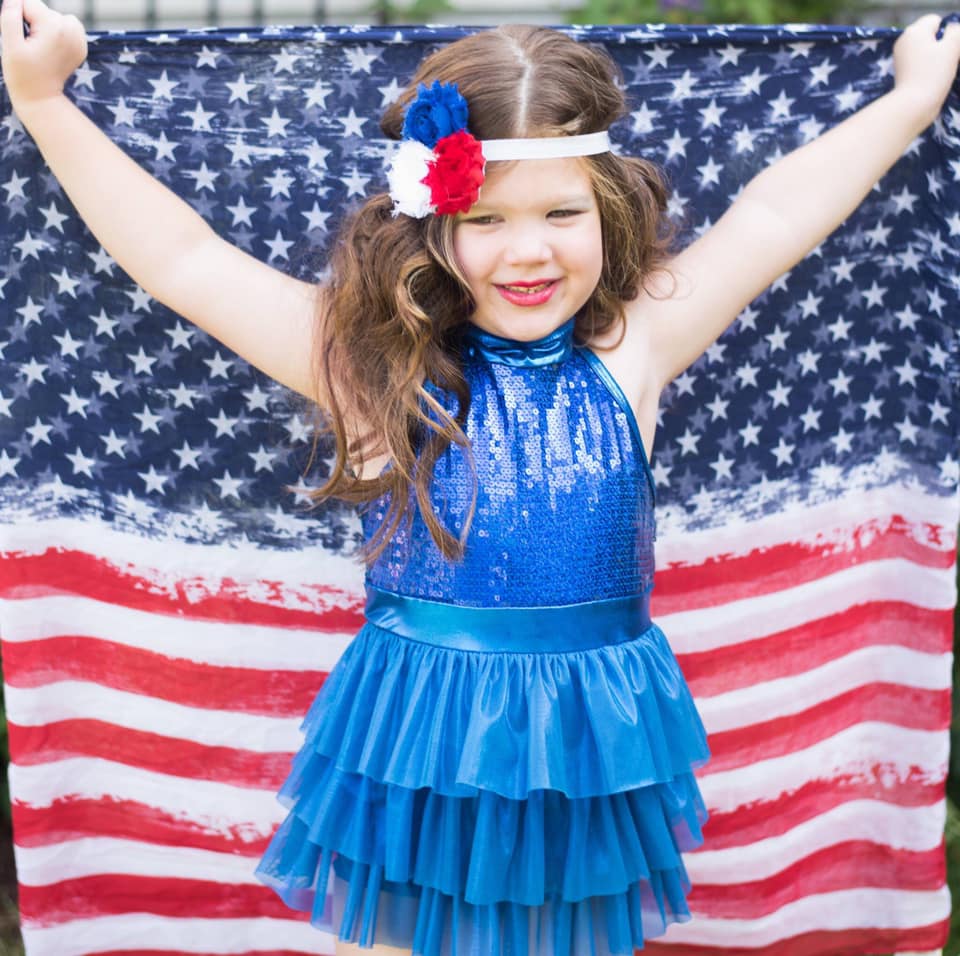
Source: Laura DiBernardino-Tilly
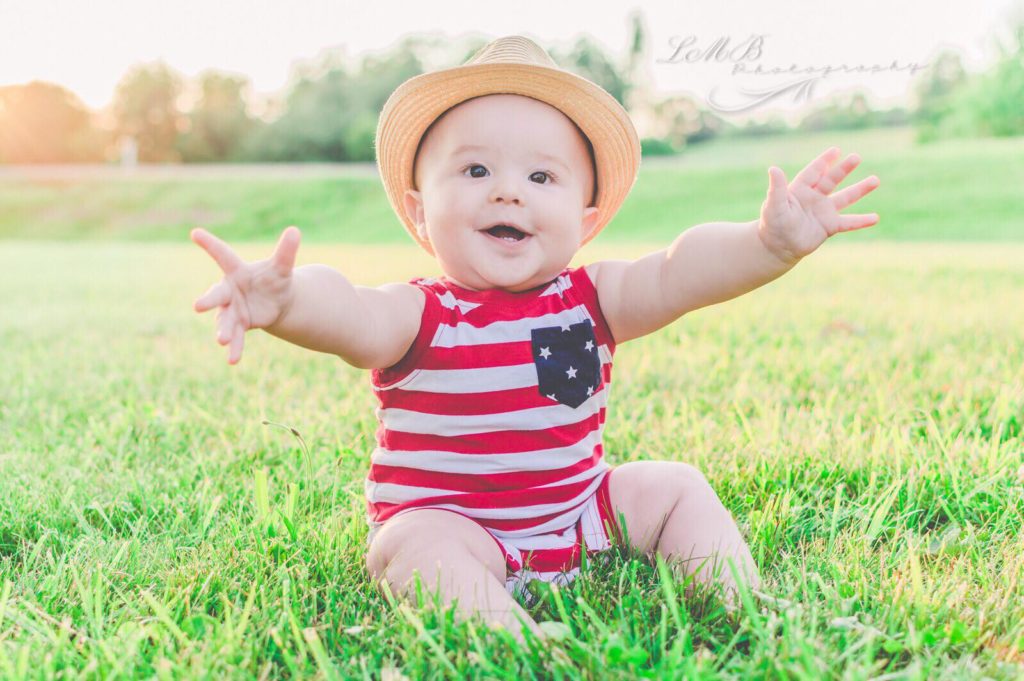
Source: Lisa Burch, LMB Photography
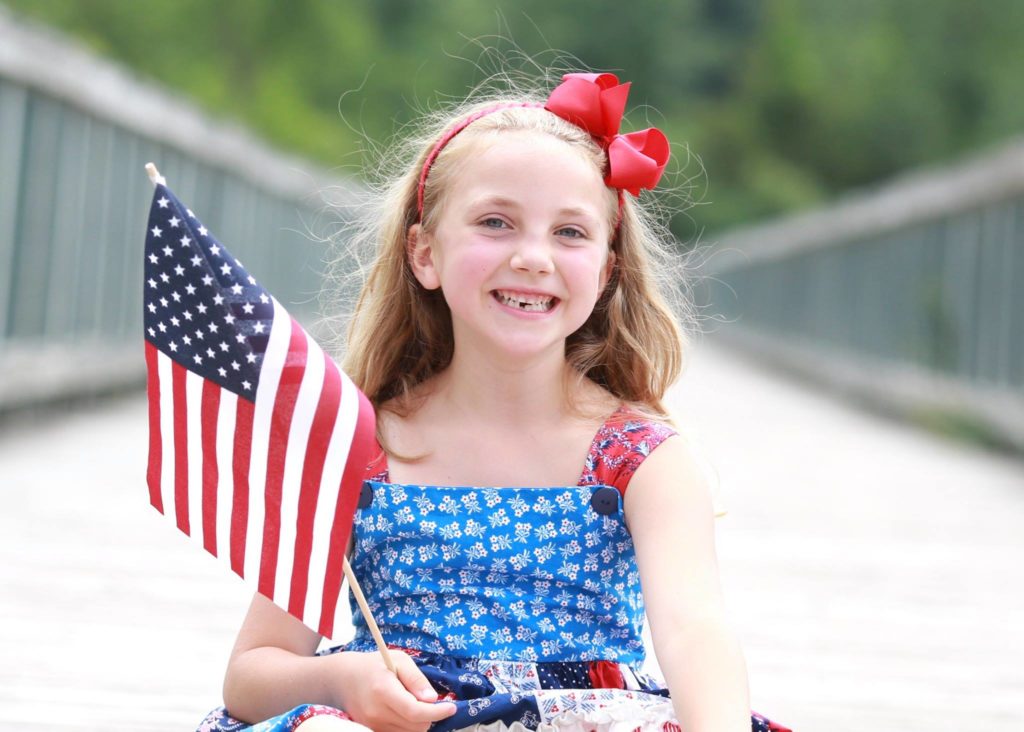
Source: Melanie Nebbeling
The elements are simple…choose some red, white and blue clothing, hair accessories, add a flag print headscarf as a backdrop if you like. Then shoot it like a regular portrait!
Photo Tip – Soft Light
Soft light is perfect for portraits as it’s flattering to our subjects and easy to use. You’ll find it in open shade such as under porches or in gazebos, doorways, or even garage doorways.
Related: Use Garage Light for Beautiful Portraits
7. Sparklers & Glow Sticks
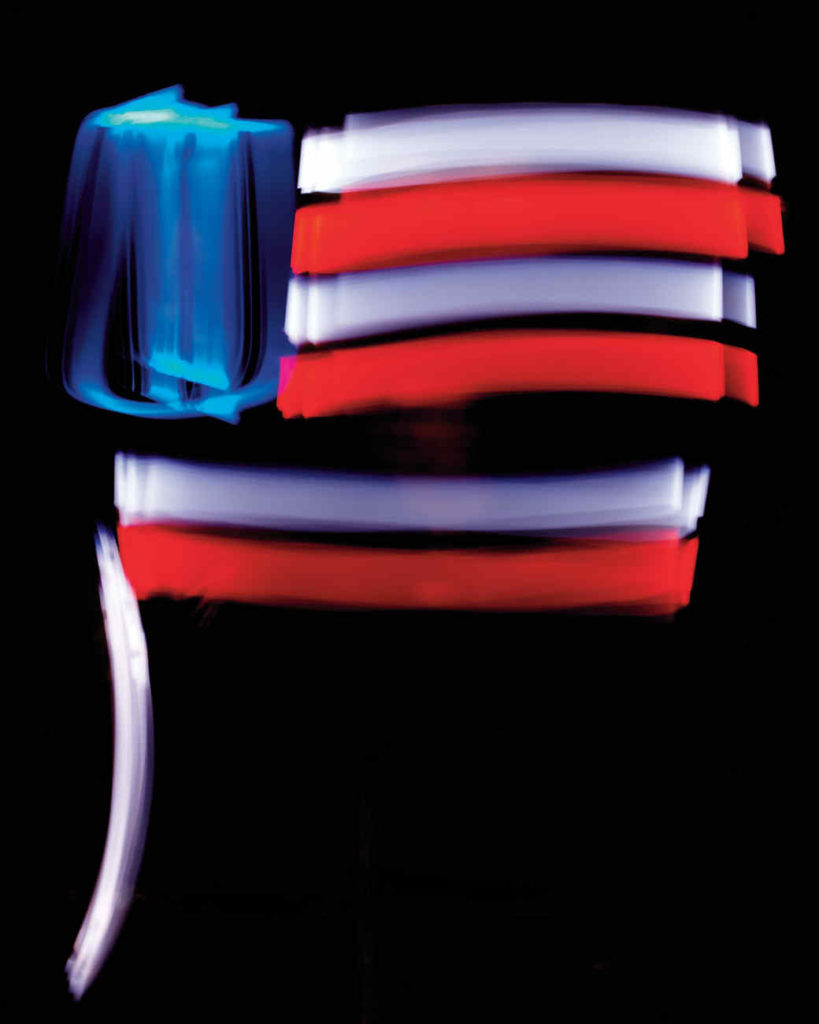
Source: Martha Stewart
Get into the festive spirit and try some light painting with sparklers and glow sticks!
Photo Tip – Manual Mode
If you want to include glow sticks and sparklers in your 4th of July pictures, you’ll need to be shooting in manual mode so that you can fully control your settings. A very slow shutter speed is needed to capture the writing from start to finish.
If you’re not yet in manual mode, try this…
Related: Get Out of Auto Mode
However, if you’re already reasonably confident in manual mode, try this tutorial for a step-by-step guide on capturing writing with sparklers and glow sticks.
Related: How to Take Sparkler Photos
8. Games
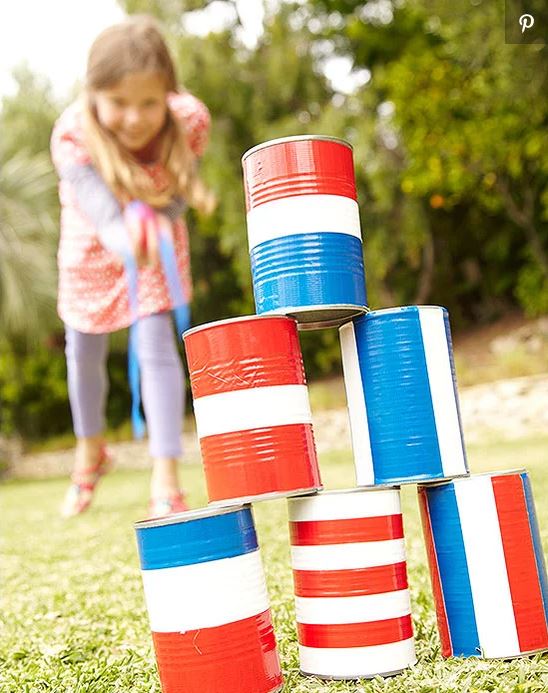
Source: Parents Magazine
The can toss idea is extra rewarding because it begins with creating the RW&B cans… and that’s something you can involve the kids in. I’m all for anything that entertains the kids in the holidays, without screens!
Set up in nice light…If you can’t find soft light during the day in a space big enough for the game, wait until late in the day and start shooting your 4th of July pictures during the golden hour.
Photo Tips – Composition, Focal Length & Freezing Motion
- Get down low and frame it at eye level. As we mentioned before, this will help you create more connection in your photos, and get a better view of the action.
- Use a wide focal length, eg. 18 to 35mm. Wide focal lengths enable you to include the environment whilst still being close enough to capture their facial expressions.
- Use a fast shutter speed to freeze the motion.
Related: How to Freeze Action for Sharper Photos
Think outside the square. Any game can be a 4th of July themed photoshoot if you can incorporate the red, white, and blue colours in your pictures. Think skittles, bean bag toss, ball games. You name it.
9. Red, White & Blue Food
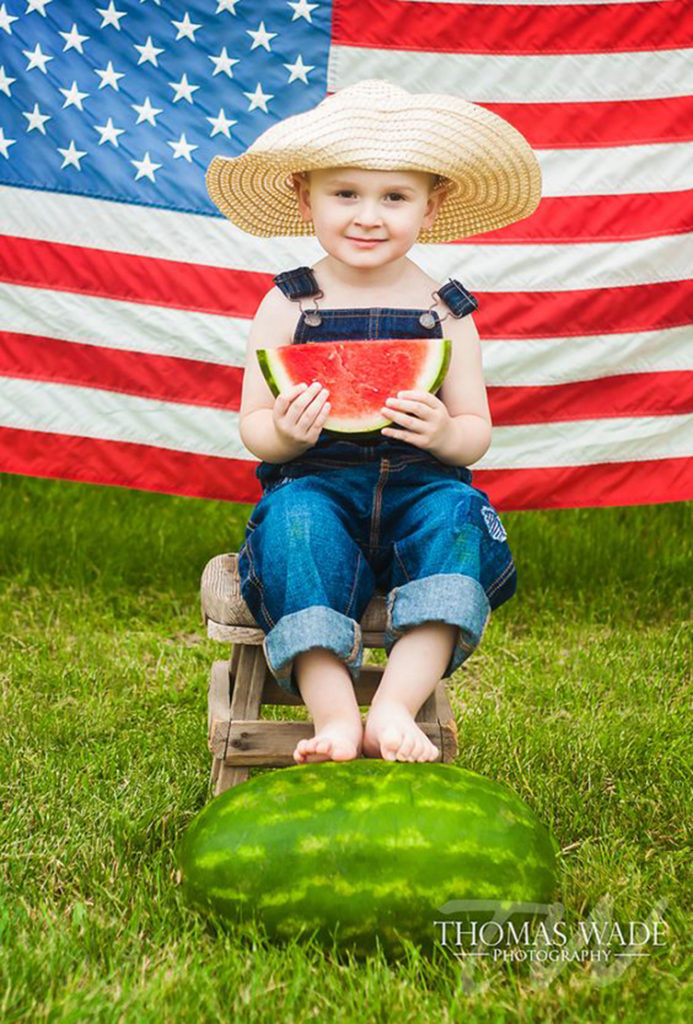
Source: Thomas Wade Photography
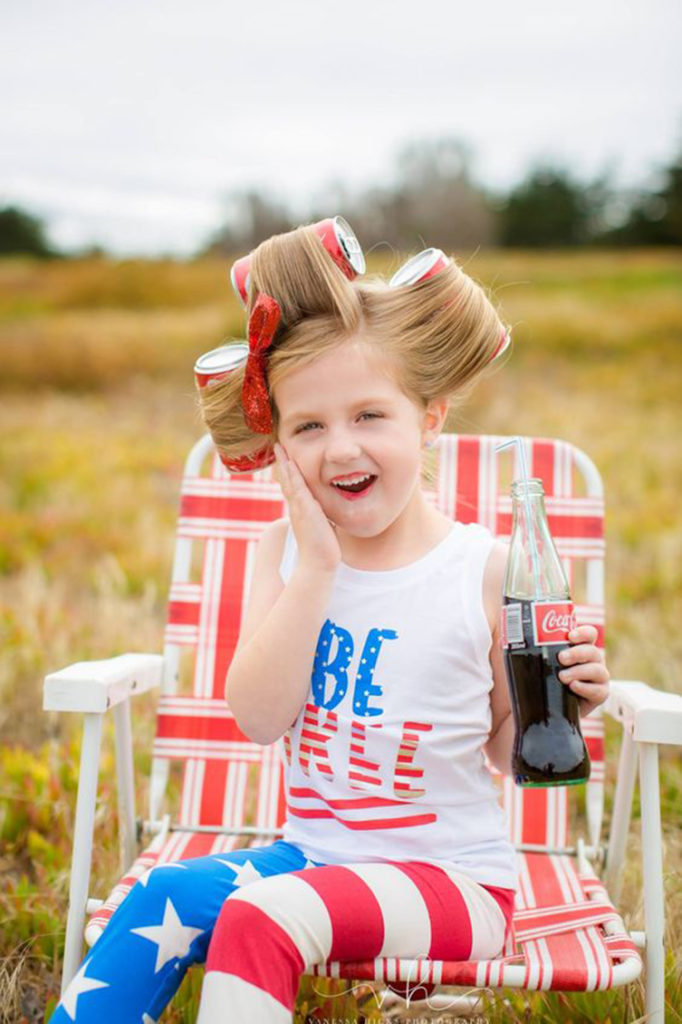
Source: Vanessa Hicks Photography
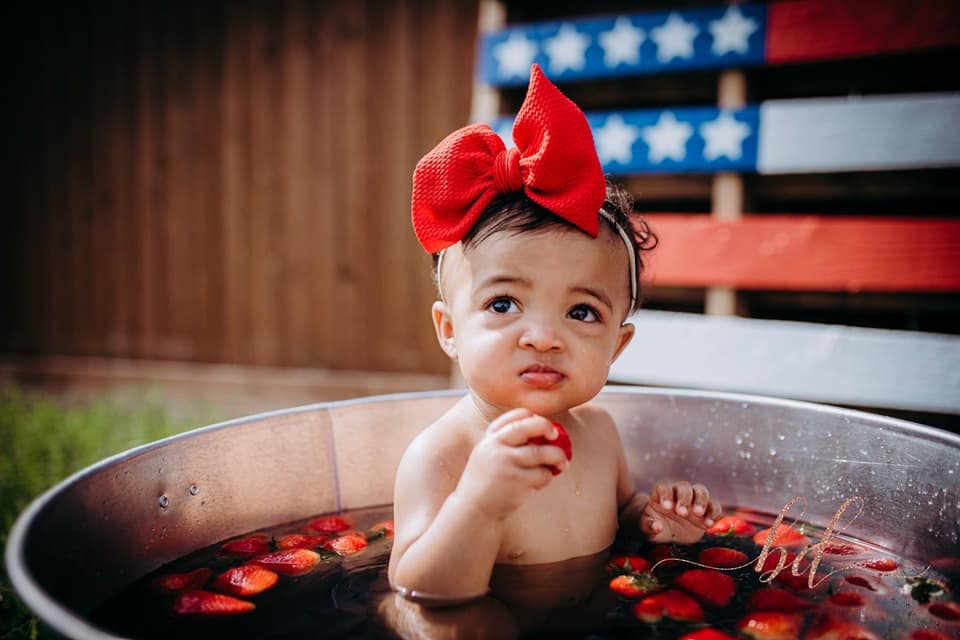
Source: Brittney Diane Photography
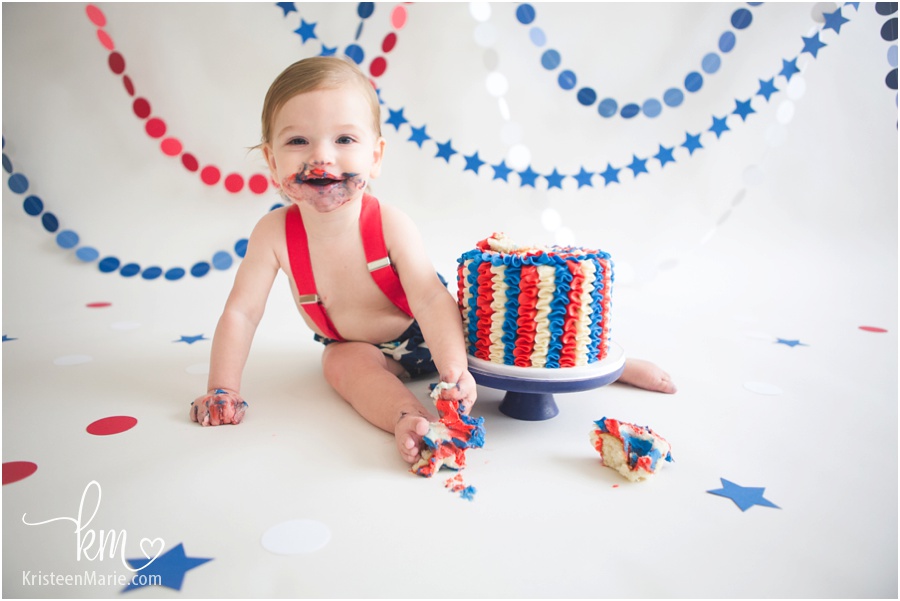
Source: Kristeen Marie
When you use fun foods kids love to eat in red, white and blue colours, you’ll get some really natural smiles in your portraits!
The more summery the food, the better your pictures will look! Because what says 4th of July more than summer?
10. Confetti Photos
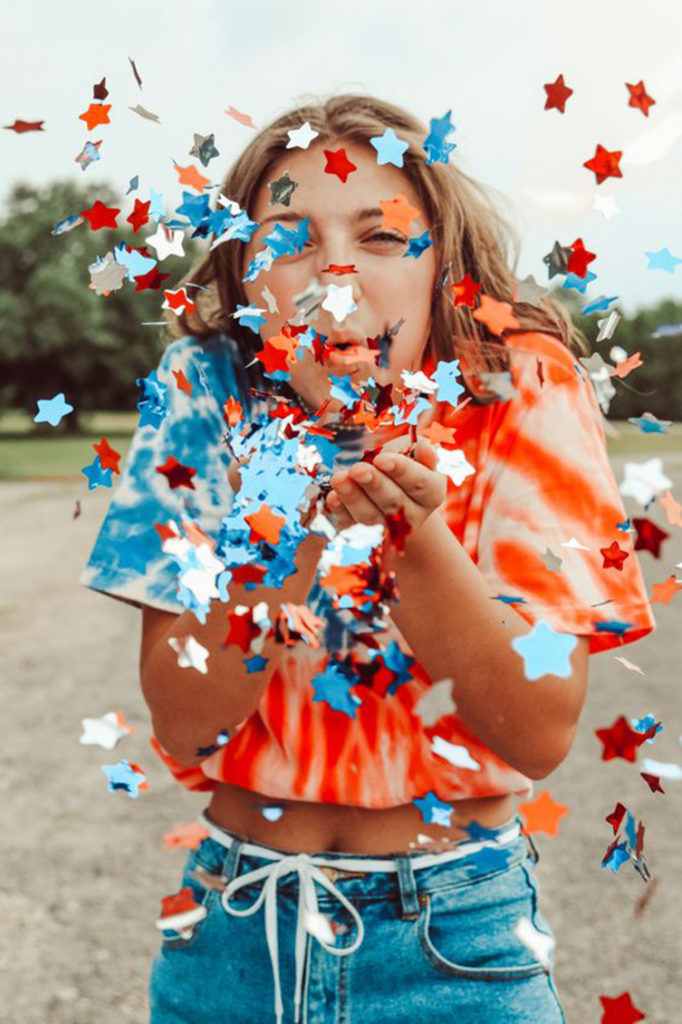
Source: Lash Next Door
Kids love this popular and fun photo project! Substitute the usual glitter or confetti for red, white and blue, and voila, fourth of July themed confetti portraits!
Related: How to Take Confetti Photos
We hope you loved these easy ideas for your 4th of July photos! If you try any of them, please share them on Instagram and tag us! We’d love to see the results on #clicklovegrow.
If you’re lucky enough to be heading to a fireworks display this year, try our tutorial How to Photograph Fireworks!
Join my new workshop and learn How to Shoot Pro-Quality Photos With Your DSLR… and it’s totally FREE to join! Register here…
JOIN the Free 5 Day Mini Course
5 Days, 5 Videos Lessons = Photos You'll LOVE!
Learn How to Use Your DIGITAL Camera!

Leave a Reply Cancel reply
PRIVACY POLICY & SITE TERMS AND CONDITONS
CLICK LOVE GROW ™ Pty Ltd - COPYRIGHT 2024 ©
x
Join Now
Enter your info below to join the challenge!
Want a friendly reminder when I go live?
Pop in your number and I’ll shoot you a text.
* We will send text reminders for our live calls during the challenge! Reply ‘STOP’ to end or ‘HELP’ for help.
We promise not to ever share your details with anyone or send you spam! Check our privacy policy and terms of service.
Be the first to comment