Behind The Scenes Of a Christmas Lights Photography Session
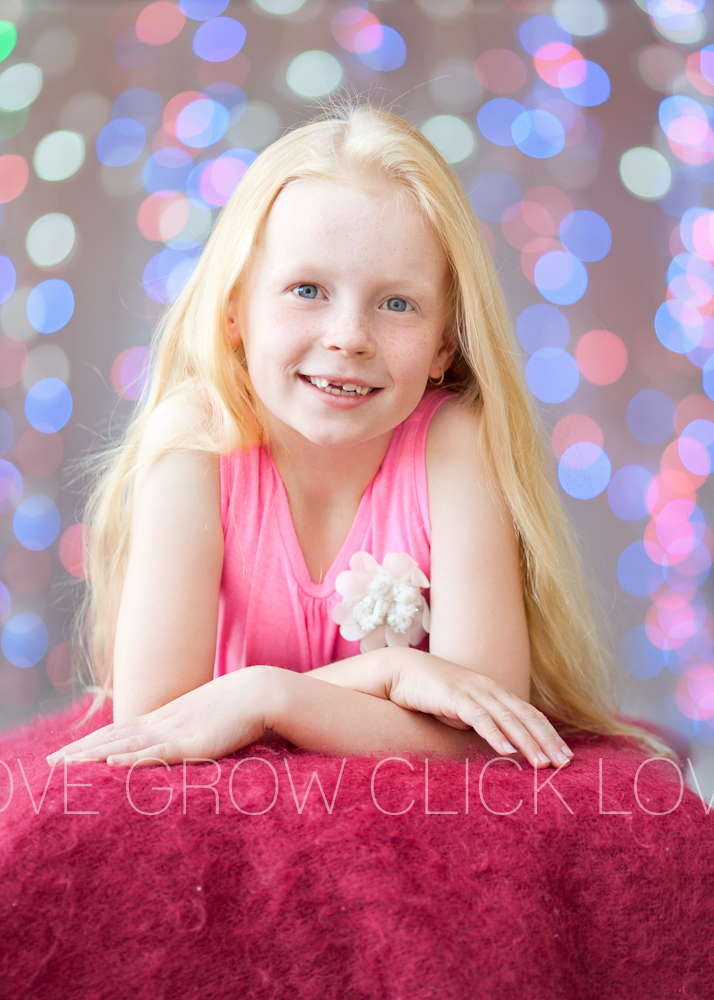
Are you a Christmas lover? The excitement, the anticipation, the planning for the big day? Christmas tree fairy lights are the perfect backdrop for your holiday cards, and this tutorial will show you exactly how to make your fairy bokeh effect sparkle! As a bonus, it’s loads of fun and a perfect way to celebrate!
What You’ll Need
- A light coloured background or wall
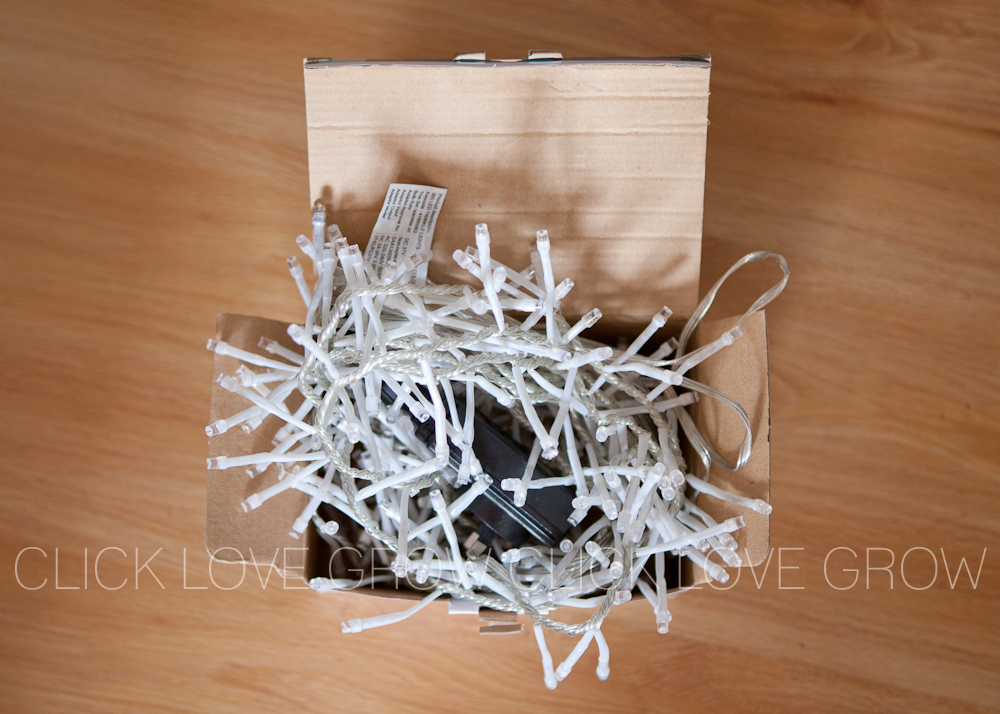
- Several light sources with white cable (not green)
- String, tacks or a stand to hang the lights on
- A lens that lets you shoot with a wide aperture (low f-stop number) – a prime lens such as the 135mm f/2.0, 85mm f/1.8, or the 50mm 1.8 (the inexpensive and fabulous nifty fifty!)
- Lots of space (because the distance between your subject and the lights helps with the blurred effect)
Related: How to Get Blurry Backgrounds with a Kit Lens
Related: The Best & Cheapest Lens You Can Buy
Ok! So now you have everything you need for gorgeous Christmas lights shots. But first, let us help you understand how to create and take the best background bokeh pictures before moving on to setting up the shot.
Background Blur
Background blur is affected by three things:
- Focal length
- Aperture
- Distance between subject and background
Focal Length
When it comes to Christmas lights photography, your lens choice will affect how the lights appear.
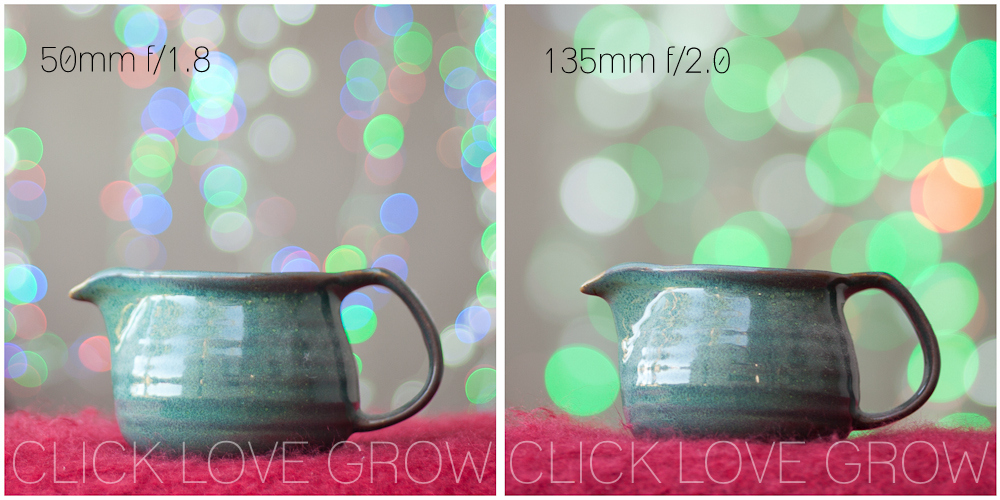
Longer focal lengths will compress the background and, therefore, increase the size of the lights and create more blur. You can see the difference between the two images below shot with a 50mm lens and a much longer focal length lens of 135mm.
That doesn’t mean you can’t use a 50mm lens. You might just need to place more distance between subject and background and use more lights to fill the frame.
Aperture Setting
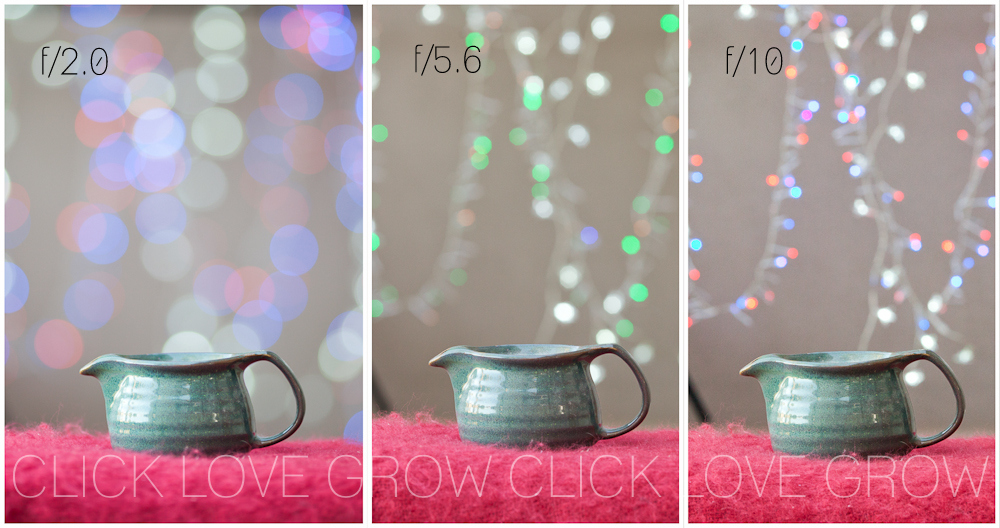
The aperture setting is really the essential element in capturing beautiful bokeh in your Christmas twinkle light photos. You can see the effect that the different aperture settings have in the images below.
Distance Between Subject & Background
It’s quite simple. The more distance between your subject and background, the blurrier your background will be, so allow for that when you’re setting up your shot. Ok, now on to the fun bit!
Set Up Your Christmas Lights Photography Shoot
1. Aperture
Aperture is the trick to sparkly Christmas light photos. The first step is to set your camera to the widest aperture setting your lens will allow (lowest F stop number).
If you’re not yet shooting in manual mode, set your camera to AV mode, adjust your aperture, and let the camera balance the other elements of manual exposure.
Related: Why Shoot in Manual Mode
2. Location
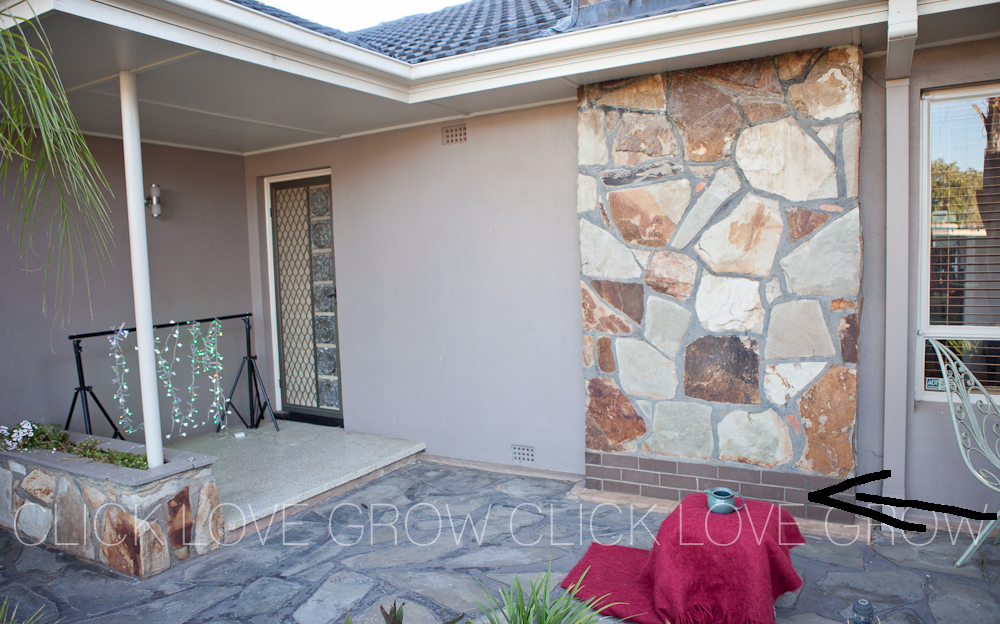
For this Christmas lights photography tutorial, I shot outside against the grey wall on my patio, because I didn’t want to move lots of furniture in my house to get the space I needed. Also, I get lovely soft afternoon light in this shaded area which I already know is perfect for shooting portraits.
My subject was approximately 4 metres from the backdrop. As the distance between your subject and the background affects background blur, be generous!
3. Hang Your Lights
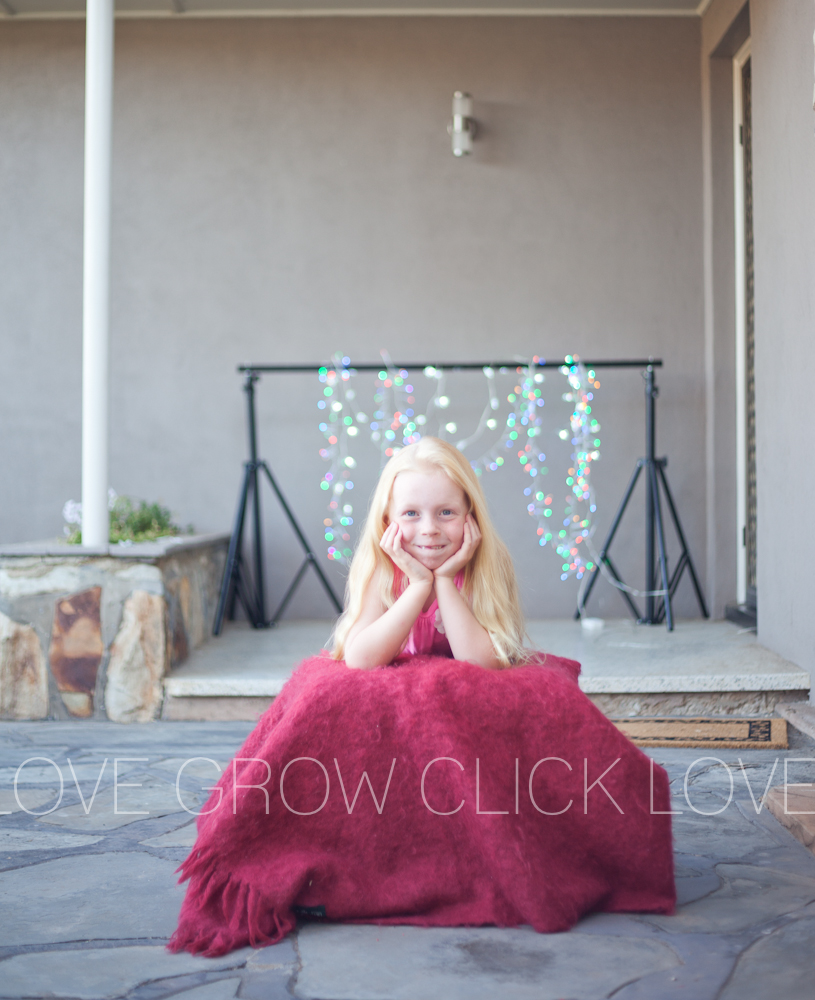
If you don’t have a backdrop stand, there are plenty of ways to hang your lights, such as hanging a piece of string between two chairs and draping the lights over them.
Regardless of how you hang them, ensure your background ends up covered with lights.
4. Test Shots
Once I had the lights strung up, I took some test shots focusing on the red throw rug to see if the lights needed adjusting. It’s best to take your test shots in this way rather than with the kids, as they’ll get bored quickly and it could well lead to tears (yours and theirs)!
So I took some test shots and spent some time moving the lights around on the stand until I felt they filled the frame nicely and created the best Christmas lights bokeh.
Then I was ready to bring the kids in and start shooting!
Related: 18 Creative Photos Using Twinkle Lights
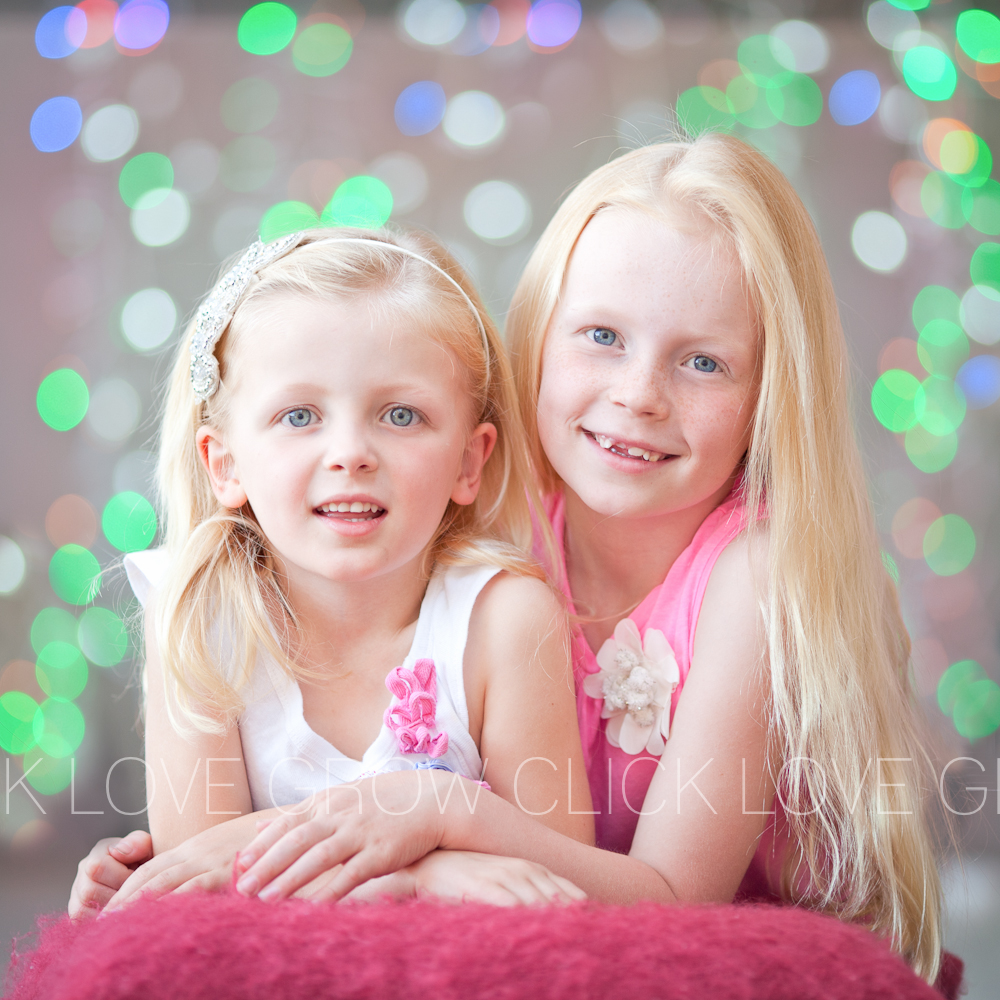
Canon 135mm f/2, shot at f/2.2
How To Take Pictures Of Christmas Lights Indoors?
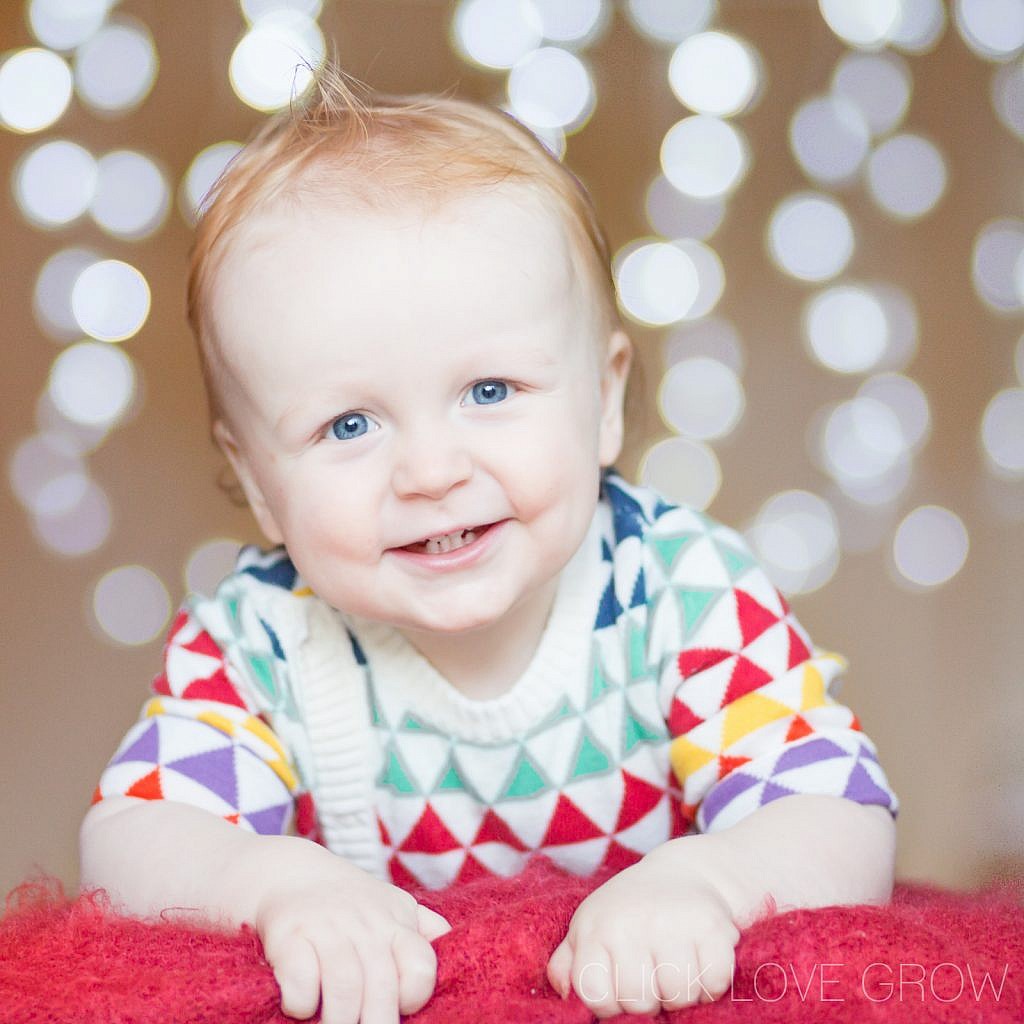
Ready to catch some Christmas lights bokeh but got nowhere to shoot outside? I did this exact set-up again with my little guy indoors as it was too cold outside. I used a speedlight in an umbrella, positioned at a 45-degree angle to my subject to give me some nice sidelight. I used the following settings:
- Aperture f/3.2
- Shutter speed 1/160
- ISO 500
- Flash in M mode on 1/16th power setting
Related: How to Take Studio Portraits at Home
Here’s the pullback and the finished shot!
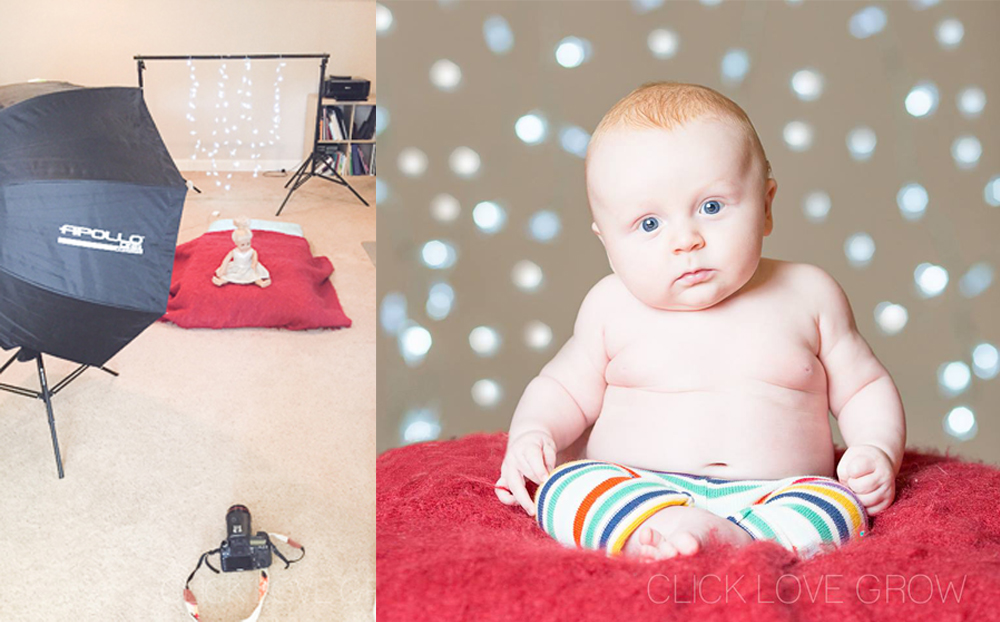
However, you don’t need a speedlight to do this shot. If you don’t have one, think of my speedlight/umbrella combo as a window and set it up, in the same way, using natural light.
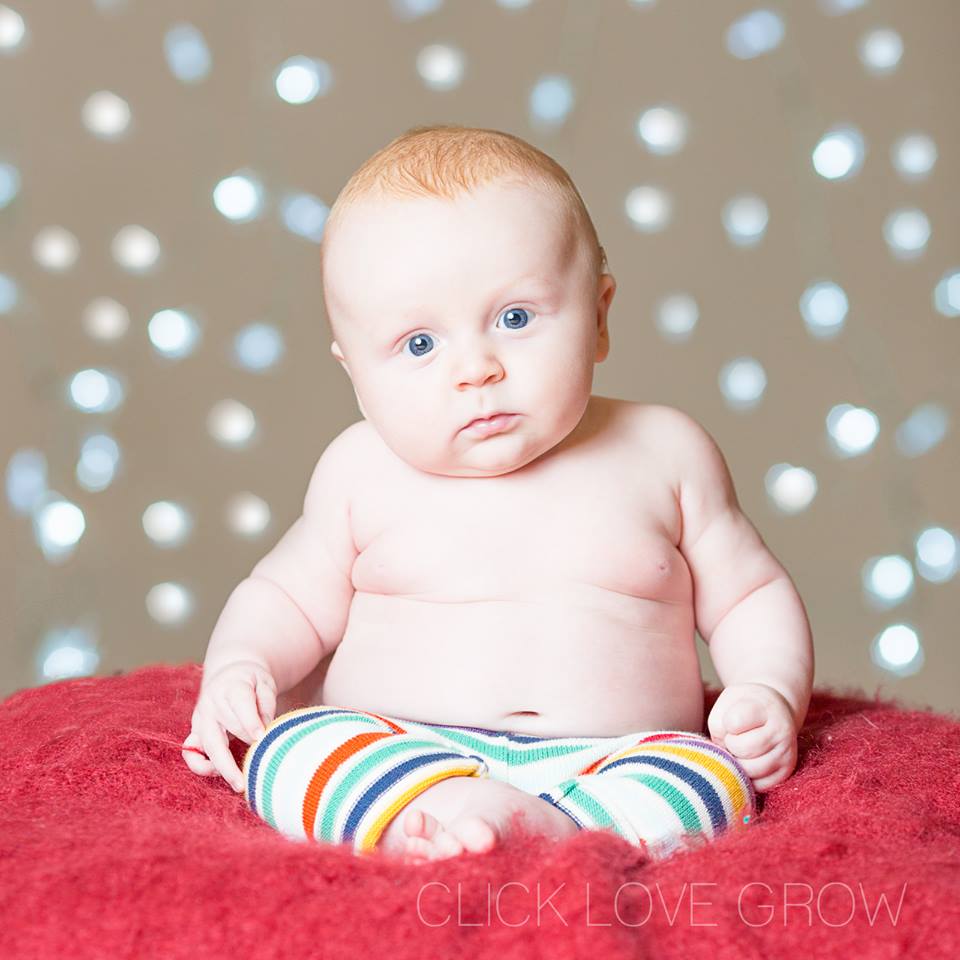
And now…sparkly Christmas lights photos…same set up…12 months later!
Watch the full video tutorial here:
NEW Holidays Presets & Overlays Pack
Add some Christmas cheer and sparkle to your photos this year with our ALL NEW Holidays Presets & Overlays Pack!


Finally I feel like I will be able to start creating my own unique images for my website rather than trawling through image sites and ‘borrowing’ other peoples! Thank you x
Hi Rachelle, thanks so much – yes its great to be able to create your own content!
Oh Louise what an awesome tutorial – I going to try this one out, the effect is stunning! Thank you again for sharing your expertise with us.
Thanks Mel!! I’d love to see your results if you give it a try! It’s a very fun effect for sure!
Brilliant tutorial, thank you! I’ve sweated blood trying to create this effect, so this was really helpful. 🙂 I now have 10 months to get it right before xmas!
Thank you! I was considering purchasing a bokeh backdrop, but this is FAR more preferable! (And I love that you can play around with different colored lights.) Thanks again! p.s. Your girls are BEAUTIFUL!
Hello Lou, do you need to get a low f stop? Some lenses do not go lower than f3,8. Is it still possible to get the bokeh?
Hi Stefanie, yes, just go with the lowest that your lens will allow, so sometimes that will even be f/5.6… and make sure you have a good distance between the subject and the background, and you’ll still be able to achieve the bokeh.
Hi Louise. Not exactly the answer I was looking for. I’m trying to figure out how to make an interactive Christmas card, that I can Email to friends & family, where the actual background lights twinkle on and off when they open the card in their Email. The other option is to be able to post it on Facebook with interactive twinkling lights.
Wow, that sounds pretty interesting Roland, I’ve certainly never done that before… I think you may need to create an animation or gif!
Goodluck with it! Xx