


How To Take Studio Portraits At Home
Much as we love the organic nature of documentary and lifestyle portraits, there’s beauty in the simplicity of uncluttered studio portraits, which highlight our subjects so powerfully. That said, you don’t need a studio to take beautiful, simple studio portraits easily at home.
So today’s highlights reel is a collection of studio portraits taken by our Grads at home, and we’ve included some tips to help you take your own!
1. Light
Light has to be first because it’s the holy grail of beautiful studio portraits and not only. Numero uno priority. It doesn’t matter how gorgeous your location, how fancy your camera, or how stunning your subject…if you don’t have good light, you’re on the back foot from the get-go. And you can’t fix bad light in editing, despite how clever some editing programs are…get it right in camera and then any editing you do will create magic on a strong foundation.
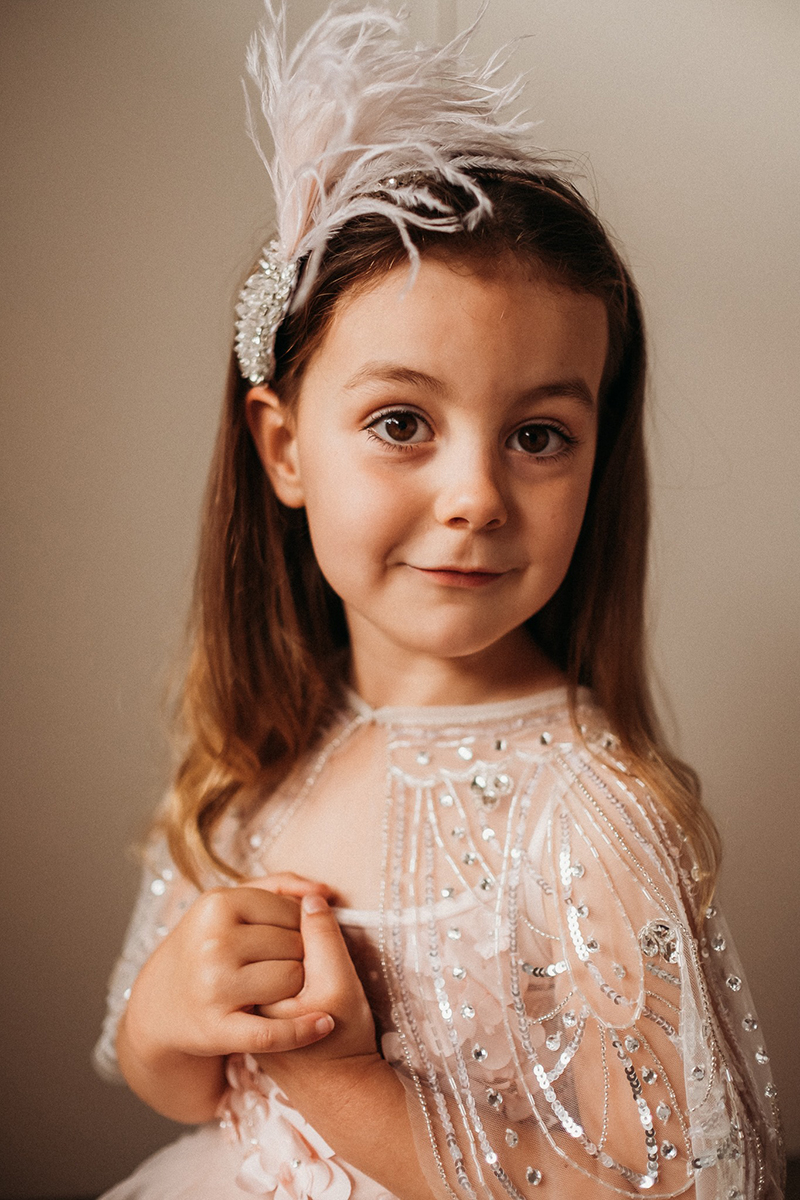
So look for a location with soft light coming through a window situated at a 45-90 degree angle in relation to your subject. Soft light is flattering and will wrap around your subject gently. If you see a hard line between the light and shadow, and really bright patches of light on their face, this is hard light — unflattering and quite jarring to look at. You can see in the image below the light is soft, and the graduations between light and shadows are gentle.
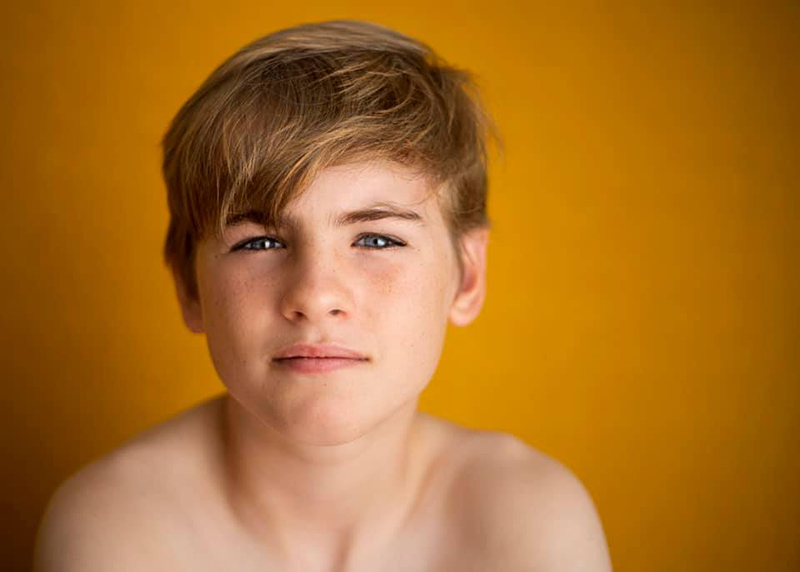
Stephanie Frazer, Graduate
2. Dramatic Natural Light
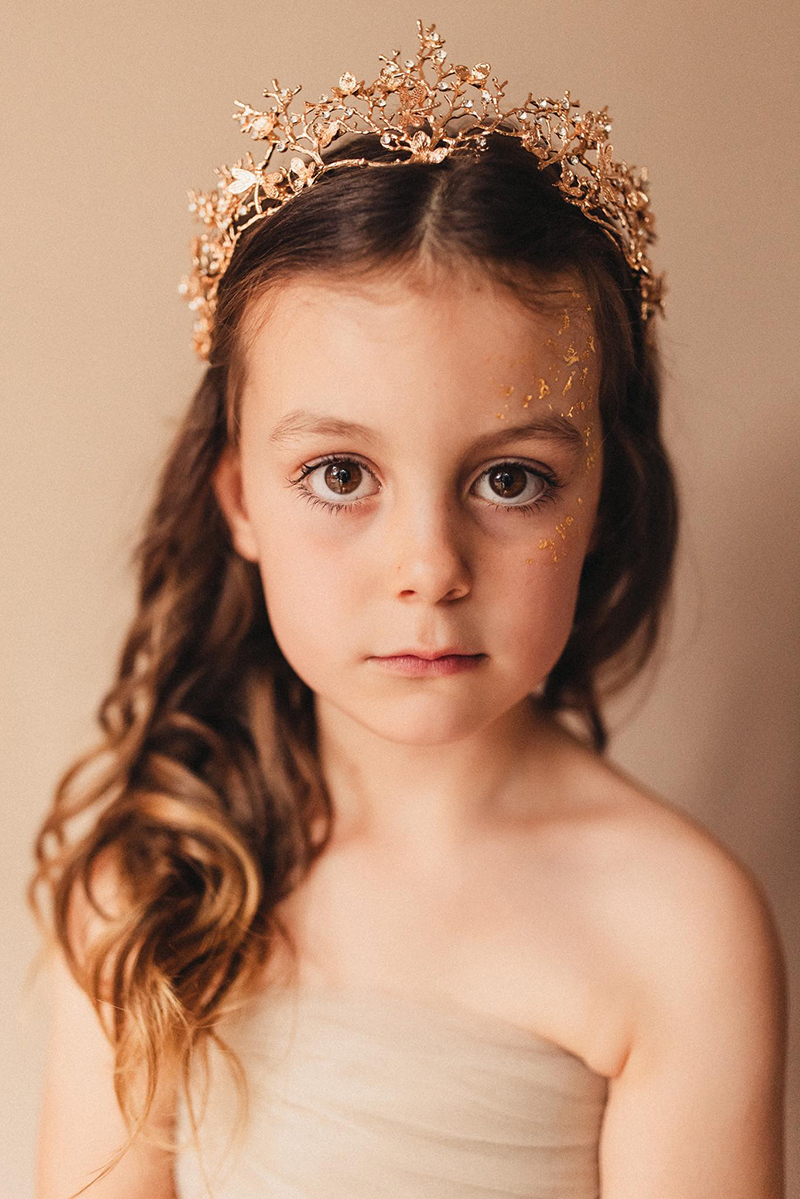
You can create a more dramatic look using natural light. Look for soft window light, and position your subject in the same way we mentioned above. But look for a location that has darker surroundings in the room. So the only difference between the two images is the image above was shot in a room with more natural light. In the image below, the area on her right has less light or a more low-key quality of light. This renders the highlights a little darker and the shadows even darker — but the graduations between the two are still gentle.
Related: Dramatic Natural Light Portraits
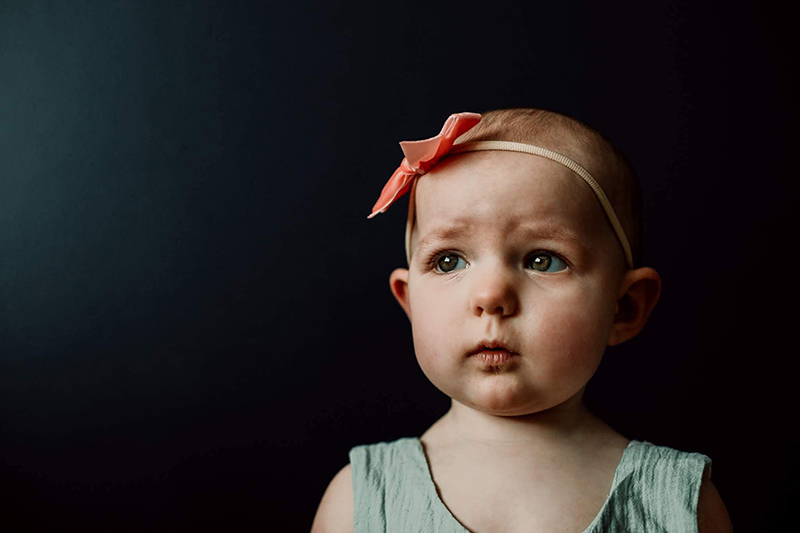
Kellee Kromarek Hann, Graduate

Sarah Jane, Advanced Graduate
3. Indoor Locations
A Plain Wall
Who doesn’t have a plain wall? This is the easiest way to capture studio portraits at home! Situate them at least a couple of feet forward of the wall so that it blurs a little. This will create some separation and make your subject pop.
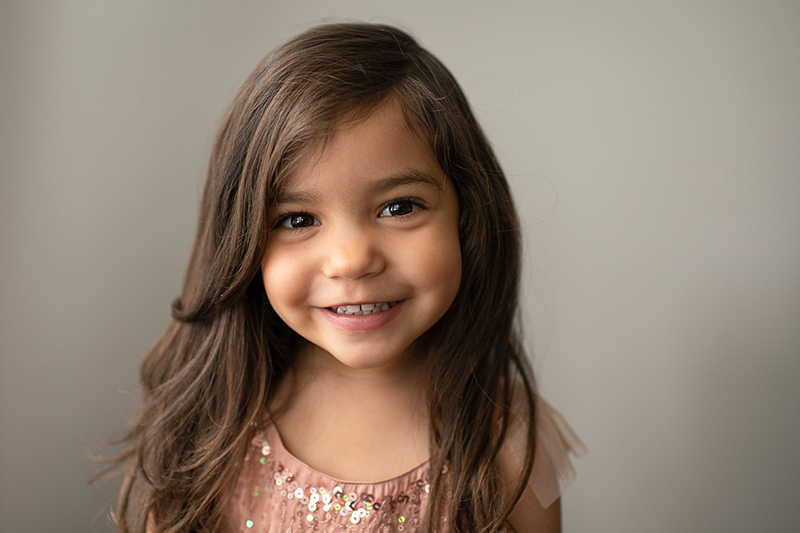
Armaris Ayala Diaz, Advanced Graduate
Emma Davis, CLG Instructor
Doorway
If you don’t have a plain wall/good light combo, open up the front door! If your subject is facing you straight on, use a wide aperture of around f/2 to blur the background into insignificance. Expose for their face, then, if needed, you can reduce shadows in processing later to darken your background just enough that any background clutter is unnoticeable.
Related: How To Shoot In Doorway Light
That said, if you have clutter you can move, do it! Have you ever seen professional studio portraits with stray toys, someone’s shoes, and this morning’s breakfast dishes in the background? Of course not, because nothing ruins a shot more than objects in the background, forcing your subject to compete for the viewer’s attention!
Related: Clear The Clutter For Instantly Better Photos!
Louise Glendon, Click Love Grow
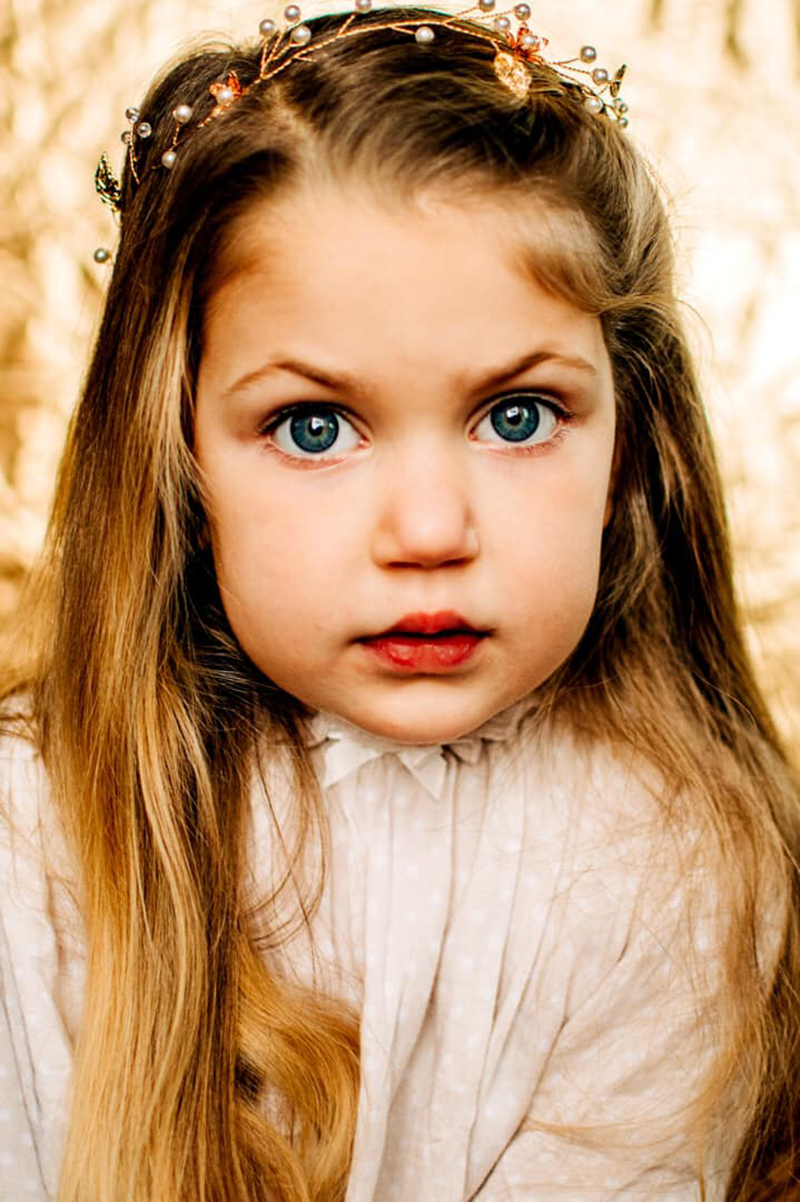
Get In Close
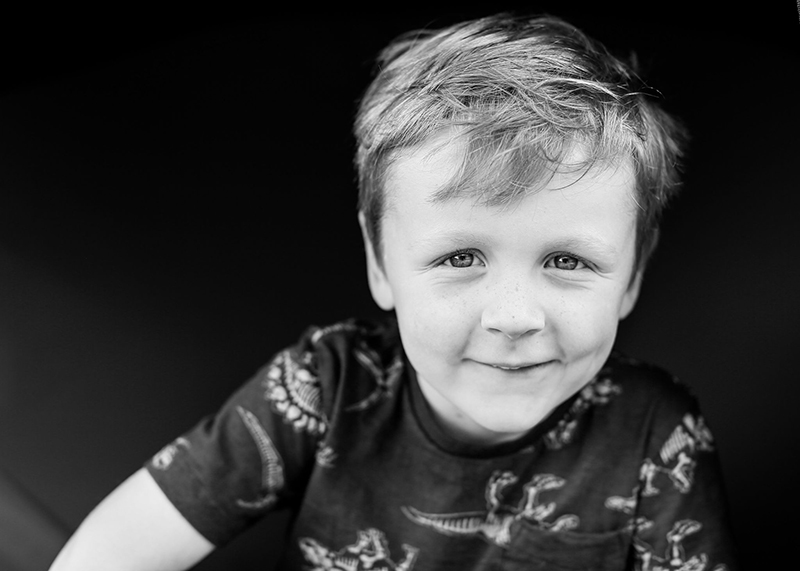
You might think this belongs in a composition, not a location. But getting in close is a great workaround if you simply don’t have good light in a good location. That said, there are other workarounds, so you don’t have to take every single shot this close. But when it comes to kids, often the opportunity to grab a beautiful portrait is presented to us unexpectedly — and it’s blink, or you miss it!
Just a tip on getting in close…it’s ok to crop into the top of their head, but leave some room under their chin to balance it. You’re welcome!
Related: Tricks To Get Natural Smiles from Kids
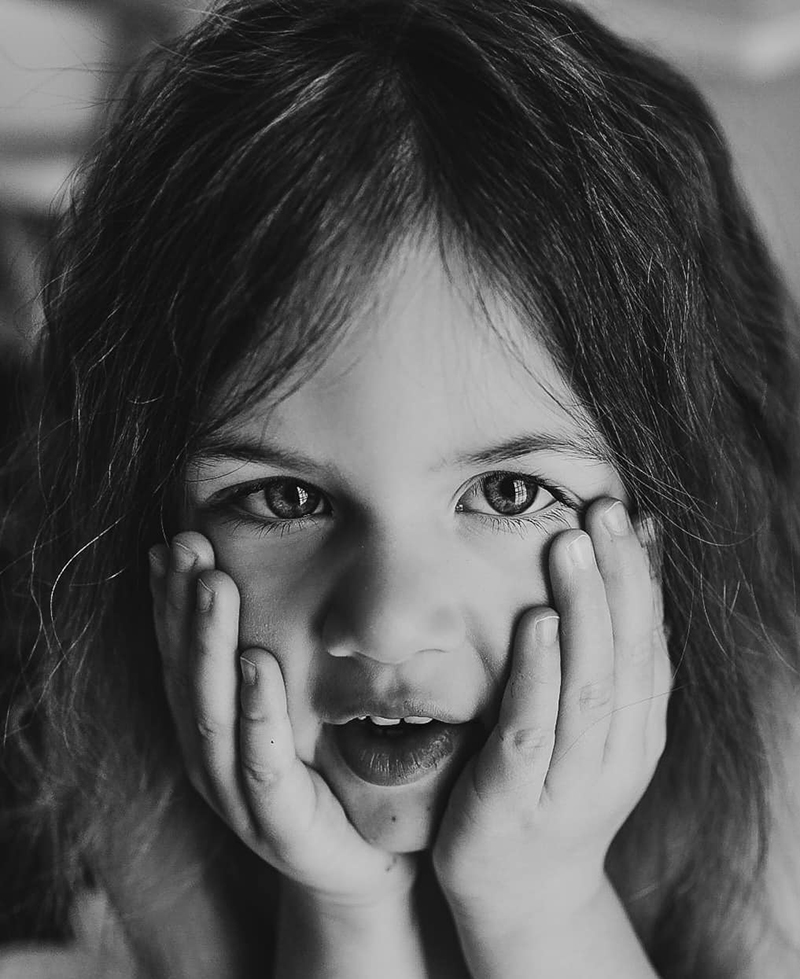
Alyxandra Catherine, Advanced Graduate
4. Backdrops
So this is the workaround I alluded to above. If you can’t find the holy grail of good light and good location in the same place, backdrops are an easy way to disguise a background that you don’t want to include in your shot.
And you don’t need a backdrop stand…I used to drape patterned quilt covers and other backdrops over a clothes airer or the back of my sofa.
This backdrop is hand-painted on fabric, resulting in a light, bright, and fun backdrop — perfect for a kid’s portrait. But don’t stop there! Here are things for a DIY backdrop for home studio portraits.
Related: DIY Photography Backdrops
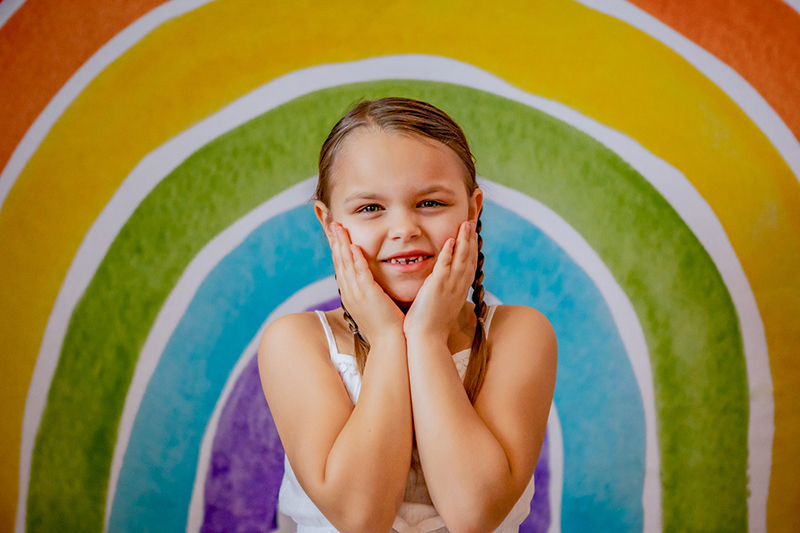
Kellee Kromarek Hann, Graduate
…and the pullback shot!
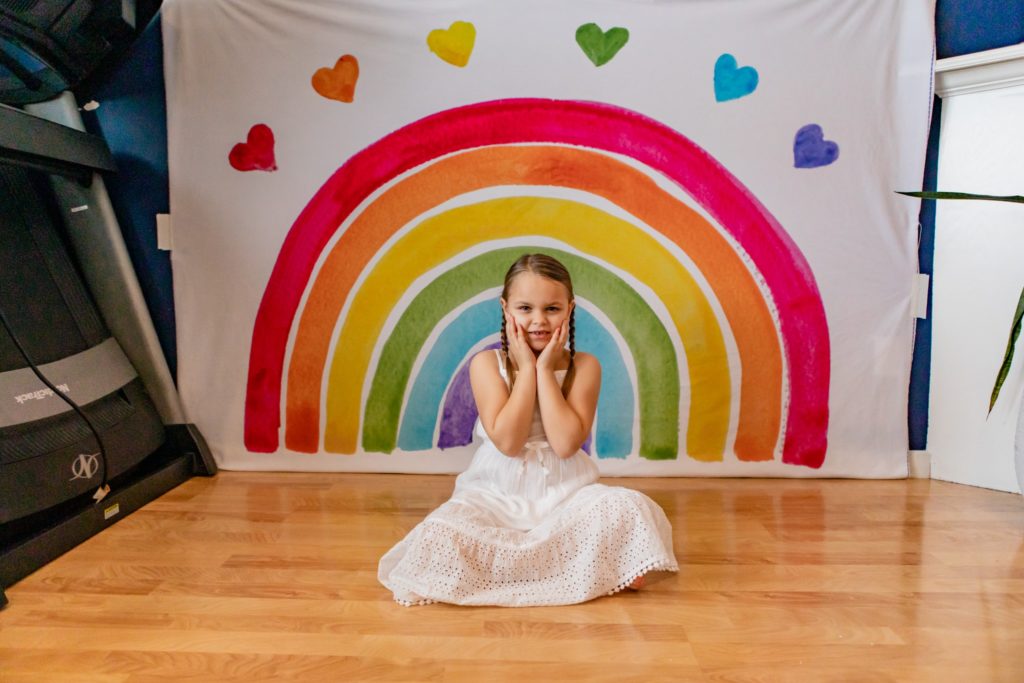
studio portrait of little girl at home
5. Props & Accessories
Ok, so we’ve covered light, location, and backdrops. Armed with that information, you can go grab your camera and start shooting professional-looking studio portraits at home right now!
But if you want to add some extra layers and interest to your shots, accessorise!
Merissa Wakefield, Advanced Graduate
Merissa Wakefield, Advanced Graduate
Jennifer Magnuson, Advanced Graduate
Once you’re feeling confident, bring in some props. And as a bonus this one below is a great way to contain a crawler, he’ll stay just long enough to explore this interesting situation he finds himself in before he’s off again. So how do you nail the shot before that happens? You set up then take your test shots before you bring him in!
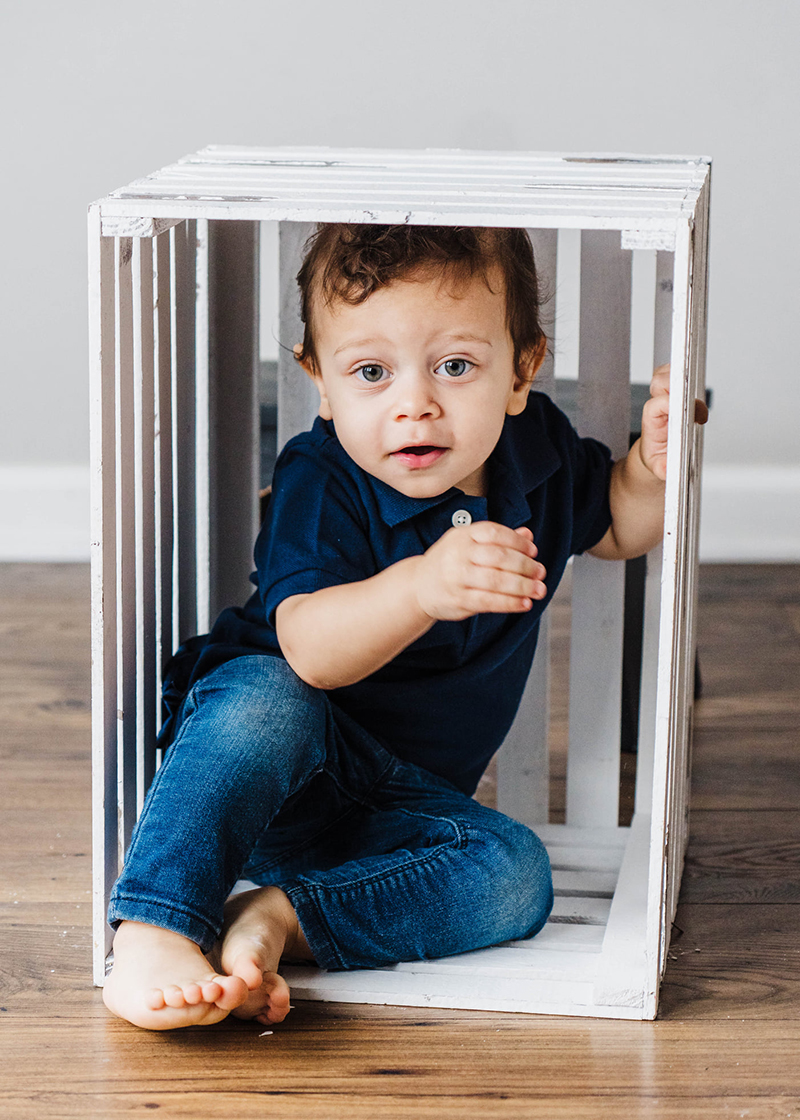
Arielle Christine Payne-Summerfield
How gorgeous is this shot? What are the elements that make it work? It uses a combination of all of the DIY studio portraits tips in this blog post:
- Low directional light
- Baby placed at a 90-degree angle to the light source
- Plain wall
- Photographer down at her eye level
- Wide aperture to blur the background a little and make her pop
As a bonus, the inclusion of the mirror behind her reflects the room, adding an extra layer of depth. Keep in mind, any way you can add depth to a shot is always a good thing, no matter what you’re shooting.
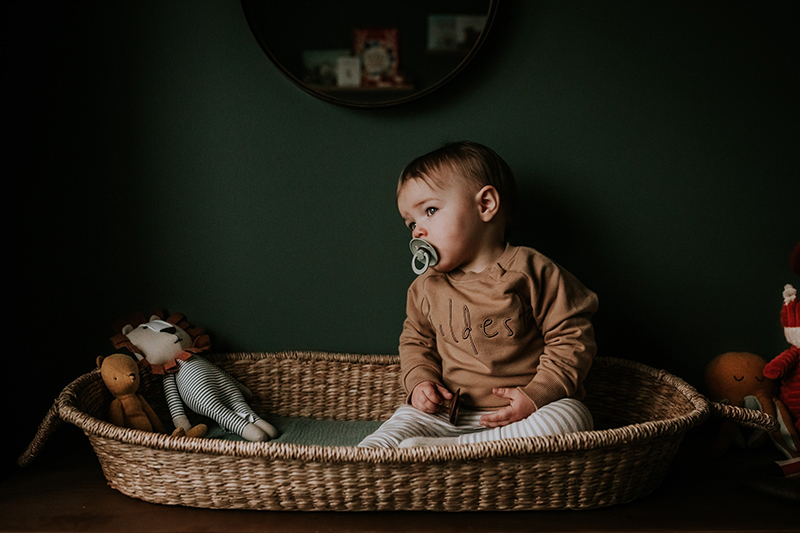
Morvern Shaw, Advanced Graduate
6. Posing Babies
Last but absolutely not least, babies. They can be harder to capture because they can’t stand and, at this age, they can’t sit either. But not impossible! The easiest way to pose a newborn for a studio portrait is on their belly and on their back.
Baby On Belly
Use an ottoman or a beanbag, and cover it with fabric, sweeping it up behind them and draping it over whatever you’re using in lieu of a backdrop stand.
Make sure your beanbag is well filled with beans so you have a reasonably firm surface for your baby. If you don’t have enough beans, your baby’s weight will create a cavity which doesn’t look great in pictures. Then get down low, with light either behind you or at the side, and capture them straight on.
Related: A Tip for Instantly Better Baby Photos
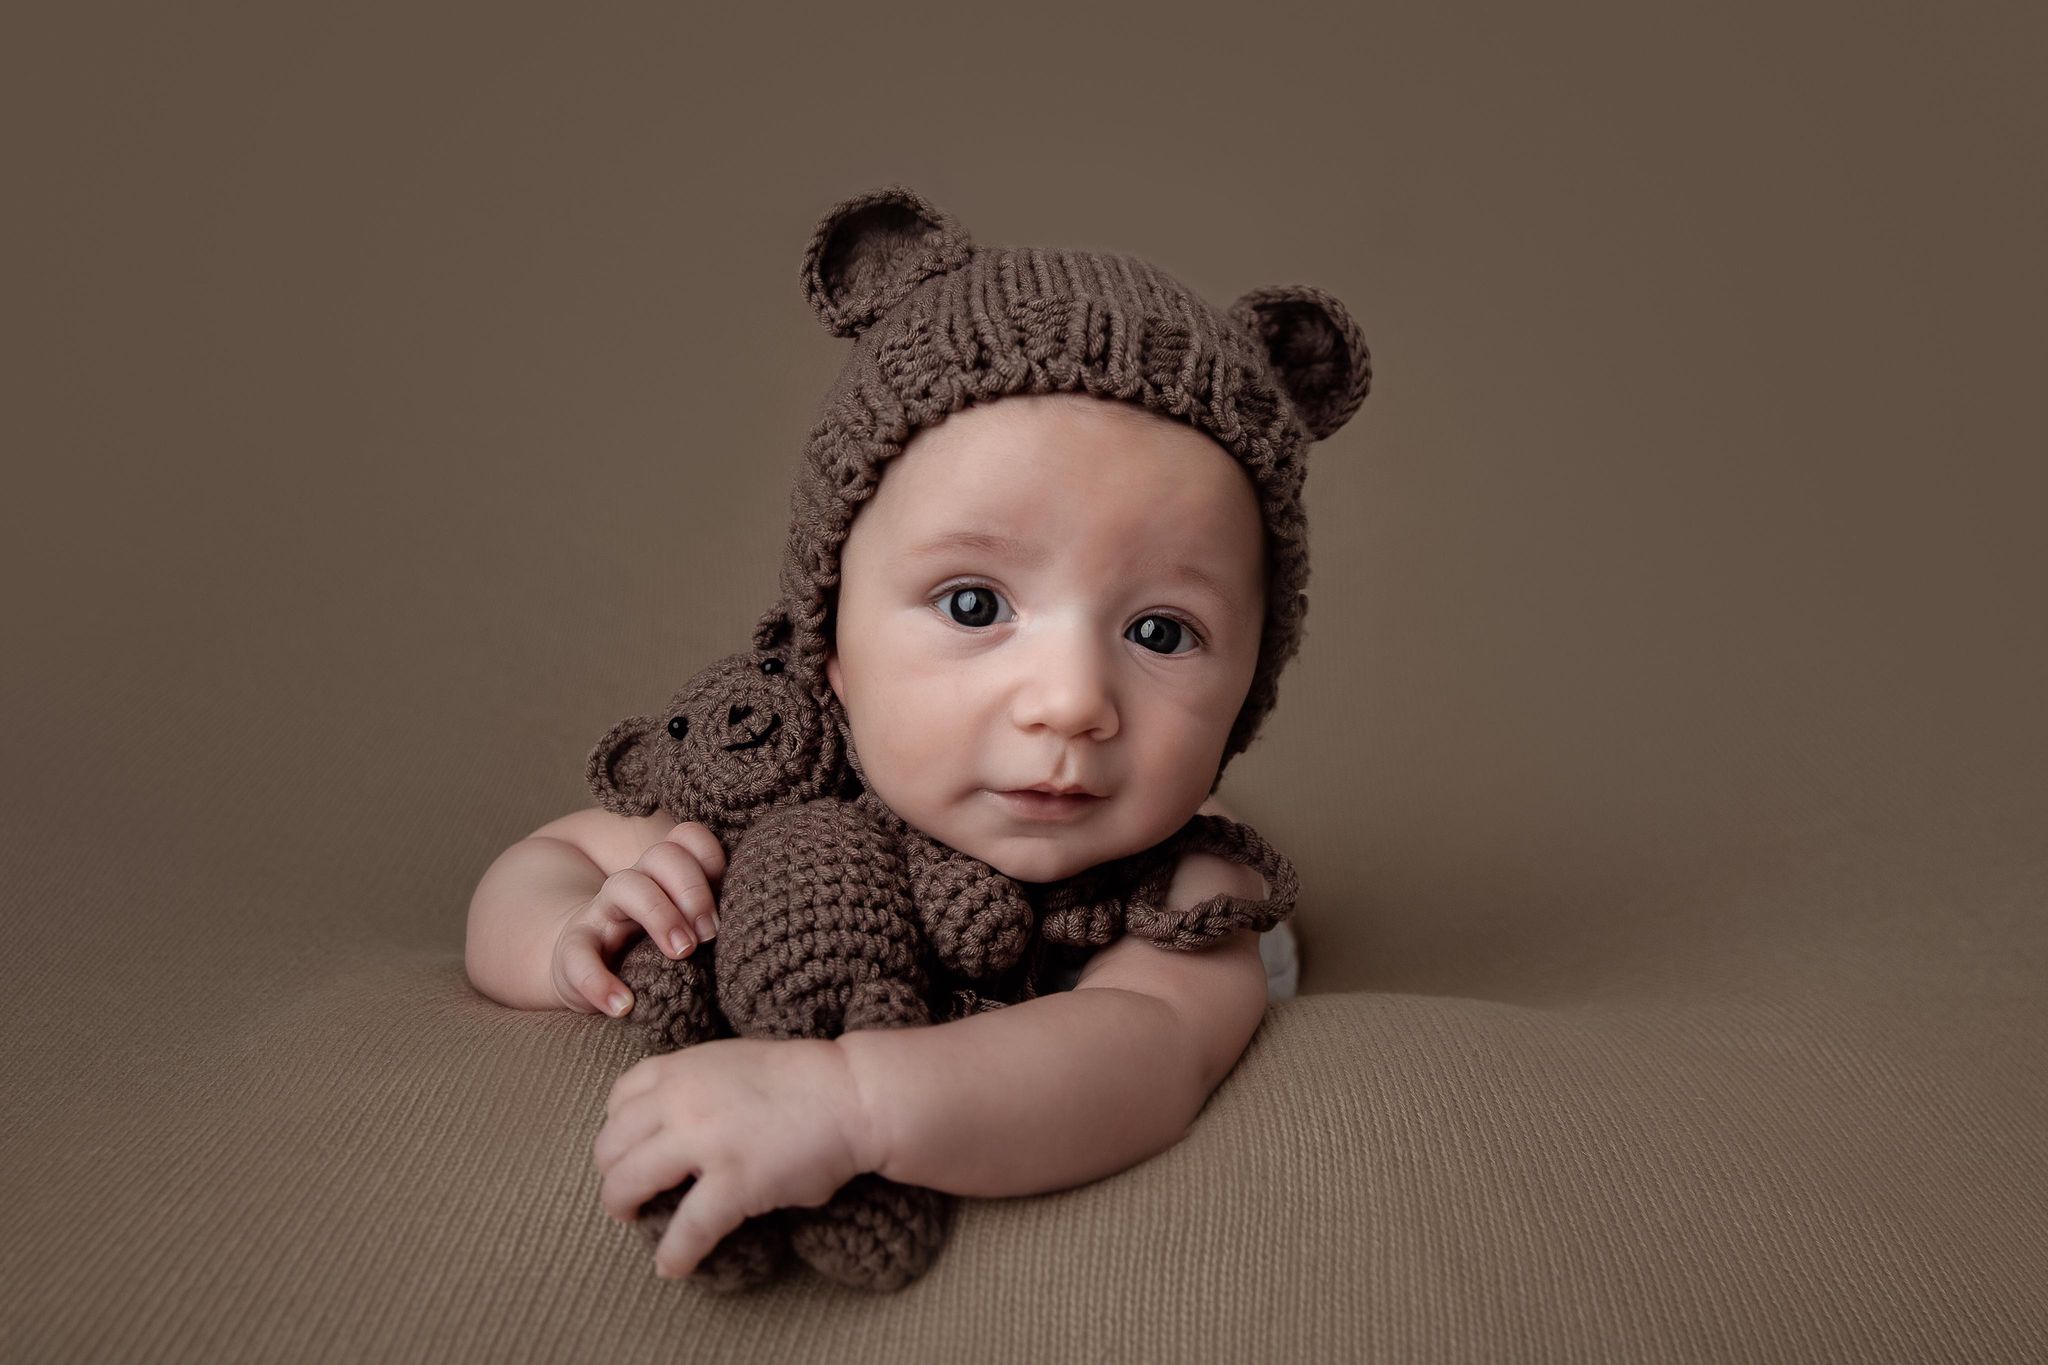
Toni McDonald, Advanced Graduate
Baby On Back
Then put bub on her back, onto a simple textured and harmoniously coloured wrap, or throw and shoot directly down.
In this pose, ensure the light is coming at her from just above and to the side of her head rather than from her feet up.
Lighting her head down will illuminate her hair, eyes, the tip of her nose, cheekbones and lips. Alternatively, if you light her from her feet up, you’ll illuminate the inside of her nostrils, under her eyes instead of inside her eyes, her chin but not her lips, and her hair would be in shadow.
Use a focal length of at least 35mm — on a crop sensor camera — or 50mm on a full-frame to best render the curves of her features. The distortion of a wider focal length will flatten her somewhat and won’t result in the same look as the image below.
Related: Lens Distortion & Portraits; How To Take Your Own Baby Photos
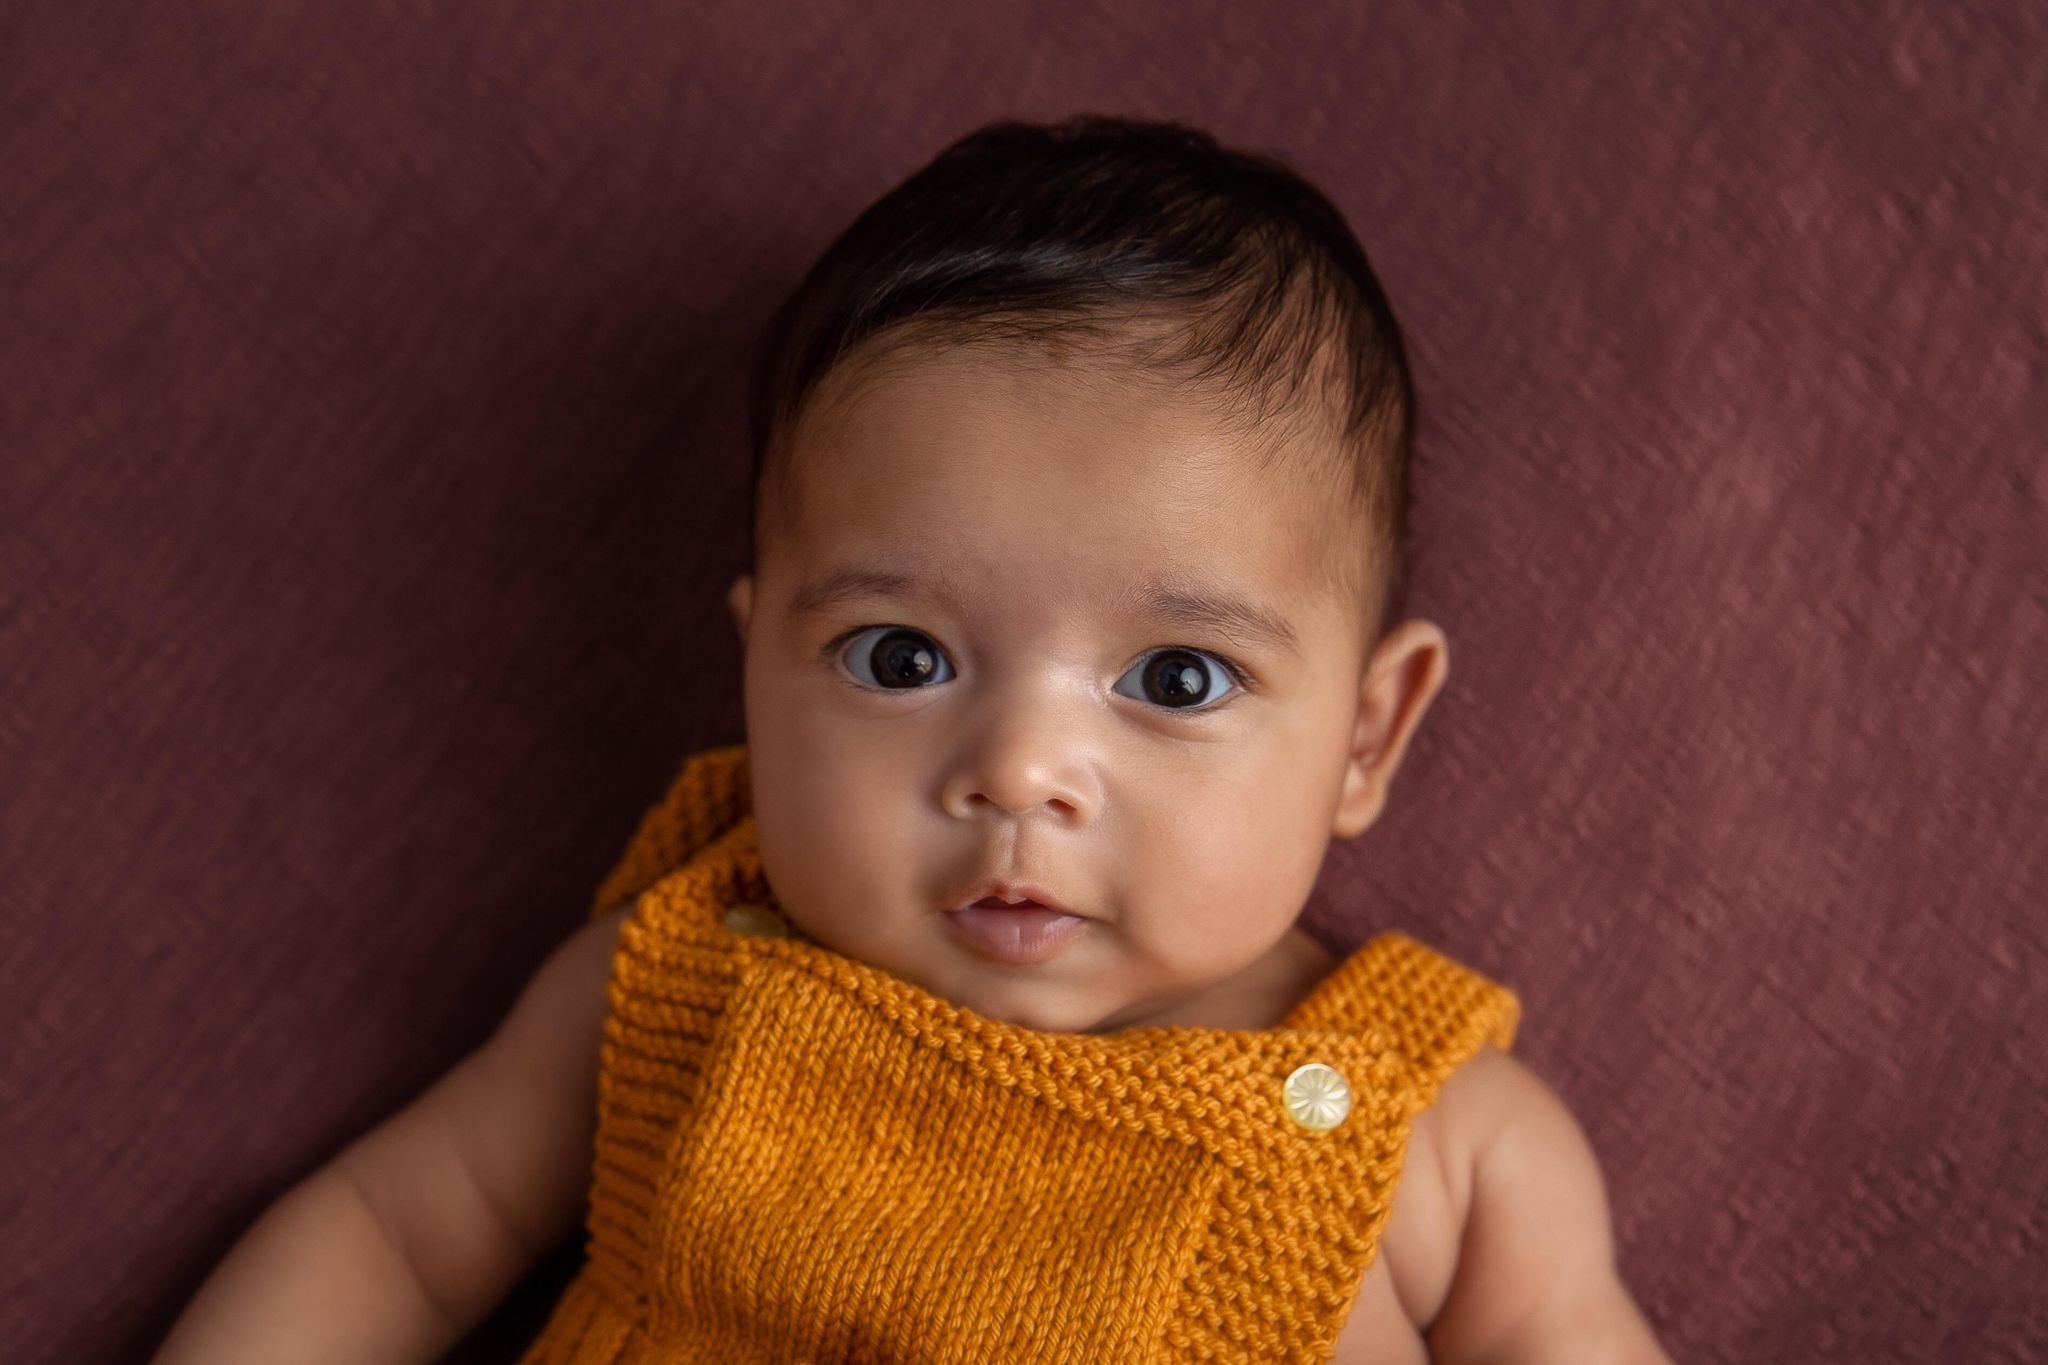
Toni McDonald, Advanced Graduate
Join my new workshop and learn How to Shoot Pro-Quality Photos With Your DSLR… and it’s totally FREE to join! Register here…

Leave a Reply
PRIVACY POLICY & SITE TERMS AND CONDITONS
CLICK LOVE GROW ™ Pty Ltd - COPYRIGHT 2024 ©
x
Join Now
Enter your info below to join the challenge!
Want a friendly reminder when I go live?
Pop in your number and I’ll shoot you a text.
* We will send text reminders for our live calls during the challenge! Reply ‘STOP’ to end or ‘HELP’ for help.
We promise not to ever share your details with anyone or send you spam! Check our privacy policy and terms of service.
Be the first to comment