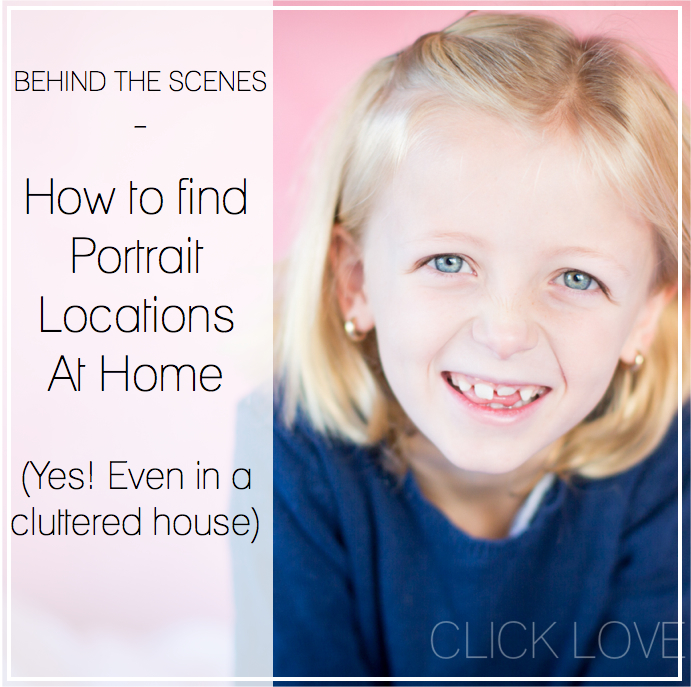
Recently I was staying at my parents’ for a long visit, and I didn’t have all my usual go-to locations for taking simple and sweet portraits of my kids!
Which is a common dilemma… what do you do when you don’t know where to shoot, you have no plain walls, and you’re stuck for ideas!
So I scouted around the house and realised it’d be a perfect chance to show you the behind the scenes of how I look for great locations, and how you to can find unexpected pockets around your own home for taking great pictures!
So when you’re looking for places to shoot, theres 2 factors to keep in mine:
1. Light
The first consideration is always light.
Look for places that have lots of available, soft natural light, which as we know is flattering for taking beautiful portraits.
You want to look for can include big windows, open doorways, garages and patios, and then outside in shade, under cover or on an over-cast day.
And then…
2. Clutter-Free Location
I like to take close-up portraits which show off my kids smiles, and look great!
For a simple, effective portrait set-up, look for a lovely plain wall, garden foliage or with a wide aperture that blurs the background.
But I KNOW that the plain, easy to use wall doesn’t always exist…!
So it could mean that you need to start moving some furniture around or out of the way, taking pictures off walls… or finding an angle that avoids any background distractions.
Or thinking outside the box on exactly what constitutes ‘plain wall’.
So where did I shoot?
This was exactly the scenario I ran into!
My parents don’t have a lot of “free” wall space… there’s lots of furniture and pictures and also not a lot of areas with windows opening onto open spaces either… so I did have to get a little creative!
I chose two indoor locations, because, well… it’s winter, and cold!
See in the images below where I chose, why I picked those spots, where the light is coming from and then how I got in nice and close to capture a simple, effective, personality filled portrait of my kids!
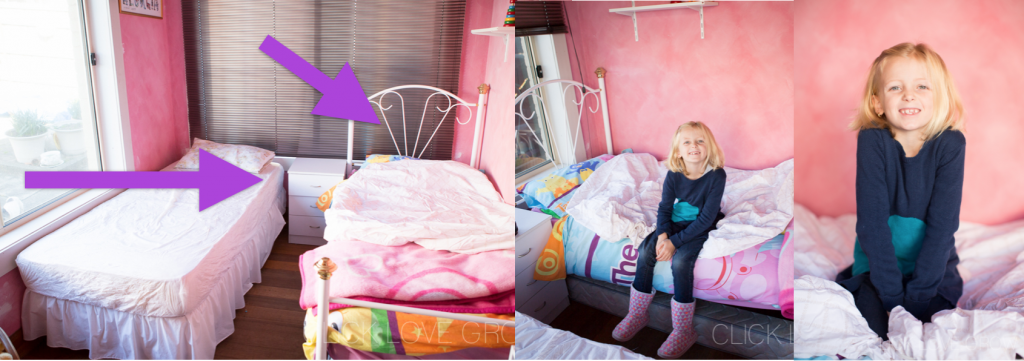
Location #1 -> Kids Bedroom
Why?
– Two large windows – plenty of light
– Pretty pink wall for a splash of colour
– Just enough room to move around
– Lens: 50mm f/1.2
I chose this spot because of the light.. there’s plenty of it, and it fell nicely on her from the two angles.
Also I wanted to use the lovely pink wall! I did pop a white sheet down for her to sit on, I did this because the bedspread was also super bright and I didn’t want any of the colour bouncing up onto her face…
I used the 50mm lens and my settings were:
– f/2.0 – a nice wide aperture to let in lots of light and to give a nice background blur
– 1/320s – a high shutter speed to ensure no blur and to balance out the exposure
– ISO 200 – I kept it low because I had plenty of light

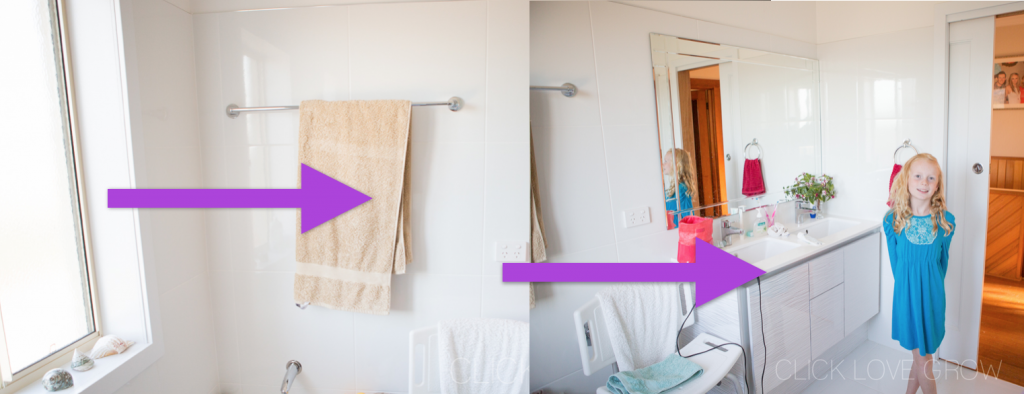
Location #2 -> Family Bathroom
Why?
– One large window with soft light
– Lovely white tiles to bounce light
– Plain door/wall to shoot in front of
Lens: 50mm f/1.2
I chose this location because I was running out of ideas 😀
But when I realised I could close the white door I had the perfect simple background.
There is a nice big window did not have direct light coming through it, instead it was nice and soft.
The white tiles meant that there was lots of opportunity for light to bounce nicely around the room.
I also had just enough room to stand her about 1 ft in front of the door, and I stood in the bath to give myself enough room.
Related: Why bathrooms can be a great place to shoot
I used the 50mm lens again and my settings were:
– f/2.0 – a nice wide aperture to let in lots of light and to give a nice background blur
– 1/160s – I decreased it a little to let more light in, but it’s high enough to take photos of a child
– ISO 640 – I did have to increase my ISO a little higher due to there being less light in this room.
I converted to B&W to show off those super sweet freckles!
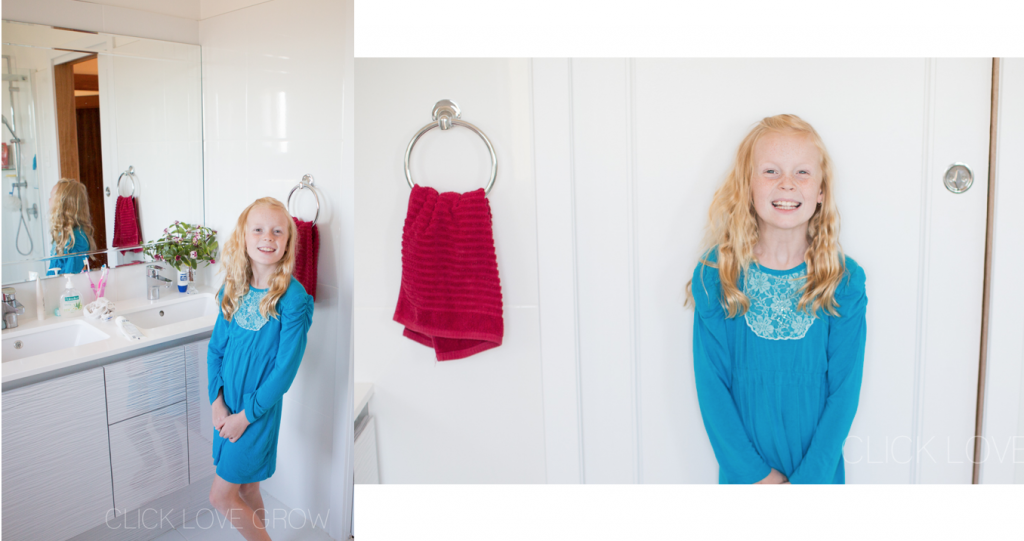
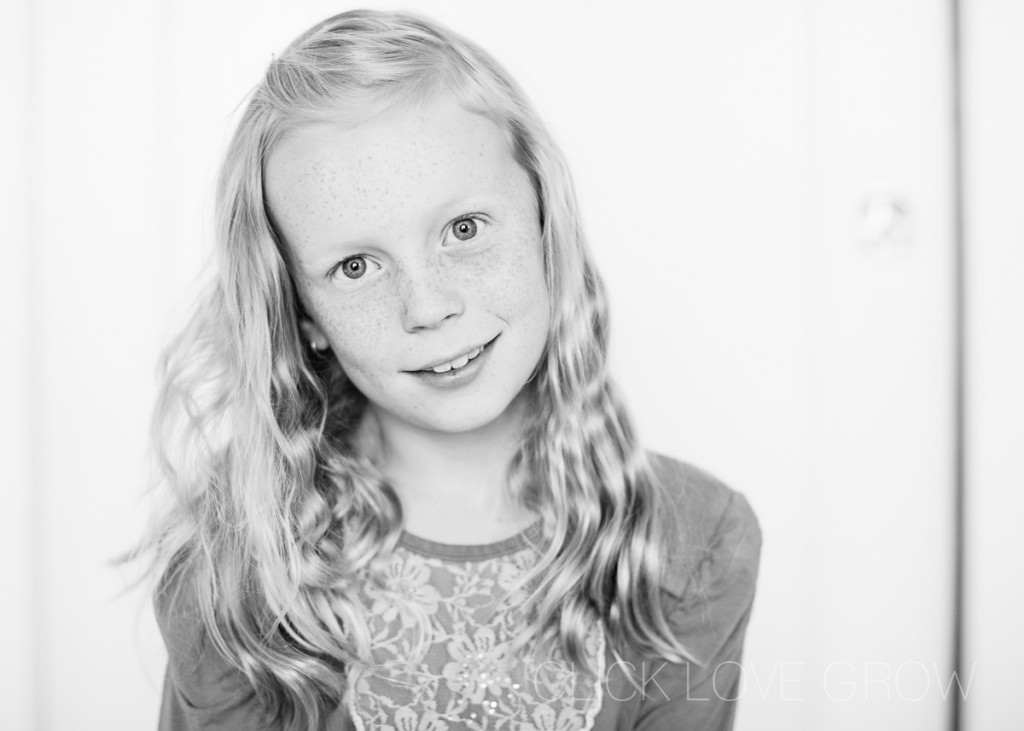
And more in front of the ‘door’
Getting in close let’s me avoid the door handle… or it can be edited out 😉
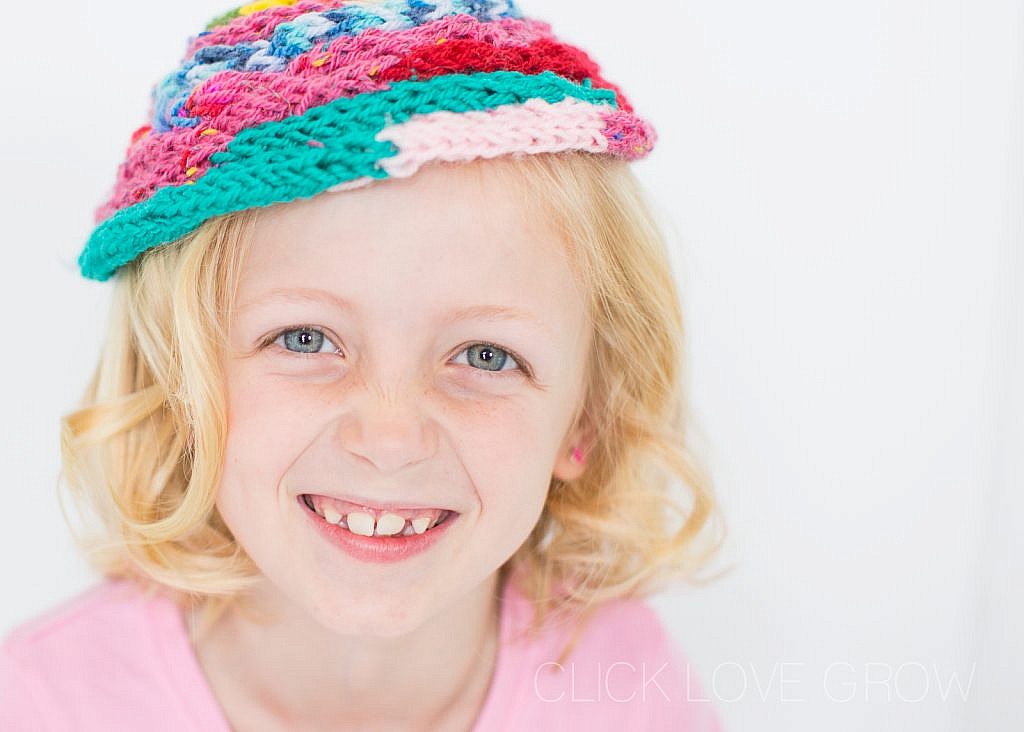
Finding a go-to spot!
The great thing about taking the time to find these little pockets, is that you can regularly go back to them and use them for fun portraits!
So prepare to scout your house & garden for potential pockets that offer both abundant light and a nice simple-background!
See more examples of such set-ups here:
Related: 8 things you can do today, to improve your photography
Ready for More?
Join my new workshop and learn How to Shoot Pro-Quality Photos With Your DSLR… and it’s totally FREE to join! Register here…




This was such a helpful past, thank you Lou! I was wondering what was going to happen to my photography once winter set in. Now I know what I can do. Logged the shots to illustrate the location.