This is the EASIEST way to take your photos from snapshot to professional looking photo too-day!
Honestly, I used to not know this. I didnʼt see this… but when I did… BAM! I saw it all the time and voila… better photos. So what is it?
Snapshot
You know when youʼre aiming for that perfect professional looking photo of your child, your cupcake or your home made pie pulled straight from the oven… but it just doesnʼt look right?
It looks like a snapshot and not what you were aiming for at all… but you don’t know why. Your exposure is good, the light looks nice, great colour, it’s sharp… but still, you can’t put your finger on why it looks blah.
Clear the Clutter!
One of the key aspects of beautiful, professional looking portraits is the subject is well isolated from the background and environment… the subject shines! And I’ll tell you… 95% of the time, your photo looks like a snapshot due to clutter.
Thereʼs a barbie lying listlessly on the table, a shoe thrown haphazardly in the corner… picture frames on the wall behind. Its all clutter, and it’s all forcing your subject to compete for attention, and you need to clear it!
You might have to get in and pick a few things up, move them around or out of the way… or you may have to move yourself to get the shot youʼre after.
Learn to See
Learn to see it by making a habit of looking for clutter every time you look through your view finder. In doing this, you’re taking more care in your compositions and as a result you’ll see a big improvement in your photos straight away.
Clean backgrounds free of clutter leave us in no doubt what your subject is. There should be nothing left in the frame that is not relevant to the subject or doesnʼt add to the story!
Related: Snapshot to Stunning
Before & After
It sounds like such a small thing doesn’t it, but you’ll be amazed at the massive difference it will make to your photos, and I’m using my favourite vase to show you (pretty isn’t it? #purple).
To start with if I just shoot the vase, its lovely there sitting with my outdoor furniture, but composed this way, itʼs not the obvious subject.
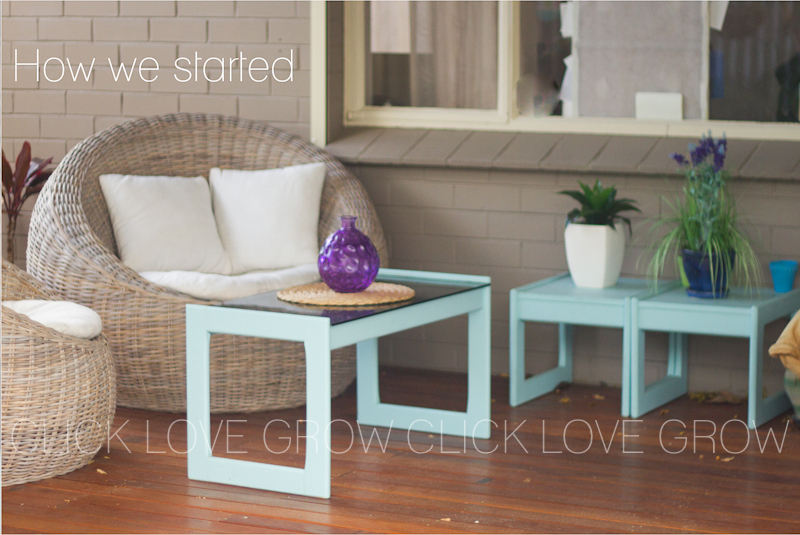
Now I decide to get in a little closer, to start with I shoot down on the case – I can tell itʼs the focus of the image, it’s the only thing in sharp focus. But thereʼs still clutter and my eye is wandering all around the frame. I want to isolate my vase even more.
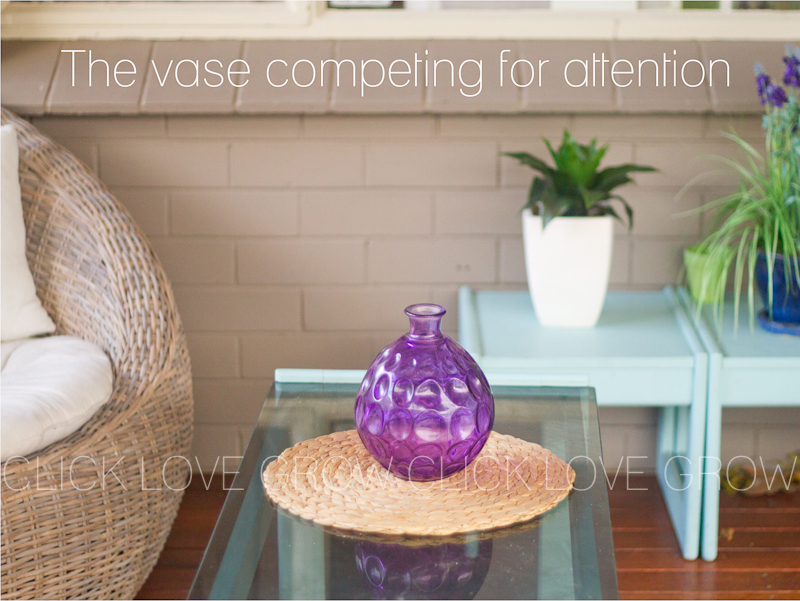
I move myself around the vase to shoot at different angles and a lower perspective… but I canʼt seem to find an angle without clutter.
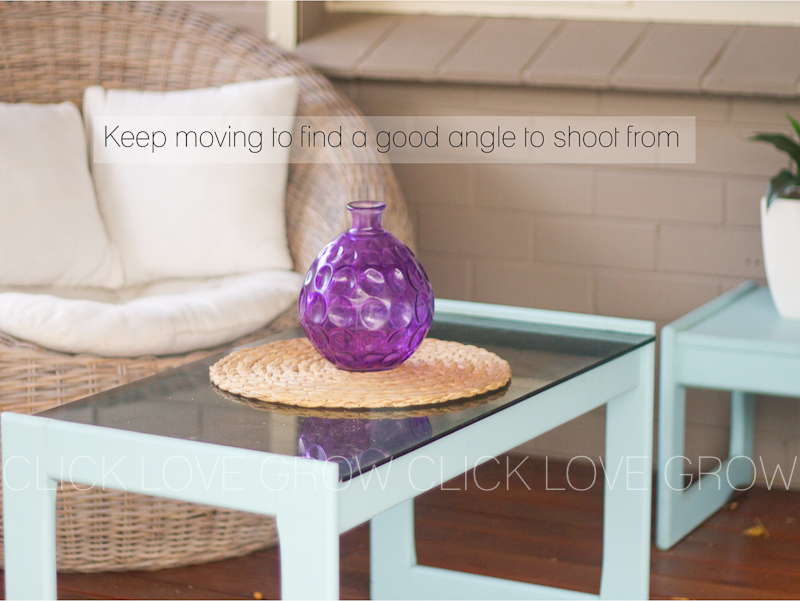
I get in even closer. It’s better – I’m now at eye level and the background is beautifully blurred so it’s the obvious subject. But there are a lot of lines and shapes in the background that I feel are creating distractions and it’s simply not the look I’m after.
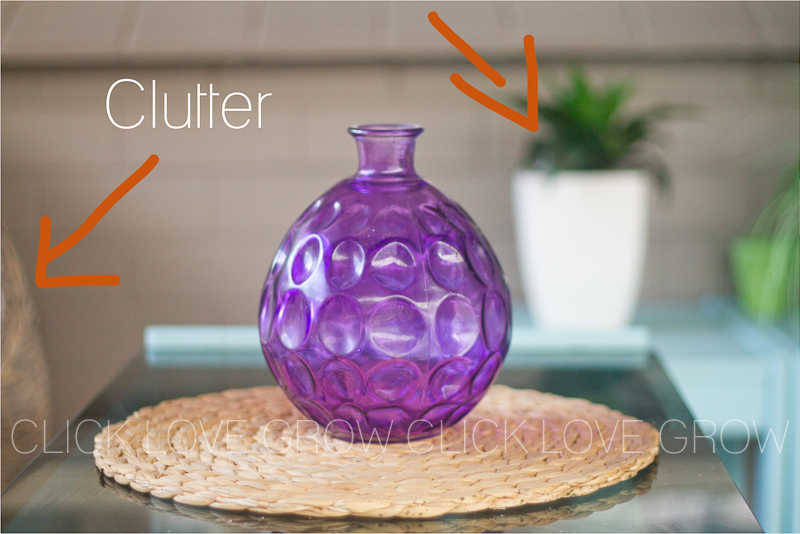
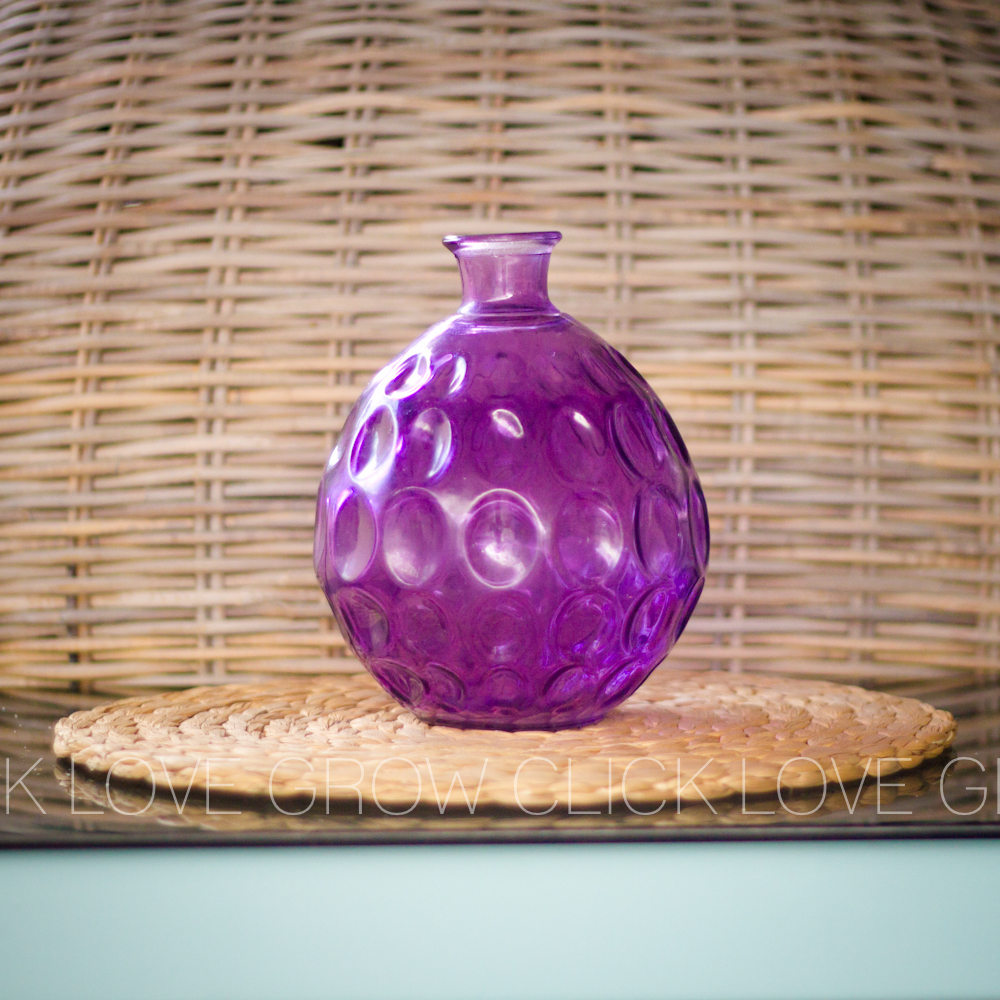
So I jump in and move a few things around.. I decide the back of the chair will look nice as a background, so I quickly spin it and place it behind the vase, effectively creating a seamless backdrop.
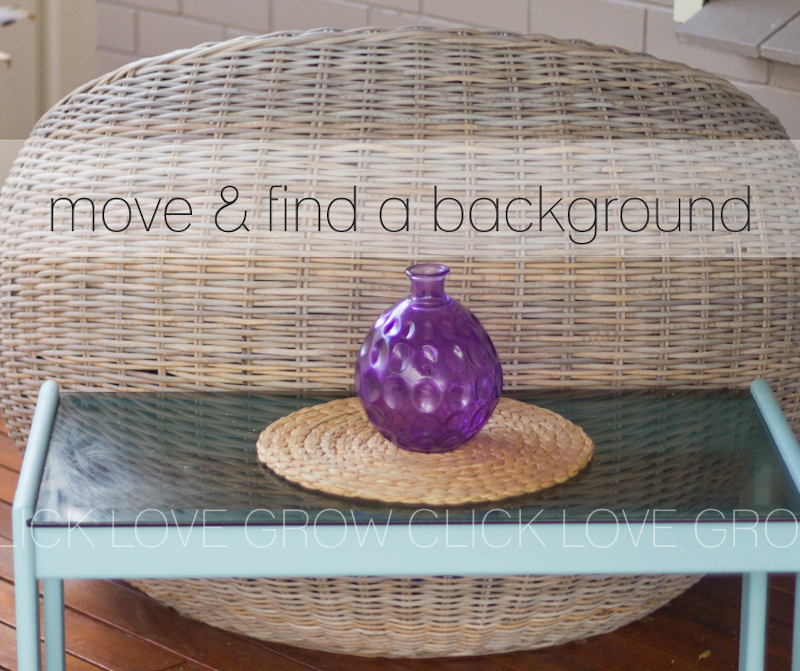
…and hereʼs my final photo!
We can tell the vase is centre of attention (albeit in need of a dust, ahem).
Snapshot to professional photo, without the use of a studio, lights, fancy backdrops.
Winning!
Related: 3 Tips to Pro Looking Photos
JOIN the Free 5 Day Mini Course
5 Days, 5 Videos Lessons = Photos You'll LOVE!
Learn How to Use Your DIGITAL Camera!


Thanks for the series of shots, from how you started through your thought process. So many of us are visual learners, and the different shots are a big help. =)