How To Get In The Frame With Your Kids
If you’re anything like me, you probably have albums filled with images of your kids – lots of photos of your kids with their dad, and their grandparents, and their friends and… everyone except you!
But trust me when I say YOU are important too, mama, and it’s so important for you to get in the frame with your kids too.
Yes, yes, I know, you’re much more comfortable behind the camera, but trust me, when your kids look back in years to come, they won’t remember all the little niggles you have with the way you look or how awkward you feel about having your photo taken.
Nope! They’ll remember how much fun you had together. They’ll remember that you were there, too.
So how do you get in the frame with your kids! Well, lucky you asked! Read on, because we’ve got you covered!
That Sweet Embrace
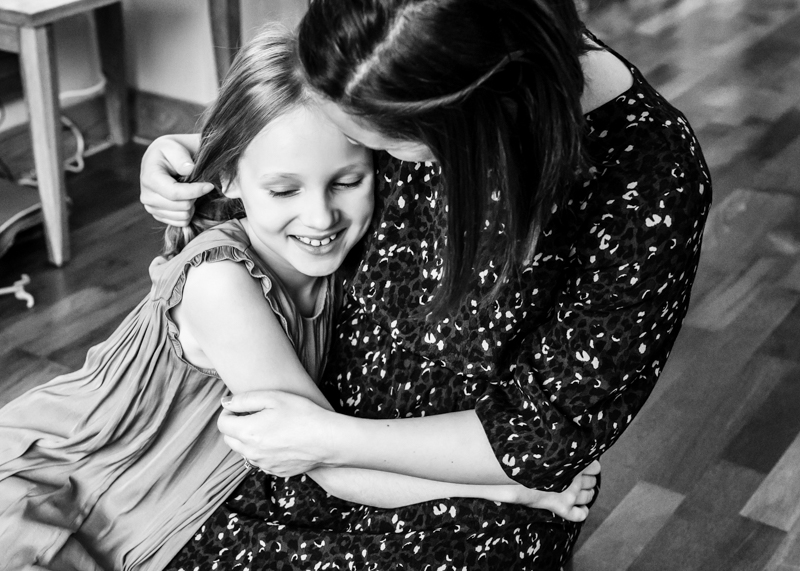
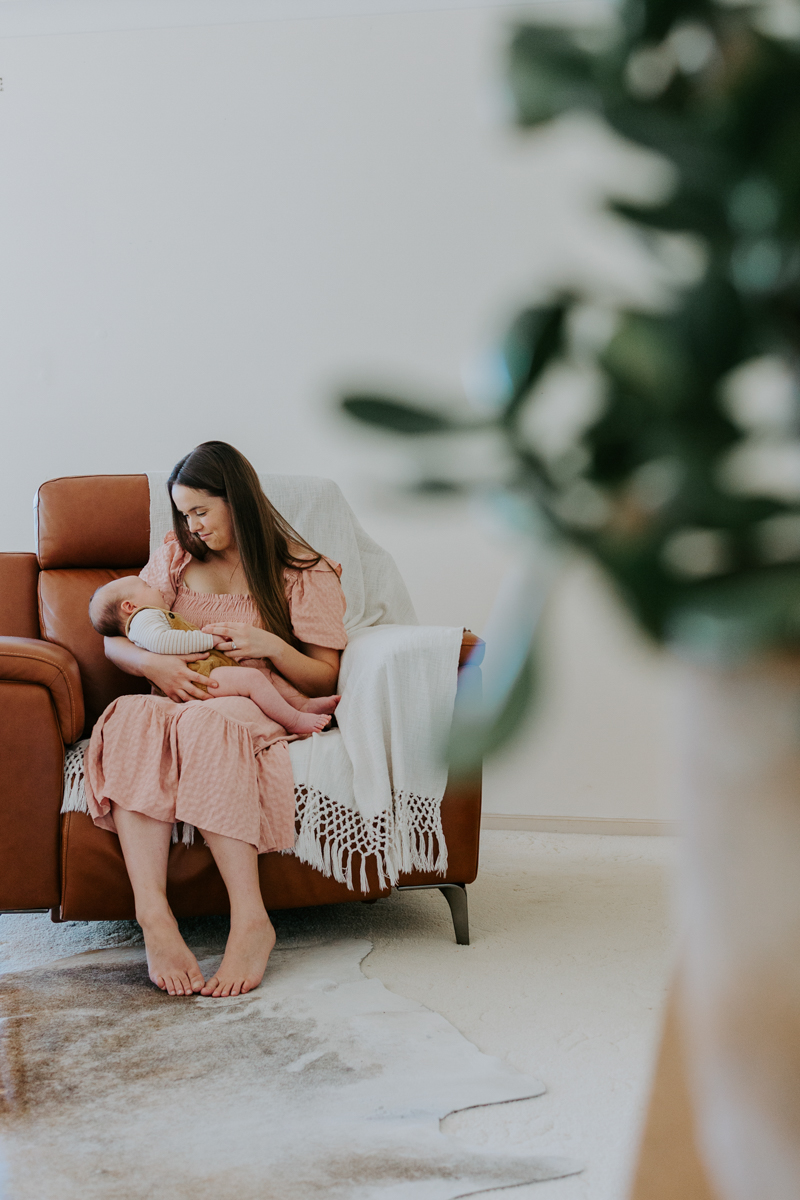
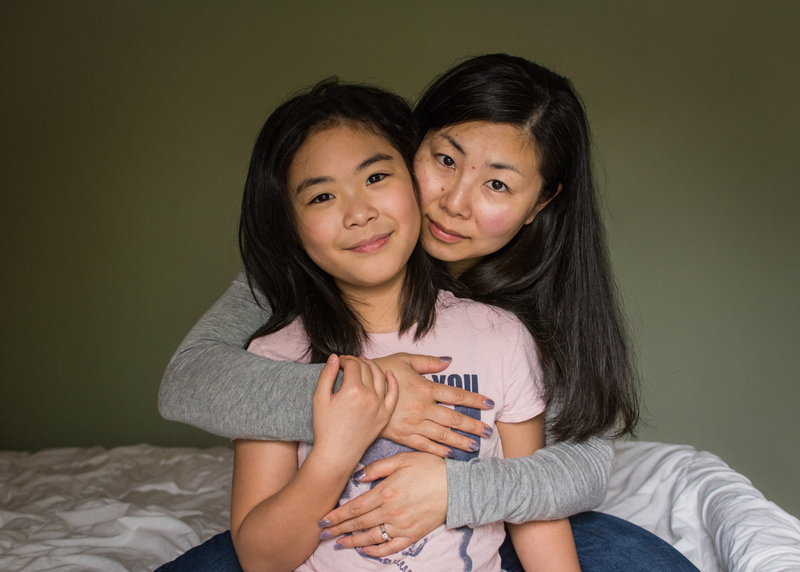
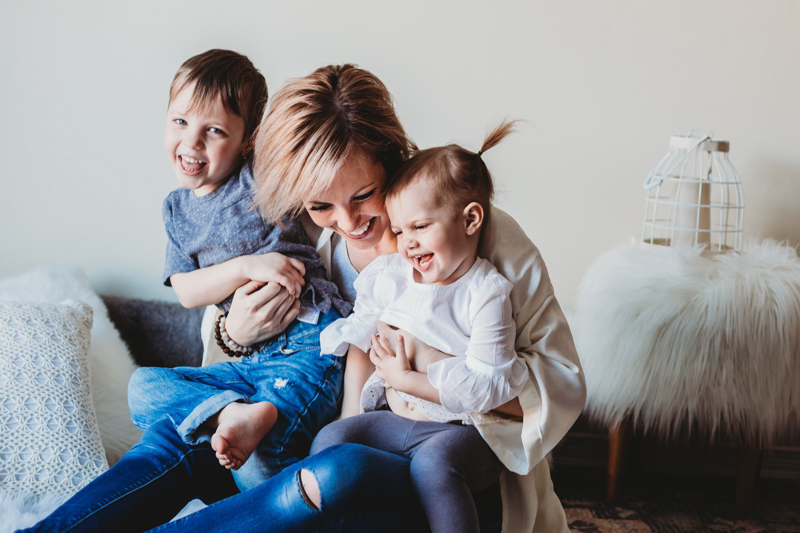
When you think about motherhood portraits, the first image that probably comes to mind is a mama with her babe (or babes) in arms, wrapped in the safety and security of her embrace.
So this is an obvious starting point when it comes to self portrait ideas that include your little – or not so little – ones!
Look for a spot where the light is soft and flattering, either outdoors in open shade or indoors near a window or doorway. Consider the colours you and your little ones are wearing – or perhaps your vision is to convert your self portrait to black and white.
Whether you use a tripod or have someone else click the shutter for you (you’ll find some handy how-to tips for both a little further down), keep your composition and styling simple so the emphasis is on capturing that beautiful connection.
Related: Doorway Light For Beautiful Portraits

Jennifer Magnuson, Advanced Graduate
Claire Roads, Advanced Graduate
Sam Maker, Advanced Graduate
Suyong Pak, Advanced Graduate
Kailey Nagymarosi, Advanced Graduate
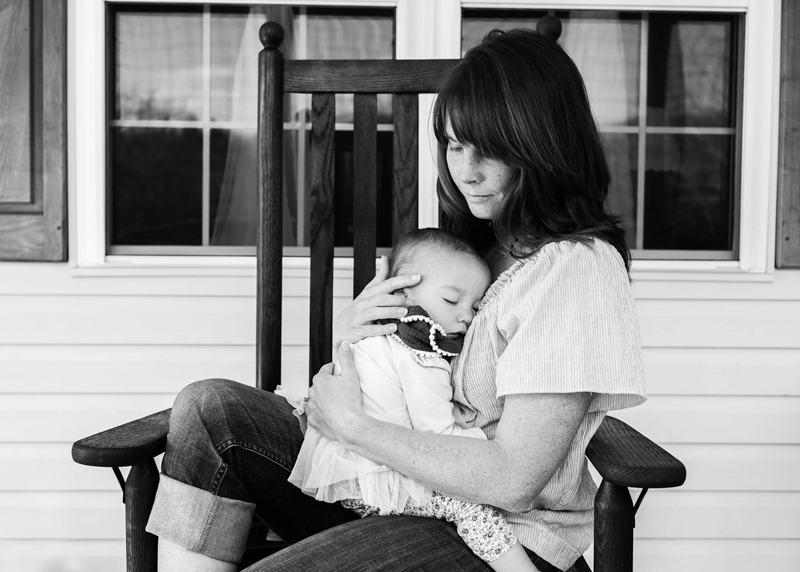
Amber Nicole Kesler, Advanced Graduate
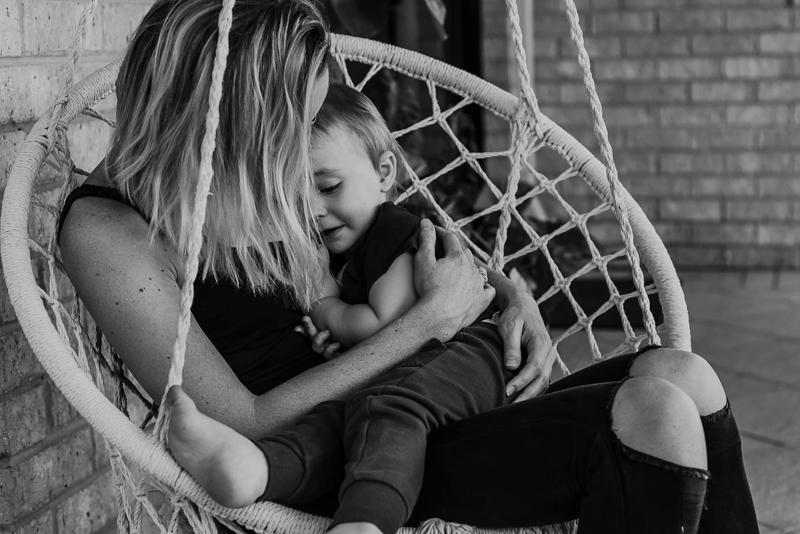
Bek Alexander, Advanced Graduate
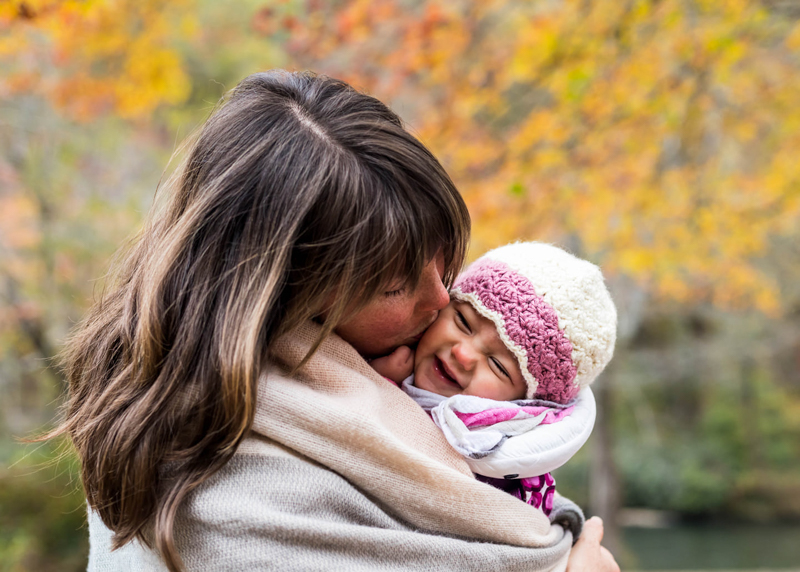
Amber Nicole Kesler, Advanced Graduate
Reflections Of Us
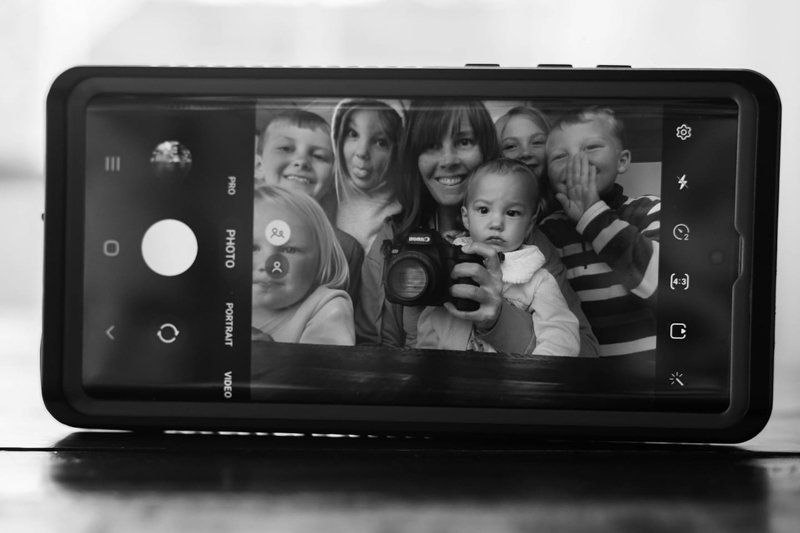
This is probably one of the easier ways to get in the frame with your kids because there’s no fiddling around with tripods and timers. All you need is your camera (or phone) and a mirror!
When capturing a reflection self portrait, choose a slightly narrower aperture than you would normally use as the reflected image will contain less detail than an image shot straight-on. Using a narrow aperture will help ensure your subjects are nice and sharp.
Be aware when using this method that any logos or lettering will appear reversed due to the mirror, so avoid wearing clothing with slogans or logos.
Related: 17 Ways To Use Reflections In Your Self Portraits
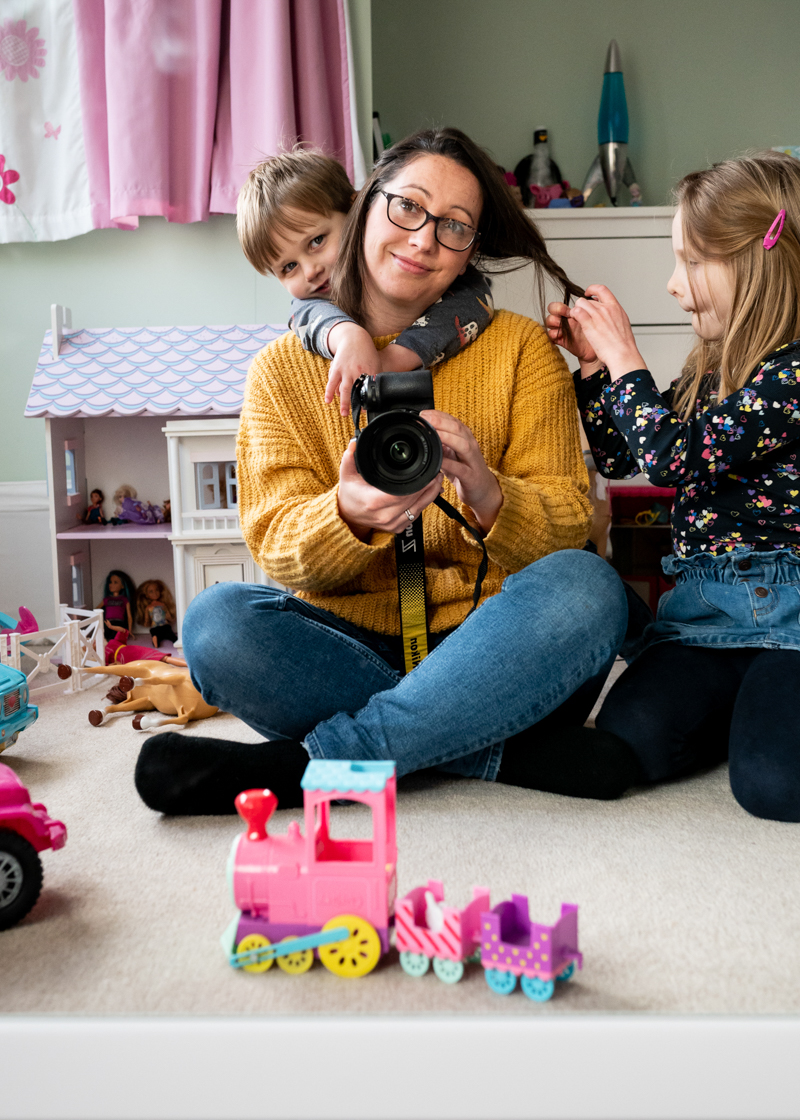
Claire Roads, Advanced Graduate
Amber Nicole Kesler, Advanced Graduate
Hold My Hand, Mama
We spend so much time holding our children’s hands – in carparks, when out for walks, to comfort them when they’re sad or afraid. So this is a fab perspective to capture in a self portrait!
This can be a tricky one to execute as it means juggling the camera in one hand while simultaneously trying to compose, focus and click the shutter, but it’s definitely worth the effort!
Ideally, you’re aiming to focus on your intertwined hands, as Pam has in the shot below. By choosing a wide aperture, her daughter is blurred in the foreground, and she also has that lovely bokeh where the light is hitting the water. Their hands are lovely and sharp which captures the connection between them.
Related: Where Are You In Your Family Photos?

Pam Gosenheimer-Thorne, Advanced Graduate
But even when focus doesn’t fall on the hands, this can still be a powerful self portrait composition. In the below shot, focus is on the little one’s feet and the impressions they are making in the sand, adding a storytelling element.

Emma Davis, CLG Instructor
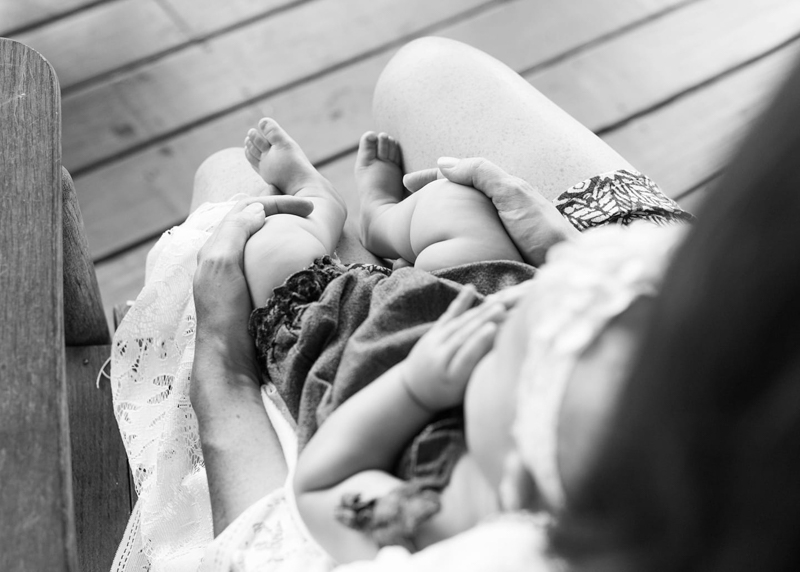
Little one not yet walking? Here’s a similar perspective you can try with a smaller babe. It’s kind of like a bird’s eye view, except in this case, more of a mama’s eye view! The best way to execute this type of shot is to set up your camera for the lighting conditions, set your focus where you want it, and then pass it to someone to press the shutter for you.
Or use a tripod – set it up behind you, angle the camera down and zoom in. Pop a cushion on the seat that will be the same height as where your baby will be, frame the shot, grab focus, then lock it by flicking your lens over to M focus mode to prevent it refocusing. This method would be easiest with a remote shutter so you have time to get in the frame.
Related: 37 Beautiful Mother & Child Photos
Amber Nicole Kesler, Advanced Graduate
Get In Close
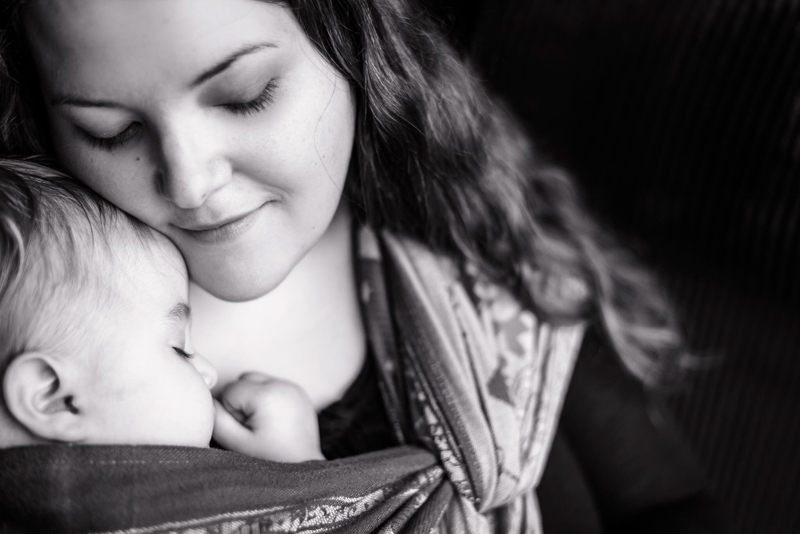
There’s nothing quite as precious as the connection between a mother and her children. Get in nice and close to capture that beautiful connection, along with all those sweet baby details.
When filling the frame, it’s okay to crop in tight, but to ensure your frame feels balanced, if you crop in tight at the top, make sure to leave enough space under your chin to balance it out, as Lisa has done in the below shot.
Related: How To Look Great In Your Self Portraits
Lisa Burch, Graduate
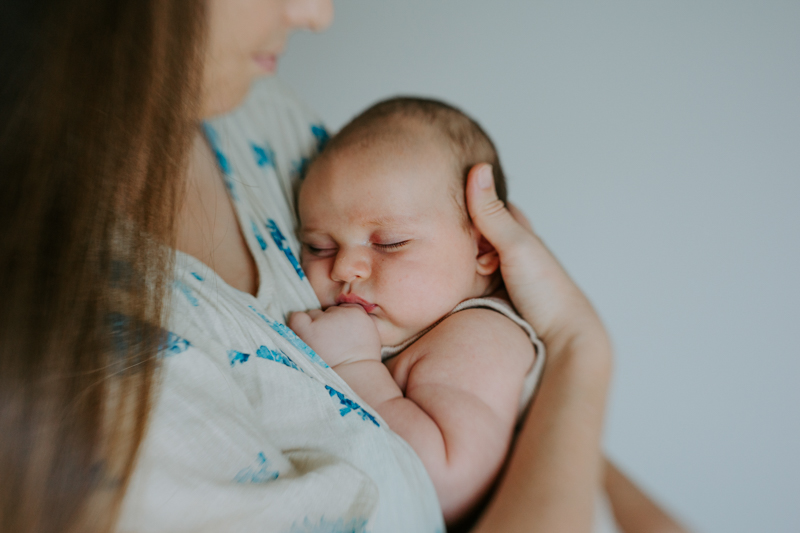
And when cropping in tight on one side, be sure to leave a little negative space on the opposing side to balance your frame, just like Sam has done in this next shot. The shallow depth of field here draws our eye straight to bub’s little face and accentuates the feeling of connection.
Sam Maker, Advanced Graduate
Use A Tripod
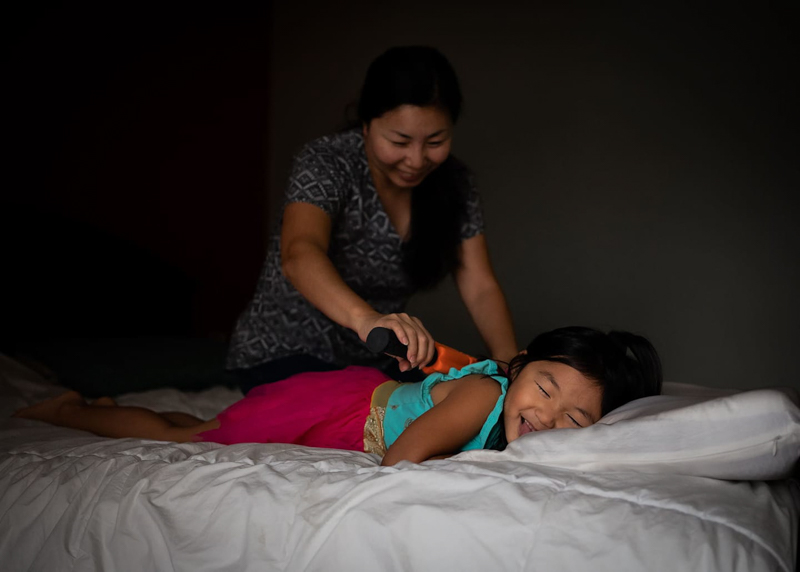
Sure, tripods can be a bit fiddly, and it takes time to set everything up, but with a little patience, you can take pro-worthy self portraits and even family portraits!
Once you’ve chosen your location, set up your camera and tripod, ensuring that your horizon lines are straight and that everyone fits in the frame. Have one of your subjects stand in place so you can set your focal point.
Use a remote to fire the shutter, ensuring that it can’t be seen in your hand in the shot. Many newer cameras even have wifi/bluetooth capability which allows you to use your mobile phone to fire the shutter.
If you don’t have access to a remote, you can use the 10 second timer function in your camera menu to give you time to get into the frame once you’ve pressed the shutter button.
Related: Take Your Own Fabulous Business Headshots

Suyong Pak, Advanced Graduate

Bek Alexander, Advanced Graduate
Suyong Pak, Advanced Graduate

Arielle Christine Payne-Summerfield, Graduate
No Tripod?
Don’t have a tripod? No worries! Improvise!
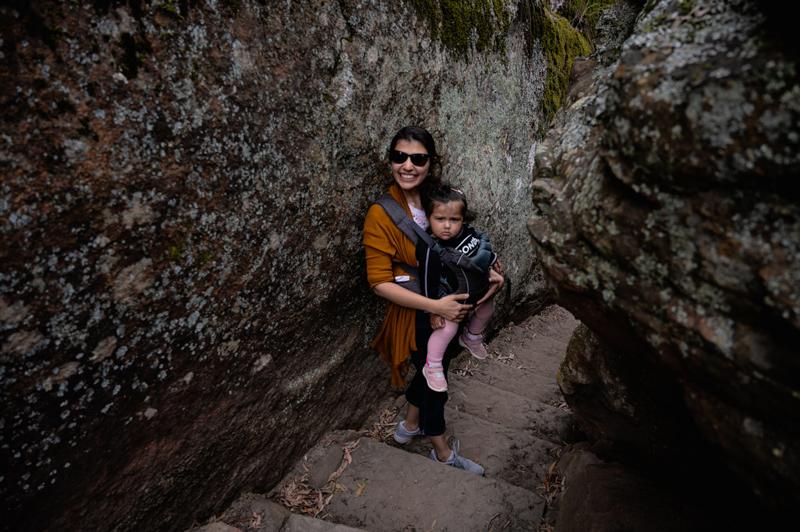
If you have s0meone else handy, grab them and have them act as a ‘human tripod’, like Subah has done in the shot below.
For best results, set up your camera for the light conditions and have that person stand in your place while you set your exposure.
Frame the shot how you want them to frame you, take a shot for their reference. Then frame it again, grab focus, then flick the lens to M focus mode to lock it. Switch places and all they need to do is frame in the same way and click the shutter button!
Subah A. Sinha, Graduate
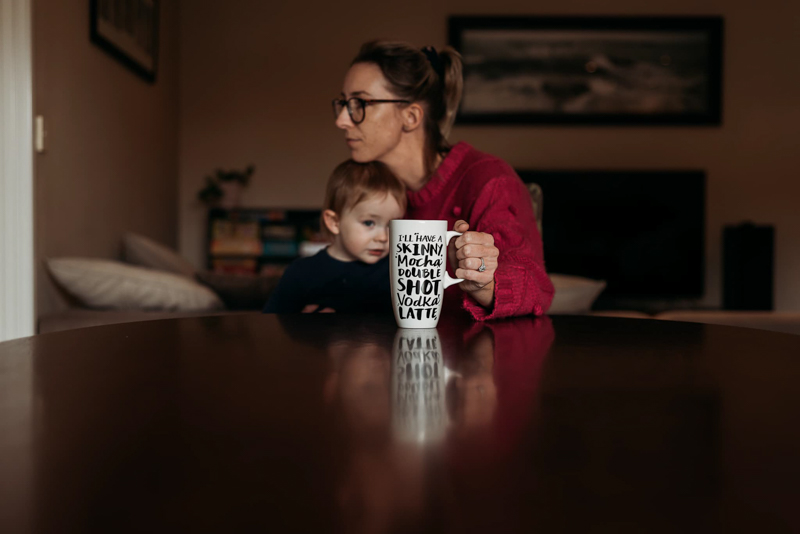
And if you don’t have anyone else around to help out, look for sturdy surfaces on which to rest your camera, such as a desk, bookshelf, or even the dining table as Bek has done in the below image! As with a traditional tripod, you’ll need to use a remote to trigger the shutter, or alternatively, use the 10 second delay function and quickly duck into place after pressing the butt0n.
Bek Alexander, Advanced Graduate
We hope this tutorial has given you some inspiration and practical tips to help you get in the frame with your children.

Leave a Reply Cancel reply
PRIVACY POLICY & SITE TERMS AND CONDITONS
CLICK LOVE GROW ™ Pty Ltd - COPYRIGHT 2024 ©
x
Join Now
Enter your info below to join the challenge!
Want a friendly reminder when I go live?
Pop in your number and I’ll shoot you a text.
* We will send text reminders for our live calls during the challenge! Reply ‘STOP’ to end or ‘HELP’ for help.
We promise not to ever share your details with anyone or send you spam! Check our privacy policy and terms of service.
Be the first to comment