How To Shoot Beautiful Bokeh Photography
What is bokeh photography? Bokeh is the aesthetic quality of the blur produced in the out-of-focus parts of an image, and is made out of little circles of colour and light. Making photos more pleasing to the eye, bokeh effects can be so pretty sometimes that not only do they make gorgeous backdrops for portraits, but can also be subjects in their own right!
And if you are wondering why is it called bokeh, the term bokeh comes from the Japanese word boke, which means “blur” or “haze”, or boke-aji, the “blur quality. For those passionate about photography, knowing how to take beautiful bokeh photos is one of the most fun aspects of learning this art.

How To Achieve Bokeh Background
In photography, bokeh is created when light reflects off, or through a textured surface. Sometimes artificial light sources can create a pleasing bokeh effect too… think Christmas lights blurred in the background, or the lights of a city skyline.
As points of light reflect differently off flat surfaces, you’re not likely to see the effect we’re talking about off a solid wall for example. Your background will need to have a little texture, for example light reflecting off foliage in a garden (just like in the image below where light is hitting the ferns).
The effect of bokeh in photography is also created when the light source is situated behind your background, and filtering through small gaps, such as through the spaces between a tree’s leaves as the sun sets behind it.
Does shutter speed affect bokeh?
Shutter speed (or ISO) has no direct influence on depth of field which is primarily affected by aperture, focal length and distance from the subject.
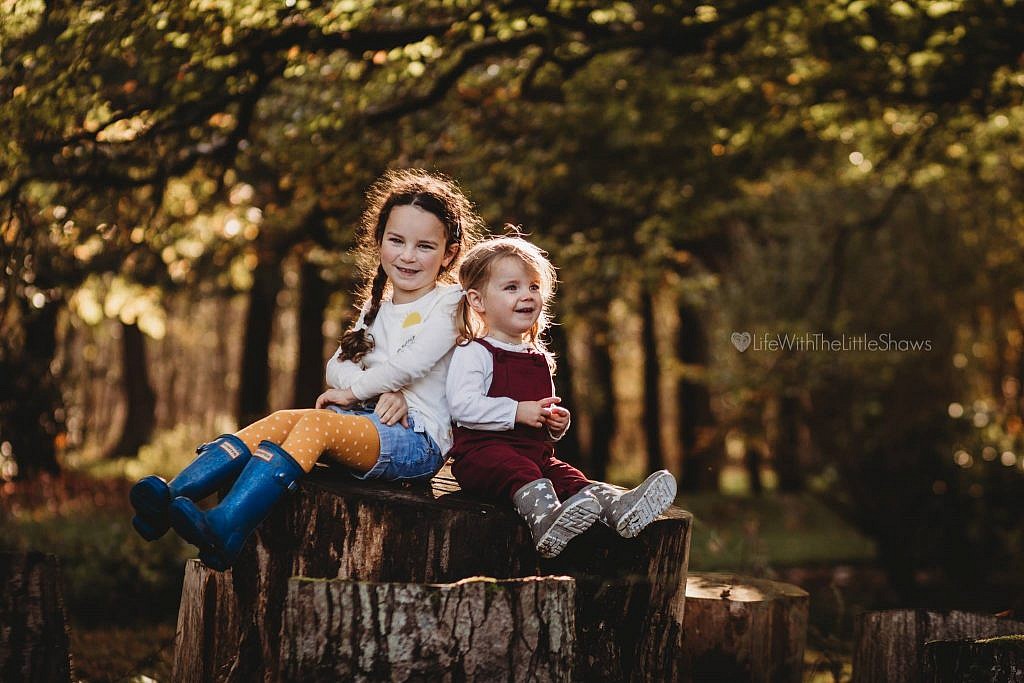
Morvern Shaw, Click Love Grow Graduate
So if you were wondering how to take bokeh photos, this is where and how you’ll find it. But since a little knowledge is needed to help make the most of it, keep reading, because as you’ll discover, blur bokeh is quite easy to do!
What You Need To Shoot Bokeh Photography
Gear
- A camera you can use in manual mode; and
- Your widest aperture lens (kit lens is fine!)
Settings
- Make sure to set your camera on the maximum aperture, as wide open as your lens allows, which is the smaller f stop numbers, eg. f/2.8
- For best results, you’ll want to use the longest focal length your lens allows
To control your aperture, you’ll need to be either in manual mode, or set your camera to aperture priority mode.
Related: Getting Out of Auto
How To Take Bokeh Photos with Your Kit Lens
Some lenses, particularly kit lenses, don’t allow you to shoot at their widest aperture once you’re zoomed all the way in. If this is you, don’t despair! The other thing that makes bad bokeh is:
- The distance between your subject and the background; and
- Your focal length
But what is a good bokeh? The more distance, the better the bokeh, so just set your lens to the widest aperture possible, and allow for a background that’s some distance away. I’m talking at least 4 or 5 metres, but even better, experiment with distances and watch as the bokeh changes.
Secondly, the longer your focal length, the more it compresses your background. This also means better bokeh.
Related: Blurry Backgrounds Even with a Kit Lens
Creating Backlit Bokeh
Any location with a natural background, where light has the ability to break through the spaces, can give some lovely bokeh to your photography, if it’s backlit. In this example of bokeh we have backlight coming through the trees, and light bouncing around and reflecting off the foliage. This creates a beautiful halo effect around these siblings!

The larger the gaps between the foliage where teh light peeks through, the large your circles of bokeh will be. Bear in mind if the gaps get too big, you’ll get big patches of blown out light instead of beautiful big bokeh like in these two images below.
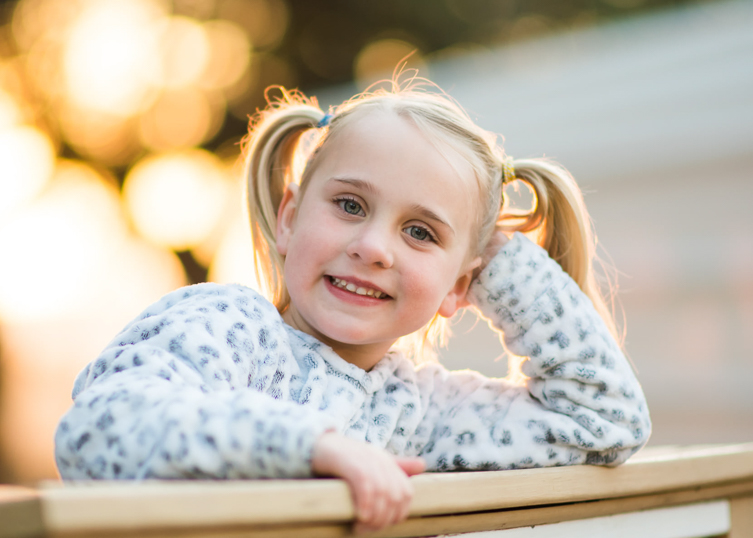
Daniela Bucy, Advanced Grad
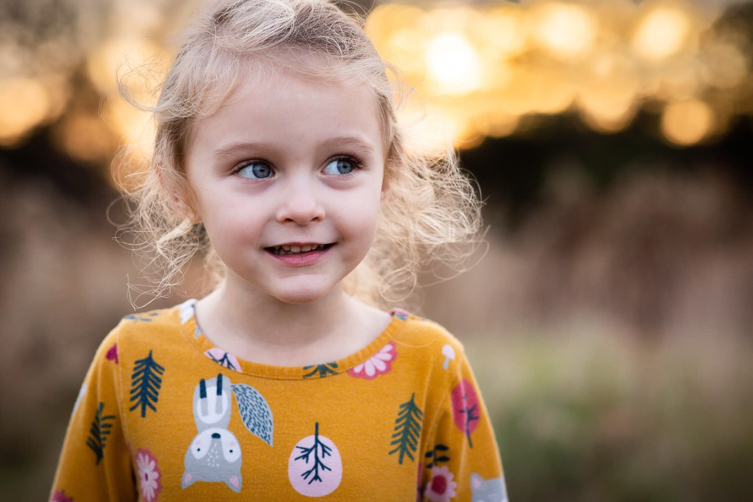
Carly Schlegel, Enthusiast Grad
Bouncing Light
Bokeh photography can also be created using front or side light, when it bounces off a textured surface. In this image below, the light was coming at them from front left. The foliage was a dense bush of spring flowers in full bloom, growing against a solid fence. So the background bokeh in this instance was formed when the light bounced off rather than through it from behind. Bear in mind this was shot during the golden hour – if it had been shot even just half an hour earlier, they would have been standing in a pocket of harsh, unforgiving light.
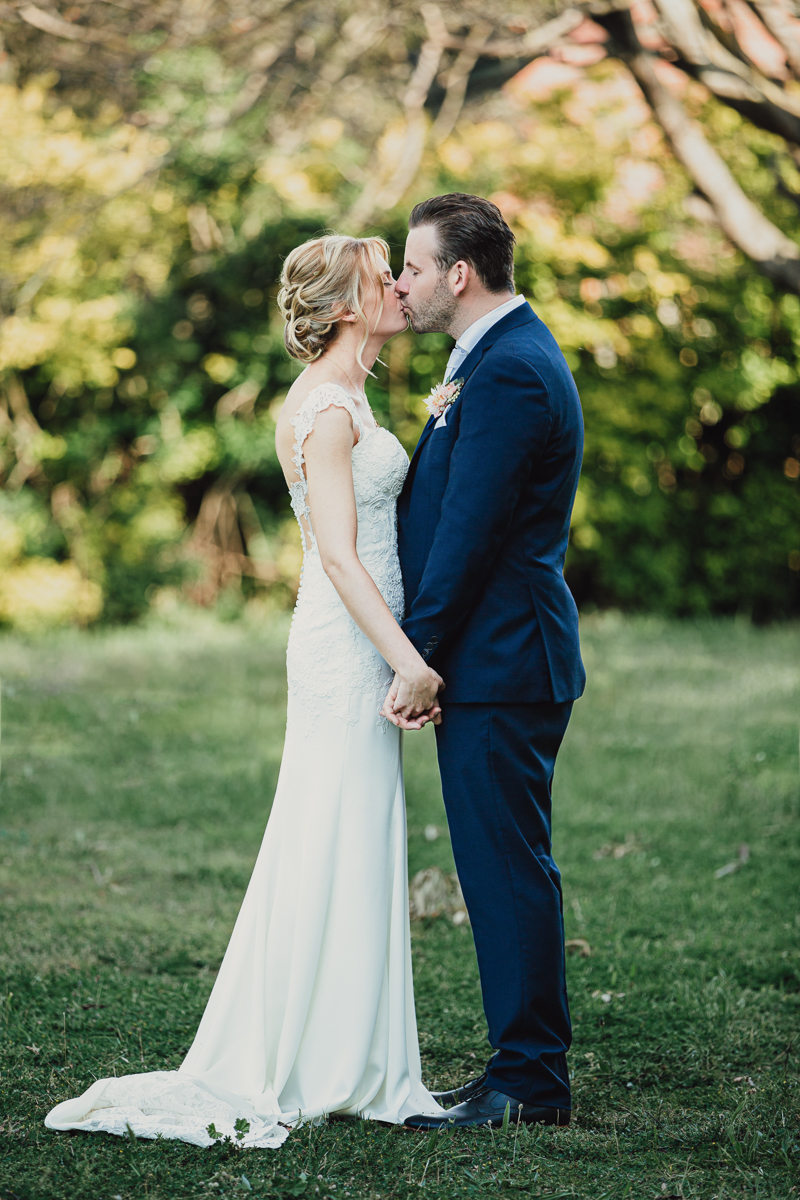
Pam Bradford, CLG Instructor
Raindrops or dew drops settling on grass or foliage creates a perfect surface for light to bounce and be captured as bokeh. This shot is dew drops on foliage and intentionally blurred.
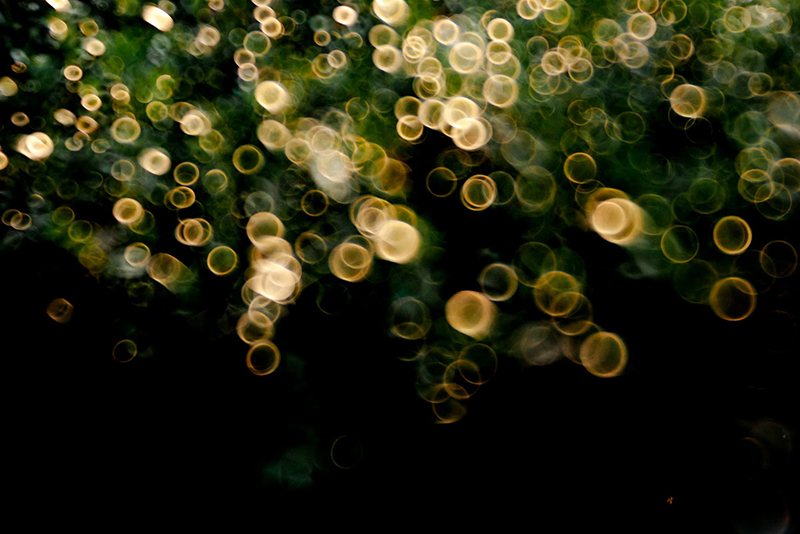
Emma Davis, CLG Instructor
This image was taken on a dewy morning, with light reflecting off the wet grass.
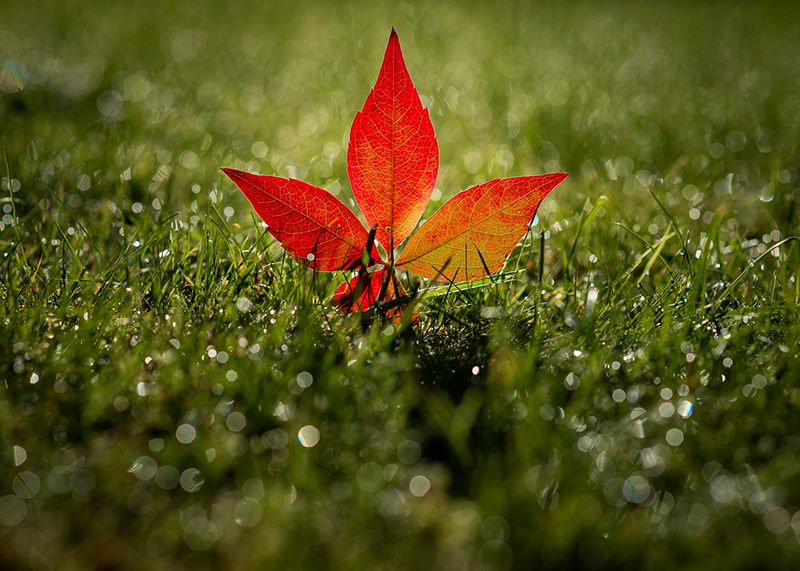
Emma Arthurton, Advanced Grad
And in this gorgrous photo the light is bouncing off the sparkles on fabric, and intentionally blurred to highlight the bokeh.
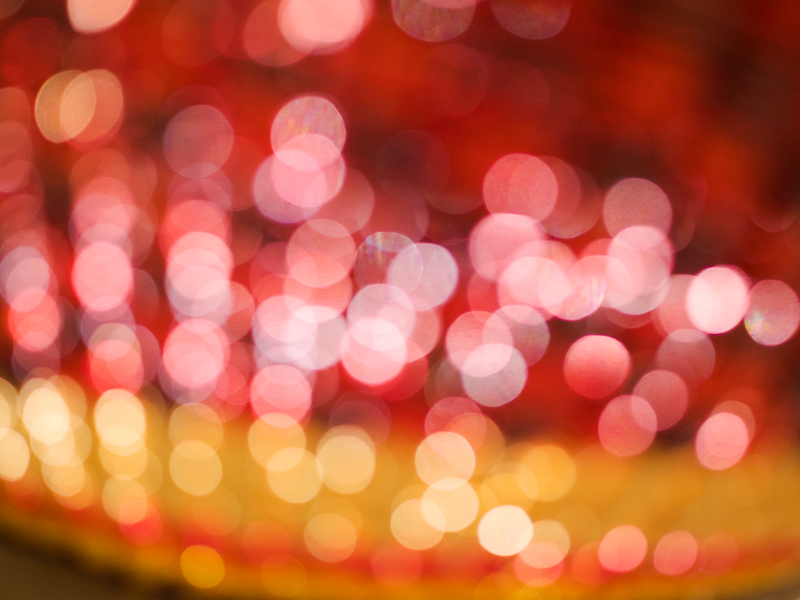
Alice Mariette, Advanced Grad
Reflective Backdrop
For those looking for how to take bokeh photos, a really fun way to deliberately create this effect is by using a backdrop that reflects light really well, such as a fabric with sequins or shiny finish. Just let your creativity go wild!
Related: DIY Photography Backdrop Ideas
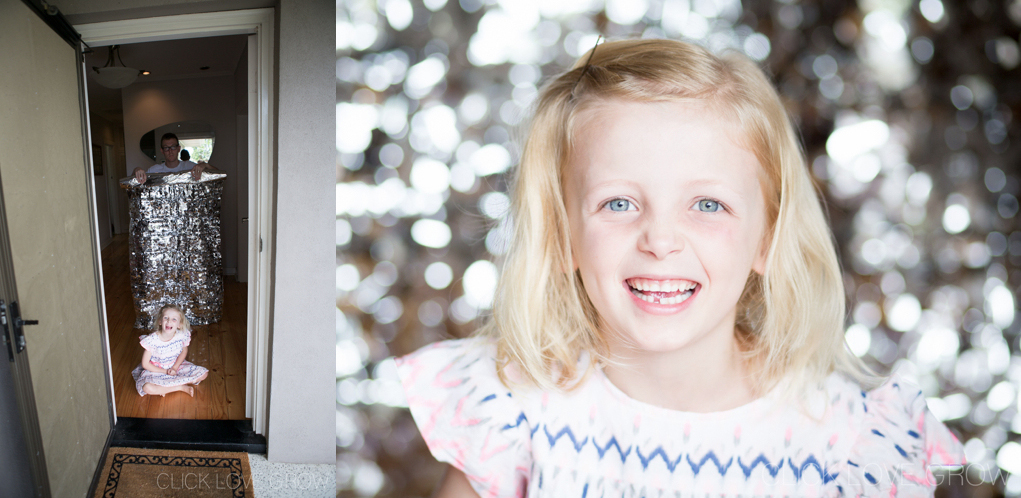
Twinkle Light Bokeh Photography
Fairy lights are perfect for capturing twinkle light bokeh… and maybe you could make your Christmas card super early!
Related: Christmas Light Tutorial

Street Lights
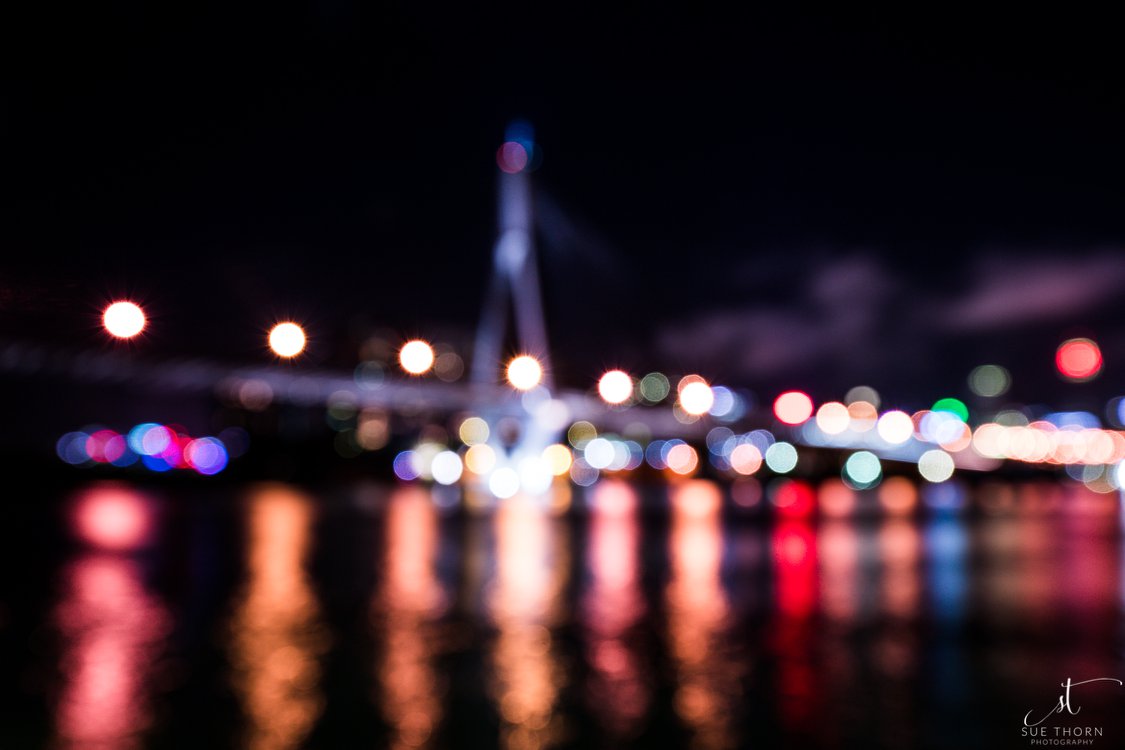
Unlike all the other photography scenarios where bokeh was created by focussing on a subject in front of the light, this shot was created when Sue manually focussed her lens to blur the entire scene. The colours and lights, combined with using a wide aperture (low f stop value such as f/2.8), gave her a stunning abstract shot!
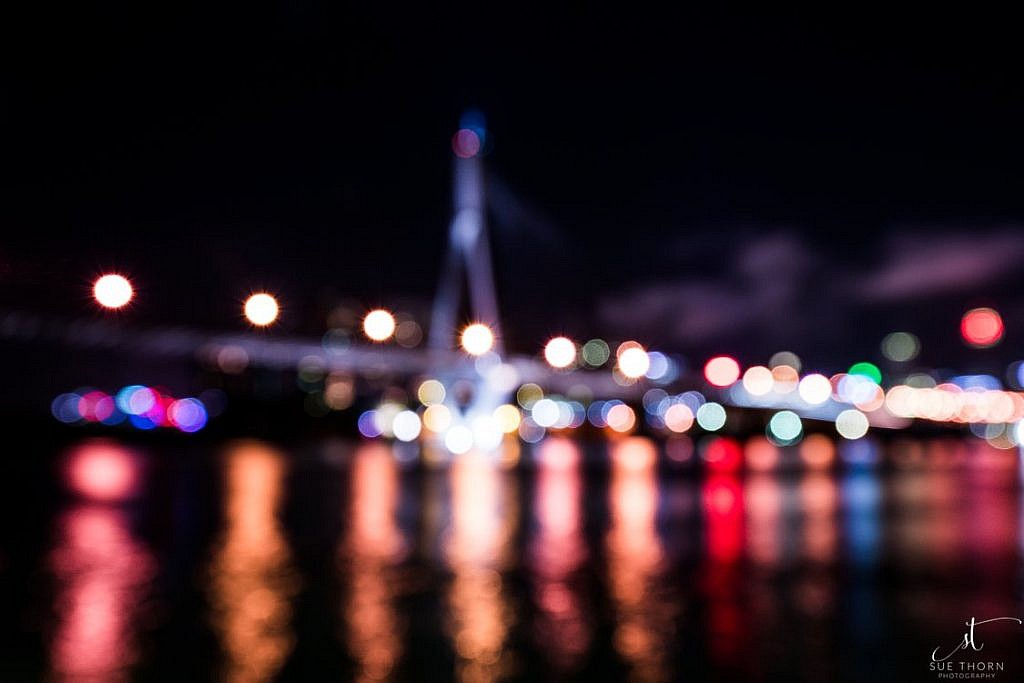
Sue Thorn, Advanced Grad
This is the same scene shot in the traditional way, with a narrower aperture (high f stop value) to get everything in focus. That same narrow aperture also helped turned the street lights into starbursts.
Related: How to Capture a Starburt in Your Photos
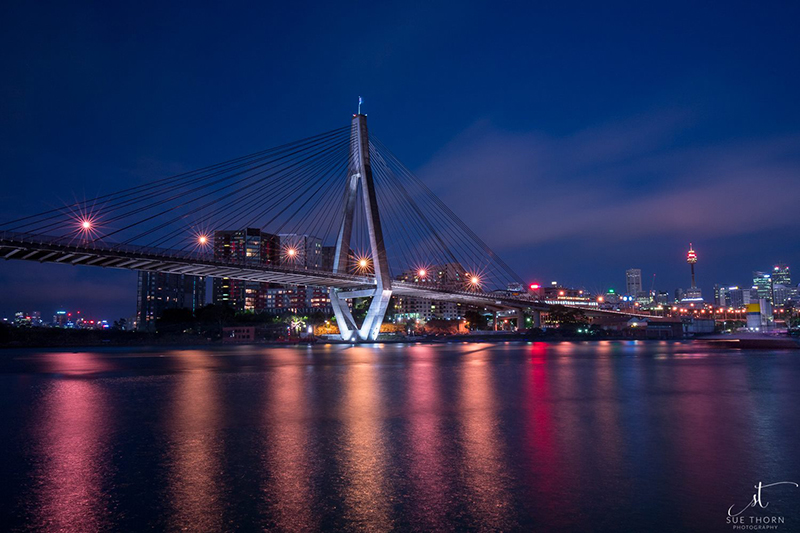
Sue Thorn, Advanced Graduate
Need to Fake It?
Nothing says festive more than fairy lights, but if the elements aren’t there to creat it in camera… what do you do?
Fake it in Photoshop! Try our easy tutorial and elevate any photo with some beautiful light bokeh!
Related: How to Add a Bokeh Overlay in Photoshop
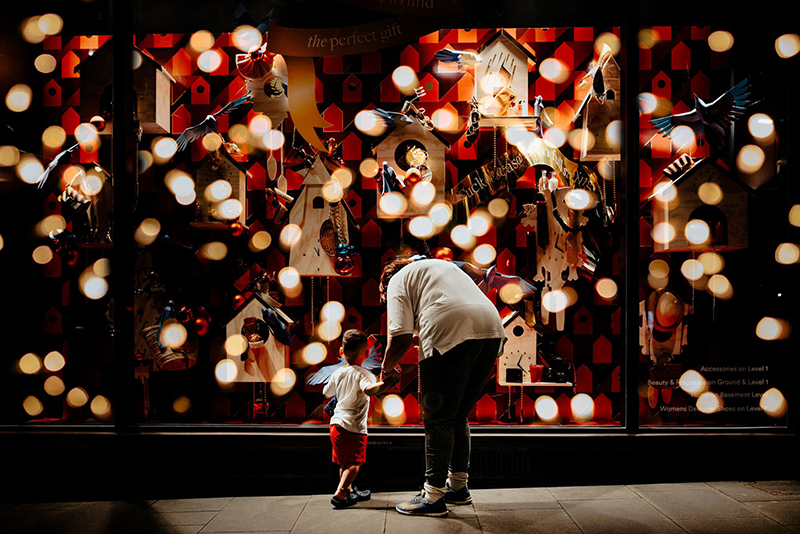
Emma Davis, CLG Instructor
Only Got a Kit Lens?
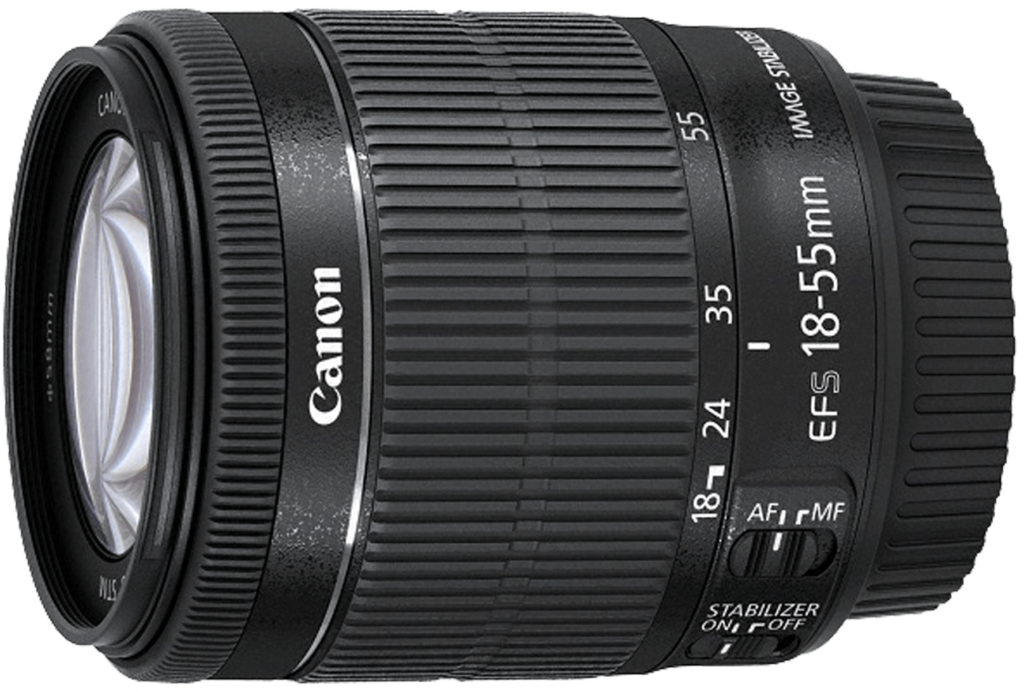
Inspired? We love nothing more than knowing our tutorials get you out and take photos. And even if you only have a kit lens, you can still create gorgeous bokeh with just a few considerations! This blog post explains how…
Related: How to Get Blurred Backgrounds (Even With a Kit Lens)
Join my new workshop and learn How to Shoot Pro-Quality Photos With Your DSLR… and it’s totally FREE to join! Register here…
Leave a Reply Cancel reply
PRIVACY POLICY & SITE TERMS AND CONDITONS
CLICK LOVE GROW ™ Pty Ltd - COPYRIGHT 2024 ©
x
Join Now
Enter your info below to join the challenge!
Want a friendly reminder when I go live?
Pop in your number and I’ll shoot you a text.
* We will send text reminders for our live calls during the challenge! Reply ‘STOP’ to end or ‘HELP’ for help.
We promise not to ever share your details with anyone or send you spam! Check our privacy policy and terms of service.
This is the same scene shot in the traditional way, with a narrower aperture (high f stop value) to get everything in focus. That same narrow aperture also helped turned the street lights into starbursts.shoot is the ideal opportunity to document those unforgettable moments before the big day! In order to create memories that will last a lifetime, finding the best photographer for a pre-wedding photo shoot in Bangalore is essential.Hire SP Photography, one of Bangalore’s top pre-wedding photographers. To find out more about Candid Pre-Wedding Shoot Packages and Prices call us.To know more reach us at http://www.spphotographystudio.in or contact us @ +91 63605 61119, +91 96201 56858