Grab the Macro Gear Guide
Download the free macro gear guide to find out exactly what you need to take beautiful macro photos (hint you can get started for less than $20)
Our Click Love Grow graduates often ask “I want to try macro photography, but I don’t know where to start”.
It’s a genre that requires specialist equipment, and different settings than what you might be used to. So it’s understandable why a lot of people don’t know where to start, and perhaps give up before they’ve begun.
Others give it a go, using settings they’re used to using for other genres… only to end up with a lot of out of focus shots, and no idea why.
If that sounds like you, you’ve come to the right place… we’re all over it.
Macro photography is extreme close up photography, that allows you to capture very small objects at a 1:1 ratio minimum.
It reveals a whole new world of subjects we wouldn’t normally be able to capture, or consider photo worthy. Most people who give macro photography a go, end up addicted and passionate!
And we love a bit of passion! So for that reason, we created this easy beginner’s guide. Read on to learn what you need to get started, and how to take those first shots…
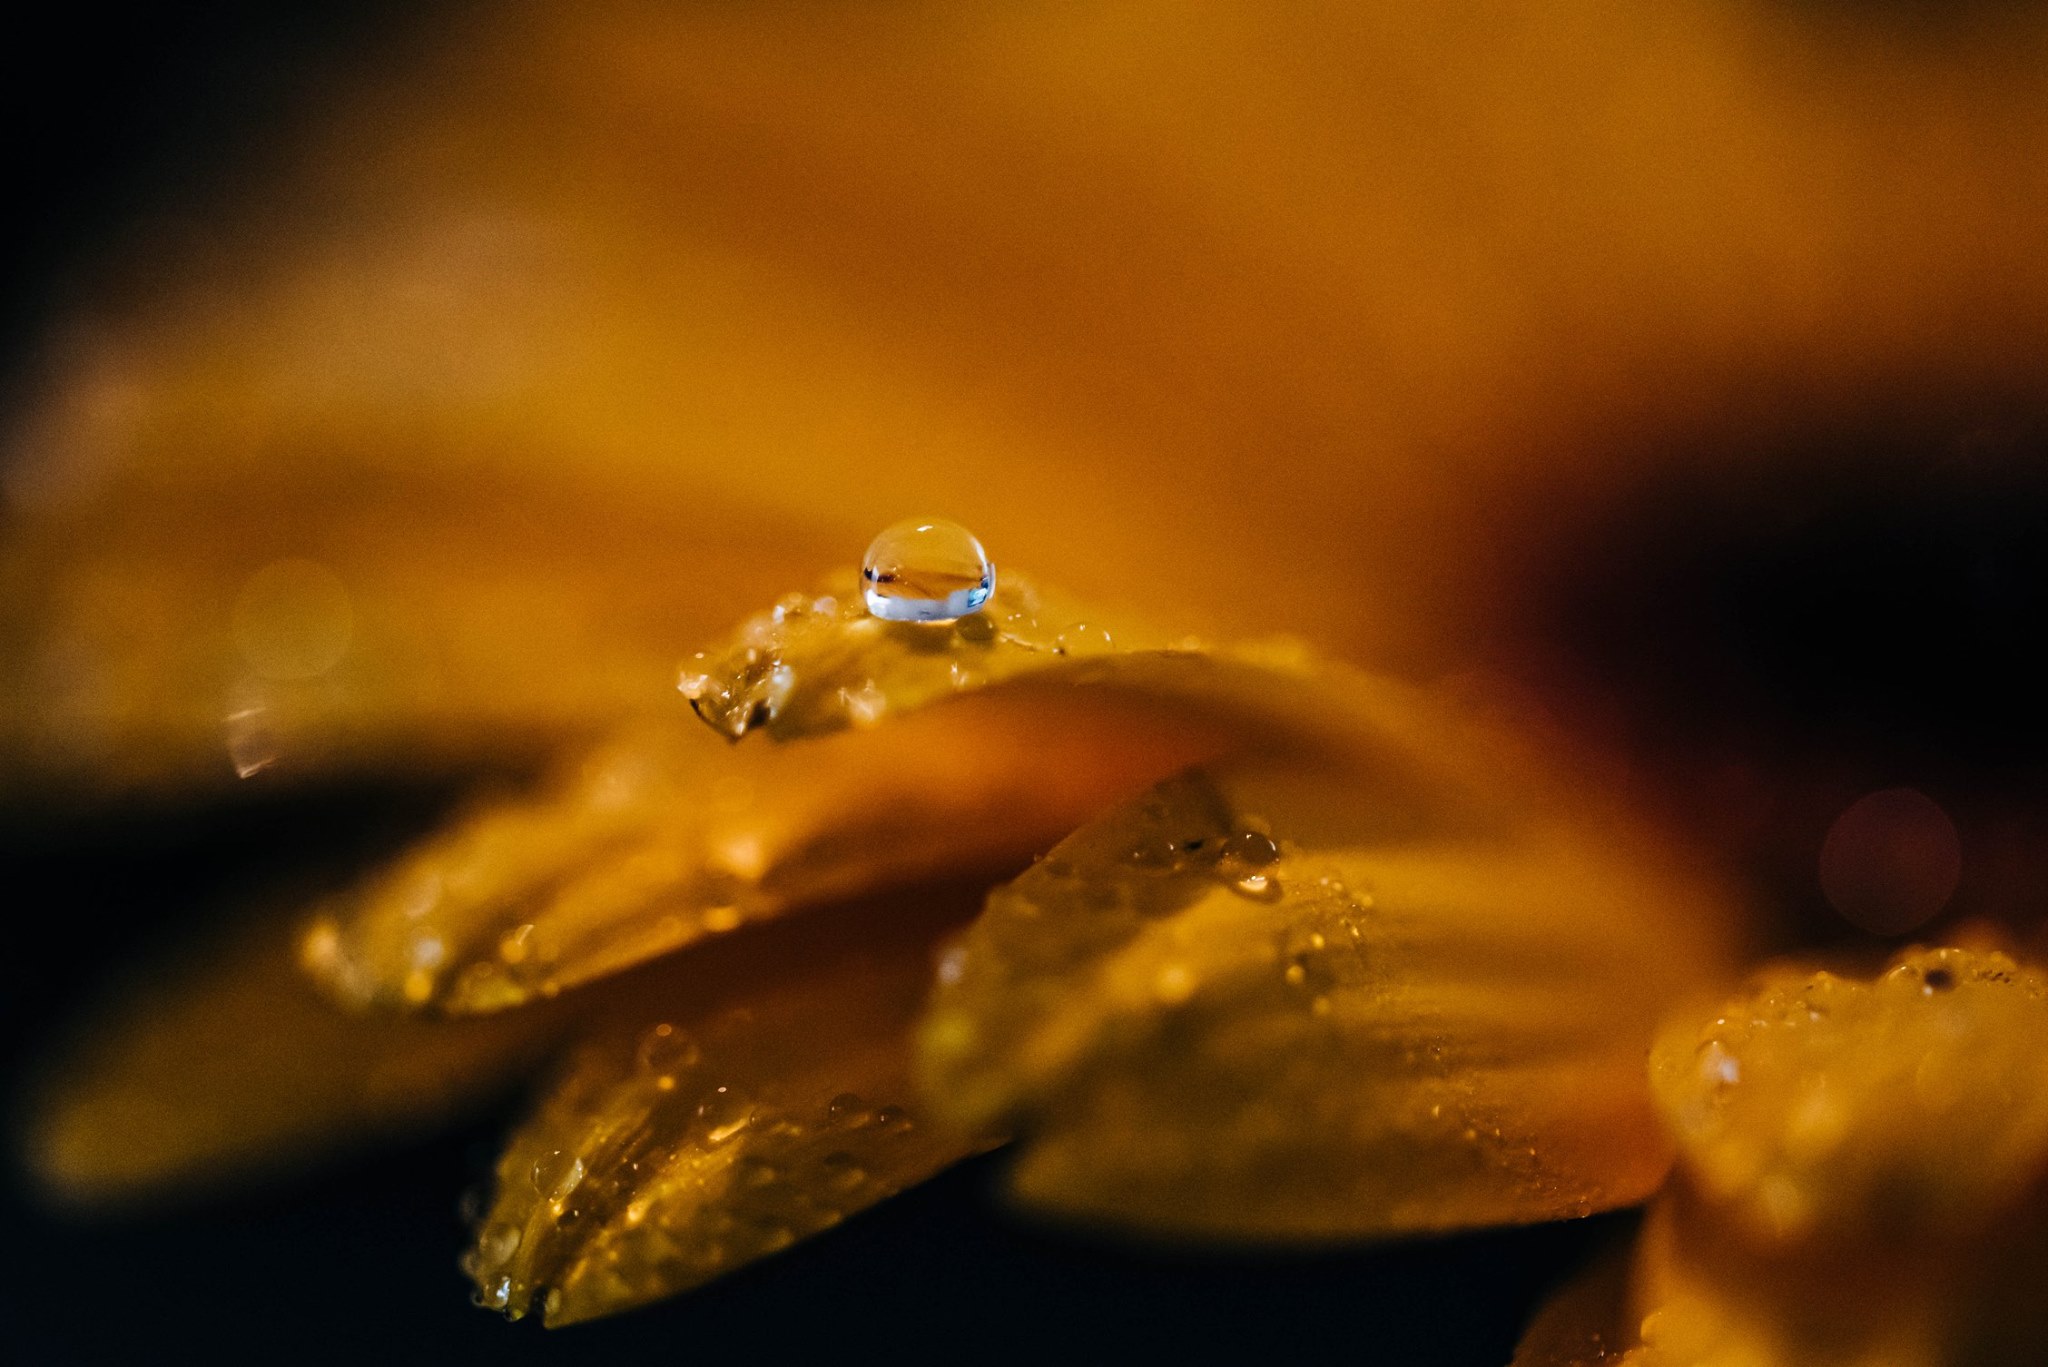
Humera Aaqib, CLG Advanced Grad
A specialist macro lens allows you to focus much closer than other lenses too. Whereas regular lenses usually have a minimum focusing distance of around 30cm. For that reason, you can’t get close enough to your subject with a regular lens to get a true macro result.
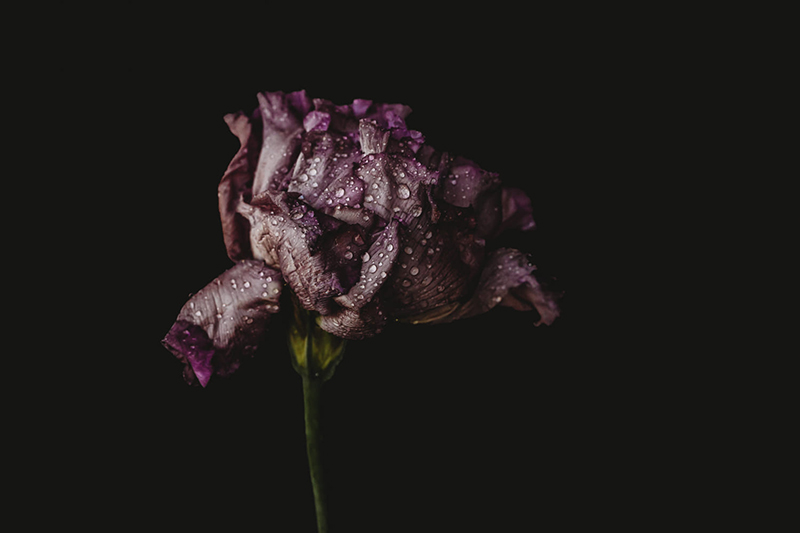
Kate McKenna, CLG Advanced Grad – Shutter Speed 800 Aperture f/7.1 ISO 1600
CLICK HERE to download our macro gear guide to find out what lenses we recommend
When working this closely to your subjects, attempting to focus on a miniscule focus point, camera shake and the motion of your subject becomes a big issue. Even the motion of a very mild breeze moving a dandelion ever so slightly, will appear magnified through the lens.
What’s more, your depth of field is so much smaller when shooting this close, so you can’t afford for your focus to move even 1mm.
So unless you have a really steady hand, a tripod is the answer.
However, the flipside is using a tripod for macro photography can make it framing your shot more challenging. If you’ve find that, you can get away without using a tripod. But you will need a steady hand and higher shutter speeds, and you’ll need to push your ISO to compensate for the lack of light.
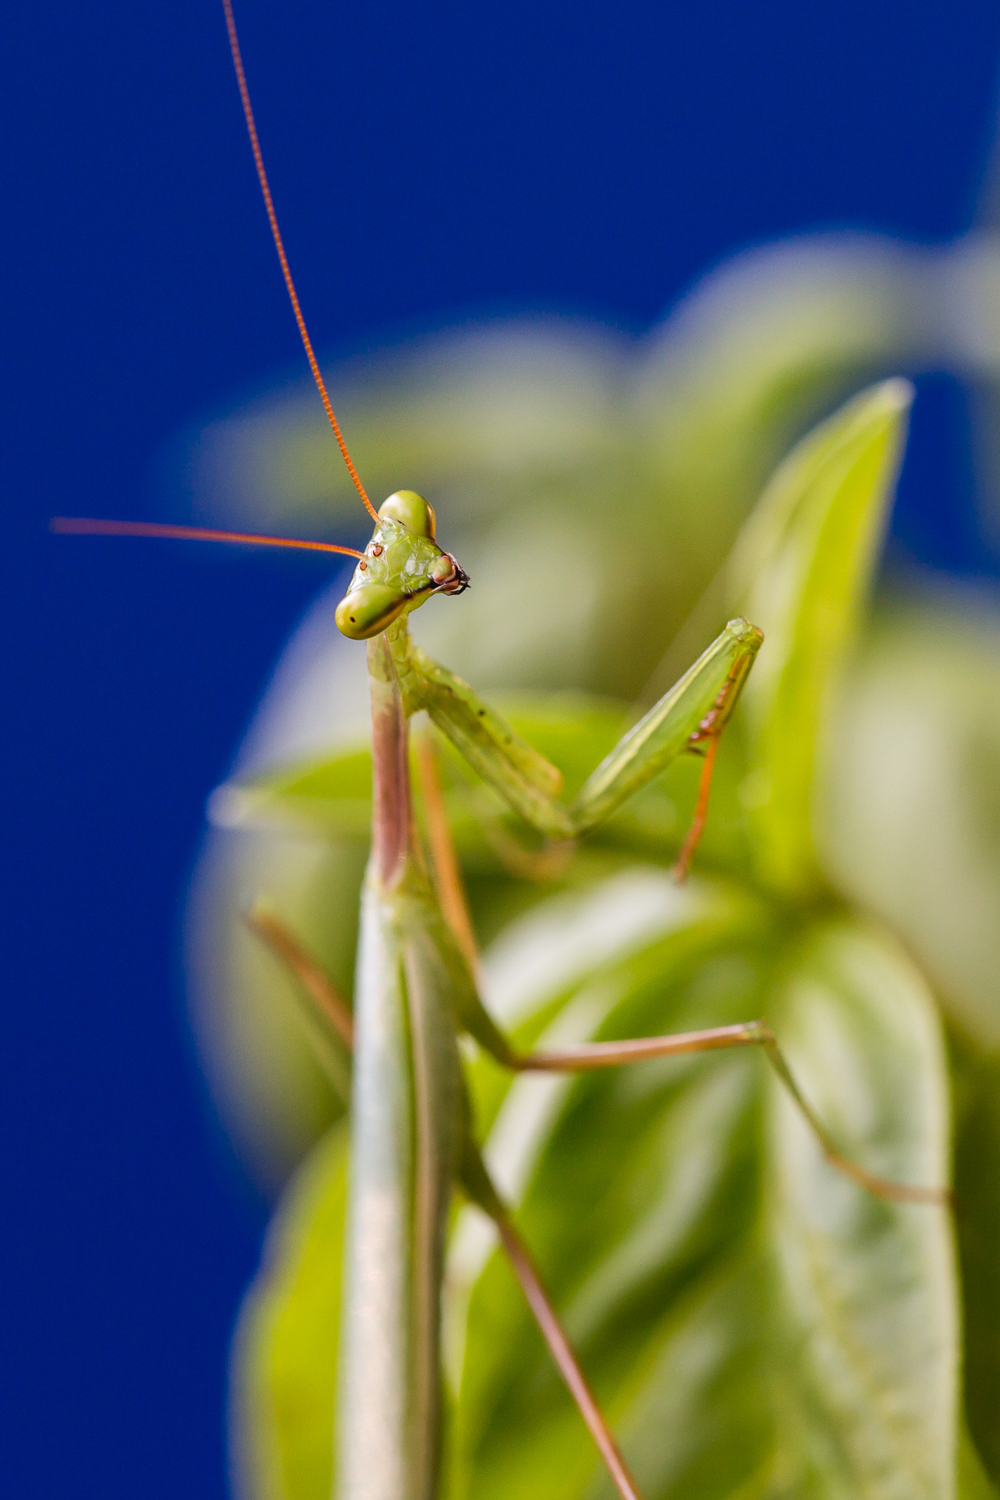
Pam Bradford, Click Love Grow Instructor – Shutter Speed 1/80 Aperture f/7.1 ISO800
Just generally in photography, the closer you are to your subject, the less depth of field you have. So naturally, that shallow depth of field is extreme in macro photography.
So you need to forget the go to apertures you might use for say portrait photography. Eg. if you shot an insect at f/2.2, your shot will appear to be mostly out of focus. Conversley, unlike portraits, if you shot it at f/11 you’ll get a shallow depth of field and a lovely blurry background.
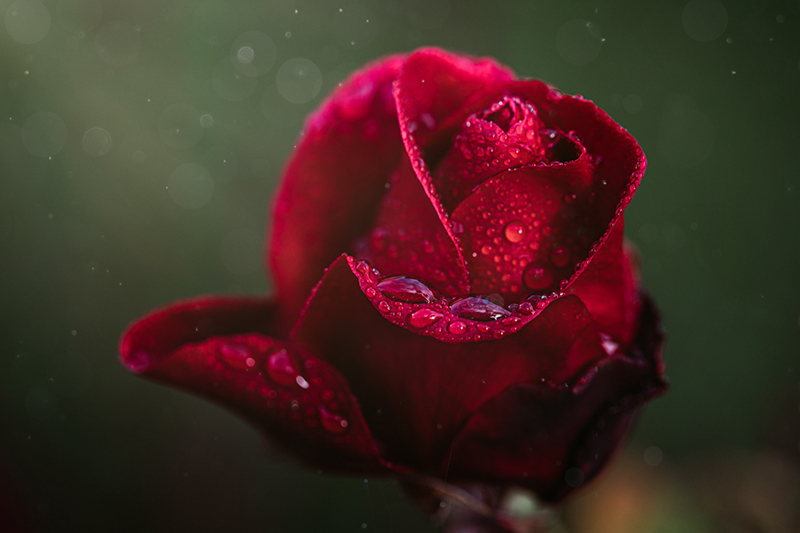
Kate McKenna, CLG Advanced Grad – Shutter Speed 250 Aperture f/4 ISO 320
To begin with, select an aperture of say f/7.5.
Depending on the size of your subject and the distance from lens to subject, this may or may not give you the depth of field to achieve the look you’re after.
I suggest taking multiple shots at several apertures, because the area of focus and degree of sharpness won’t be as evident on your LCD as it will when you get it up on your monitor.
As a bonus, this will give you an idea of the settings you’ll need next time, and reduce the guesswork a little.
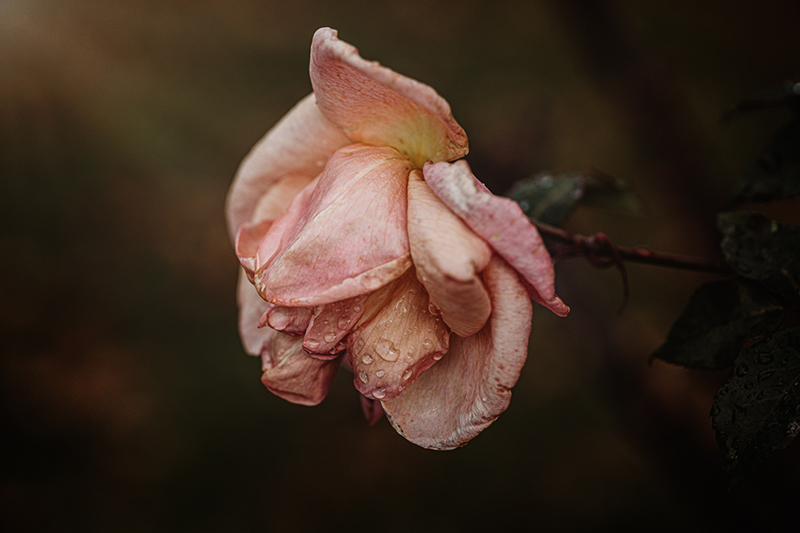
Kate McKenna, CLG Advanced Grad – Shutter Speed 1600 Aperture f/4 ISO 400
Sometimes the auto focus drive struggles to grab focus when shooting up really close.
When that happens, you’ll need to switch to manual focus. This will enable you to be more precise with where you focus lands, which is crucial when working with such shallow depth of field.

Kate McKenna, CLG Advanced Grad – Shutter Speed 1250 Aperture f/4 ISO 400
Harsh shadows are going to be more noticeable when shooting macro. Given the size of the subject, this means they can be more distracting too.
So when looking through the lens, keep your eye out for hard light shadows. If you see them, adjusting your position, angle or framing.
Look for open shade, or shoot early or late in the day and take advantage of the golden hours. Be prepared to use a tripod when the light is low as you’ll need slower shutter speeds to capture as much ambient light as possible.This was shot during the golden hour, which brought a magnificent warmth to the shot and made the most of the glorious colour in the spring bloom.
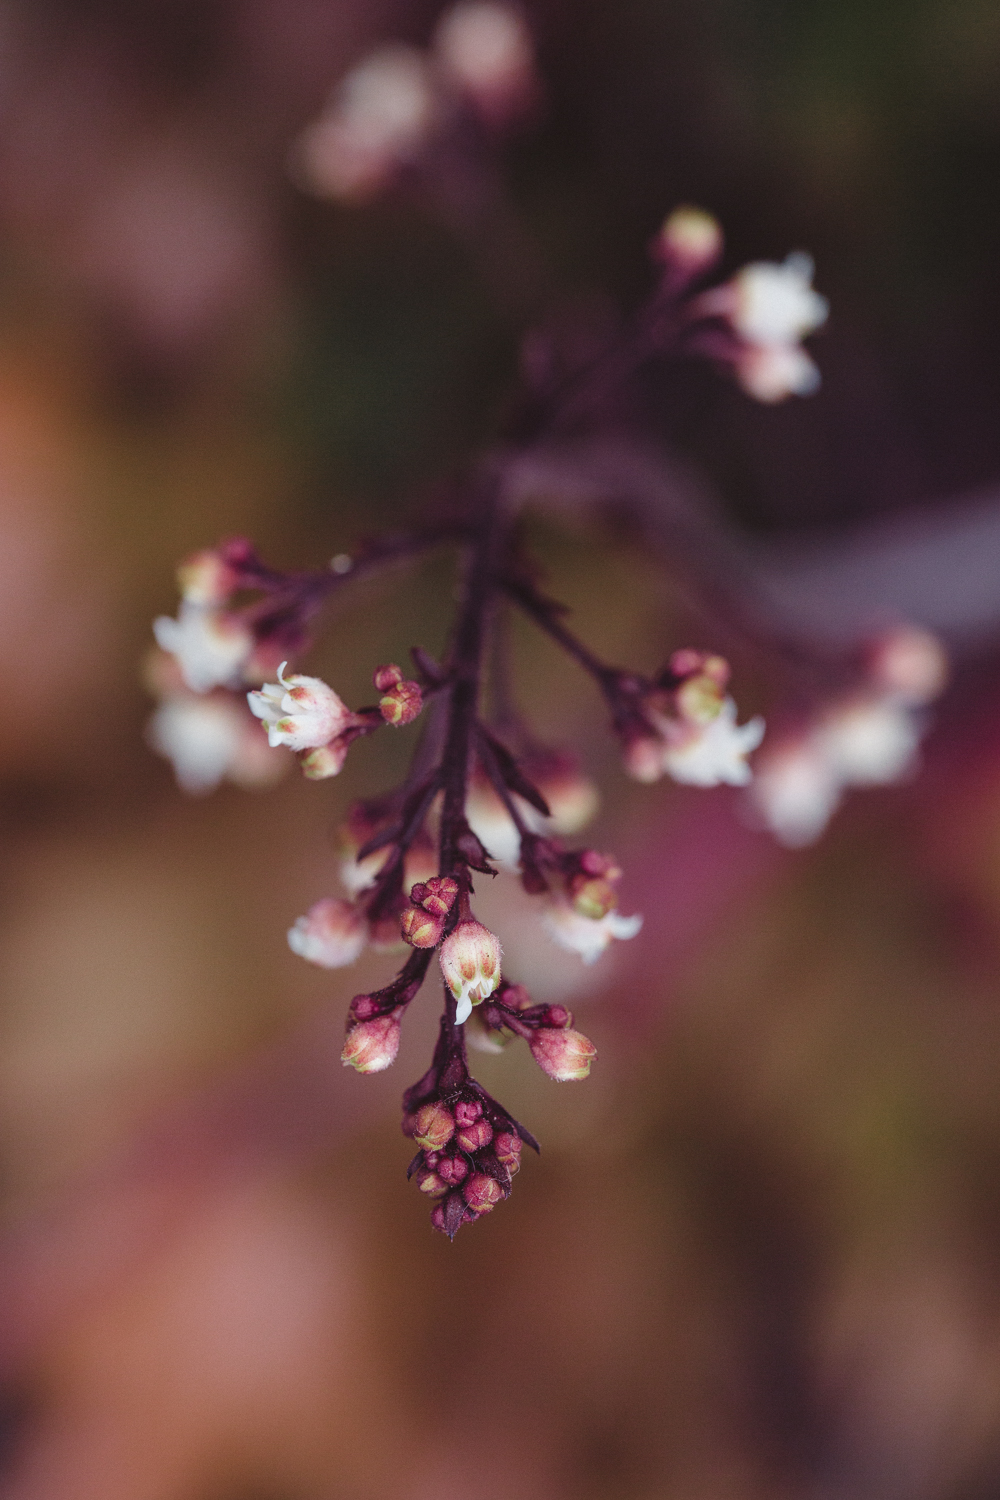
Pam Bradford, Click Love Grow Instructor – Shutter speed 1/200 Aperture f/7.1 ISO1000
Try different angles to make sure you have a nicely blurred, uncluttered background to your subject.
The advantage of macro photography is the very shallow depth of field can blur most backgrounds into insignificance.
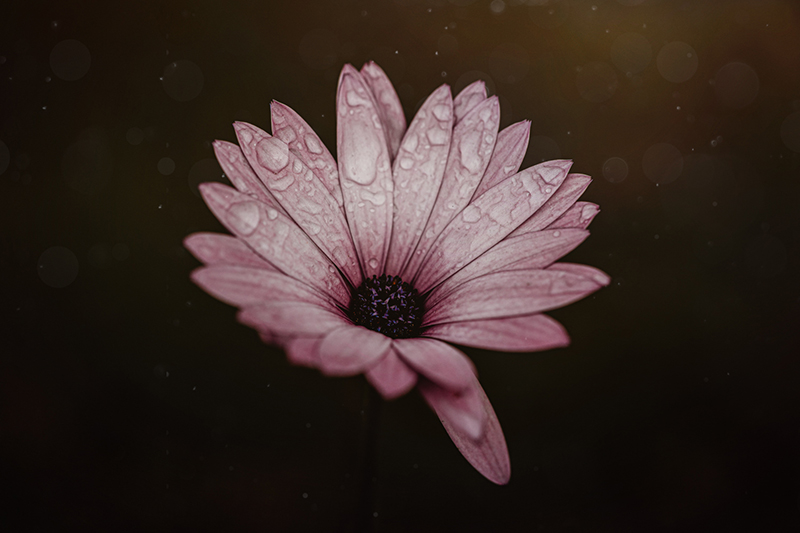
Kate McKenna, CLG Advanced Grad – Shutter Speed 2000 Aperture f/4 ISO 400
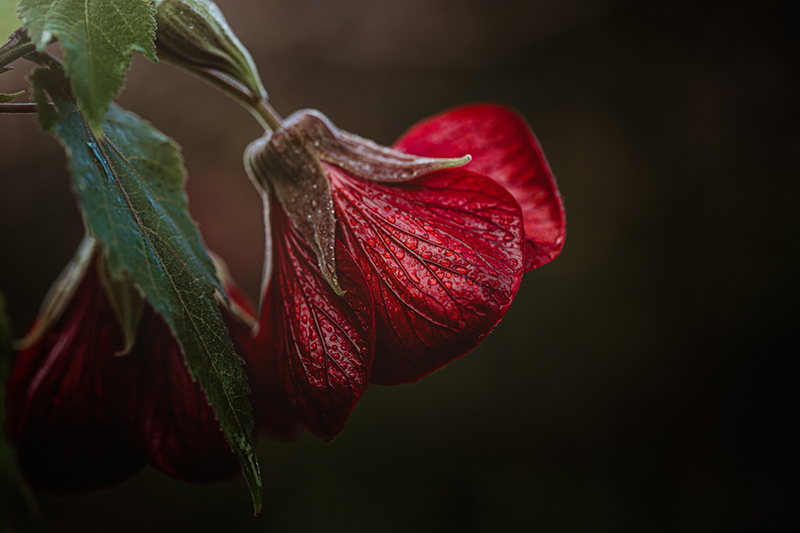
Kate McKenna, CLG Advanced Grad – Shutter Speed 640 Aperture f/4 ISO 400
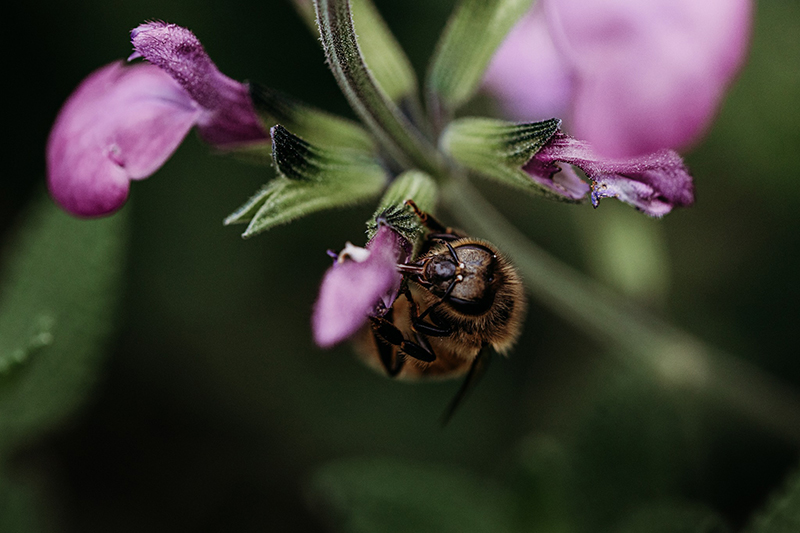
Kate McKenna, CLG Advanced Grad – Shutter Speed 640 Aperture f/5 ISO 1000
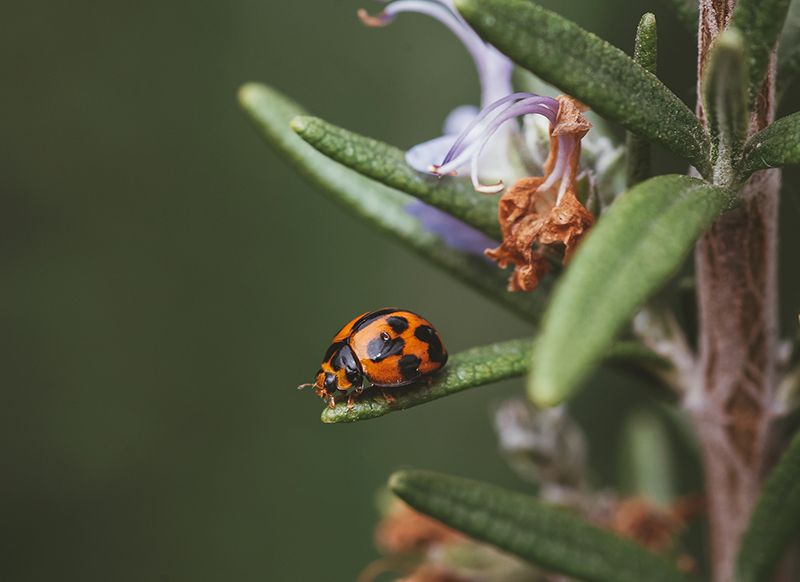
Connie Rac, CLG Enthusiast Grad – Shutter Speed 1/250 Aperture f/13 ISO 250
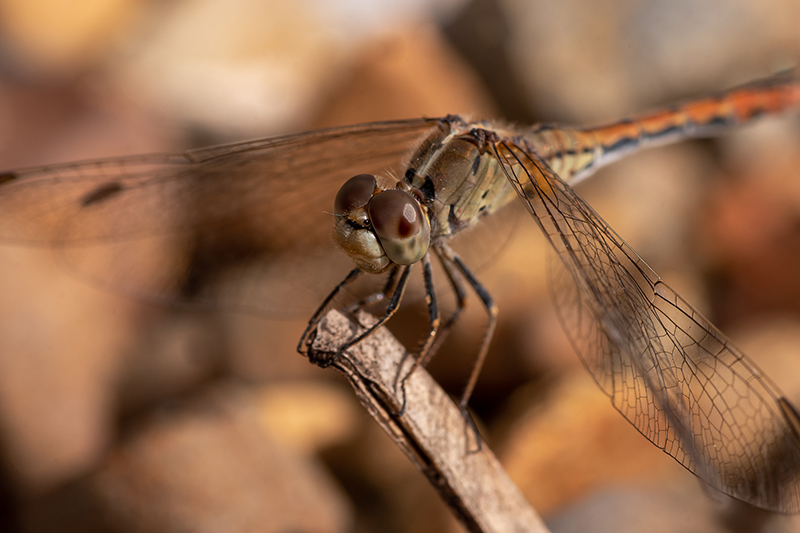
Connie Rac, CLG Enthusiast Grad – Shutter Speed 1/200 Aperture f/16 ISO 300
If you loved these tips and want to learn more, Kate is hosting our newest workshop Mindfulness Photography which starts on 13th November 2023.
It’s ON SALE NOW… click HERE to find out more and secure your seat!

CLICK LOVE GROW ™ Pty Ltd - COPYRIGHT 2024 ©
Enter your info below to join the challenge!
Want a friendly reminder when I go live?
Pop in your number and I’ll shoot you a text.
* We will send text reminders for our live calls during the challenge! Reply ‘STOP’ to end or ‘HELP’ for help.
We promise not to ever share your details with anyone or send you spam! Check our privacy policy and terms of service.
Grab the Macro Gear Guide
Download the free macro gear guide to find out exactly what you need to take beautiful macro photos (hint you can get started for less than $20)
I just bought a 3 piece Macro extension Tube set, 13 mm, 21 mm Digital, and 31 mm C_AF.
Not sure how to use theses. The directions say singularly, all together or in combination.
But it doesn’t give me any more info that that.
What is the best way to use them?