21 Creative Images Using Selective Focus
Our highlights reel this week is a collection of our fave images taken by our talented Grads for our most recent challenge in our Grad’s group, the theme of which was “selective focus”.
I love these for the focus on details, the storytelling aspect, and the obvious consideration of their surroundings in order to create really thoughtful and artistic imagery. I also love them for the fact they open up more options to those of us stuck at home in lockdown struggling to know what to photograph!
Enjoy the inspiration and our tips!
1. Intentional Blur
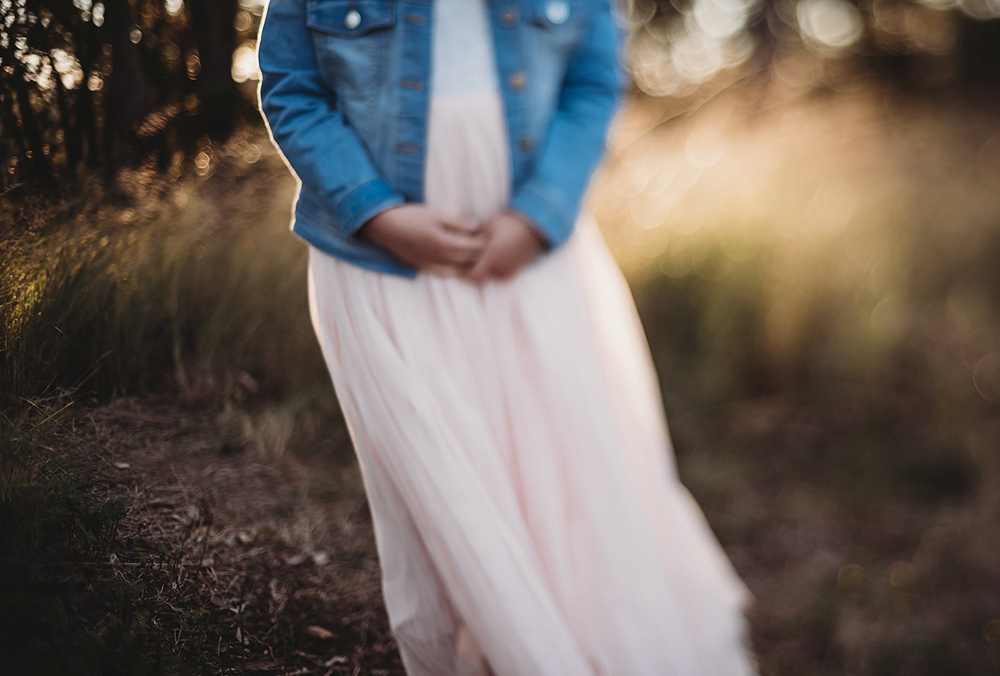
Blur your subject intentionally for a dreamy feel and focus on something in the foreground for depth.Choose your aperture carefully – you want to blur your subject but not into insignificance. For a shot like this try an aperture of around f/4 and remember the degree to which your subject is blurred is also relative to their distance from your lens. The further away they are, the more blurred they will be.
Related: Shooting in Manual Mode
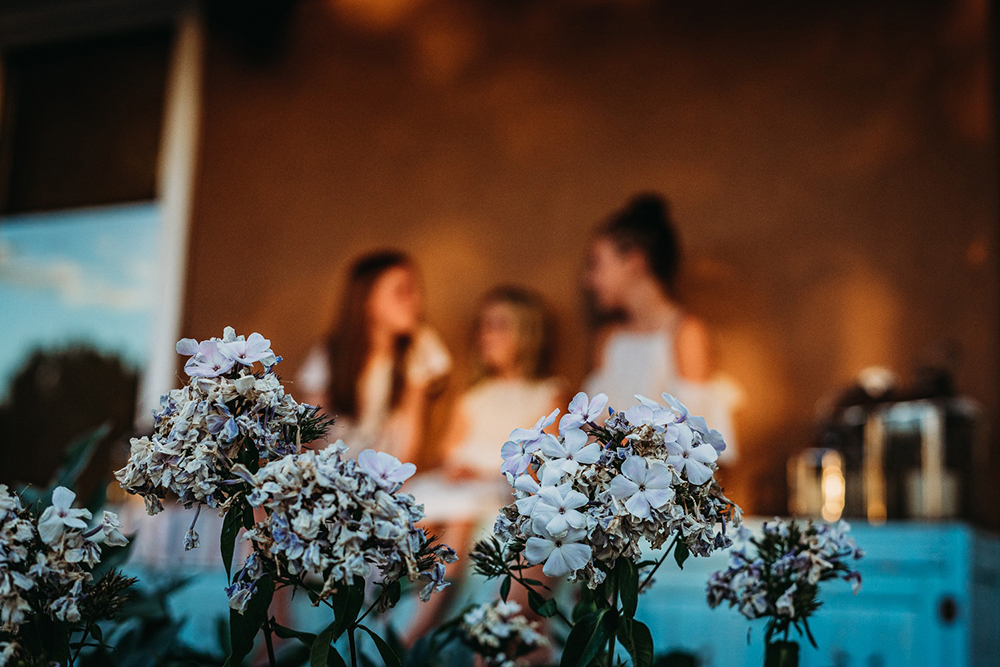
Hope de la Rosa, Advanced Graduate
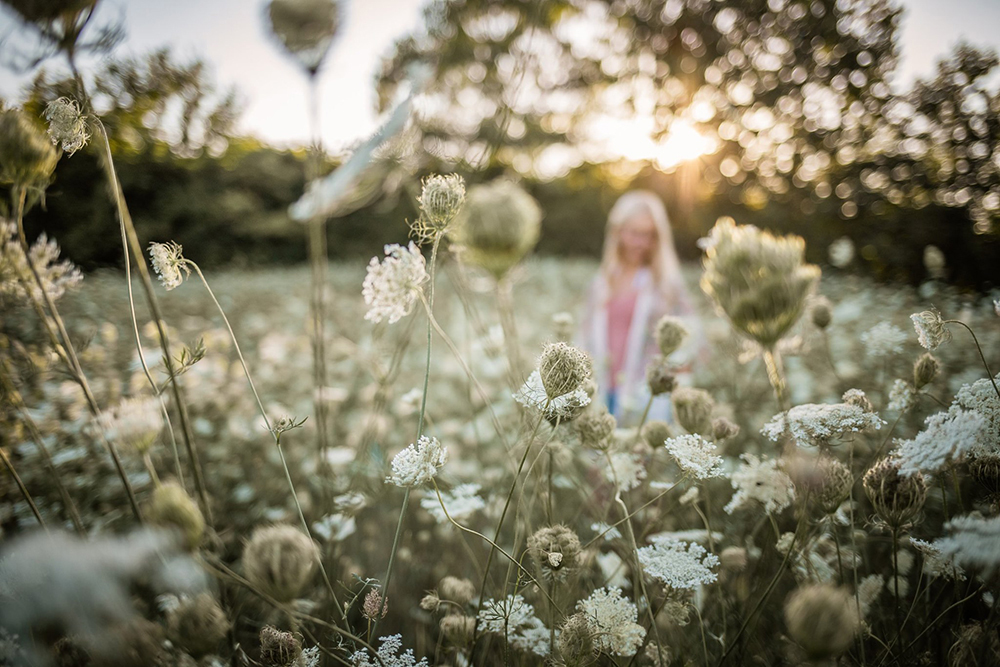
Pam Thorne-Gosenheimer, Advanced Graduate
This framing choice also works particularly well to convey intimacy in a quiet, private moment and gives a sense the photographer isn’t even there.
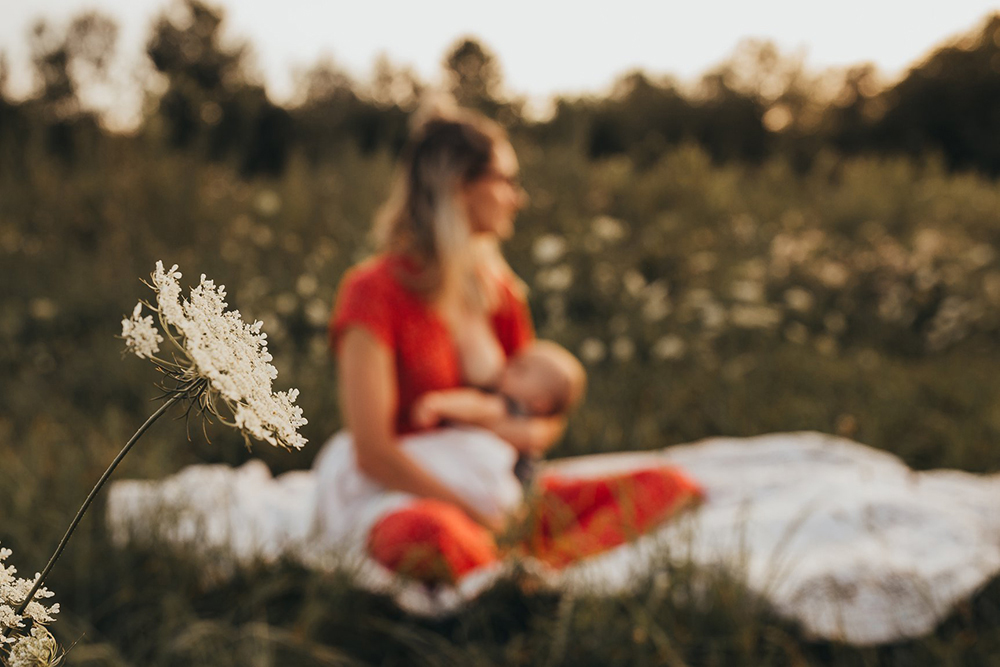
Charlie O’Neill, Advanced Graduate
This shot focuses on the foreground to highlight the sand and location, and combines that with a slow shutter speed to capture the motion of his movement, which draws the eye to him. Recreating this effect is subject to his speed of motion, but you could start with a shutter speed of around 1/200 and experiment from there. This will freeze any motion in the surroundings such as the crashing waves, while capturing his motion as he’s moving too fast to be frozen at 1/200.
Related: Capturing and Freezing Motion
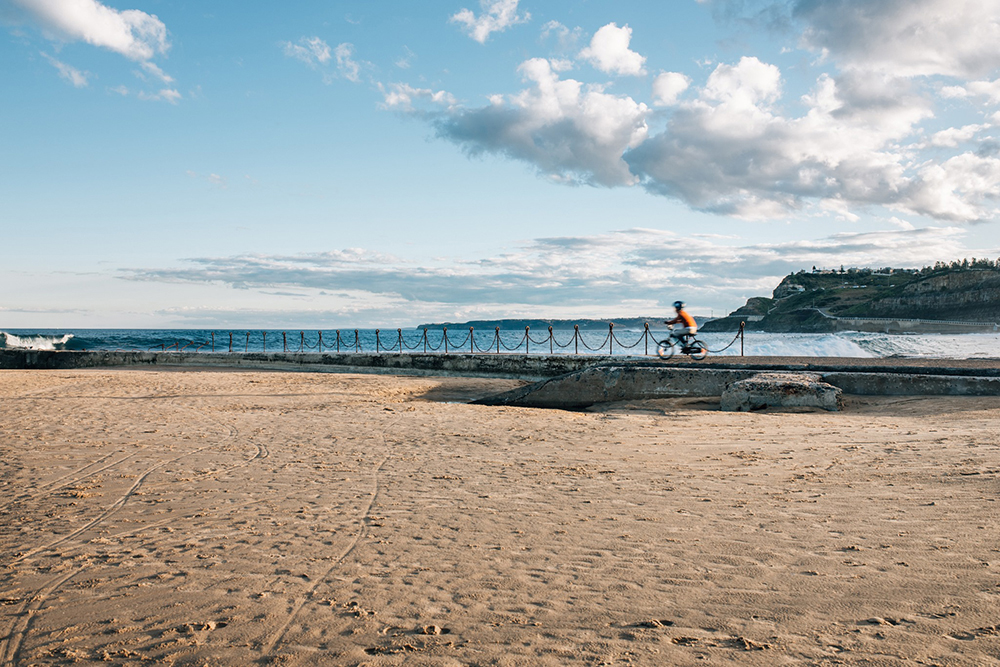
Kirsty Nealon, Advanced Graduate
2. Macro
typically in macro photography we narrow our focus in order to get as much of the object in focus as possible and showcase all its fine parts. But shooting narrow in macro isn’t a rule… break away from the expected and shoot wide to highlight just one very small area of detail on a tiny object.
Related: Macro Beginner’s Guide
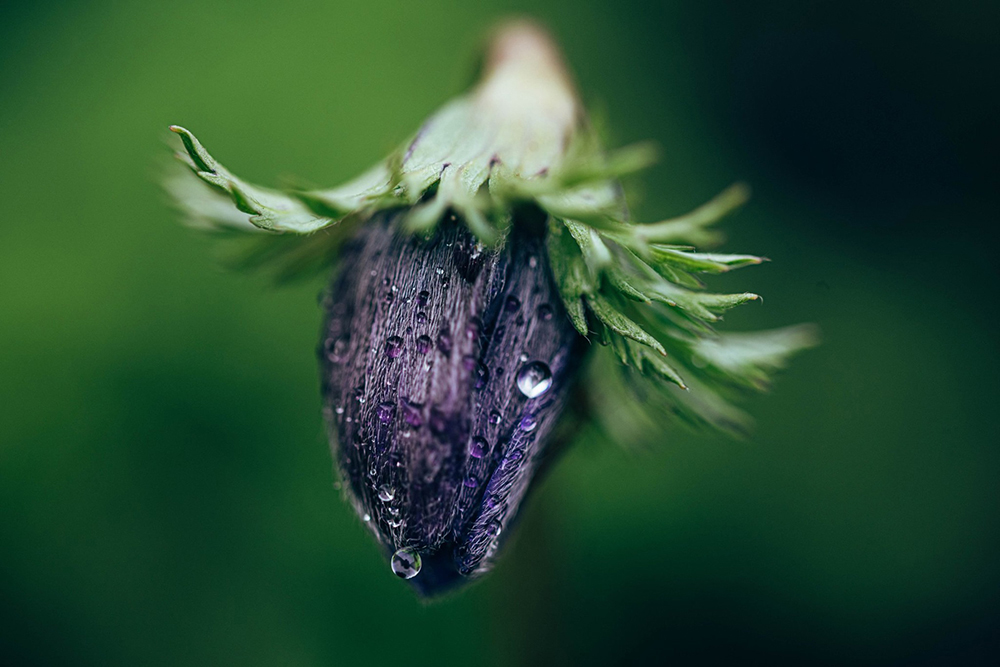
Humera Aaqib, Advanced Graduate
In this shot the narrow sliver of focus draws the viewer’s eye directly to those beautifully detailed wings.
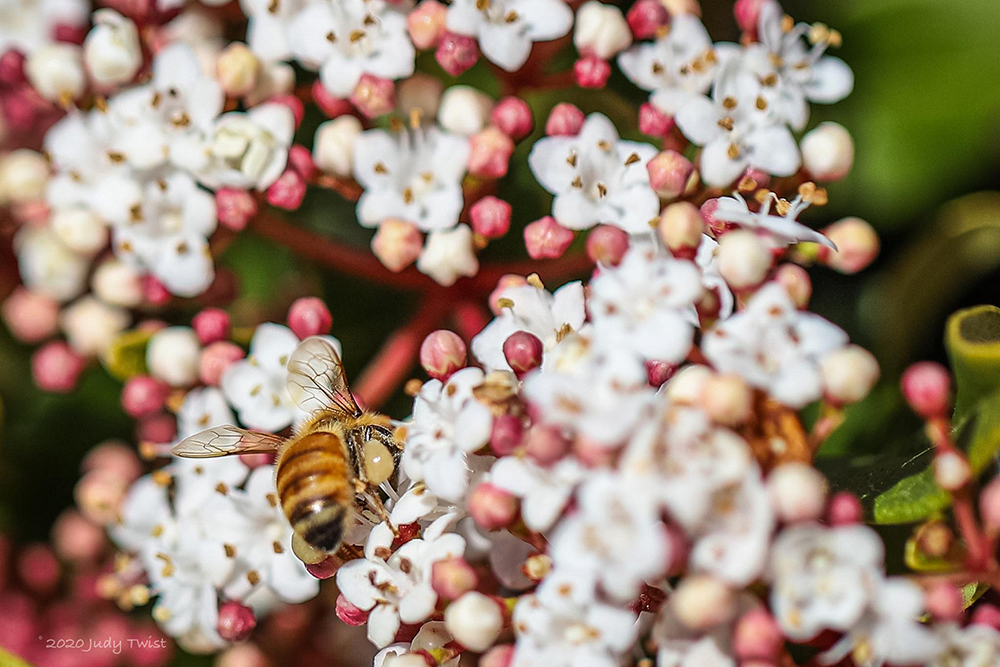
Judith Twist, Advanced Graduate
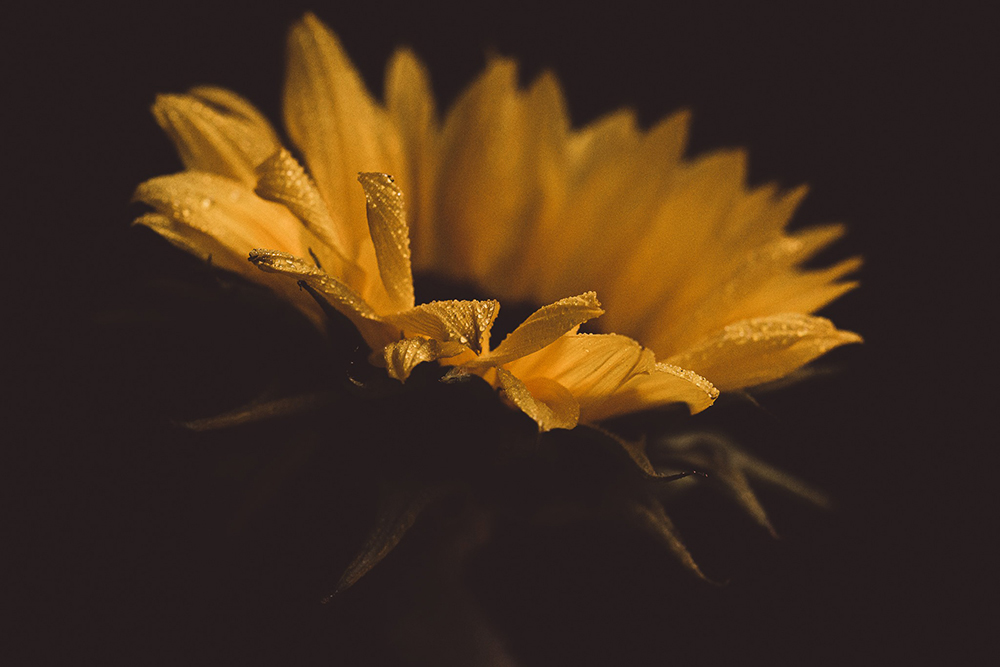
Mel Champion, Advanced Graduate
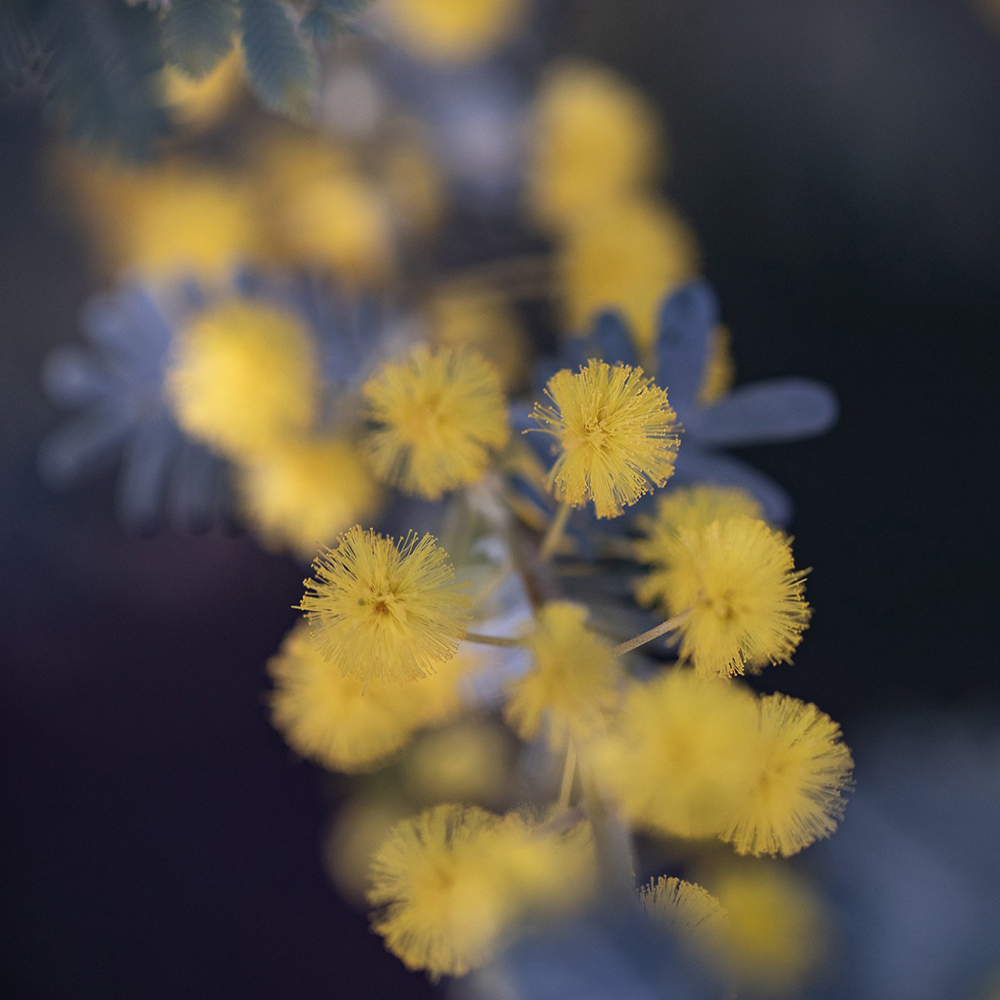
Sophie Green, Advanced Graduate
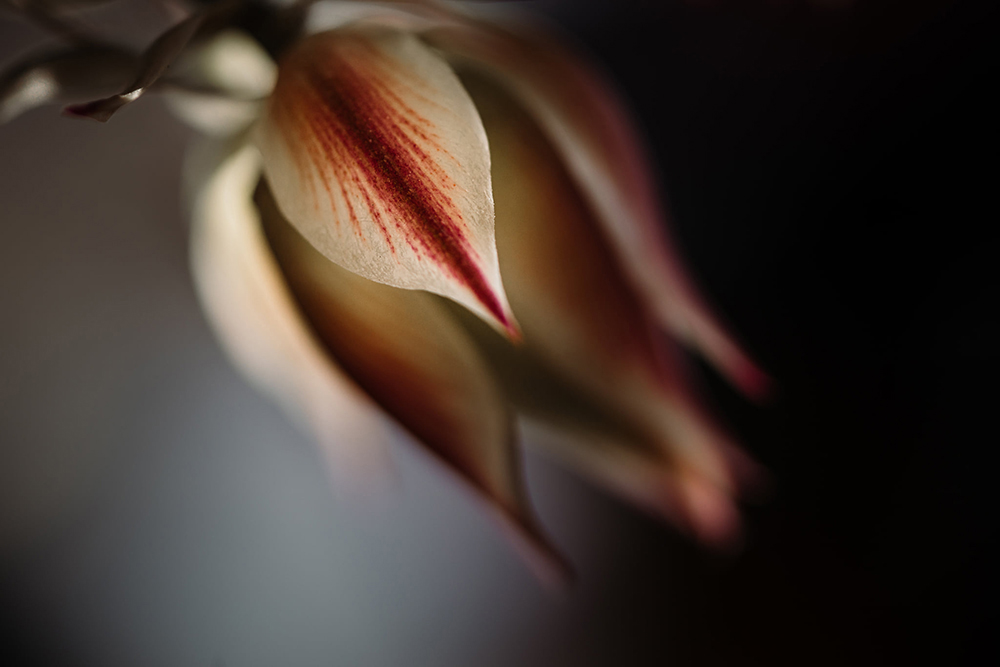
Sue Gray, Advanced Graduate
3. Storytelling
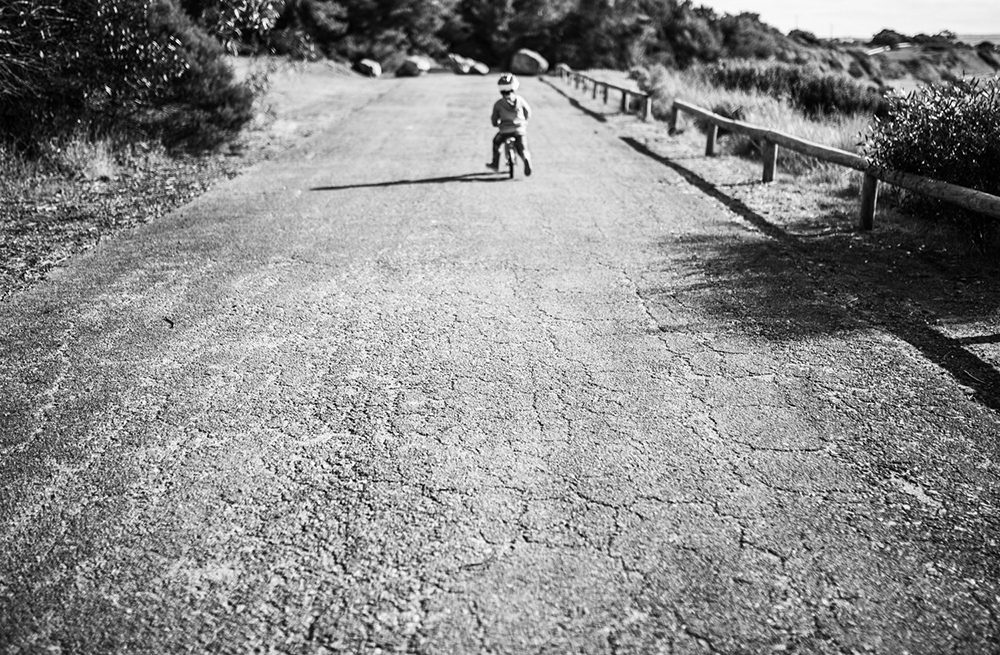
Zoom in on the elements of a child’s play to tell their story, show us their point of view, or the object of their attention.
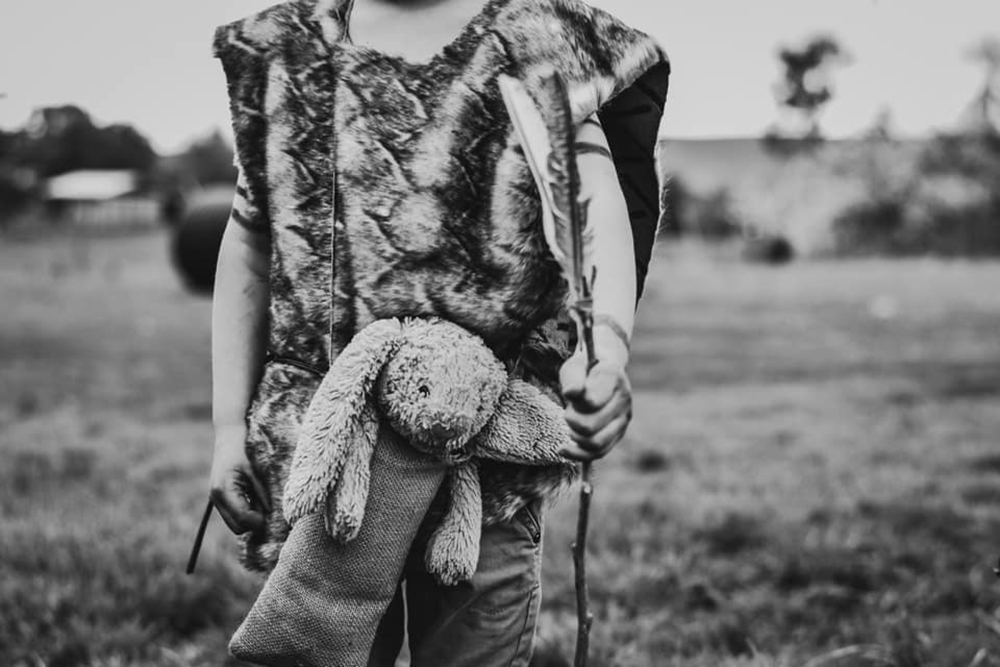
Kristin Walsh, Graduate
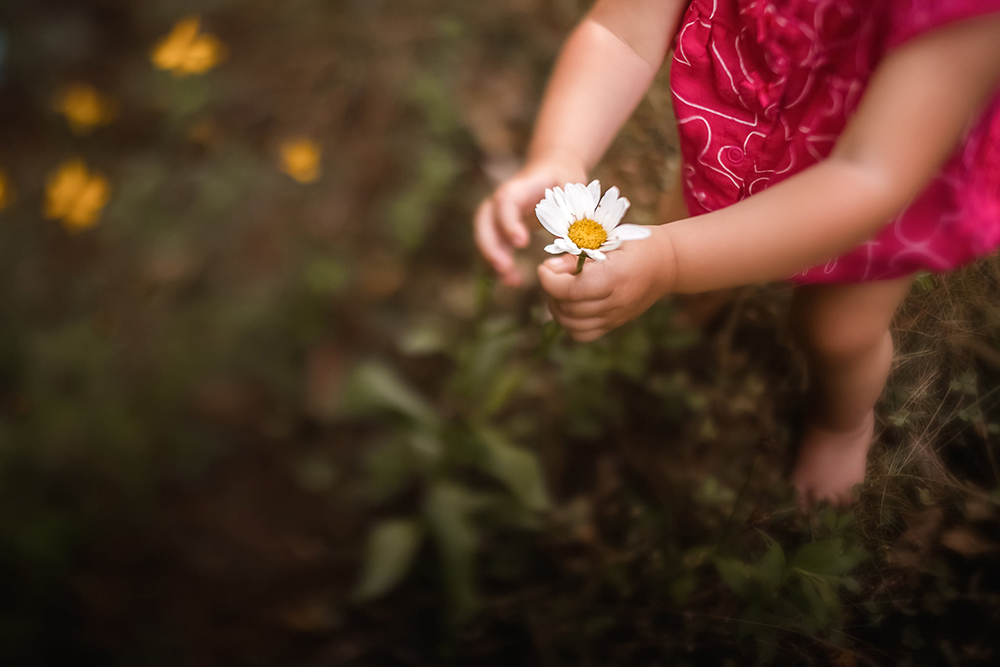
Lisa Smith, Advanced Graduate
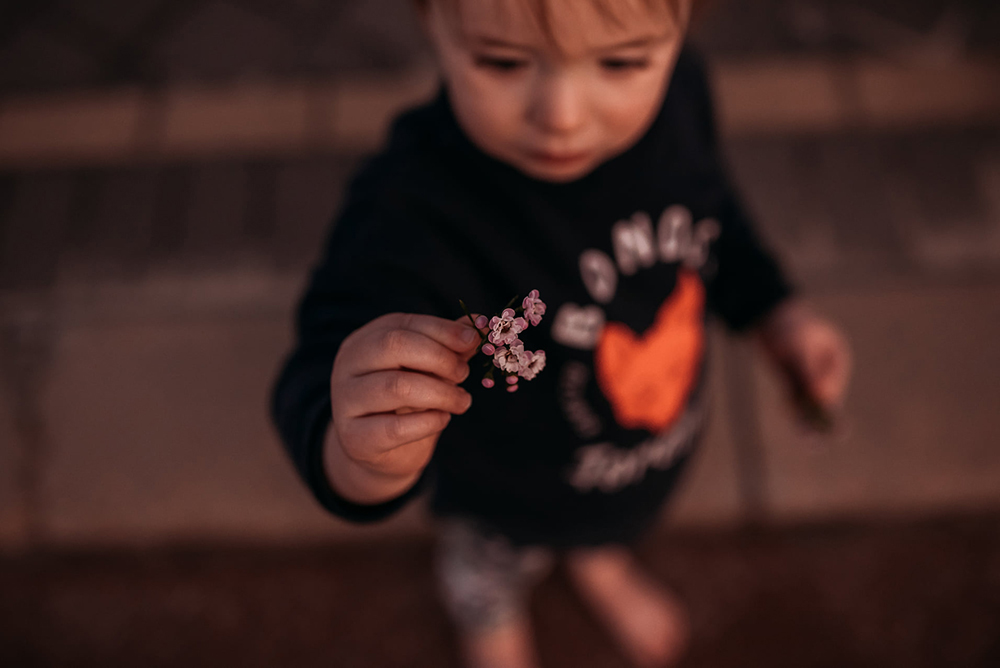
Bek Alexander, Advanced Graduate
In this shot by focusing on the road in the foreground and putting him out of focus in the distance, it conveys the fact he’s moving away from the photographer, independently riding off on his own adventure.
Jess Stoakes, Advanced Graduate
4. Details
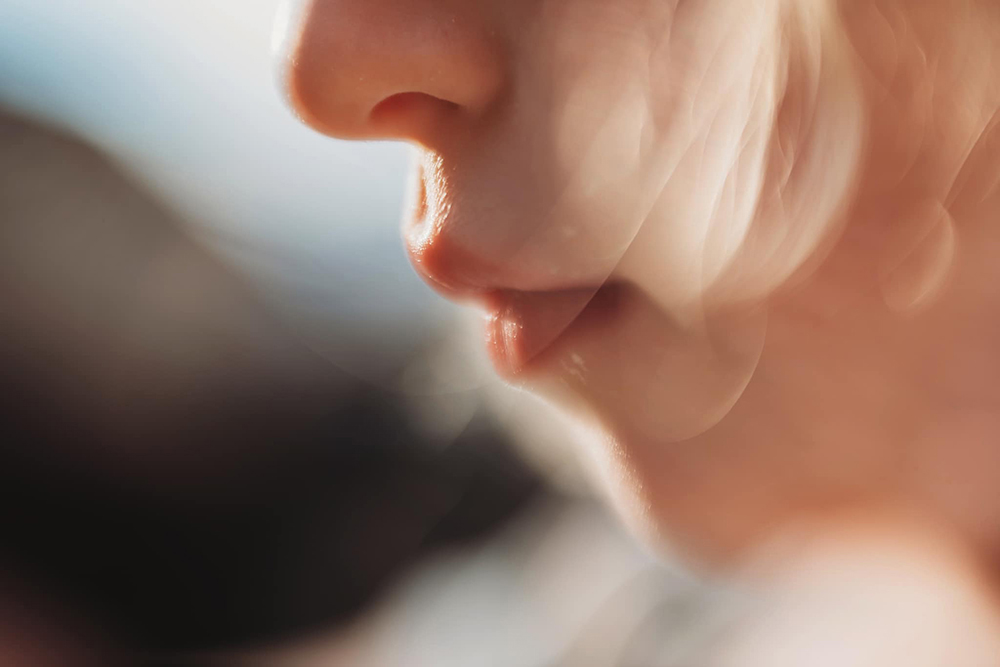
You know those details of our children we fall in love with when they’re young? Those rosebud lips, surprise peas toes. A whisp of leftover baby hair, little fingers working hard on learning something new. Those details grow in a heartbeat… zoom in and narrow your focus to highlight those details and preserve them forever.
Related: Macro Newborn Photos
Lisa O’Doherty, Graduate
This narrow focus is a beautiful memory of a time when she was learning those fine motor skills.

Keziah Krickmann, Graduate
5. Freelens or Tilt Shift
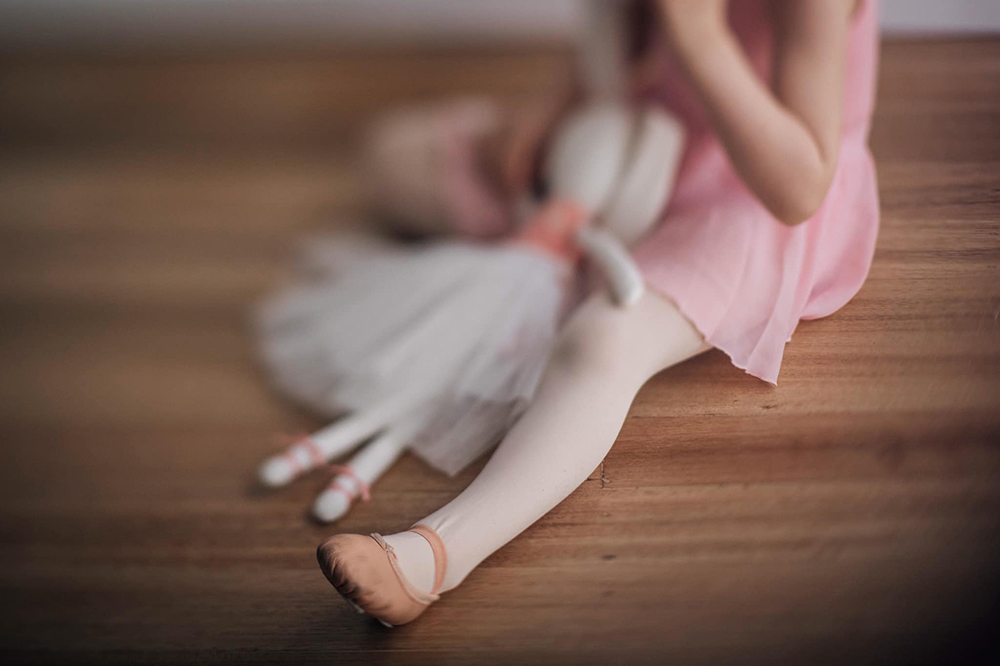
Ever tried freelensing or a tilt shift lens such as a Lensbaby? Whether you’re doing it by hand with your lens detached or you have a dedicated lens, the technique changes the plane of focus to give a very narrow sliver of focus which can give us beautifully artistic results and allow us to play with more abstract concepts.
Related: Free Lensing for Beginners
Sara Sparrey, Advanced Graduate
Combine with a slow shutter to add a sense of movement and further enhance that dreamy feel.
Sonia Ragusa, Advanced Graduate
6. Creative Background Effects
When you use a super wide aperture to create a narrow sliver of focus, you can also blur your background so beautifully that you create a painterly effect. Try this with an aperture of around f/2.2.
Related: Creating Blurred Backgrounds with a Kit Lens
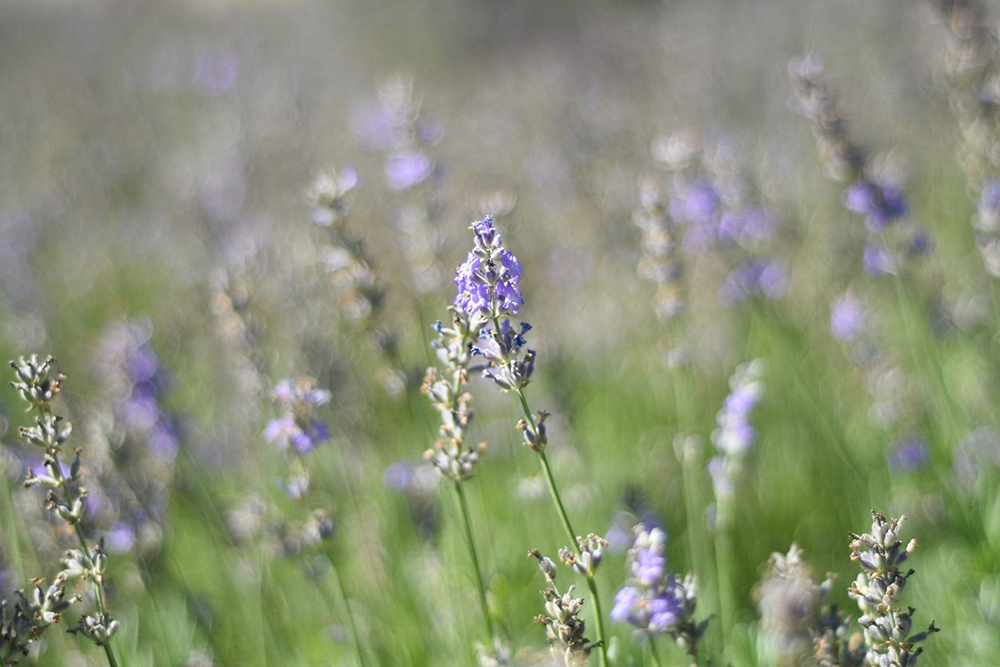
Tomarrah M J Green, Graduate
‘
…or light bokeh that is a subject within itself. For a shot like this, leave the lens hood off and with the light coming in slightly to the left and behind the subject it has created some haze.
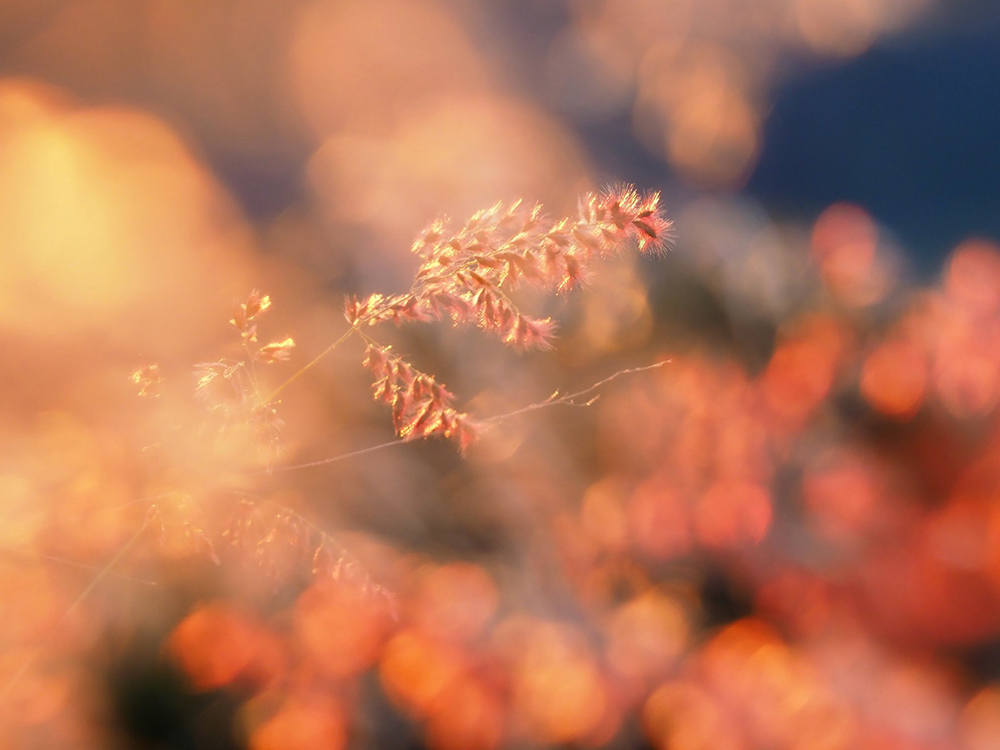
Lisa Weller, Advanced Graduate
7. Shoot Through
Shoot through windows, fabric, fences and similar and focus on the object you’re shooting through, for a different view of your subject.
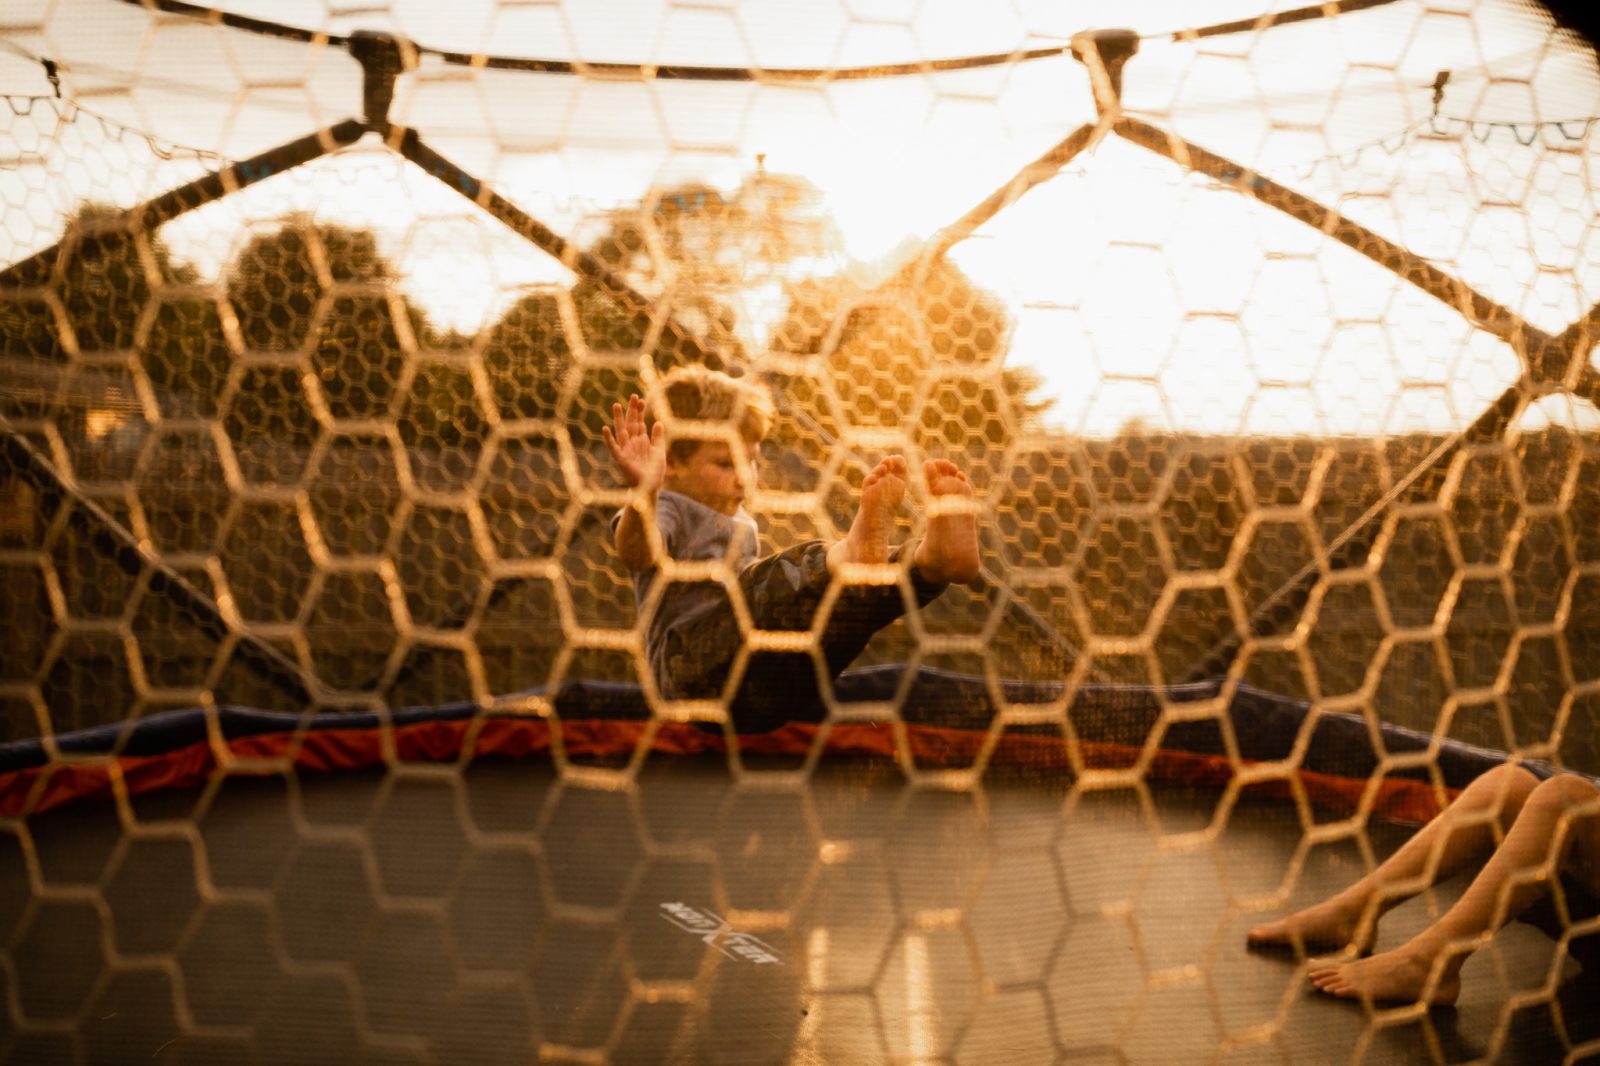
Sally Rudy, Graduate
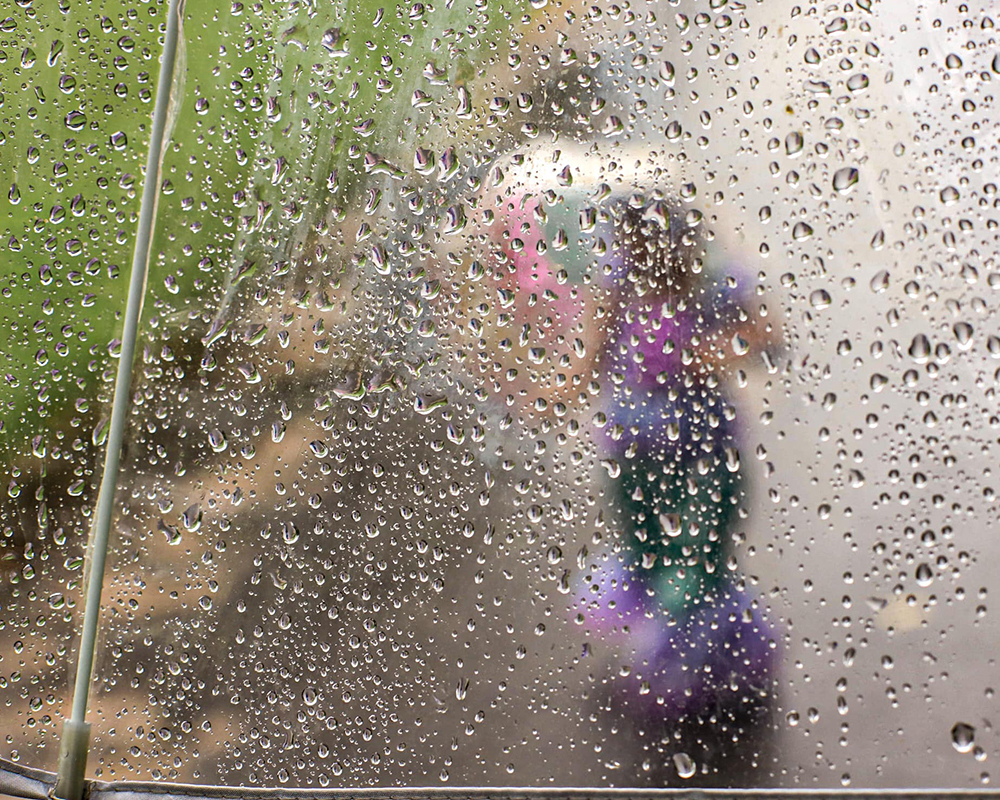
Cassie Ackerson, Advanced Graduate
We hope you enjoyed this gorgeous collection and that it inspires you to pick up your camera and think outside the box for some creative compositions.
Free Photography Workshop
Join my new workshop and learn How to Shoot Pro-Quality Photos With Your DSLR… and it’s totally FREE to join! Register here…

Leave a Reply Cancel reply
PRIVACY POLICY & SITE TERMS AND CONDITONS
CLICK LOVE GROW ™ Pty Ltd - COPYRIGHT 2024 ©
x
Join Now
Enter your info below to join the challenge!
Want a friendly reminder when I go live?
Pop in your number and I’ll shoot you a text.
* We will send text reminders for our live calls during the challenge! Reply ‘STOP’ to end or ‘HELP’ for help.
We promise not to ever share your details with anyone or send you spam! Check our privacy policy and terms of service.
Be the first to comment