A Fun Portrait Project… With a Toddler!
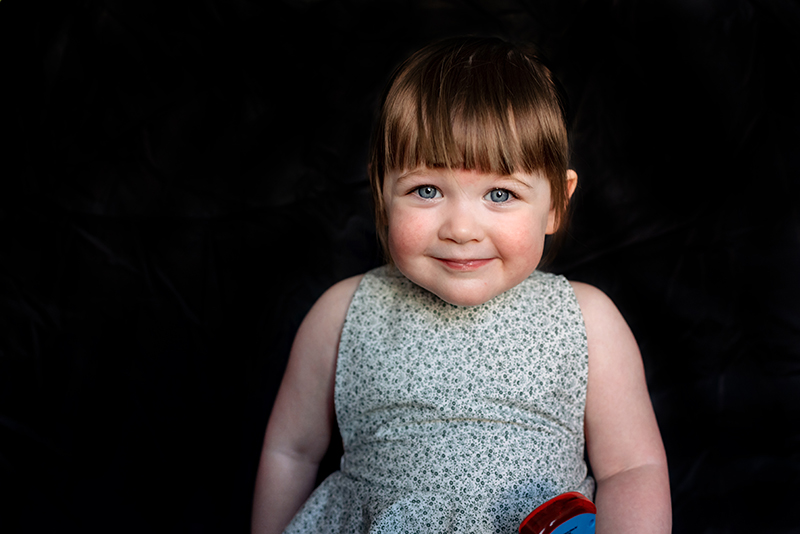
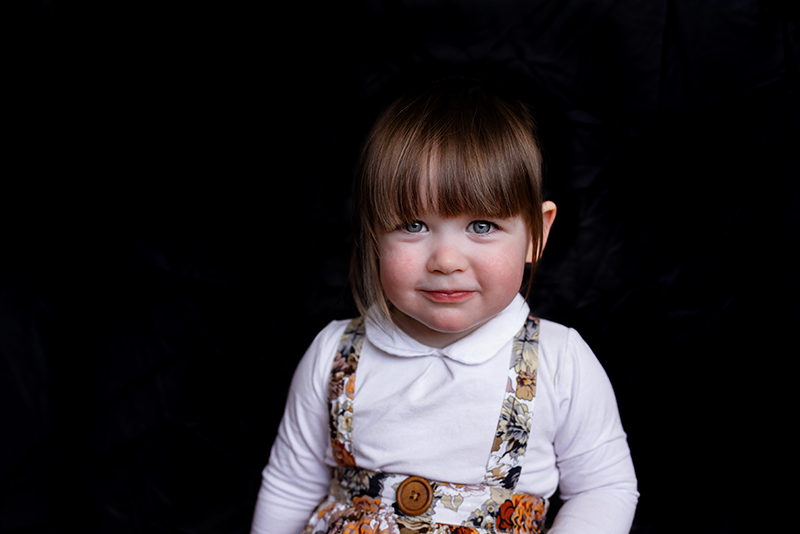
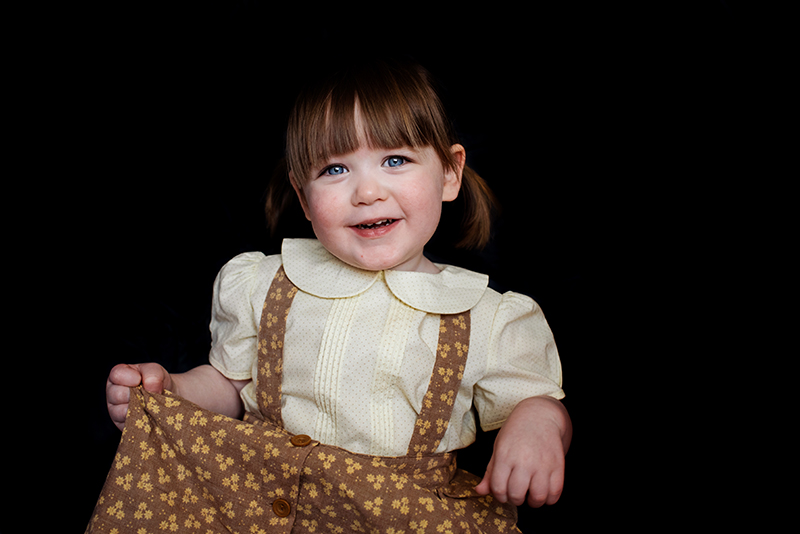
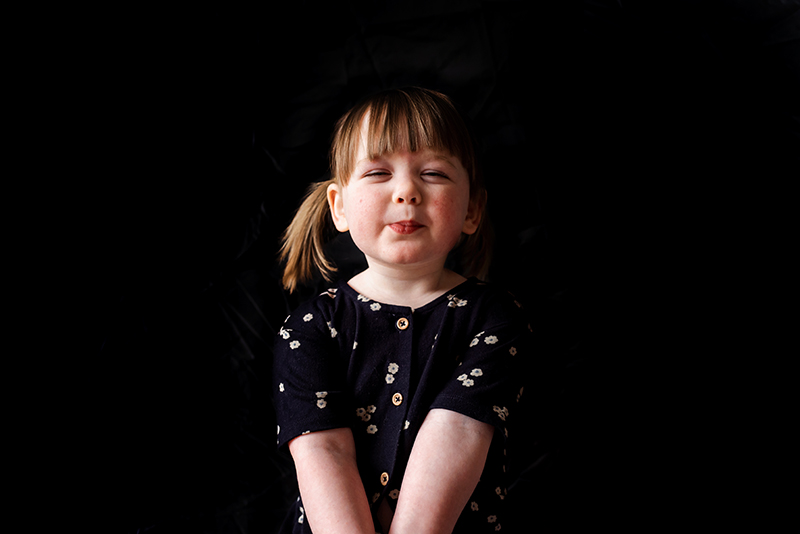
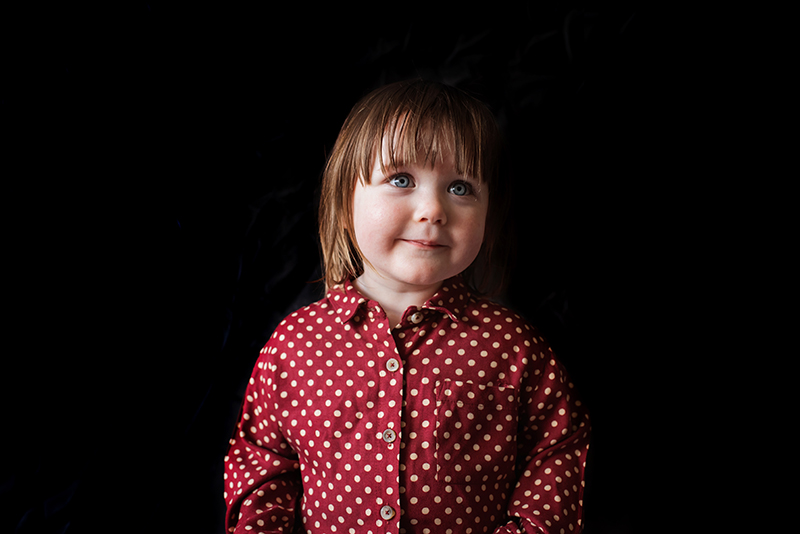
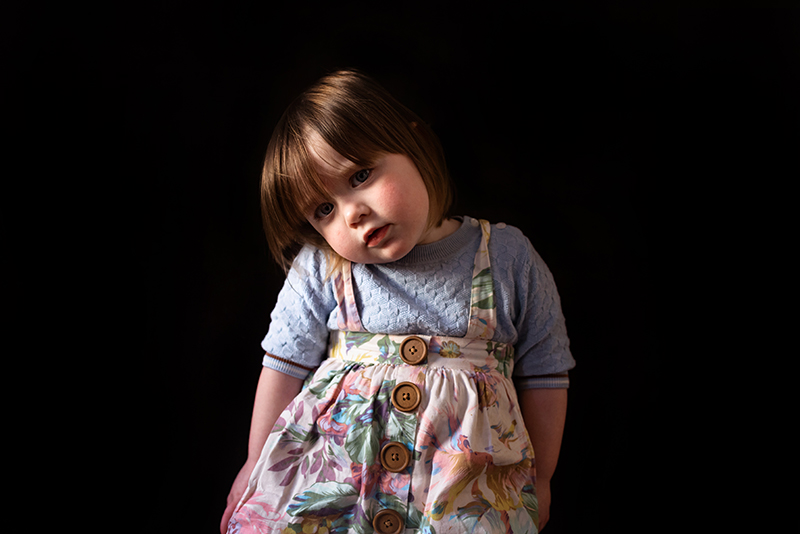
What started out as a bit of portrait practice, morphed into a fabulously fun photo project to document each day in lockdown… with a two year old!
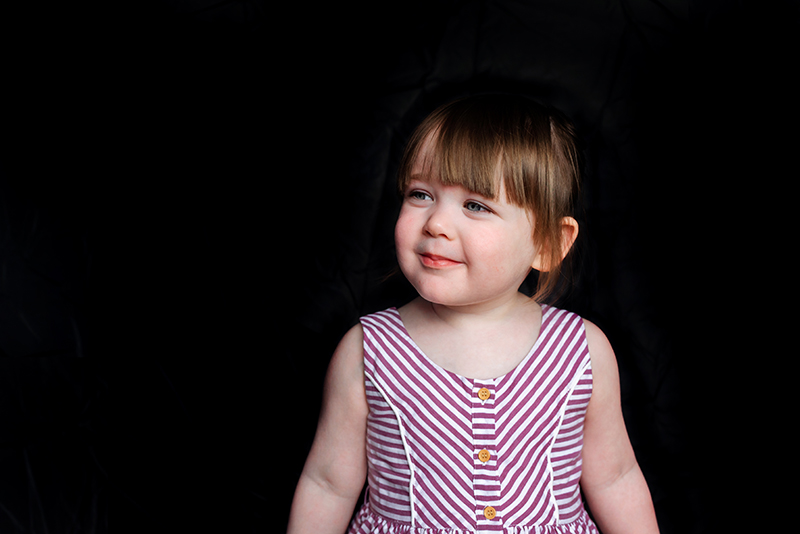
Becca Lord-Lyon is a CLG Grad, and when she began sharing her daily portraits of her daughter in our Grad’s group, they were so full of personality and fun, and so striking in their simplicity, they jumped out at us from the wall. What’s more… hello, two year old! It’s hard enough to get a toddler to stop for a photo let alone in your chosen location, in the good light, and looking at the lens! So naturally, we had to blog it…
So we asked Becca for some tips around her set up, her backdrop, lighting, settings… and especially how to get a two year old to sit still for 9 weeks of portraits. I mean, is that even a thing?

The Project
My 2 year old daughter Lenox went from a little baby who was happy to let me take her photo, to a toddler who would not even look in the direction of my camera. I tried lots of different ways to hold her attention long enough to snap a portrait, but nothing really worked. For that reason most of my photos of her to date were captured with a lifestyle or documentary approach.
So you might wonder what kind of crazy led me to believe I could embark on a ‘Daily Lockdown Portrait Project’ with her!
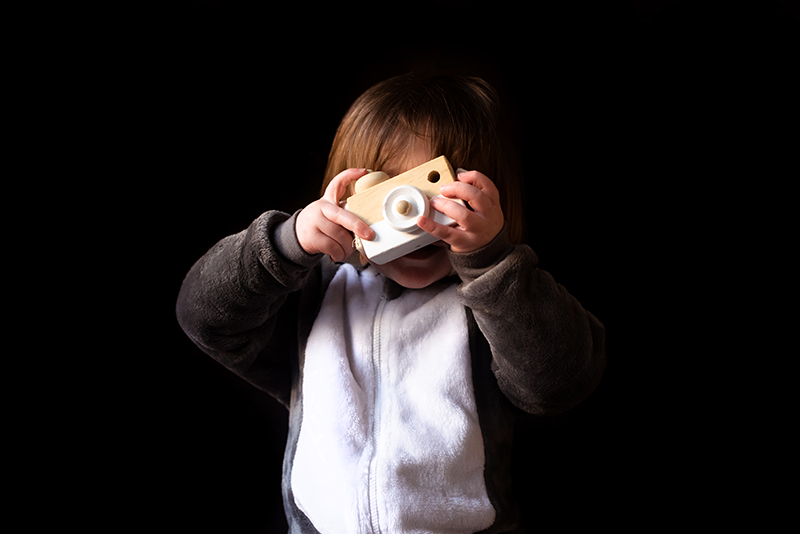
Well the thing is, the project is kind of an accident. It began when I managed to persuade Lenox to sit for me and have her photograph taken for a simple, classic headshot with a modern twist, as part of my Project 52 (I do love a photo project!). The first couple of portraits were pure luck that she agreed and sat for me. But then on day 3 she asked if she could take my photo using her toy camera, and suddenly I had a trick to get her where I needed her, and pose for me.
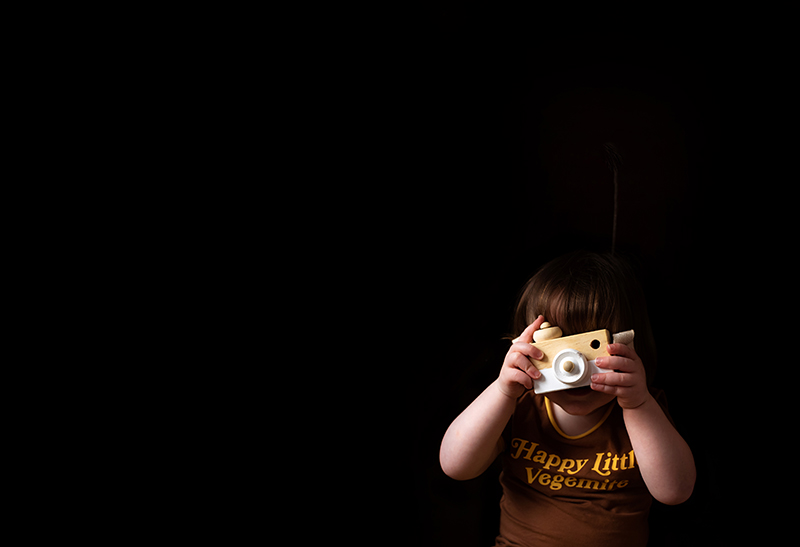
And with that I decided to keep going with it, and this new photo project was born. And let’s face it… in lockdown, you can never have too many creative projects!
Being a toddler however, most days she isn‘t really feeling up for it, and I know she’s not the only toddler to struggle with this. So I have a few tips to help with that, along with my set up and lighting, so you can start your own toddler portrait project.
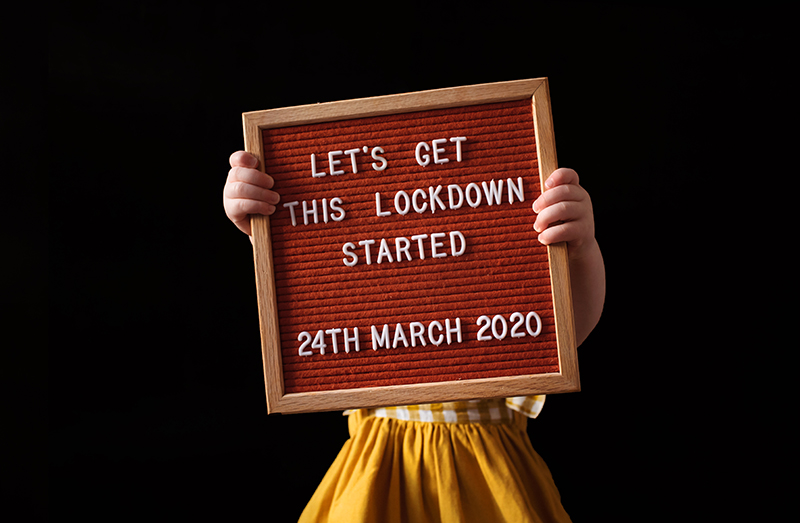
Getting Started
You don’t have to use a black background like I have, and in my case the decision was related to a lack of light in the right place. But you do need a plain, uncluttered background so a simple wall will work. But if you want to replicate this set up, you will need:
- A DSLR or camera you can use in manual mode
- Black backdrop – I used a double sided reflector, but you could also use a large piece of project paper or black fabric
- White reflector – if you don’t have a purpose made reflector, anything white will work – white paper, fabric, a car sun shade
- A small stool for your subject to sit on
That’s it! Let’s go!
1. Location
In the perfect home you would have a plain wall with beautiful natural light that wraps around your subject’s features, eliminating the need for a backdrop. I don’t have a single wall in my house like this.
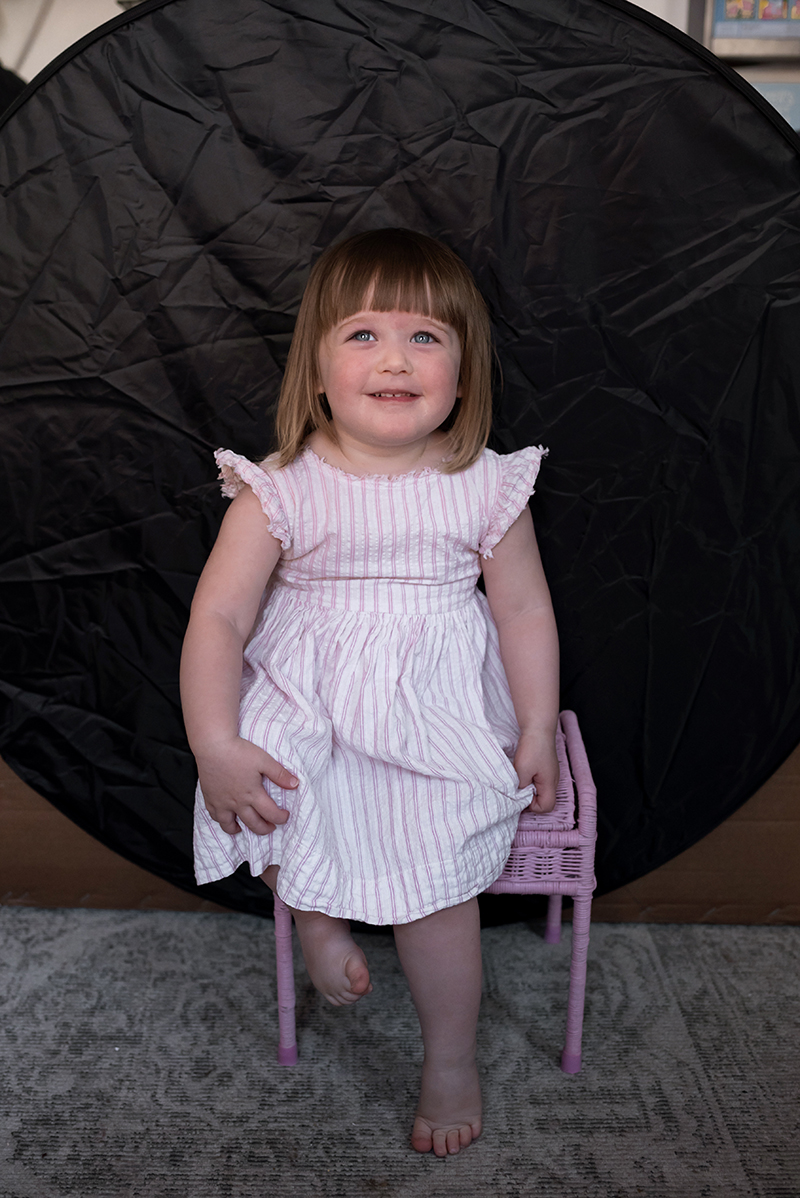
What I did have was a big reflector and one side was black, so for a little person it makes an easy backdrop. I placed it behind Lenox as she sat on her stool, and this meant I could put her in the best light in the house without worrying about finding the ideal background.
You can buy large reflectors inexpensively online.
Related: DIY Photography Backdrop
2. Light & Exposure
I wanted to use soft natural window light, but I live in a tiny light challenged house in England, a light challenged country! Add to that my windows are very small, so I didn’t have many areas where the light would reach Lenox. So I chose the one room with the most light, and placed the backdrop so that she would be side lit.
With the light coming in on my left and higher than her, it was just bright enough for me to get a good exposure if I embraced a high ISO. The result was a slightly moody exposure style, but if you have enough light you can shoot this project in a light and airy style too… it’s entirely up to your personal taste and the amount of natural available light.
Settings
My preference was to shoot at around f/5 to f/5.6 to get her all in focus, with a shutter speed of no slower than 1/250 because she wiggles around a lot. On some days I was able to do this, but due to my lack of light that often meant I could only get a good exposure with an ISO of 1600, and that was too grainy for my taste. So more often my typical settings were:
Shutter Speed: 1/250
Aperture: f/3.2
ISO: 800
Related: Intro to Manual Mode
3. How and When to Use a Reflector
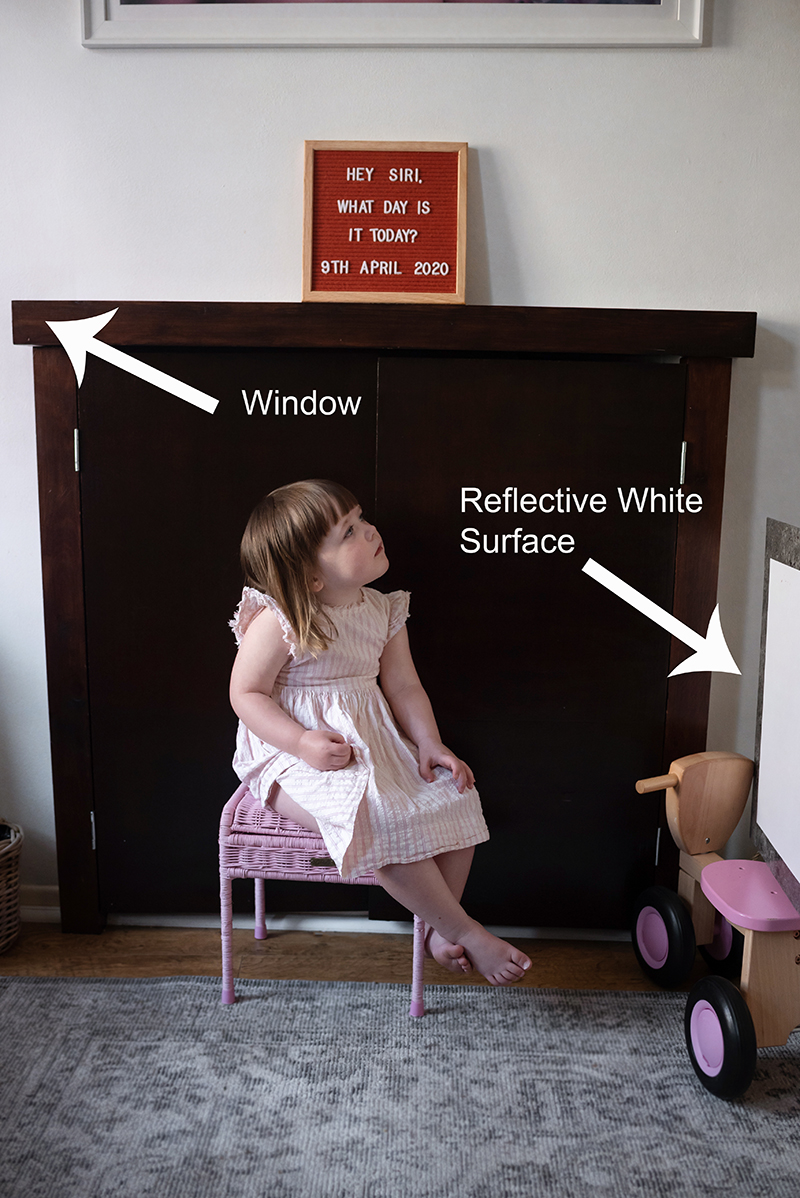
When you only have one light source (in my case, the window on the left) and you side light with it, you’ll get shadows on the opposite side. But that’s ok… shadows are good, they add depth and interest to a portrait and without them our photos will be flat, so there’s no need to eradicate them completely.
But sometimes the shadows can be more dramatic than you envisioned, or unflattering, or simply too dark and dreary. And that’s what I experienced in my location – after a few days of portraits I noticed the shadows on Lenox’s left were deeper than I wanted.

So I created a reflector using a large piece of white cardboard and stuck it to the wall on her left, opposite the light source, which you can see in the pull back image above. This partially filled the shadows and bounced it back onto Lenox, which in turn brought more light into her eyes.
Related: Easy Dramatic Natural Light Portraits
4. Editing a Black Backdrop
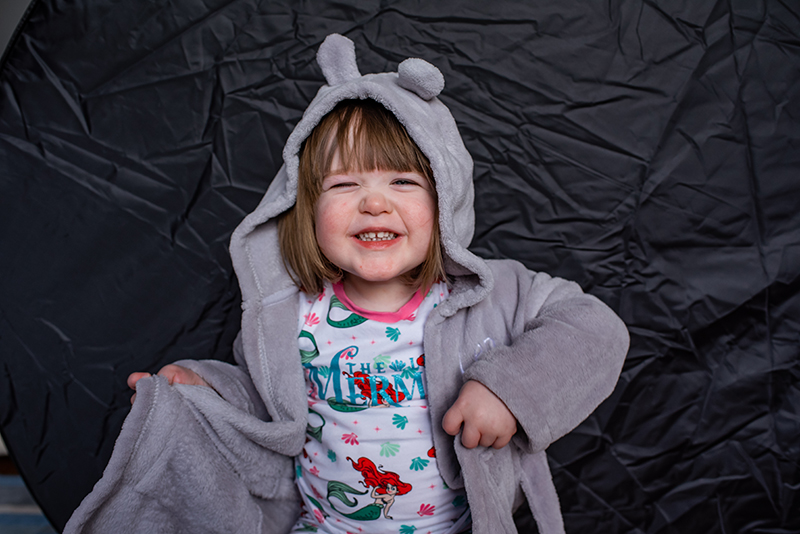
Most DIY black backdrops won’t be true black in photos, and the other problem I had with my reflector-come-backdrop, were the visible creases. Enter: Photoshop.
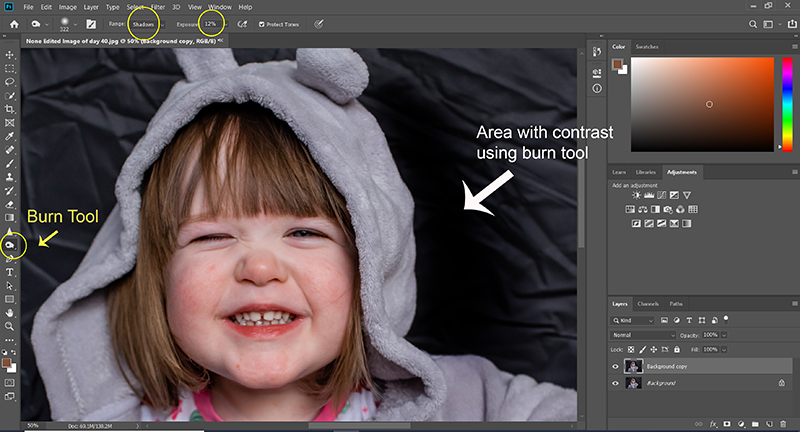
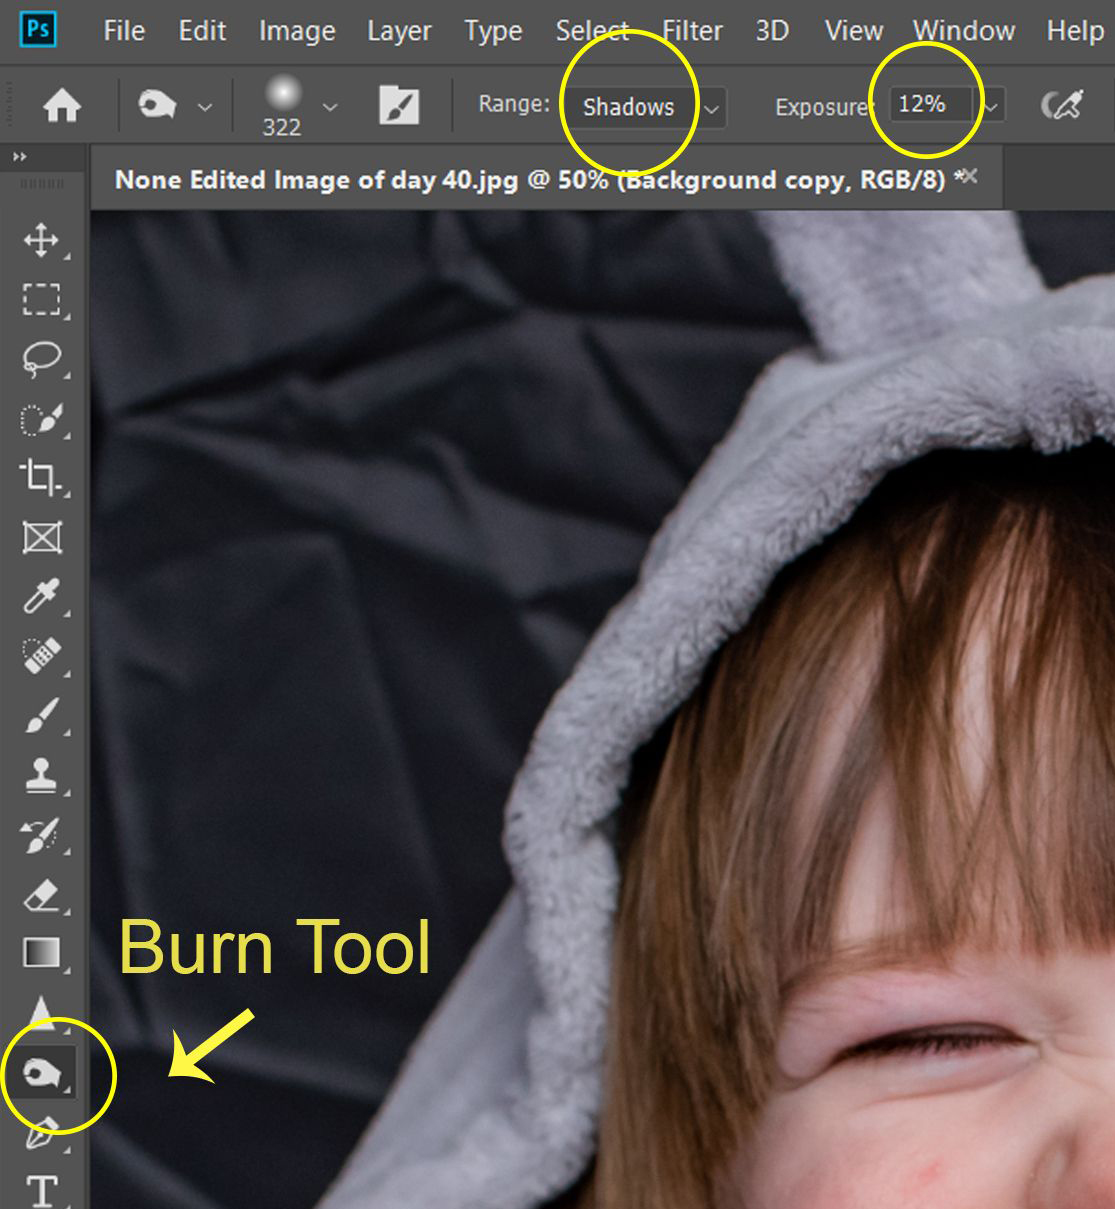
There are lots of ways to make a background black in Photoshop, but I found the easiest way was the burn tool. I zoomed in close to Lenox and started at around exposure 10. The further out I moved from her, the higher I turned it up until I was using an exposure of 35. Be super careful around the edge of your subject so you don’t lose some of their hair.
5. Toddler Wrangling
Ok so now you know how to take the shots… how did I get my little subject there every day, and how did I engage her so she’d look at the camera?
Firstly, the most important thing is taking test shots before you bring your toddler in, because sometimes the first capture was the perfect shot and then she was done! So on those days, if I hadn’t taken test shots first, I would have been sadly reviewing images where she was smiling and happy, but completely underexposed!
So each day I dialed in my settings and took test shots of the spot without Lenox, until I had a near perfect exposure for the light. Then when she sat down I could shoot with those settings and meter for the highlights, then tweak if needed.
Related: What is Metering?
Tricks to Get Your Toddler to Sit
Full disclosure – there were a few days when she really didn’t want to be in the photo, and no amount of encouragement worked. I didn’t try to force it because she more than likely would have refused to continue on at all. It’s better to miss a day here and there than have the project to come to an end completely. So on those days, I used my dogs!
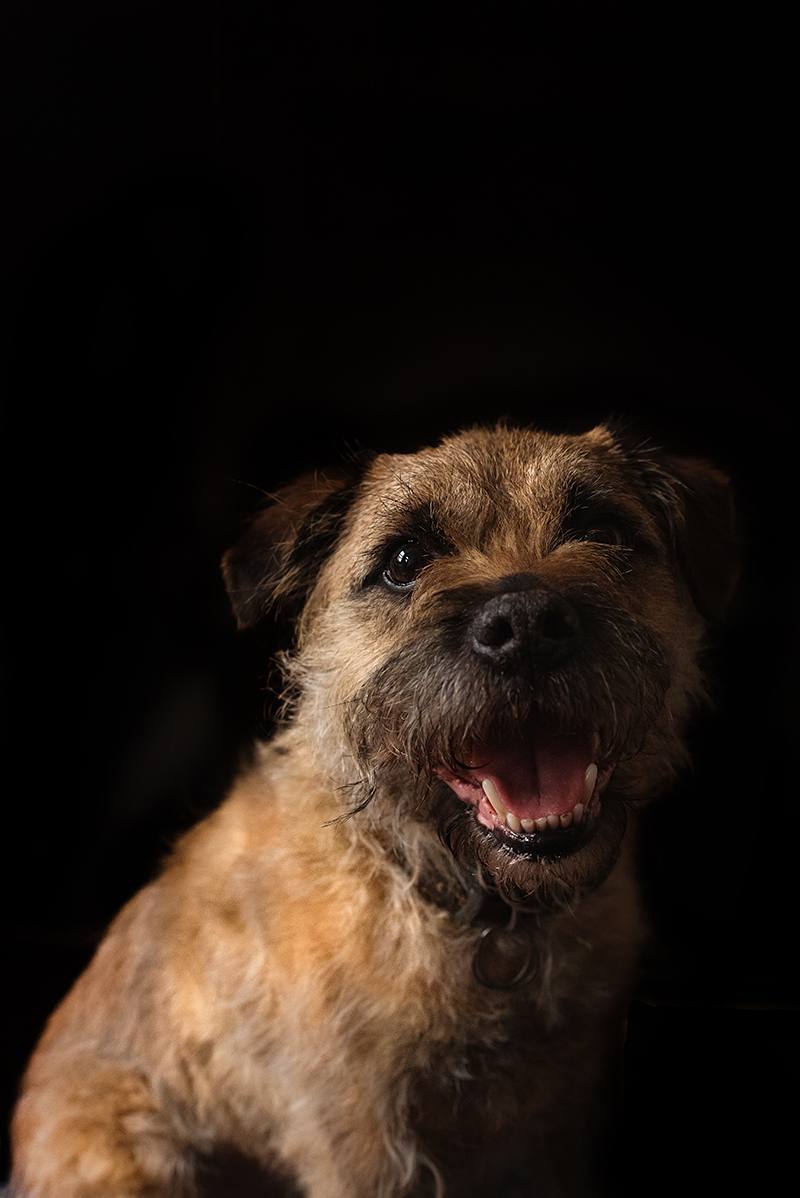
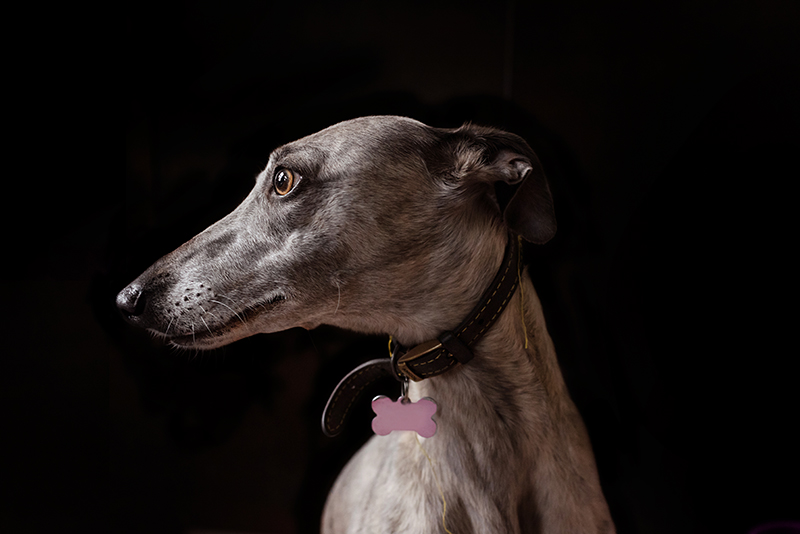
But there were two things I did that made having her sit for a portrait much more appealing to her:
- The power of choice – every day I gave her the choice of one dress up and one or two outfits. This way she was more invested in the outcome of the photo, and much more likely to pose for it; and
- Letting her take my photo with her toy camera – on days when she wasn’t keen, letting her take my photo first meant she would join in and let me take hers. This is why most of our first week of images featured Lenox and her toy camera!
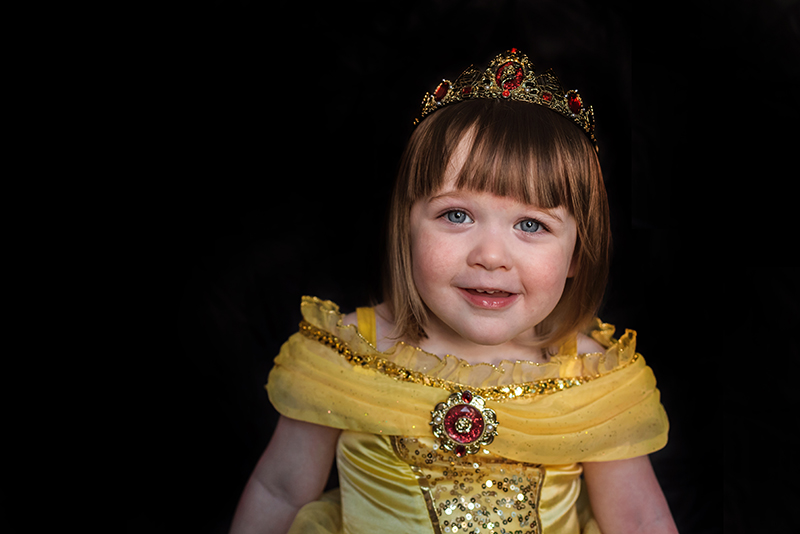
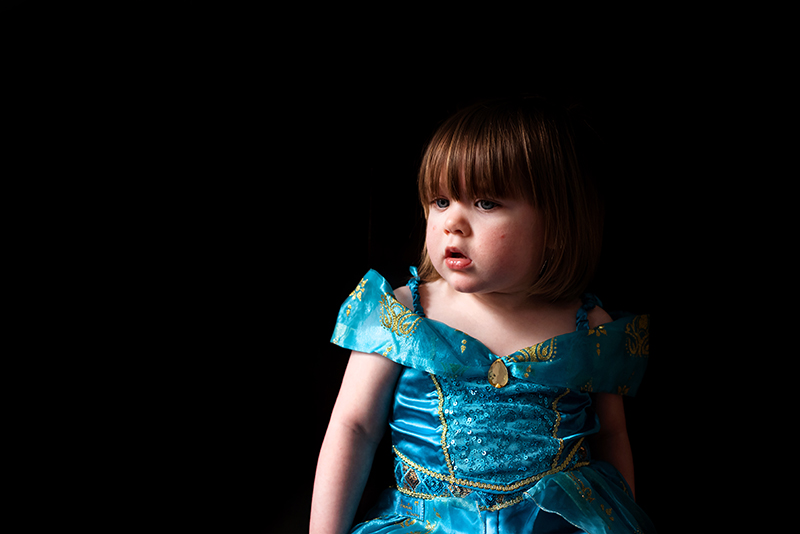
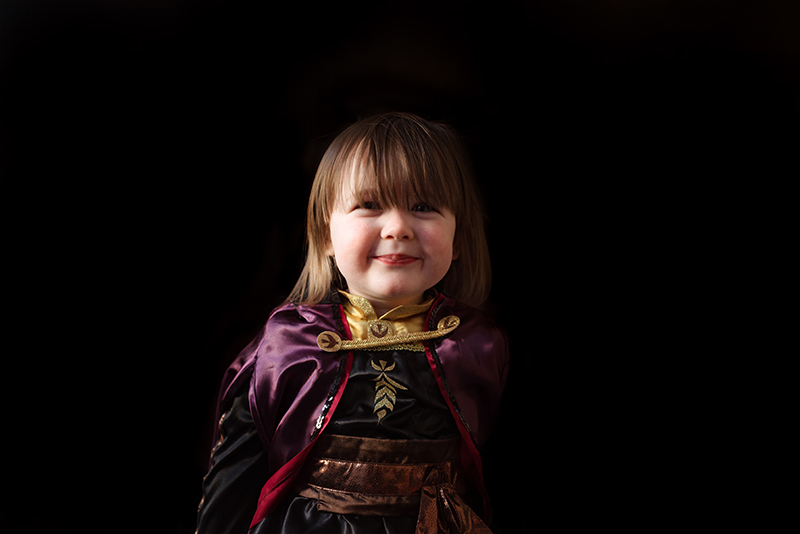
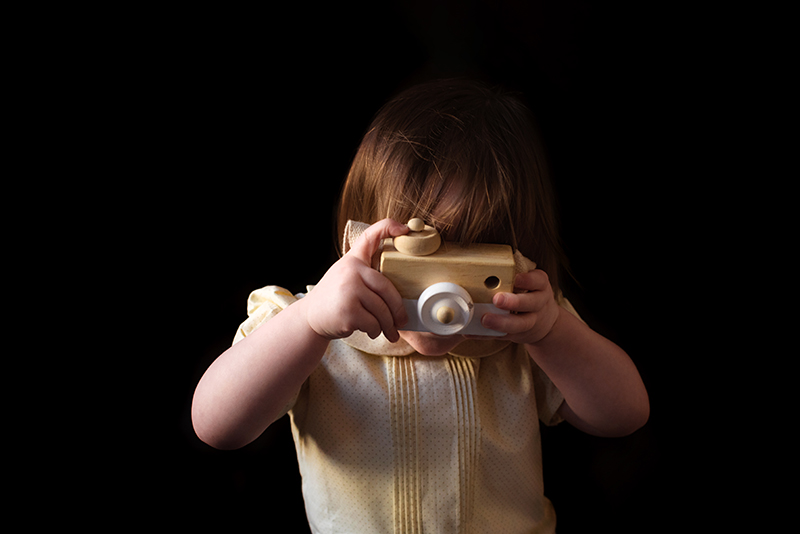

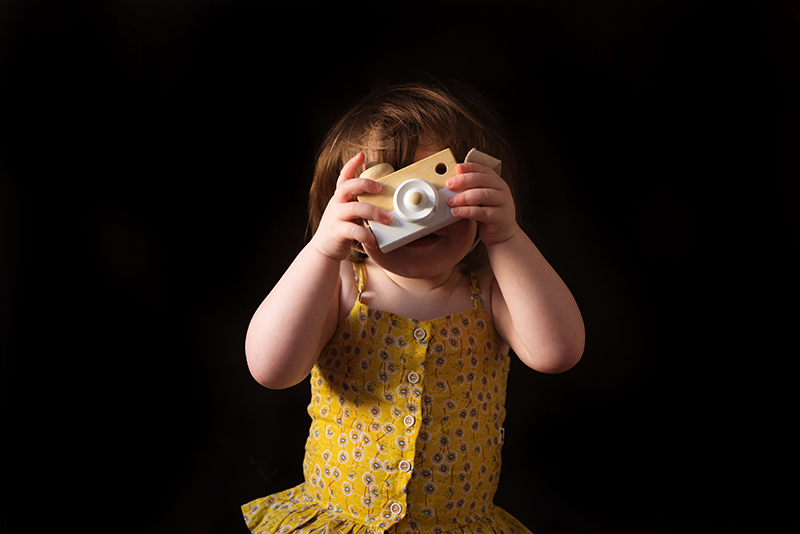
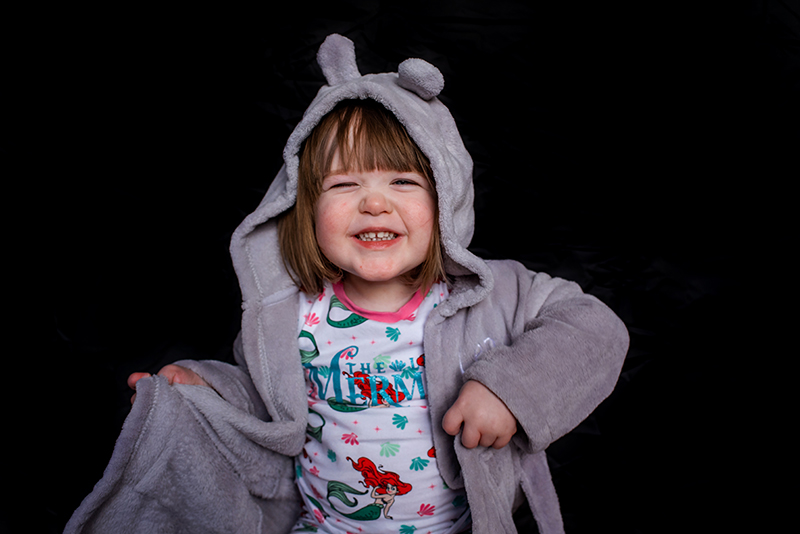
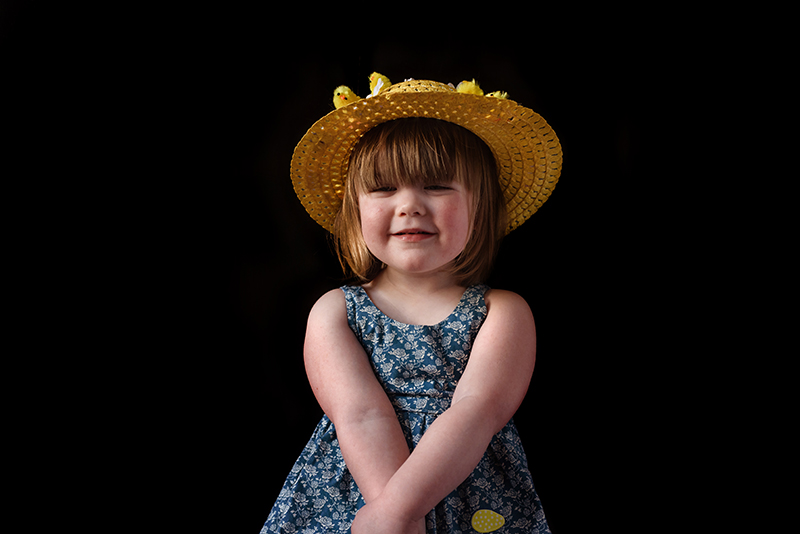
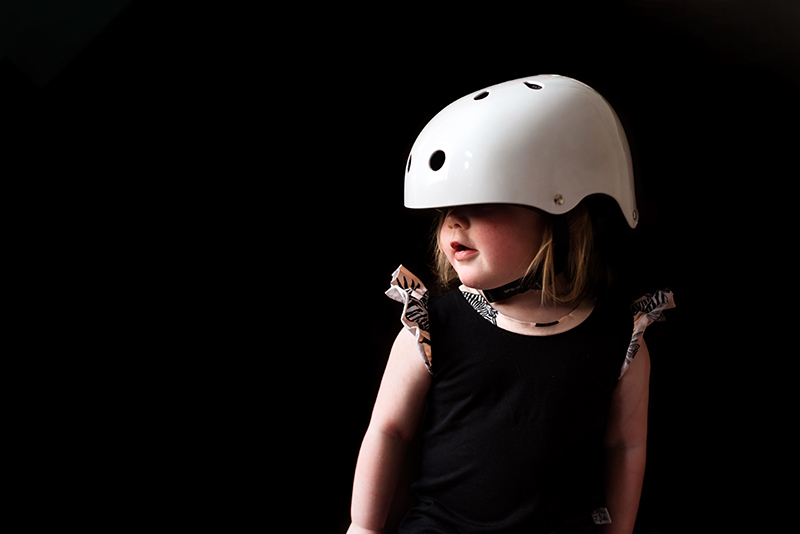
Some days her choice was just a hat, or even her bike helmet which she loves!
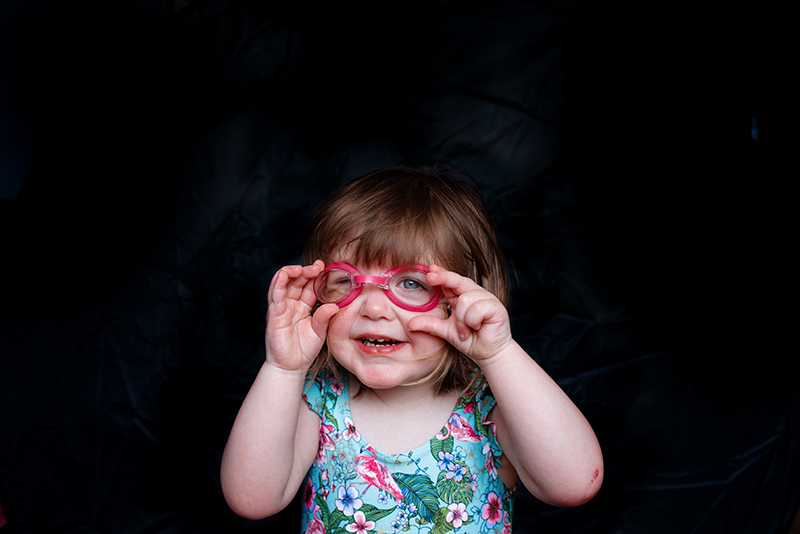
Or that time her goggles were the perfect accessory!
Pajama day!
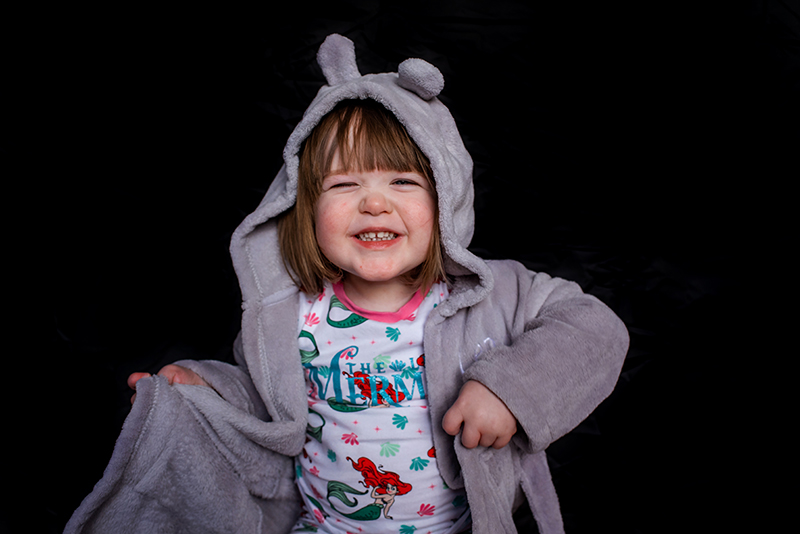
Here’s an easy way to get a toddler to sit and stay… music.

But overall I just wanted to capture her mood on each day so all of that was totally fine. Also, I wanted the photos to be fun, not a traditional and serious studio pose, so the unexpected or a little bit of whimsy is a good thing!

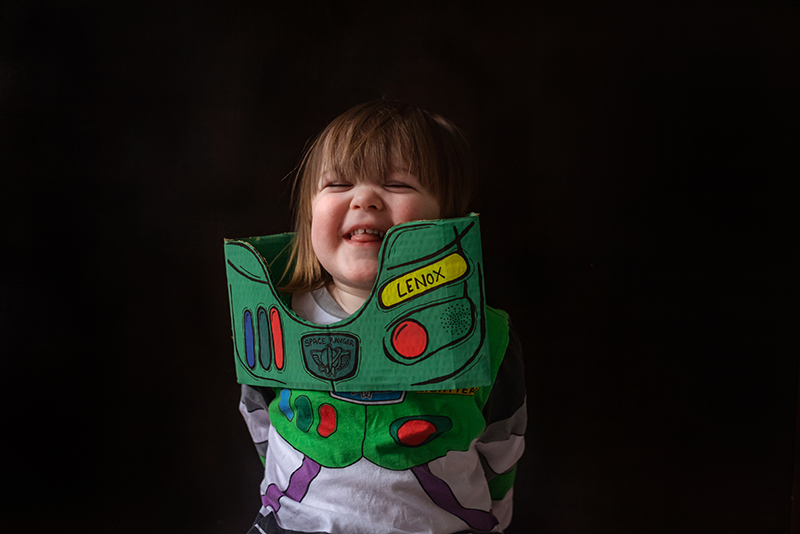
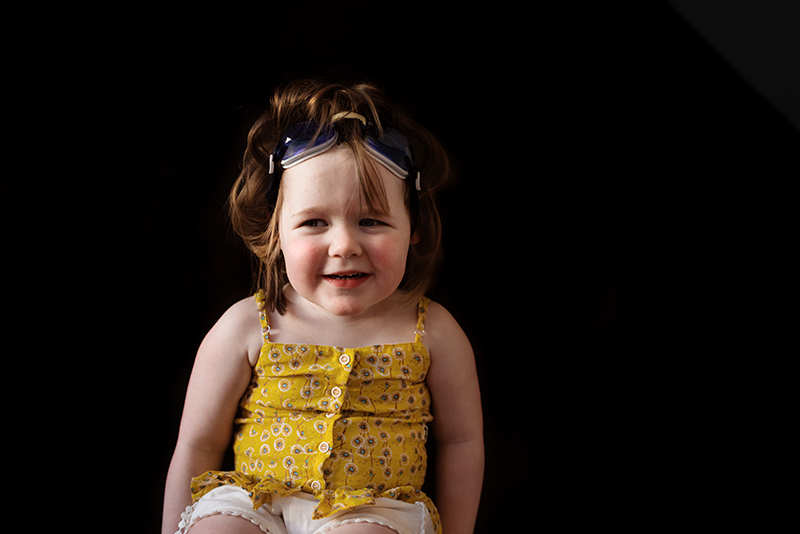

Other tricks I used to get Lenox to sit for me willingly:
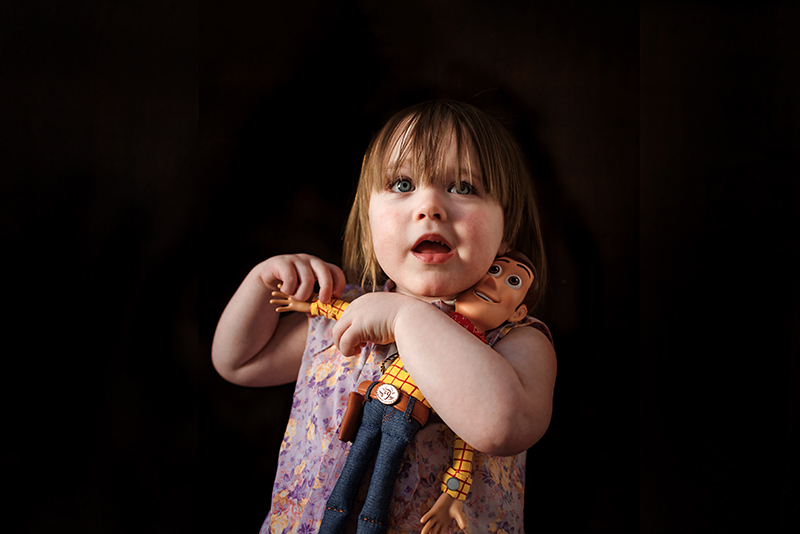
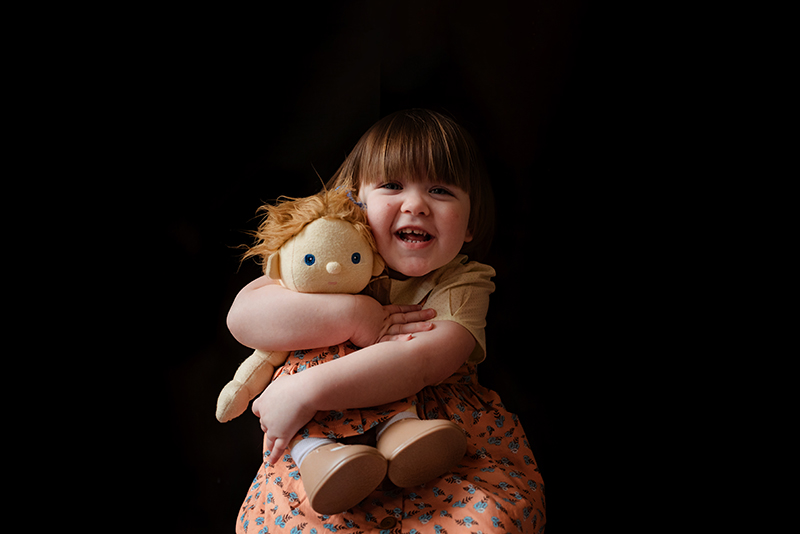
- Encouraged her to bring her favourite softie or other toy
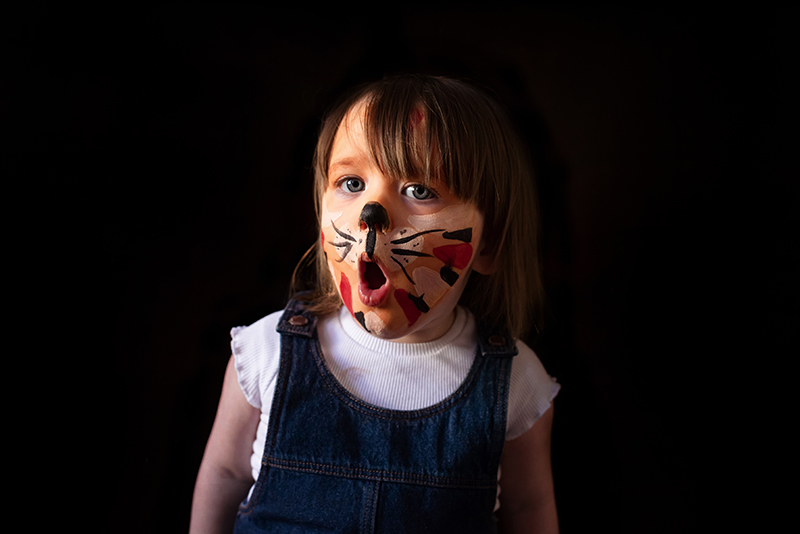
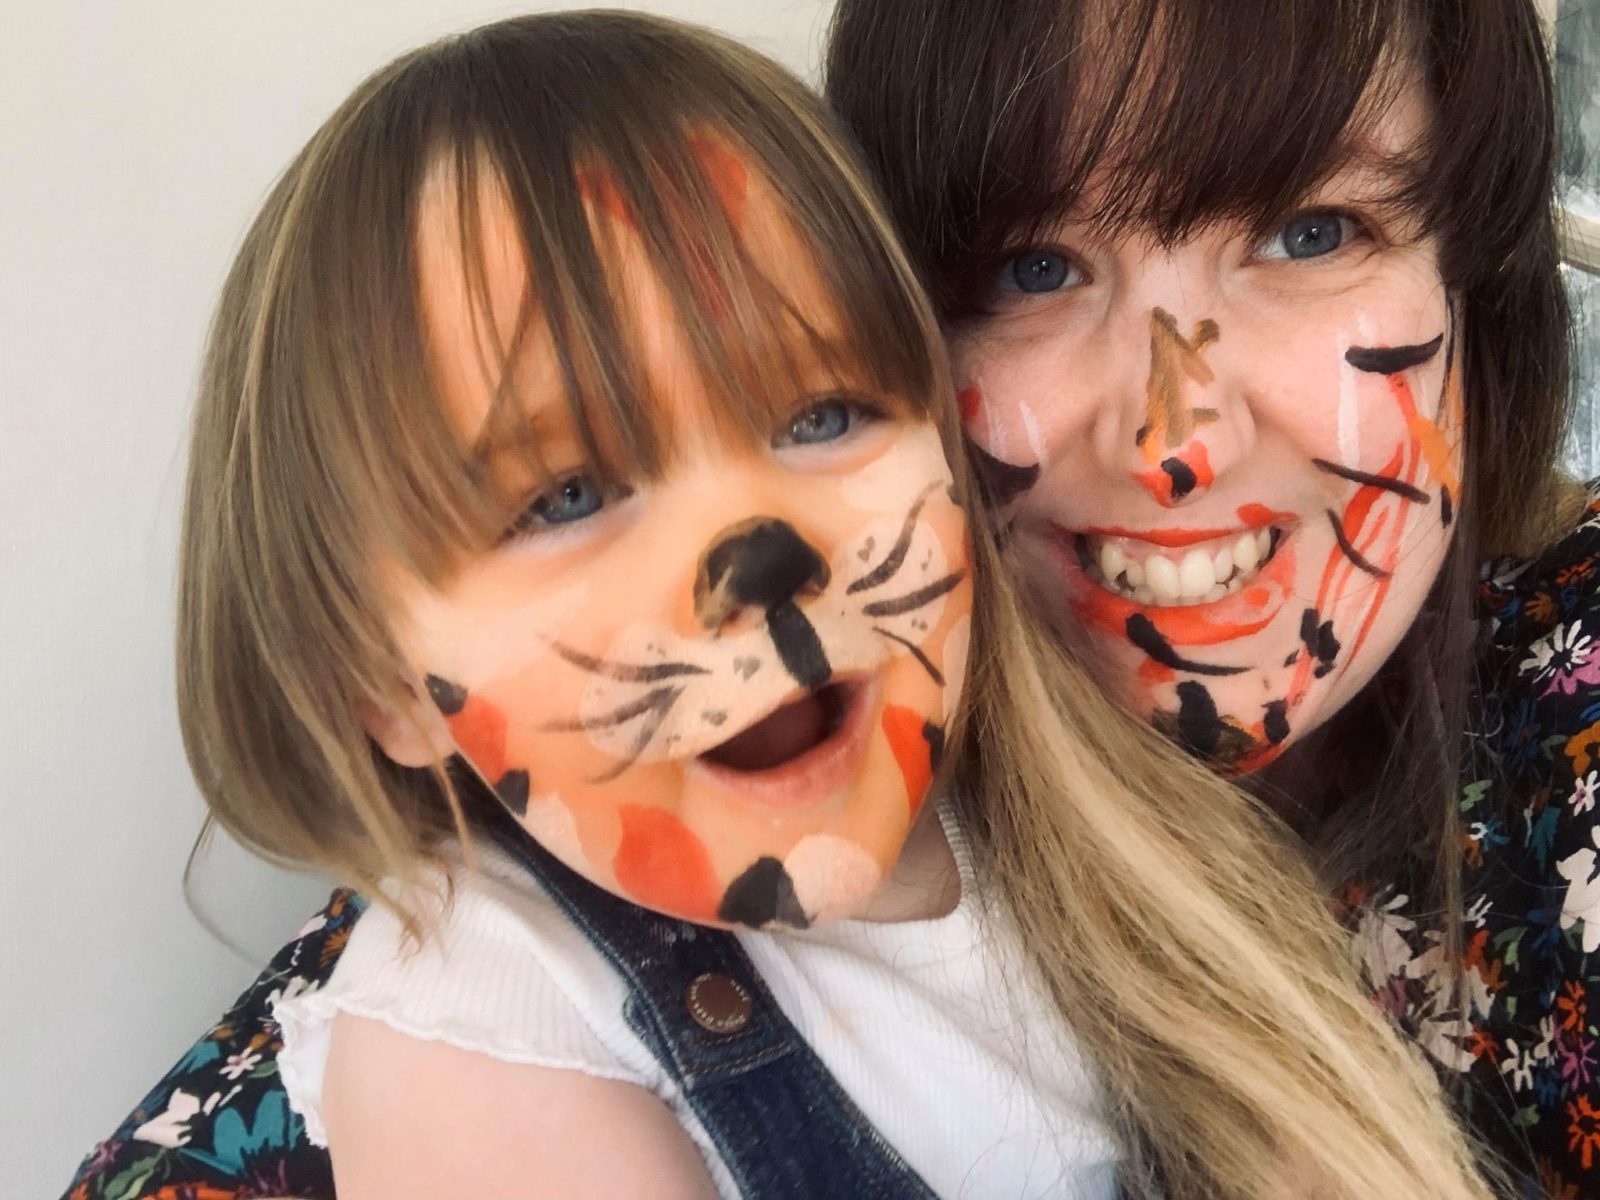
- Face painting – I ordered some online then she willingly agreed to a portrait once her face was painted
- Let her wear my sunglasses for a photo
- Gave her some empty paper towel rolls and asked her to look for me through them
- Asked her to make funny faces
Just to name a few!

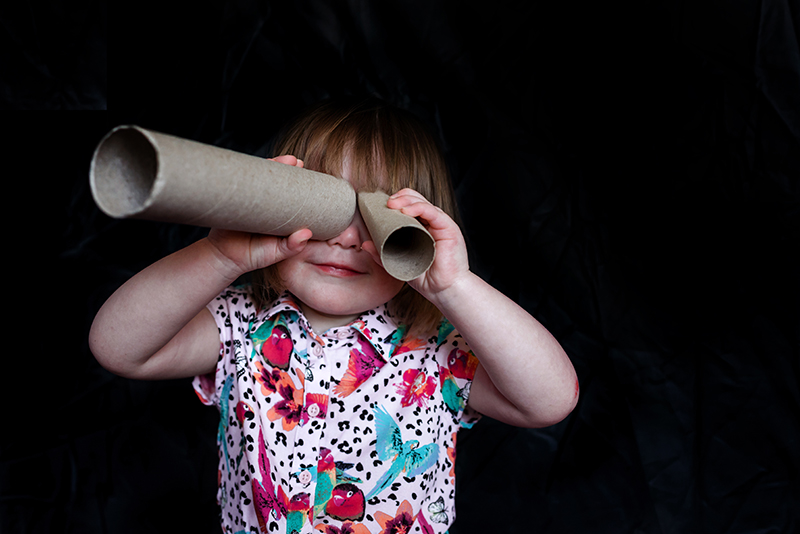
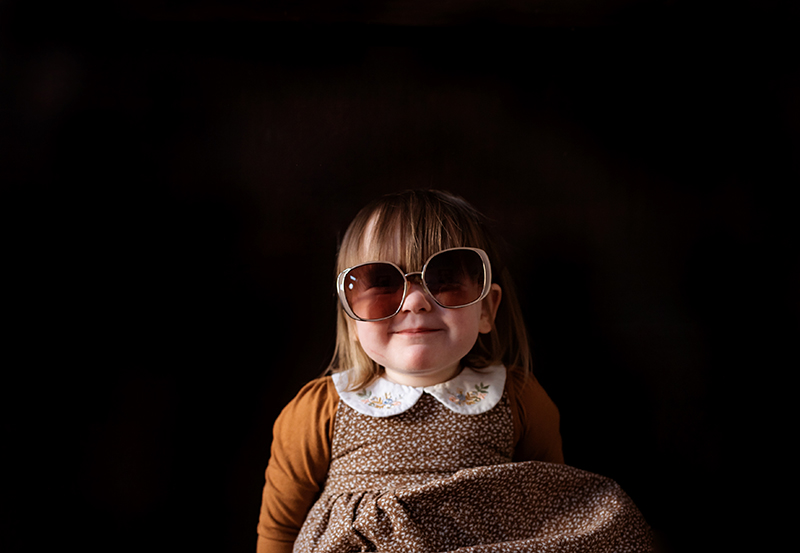
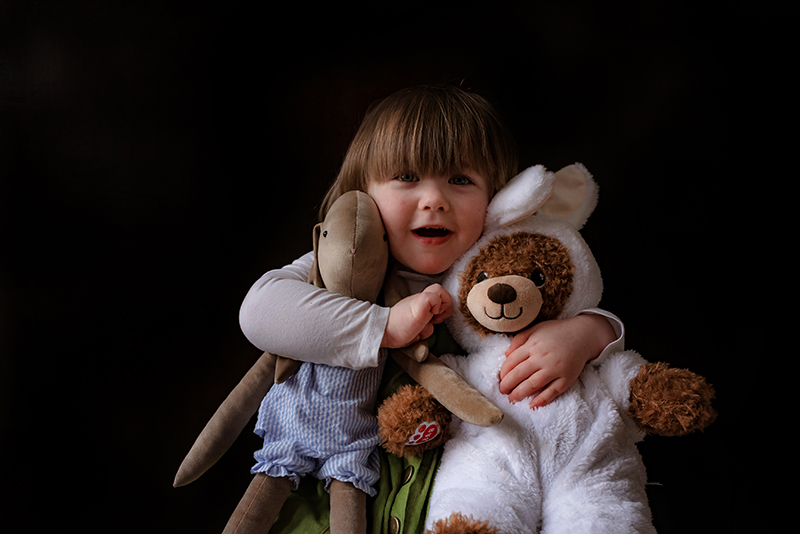
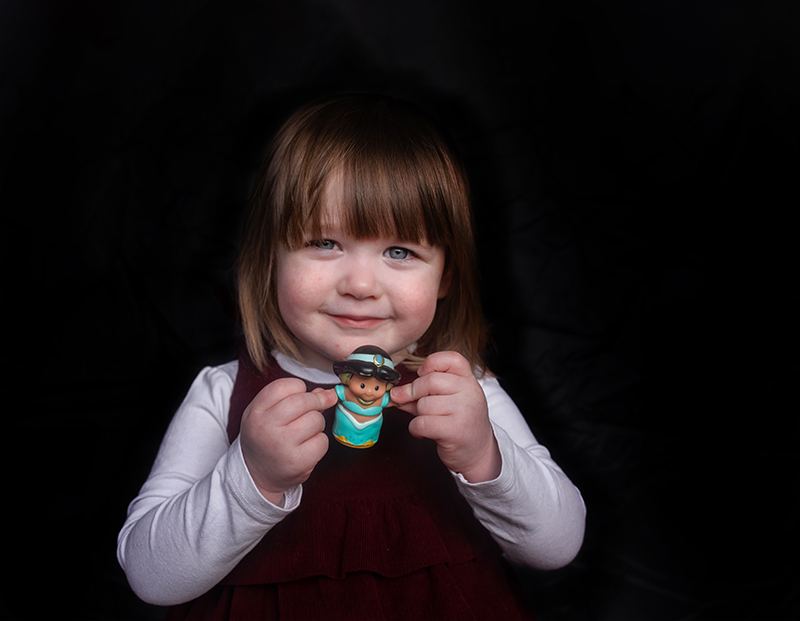
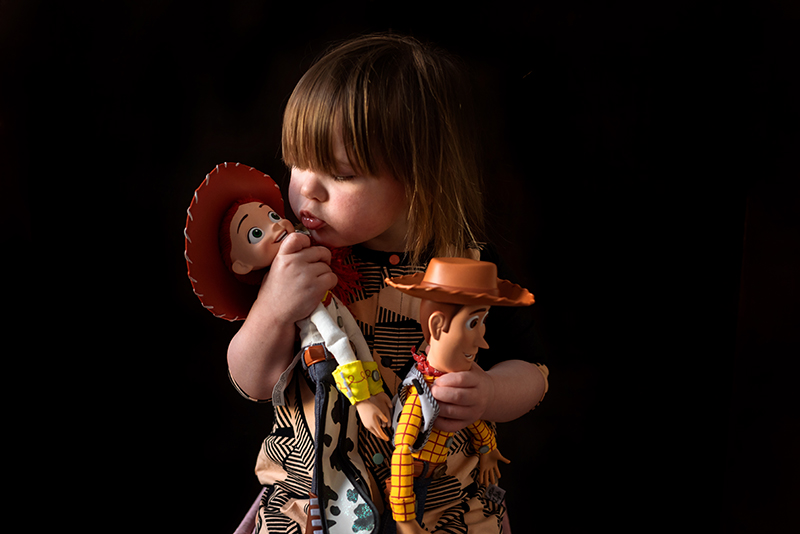
One day she happily agreed to pose with face paint, if I let her paint my face too!
Engage Your Toddler for Natural Smiles
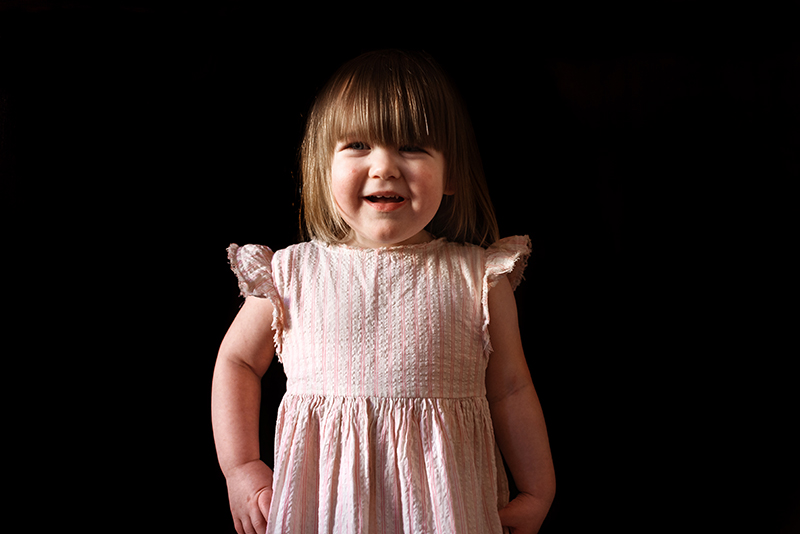
Ask a toddler to look at your lens and smile, and if you’re lucky that will work – once. Rather than asking a toddler to pose and smile (why not try herding cats too?) engage them instead.
I tested out lots of the suggestions from the CLG blog post about tricks for engaging children for natural smiles, such as playing hide and seek behind the camera. But all kids are different, and the two tricks that worked the best to engage Lenox were:
- Holding something she wanted above my lens like a cookie or a juice; and
- Telling her to look for the little man inside the camera.
Related: 10 Tricks for Natural Smiles from Kids


9 Weeks Later!
Before I knew it, we had taken 9 weeks of (almost) daily portraits!
They’re not all perfect, but they are a great reminder of how much she has changed in just a couple of months, and they’ve also been a brilliant way for us both to learn about taking portraits. I’m not going to say that Lenox is now a pro at having her portrait taken… but she has learned where to look and where to sit, and that’s amazing for a 2 year old!
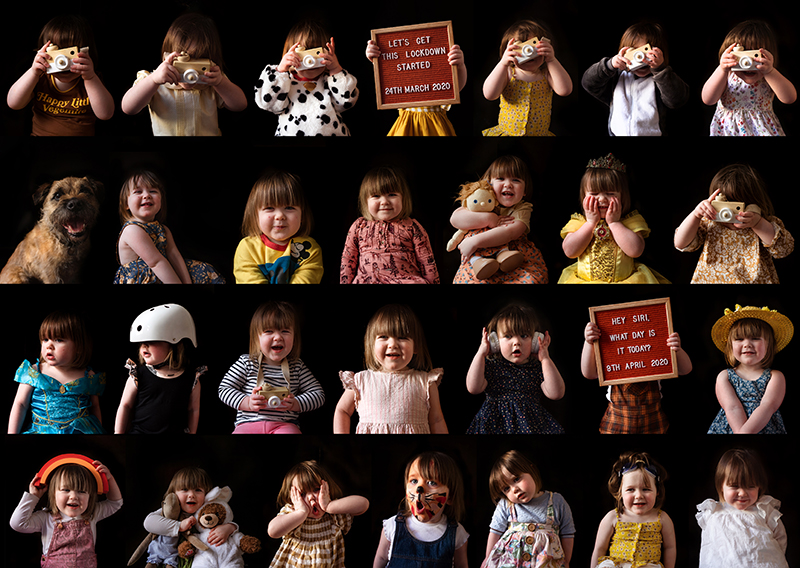
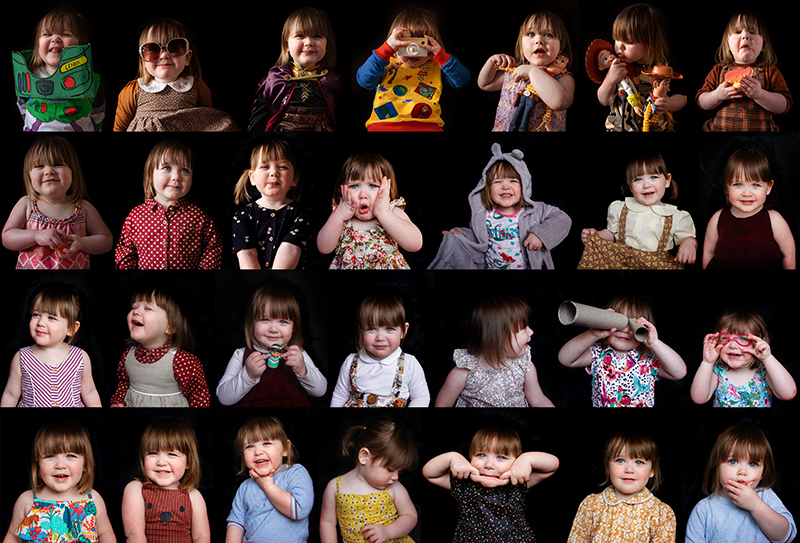
We hope you loved this super fun project as much as we did! If you give it a go, share your results on insta and tag us @clicklovegrow we’d love to see your work! And while you’re at it, go and follow the fabulous Becca Lord-Lyon, she’s constantly inspiring us with her gorgeous toddler portraits at @letters.to.lenox
Join my new workshop and learn How to Shoot Pro-Quality Photos With Your DSLR… and it’s totally FREE to join! Register here…

Leave a Reply Cancel reply
PRIVACY POLICY & SITE TERMS AND CONDITONS
CLICK LOVE GROW ™ Pty Ltd - COPYRIGHT 2024 ©
x
Join Now
Enter your info below to join the challenge!
Want a friendly reminder when I go live?
Pop in your number and I’ll shoot you a text.
* We will send text reminders for our live calls during the challenge! Reply ‘STOP’ to end or ‘HELP’ for help.
We promise not to ever share your details with anyone or send you spam! Check our privacy policy and terms of service.
Hooray Lenox and Becca! These are fantastic! And amazing tips! Thank you so much for sharing your experience with us.