Grab the Metering Modes Guide
Grab our free metering guide below to know which modes suit which shooting scenario... all in a handy checklist for when you’re out shooting.
Have you ever looked at an incredible sunset silhouette photo and wondered how to take one yourself?
The secret to getting crisp, beautiful silhouette images involves a lot more than simply exposing for your sky. How and where you choose to place your subjects, or how little or bright your light is, will go a long way in helping you take a shot that stands out and looks fantastic!
If you’re looking for advice on how to take beautiful silhouette photos, check out these tips.

Louise Glendon, Click Love Grow
You can shoot sunset silhouette photos with any digital camera or lens, as long as you can switch from auto into manual mode.
Unlike most other genres, you will focus on the subject, but you’ll expose for the back light. In auto, your camera will try to expose for the overall ambient light and you’ll probably end up with a lighter image than you wanted.
So this is an instance where YOU need to be the boss!
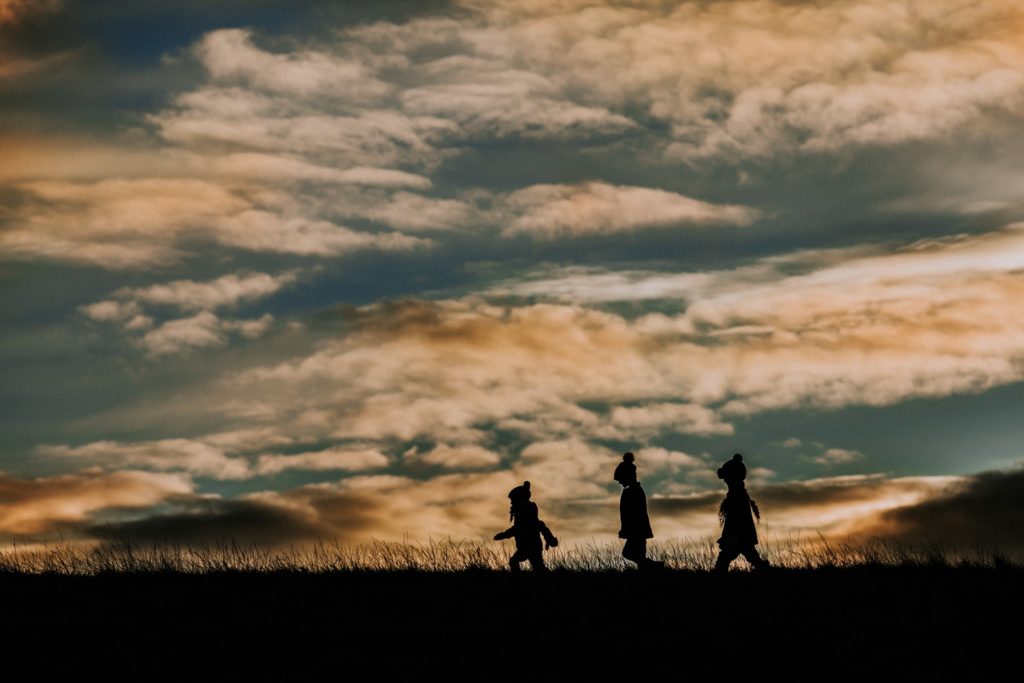
I think this is the most important aspect when shooting sunset silhouettes, but also any other type of silhouette picture.
When we put a subject in shadow, we can only capture its shape, and very little of (if any) its details. So it works best if our subject has an interesting and well-defined shape and lines. You’re only limited by your imagination, but the following are some examples of subjects with a sharply defined form:

Bronwyn Pickering, Advanced Graduate

Chantel Harding, Advanced Graduate
Kirsty Nealon, Advanced Graduate
When we photograph silhouette photos of people, if there is no separation between their limbs and body, our photos will end up looking more like, well, shadowy blobs!
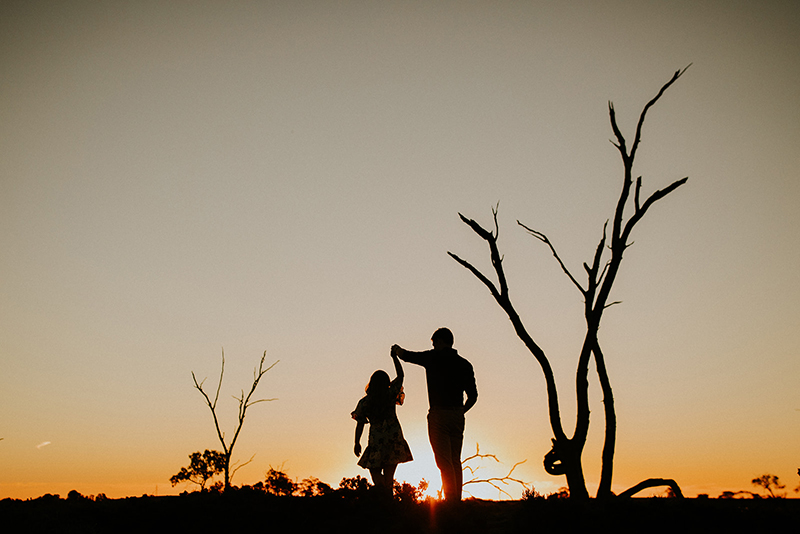
People need to pose in a way that ensures there is separation between their extremities and their body, so that we can see their figure’s lines.
Even better, capture them in action – two people swinging a child between them, children jumping with arms and legs outstretched, cartwheeling, dancing, kissing, an adult holding a child in outstretched arms over their head, composed so that we can see the child’s happy profile.
Remember, avoid the blob!

Louise Glendon, Click Love Grow
When taking silhouette images you can use the natural light of the sun at sunset or sunrise, the moon, street lights, car lights, firelight, candle light, and so on. The reason I recommend dusk or sunrise light for taking silhouette photos is because during these hours, the sky is awash with stunning colours that can create dramatic effects.
Bottom line, your subject needs to be backlit.
If you shoot in an open area, your subject needs to be in front of the sun or any other source of light you might use.

Emma Arthurton, Graduate
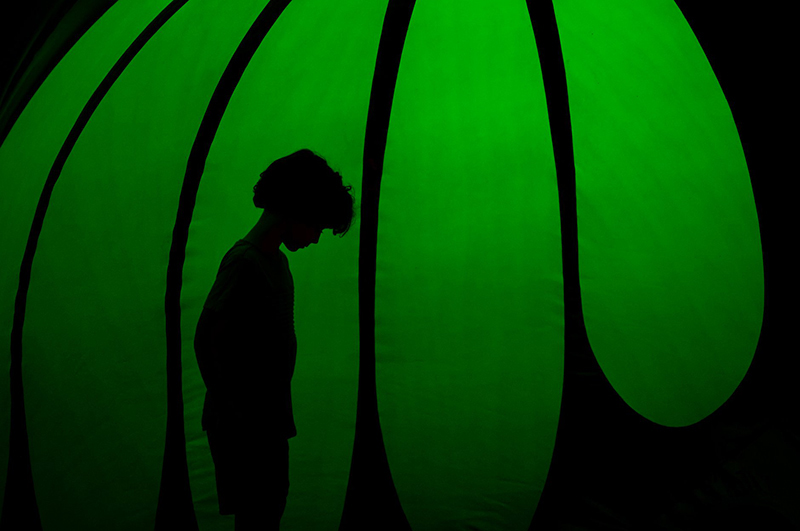
Or you could shoot indoors, with your subject backlit by the light source coming from a natural window, doorway, or through the use of lamps or other lights including firellight.
Amy Holton, Advanced Graduate
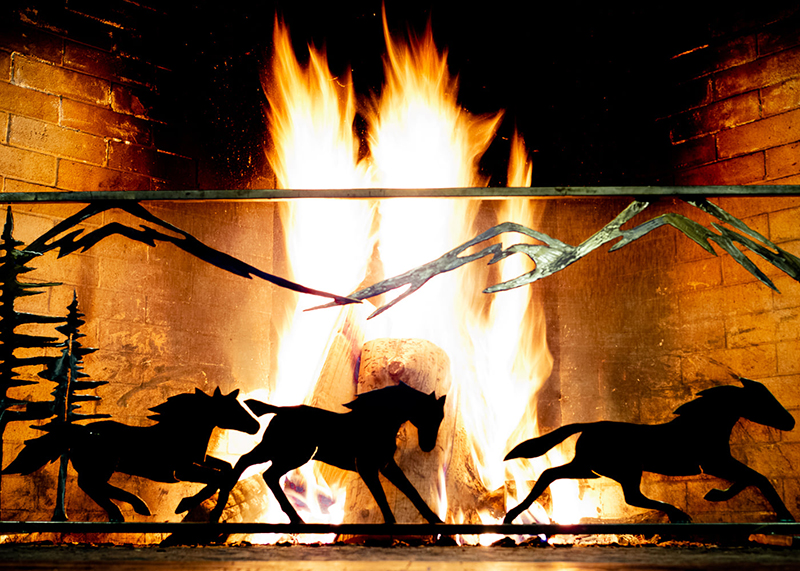
Courtney Yegian, Graduate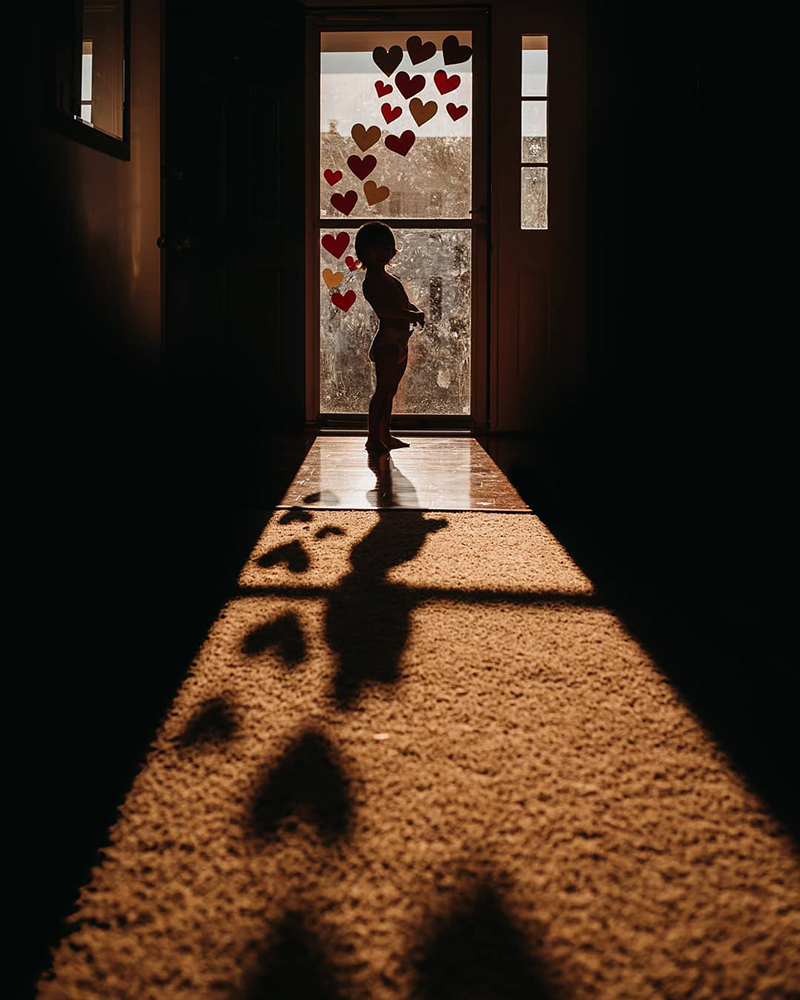
Dana Whitley, Advanced Graduateblog
As long as your background is brighter than your subject, you can create a silhouette shot.
Also, a silhouette doesn’t have to mean the subject is entirely dark. A little detail is ok, and sometimes a well placed sliver of light can create a very artful shot. But you want your subject to be at least under exposed enough so that most detail is in quite a bit of shadow, if not completely.
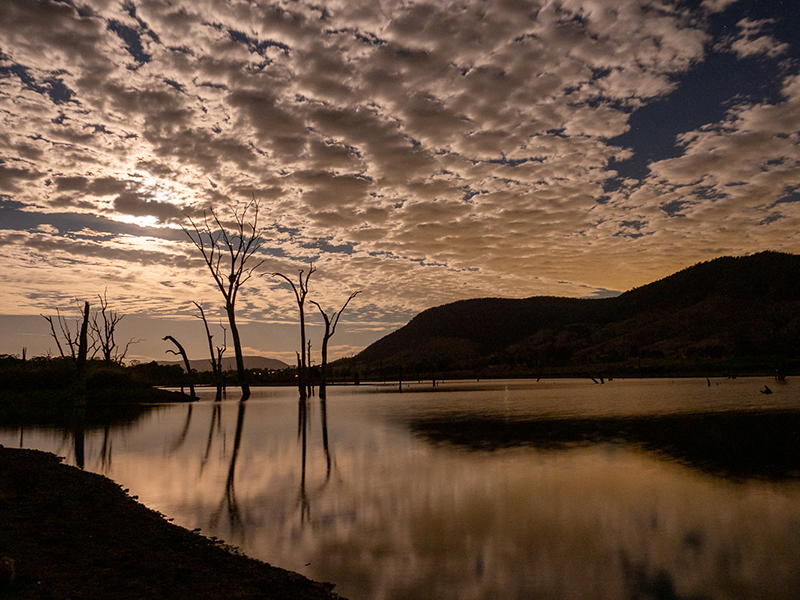
Lisa Weller, Advanced Graduate
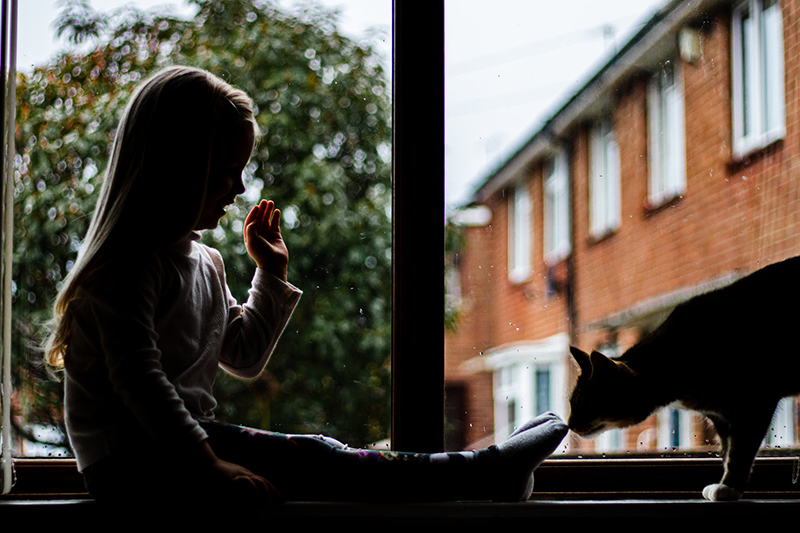
Estella Ward, Graduate
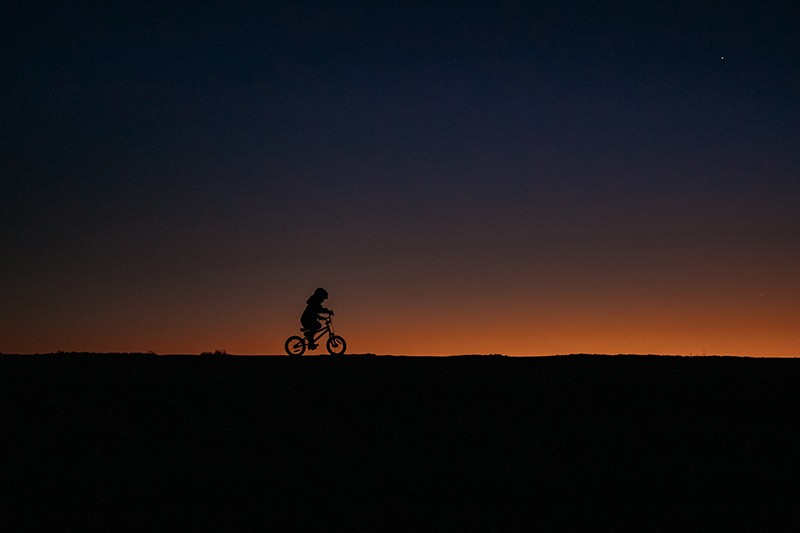
Simplicity is key when taking a sunset silhouette photo. Too many elements will make your picture appear chaotic and the sharply defined subjects will need to compete for our attention. With that in mind, negative space works beautifully.
Also consider your perspective. If you’re shooting a sunset or sunrise silhouette, and you have a sky like this, make it the hero of your shot! Let the sky take up at least 2/3rds of the frame.

Nicoleta Philpot, Graduate
As we mentioned above, you need to be in full manual mode for this shot so that you can control the exposure of your sunset silhouette pics, or any other scene consisting of the outline photo. If you’re still shooting in automatic mode and you don’t know much about manual mode, it would be a good idea to familiarise yourself with the exposure triangle to get started.
Related: The Exposure Triangle
Set your aperture to f/2.8, or the widest aperture your lens will allow.
Then choose a shutter speed and ISO balance that along with your chosen aperture, will expose for the background. You could also try metering to guide you with exposure.
Related: How to Meter
CLICK HERE to download our guide to metering modes to help you know which mode will help achieve the best exposure for your shot
If you’re shooting handheld, you’ll need a shutter speed at least fast enough to freeze the motion of camera shake. Likewise if your subject is moving (eg. a child doing a cartwheel), you need an even faster shutter speed to freeze that motion.
Related: How to Take Action Photos

Louise Glendon, Click Love Grow
If your camera has a built-in flash, make sure it’s turned off! You’re in manual mode for a reason… to expose for the background, so you don’t need your camera’s flash sticking its busy body head up and taking over!
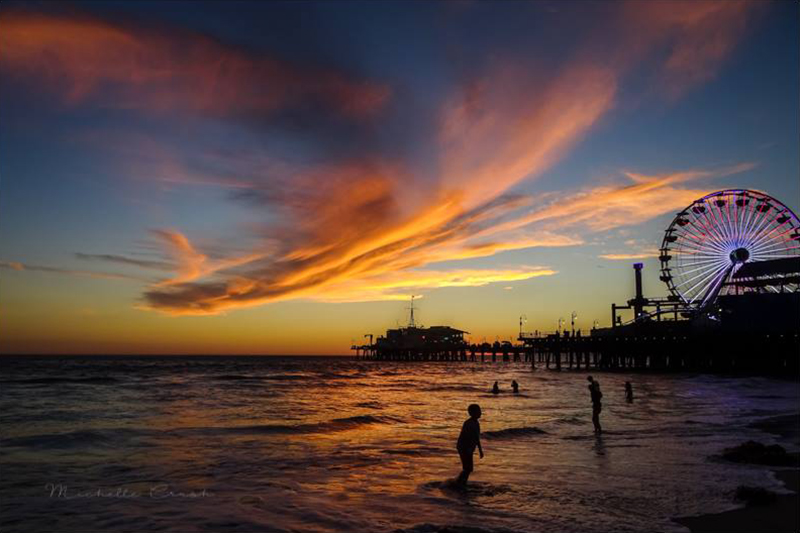
Michelle Crush, Advanced Graduate
When taking sunset silhouette photos make sure to focus on the subject, not the entire scene behind. Bear in mind that your auto focus may struggle due to the low light, so if you find it hunting and not settling anywhere (or where you want it to!) just switch to manual focus!

Becca Lord-Lyon, CLG Instructor
If when switching to manual focus (and like me) your eyes struggle to recognise tack sharp from barely acceptably sharp when looking through the lens, try this…
Pop your camera on your tripod, and compose the shot through the viewfinder. Once you’re happy, switch to live view mode, zoom in to where you want to focus, and then use the manual focus ring to determine when you’ve achieved a sharp result on your subject.
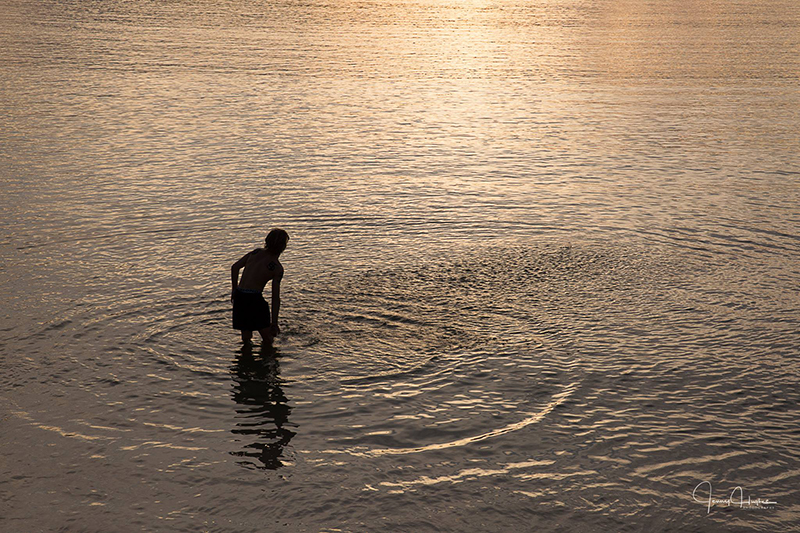
Jenny Hughes, Advanced Graduate
Now you’ve got all the tips you need to take some gorgeous silhouette photos, pick up your camera and give it a go!
JOIN the Free 5 Day Mini Course
5 Days, 5 Videos Lessons = Photos You'll LOVE!
Learn How to Use Your DIGITAL Camera!
Save
Save
Save
Save
Save
Save
Save
Save

CLICK LOVE GROW ™ Pty Ltd - COPYRIGHT 2024 ©
Enter your info below to join the challenge!
Want a friendly reminder when I go live?
Pop in your number and I’ll shoot you a text.
* We will send text reminders for our live calls during the challenge! Reply ‘STOP’ to end or ‘HELP’ for help.
We promise not to ever share your details with anyone or send you spam! Check our privacy policy and terms of service.
Grab the Metering Modes Guide
Grab our free metering guide below to know which modes suit which shooting scenario... all in a handy checklist for when you’re out shooting.
Be the first to comment