


A Beginner’s Guide To Delicious Food Photography
Natural light food photography is a fabulously rewarding genre for SO many reasons, that I really want you to try it yourself!
Firstly, you can do it in a very small space, even if you don’t have abundant natural light. What’s more, the main subject won’t run away (hello, photographer’s child syndrome!). You can indulge any pre-existing addiction to props (or develop a new one)…and, speaking of props, it opens up a whole world of creativity! You’re also not limited to photographing meals, nor do you need to be a fabulous cook.
Honestly, with a few food photography tips and tricks, anyone could give this a go. But be warned, it can be addictive!
Read on to get what we consider to be the essential tips to get you started having fun with food photography, all complemented by delicious food images from our talented Grads!
1. Light
Soft light is best for food photography. You can recognise it through the absence of sharply defined lines between the shadow and highlight areas. A soft light will wrap gently around your subject, and the graduation between the shadow and highlights will be very subtle and hard to pinpoint exactly where one ends and the other begins.
One of the best things about natural light food images is that thanks to having small subjects, you don’t need a lot of light. If you have a very dark house, you can set up a small table (even a card table is big enough) near some window or door light.
Eliminate any background clutter by using backdrops. The best bit? You don’t need expensive, custom made backdrops or backdrop stands! Just a decent-sized piece of board will do.
Related: Natural light food photography
High & Low Key Exposures
Food photography suits both high and low key exposure styles, and mid toned images. So, regardless of whether your personal preference is for light, bright and airy, or dark and moody, or something in between, it will work and sing!
For a light and airy look, use mostly light coloured props and background and set up in bright (big diffused) light.
Related: How to Use Natural Light for Dark & Moody Photos
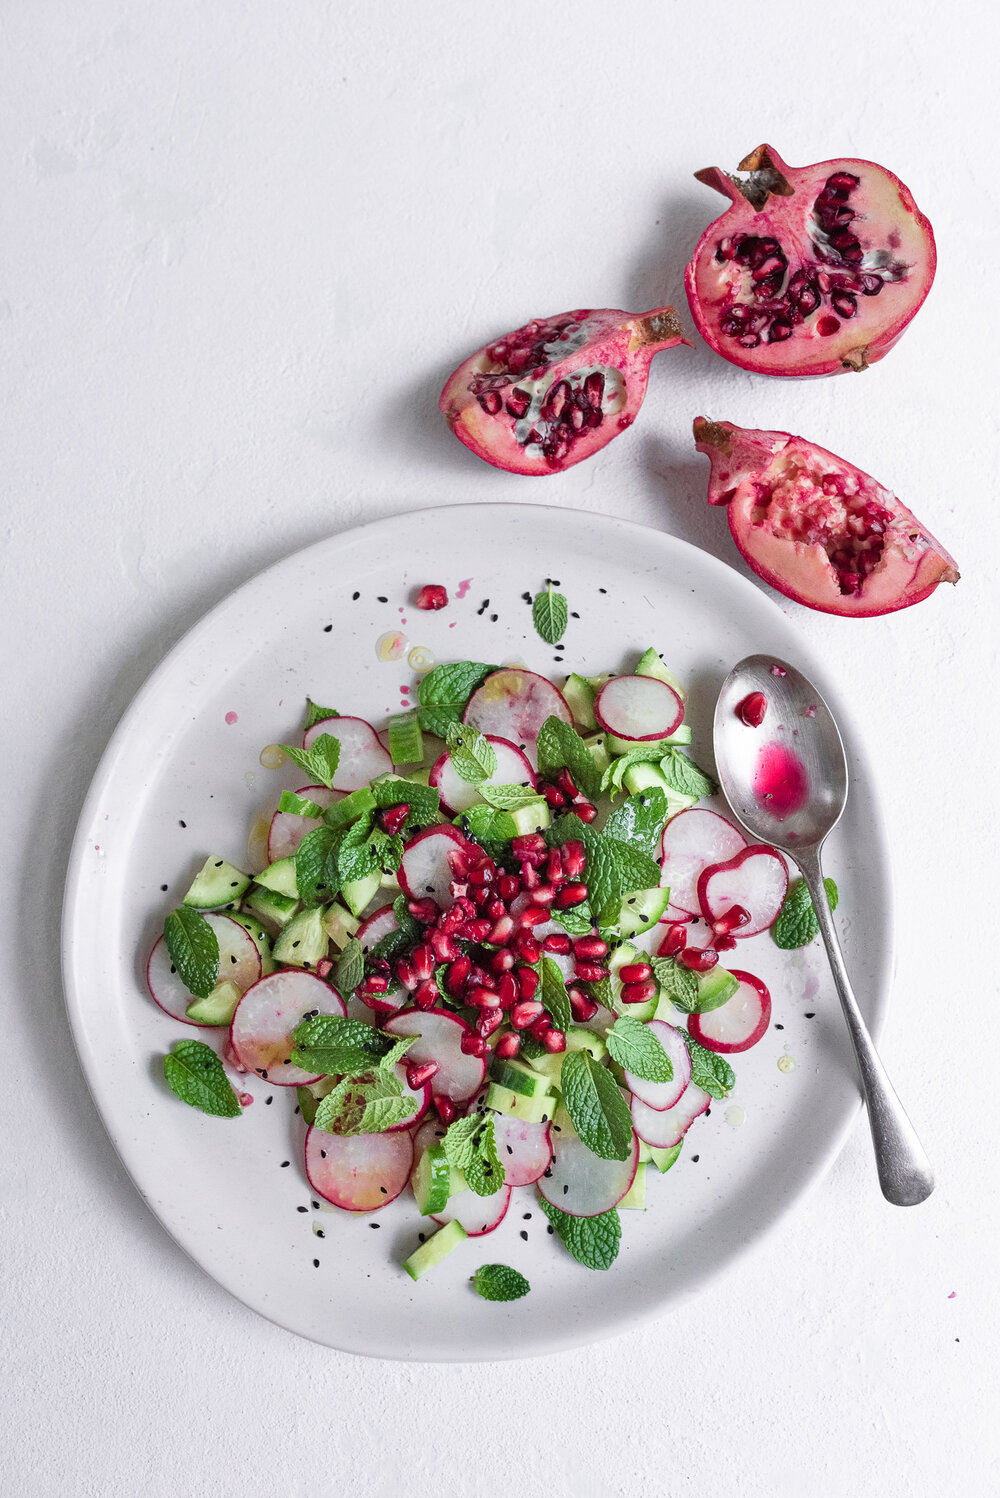
Sally Frawley, Click Love Grow Grad
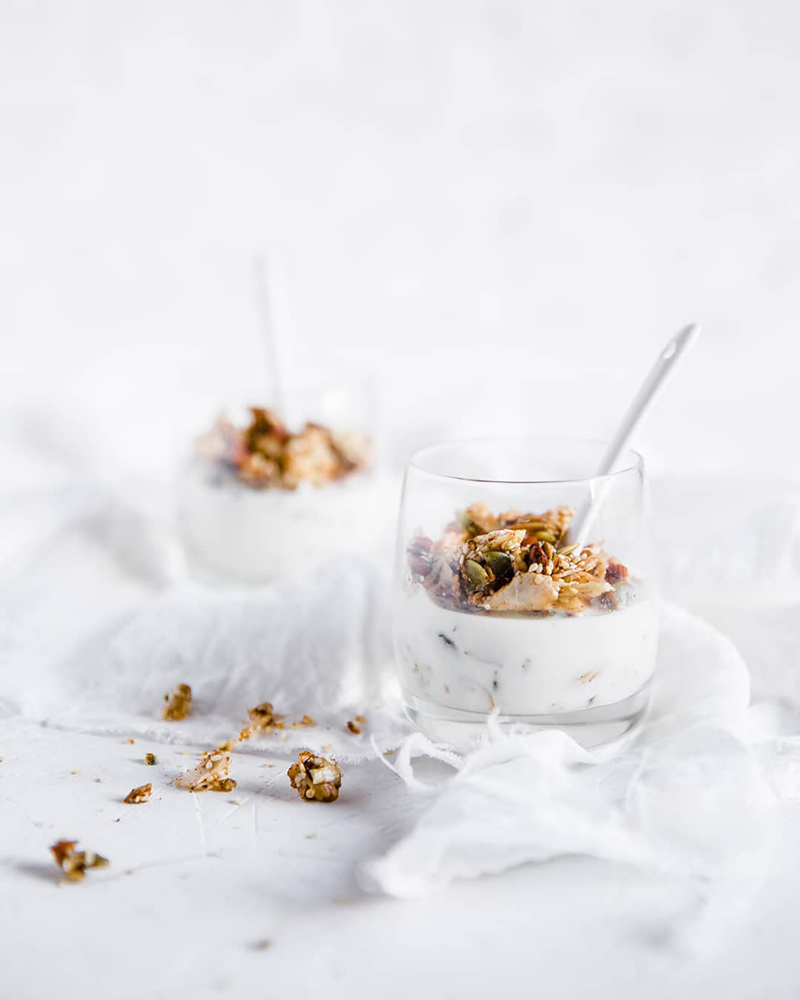
Naomi Sherman, Click Love Grow Grad
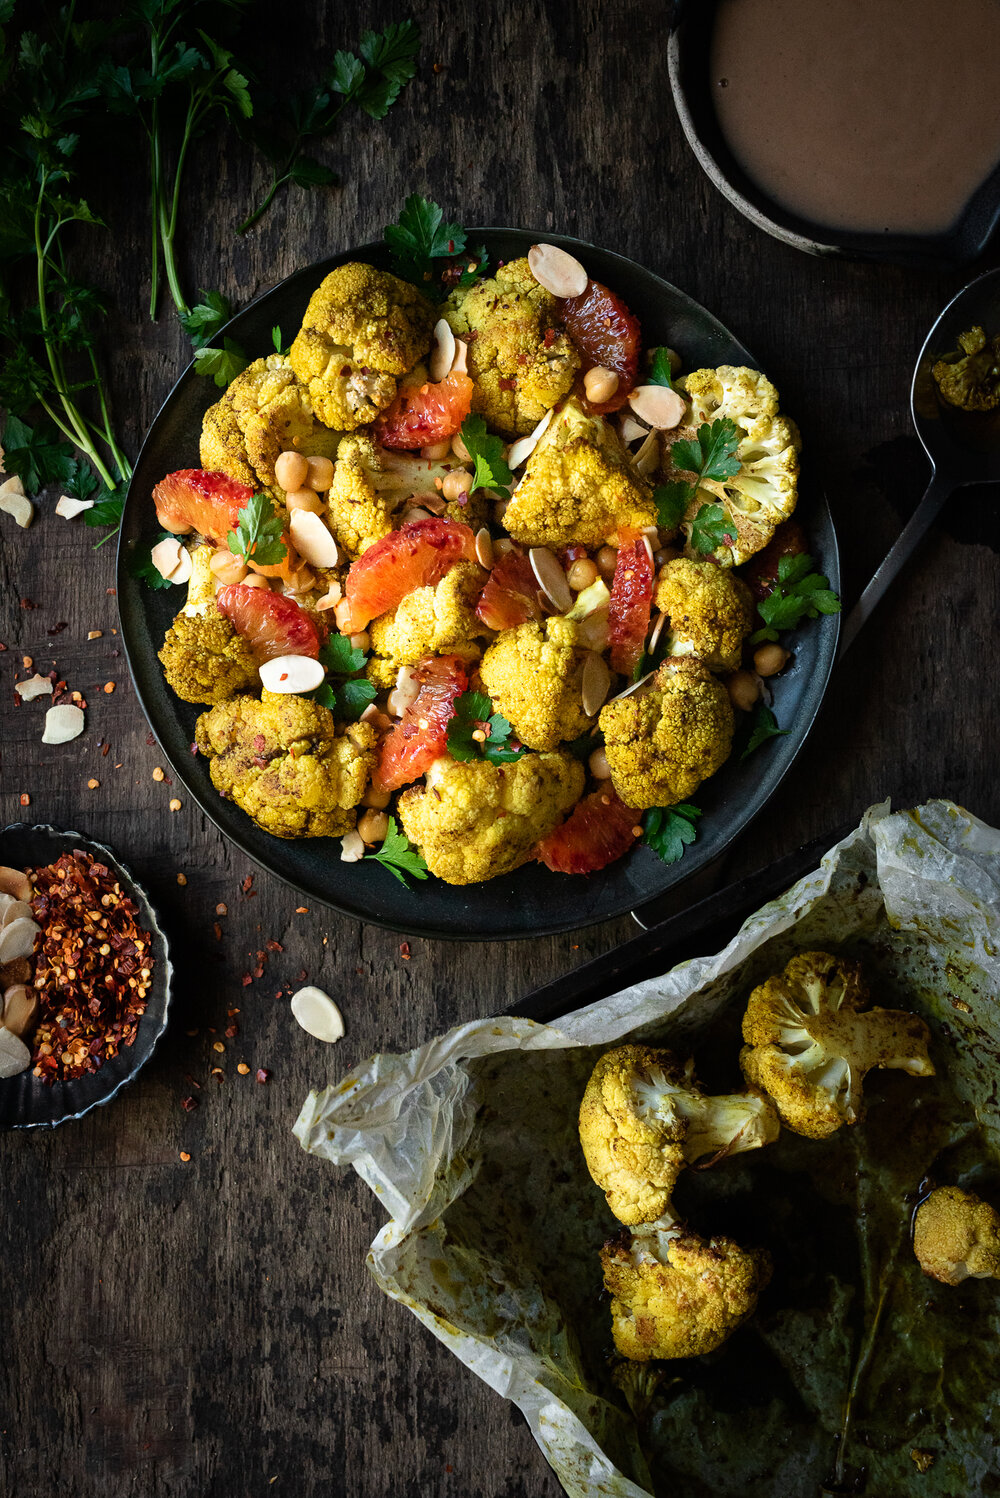
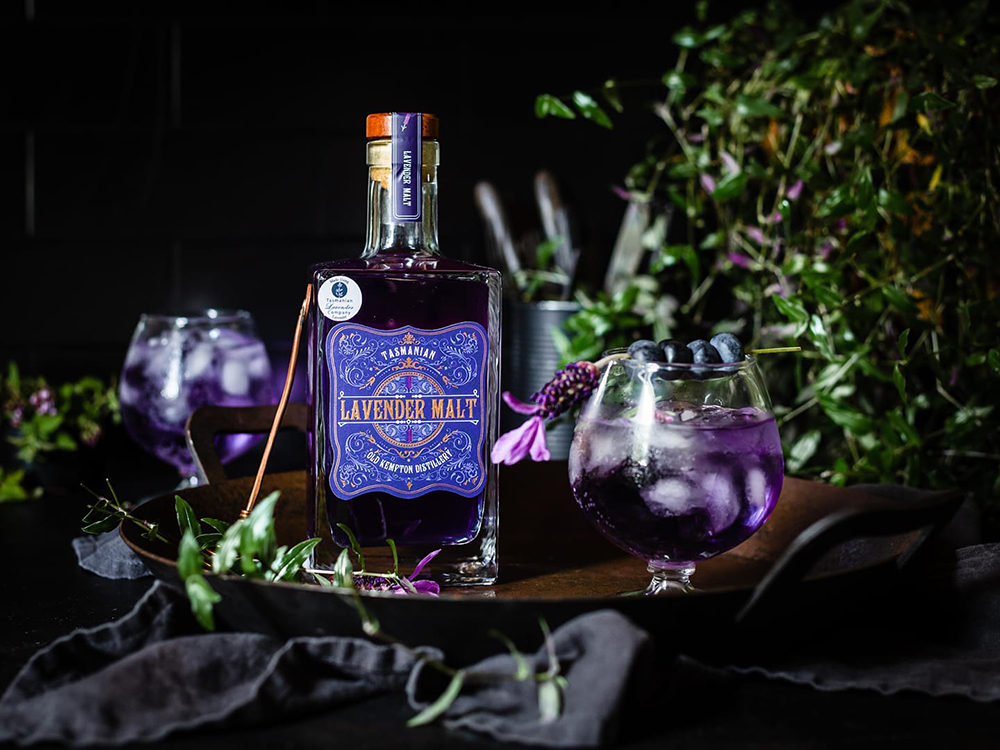
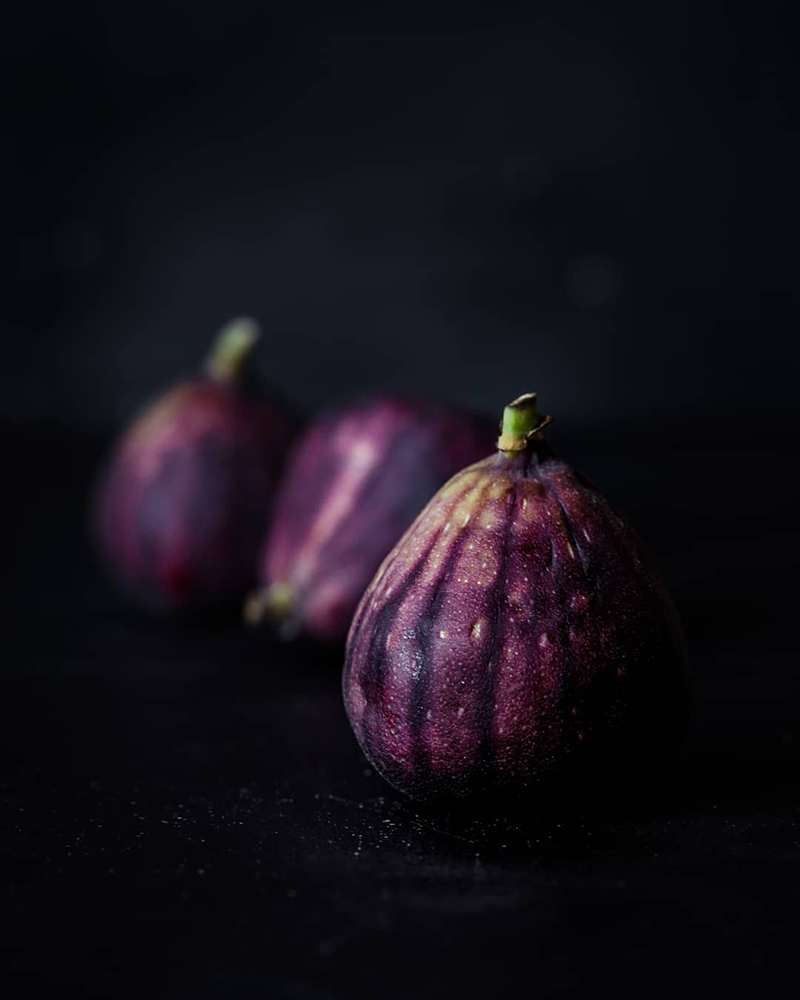
For a dark and dramatic look, use mostly deep-toned props and backdrop, and lower key light.
Sally Frawley, Advanced Grad
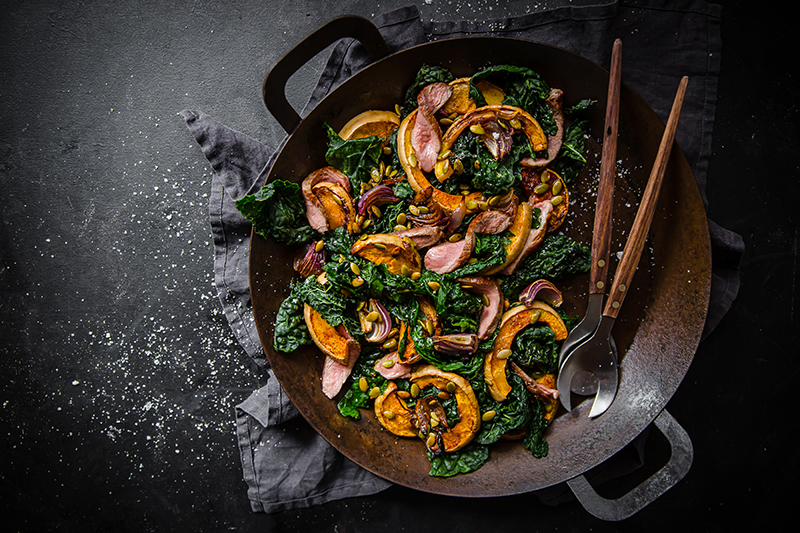
Naomi Sherman, Click Love Grow Grad
Mid toned images contain an even-ish mix of light, dark and all the tones in between, and typically would use a brighter light than low key images.
Sally Frawley, Click Love Grow Grad
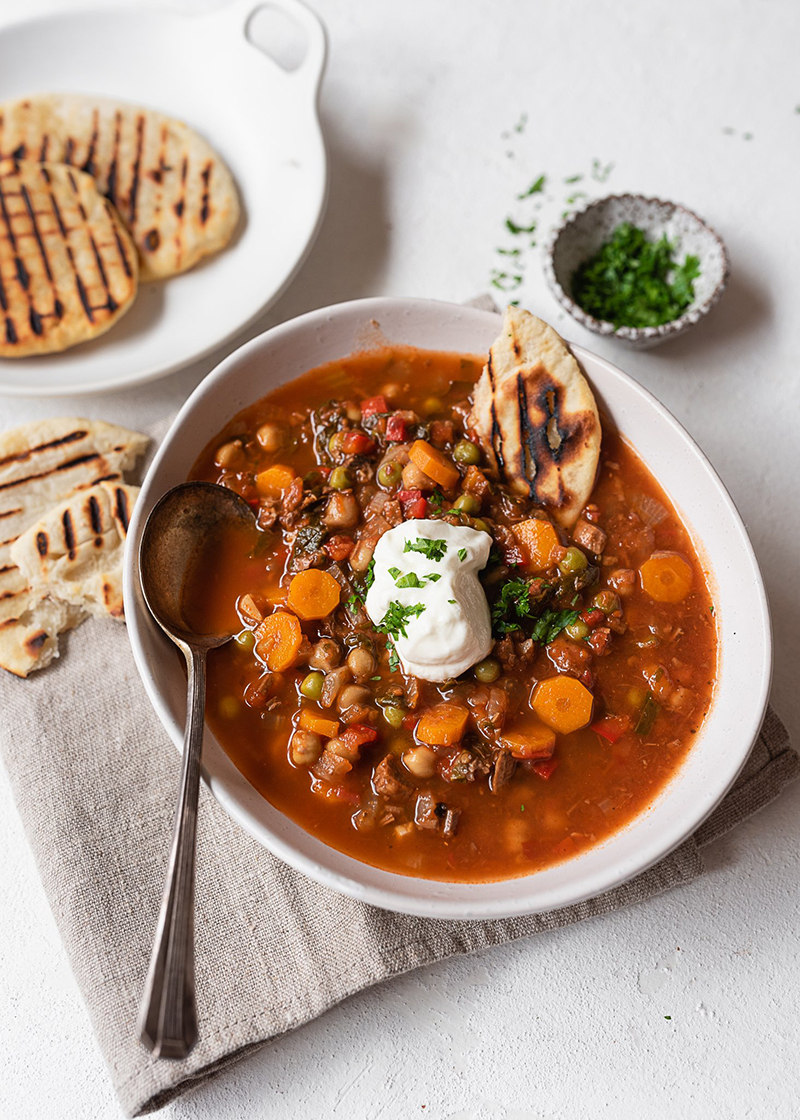
Sally Frawley, Click Love Grow Grad
2. Props & Styling
Props
It has to be said, this is one of the most fun aspects of food photography!
With props, you can play with colour, texture and pattern. You can create striking modern imagery using minimalist setups, bold colour and simple props. Or you can play with a vintage look incorporating lots of texture, deep tones, old kitchen utensils, platters and lines found in op shops.
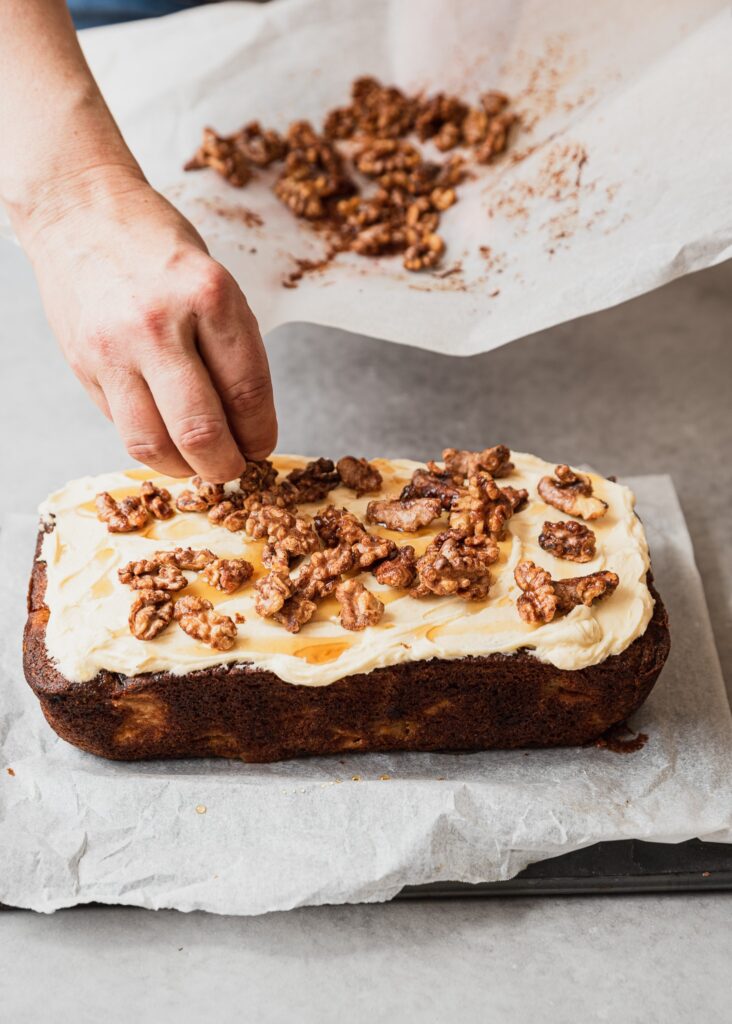
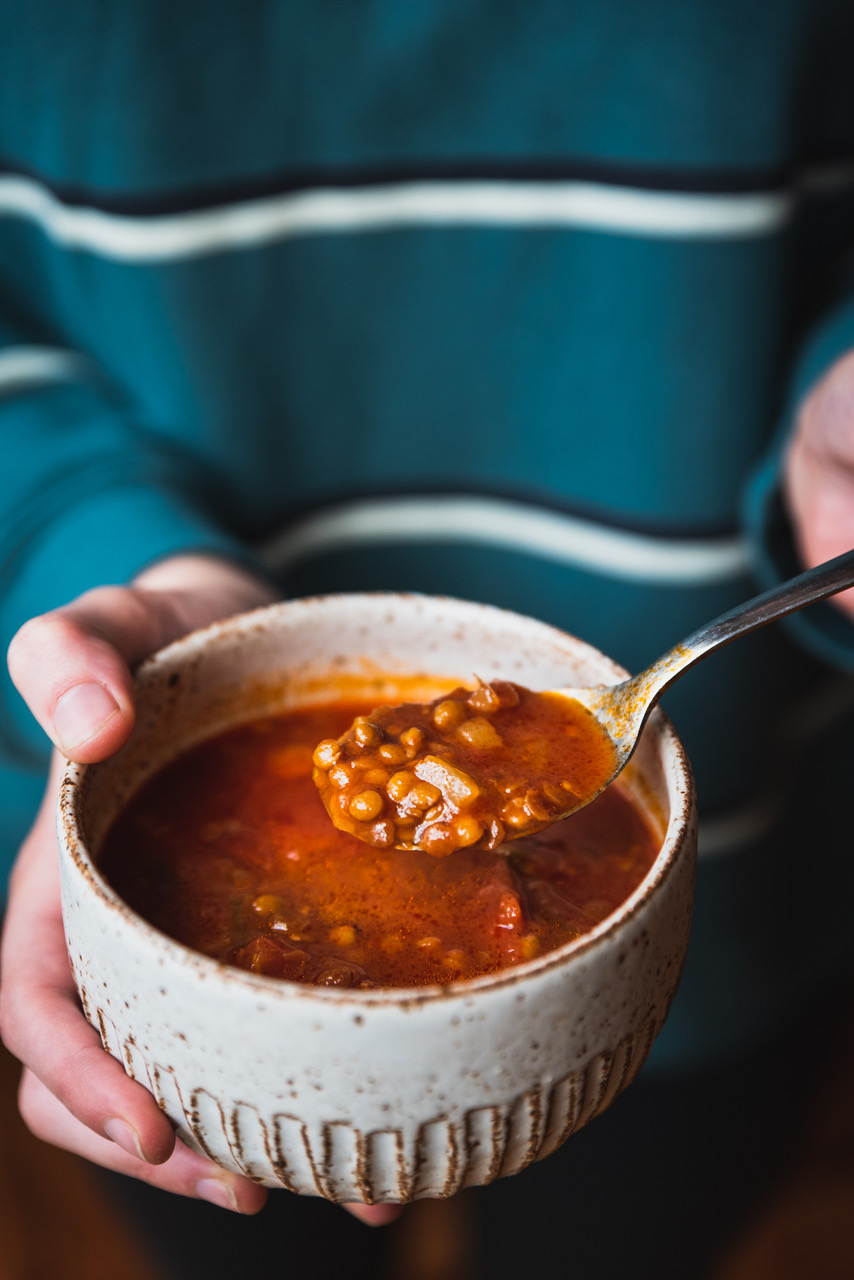
Props can add interest and depth to your food photo or convey a human element by including a hand preparing the food or eating it.
Props can also be a powerful storytelling tool. The inclusion of specific cooking tools or ingredients convey how the food was made, or where the ingredients came from. They can even suggest what is about to happen (for example, if you photograph food on a table set for eating) or what has happened (eg: food half-eaten with used utensils and crumbs scattered in the frame).
With all that in mind, your options for food photography props are already endless. And we are not even getting into linen, platters and backdrops.
So when it comes to props and styling, consider the following:
- Small backdrops
- Platters, bowls, trays and boards
- Eating and cooking utensils
- Linen
- Ingredients
- Flowers and other flora
- Herbs and spices
Naomi Sherman, Click Love Grow Grad
Sally Frawley, Click Love Grow Grad

Naomi Sherman, Click Love Grow Grad
Styling
When deciding what to use, choose just a few and ensure they work with one another and (especially) the subject. Use your food as the inspiration when trying to decide what colours and textures to use in props.
For example, in the photo below, the brown speckles in the platter mirror the tones and texture of the toast. But, most importantly, the effect is subtle, so it doesn’t overwhelm.
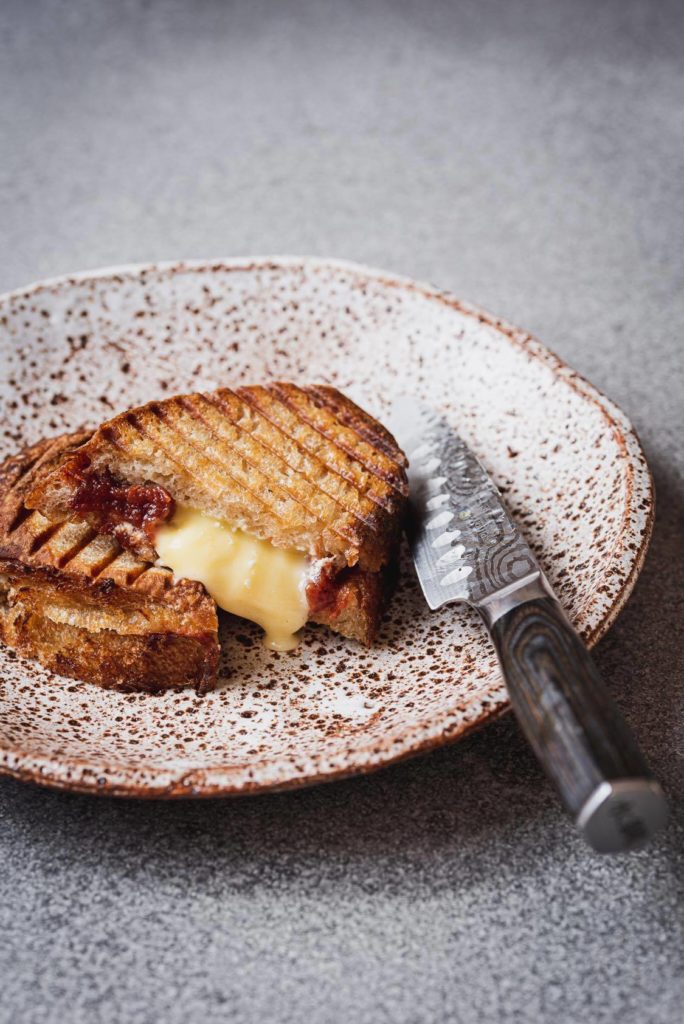
Sally Frawley, Advanced Graduate
If styling doesn’t come naturally to you, keep it simple by limiting yourself to one platter, bowl or surface for your food and add interest with one utensil. If you’re ready to level it up, check out this article…
Related: How to Style Magazine Worthy Food Photos
3. Food Images Composition
The angle you shoot from is one of the top considerations in your composition when it comes to food photography. When deciding what angle to shoot from, you need to consider what you’re trying to highlight and whether other elements in the shot might get in the way or distract, or if you want to highlight them.
You also need to be able to see the food well, including its details and textures. If you have hero props, for example a beautifully aged vintage spoon, you might want to shoot down so you can really show it off.
Get Down to Eye Level
Get down low to eye level, and consider the rule of thirds when placing your food and props. This angle works best when the side of the food is its best or most revealing angle, eg. a burger, layered cakes, sandwiches, etc. It can also help convey height when this aspect is the hero of the subject.
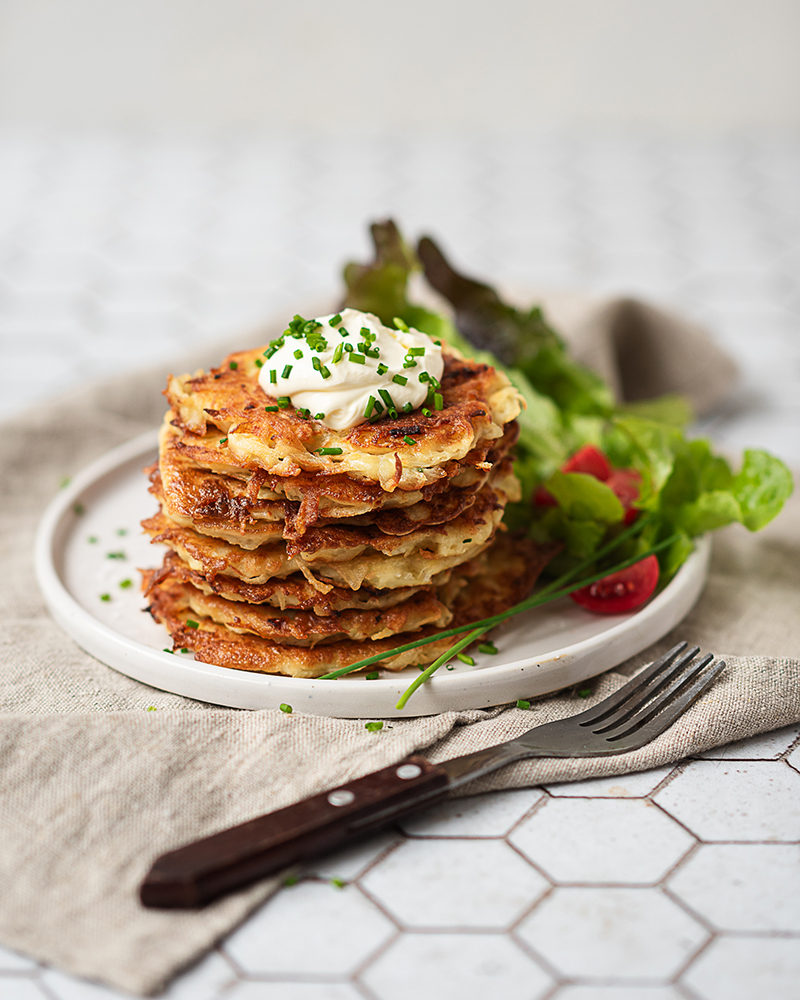
Sally Frawley, Advanced Grad
45 Degree Angle Shots
This angle is probably the most common in food photography, as it’s the perfect way to show off both the food and the setup when you want to see the front of the serving ware. It’s also the trickiest to get right! Too high, and you can’t see the other elements properly. Too angled, and it feels like it’s falling off the surface.
However, there’s no one size fits all because all subjects and props are different, obviously. You just need to try loads of angles and see what looks best when you get them off-camera.

Sally Frawley, Click Love Grow Grad
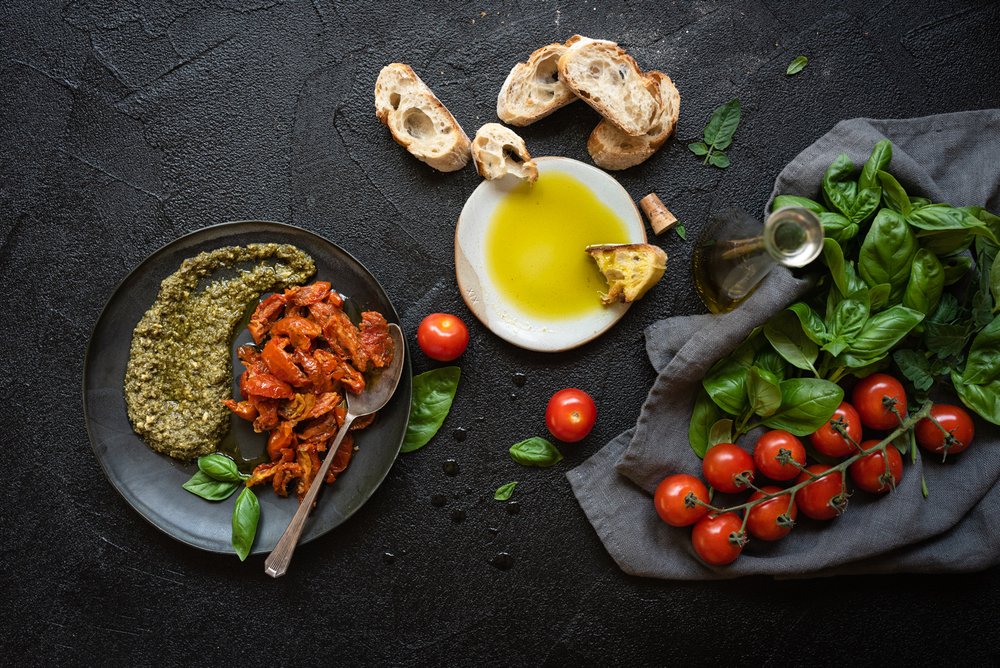
Shoot Down
When you really want to draw attention to detail in food or props, a shoot down perspective frames out background elements and really draws the eye to the subject.
You could easily shoot down handheld, presuming you have enough light. However, if you’re taking loads of shots it can get a bit tiring! It’s also very hard to do if you’re height-challenged. If you don’t have a tripod and you don’t have a pair of 12-inch platform shoes…use a chair or a small step ladder to raise yourself high enough that you can easily shoot directly down and not angled.

Sally Frawley, Advanced Graduate
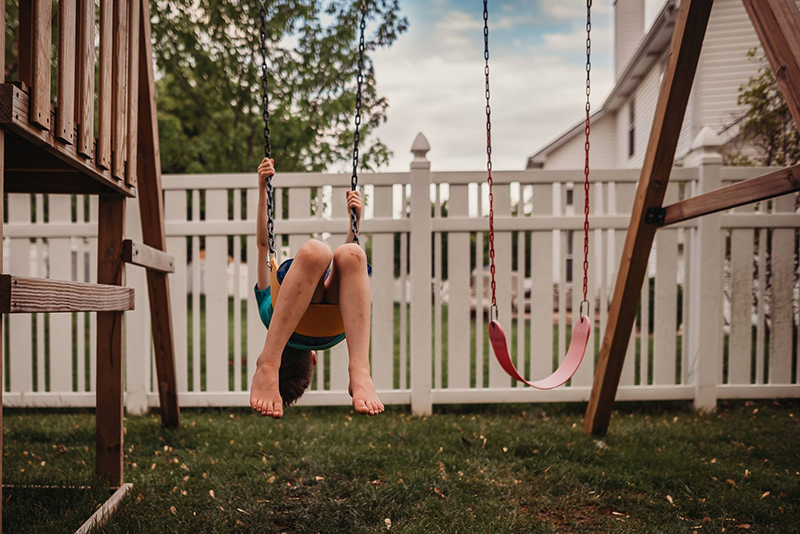
4. Storytelling Food Photography
Think beyond the finished product and try some storytelling food photography by capturing food being prepared, eaten and shared.
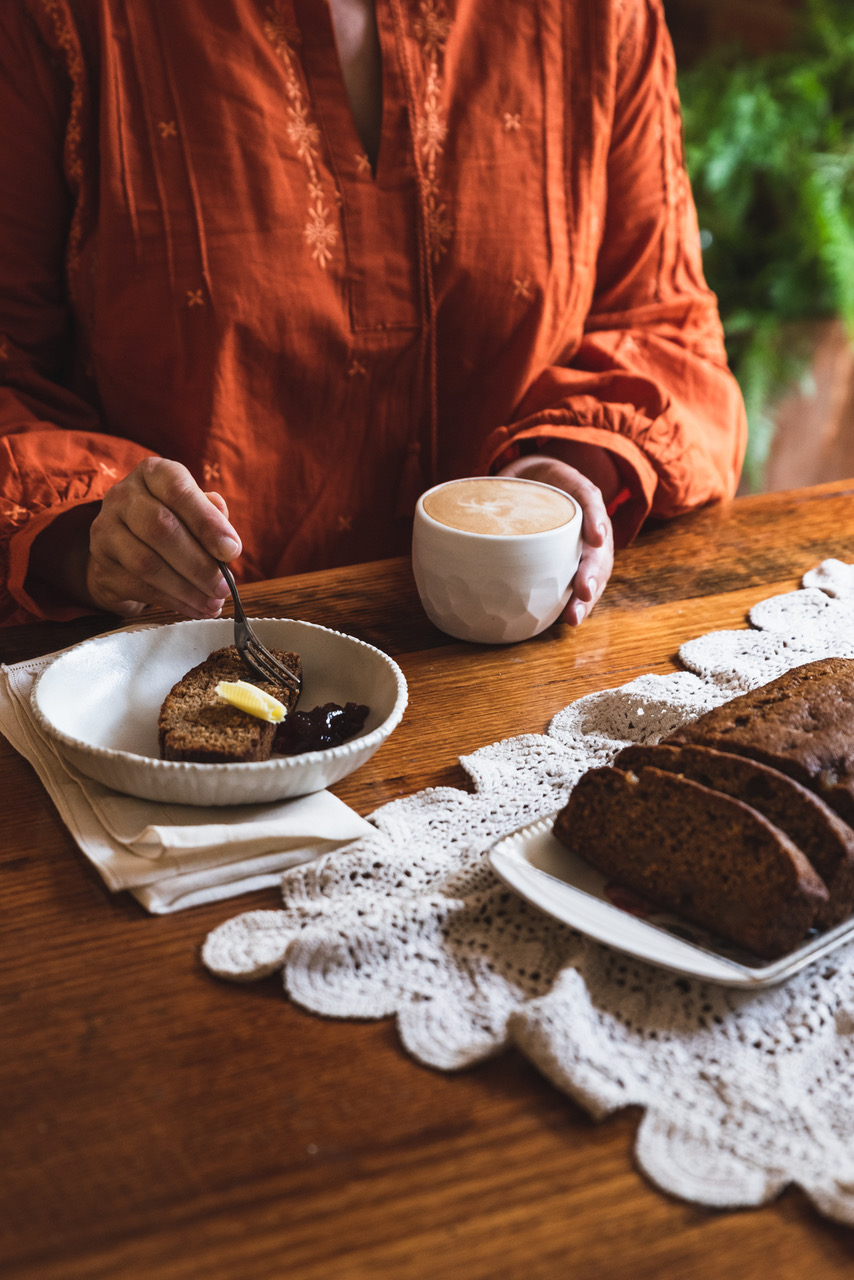
Sally Frawley, Click Love Grow Grad
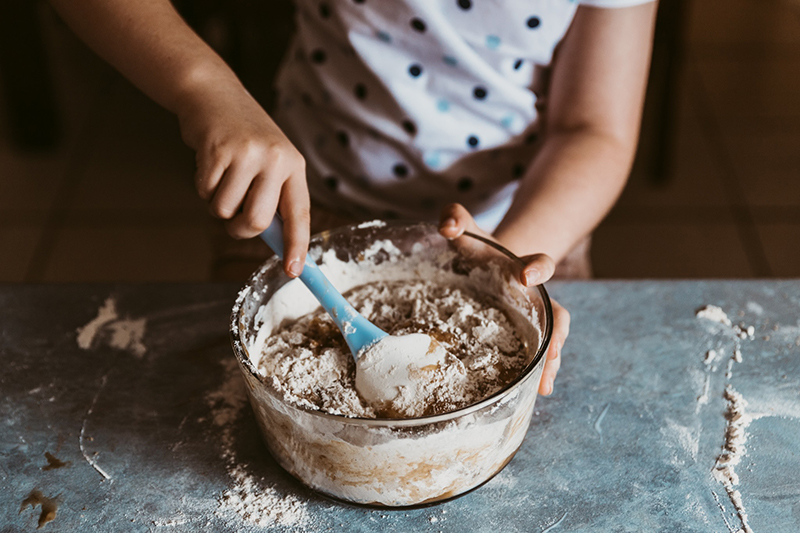
Debra O’Flaherty, Click Love Grow Grad
Sally Frawley, Click Love Grow Grad
Becca Lord-Lyon, Click Love Grow Grad

Sally Frawley, Click Love Grow Grad
Related: 23 Photos Depicting Life’s Simple Joys
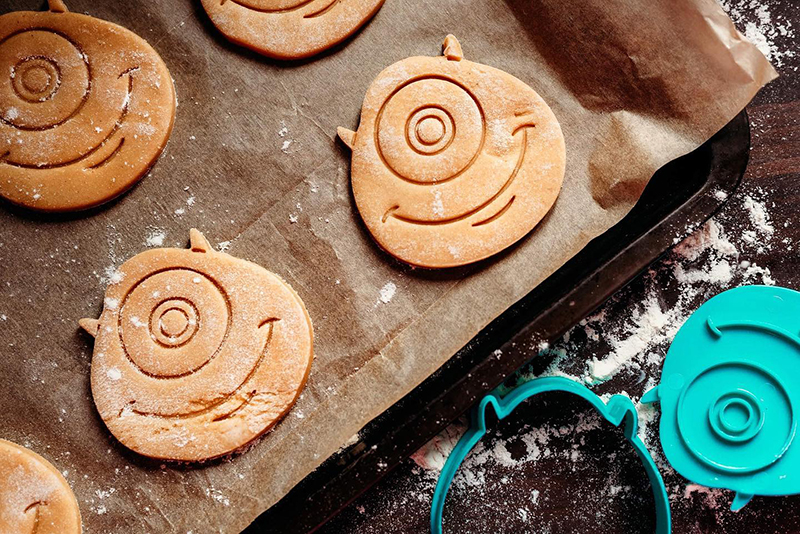
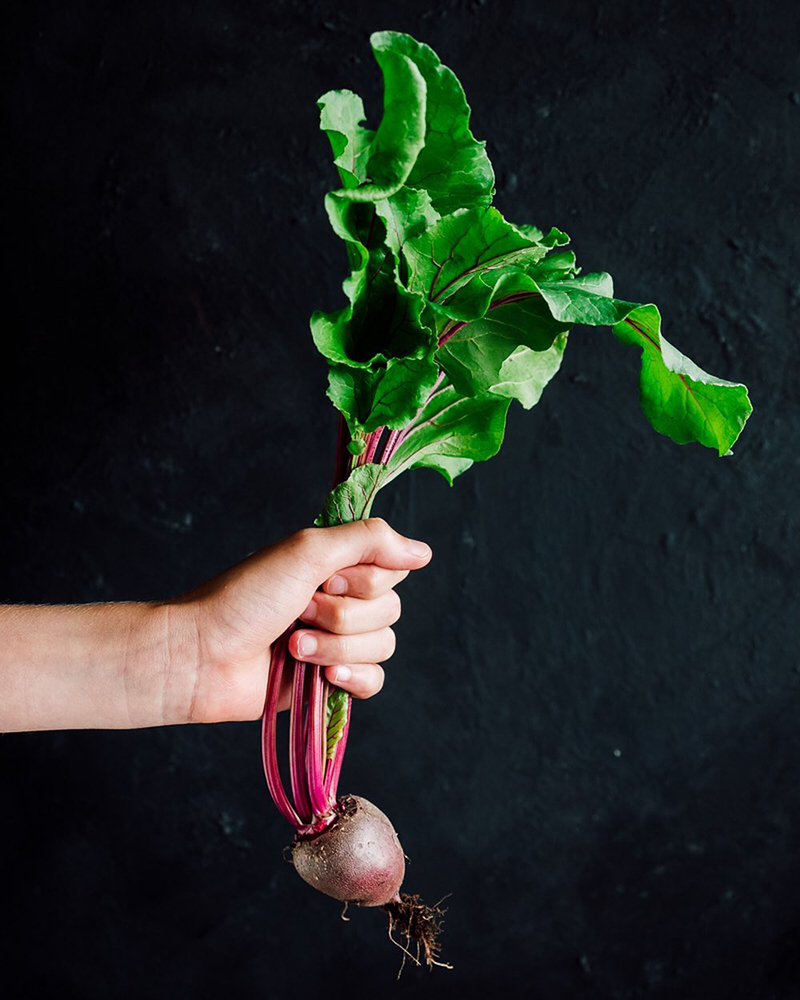
5. No-Cook Food Photos
Don’t enjoy cooking or don’t have time? Not all food photography has to be a finished meal, and nor does it have to be home-cooked!
Think outside the square. Capture fresh ingredients such as fruit and vegetables, farm bought produce, store board cupcakes, herbs and spices.

Sally Frawley, Click Love Grow Grad
Sally Frawley, Click Love Grow Grad
Jo Shanahan, Click Love Grow Grad
Naomi Sherman, Click Love Grow Grad
6. Food Photography Gear & Settings
Depending on your available space, anything from 35mm to 85mm would work for food images, and a macro lens can come in handy but is definitely not essential.
As you’re up close, you’ll have less depth of field. Food photography is not a genre where you want an artful sliver of focus, generally speaking. You want to get a fair amount of the food in focus, with a subtle fall away in the depth of field. Try apertures of around f/5.6 to f/7.1 depending on your subject, your distance to it and what you want to highlight.
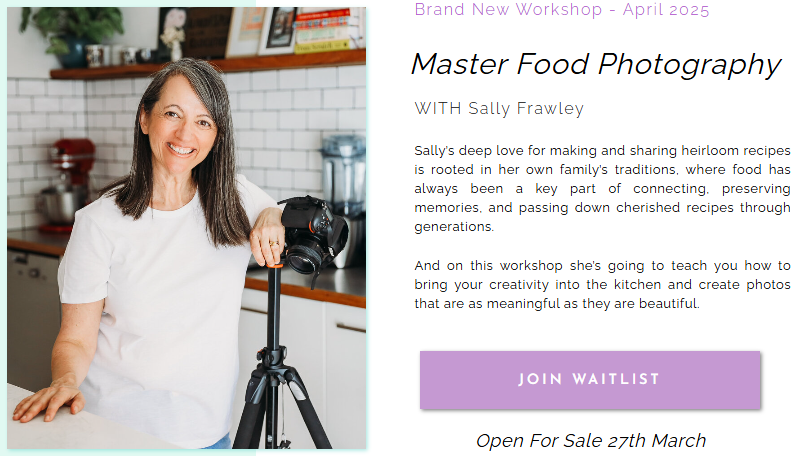
Master Food Photography Workshop
If food and photography are your bliss and you’d love to create beautiful imagery of your dishes, join us for a brand new workshop – Master Food Photography with Sally Frawley.
It kicks off live on 7th April – click HERE to find out more!

Leave a Reply
PRIVACY POLICY & SITE TERMS AND CONDITONS
CLICK LOVE GROW ™ Pty Ltd - COPYRIGHT 2024 ©
x
Join Now
Enter your info below to join the challenge!
Want a friendly reminder when I go live?
Pop in your number and I’ll shoot you a text.
* We will send text reminders for our live calls during the challenge! Reply ‘STOP’ to end or ‘HELP’ for help.
We promise not to ever share your details with anyone or send you spam! Check our privacy policy and terms of service.
Be the first to comment