


How To Take Dark & Moody Photos
If you love dark & moody style images, you might be surprised to know it’s not about editing (although that’s part of it). But it starts with exposure – low key photography is the first step to a dark & moody style, and in this tutorial we’re showing you how to master it so you can take your own delicious dark and moody images.
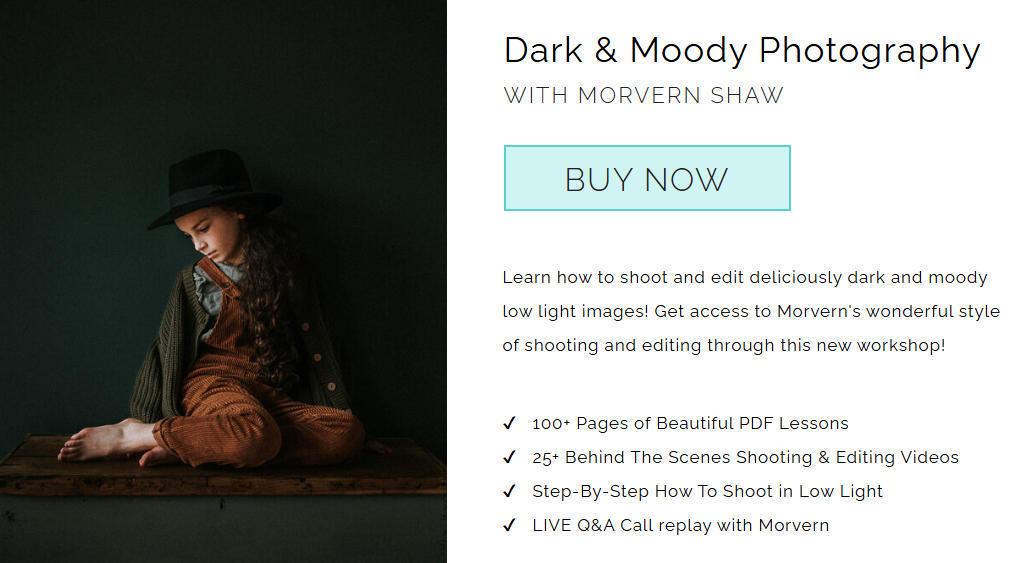
And if you’re hungry for more when you finish, check out our Dark & Moody Photography Workshop with Morvern Shaw.
Hope de la Rosa, CLG Advanced Grad
What is Low Key Photography?
When it comes to photo exposure, there’s no one-size-fits-all. You can expose dark, light, and everything in between according to your subject matter and creative vision. You’ve probably heard the concept of dark and moody images. This is a popular term for low key images and is something we teach in-depth in our Advanced Photography Course.
So what does low key mean exactly?
It’s a photo that contains more dark tones and colours than any other, and typically the light is not as bright as a “light and airy” type of image. Which, by the way, is otherwise known as a high key image, and yes, we also teach that style!
When done well, a low key image can be beautifully dramatic, moody and mysterious! And the best bit? If you’ve got a severe lack of light — whether it’s because you live in a cave or you’re enduring a dark winter — you only need a tiny low light pocket to try this photography style!
Read on and learn some easy ways to use natural light for stunning dark and moody pics!
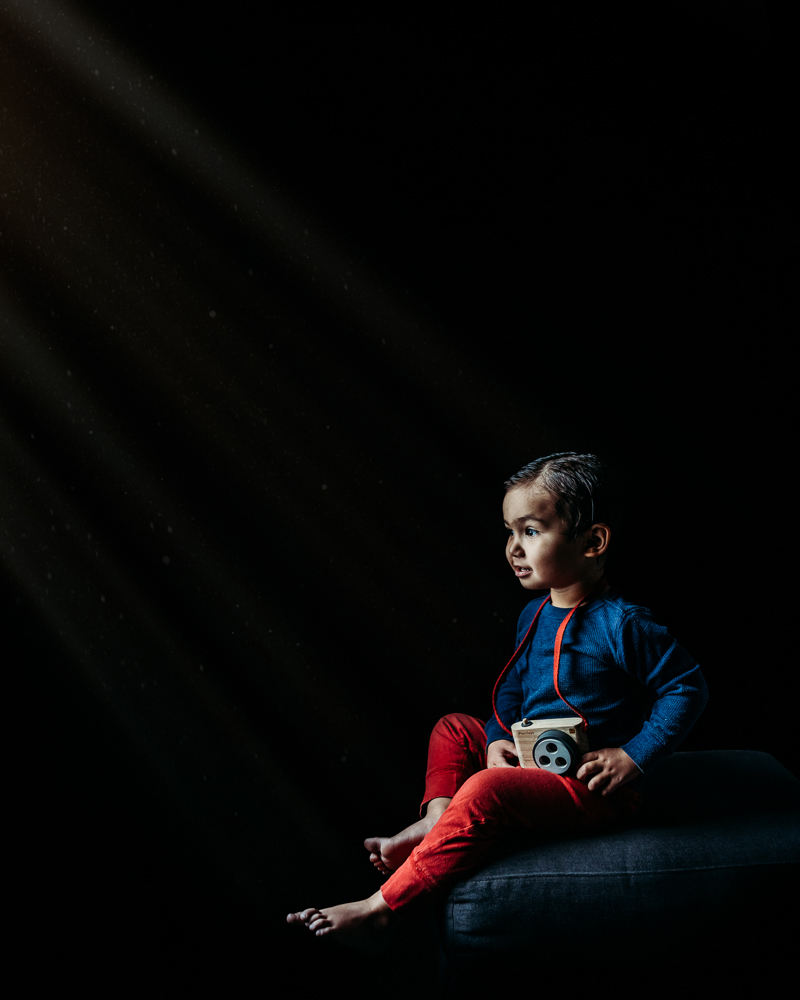
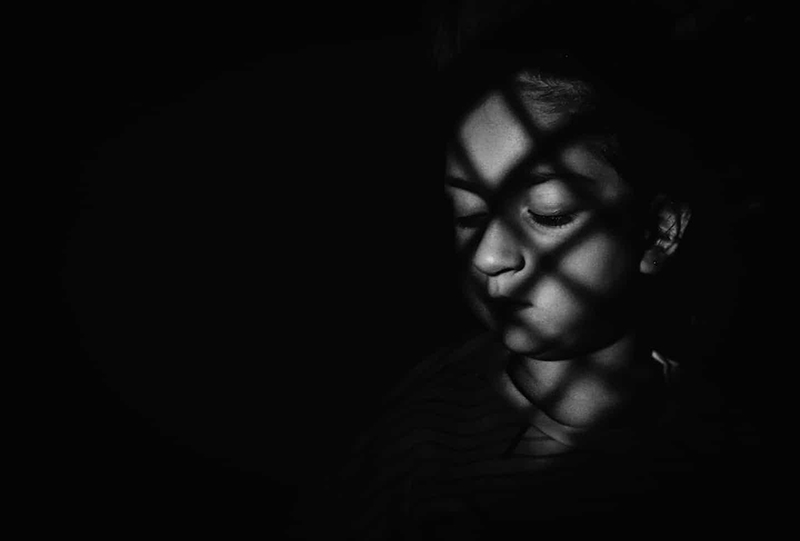
1. Side Lit Low Key Portraits
These stunning portraits were created using a combination of dark colours, low light, and a position near a window with soft gentle light filtering through.
By positioning them at a 90-degree angle to the light source, the shadows on the left are maintained, which adds depth and conveys a quiet moment.
Chantel Harding, Advanced Grad
In this one, the photographer is at a 90 degree angle to the light source, but her subject is facing the light which creates some beautiful sculpting and leverages the shadows on the right.
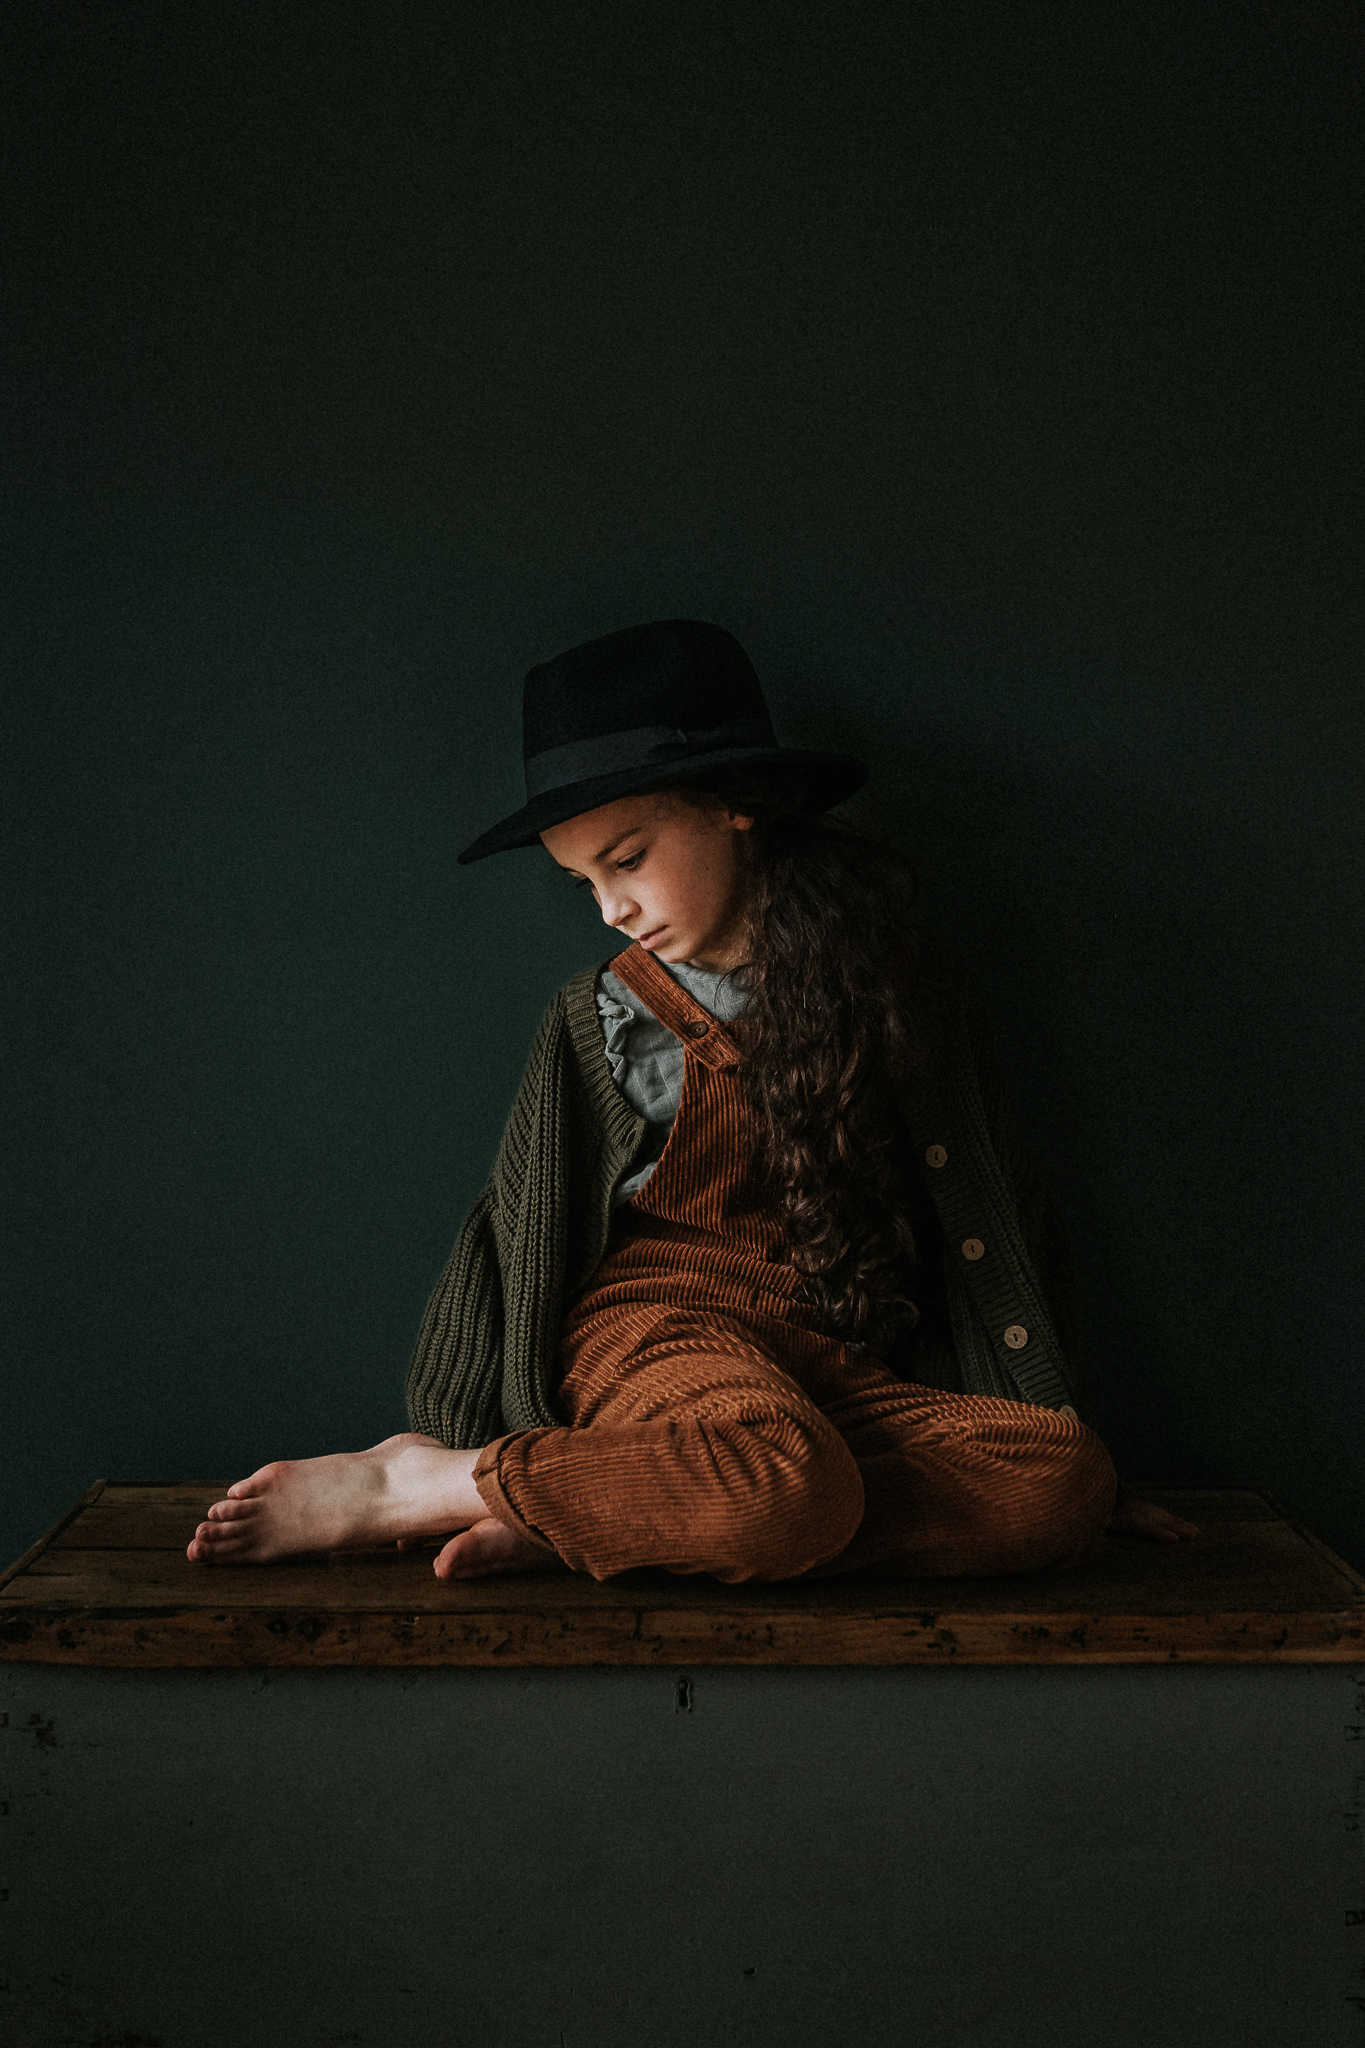
Morvern Shaw, Advanced Grad
This dark and moody photo uses the light in the same wasy as the one above. Stunning!
Kirsty McKenzie, Advanced Grad
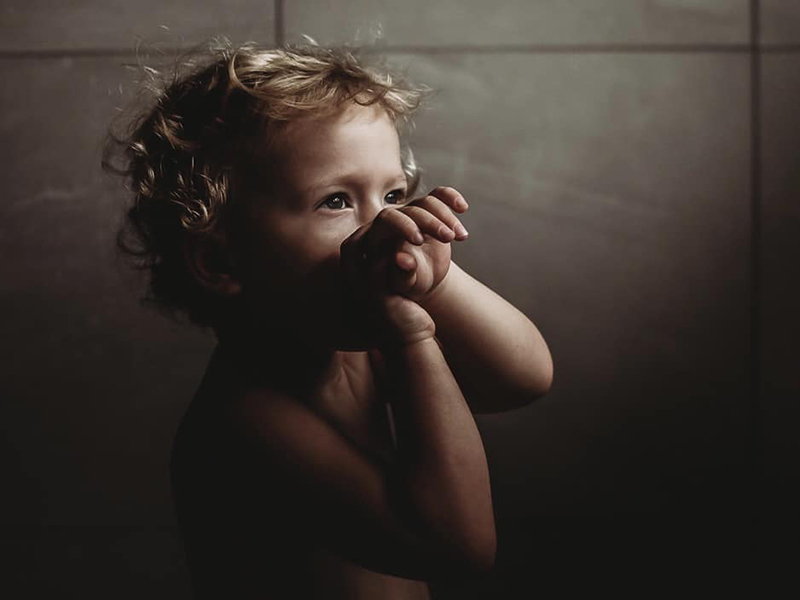
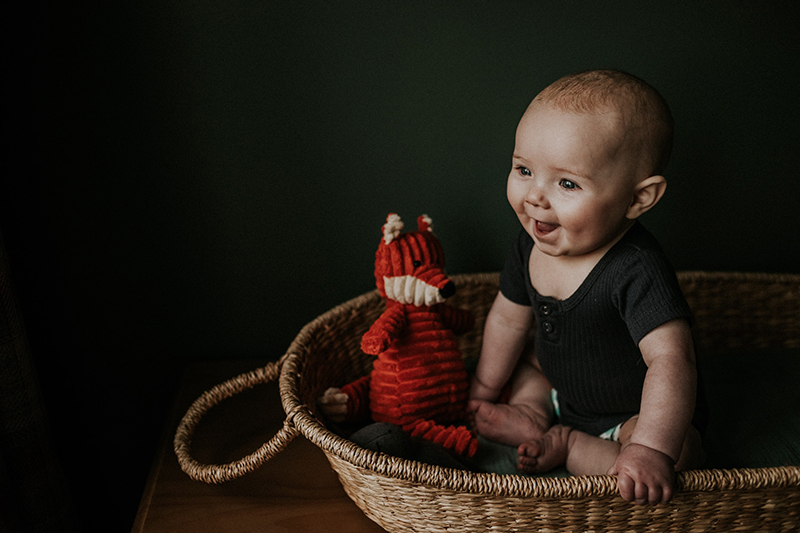
Even if you don’t have dark walls like this image below, the room is too light and bright, and shadows on the opposite are non-existent, close off all other light sources and position your subject next to one small light source. Look at those beautiful shadows on the right! They sculp her face to highlight those beautiful baby curves and that pout!

Morvern Shaw, Advanced Grad
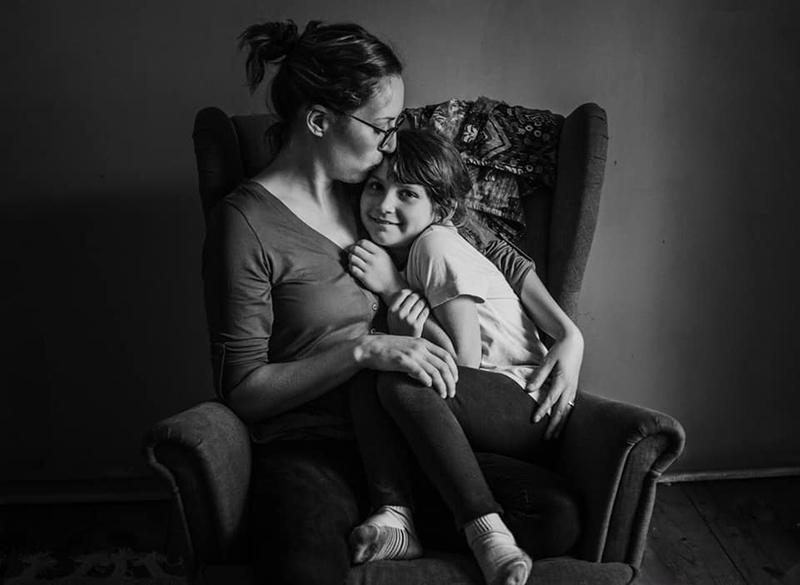
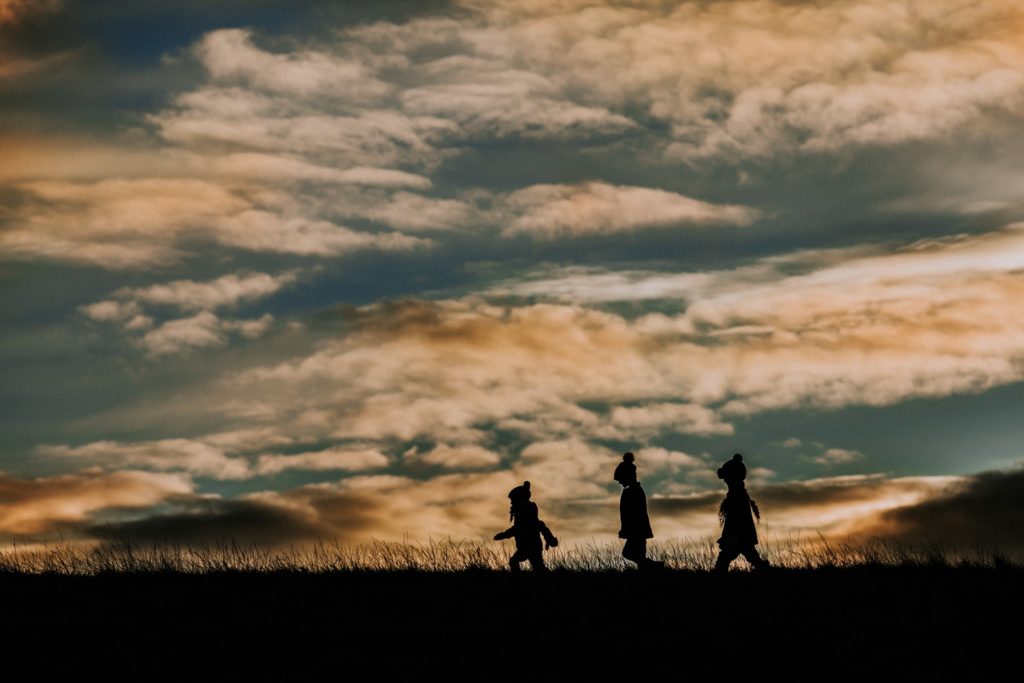
Below, the subjects are positioned at a 45-degree angle to the light source, and all other light sources in the room are blocked off. Whilst you can see some detail in the shadows behind them, it’s muted and not at all distracting, and it’s still a low key photo because the overall tones are mostly dark.
This enables the subjects to really separate from the environment. And what a beautifully delicious, emotive image to be cherished!
Related: Dramatic Natural Light Portraits

Dana Whitley, Advanced Grad
Sue Thorn, Advanced Grad
Alice Mariette, Advanced Grad
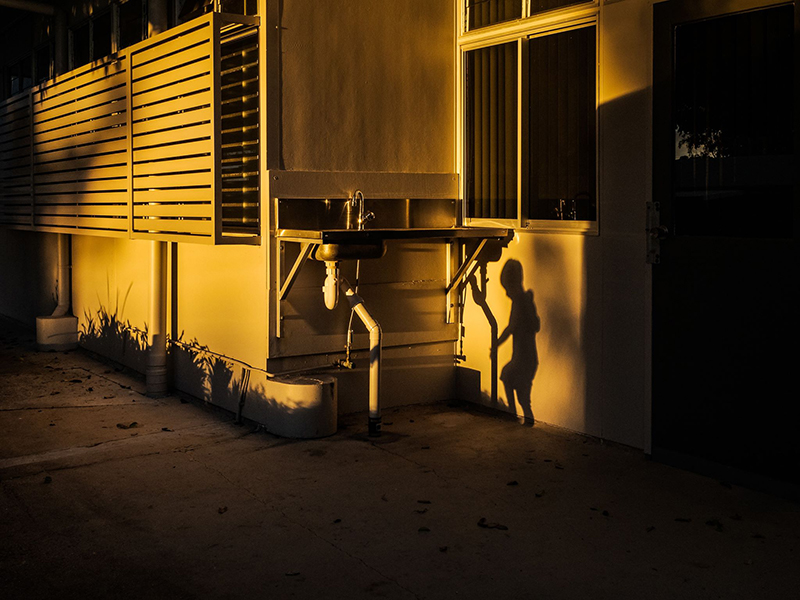
Patterns made by the shadows also make a surprising and creative image.
Related: Shadow Photography Tutorial
Sonia Ragusa, Advanced Grad
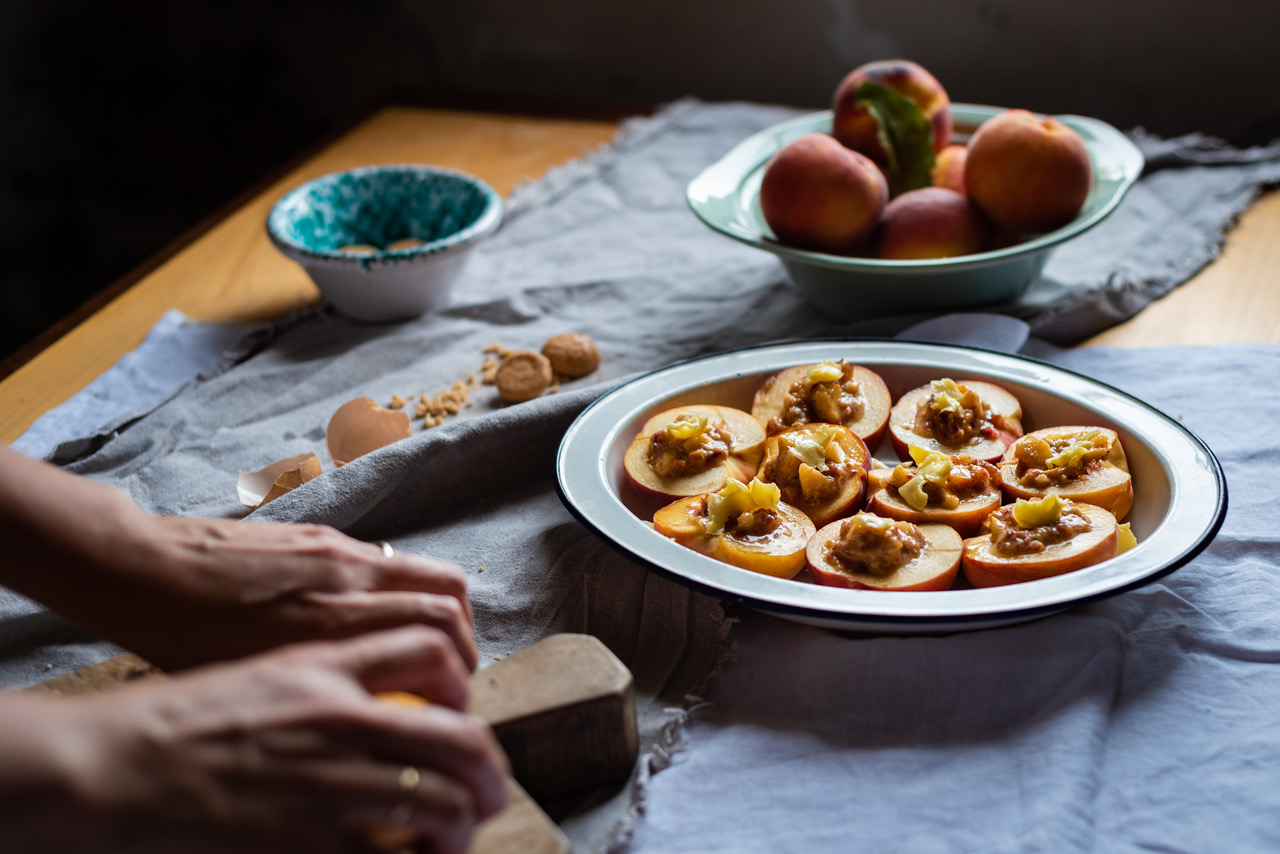
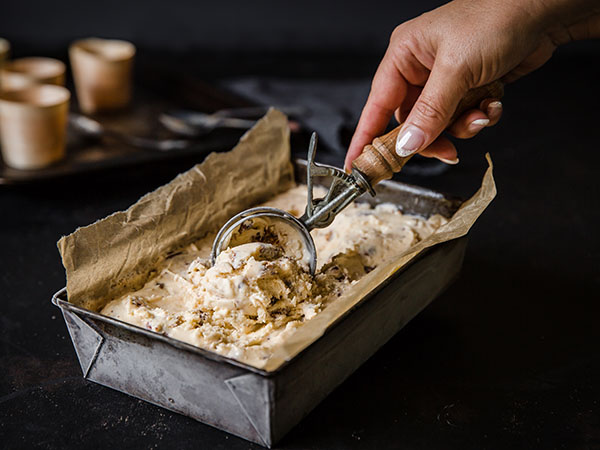
5. Food Photography
Food photography in a dark and moody style just screams rich and delicious! Use dark backgrounds and position your food near a window with soft light.
Related: Lifestyle Food Photography Guide
Sally Frawley, CLG Advanced Grad
Pam Hart, Advanced Grad
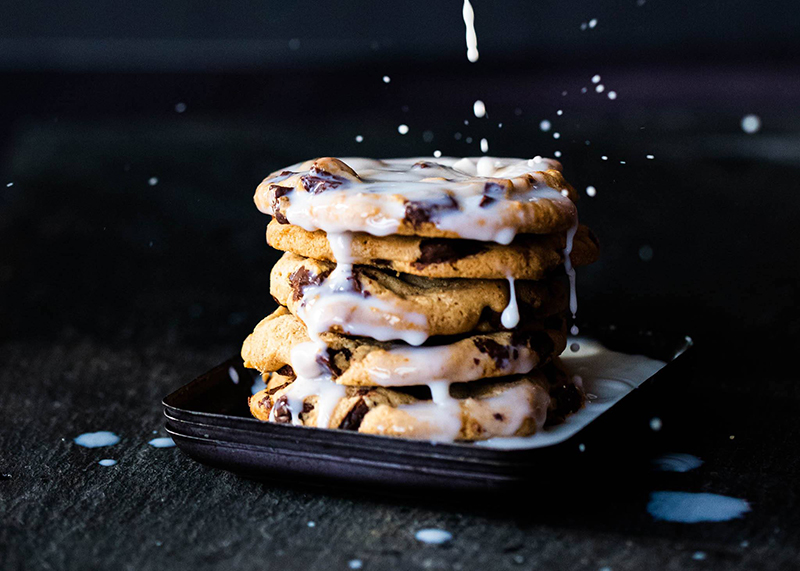
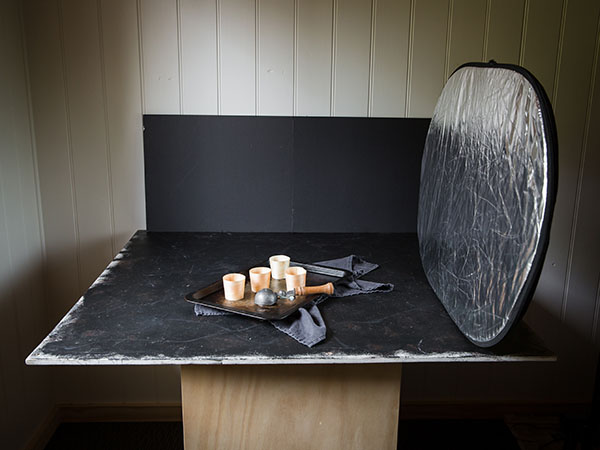
You don’t need a fancy set up either… worn out baking trays make a fantastic mottled backdrop. And food being such a small subject, you can also just use a piece of black project paper stuck to a wall.
Related: How to Take Magazine Worthy Food Photos
Naomi Sherman, Advanced Grad
Naomi Sherman, Advanced Grad
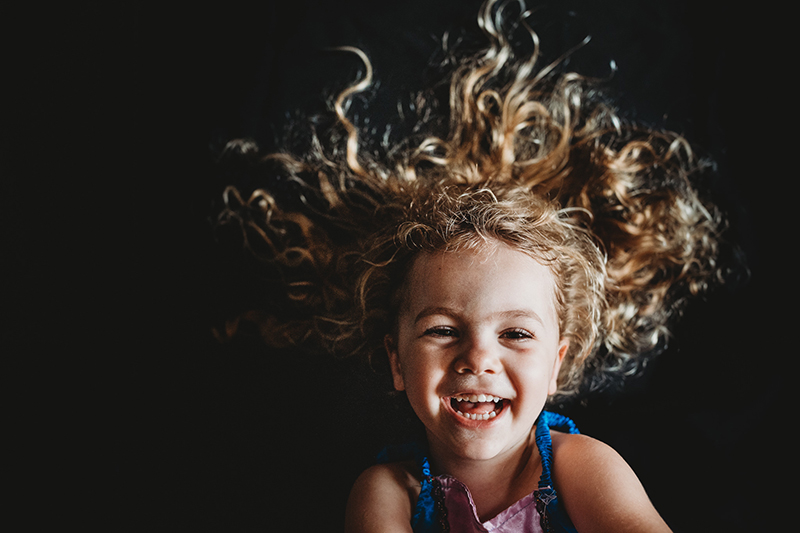
6. B&W Dark & Moody
We love this dramatic portrait by Morvern Shaw. It’s easy to create a dark and moody look by editing in black & white to mute colour and tone and draw the eye to subtle highlights.
Related:Capture Mood Using Tone in B&W Portraits
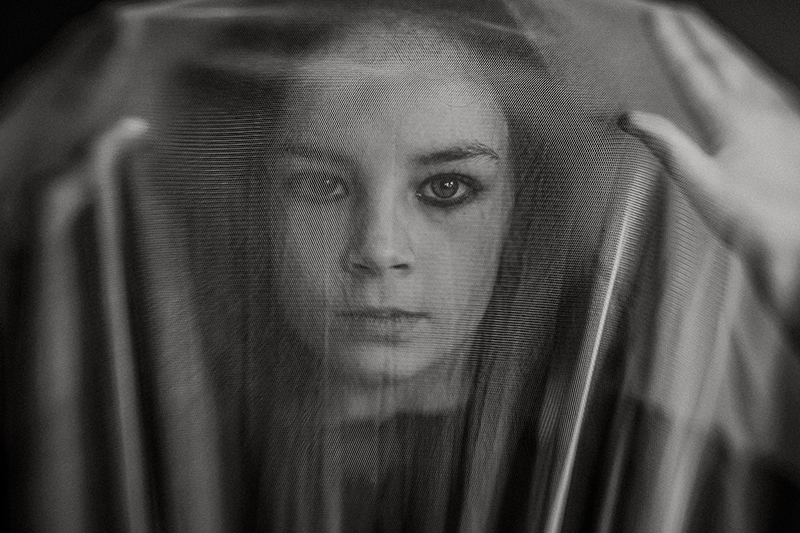
Morvern Shaw, Advanced Grad
Dark & Moody Photography Workshop
If this style really speaks to you and you’d love to master it, check out our Dark & Moody Photography Workshop with Morvern Shaw (instant access!).


Leave a Reply
PRIVACY POLICY & SITE TERMS AND CONDITONS
CLICK LOVE GROW ™ Pty Ltd - COPYRIGHT 2024 ©
x
Join Now
Enter your info below to join the challenge!
Want a friendly reminder when I go live?
Pop in your number and I’ll shoot you a text.
* We will send text reminders for our live calls during the challenge! Reply ‘STOP’ to end or ‘HELP’ for help.
We promise not to ever share your details with anyone or send you spam! Check our privacy policy and terms of service.
Be the first to comment