Tips & Inspo for Fabulous Fall Pictures
We’re loving the fall pictures being shared by our northern hemisphere friends. So this week’s highlights reel is a collection of deliciously rich fall pictures by CLG Grads and Instructors, complete with some handy tips so you can get out and play!
Enjoy!
Pumpkins
Obviously, an article about fall photography has to open with pumpkins!
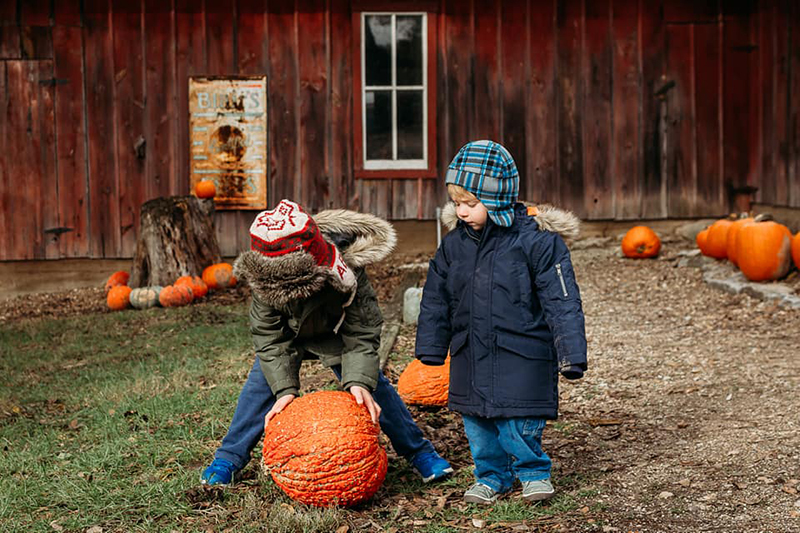
What are the key ingredients that give this shot the look of a professional portrait?
- Wait for soft, even light when the sun is low in the sky or overcast
- Get down to your subject’s eye level
- Frame out any clutter in the background other than the pumpkins
- Use a fast shutter speed to freeze any motion of your subject – we suggest minimum 1/250 for a toddler. If they’re moving, go even faster.
- Use a wide aperture to separate your subject from the background. But don’t blur the pumpkins into insignificance, they’re a big part of the story, so aim for around f/3.5 for a shot like this.

Crystal Lyle, Graduate
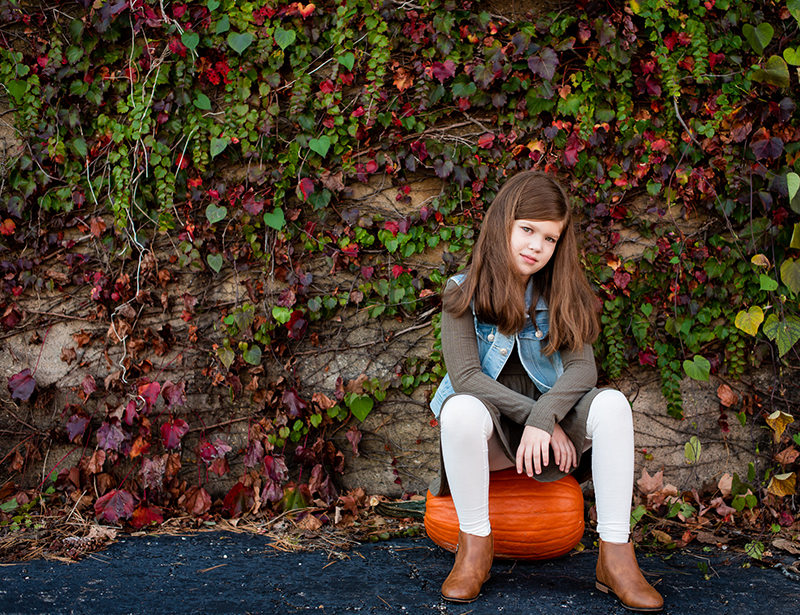
We’re not all stylists, and if you’re challenged in that way and want to bring a fall theme to your kids photos, just keep.it.simple. The elements here that make it work are few, but they’re all that’s needed:
- First and foremost pumpkins – a variety of colours and sizes.
- A rustic timber wall, harmonious in the environment
- Winter woollies, colourful hats.
That’s it. Add in use of soft light which you can find early or late in the afternoon when the sun is low on the horizon or when it’s overcast and you’ve got a winning combination for gorgeous fall pictures.
Dana Whitley, Advanced Graduate
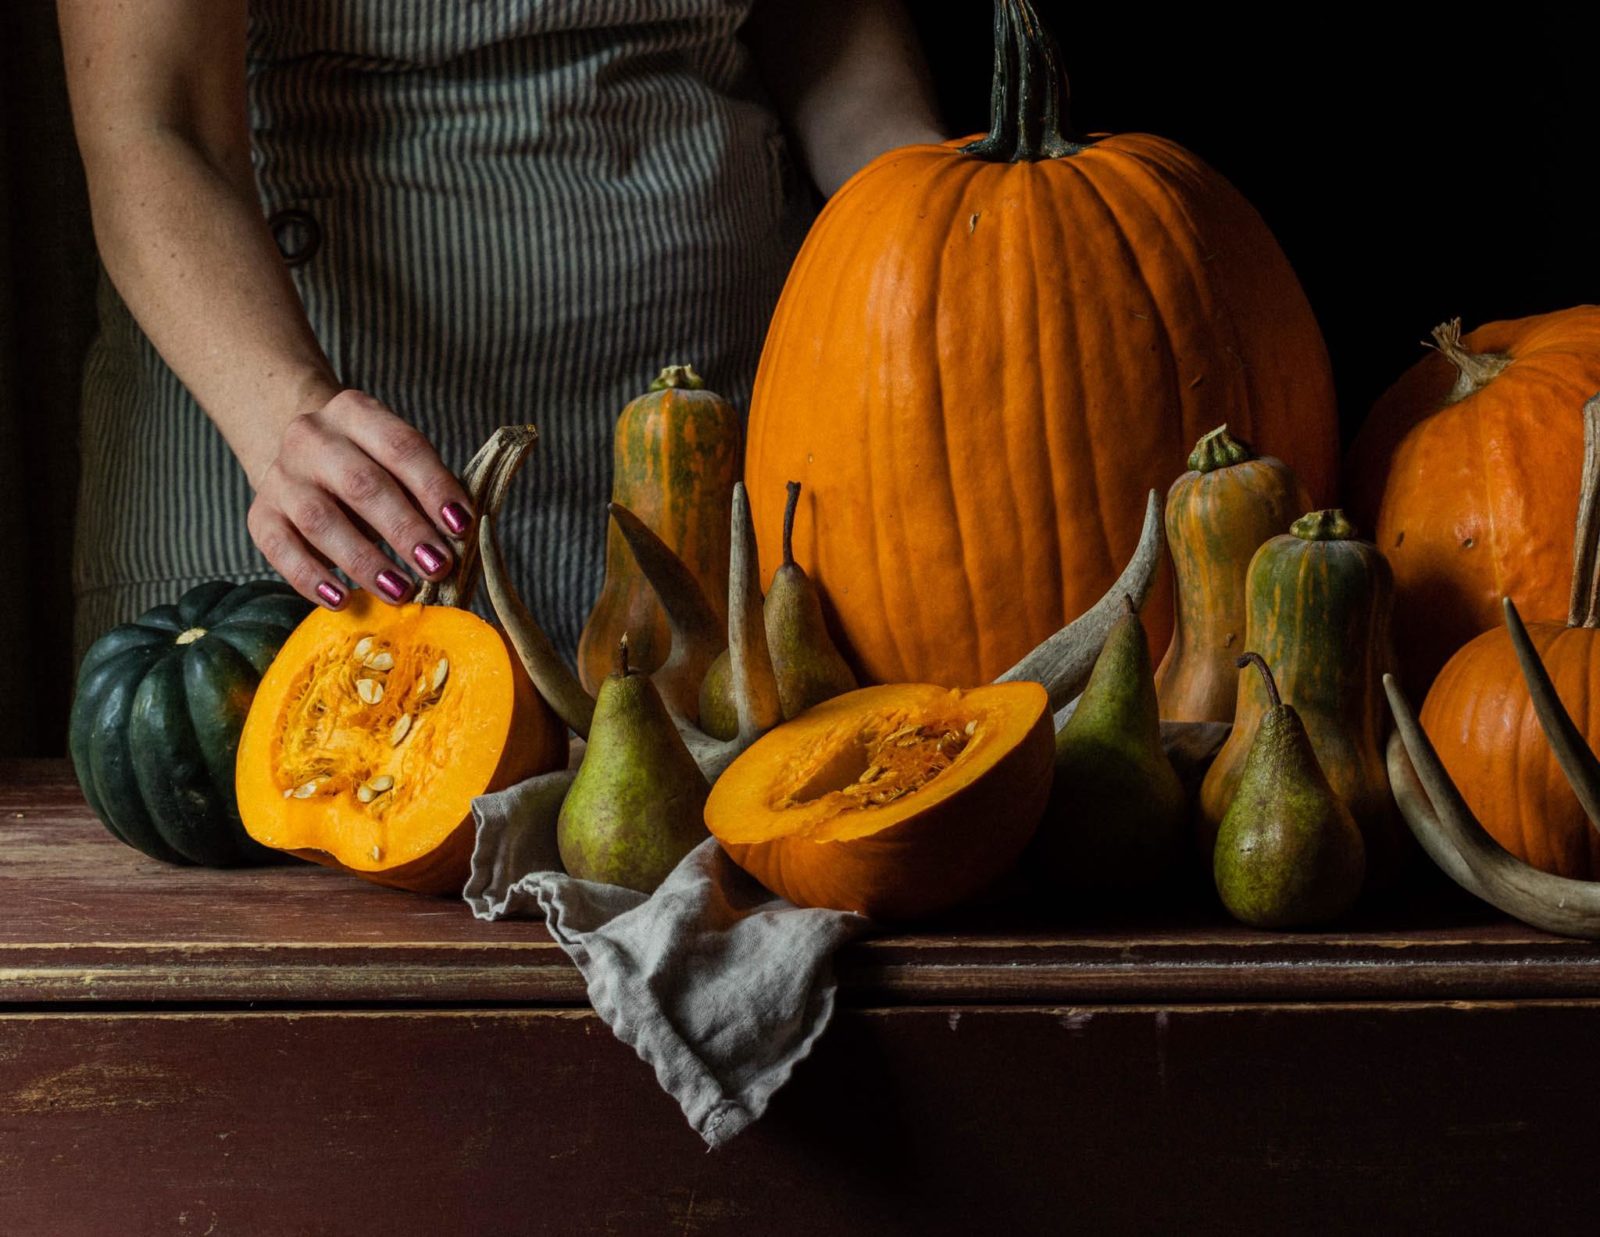
Still keeping it simple to great effect – a stone wall covered with fall colour provides an interesting backdrop from which to pop.
Laura DiBernardino-Tilly, Advanced Graduate
This was shot using a self timer and camera on tripod. Set up the scene, frame the shot, and focus where you want it to land. Then switch your camera to manual focus mode to lock it in. Select the 10 second timer option, hit the shutter then run back into place. If you have a remote, even better… no need to run.
Related: Lifestyle Food Photography Tips
Pam Hart, Advanced Graduate
Repetition and patterns are a powerful compositional tool you can use to create striking imagery, and this pile of pumpkins is a perfect example of repetition at play in photography.
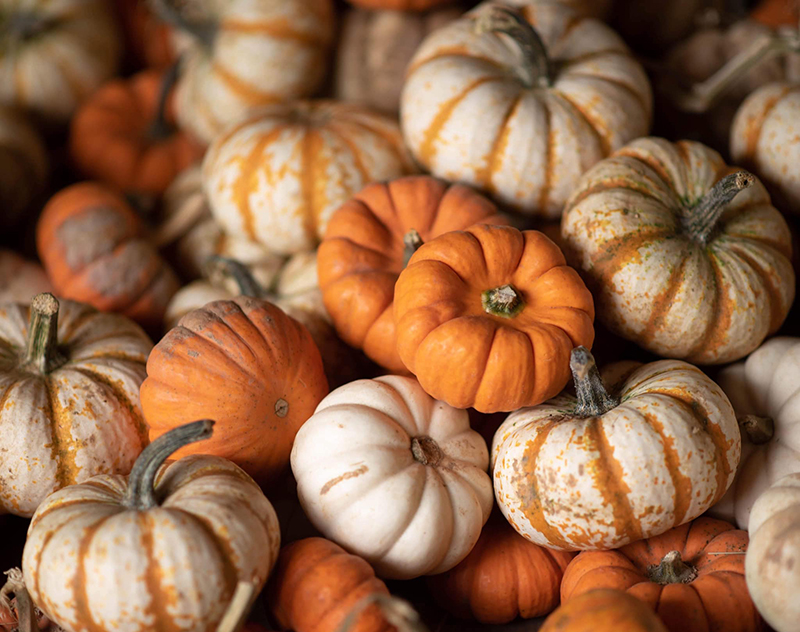
Ashley Brunjes, Graduate
Action!
Throwing around piles of leaves is a rite of passage for kids during fall. You’ll need a super fast shutter speed to freeze that motion – this one was taken at 1/1000 using continuous focus mode in high speed burst.
I positioned my subjects, sat on the ground in front of them, a little way back. Took a test shot to get my exposure perfect, then yelled action, and in burst mode I took dozens of images.
I chose f/4 to get everyone else in acceptable focus, and I did ask them beforehand not to move too far away from one another. In this instance I focused on the boy in the middle as he was the focus of their play. As I was sitting a fair way back and using a 50mm lens this gave me a decent depth of field.
Related: How To Get Sharp Photos of Fast Action
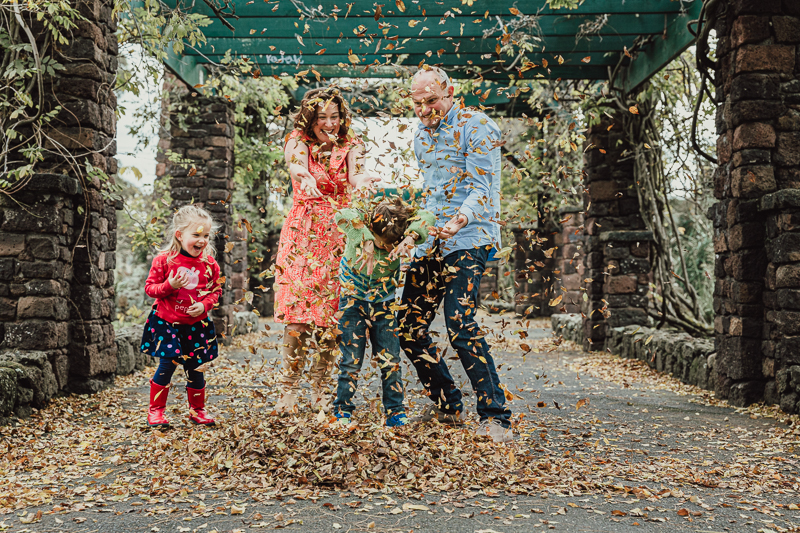
Pam Bradford, CLG Instructor
The speed of motion in this gorgeous fall picture below would have been much slower than the shot above, and you could safely freeze it with a shutter speed of around 1/500.
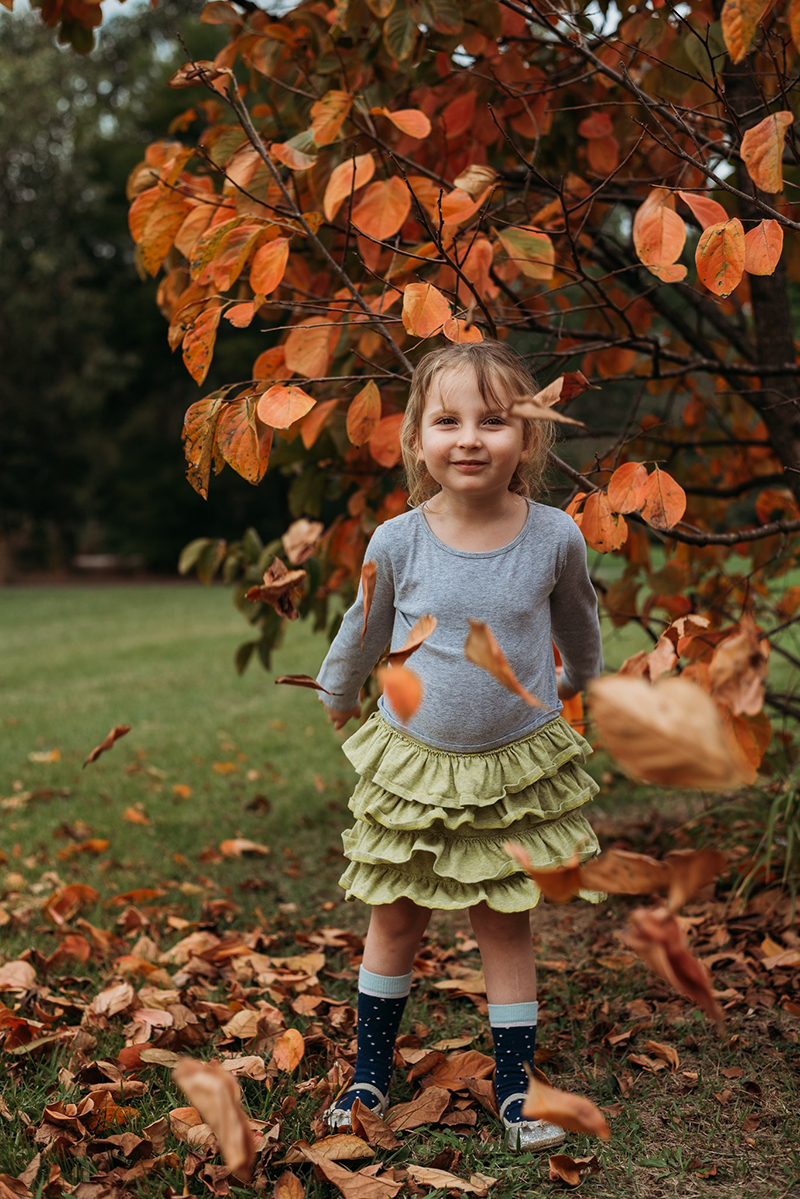
Melissa O’Neill, Advanced Graduate
Light
Fall pictures don’t have to be limited to leaves, trees and pumpkins. At this time of year the light begins to soften as it moves further away from your corner of the planet, making it perfect for late afternoon golden hour backlit photos. And the best bit? Unlike summer you won’t have to wait until 9pm to capture your tired little people in this light.
Related: Backlighting Secrets

Lauren Green, Advanced Graduate
Negative Space
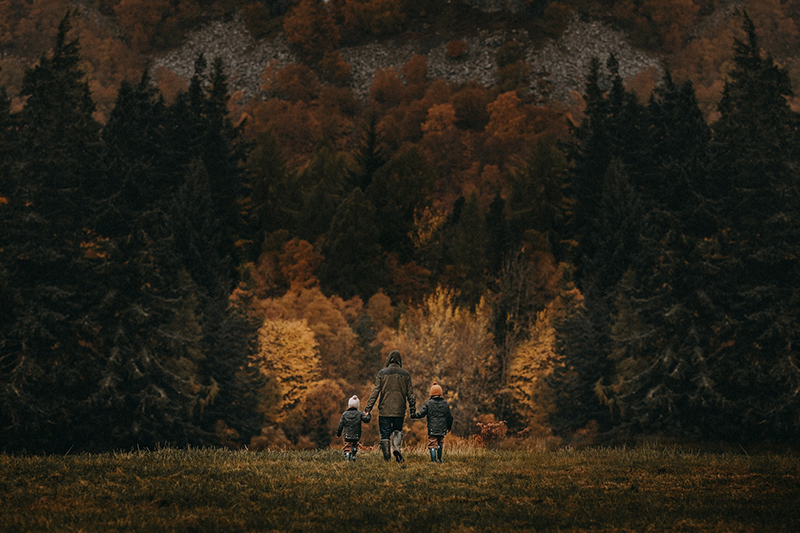
Let’s face it, no matter how appealing your subject, all that majestic fall colour is the hero. Step back and use negative space to showcase it to its best advantage and give your fall pictures massive wow factor.
A wide angle lens is the best choice for a shot like this one below as it enables you to include a vast amount of the environment, without having to step back so far that your subject is lost in the frame. And that my friends, is the beauty of a good wide angle lens!
Related: Wide Angle Fun
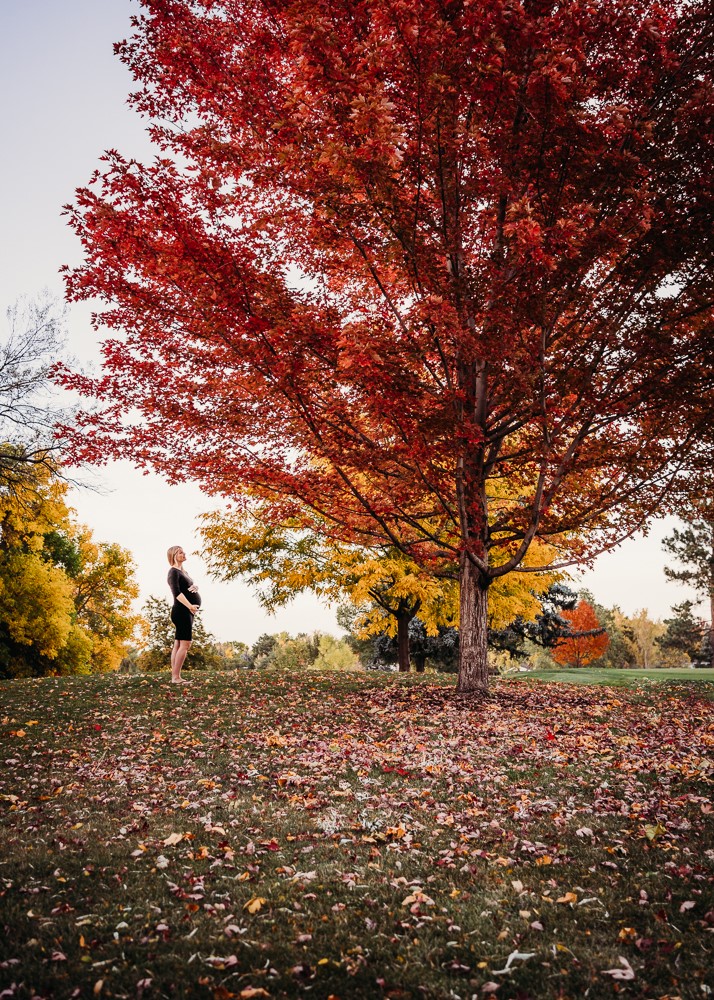
Hope de la Rosa, Advanced Graduate
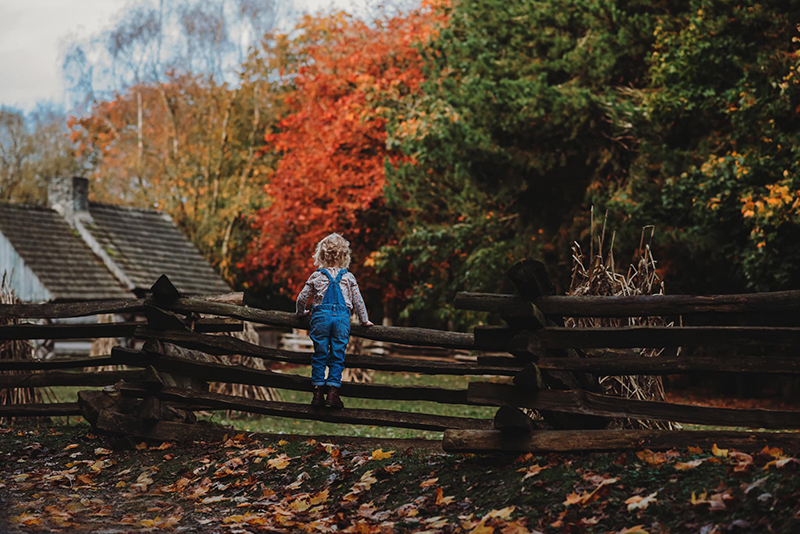
Lisa O’Doherty, Graduate
Morvern Shaw, Advanced Graduate
Fall Landscapes
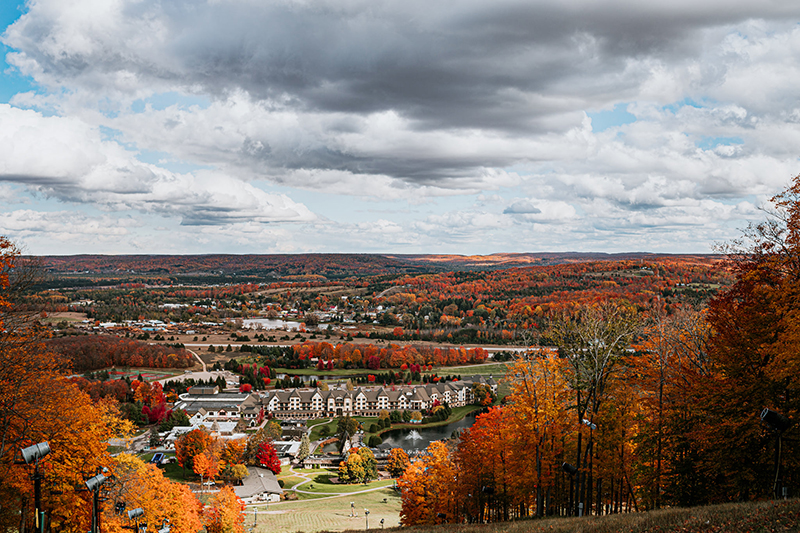
A wide angle is the perfect lens for a shot like this too. Use the narrowest aperture your lens will allow to get sharp focus from the foreground to the back.
Another common element of successful landscape images is to include an object in the foreground, a point of focus around the middle focal plane, then allow the background to take up at least 1/3rd of the frame. In this image the trees nearest the lens not only work as foreground elements to add depth, they also frame the village scene which is the obvious focal point.
Related: Ultimate Travel & Landscape Photography Guide
Amy Stricker, Advanced Graduate
Capture the Details
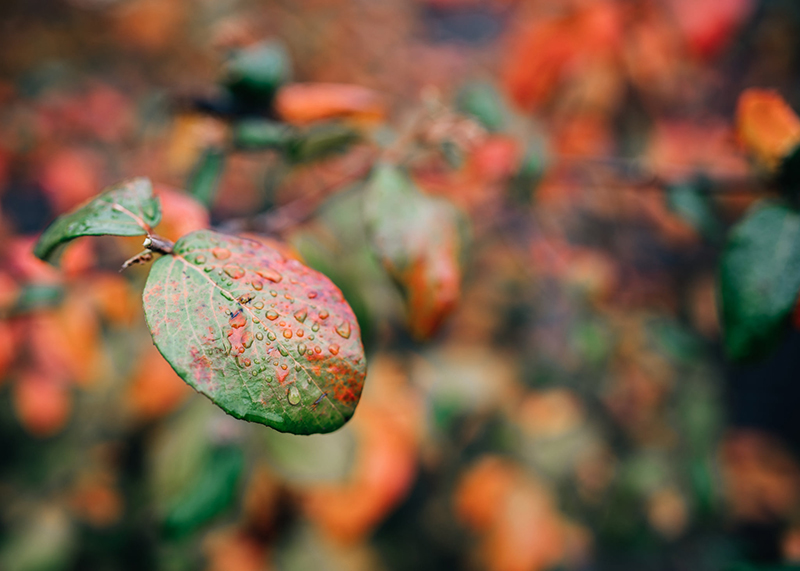
Fall leaves are incredible en masse, but get up close and be mesmerised by the fine and delicate detail.
You don’t need a macro lens for a shot like this. You could try macro extension tubes, or grab your sharpest lens, get in as close as your lens allows and take a super sharp shot. Then if you want to get even closer, you can crop it a little in processing. Use a narrower aperture than you might normally to compensate for the detail you’ll lose by cropping in. For a shot like this, if you’re using a non-macro lens, try shooting it at around f/4.5
Related: Macro Photography Beginners Guide
Claire Roads, Advanced Graduate
Elise Peel, Advanced Graduate

Carly Schlegel, Graduate
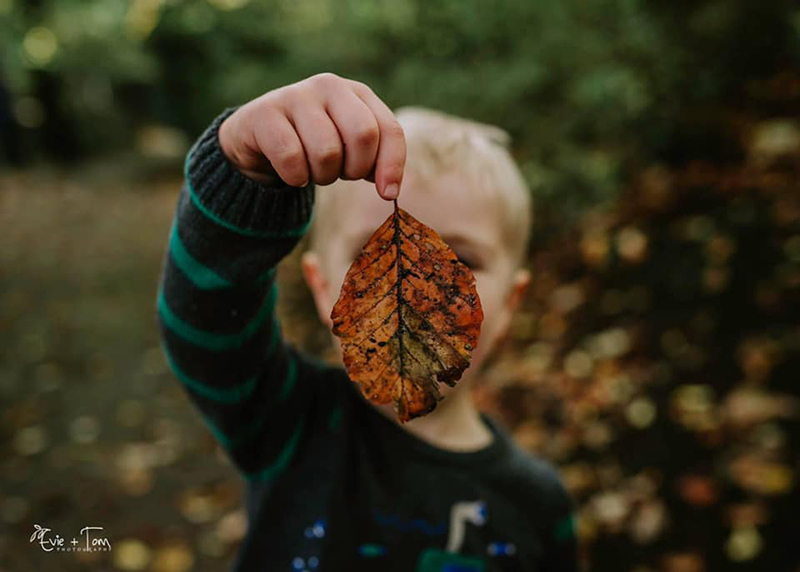
Get in close and try this classic shot.
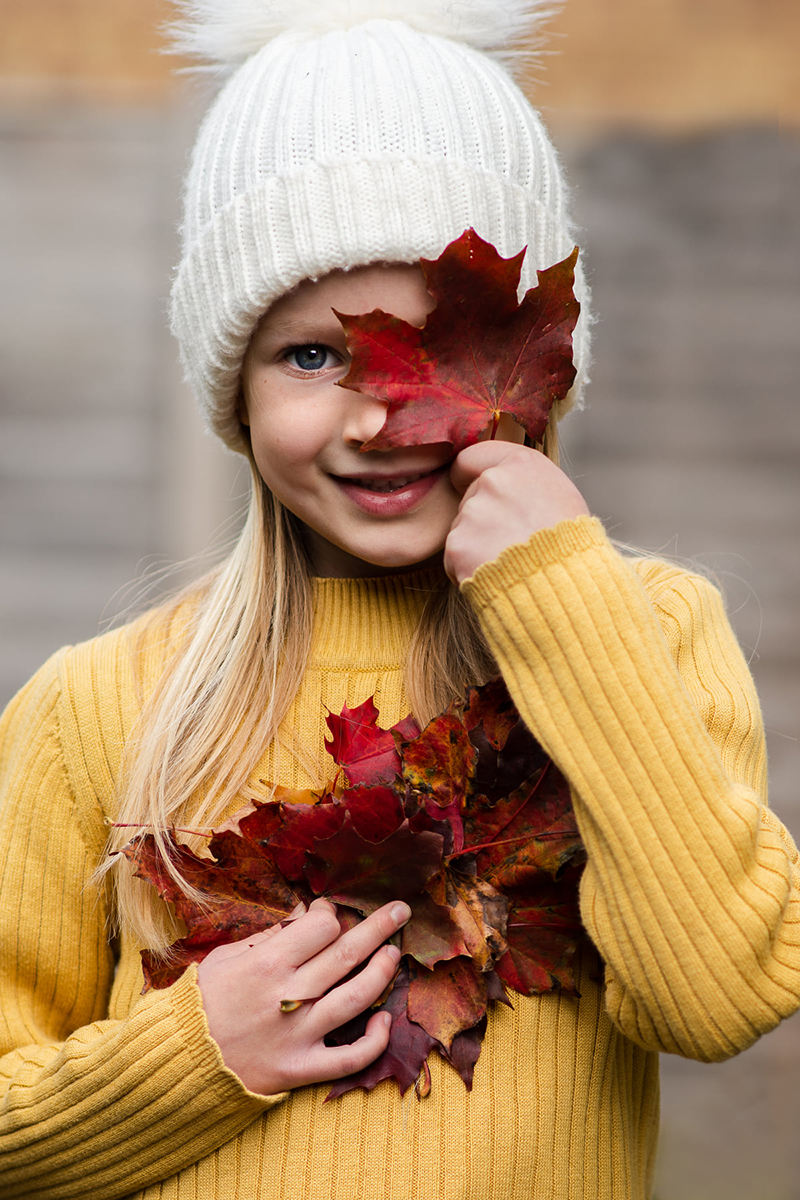
Louise Harmston, Advanced Graduate
We hope you enjoyed this collection and our tips and it inspires you to pick up your camera and get outdoors!
Join my new workshop and learn How to Shoot Pro-Quality Photos With Your DSLR… and it’s totally FREE to join! Register here…

Leave a Reply Cancel reply
PRIVACY POLICY & SITE TERMS AND CONDITONS
CLICK LOVE GROW ™ Pty Ltd - COPYRIGHT 2024 ©
x
Join Now
Enter your info below to join the challenge!
Want a friendly reminder when I go live?
Pop in your number and I’ll shoot you a text.
* We will send text reminders for our live calls during the challenge! Reply ‘STOP’ to end or ‘HELP’ for help.
We promise not to ever share your details with anyone or send you spam! Check our privacy policy and terms of service.
Be the first to comment