12 Baby & Toddler Portrait Tips for Beginners
When I went searching for photos that jump out at me to feature in our Highlights Reel of Grad photos next week, I couldn’t help but notice an abundance of gorgeous baby and toddler portraits. And so it was this week’s Highlights Reel is themed around exactly that, with some tips for capturing them for good measure!
Enjoy, and leave our Grads some love!
1. Contain Them!
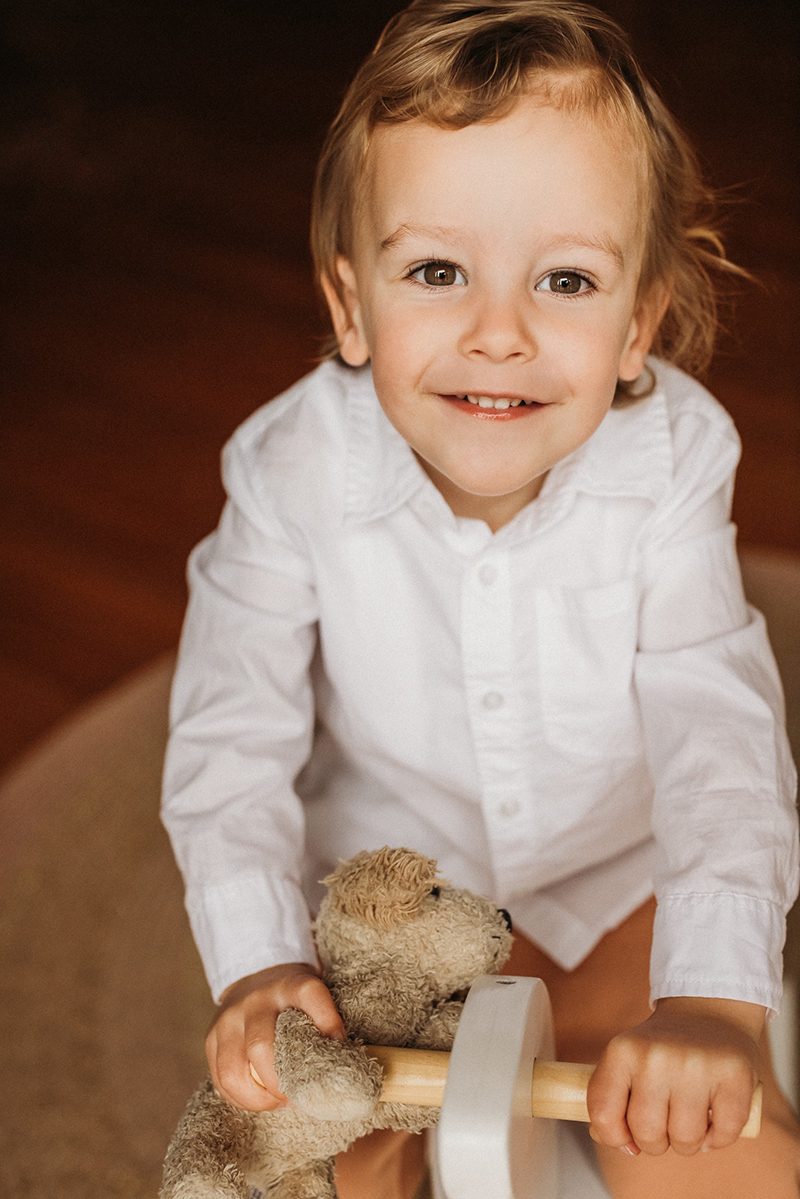
I know, I know… toddlers are movers and it’s not always easy to pin them down for a beautiful portrait like this one. In fact… it’s almost always not easy! So how did she do it?
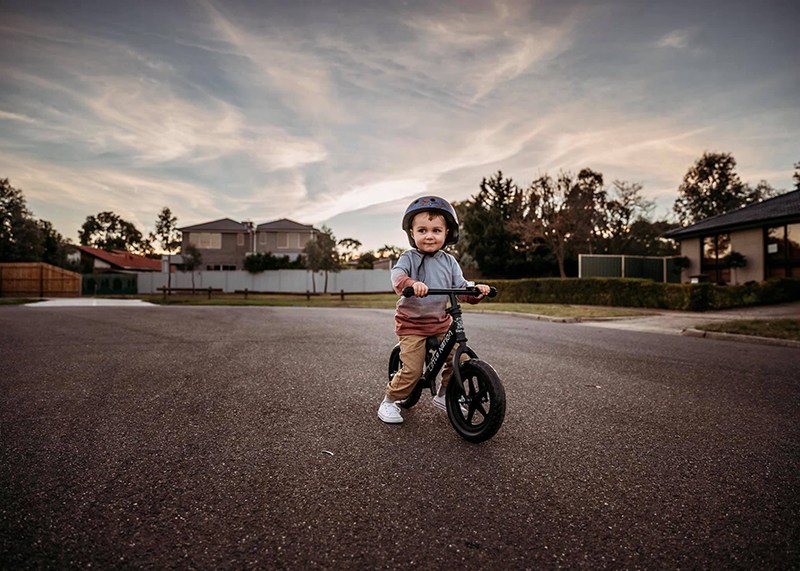
Confine them! In this shot below he’s sitting on a wooden rocking horse, which of course he loves and it’s making this moment all about fun, and not all about stopping to get his photo taken.
Merissa Wakefield, Advanced Graduate
Sara Sparrey, Advanced Graduate
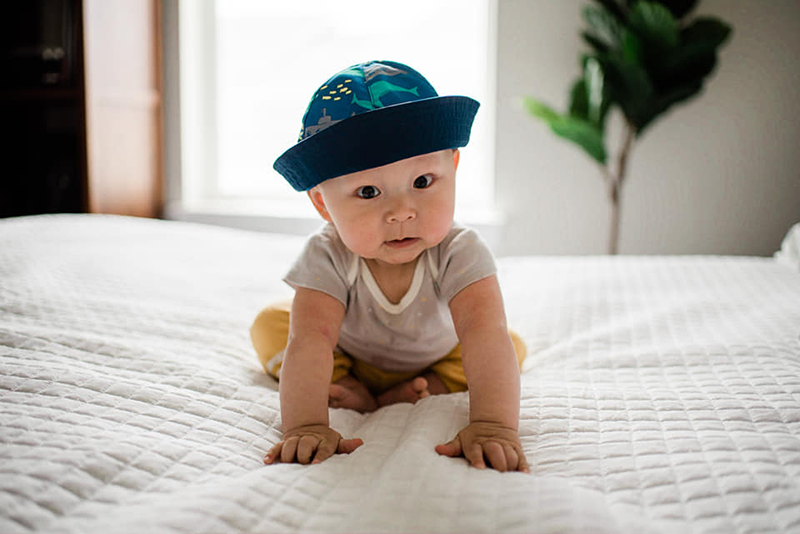
Baby on a bed… they can’t get far! Unless they’re crawling, in which case don’t do it at all unless you have a second set of eyes to keep an eye on their safety as we all know what it’s like to get lost in taking photos.
Gaajidmaa Sukhbaatar, Advanced Graduate
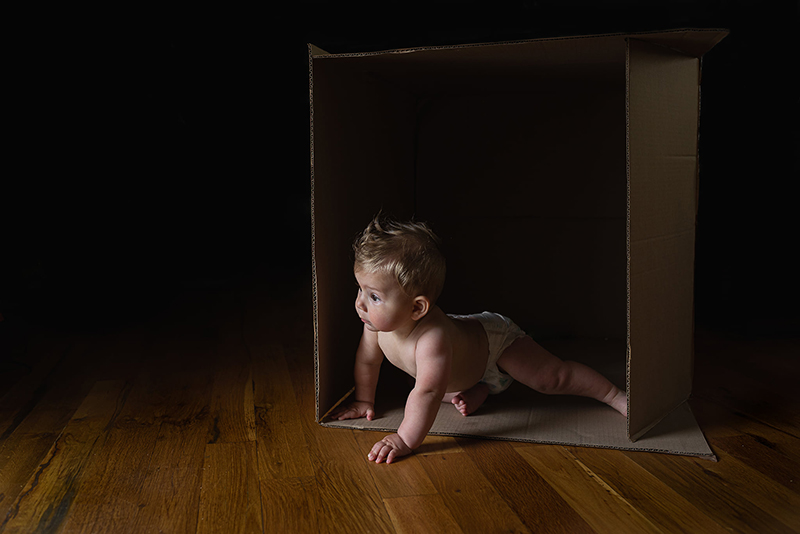
2. Document Their Play Time
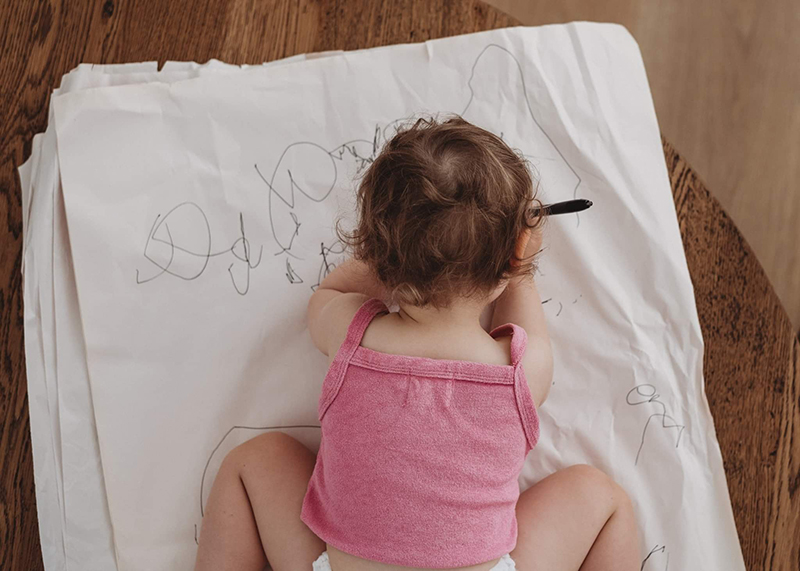
This is another way to get portraits easily without having to chase them. Set them up at activities in good light, then step back and shoot. Don’t interrupt their play by asking them to pose or look at the camera. Not all portraits have to be looking at camera and this is a way to document their childhood authentically.
Related: Documentary Kids Photography Tips
Vicki Cardilini, Advanced Graduate
Kelsey Carrillo, Advanced Graduate
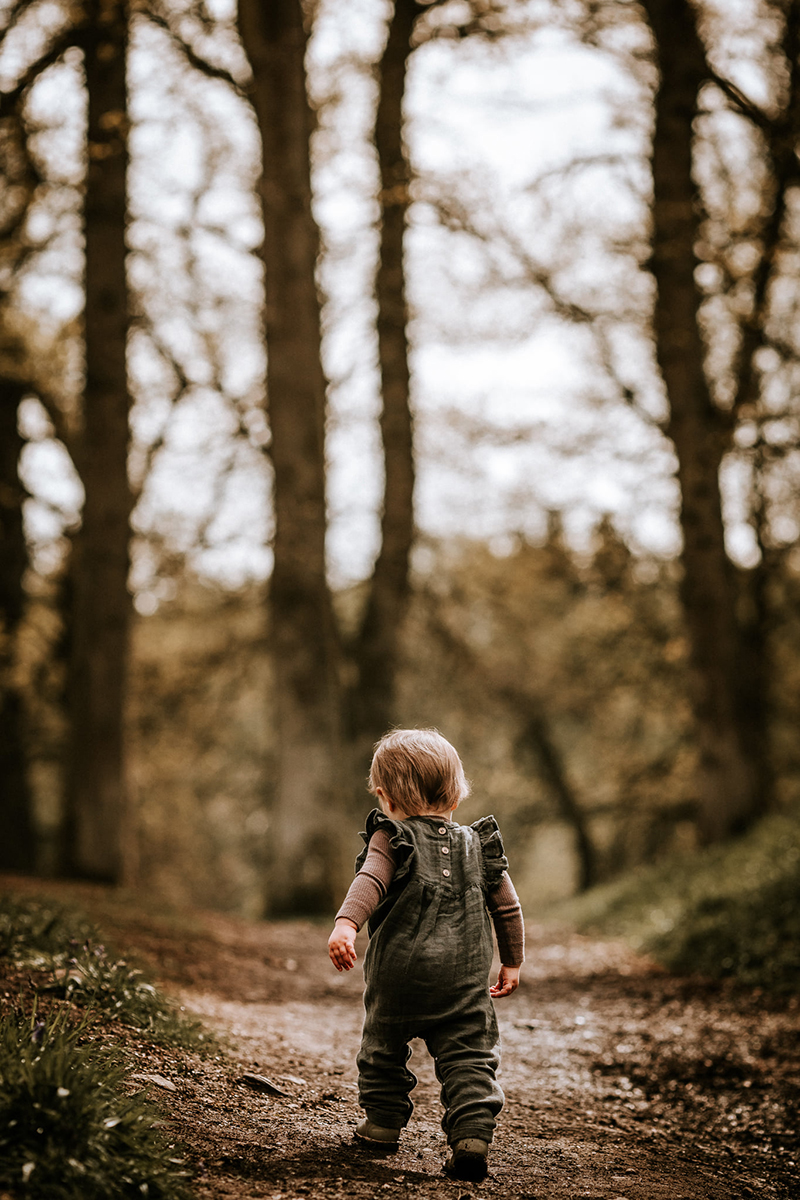
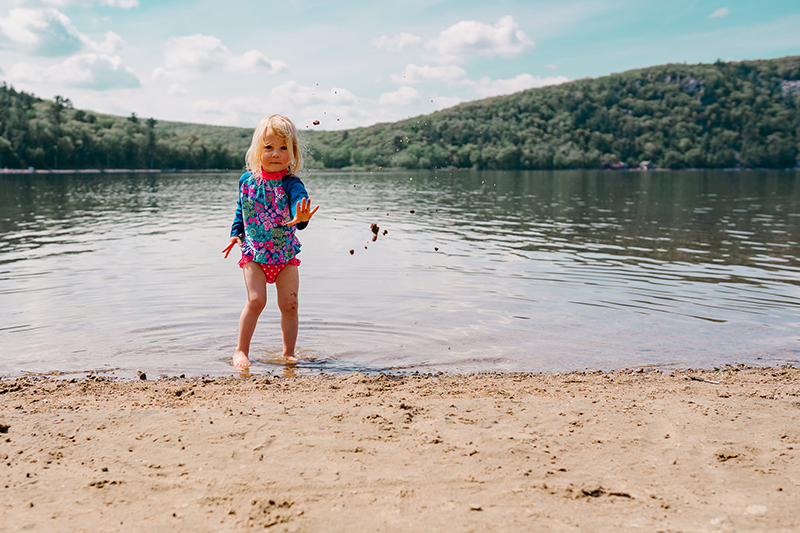
3. Negative Space
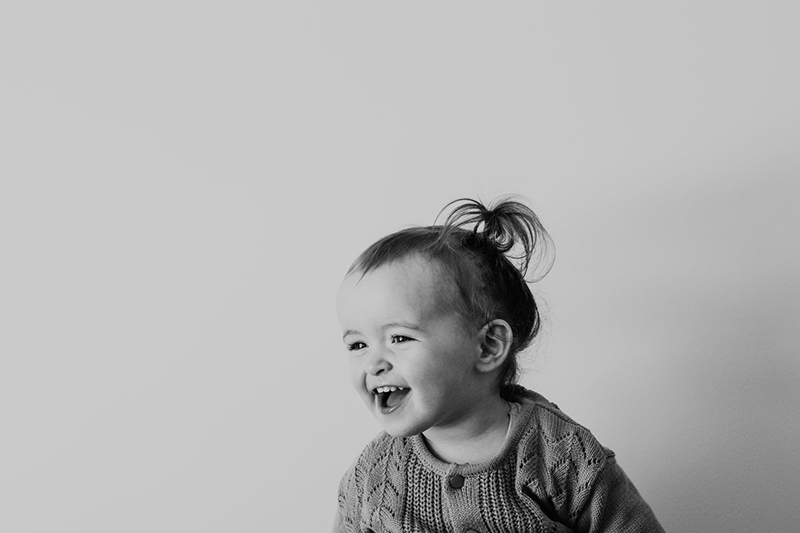
Including lots of negative space in your photos of your little one is a fantastic way to convey their size at a given point in their life, as it adds a sense of scale relative to the environment.
Related: When & How to Use Negative Space Successfully
Morvern Shaw, Advanced Graduate
Jessica Skarlupka, Advanced Graduate
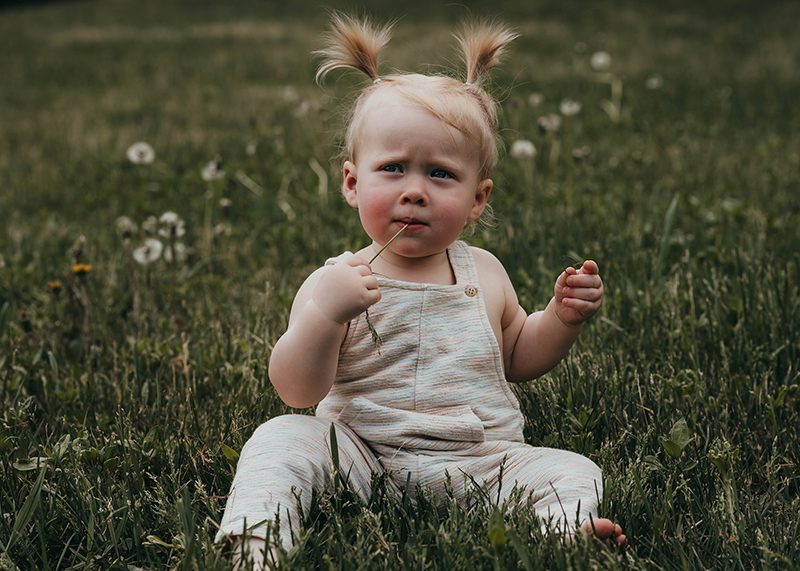
4. Get Down Low
Don’t take all your shots of little ones at your adult height. Get down to their eye level, not only does it make it easier for you to engage them for the photo, but it helps the viewer engage with your portrait subject. And also, it’s quite simply the best view of your portrait!
Related: One Easy Tip for Instantly Better Portraits
Robyn Harding, Graduate
5. Look Down
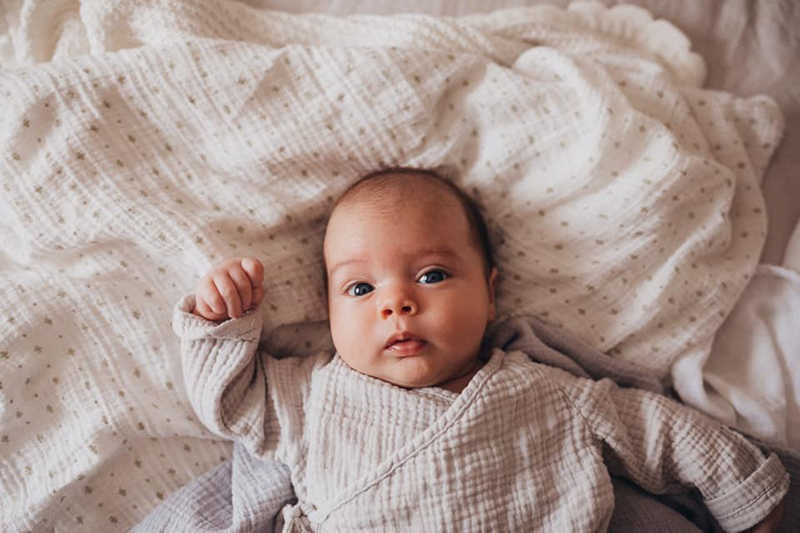
The alternative to getting down to their eye level is getting up high, and shooting down on your subject. This is a common angle for newborns and babies that aren’t sitting up yet.
Safety Tip
When standing over a baby and shooting down, make sure your camera is secured around your neck with the strap to prevent accidentally dropping it on them.
Related: 7 Tips for Beautiful 3 Month Baby Photos
Charlie O’Neill, Advanced Graduate
6. Details
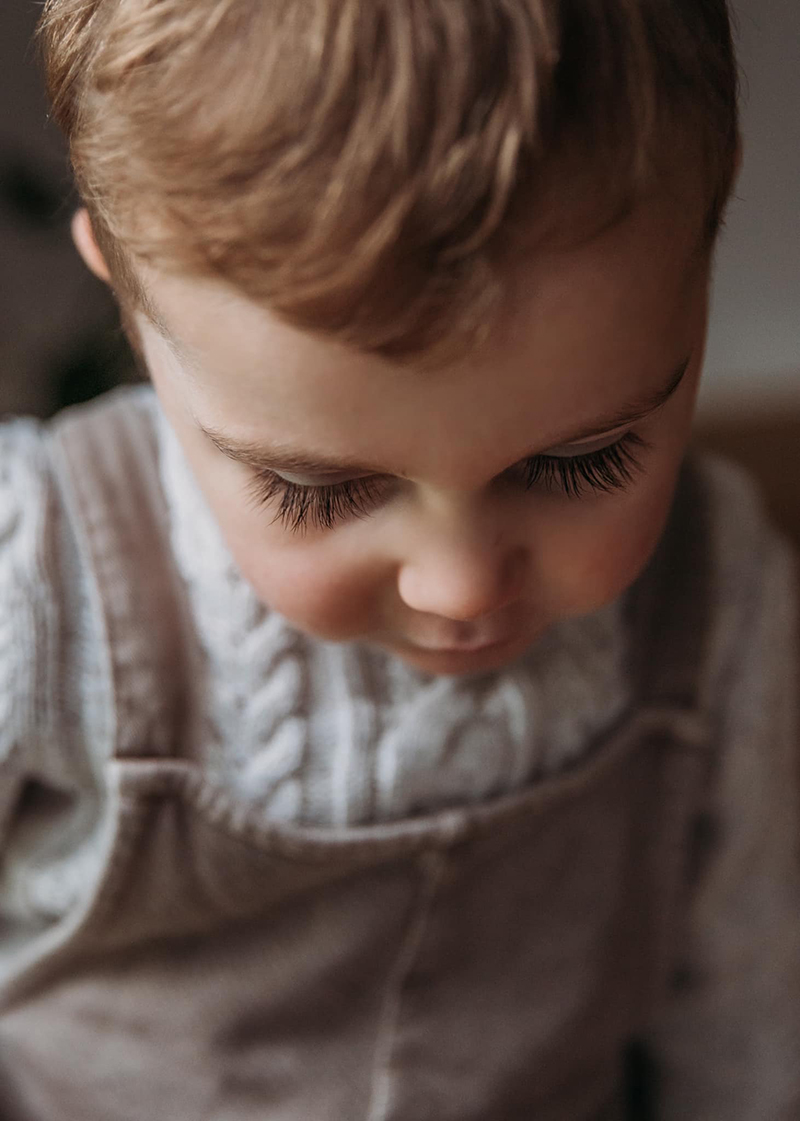
Don’t forget the details that change in a heartbeat. Get in close and capture eyelashes, tiny fingers and toes, whisps of baby hair, rosebud lips.
If you have a macro lens or macro tubes this is a perfect opportunity to use it. If not, just get in as close as you can with your sharpest lens, narrow your aperture to give you good depth of field then crop a little in processing to get closer.
Related: Macro for Newborn Photos
Sara Sparrey, Advanced Graduate
7. Avoid The Cheese!
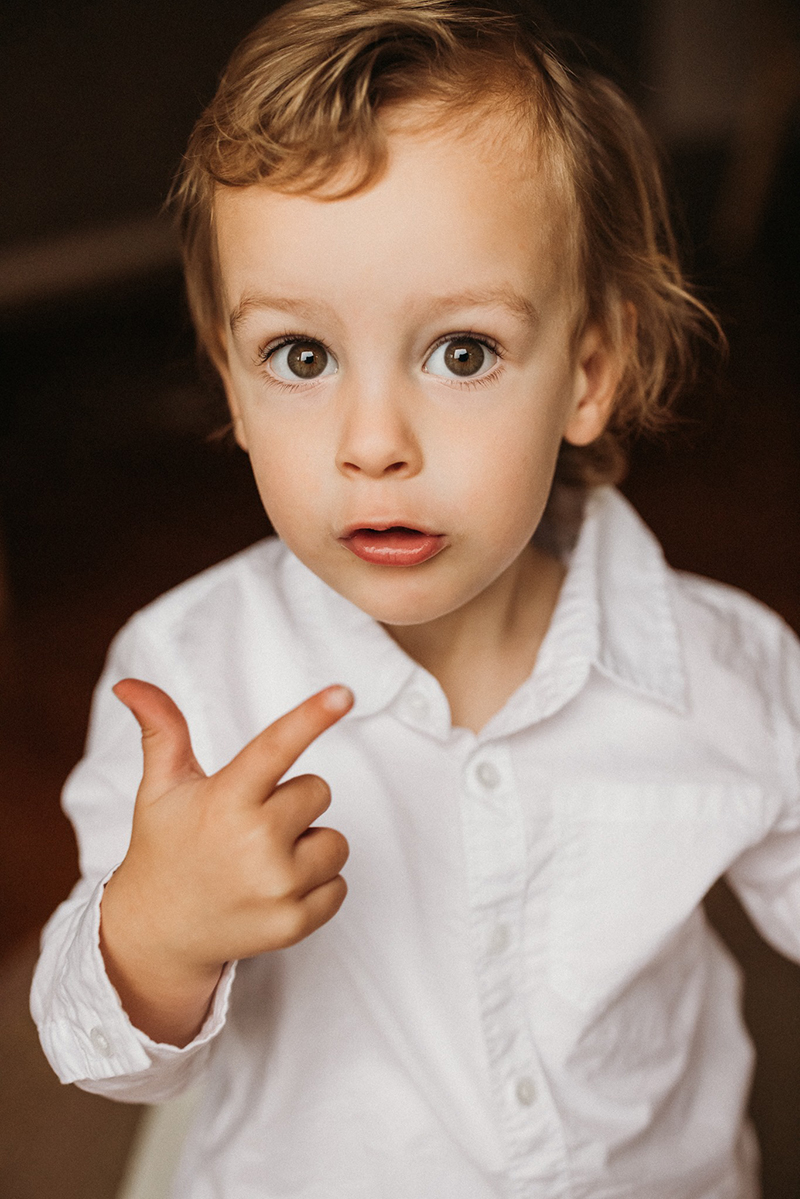
If you tell a child to smile, you’ll get cheese without fail. For a more natural look, engage them. In t his shot below he’s singing the song to his favourite tv show. Just chat to them, ask questions, sing songs, be silly!
Related: 10 Tricks for Natural Smiles from Kids
Merissa Wakefield, Advanced Graduate
Sam Maker, Advanced Graduate
8. Isolate Your Subject
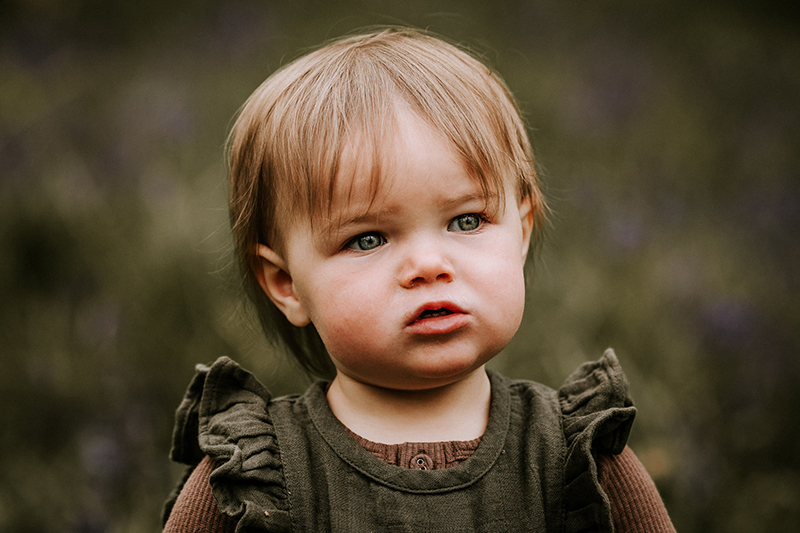
This is the key difference between professional portraits and snap shots. That beautifully blurred background doesn’t just look amazing, it serves a purpose: it separates your subject from the background and makes them pop.
Create it with a wide aperture, eg. f/2.5. And make sure you focus on your subject’s eyes by choosing the focus point that sits over the eye closest to the lens.
Related: How to Get Blurred Backgrounds; How To Control Your Focus
Morvern Shaw, Advanced Graduate
9. Light
If you’re new to photography and just want some good, crisp, light filled photos of your baby, it doesn’t have to be complicated. Light can be a very complex topic, but it doesn’t have to be. Make it easy on yourself and look for soft light coming through a window or doorway, and position your baby at a 45 to 90 degree angle to the light source.
Soft Light – The Easy Portrait Go To
Soft light is gentle and wraps around your portrait’s face evenly with subtle variations in shadow and light. If you have jarring bright patches of light on or near them, that’s not soft light, and you either need to move them, or diffuse the light.
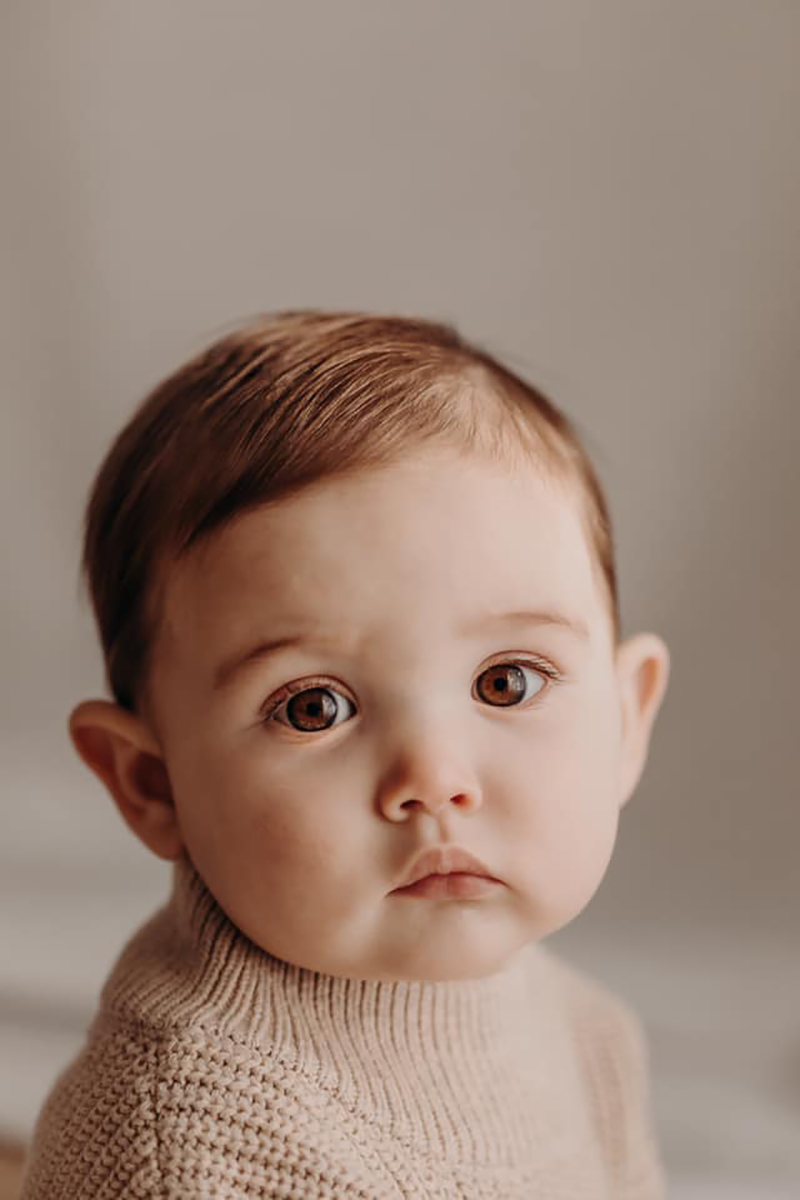
In this gorgeous portrait below, there is soft light at camera right. Her position 90 degrees to the light has created gentle shadows on the left which help add depth and interest. That interplay of light and shadow has also sculpted her features, highlighting those beautiful curves.
Related: Finding Natural Light Indoors
Use Catchlights to Help With Positioning
Also notice the catch lights in her eyes, they add sparkle and life, and are a good rule of thumb to help you determine if your portrait is positioned well in relation to the light.
Jasmin Tarczon, Graduate – Soft, gently directional light indoors
How to Light a Newborn
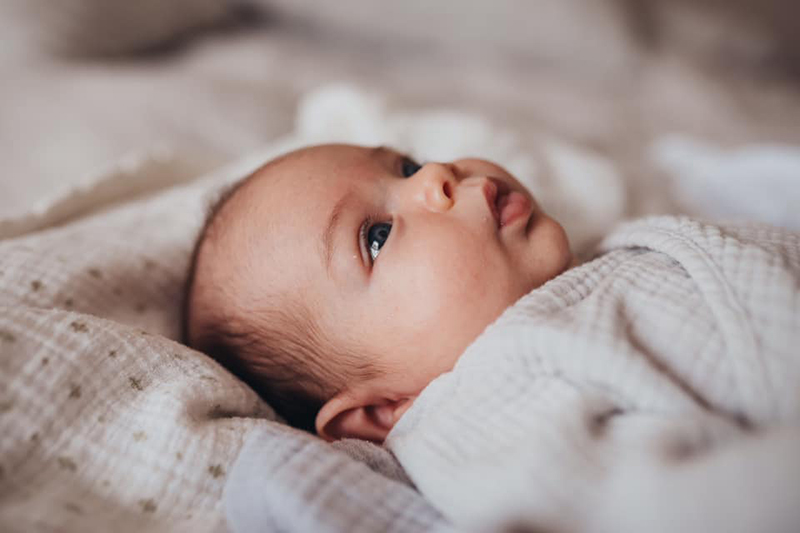
Lighting a newborn from the top down is one of the easiest ways to ensure you illuminate their features in a way that is gentle and flattering. In this way the light washes down their head and wraps around their eyes, head and lips beautifully. When the light comes from their feet up, it illuminates up their nose, and creates shadows in all the wromg places.
Charlie O’Neill, Advanced Graduate
The Instant Studio In Every House
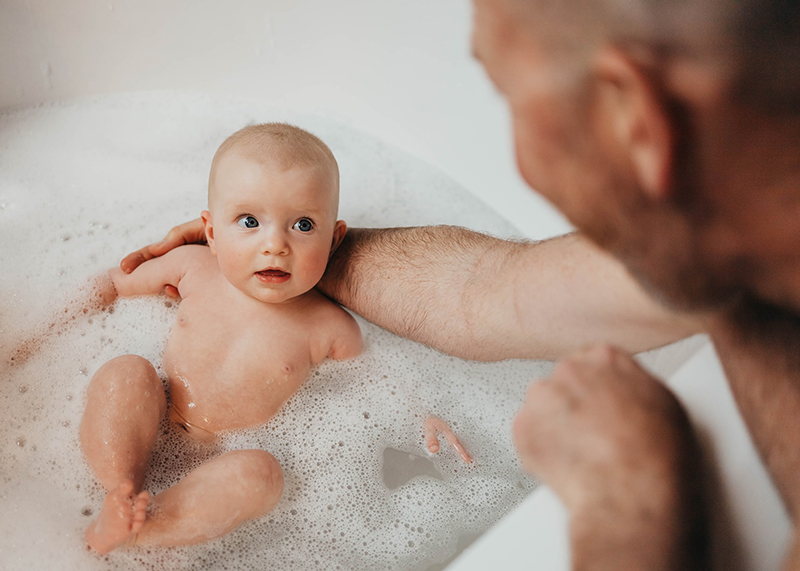
Suffering a lack of good light indoors? Try your bathroom! A white bath acts as a natural reflector as it bounces light around the room and over your subject.
Related: The Bathroom Studio
Robyn Harding, Graduate
Soft Light – Finding it Outdoors
You’ll find soft light outdoors early in the morning or late in the afternoon when the sun is low in the sky and diffused by the atmosphere. You can also find it when it’s cloudy, or in open shade such as porches and gazebos and under trees (but watch out for dappled light when shading under trees).
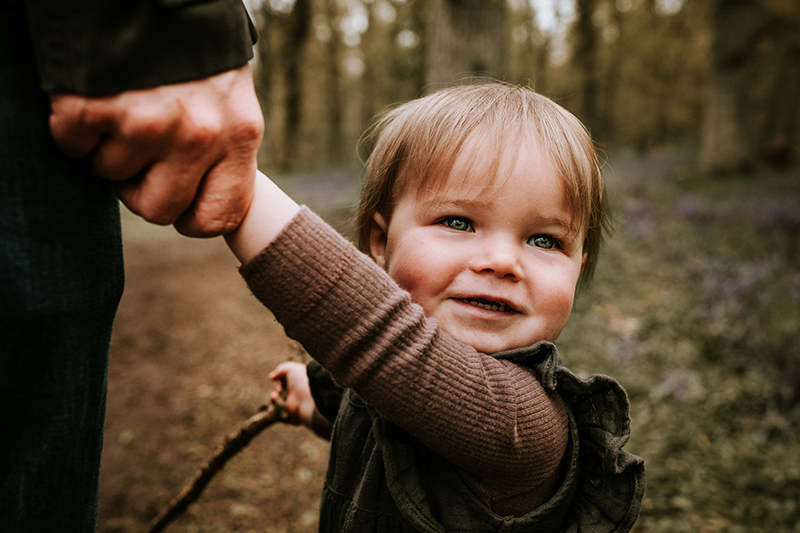
Morvern Shaw, Advanced Graduate
10. Try a Cake Smash
An oldie but a goodie! Planning and styling a cake smash for your almost-one year old can be lots of fun, and we have two great blog posts on exactly that topic. But if you’re too busy, you prefer simplicity, or you’re style challenged… set up outdoors in an area with good soft light and just your baby and a cake. Easy peasy!
Oh and here’s a thought… why wait for their first birthday? Or maybe you’ve missed that occasion… who says cake has to be for birthdays?!
Don’t forget to vary your angles and frames for lots of variety!
- Take wide shots to include the scene and tell the story
- Get in close for head shots
- Try portrait and landscape orientations
- Capture details of little fingers clutching cake
- Get up high and down low
Related: DIY Indoor Cake Smash Session; Outdoor Cake Smash Photo Tips
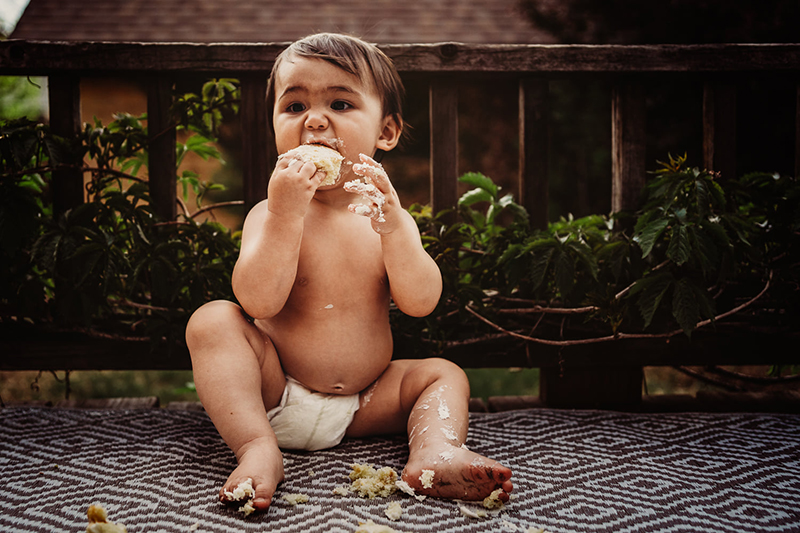
Hope de la Rosa, Advanced Graduate
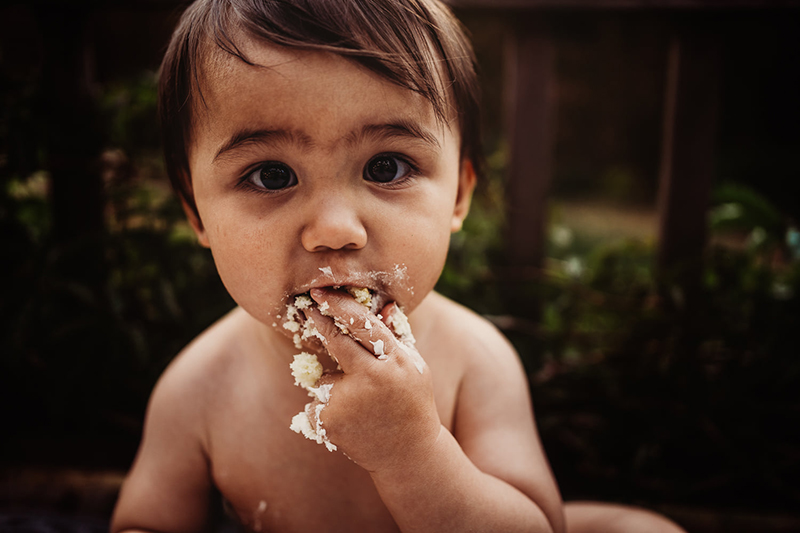
Hope de la Rosa, Advanced Graduate
11. Toddler & Newborn
I’ll be the first to agree toddlers are hard to capture, and newborns can be too… so together? Yes, it’s challenging! But there are tricks and tips to make it easier and we have a gazillion of them, compiled by some of our most talented (and busy!) professional newborn and family photographers. Check it out for a detailed how to (and grab the free cheat sheet!).
Related: Toddler & Newborn Photography Guide
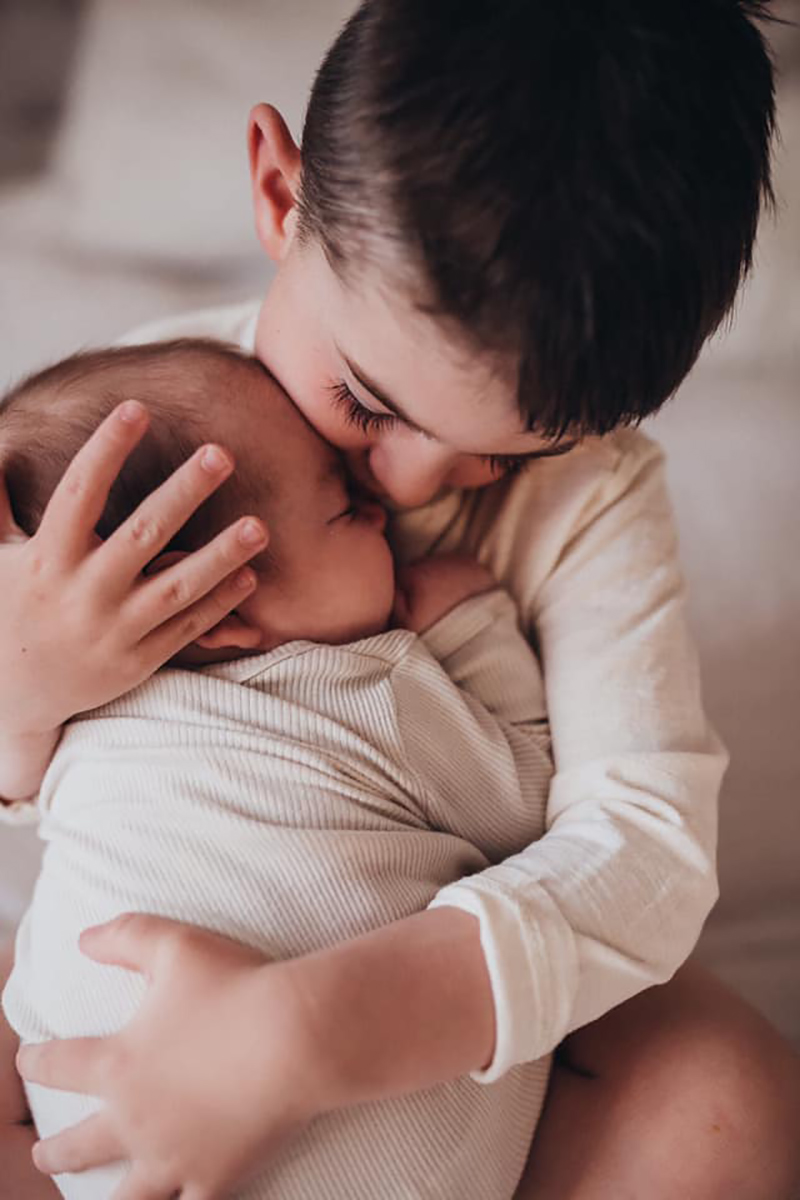
Charlie O’Neill, Advanced Graduate
12. Easy Editing
If you’re new to photography, editing can be overwhelming to the point that, well, you just don’t do it.
But take a leap of faith, shoot in RAW to give you total control and start with simple, clean edits in Lightroom.
Related: 5 Simple Photo Edits; 3 Black & White Edit Tutorials; Black & White Photo Essentials
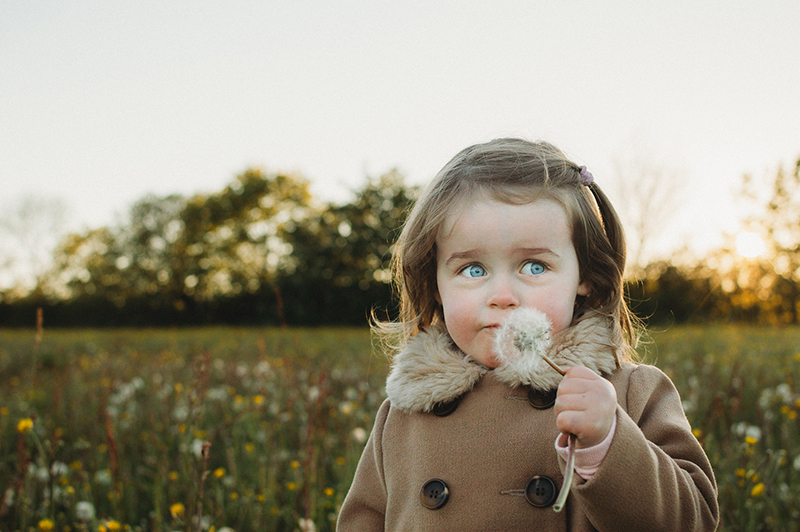
Kelly Huber, Graduate
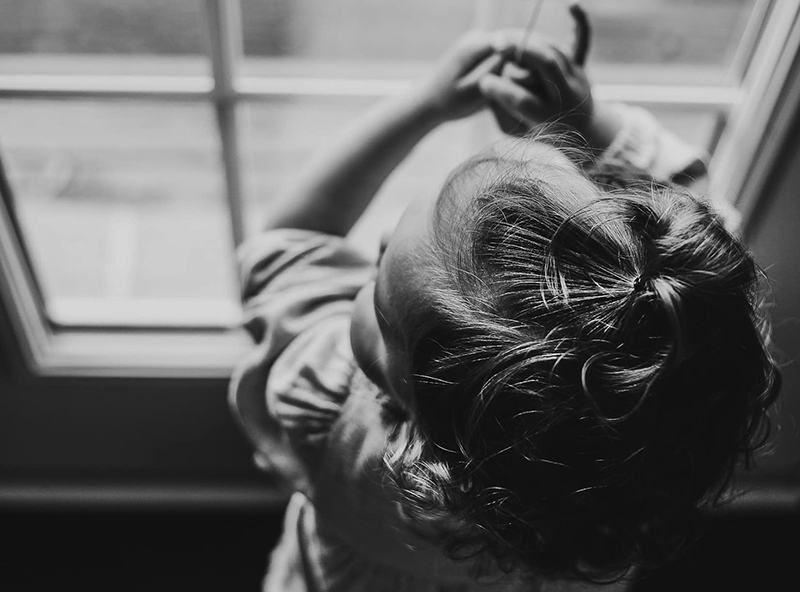
Alyxandra Catherine, Advanced Graduate
Last but not least, I have some top tips to ensure success when photographing babies and toddlers:
- You don’t want to lose them before you even being. So find your location with good light, clear any clutter, take some test shots, get your settings right, then bring in baby!
- Allow plenty of time – if you feel rushed your little one will pick up on it and that’s not conducive to a calm atmosphere and a happy subject.
- Have realistic expectations – babies and toddlers have a small window when they’re open to photos. Use that time wisely and when it’s clear they’re over it, don’t push it. Even if you didn’t get anything good… just put the camera away. Another opportunity will arise if not later that day, then the next day.
- A tired newborn is not an easy subject! Capture newborns when they’re sleeping or after a sleep.
I hope you enjoyed those tips and can get your camera out and practice them!
Free Photography Workshop
Join my new workshop and learn How to Shoot Pro-Quality Photos With Your DSLR… and it’s totally FREE to join! Register here…

Leave a Reply Cancel reply
PRIVACY POLICY & SITE TERMS AND CONDITONS
CLICK LOVE GROW ™ Pty Ltd - COPYRIGHT 2024 ©
x
Join Now
Enter your info below to join the challenge!
Want a friendly reminder when I go live?
Pop in your number and I’ll shoot you a text.
* We will send text reminders for our live calls during the challenge! Reply ‘STOP’ to end or ‘HELP’ for help.
We promise not to ever share your details with anyone or send you spam! Check our privacy policy and terms of service.
Be the first to comment