Take Your Own Cake Smash Photos
Hello! If you’re here reading this tutorial which is aimed at beginners, then our Enthusiast Photography Course might be just what you’re looking for. This course has taught thousands of women to shoot confidently in manual mode to take photos they love (in just 8 weeks!). If that sounds like something you’d be interested in, click here to find out more!
DIY Cake Smash Photos
What better way to celebrate your baby’s first birthday than by taking some fun cake smash photos!
But what if the expense of the baby’s 1st birthday present including the party, the cake, and the decorations, has exhausted your budget and there’s nothing left for a professional cake smash photoshoot?
Or maybe you even tried to do the cake smash pictures yourself already… and got a little Pinterest fail situation happening?
You probably couldn’t put your finger on exactly what was wrong with your photos… but you just know it fell flat!
With our 10 easy professional tips, complemented with stunning photos taken by Justine Eacott, Advanced Photography Course graduate… we will show you exactly how to DIY beautifully lit, beautifully styled, gorgeous cake smash photos!
1. Props & Colour
Colour
Between props, the cake and the baby, there’s a lot going on when taking photos for a cake smash photoshoot. You can avoid adding visual chaos in the form of jarring colour combos by using a color scheme and choosing analogous colours. Analogous colours are next to each other on the colour wheel and when used together, create a harmonious overall look.
Justine has used pink and apricot through to yellow and green, against a soft apricot backdrop. Note that her use of the green is minimal and works only to lift the other colours.
Props
I get it. Your baby has a lot of special items you would like to include in your cake smash pictures.
When looking for how to do cake smash photography it can be tempting to keep adding elements to the shot, but when it comes to props, always follow the less is more rule. In the same way that clutter can cause distractions, so can too many props.
Choose 2-3 items and stop there. Remember, a cake smash photoshoot is all about your baby and this milestone… let the baby and the cake be the heros!
The less elements that work for attention, the more powerful and striking the resulting photos will be!
That being said, if you are really having a hard time with bub, I recommend a few small natural wooden toys like cars or horses.
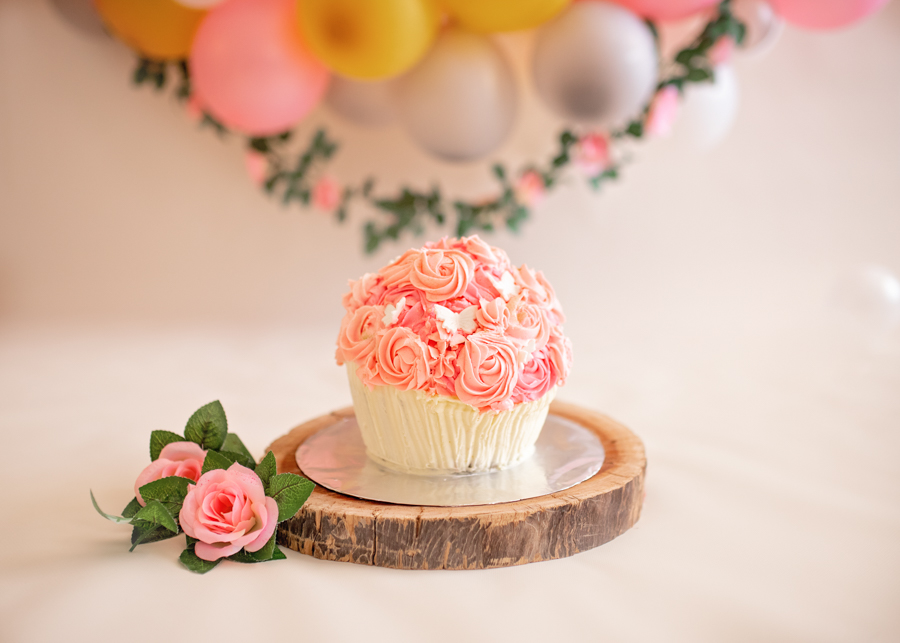
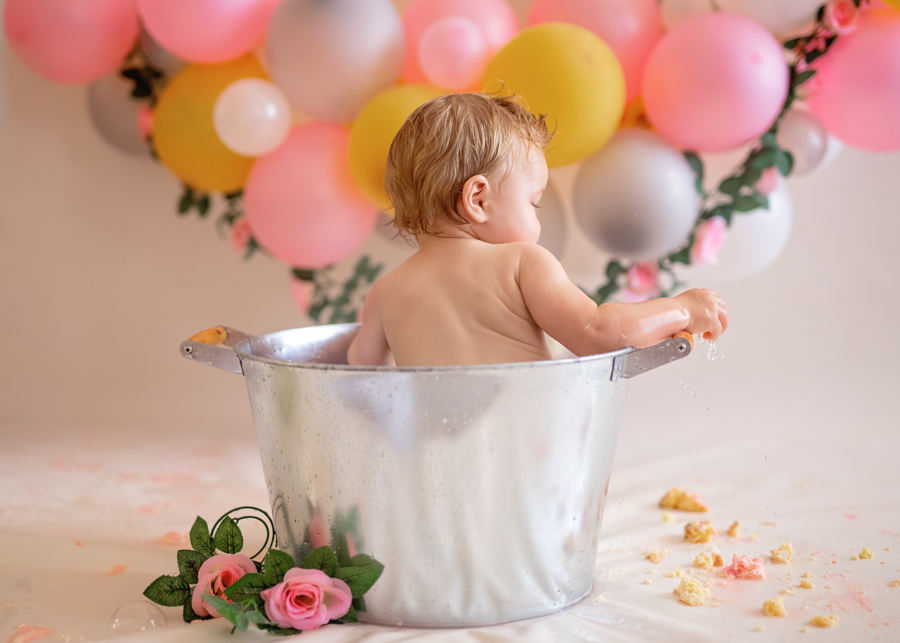
Lots of balloons, but the elements are limited so it absolutely works – flowers, balloons, done.
Clothing
The best option for taking great cake smash photos is no clothes other than a nappy.
Why?
Less to clean up!
But also, it’s as simple as you can get. There is nothing more distracting in these types of photos than an outfit with multiple colours, fabrics, logos, and pictures.
If it’s winter, it might be too cold for the baby to go bare chested, even indoors. In that instance, keep clothing simple.
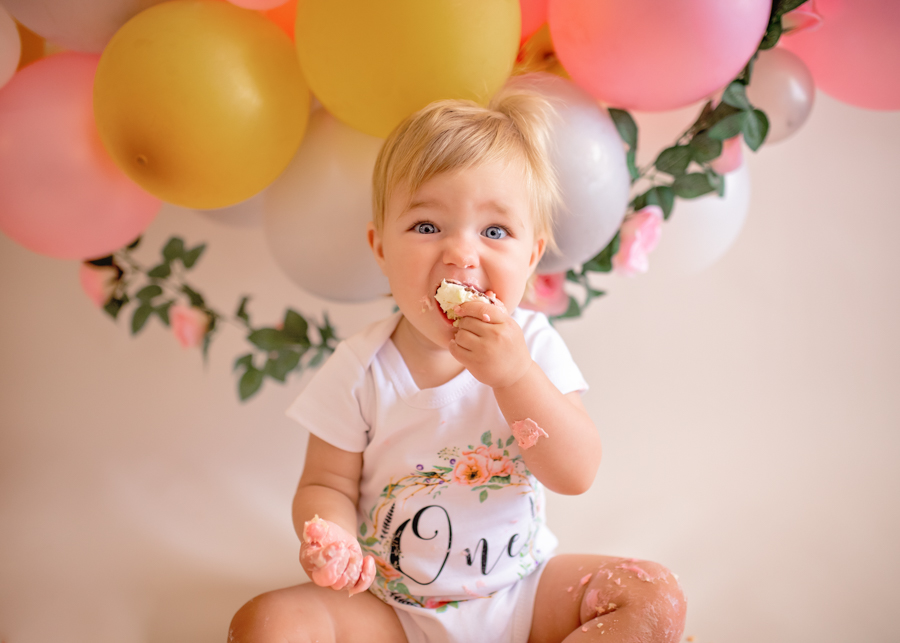
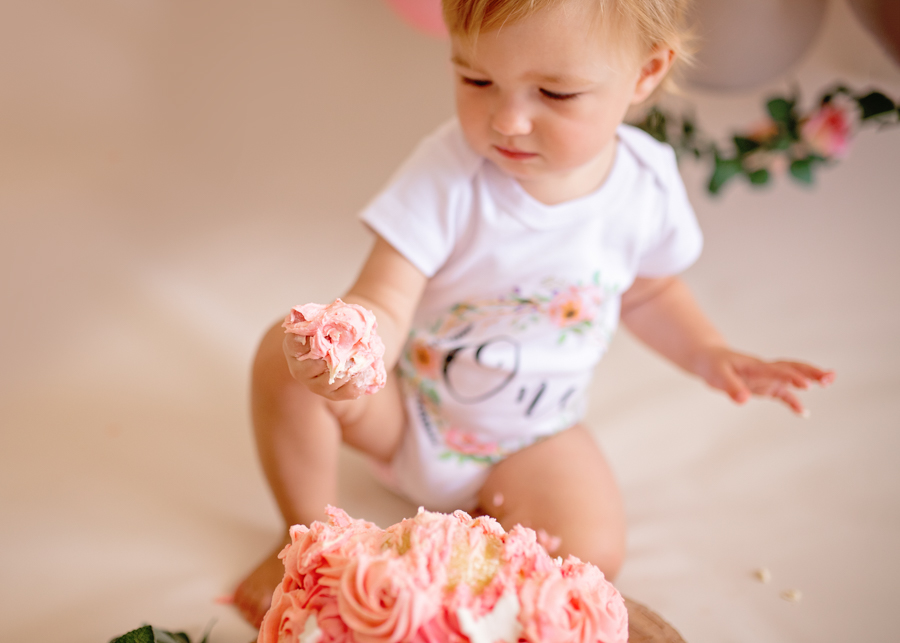
As an example, for this cake smash photoshoot session Justine used a simple white bodysuit that blends. The motif on the bodysuit is subtle, relevant, and sticks to the colour theme. As a bonus, the “one” on her bodysuit tells part of the story.
2. Compositions
Storytelling
Written stories have a beginning, middle and end. They describe the scene and talk about details.
When we approach photography in the same way, we use our images to tell the story. The best way to do that is by taking a variety of wide shots which set the scene, and some detailed shots to add that extra layer of information.
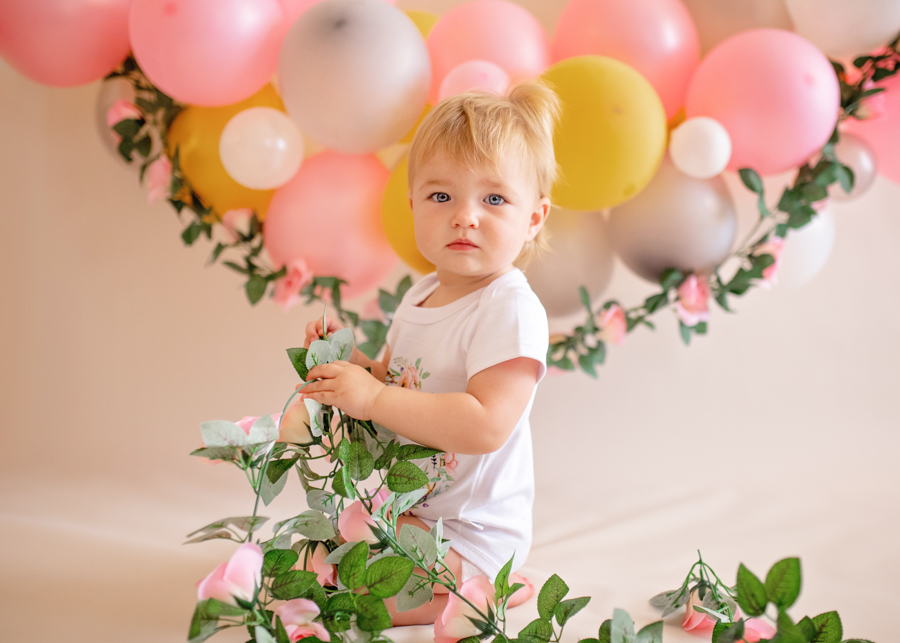
Take your shots wide…
…get in close and focus on other elements including (and especially) the cake…
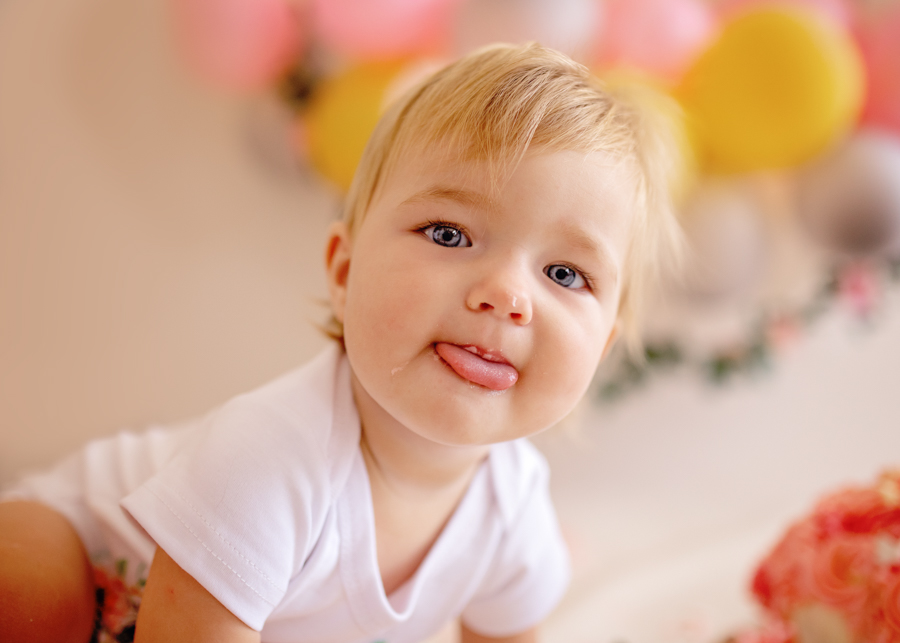
…and whilst you’re there make sure to grab some beautiful portrait shots as well!
Perspective & Angles
Get variety in your photos by shooting from lots of different angles and positions.
This tip is one of the easiest and most powerful things you can do in child photography, including when taking cake smash photos – get down low to eye level with your subject. It’s the best way to ensure good eye contact, and makes it easier to engage your subject.
Related: Get Down to Their Level
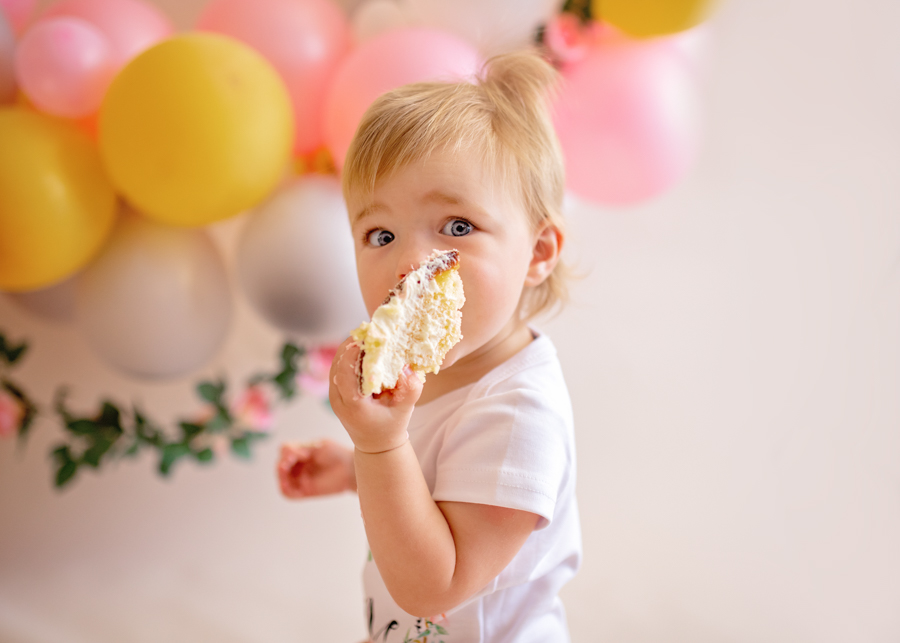
If shooting from your standing height, make sure they look up at you… the alternative is a confusing photo of the top of their head!
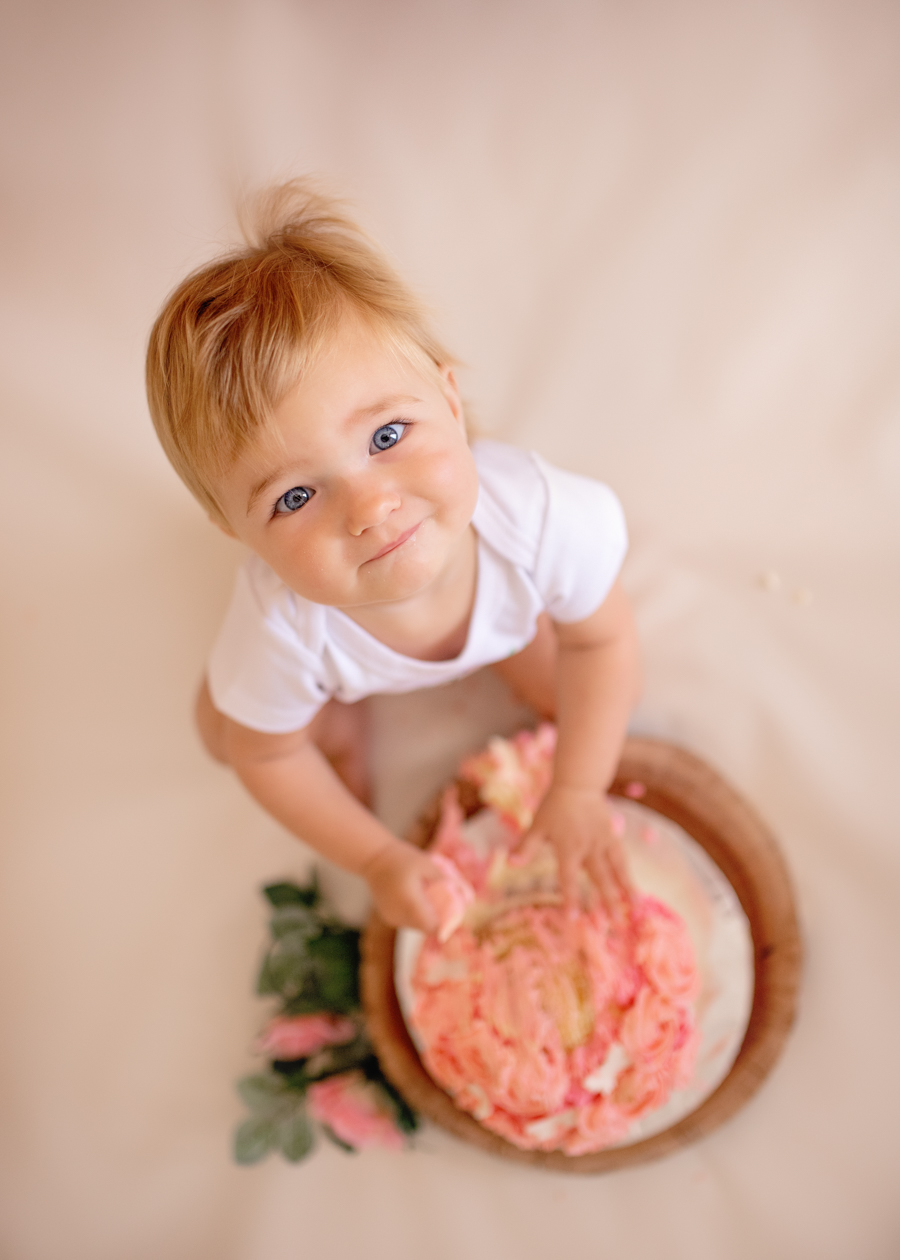
3. Set Up
Floor
Maybe it’s obvious… but when looking for how to do a cake smash photoshoot at home, don’t choose to set up on your expensive persian rug or your shag carpeting!
Set it up instead on tiles or floorboards and save yourself the insanity of trying to get electric blue buttercream or chocolate cake out of white carpet!
Backdrop
The easiest backdrop by far is simply a plain light coloured wall.
If you don’t have a plain wall near good natural light, try an inexpensive DIY cake smash backdrop.
For this session, Justine answered both the floor and backdrop issues by using a long piece of vinyl and attaching it to the top of a backdrop frame with clips.
As far as DIY backdrops go, vinyl isn’t the cheapest option. But it’s an awesome backdrop for so many reasons… cake spills just wipe off, it doesn’t wrinkle, doesn’t require ironing, it’s sturdy so it drapes perfectly, and it’s easy to store (just fold it!).
Related: DIY Photography Backdrops
4. Background Clutter
Eliminating all background clutter is one of the most powerful things you can do not only when taking cake smash photos but whenever you want to elevate your photos from snapshots to looking professional.
Clutter makes our photos look chaotic because it adds too many extra elements and draws the viewer’s eye away from the main subject.
Indoors, clutter can come in many forms like stray toys, a basket of laundry in the background or a pile of newspapers on the dining table.
If you can’t move the clutter, move your subject.
With that in mind, think about clutter whenever you’re styling and deciding how many elements to include. No matter how pretty the elements you’re adding look… too many of them and it just becomes clutter. Your beautiful baby and the cake are the subjects, not all the other things around.
Related: Clear the Clutter
5. Natural Light
For a light, bright, cheerful look that suits cake smash photos so well, use soft natural light. As a bonus, it’s easy to use and easy to find!
Soft light wraps gently and evenly around our subject and is free from harsh shadow lines.
You can either do your cake smash outdoors or you’ll find it indoors near large windows and doorways. If the light coming through your window is too harsh, it may cause sharply defined shadow lines which can be unflattering. If that happens, diffuse the light through the use of a sheer fabric such as chiffon or curtain netting.
Make sure you turn any overhead lights off as they will interfere with your natural light source and cast unwanted hard light shadows.
Related: DIY Indoor Natural Light Studio
6. Get Help
Having a second pair of hands could come really handy when taking cake smash photos. If your baby is crawling, your helper can ensure she or he stays confined in the cake smash location and doesn’t drag bright blue buttercream throughout the house!
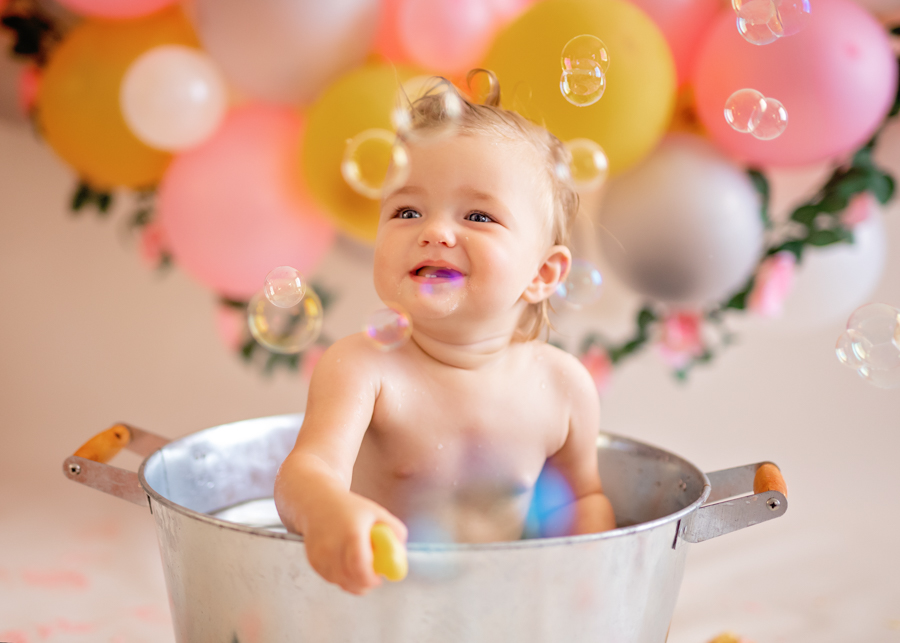
You can also ask them to grab your baby’s attention from time to time so that you can get some eye contact shots. They can use bubbles, peek a boo, etc but when doing this, ask them to position themselves directly behind you. This way the baby will look in the direction of your lens.
7. Timing
Party
If you’re having a party for your baby’s first birthday, schedule to take your cake smash photos another day. Parties are busy, tiring, with many distractions and lots of people around.
Hungry
What happens if you put food in front of a baby who just had a full meal 5 minutes ago? When organizing your cake smash photoshoot make sure your baby is hungry enough to taste the cake with enthusiasm!
Tired
Why would you schedule your cake smash pictures for 3pm when your baby is tired and cranky and ready for their afternoon nap?
Choose a time of day when your baby is usually feeling their happiest, for the best chance of happy expressions!
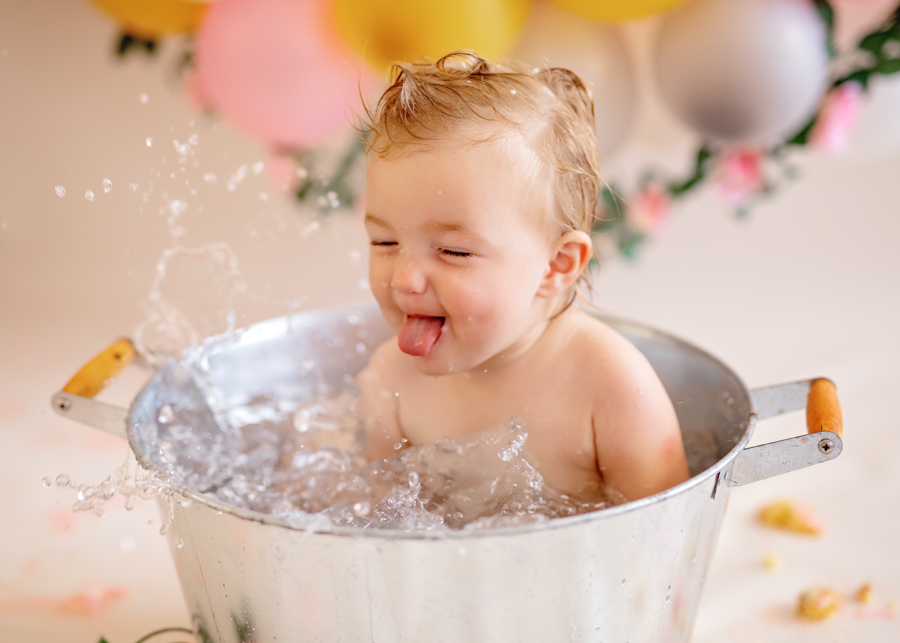
8. Clean Up
Don’t waste the clean up after a cake smash photoshoot. It’s a perfect opportunity for more great photos!
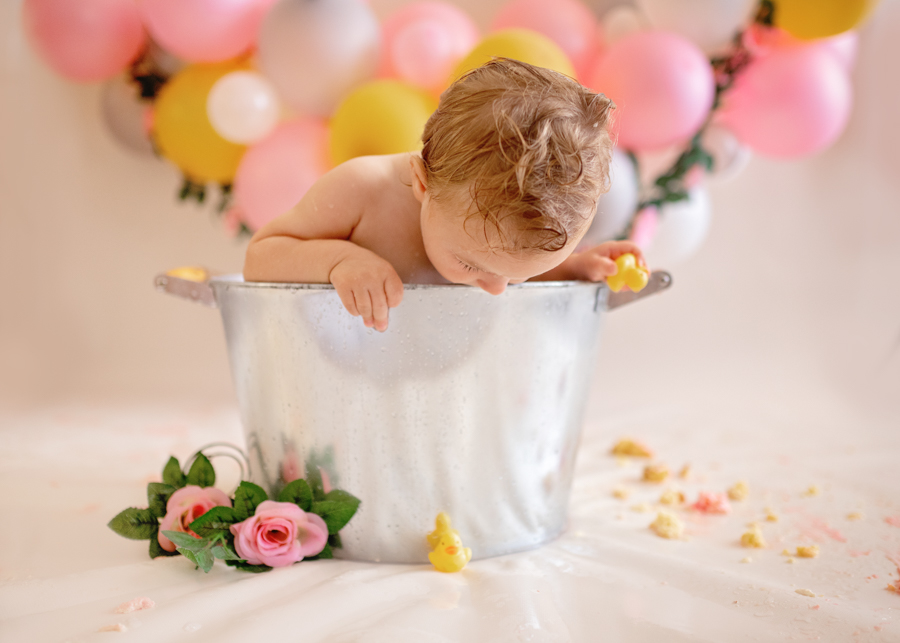
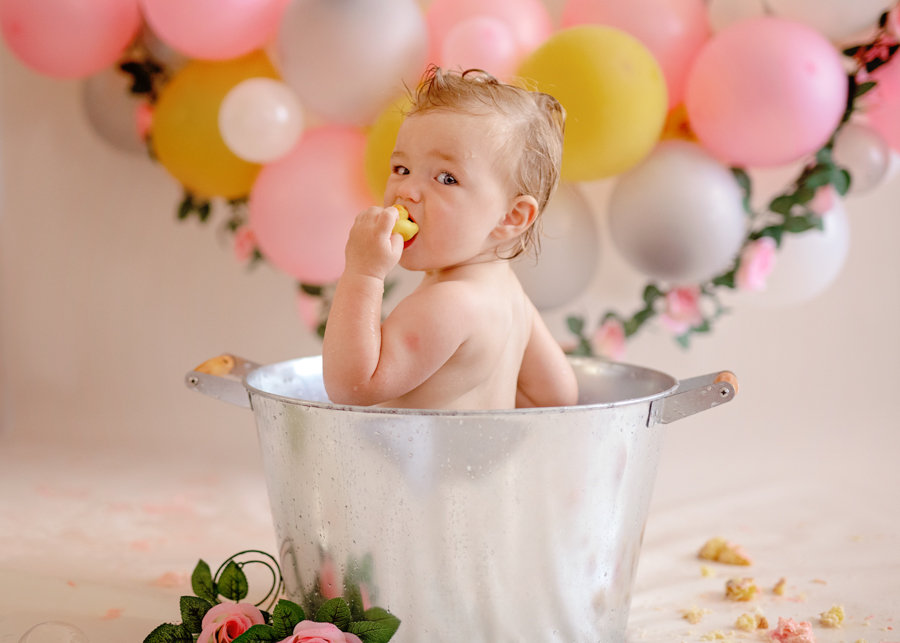
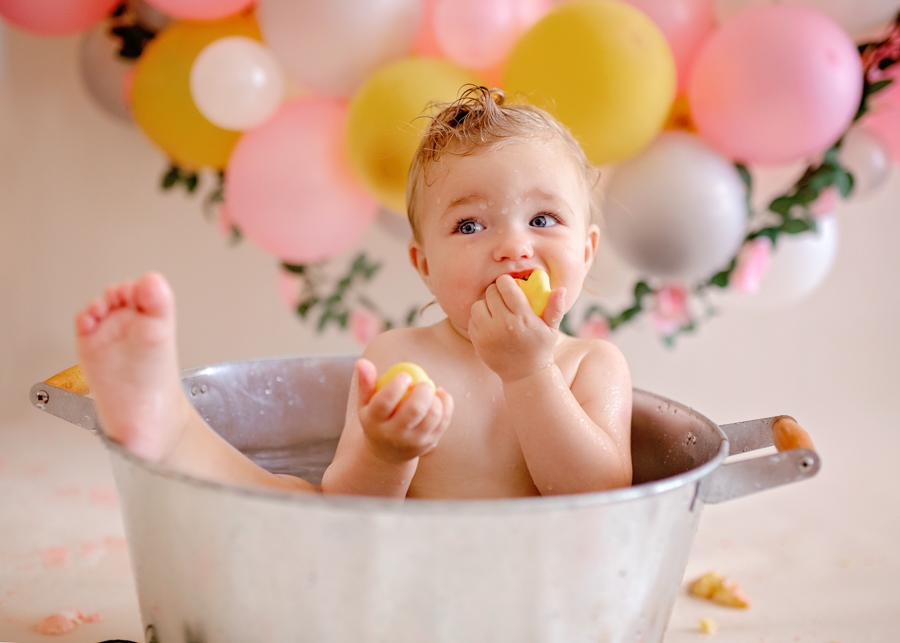
Use a container as a makeshift bathtub, but try to avoid plastic tubs as they don’t tend to be very photogenic.
This large metal bucket used by Justine is a fantastic option.
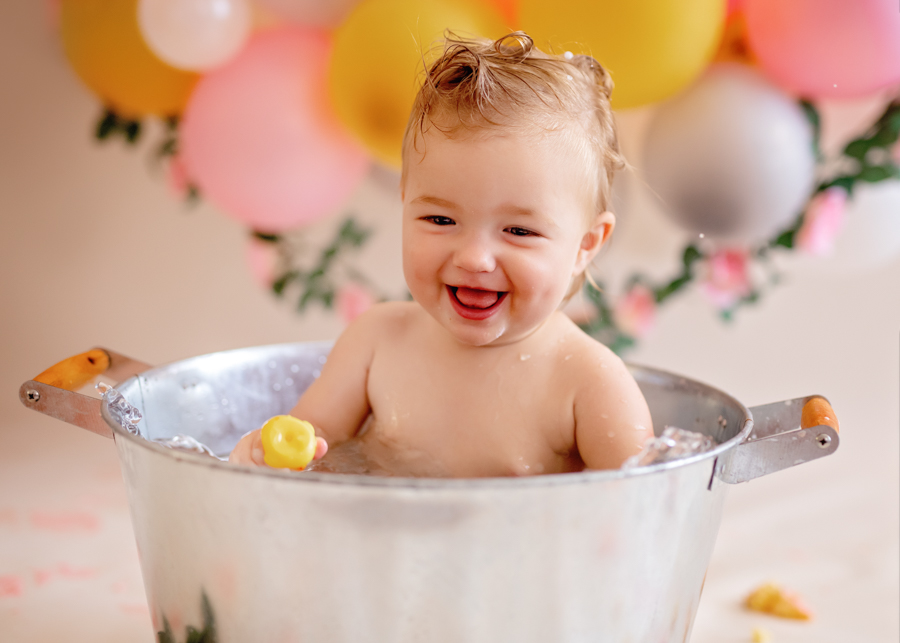
If you use a small tub, the baby has no choice but to sit or kneel, ensuring they remain at eye level with your lens. It also prevents the baby from slipping under water and leaves your hands free to shoot.
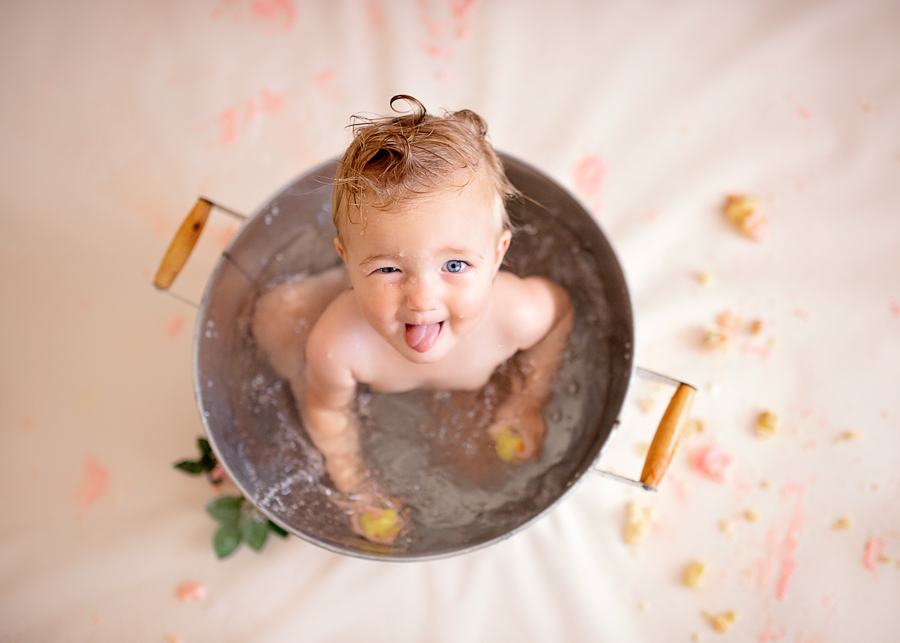
Add elements such as a rubber ducky, flowers, sliced fruit… the options are endless. But remember, keep it simple, less is more!
9. Settings
Exposure
Once you’ve finished with the set up, choose your settings and take some test shots. If you’re happy… then bring the baby in!
The last thing you want is for the baby to start without you as you fiddle around trying to get your settings right!
Shutter Speed
Whether you’re indoors or out, I recommend a shutter speed of 1/400 as a minimum. This will eliminate unwanted blur from the speed of motion you could expect when doing a cake smash photoshoot.
If shooting outdoors, you may have enough light to go even faster. The faster the better!
Aperture
Choose an aperture that is wide enough to blur your background, but narrow enough to help you nail focus given the baby may be moving a bit. If you feel confident with your ability to focus as very wide apertures, you could open up to around f/2.
I recommend trying around f/3.5 but bear in mind the resulting depth of field will vary a little depending on the distance between baby and cake, and your focal length.
Then choose an ISO to balance the other two settings and achieve a nice light exposure. Given your fast shutter speed and indoor location, you will probably need to push your ISO.
10. Gear
A DSLR you can use in manual mode is essential so that you can control the shutter speed and aperture.
If you’re shooting in auto mode, take control of your camera and take photos you love by switching to manual mode.
I recommend a lens focal length of around 35-50mm. This range is perfect for cake smash photos as it enables you to get in close whilst still including the set up.
Related: Getting out of Auto
Many thanks and much love to Click Love Grow Advanced Photography Course graduate Justine Eacott for generously sharing her images! If you want to see more of Justine’s work, head to Justine Eacott Photography.
If you’re stuck in auto taking hit & miss photos, our Enthusiast Photography Course will teach you to master manual mode and confidently take photos you LOVE! Our next course is starting soon! Click HERE to find out more and reserve your spot.

PRIVACY POLICY & SITE TERMS AND CONDITONS
CLICK LOVE GROW ™ Pty Ltd - COPYRIGHT 2024 ©
x
Join Now
Enter your info below to join the challenge!
Want a friendly reminder when I go live?
Pop in your number and I’ll shoot you a text.
* We will send text reminders for our live calls during the challenge! Reply ‘STOP’ to end or ‘HELP’ for help.
We promise not to ever share your details with anyone or send you spam! Check our privacy policy and terms of service.
So cute! Love this DIY cake smash photos. Thanks for great tutorial.
Best baby photos I have seen in a long while!