How to Capture Breathtaking Golden Hour Photos
Golden hour is a term you would be familiar with even if you’re only a tiny way into your photography learning! Maybe you’re wondering what it is, or why everyone is seemingly mad for it. Or maybe you already know, and you just want to learn how to use it yourself.
We cover backlighting and the golden hour in depth in our Advanced Photography Course which we run twice a year, but read on for some quick tips!
What is the golden hour?
It’s the time of day around 1-2 hours after sunsrise and before sunset when the sky and atmosphere is warm and golden. Photographers love it because it adds a warm and glowy effect to their photos, and if you backlight with it, you can create beautiful bokeh. Due to the sun being low on the horizon and therefore diffused by the atmosphere, it wraps around their subject’s gently. You can create beautifully atmospheric landscape and nature photos with it, especially as it’s the time of day when you get incredible colour in the sky.
1. Gear & Settings
You don’t need a special lens to shoot during the golden hour, any lens will work. For a vast expanse of sky that is awash with stunning colour, you’ll want a wide angle lens to capture as much of it as you can and compose it as the hero of your shot by allowing it to take up at least half the frame, if not 2/3rds.
In this shot below Pam has exposed for the sky. What does that mean? It simply means your sky is not too dark and not too light, to display the colour in the sky, the golden light, and in this instance, detail in the clouds.
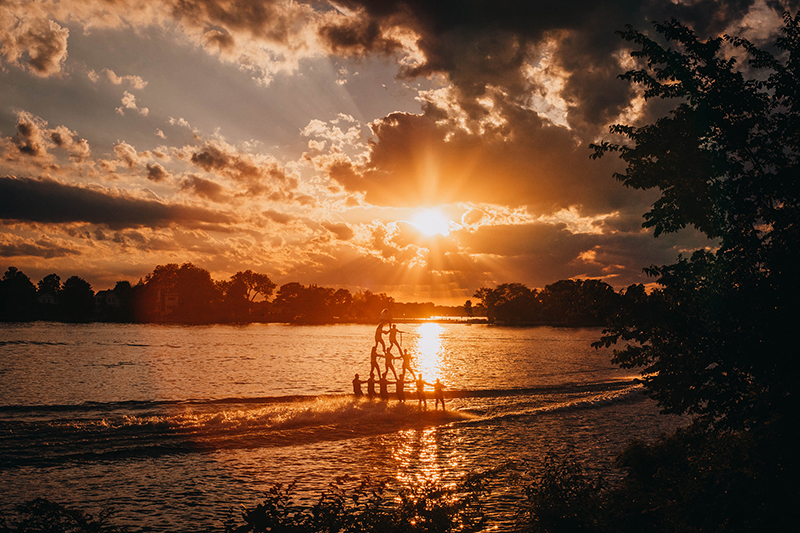
Pam Gosenheimer, Advanced Graduate
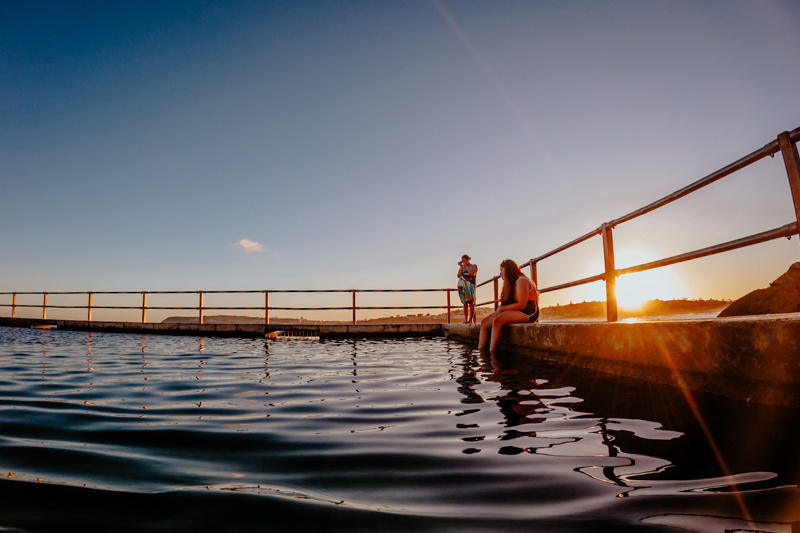
Emma Davis, CLG Instructor
2. Backlight Bokeh
The most popular way to use golden hour light is to backlight portraits. It creates a beautiful halo effect around your subject which really separates them and helps them pop, like this image below.
Related: 3 Secrets to Beautiful Backlit Photos

Merissa Wakefield, Advanced Graduate
And if it’s filtering through trees, you can create gorgeous bokeh.

3. Silhouette Photos
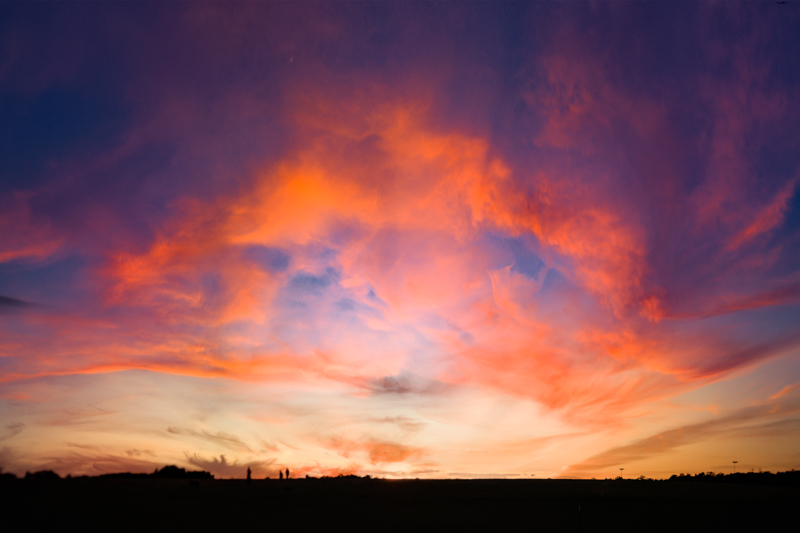
Sometimes the colour in the sky is such a magnificent drama queen, she simply has to be the hero of your shot. You’ll usually find colour like the shot below when the day has been warm and cloudless. A lack of light pollution helps too so you’ll often find better colour away from cities.
You can shoot a silhouette shot at any time of day, as long as your subject is backlit and you expose for the backlight. But for one like this where you want to capture all that stunning colour, skies like this happen just before the sun dips below the horizon and sets (or just before it rises). But you need to be ready for it because your window will be small, so head out a little earlier and get ready. Have your subjects practice some action movements and make a decision on how you’ll shoot them. You want good form with outstretched legs, arms and fingers so you can clearly see what the silhoutted form actually is. If you shoot a person in silhouette sitting, hunched, arms folded, you can’t see this detail and they’ll look like a dark lump.
Camera Settings
You can use a wide aperture such as f/2 for this if you need to. Then you’ll need a fast shutter speed to freeze your subject’s motion. For a shot like this below where they’re posing and there would be limited movement, you could get away with 1/200. But if they were for example, leaping into the air, you’d need at least 1/640 to freeze that motion.
Then use your ISO to balance and capture the colour in the sky. If your photo is too bright, you’ll lose all that colour and your subject won’t be in silhouette.
Related: How to Take Perfect Sunset Silhouette Photos
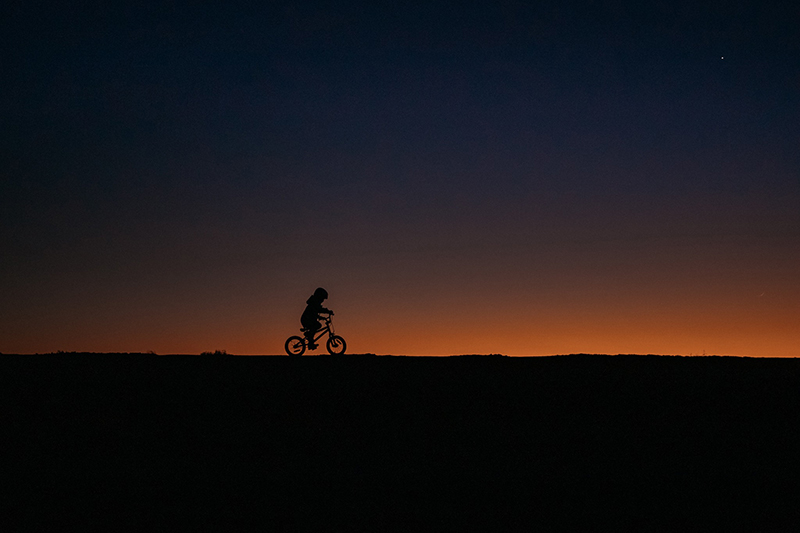
Kirsty Nealon, Advanced Graduate
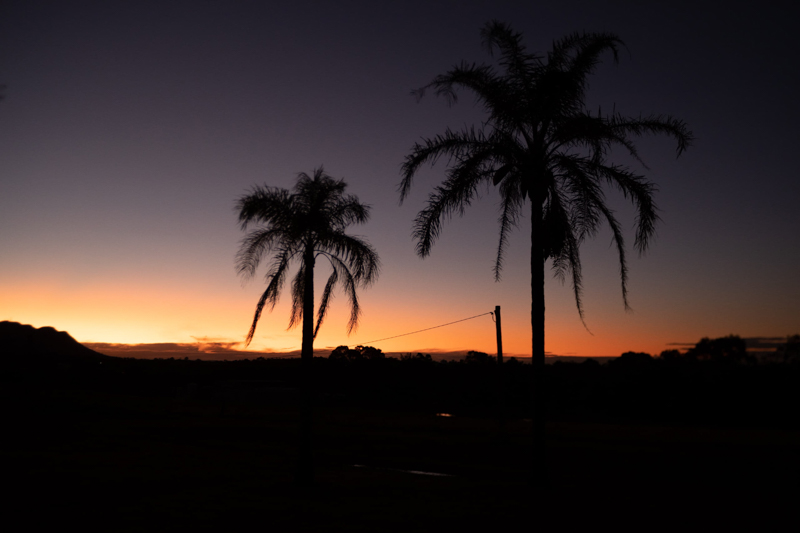
Emma Davis, CLG Instructor
4. When The Location Doesn’t Match Your Vision
Sometimes you might find yourself in a location where the sun sets in the direction of some pretty unattractive scenery! But the good news is you don’t have to use golden hour to backlight. You can even frame the light source out completely and your photos will till benefit from that gorgeous light.
The quality of light during the golden hour is such that it renders skin smooth and creamy. Megan shot this image from above, completely framing out the light source and the surroundings, but the effect of that sweet sweet light on skin tone is obvious! Sooo flattering!
And you’d never know where this was taken. It could have been a beautiful field, or it could be a patch of grass in front of a derelict factory.
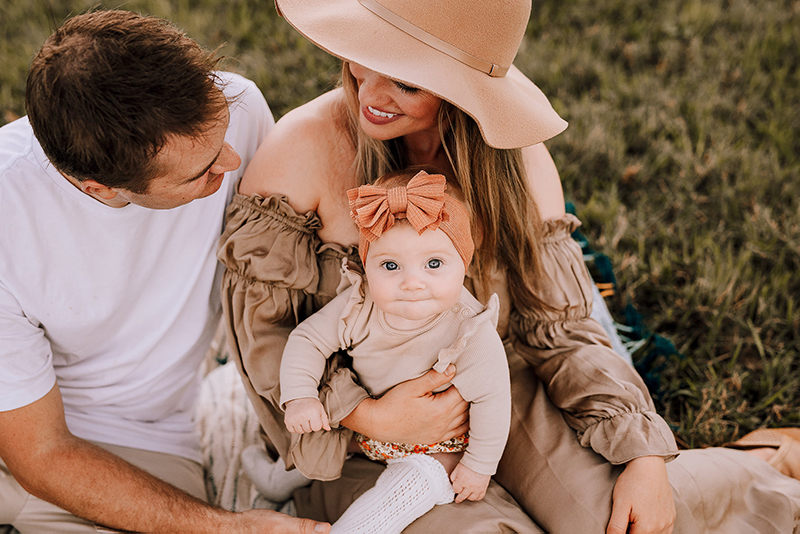
Megan Laffey, Advanced Graduate
5. Landscapes
The golden hour isn’t exclusive to portraits. An ordinary scene can be rendered extraordinary at this time of day. And it has a way of saturating colour in the environment to create a pretty spectacular scene.
These two images below were shot during the golden hour but at different times, giving two completely different looks. In the first shot it would be getting close to sunset, and Emma has captured a low key image that highlights the golden hour light falling on the buildings just in front of the trees. The overall tones are pastel and peachy.
In the second shot it’s earlier during the golden hour and Deanna has long, strong shadows that say summer, and fabulous bold colour.
Related: The Ultimate Travel & Landscape Photography Guide
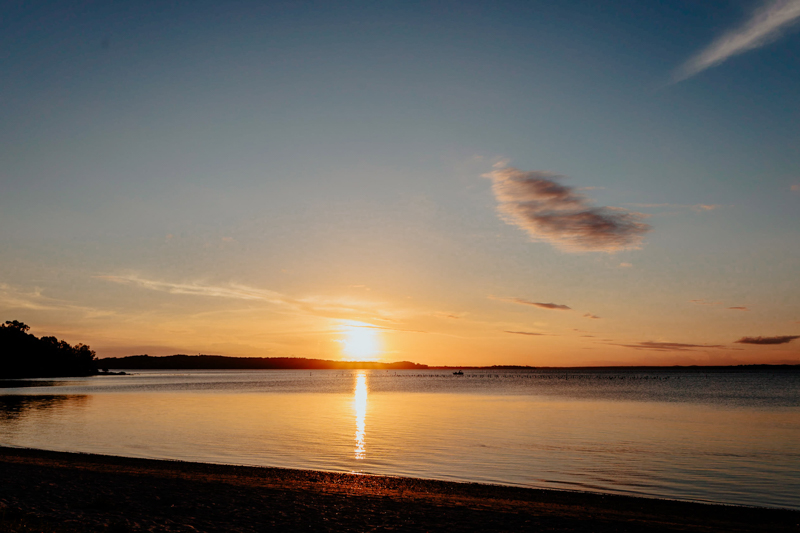
Emma Davis, CLG Instructor
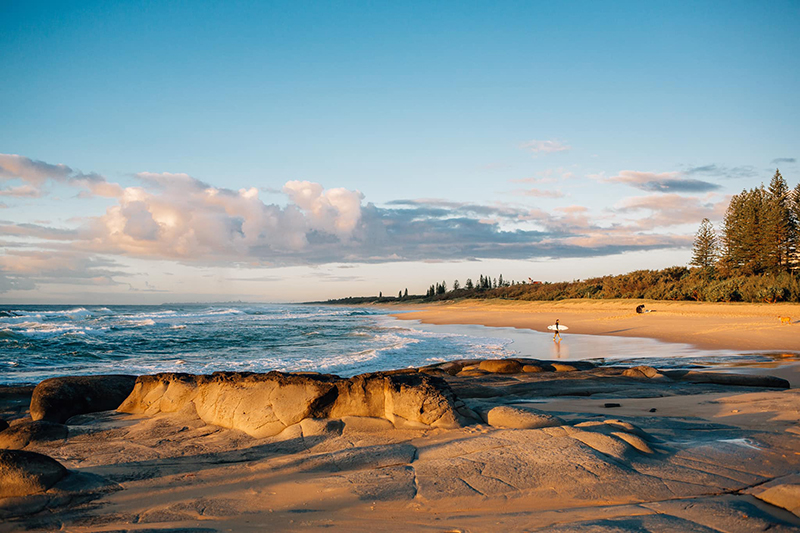
Deanna Large, Graduate
6. Nature
One of the most fun things about the golden hour is the way it renders the most ordinary objects in our garden into something photo worthy. So rather than going on the hunt for worthy subjects… go on a light hunting expedition instead. Shoot whatever you find sitting in that light, and turn it into art.
Move yourself around the object and try different frames and angles until the light falls in a way that creates a beautiful glow, or highlights a fine detail. In a nutshell… until you see something you love!
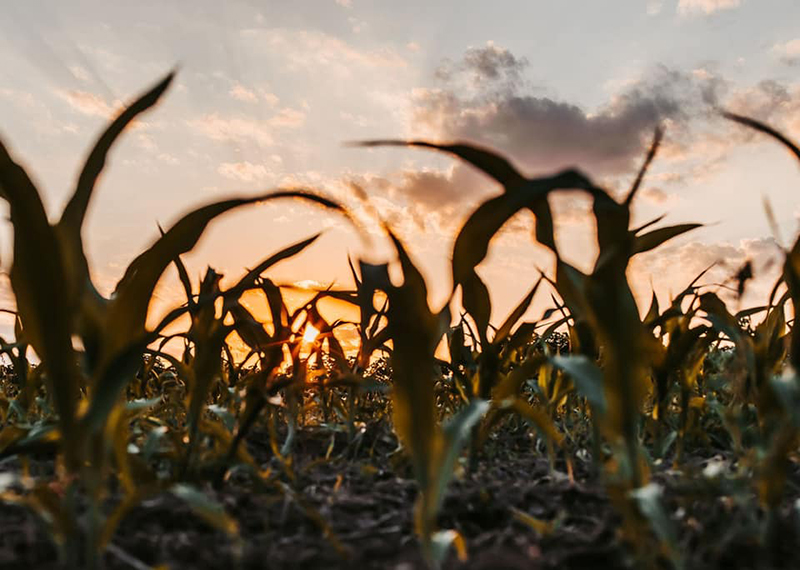
Naomi Kammes, Graduate
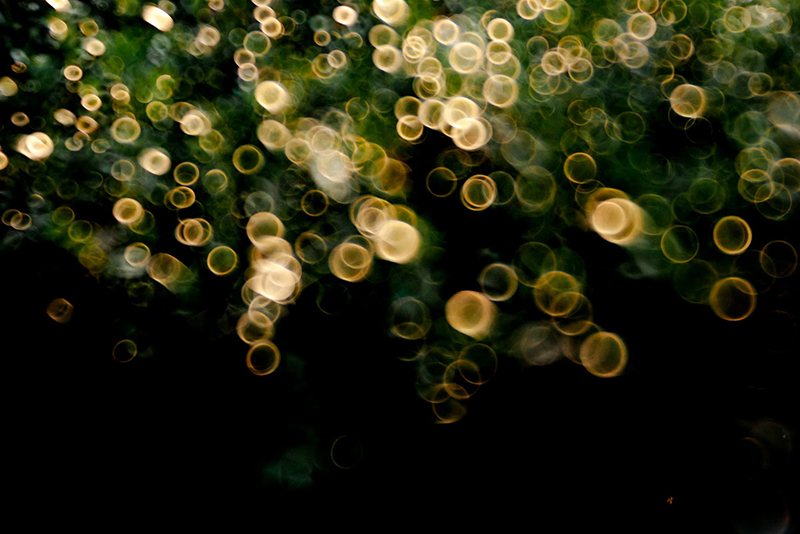
Emma Davis, CLG Instructor – intentionally blurred image of dew drops on foliage
Getting down low turns the grass into the hero.
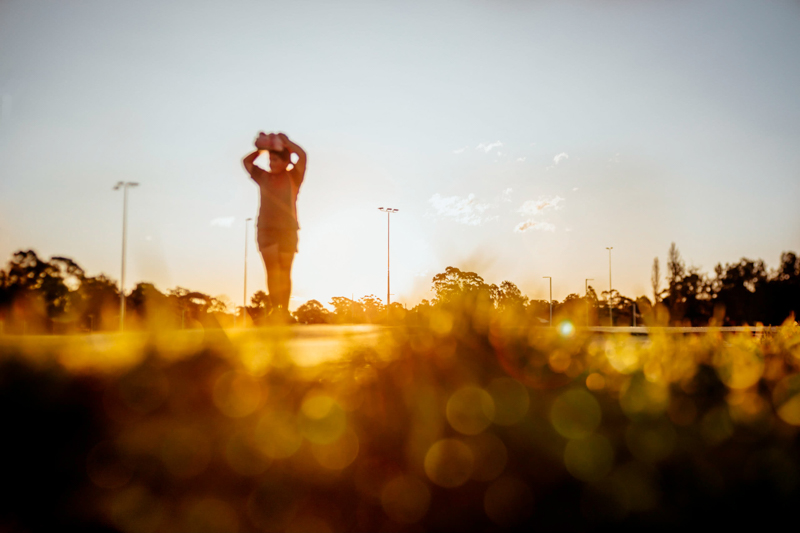
Emma Davis, CLG Instructor
7. Shadow Photography
Technically you can do shadow photography outdoors at any time of the day, and the main difference will be where the shadows fall, and the quality of the highlights. If this were shot at midday, the shadows wouldn’t fall in this position, and the highlights would be harsher, whiter and brighter, and harder to edit. Instead, these golden hour shadow photos have a beautiful golden glow.
Related: Shadow Photography (Embracing Hard Light)
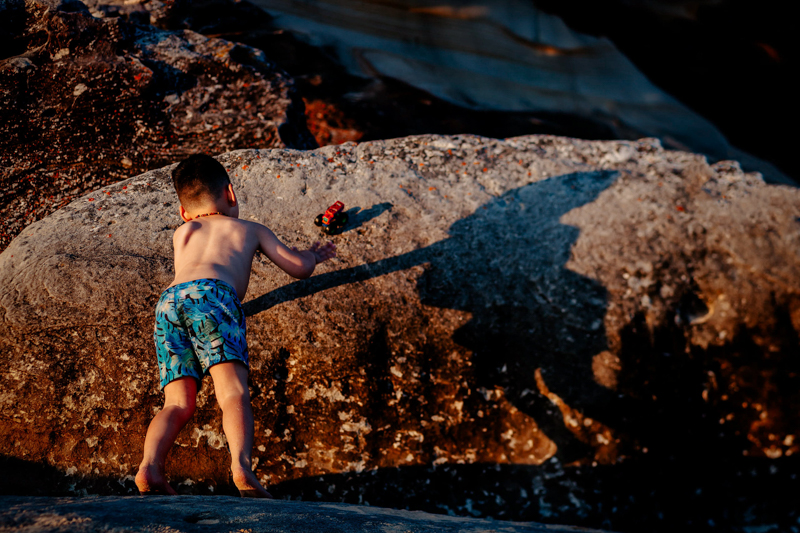
Emma Davis, CLG Instructor
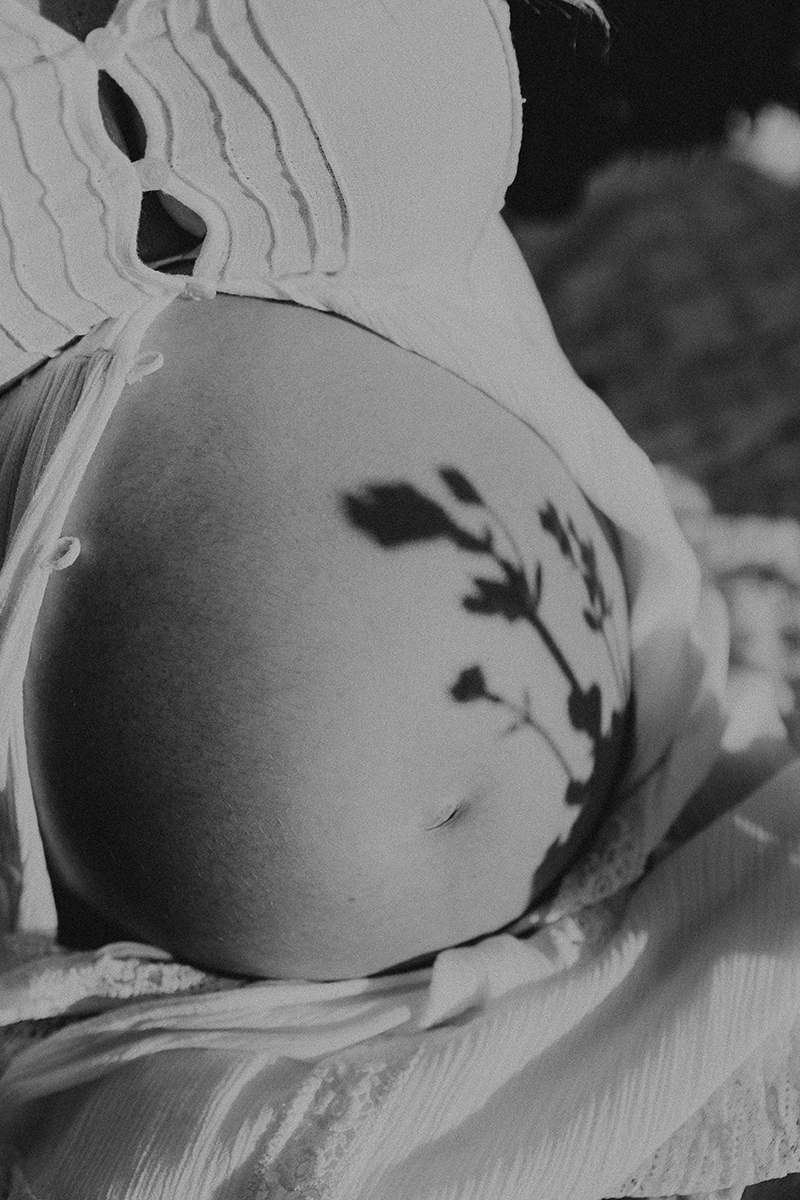
Charlie O’Neill
This gorgeous image was shot in doors with golden hour light filtering through the stainmed glass window.
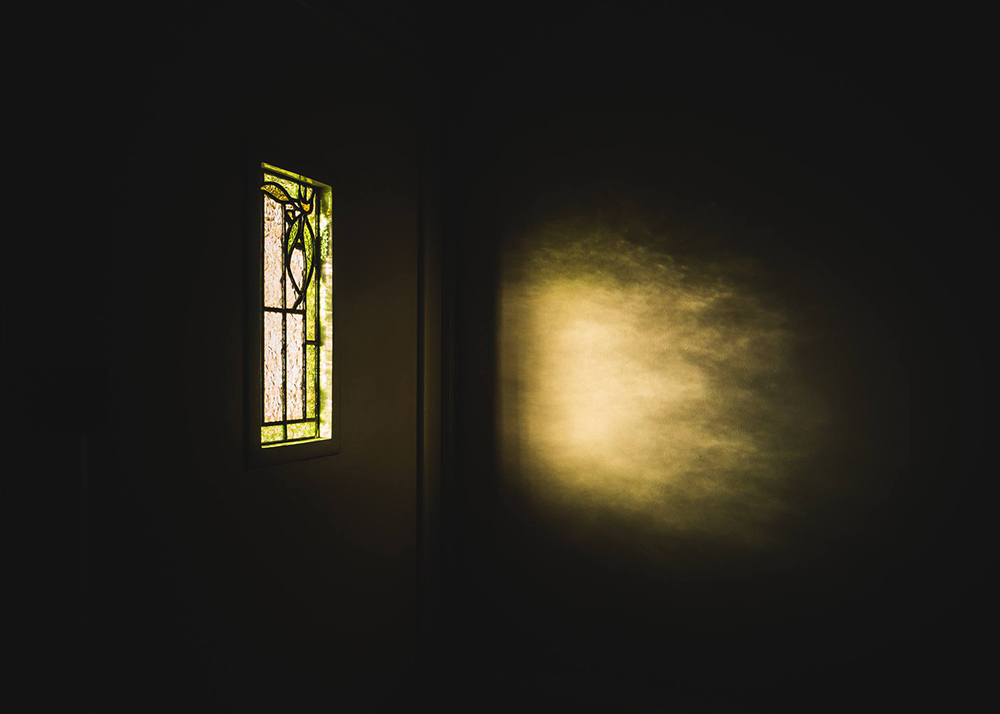
Alice Mariette, Advanced Graduate
8. Lens Flares & Haze
Have you ever seen images with this beautiful glow of light and flares illuminating the subject like it came from heaven? It’s actually created in camera by shooting directly into the sun. It’s not always desirable to have a lens flare or haze in your shot. But when used mindfully it can be utterly delicious!
Lens Flares
Leave your lens hood off and shoot into the light, adjusting yourself or the lens angle until you see flares. As you make micro adjustments of your angle, watch how the colours, intensity and size of the flares change. Look for a pattern you like then shoot it.
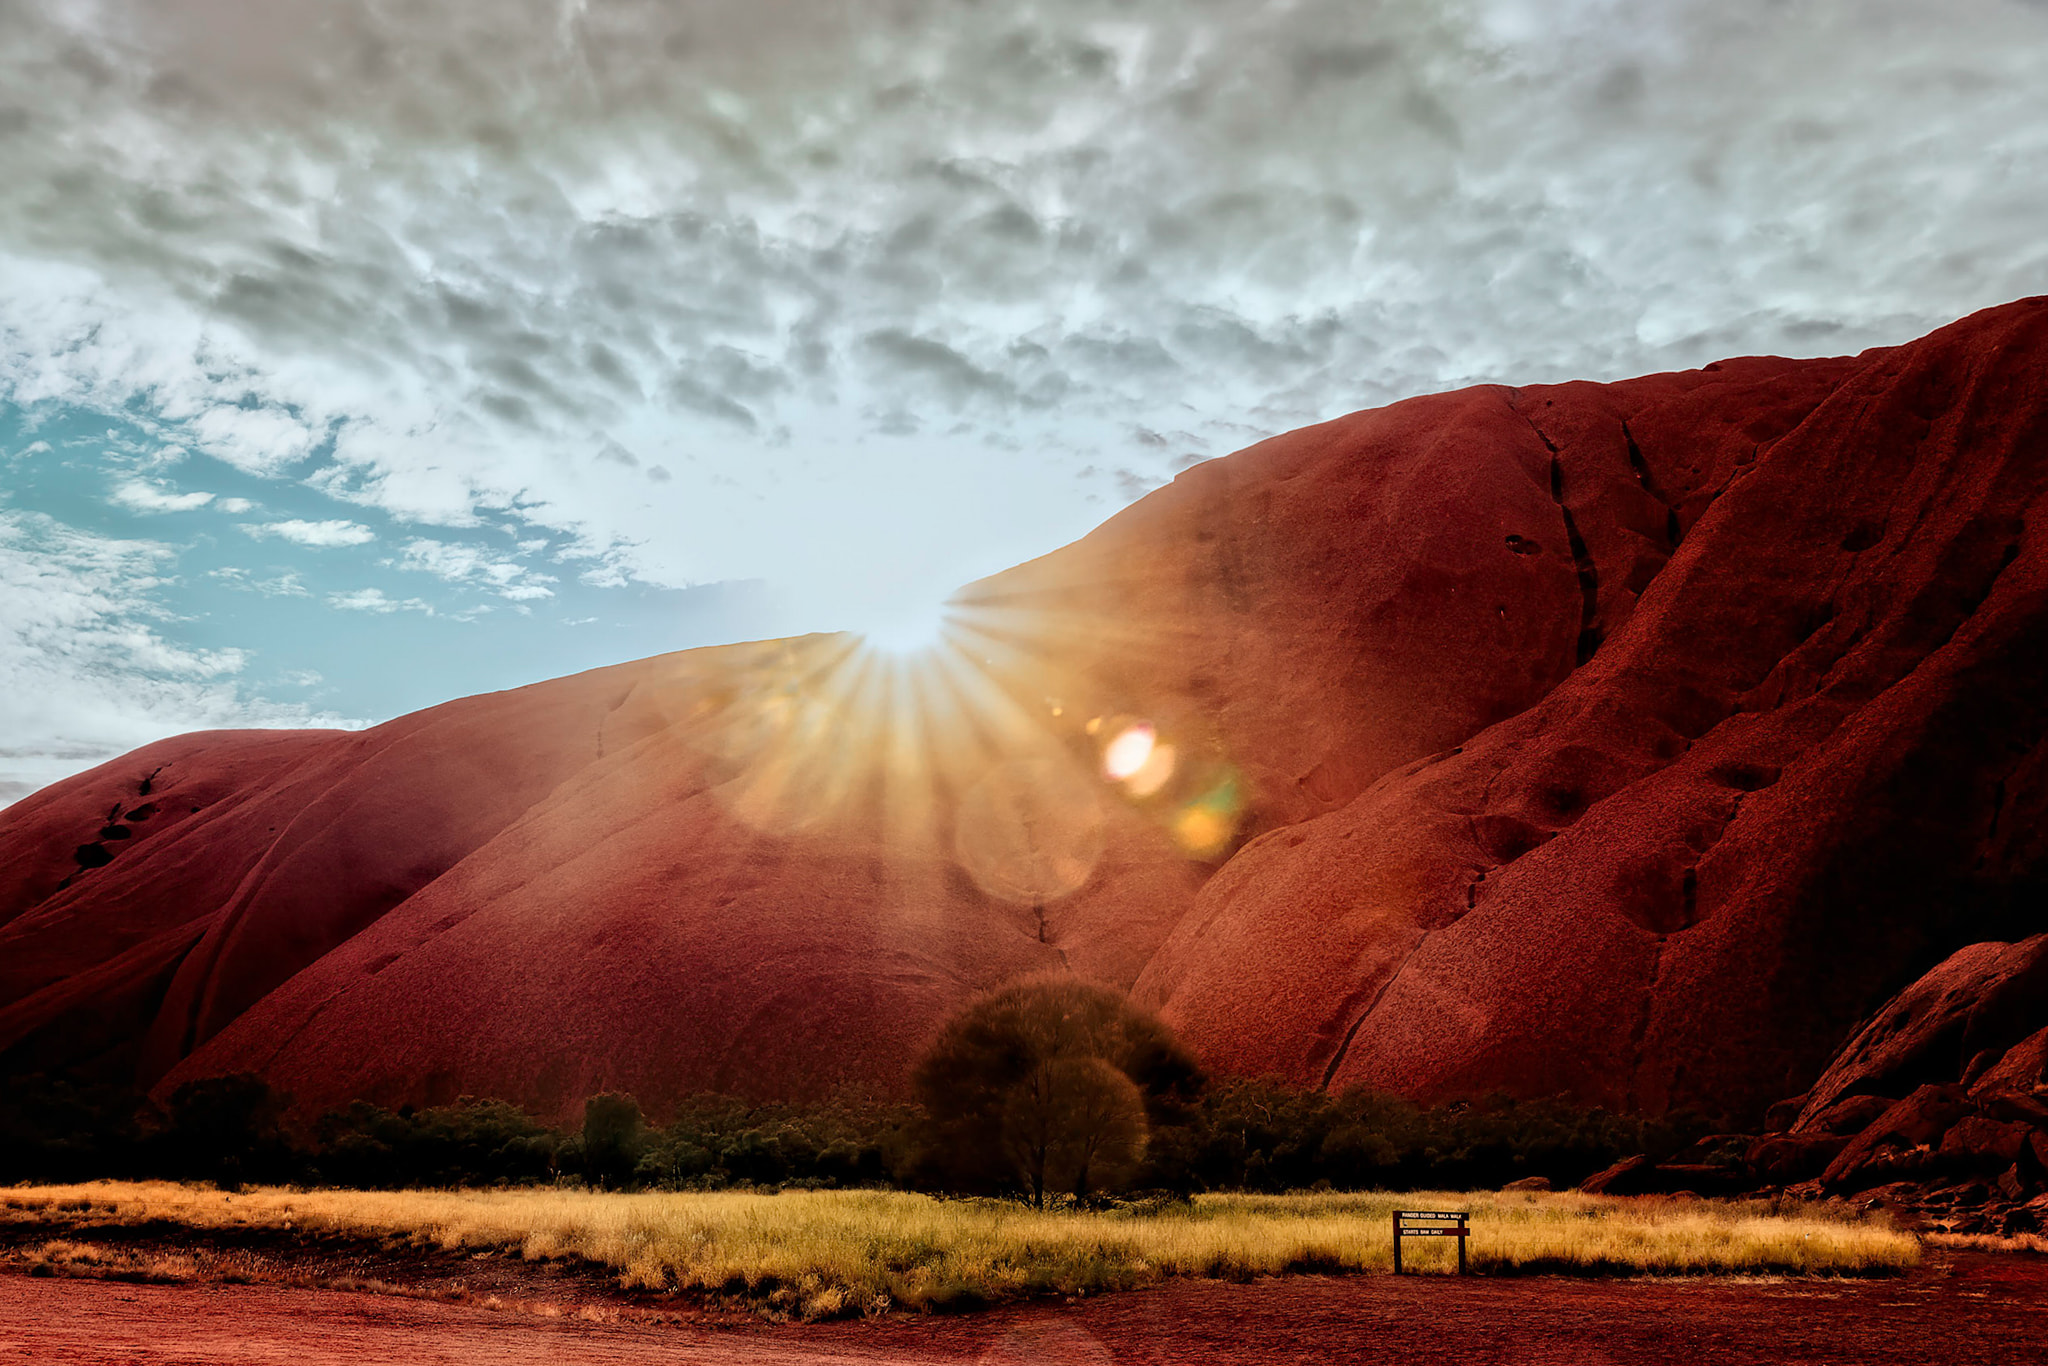
Emma Davis, CLG Instructor
Haze
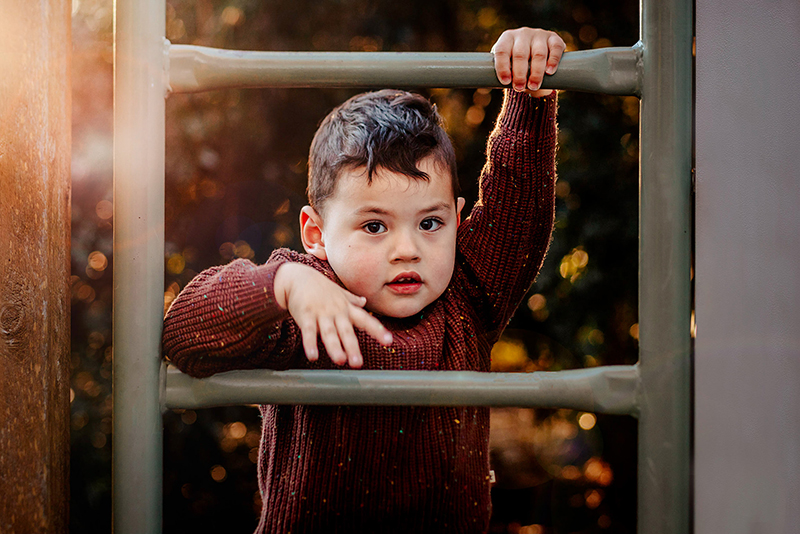
Including haze in your image is a great way to convey a dreamlike feel to your images. You can incorporate haze in your photos by shooting without your lens hood and aiming it into light that is largely unfiltered and and low enough on the horizon to be able to see the source through the viewfinder or at the edge.
You can see haze through the viewfinder which makes it easy to control the look of your images. Cup the lens with your hand if you want to control the intensity of the haze. If you want a little clarity, for example if you’re capturing a portrait and you want some separation between their face and the haze, frame with the sun at the edge or just outside the frame. Editing is a big help when using haze mindfully in your photos – the dehaze or clarity and contrast sliders will help get the final look you’re after.
For a really glowy, dreamy haze that scatters throughout most of the scene, use wide apertures.
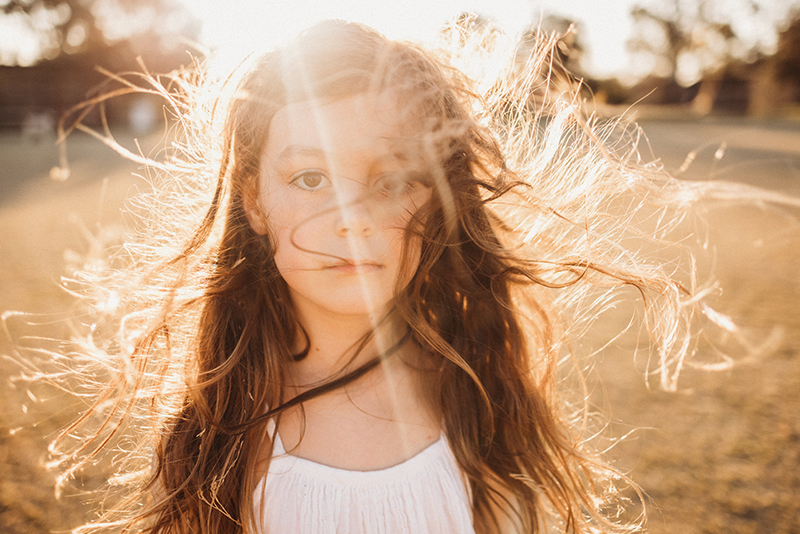
Merissa Wakefield, Advanced Graduate
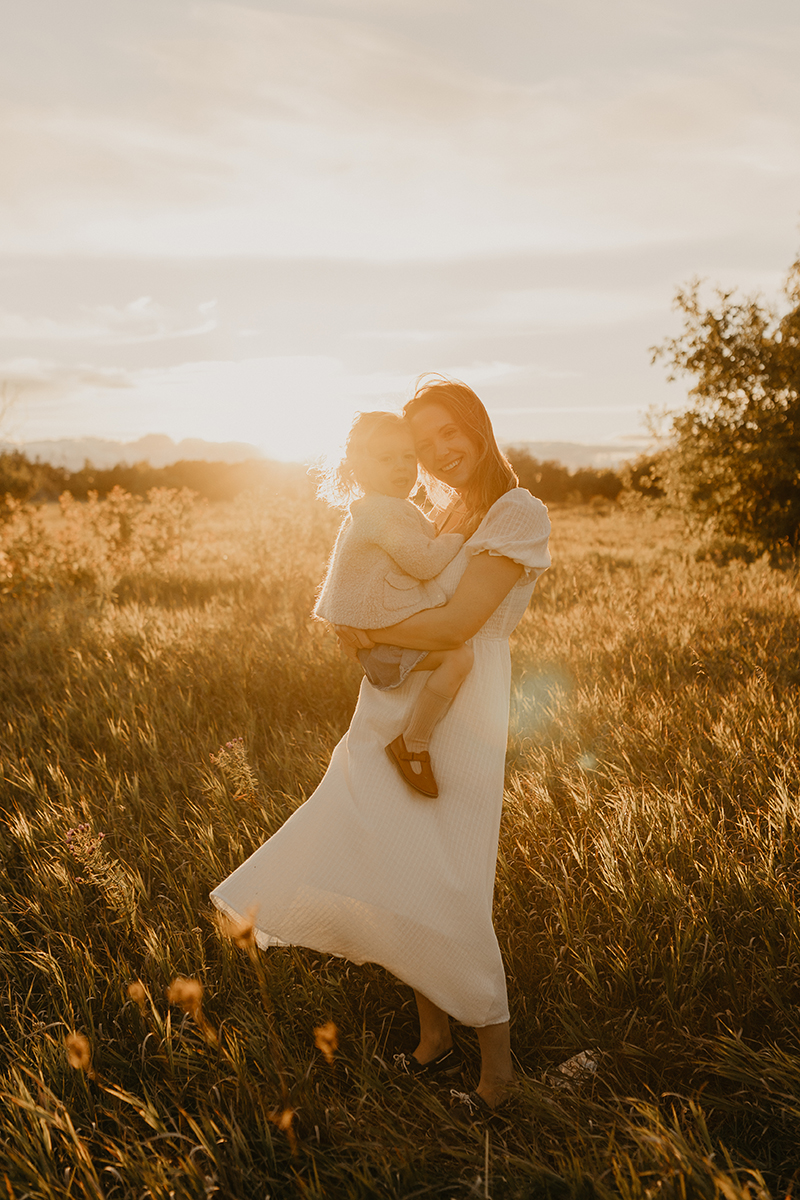
Charlie O’Neill
To get just a little haze at the edges, frame your shot with the sun just out of the frame so that the haze creeps in around the edge.
Emma Davis, CLG Instructor
9. Starbursts
Starburst can take a seemingly ordinary scene and level it up. It adds sparkle and can become the focal point of your photos. You can create a starburst effect whenever you’re including a strong light source in your shot. And the best bit is you don’t need any special gear to do it!
However, you can’t achieve a starburst purposefully in auto mode. So if you’re not in manual mode yet, read this tutorial. PS. manual mode is a total game changer!
Related: How to Shoot in Manual Mode
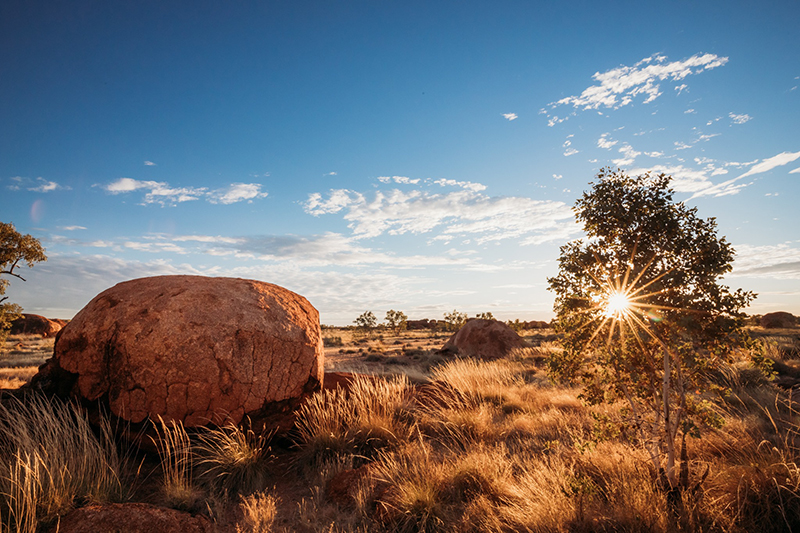
To take a shot like this one below, set your aperture to around f/16 or narrower if your lens allows. Then use your ISO and shutter speed to balance. This tutorial explains how to capture a starburst in any situation.
Related: How to Capture a Starburst
Kirsty Nealon, Advanced Graduate
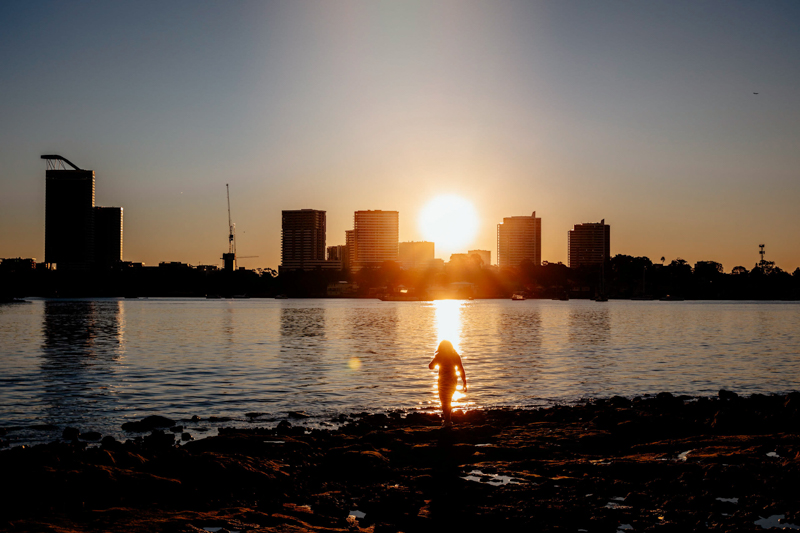
To create a softer, more subtle starburst such as in the image below, use a wider aperture.
Also, shooting directly into the sun like this would ordinarily create haze and flares. I like to embrace them, but if you don’t want them, use a lens hood to minimise. Then in Lightroom you can use the dehaze tool to further reduce.
Emma Davis, CLG Instructor
10. Adding Colour With Photoshop Sky Overlay
Sometimes we head out excitedly during the golden hour, with visions of capturing skies painted in glorious hues. But the colour doesn’t show up to our party. You’ve got soft diffused light, but flat skies devoid of colour and depth.
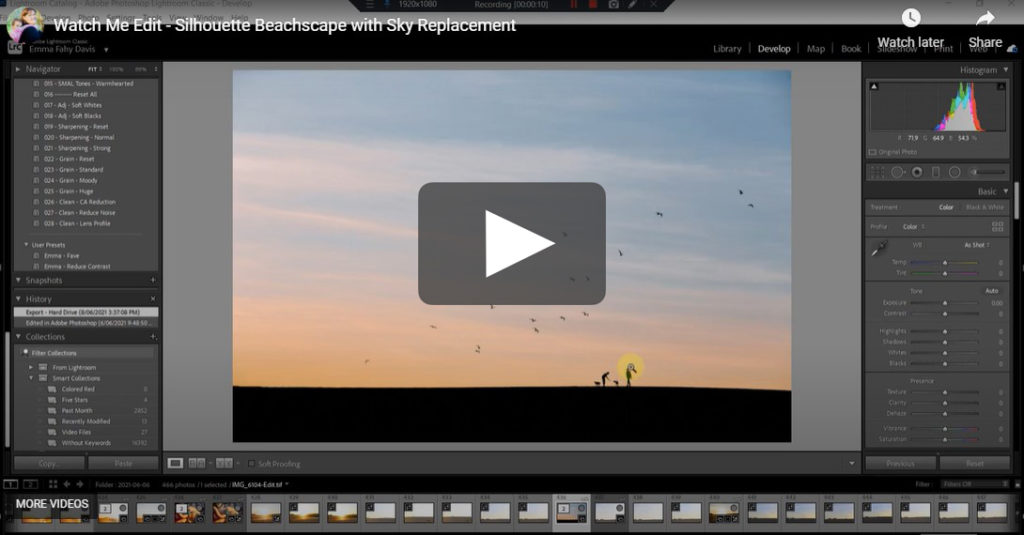
Enter Photoshop’s sky overlay tool! We’ve always been able to add prettier skies in Photoshop by dropping in an overlay and masking. But Photoshop’s latest version has a sky overlay tool (they listened!!) which makes it even easier.
Check out our watch-me-edit video tutorial to use the sky overlay tool.
Related: Create Stunning Skies With the Photoshop Sky Overlay Tool
Emma Davis, CLG Instructor
I hope you enjoyed our golden hour tutorial!
Ready For the Next Steps in Your Photography?
If you’re shooting in manual mode, our Advanced Photography Course is the next step. You will learn to shoot with confidence in any scenario, and push yourself creatively to develop your style through intensive 1:1 critique on your work.
Click HERE to find out more and join the waitlist for our next round coming soon!

PRIVACY POLICY & SITE TERMS AND CONDITONS
CLICK LOVE GROW ™ Pty Ltd - COPYRIGHT 2024 ©
x
Join Now
Enter your info below to join the challenge!
Want a friendly reminder when I go live?
Pop in your number and I’ll shoot you a text.
* We will send text reminders for our live calls during the challenge! Reply ‘STOP’ to end or ‘HELP’ for help.
We promise not to ever share your details with anyone or send you spam! Check our privacy policy and terms of service.
[…] one does. There are many ways to improve your photography skills, but these are some of the best golden tips for […]