50 Festive Christmas Photo Ideas To Try
The festive season is just around the corner, and we want to inspire you to get your camera out and play!
So we’ve come up with 50 fun and creative photo ideas for kids, families and furbabies, with tips to make your holiday pictures stand out.
Festive Styled Portaits
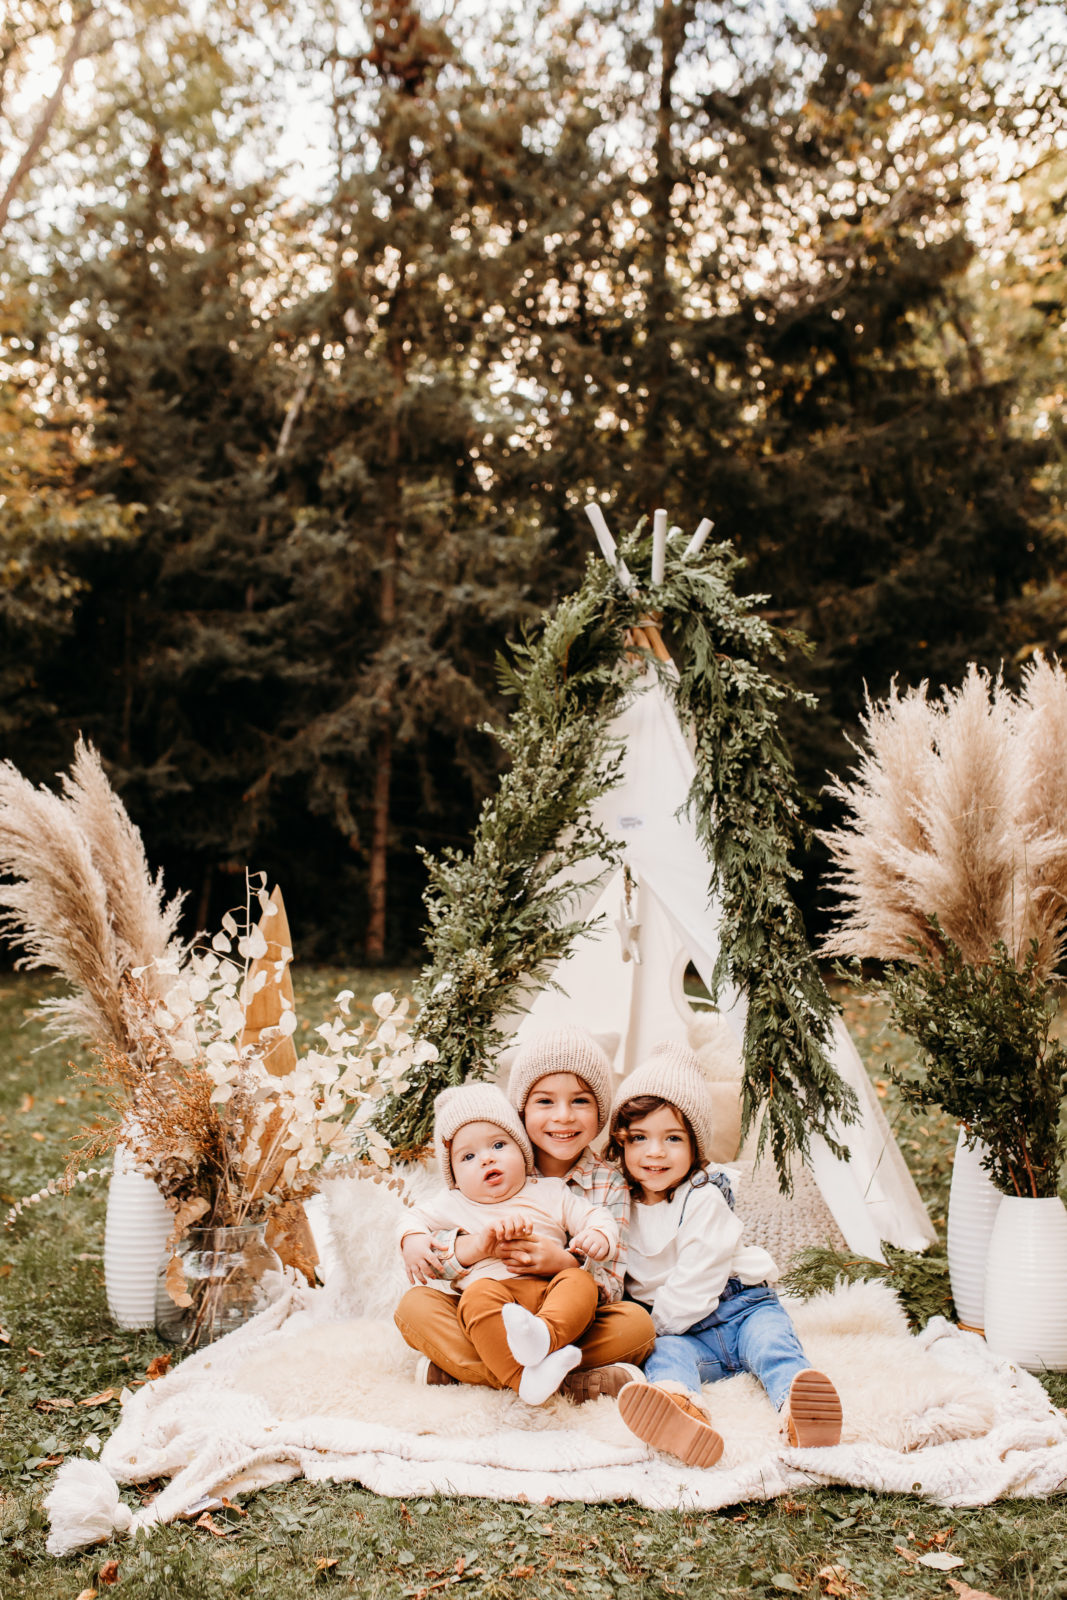
This set up is big bang for not as much work as you’d think at a glance. The key elements are:
- White teepee
- Large green garland
- 5 large vases with dried arrangements in netural tones
- One knitted throw, layered with a fur throw
- A few crocheted white cushions in the teepee
Dressing the Kids (Without the Pinterest Fail!)
When it comes to dressing the kids for beautiful portraits, it can be hard to get it right, and oh so easy to get it wrong. Just follow these tips and you’ll nail it!
- Kids in block colours in neutural tones
- Add a pop of colour – in this instance it’s mustard/orange and blue. Any colours found in nature will work well in a natural environment to give a pop of color without looking jarring or out of place. Try bottle green, rust, burgundy, navy blue
- You can dress one person in a pattern – note in this image the oldest child is wearing a shirt that picks up the mustard and blue of the other two children
- The 3 of them wearing identical knitted hats in a neutral cream ties them all together – they don’t need to be identical, but the same colour and the same fabric is the trick to make it work
- Ensure you’ve got texture – in this instance it’s the hats for the win!
- If they’re wearing shoes, ensure they’re photogenic as they are in this shot. Trainers don’t tend to photograph well. If your kids are hard on their shoes, or their current faves are hot pink with cartoon characters, leave them off and instead have bare feet or some beautifully textured socks in colours that fit
- Speaking of which… nothing ruins a portrait more than clothing with distracting logos and characters, so avoid at all costs. Classic patterns and block colours will never date.
Charlie O’Neill, Advanced Grad
The Secret to Relaxed Family Portraits
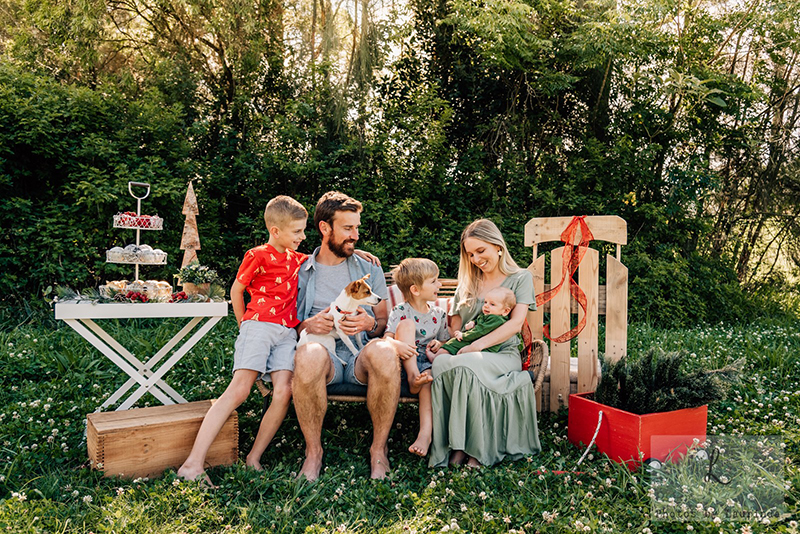
We love this family series! The family are interacting with one another and the tree, which is what gives it such a relaxed feel.
Giving your subjects something to do, or prompts to interact with one another is the easiest way to avoid awkward photos where everyone looks uncomfortable.
Shoot late in the day when the sun is low in the sky, at a location where sun sets behind trees for this subtle glowy effect.
Related: 20 Poses for Natural Photos of Kids & Families
Laurinda Armstrong, Advanced Grad
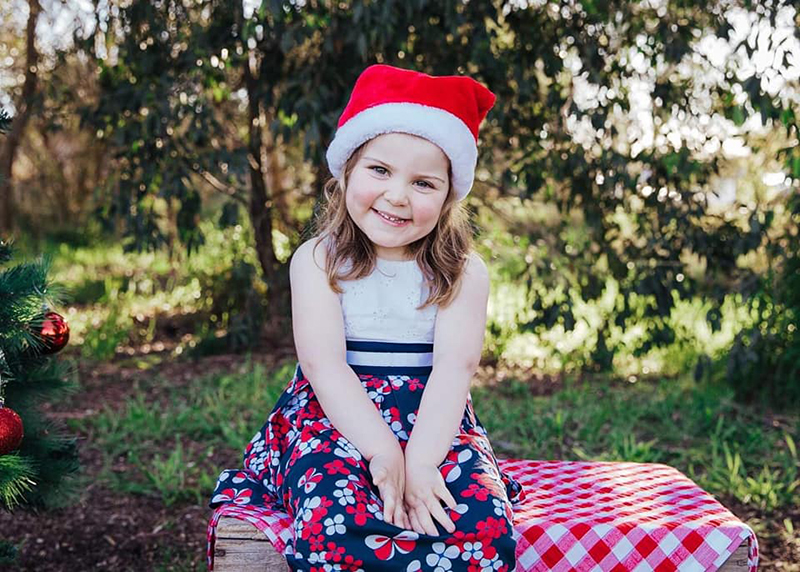
This portrait is pared back and needs a lot less elements to pull it off, but it’s no less beautiful and festive.
Traditional & Simple
The key ingredients here are all designed around the colour red. From her santa hat, to the christmas baubles hung from a small tree positioned to her right, the red checked cloth and her red and blue skirt. Everything ties together beautifully.
Related: 10 Tricks to Get Natural Smiles from Kids
Megan Rutherford, Advanced Grad
The Naturals
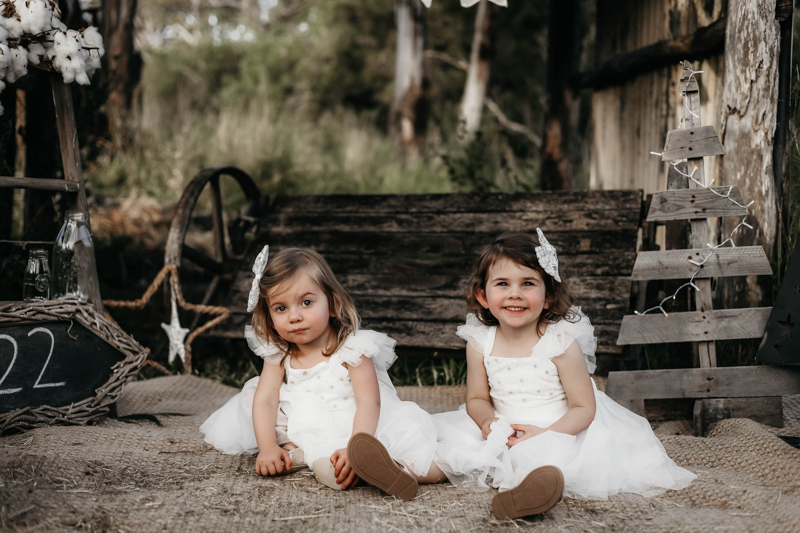
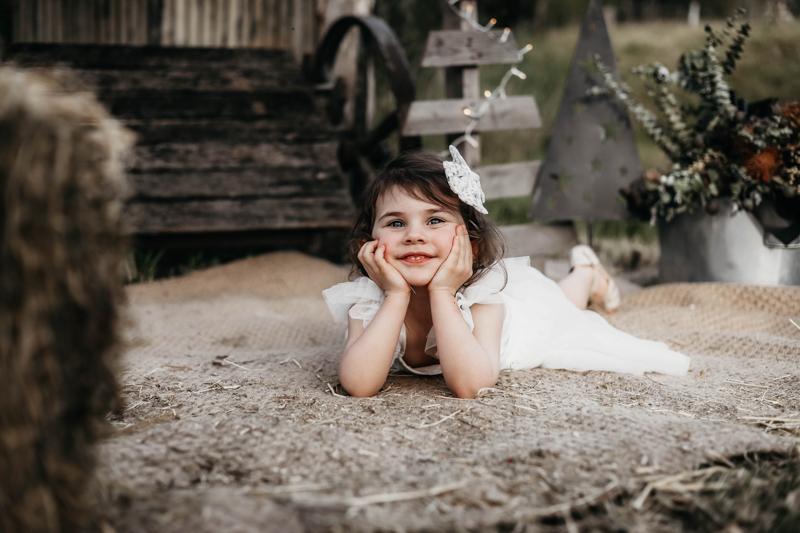
Maybe traditional red and green isn’t you thing. If a neutral palette is more your jam, it’s actually easier than you think.
There’s no trying to figure out if colours clash, or how to avoid creating jarring results. It’s hard to overdo it when you limit the set up to a few natural tones. Just be sure to include some texture for interest.
Think hessian, crocheted or knitted throws, wood, metal, clear glass, white lights, silver, white, beige, stone, chocolate. Forest green, rust and berry red works well in this palette if you want to add a small pop of colour.
Coral Hagan, Advanced Grad
Coral Hagan, Advanced Grad
Baby in a Basket
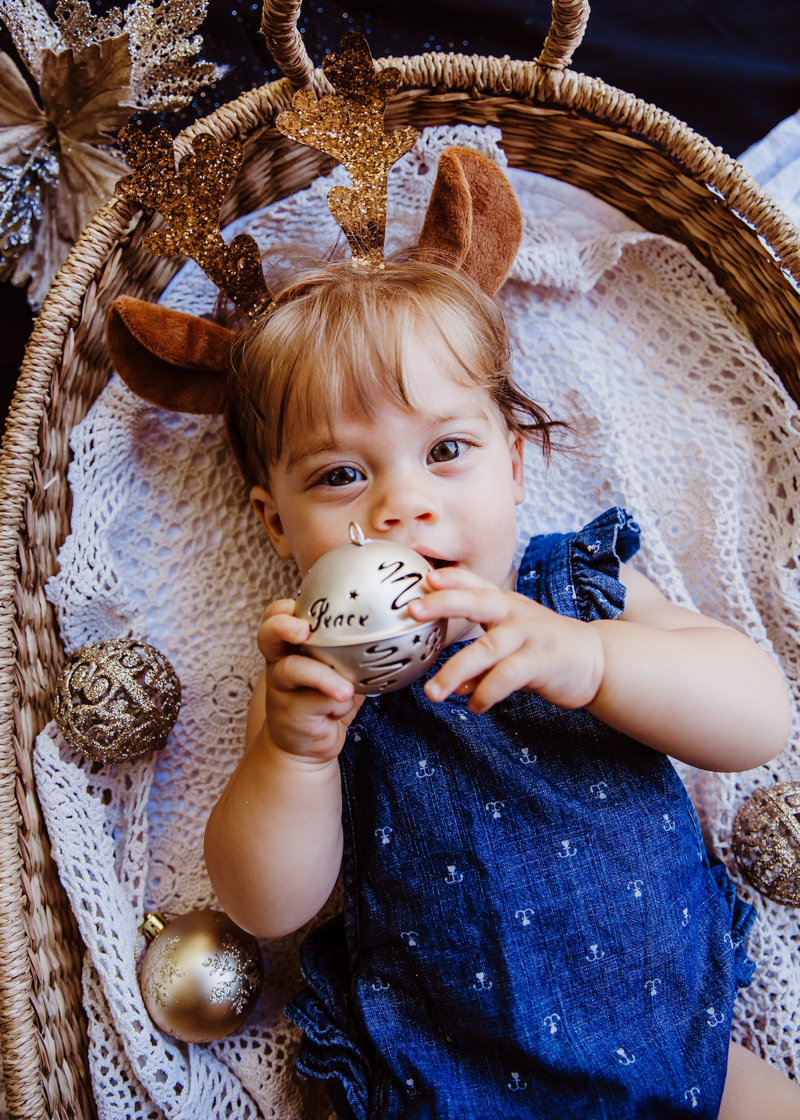
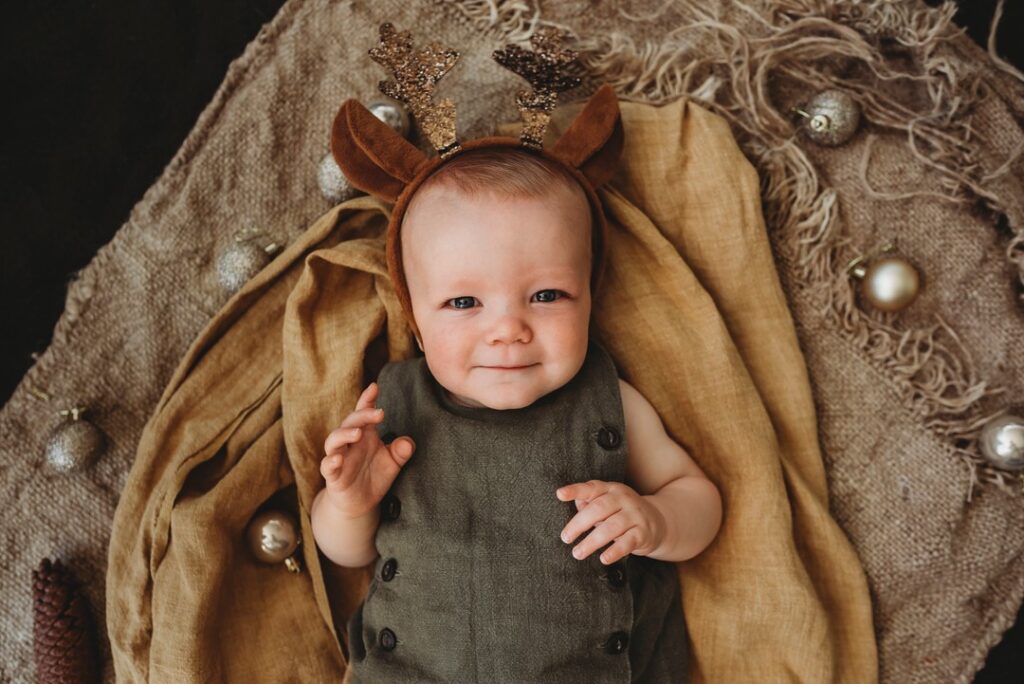
Layers, texture and harmonious tones are the key ingredients to making a shot like this work.
To avoid a fail, try to keep all elements in the same colour family, then add one pop of colour in a muted tone (in this insane it’s her blue romper).
Stand directly overhead, and use a 35mm to 50mm lens. Select an aperture wide enough to give you a beautiful fall away in your depth of field, but still get both eyes in focus – somewhere in the range of f/2.2 to f/2.8 will do it.
Also aim for catchlights in your subject’s eyes. You’ll need natural light coming through windows or a doorway at a roughly 45 degree angle to your subject’s top right or top left.
Related: Take Your Own Gorgeous Baby Photos
Maria Campbell, Advanced Grad
Heidi Talic, Advanced Grad
Classic Christmas Tree Portrait
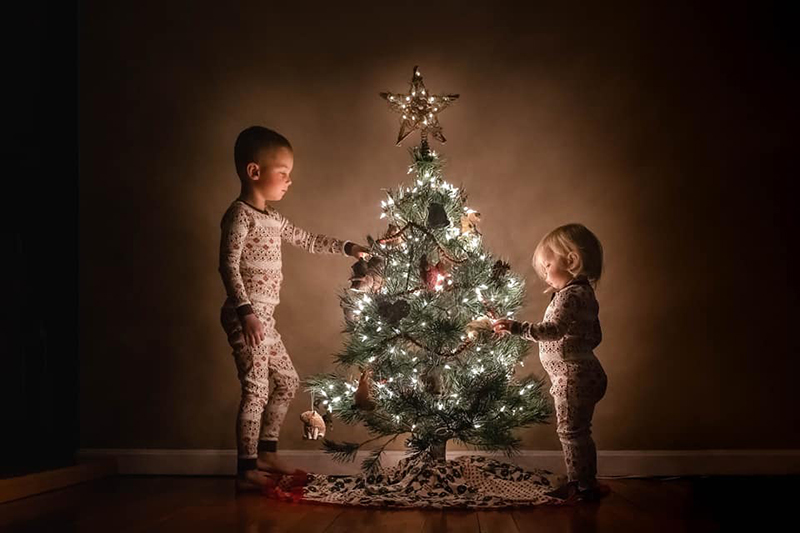
What makes this shot work so well is the simplicity. Position your tree against a plain wall, and remove any surrounding clutter.
This works best either at night when the room can be lit by only the tree lights, or during the day with curtains closed. As long as the only light is coming from the tree lights.
You’ll need enough lights to illuminate your subjects effectively, and you’ll more than likely need to really push your settings in order to capture that small amount of light.
Ask the children to touch an ornament on the tree, which will ensure a visual connection between the tree and your subjects. It also gives them something to do that will keep them still for a moment, and this is important. In this kind of light, you won’t be able to use a fast shutter speed so if they’re moving too much, you’ll get unwanted blur.
Aim for a shutter speed no slower than 1/80. If your camera handles very high ISO well, you might be able to push your shutter speed a little faster.
Standing at this distance you should be able to get both children in focus with a very wide aperture. But just to be sure, place them on the same focal plane as one another and the tree, as they are here. Then dial in a wide aperture of f/2 and this will help capture more light, and get both the tree and your subjects in focus.
Then choose your ISO to balance exposure.
Don’t Be Afraid of ISO
Try not to underexpose in camera – in a low key lighting situation like this, you’ll get a lot more noise in your photo by underexposing then bringing it up in processing than you will if you just expose properly in camera with a higher ISO.
Get to know how far you can push ISO with your camera. A little noise is fine, and easily fixed in Lightroom if you’re not a fan. The point where you need to pull back is when that noise starts to impact the clarity and sharpness of your image. Just before that happens is your sweet spot for ISO.
Related: Embrace High ISO for Better Results
Lisa Smith, Advanced Grad
In this shot the Christmas tree is providing some beautiful bokeh in the background. Meanwhile some cleverly placed fairy lights illuminates her face and her dinosaur play.
A wide aperture of around f/2.5 will get your subject and their play in focus, whilst creating some gorgeous bokeh with the fairy lights in the background.
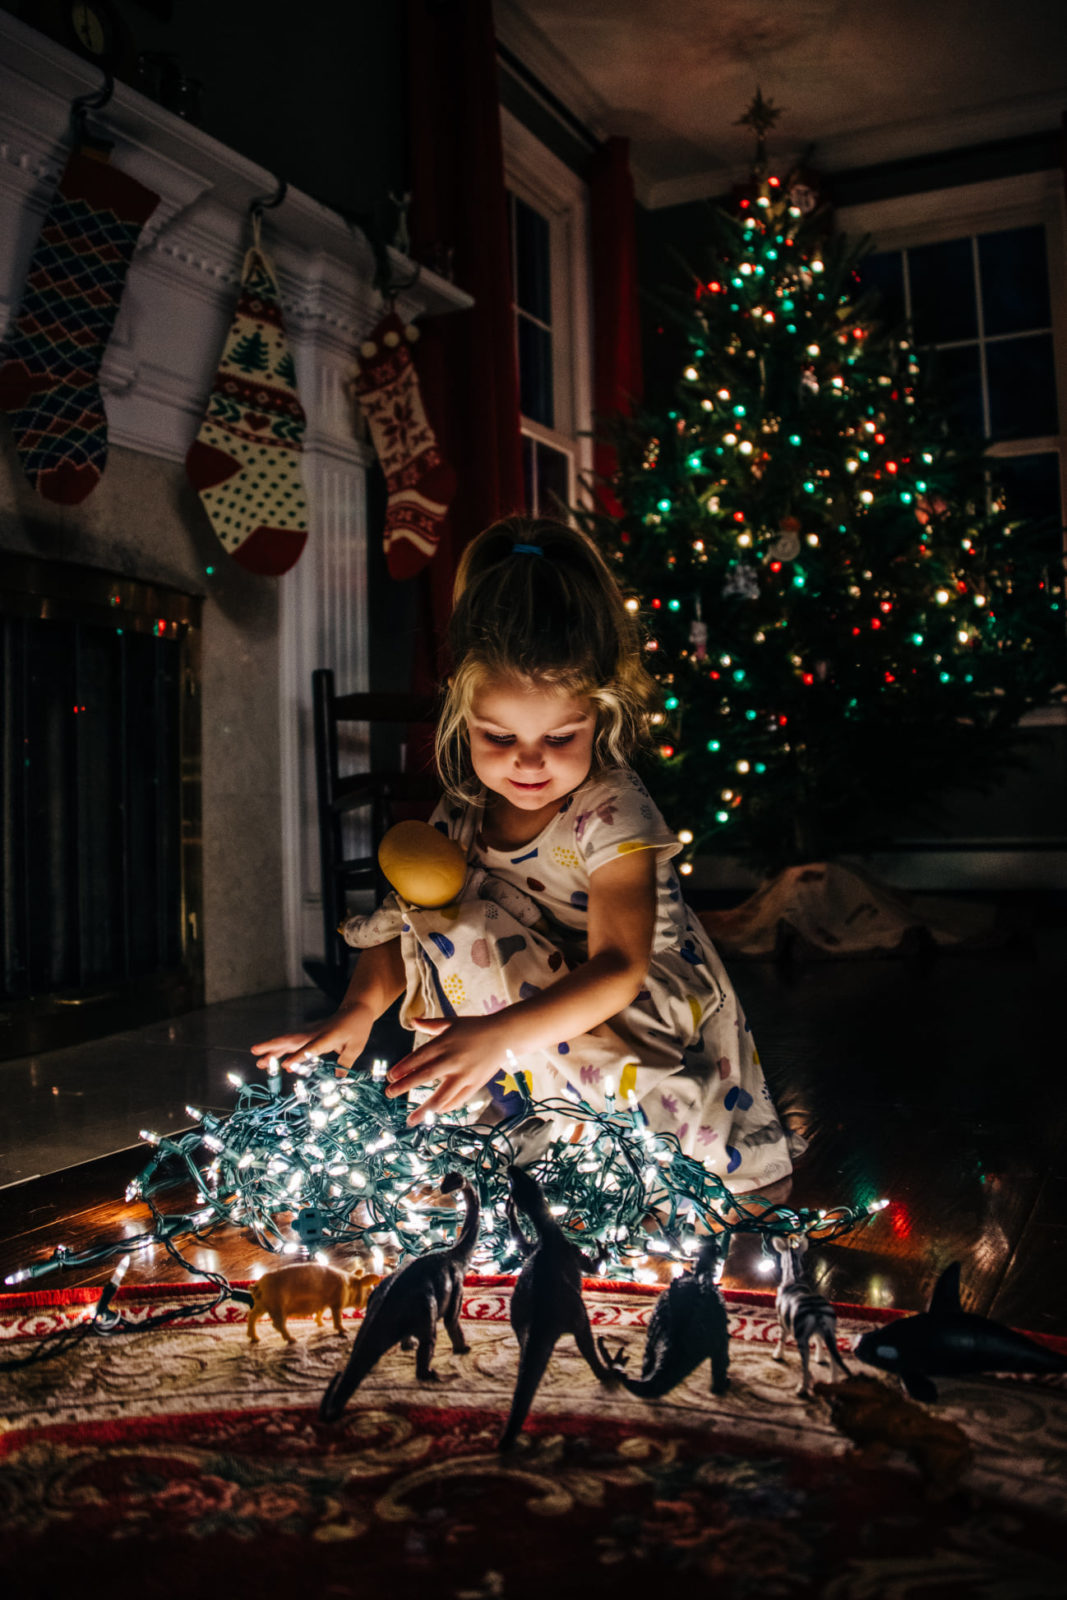
Jennifer Magnuson, Advanced Grad
Baby Under Your Christmas Tree
We love this perspective and it’s an easy christmas photo to create.
Pop a textured or fur throw on the floor, place baby on top, partially under a tree branch. Stand directly over the top and include some of the branch in the frame. The trick is to include enough of it that it’s clear it was intentional. If there’s not enough, it will look accidental and work as a distraction rather than a festive frame for your baby.
Position the tree and baby near some good soft window light – in this image the light is coming in from camera right.
Lastly that pop of red really helps draw the eye to her.
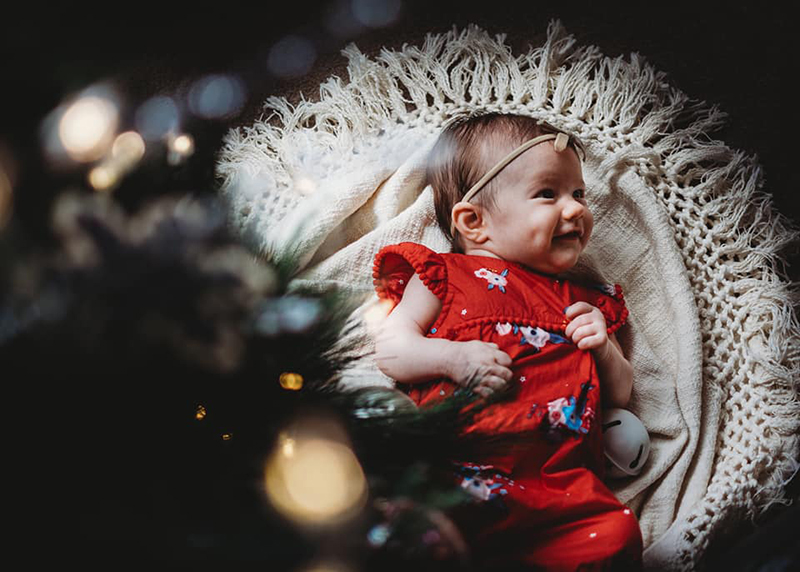
Sarah Jane, Advanced Grad
This idea isn’t limited to babies, we love this shot!

Lindsay Meyer, CLG Enthusiast Grad
You can frame in a similar way for that layered look with older kids. The elements are the same – red outfit, white throw, fairy lights in the foreground. Bingo!
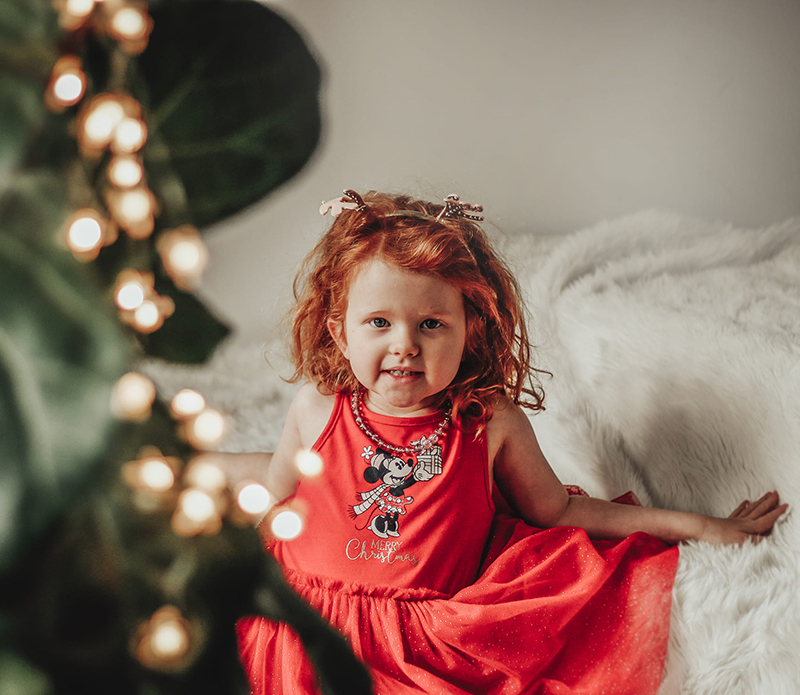
Kylie Wilson, Enthusiast Grad
Fairy Light Portraits
Fairy lights are one of the easiest ways to turn any portrait into something festive, and here’s a few of our faves!
For this look you’ll need a black backdrop and some fairy lights with dark wires. If the wires are white, you’ll see them against the backdrop.
For a crease free backdrop, try polar fleece, vinyl, or paper.
You’ll need a lens that lets you shoot with a wide aperture (low f-stop number) – a prime lens such as the 50mm 1.8 (the inexpensive and fabulous nifty fifty!) is perfect.
Put lots of space between your subject and the backdrop, because the distance between your subject and the lights helps get the beautiful bokeh effect.
Related: Twinkle Light Bokeh Tutorial
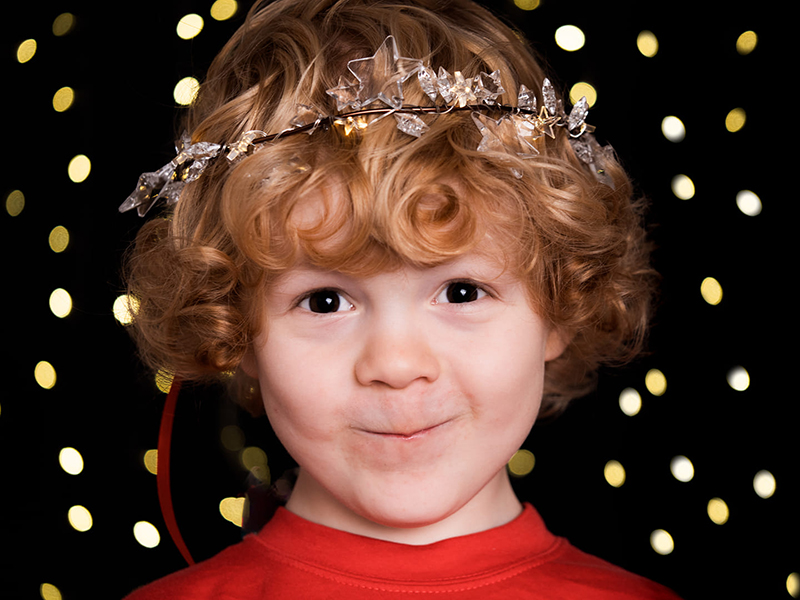
Jo Payne, Advanced Grad
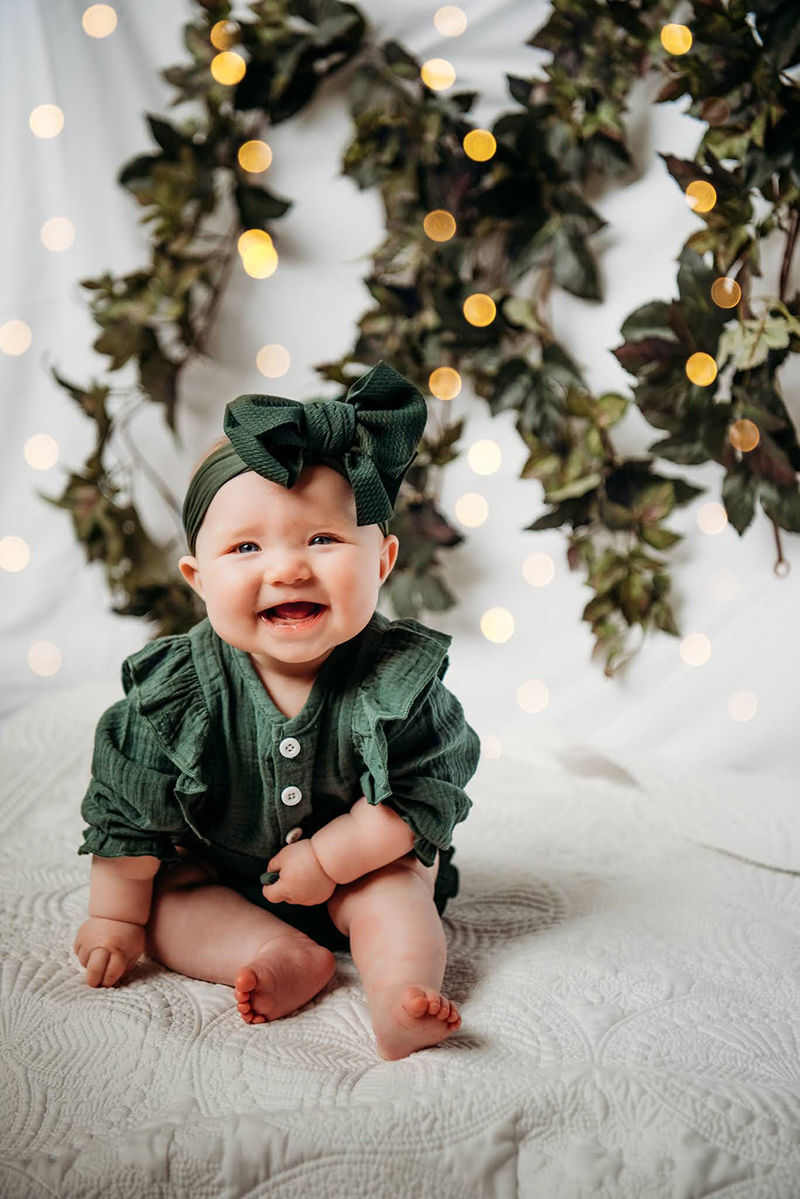
Lindsay Meyer, Advanced Grad
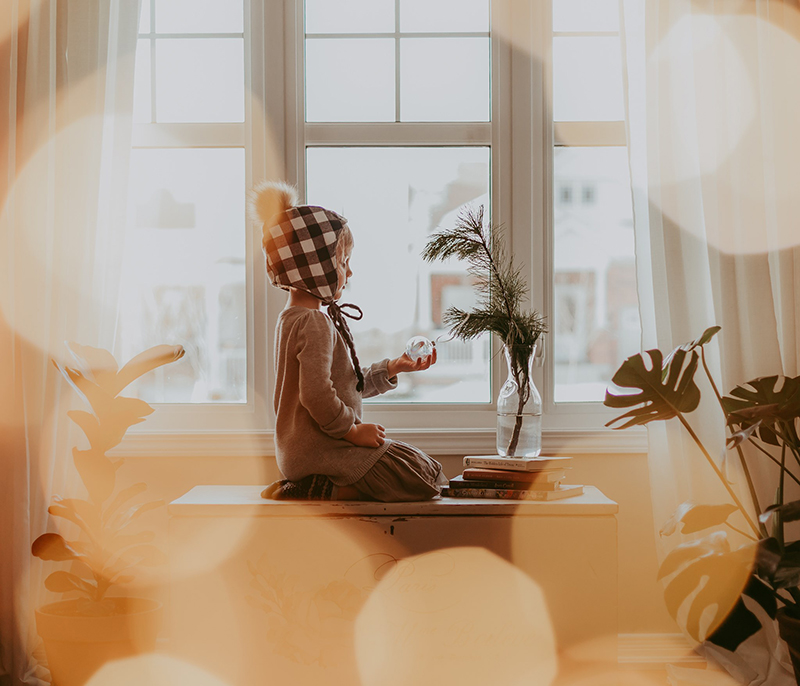
This gorgous portrait was created using a fun technique – hold some fairy lights in front of your lens or attach them to the lens with some tape.
For the best results, make sure they’re not touching the lens – you want them at least a few cms in front or they’ll look blown out and become a distraction rather than a beautiful effect. Use a wide aperture and experiment to get a look you like.
If our upcoming 3 Day Holidays Photography Challenge we’ll be showing you the exact set up to capture shots like this!
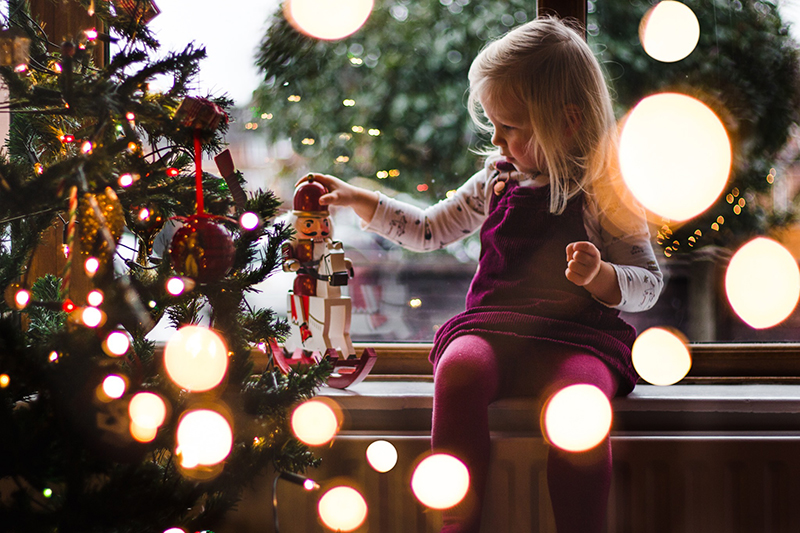
Estella Ward, Enthusiast Grad
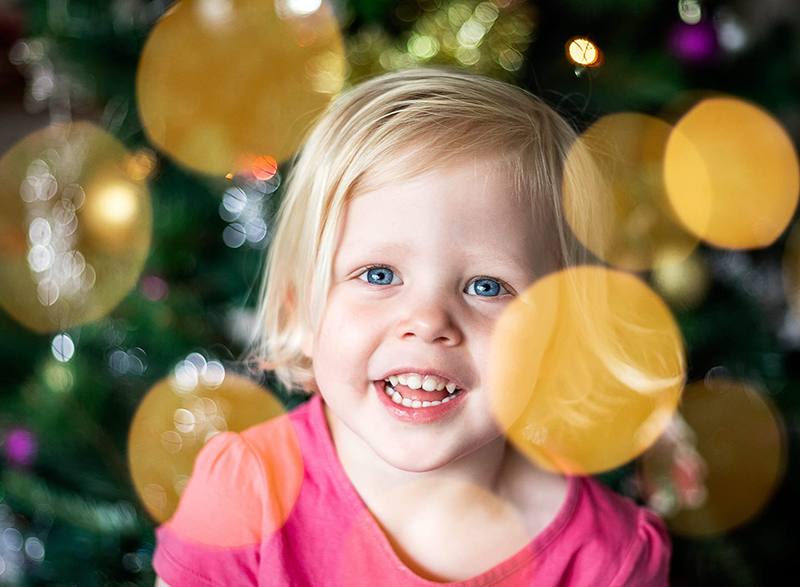
Sophie Green, Advanced Grad
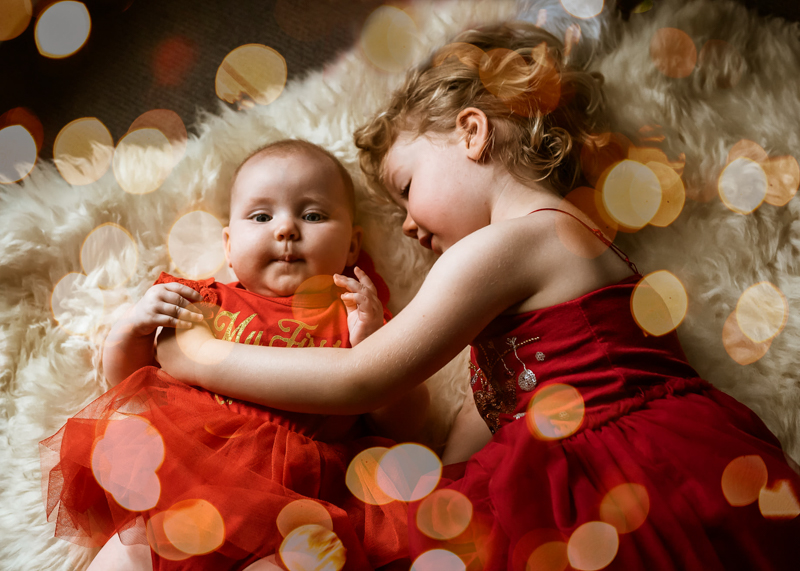
Christie Veen, Advanced Grad
Kailey Nagymarosi, Advanced Grad
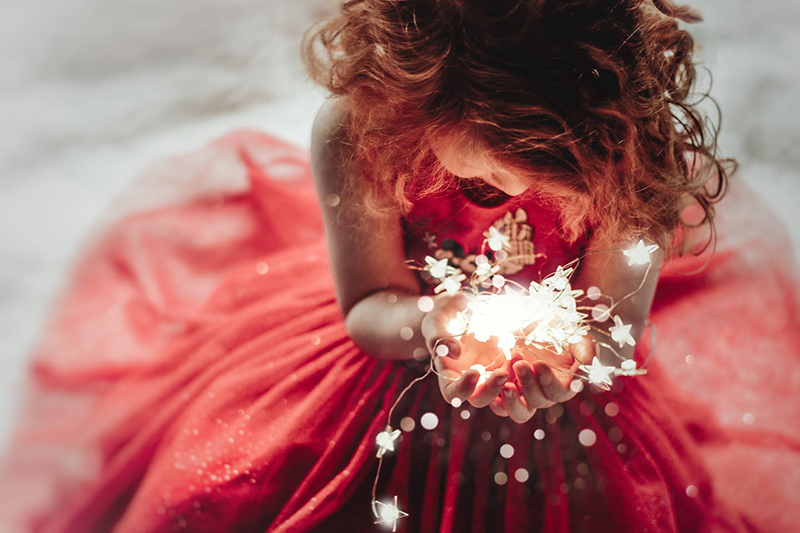
It doesn’t get much easier than this next one and it’s SO effective!
A beautiful red dress with big flared tulle skirt and a handful of fairy lights. Add white throw to sit on which helps the red to pop and creates an uncluttered backdrop. Stand up and shoot down, make sure that skirt is flared around her to create a frame and draw the eye in.
For this effect, aim for a wide aperture of around f/2.5 and focus on the hands. Make sure you can see part of their profile in the shot.
Kylie Wilson, Enthusiast Grad
Add Some Sparkle
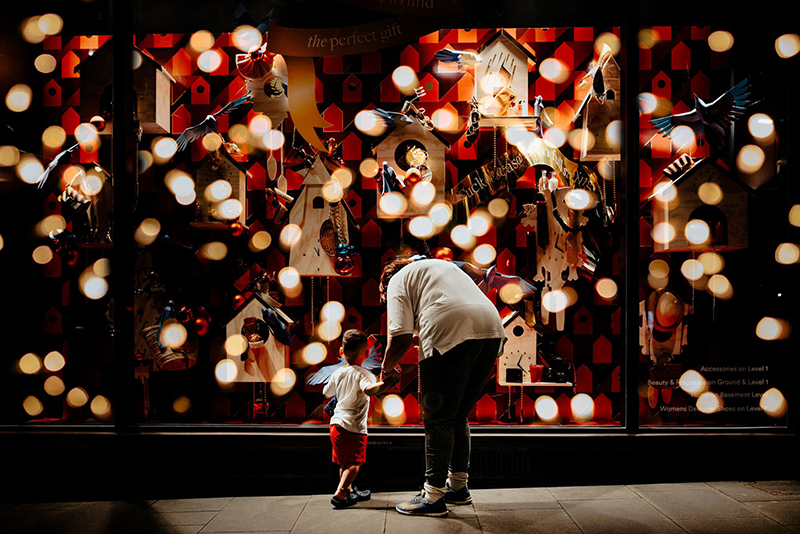
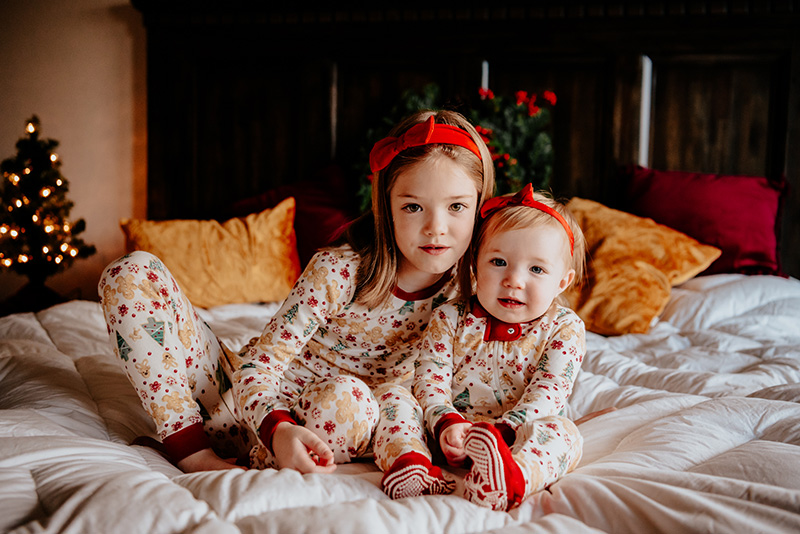
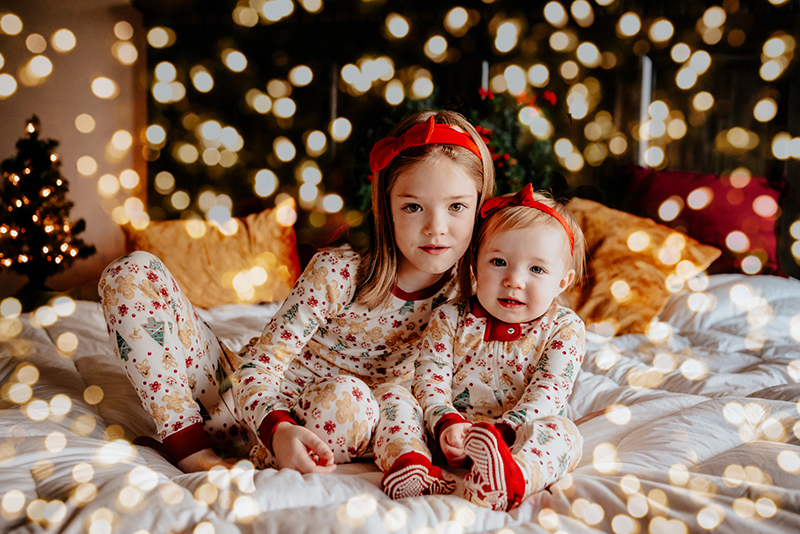
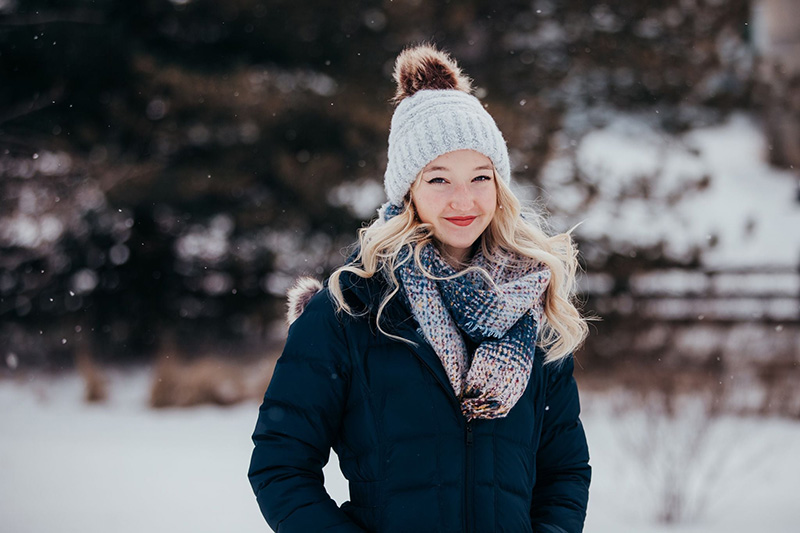
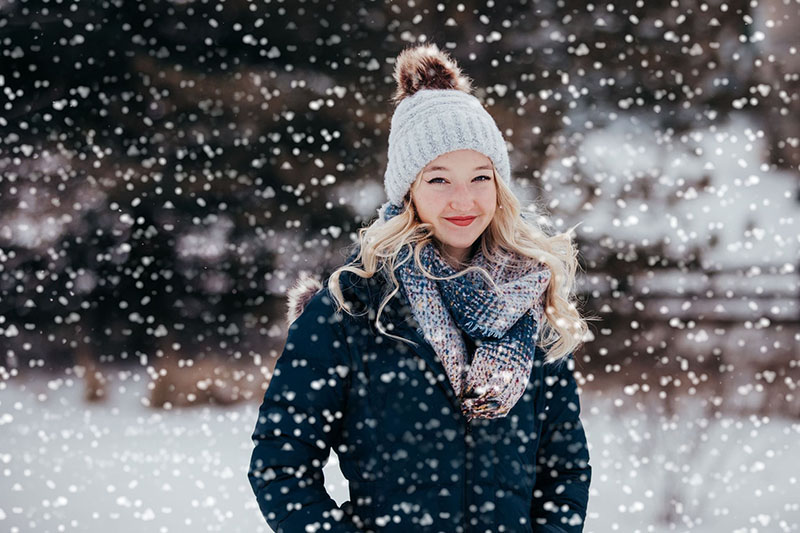
Have you ever played with light overlays? Editing with overlays is an artform in itself, and it’s a fun way to take your photos to a whole other level!
Try our all new Holidays Presets & Overlays Pack and add some christmas cheer and sparkle to your holiday photos.
The pack comes with 4 presets + 13 Overlays for only $29 – click HERE to make them yours!
Not sure how to use overlays? Watch our step-by-step editing video in the tutorial below by CLG Instructor Emma Davis.
Related: How to Use Photoshop Overlays
Emma Davis, CLG Instructor
Shaped Bokeh
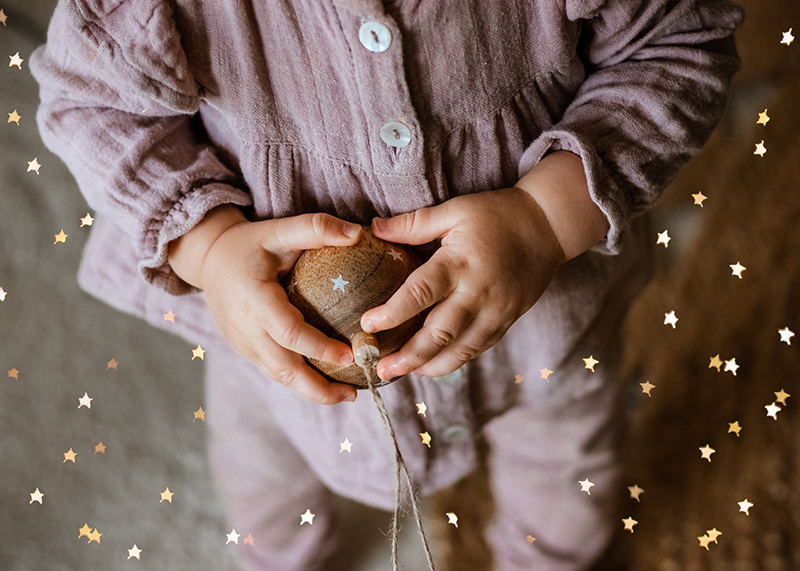
This gorgeous shot was created using a star filter, and in our upcoming 3 Day Holidays Photography Challenge I’ll be showing you exactly how to do it (no expensive equipment required!).
Sam Maker, Advanced Graduate
Festive Portraits For Busy Parents!
If you’ve got only a little time, an even smaller budget, and kids with a blink-and-you-miss-it attention span… this one is for you.
Reindeer ears, santa hats, sparkly red bows and baubles!
It’s as simple as that, but nothing says Christmas quite like it.
All you need is:
- Some soft natural light, with no harsh shadow lines
- An uncluttered area to capture them
- Pare back the surroundings and remove any clutter
- Better yet pop them in front of a plain wall – put a little distance (at least 50cm) to create some depth
- Your sharpest lens – a nifty fifty is perfect but if you only have a kit lens, use it at it’s widest aperture (f/3.5)
Related: How to Get Background Blur With a Kit Lens
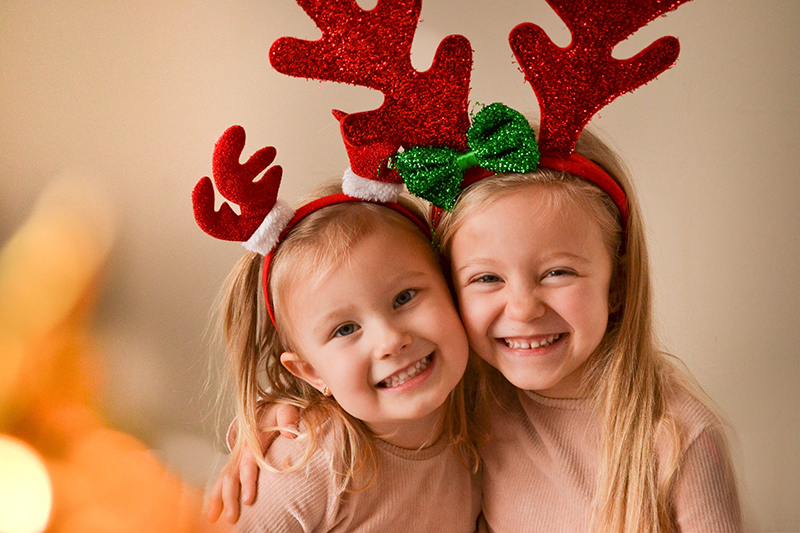
Beata Dominiak, Enthusiast Grad
Or pop them in front of the Christmas tree if you’ve got good natural light nearby.
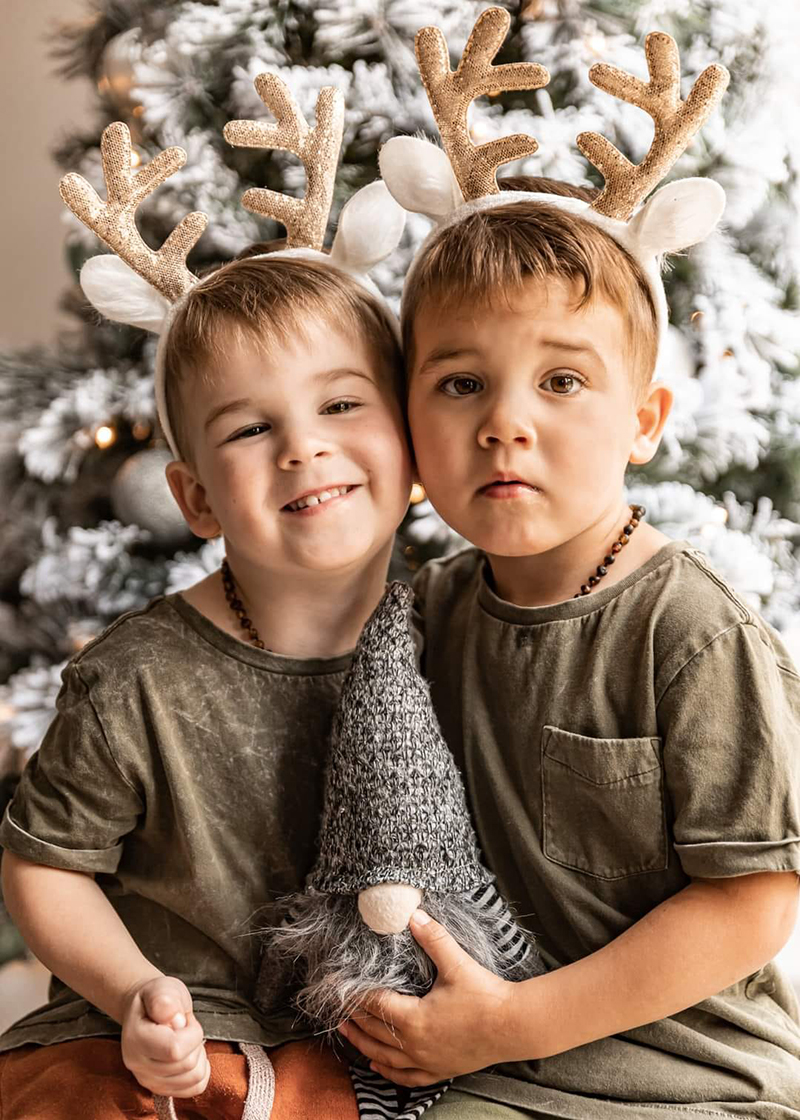
Ashleigh Harrison, Advanced Grad
Plain wall for the win! Window light at camera left, easy peasy.
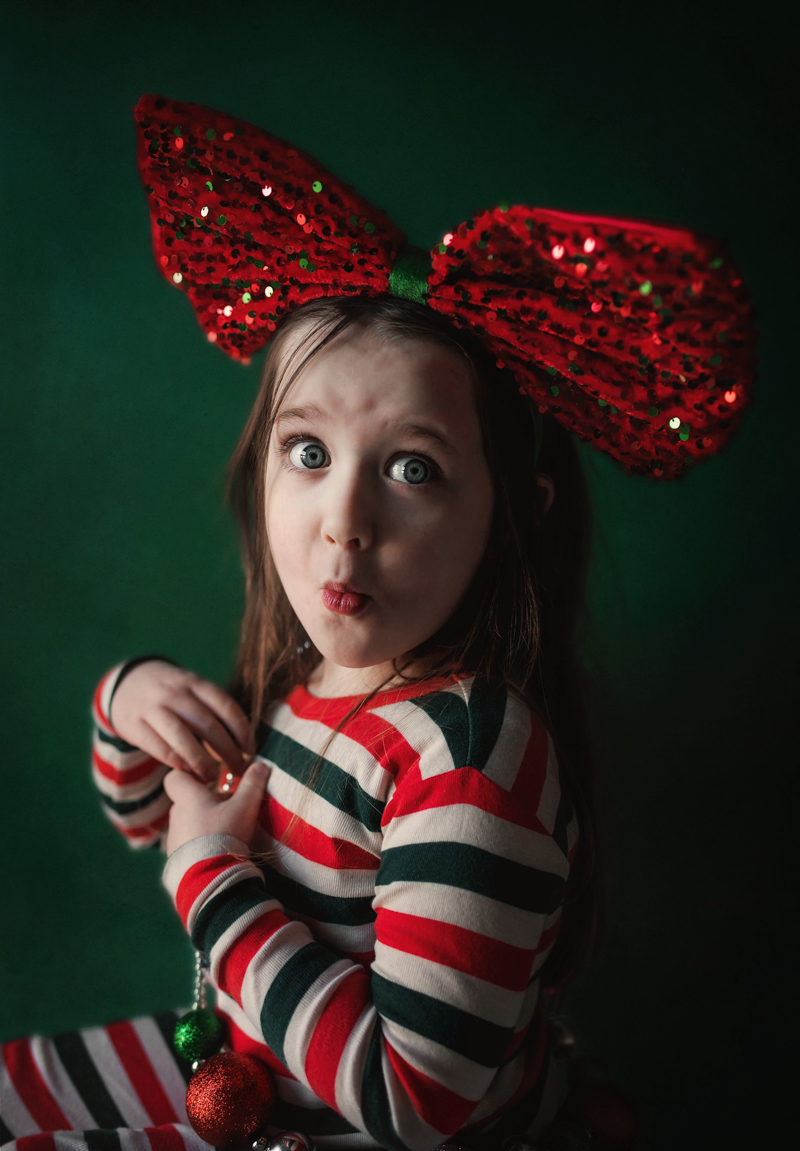
Becca Lord-Lyon, CLG Instructor
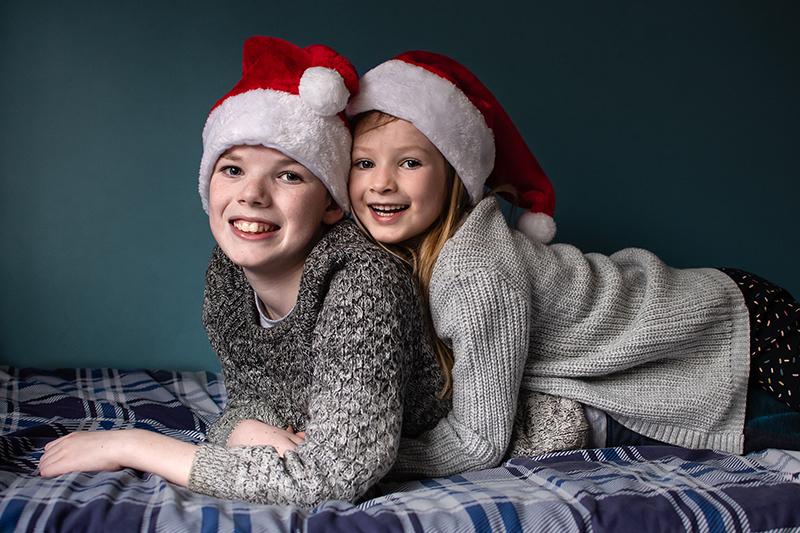
Louise Harmston, Advanced Grad
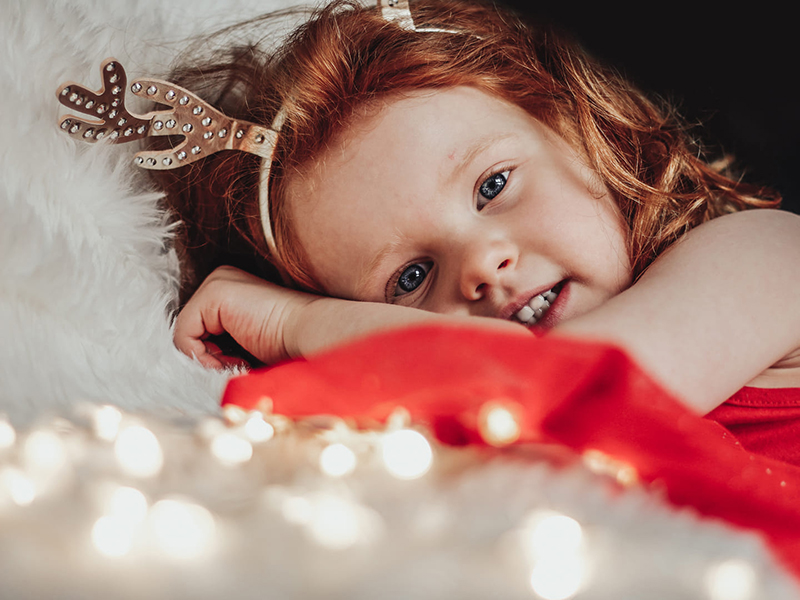
To recreate this portrait, have your subject lay down on a white fur throw or similar, pop some fairy lights in the foreground and get in close.
Kylie Wilson, Enthusiast Grad
How To Get Groups in Focus
Have you heard about the rule to match your aperture to the number of people in the shot to get everyone in focus? Well, throw that out the window, because it doesn’t work. By that reasoning, if you captured an extended family of 22 people you’d need f/22, which would look like a snap shot.
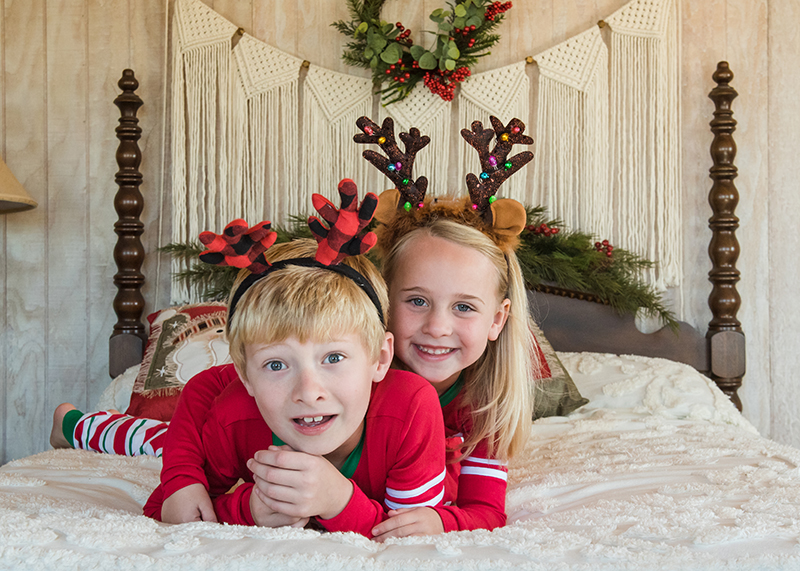
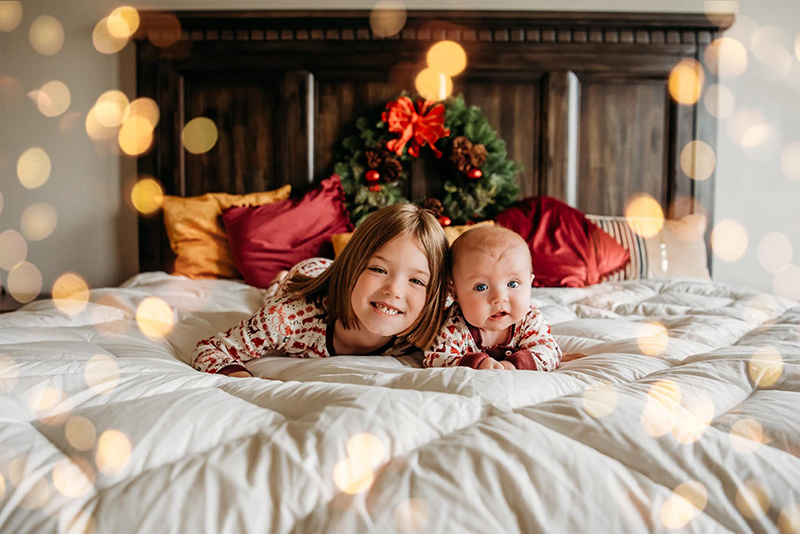
When you’ve got more than one person, if their faces aren’t on the same focal plane, you will need a narrower aperture (higher f stop value) to get both in focus. But it’s got nothing to do with the number of people, and everything to do with the number of focal planes you want in focus.
So in this shot, you’ve got two faces on two different focal planes. To get both of them in acceptable focus at this distance, around f/4 should do the trick without losing too much depth. To go deeper on this topic check out the article below.
Related: How to Get Groups in Focus
Daniela Bucy, Advanced Grad
Conversely in this shot, both faces are on exactly the same focal plane, so you could capture them with an aperture of f/2 and get both faces in sharp focus.
Lindsay Meyer, Advanced Grad
Festive Furbabies
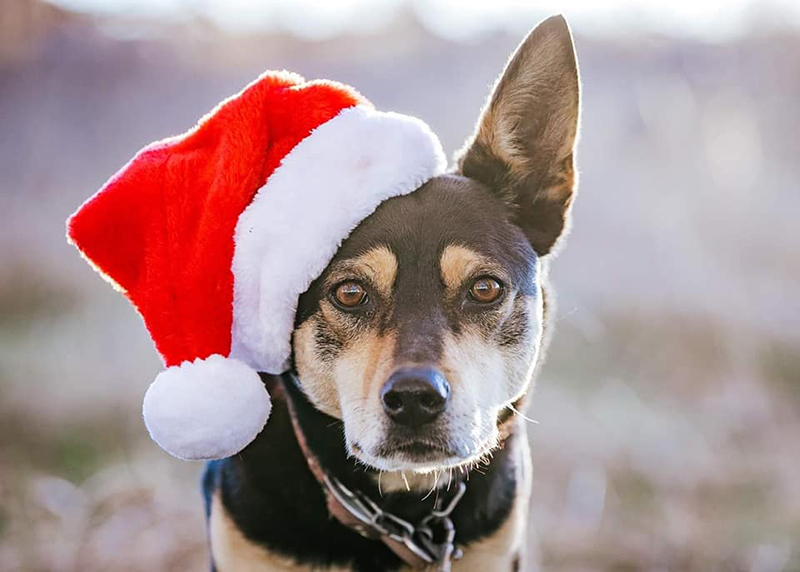
Don’t forget the furbabies! When it comes to dogs, focus on their eyes, and use an aperture of around f/3.5. This will get their nose just enough in focus so that it’s not a distraction.
Alternatively, get up a touch higher than their snout and then you can shoot at a much wider aperture of say f/2.2 to get an even blurrier background.
Related: 8 Tips for Beautiful Portraits of Your Dog
Megan Rutherford, Advanced Grad
For pooches with a shorter face, it’s not quite so important because their nose is on a closer focal plane to their eyes.
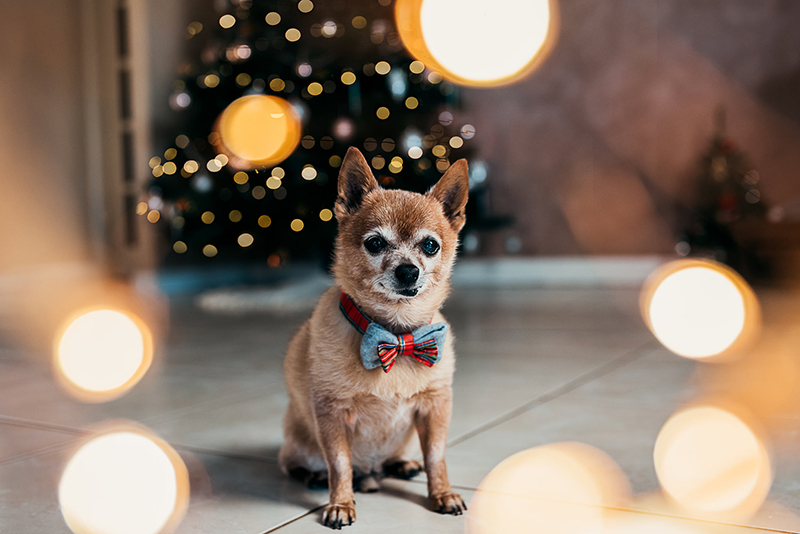
Bek Alexander, Advanced Graduate
We love this wintery outdoor Christmas portrait with bonus Goldie!
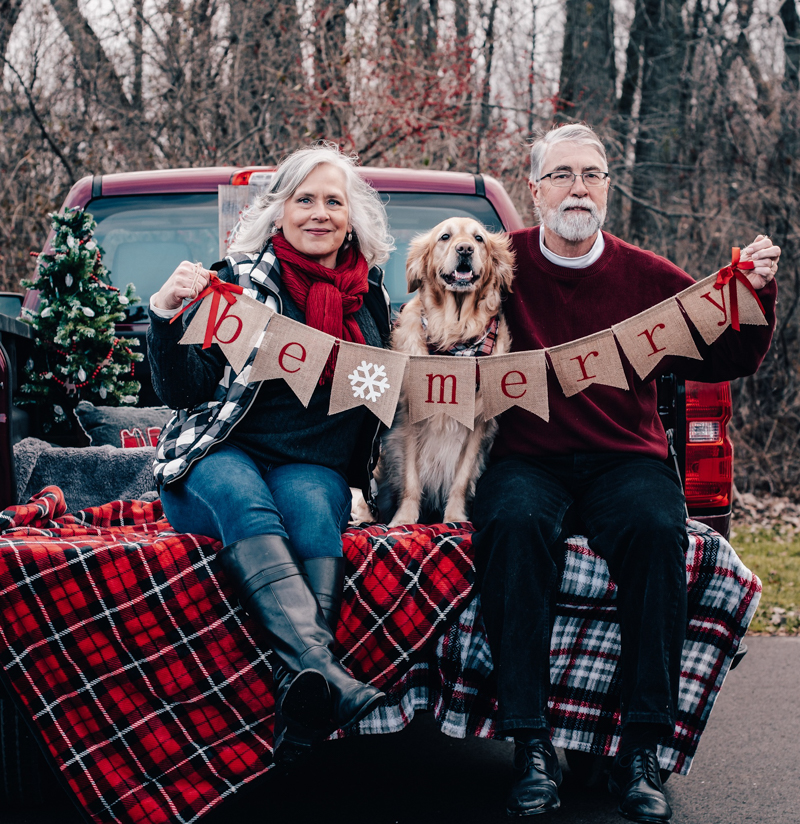
Debbie Slezak-Stone, Advanced Grad
Document Your Traditions
Capture some documentary style portraits of the kids dong all those fun things we associate with Christmas.
The Best Settings for Indoor Activities
Most indoor activities can be captured with a shutter speed of around 1/250 to freeze those small movements.
Choose an aperture of around f/2.5 as it’s wide enough to isolate them without blurring out the background too much. After all, it’s part of the story.
Set your ISO to get a balanced exposure.
If you have to push your ISO beyond your camera’s sweet spot, you could potentially get away with a shutter speed of 1/200 if the action isn’t too fast. You could also open your aperture to f/2 – but bear in mind you’ll have a very small depth of field.
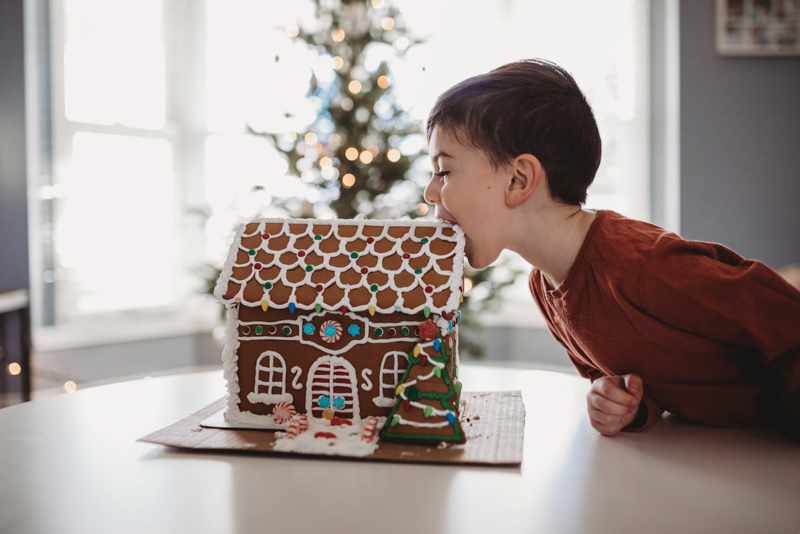
Charlie O’Neill, Advanced Grad
The Best Light for Indoor Activities
Make life easier on yourself by setting them up in a well lit area – natural light will look a lot better than your room lighting. In fact, turn off any overhead lightbulbs to avoid unflattering and harsh shadow lines.
That said… it’s a special time of year and if it’s dark and dreary in your part of the world at this time of year, don’t abandon the shot just because the light isn’t perfect. In that instance, turn on ALL the indoor lights, and be prepared to accept some imperfect shadowing.
You’ll also get some funky white balance results but this is an easy fix in Lightroom. But it’s okay… life doesn’t always happenn in great light but we still want to remember those bits!
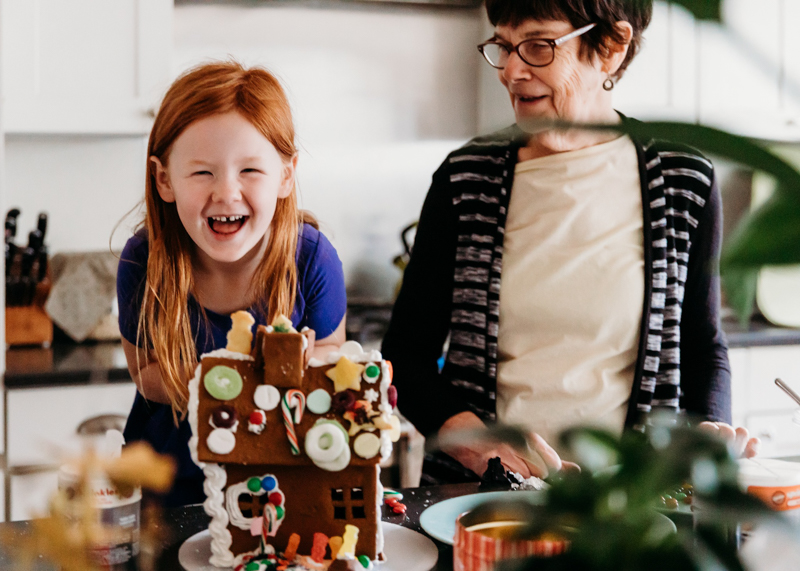
Ali Vrbas, Advanced Grad
Declutter For Print Worthy Photos
Want to capture professional looking photos where your subject is the obvious start of the shot?
Remove any objects that don’t need to be there.
Lastly, use a wide angle lens of around 24-35mm. This will enable you to get all of the action in the shot without having to step back so far they’re lost in the frame.
Related: 7 Tips for Documenting Family at Home
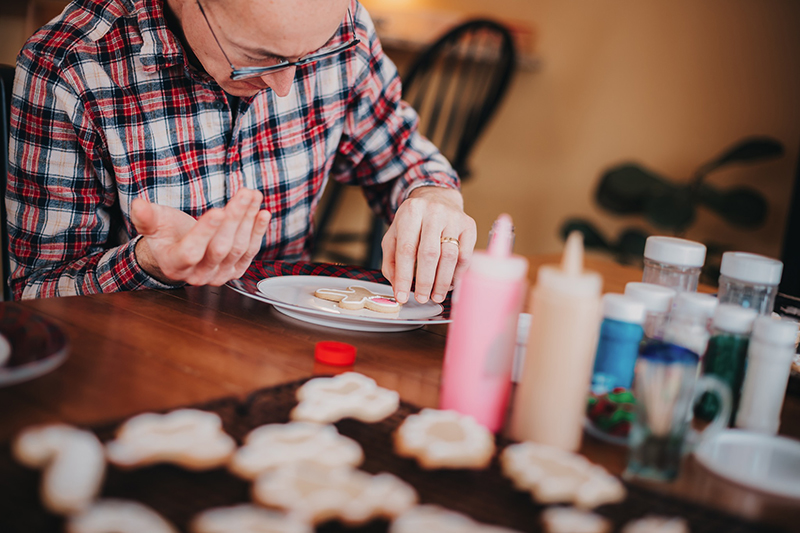
Festive Food
Decorating a gingerbread house is fun to prep for, fun to do, and fun for you to capture! Kits can be bought inexpensively from supermarkets from around late November.
When capturing the action, the idea is to set them up and let them go, then just capture the action as it happens.
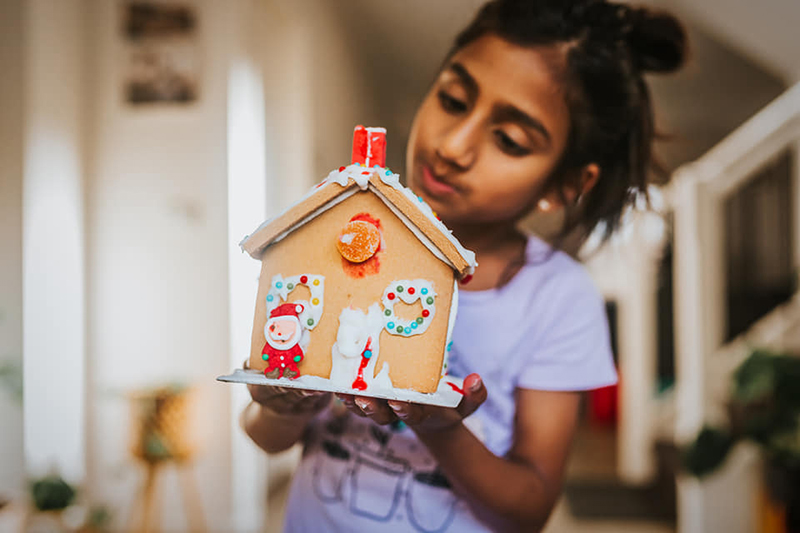
Dinithi Ranathunga, Advanced Grad
Another festive baking idea – gingerbread men. We love this for the top down perspective.
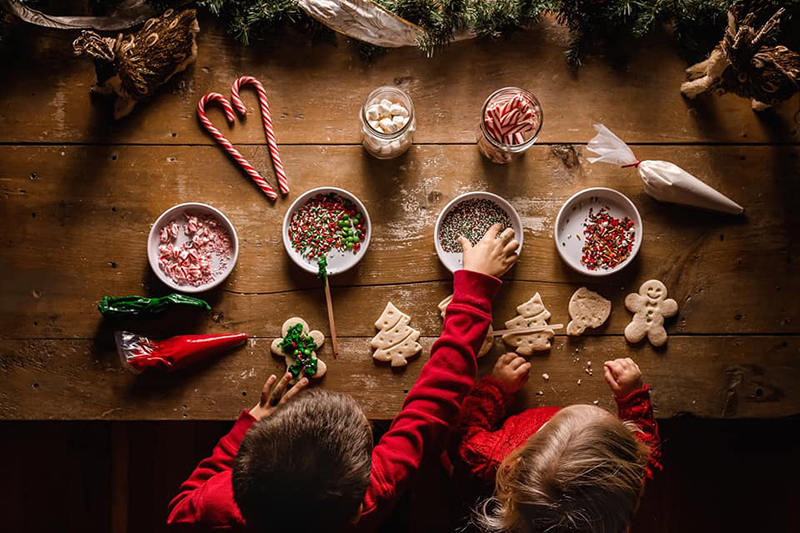
Lisa Smith, Advanced Grad
Approach this session as though you want to tell the story without words for a photobook.
Get wide shots for context and big storytelling power.
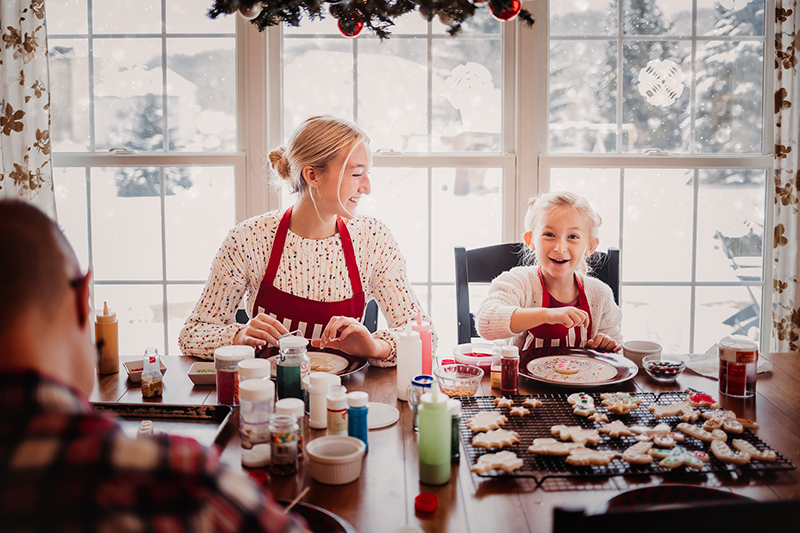
Pam Gosenheimer, Advanced Grad
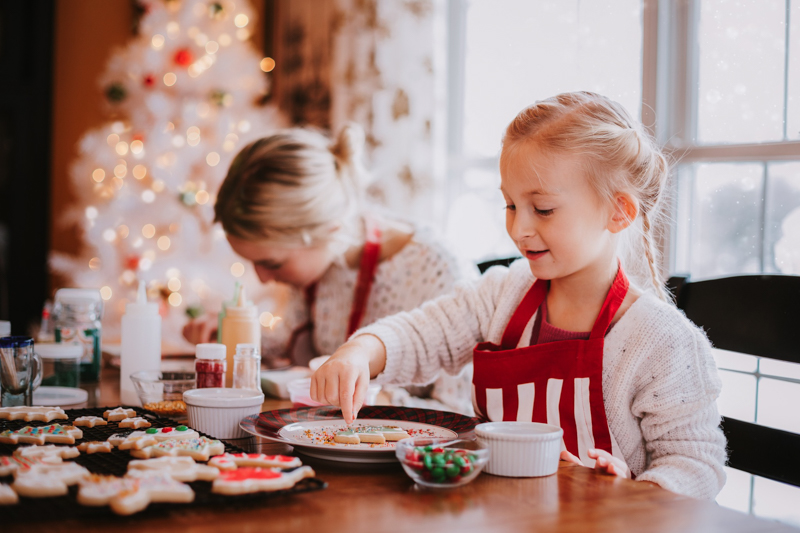
Pam Gosenheimer, Advanced Grad
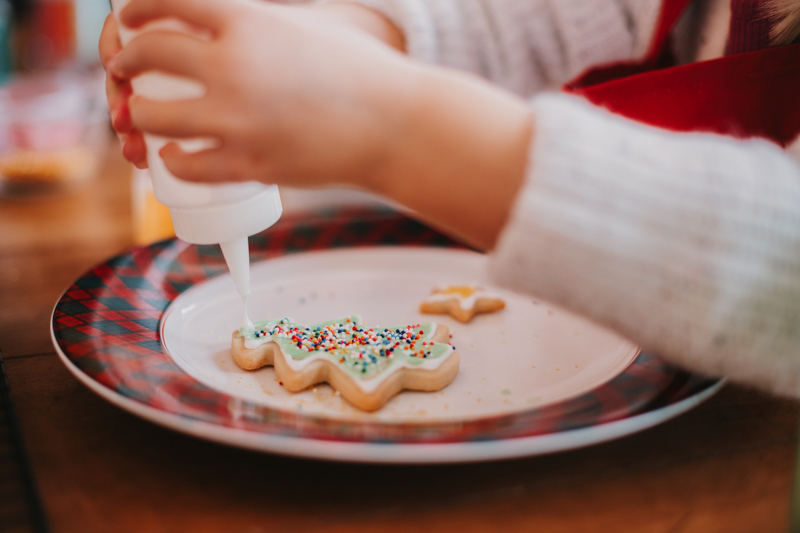
Pam Gosenheimer, Advanced Grad
Get in close for some detail shots.
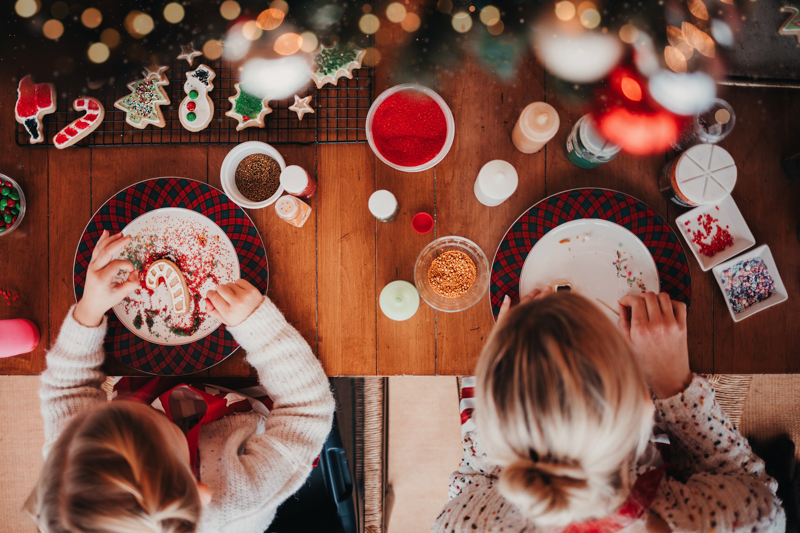
Pam Gosenheimer, Advanced Grad
Try some fun angles.
Pam Gosenheimer, Advanced Grad
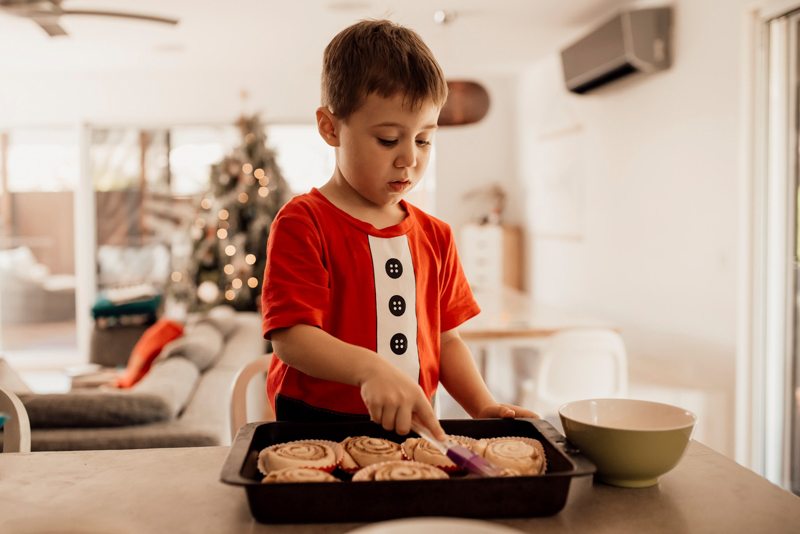
Baking cinnamon scrolls (yum!)… in costume of course!
Use a wide angle lens, eg 24mm to 35mm, so that you can include the environment and give the image storytelling elements without having to step back too far.

Heidi Talic, Advanced Grad
Heidi Talic, Advanced Grad
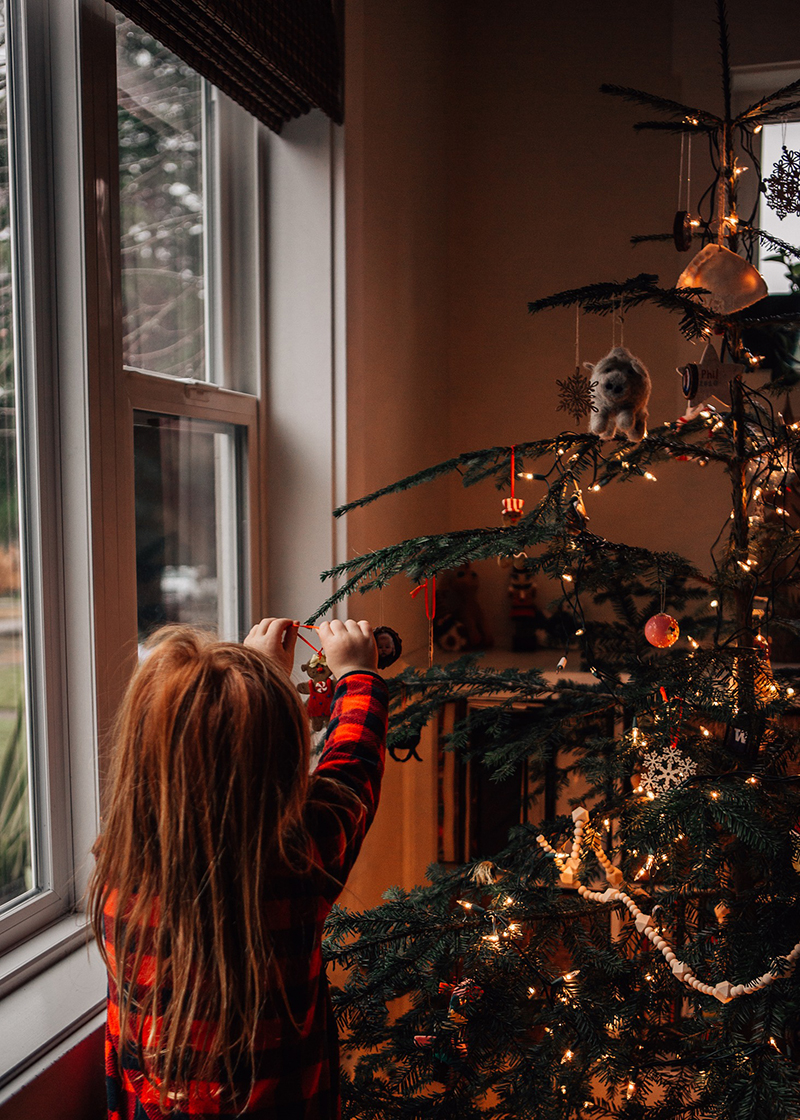
Decorating The Christmas Tree
It’s not an overly bright day or room in this shot. But this soft window light perfect to illuminate the scene.
Ali Vrbas, Advanced Graduate
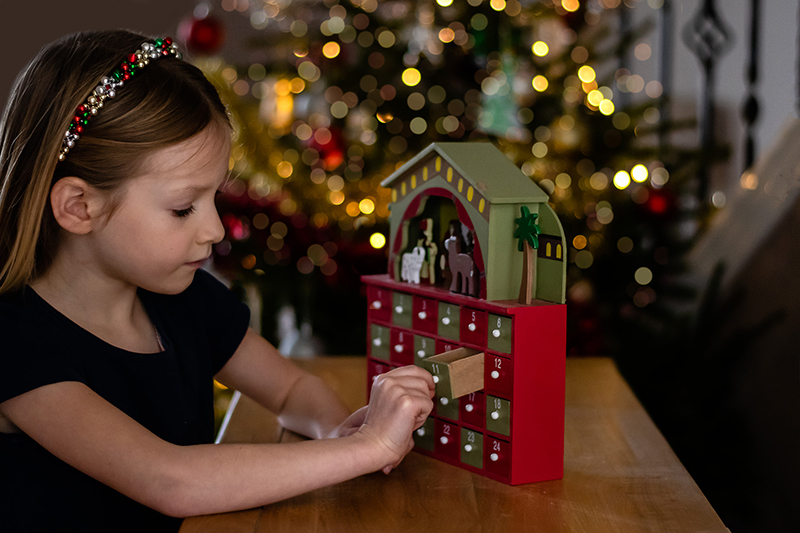
Advent Calendar
This one has all the ingredient… an uncluttered set up, soft light, beautiful bokeh in the background created with a wide aperture.
Louise Harmston, Advanced Graduate
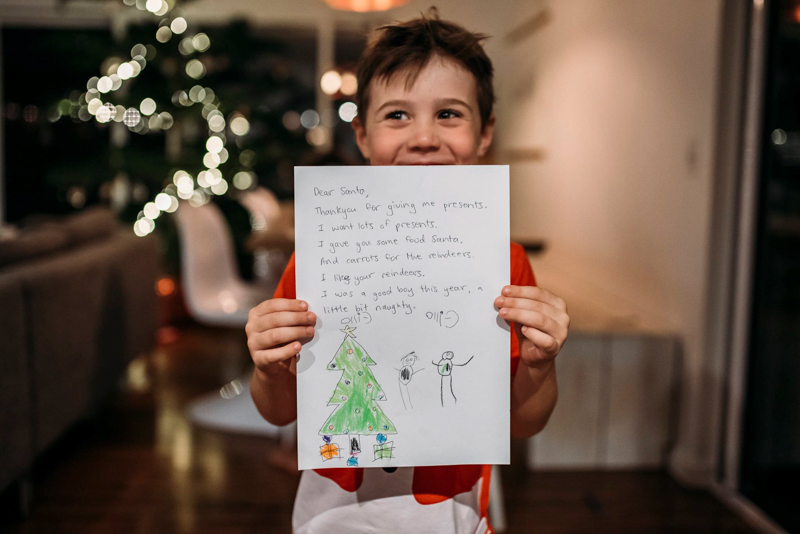
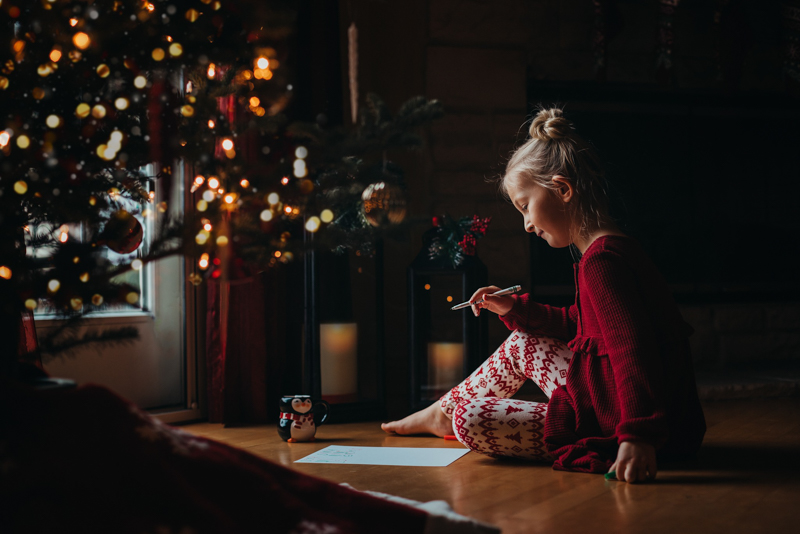
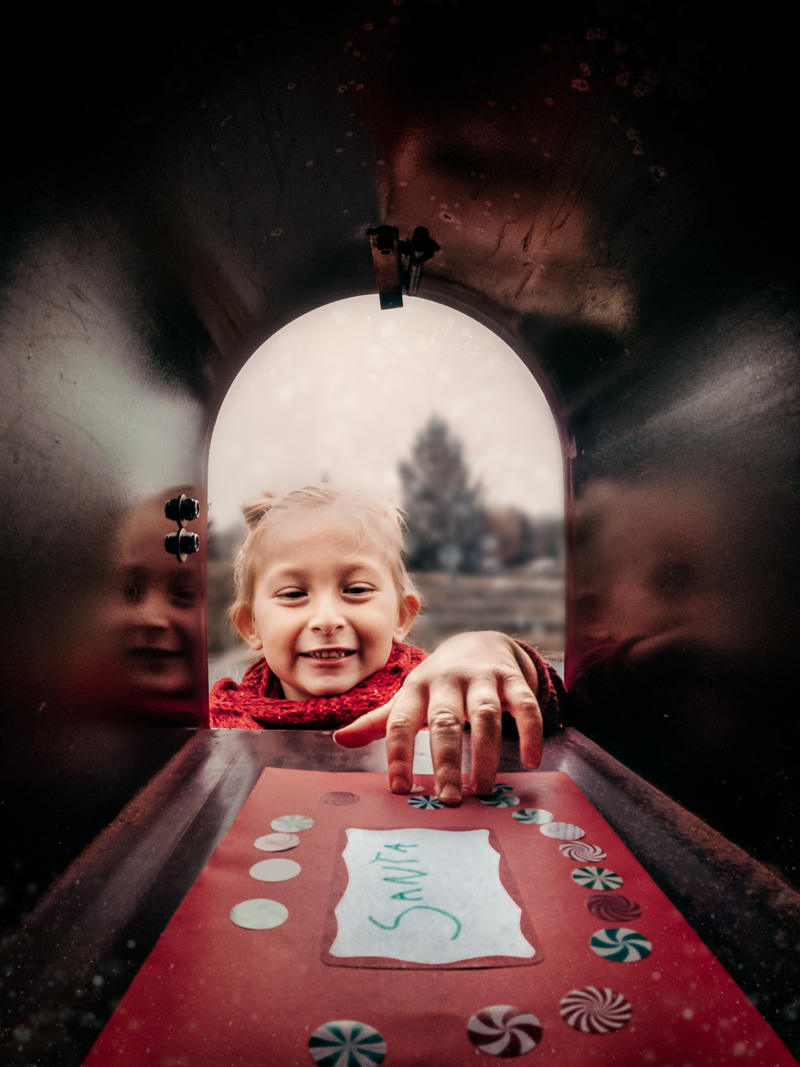
The Santa Letter
Writing a letter to Santa is a beautiful idea for a storytelling series of images.
Heidi Talic, Advanced Grad
Pam Gosenheimer, Advanced Grad
Pam Gosenheimer, Advanced Grad
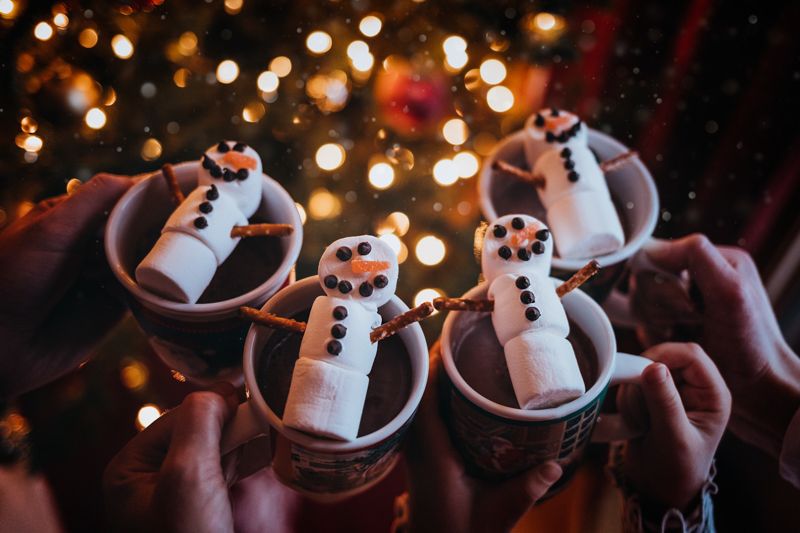
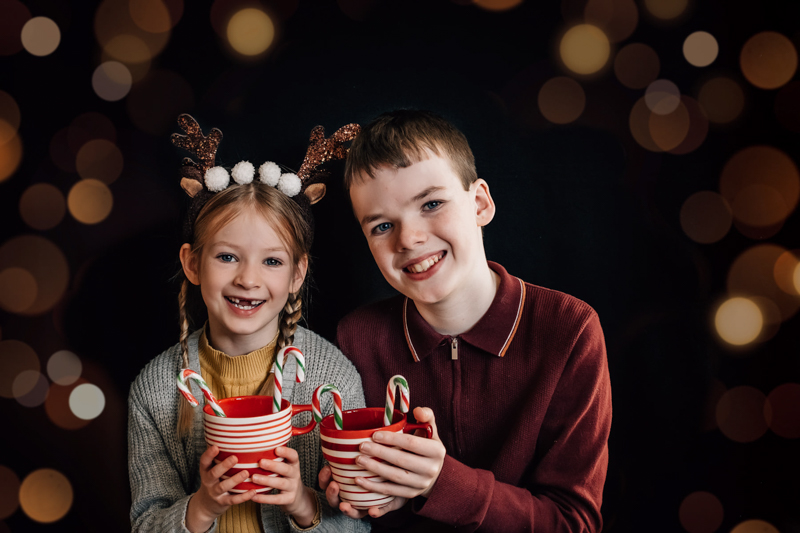
Christmas Eve Traditions
Most of us have little things we like to do together the night before Christmas. Think about capturing them for a photobook.
Pam Gosenheimer, Advanced Grad
Louise Harmston, Advanced Grad
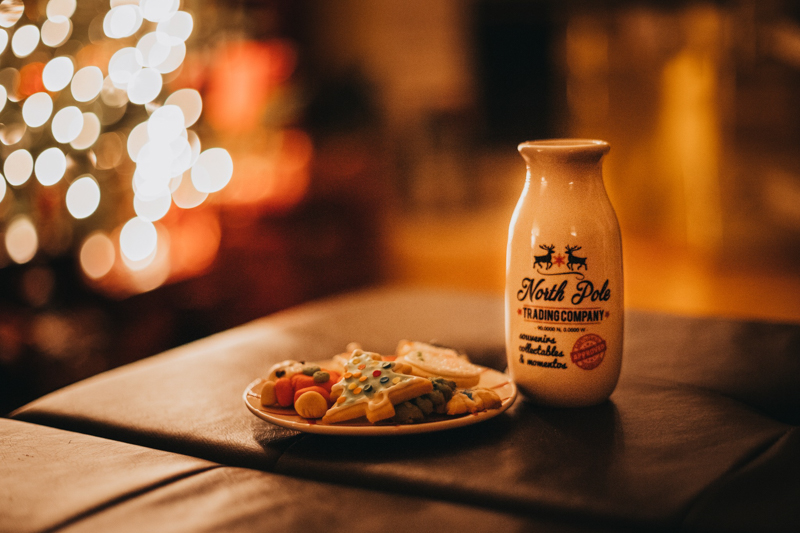
Don’t forget Santa’s snack! In this kind of light you’ll need a very wide aperture, eg f/2, to capture enough light for an exposure. The good news is that wide aperture will create stunning light bokeh if you got tree lights on in the background. And as your subject won’t be moving, you can use a slow shutter speed. To avoid camera shake, use a tripod or rest the camera on a flat surface and use the timer.
Pam Gosenheimer, Advanced Grad
NEW Holidays Presets & Overlays Pack

Leave a Reply Cancel reply
PRIVACY POLICY & SITE TERMS AND CONDITONS
CLICK LOVE GROW ™ Pty Ltd - COPYRIGHT 2024 ©
x
Join Now
Enter your info below to join the challenge!
Want a friendly reminder when I go live?
Pop in your number and I’ll shoot you a text.
* We will send text reminders for our live calls during the challenge! Reply ‘STOP’ to end or ‘HELP’ for help.
We promise not to ever share your details with anyone or send you spam! Check our privacy policy and terms of service.

Be the first to comment