How To Shoot Beautiful Extended Family Pictures
Tips For an Easy Extended Family Photo Session!
The thought of capturing pictures of a large extended family is terrifying for many, and I know lots of photographers who make it a policy to decline them.
Those who did take them on chewed their nails in the lead-up, sweated buckets during, and cried with relief when it was over. The photographer who was prepared to shoot a group larger than, say 7, was a rare bird indeed!
I used to be one of the former, with a self-imposed rule to never capture extended families, the kind where you have Grandma and Grandpa, their four or so grown children, their respective partners, a dozen-ish grandchildren, and maybe even a dog or two.
But then a day came when a good friend asked me to capture her extended family as a gift for her mother’s 70th birthday. With a smile, I said I’d love to. And then I secretly cried inside a little bit. Holy crap!
Not So Scary
So I did it…and loved it. In fact, they became my favourite kind of sessions, and I ended up doing so many of them that I came to be considered a specialist among my photography peeps!
Read on to learn why I love taking extended family pictures and how I shoot them for a pain-free session that results in a good quality, cohesive gallery…
Heads up…you do need to be a little bit bossy to stay on track and get the combos you need. That way you’ll get it done quickly and before the little ones are over it (crucial!). So if you’re not naturally bossy, fake it.
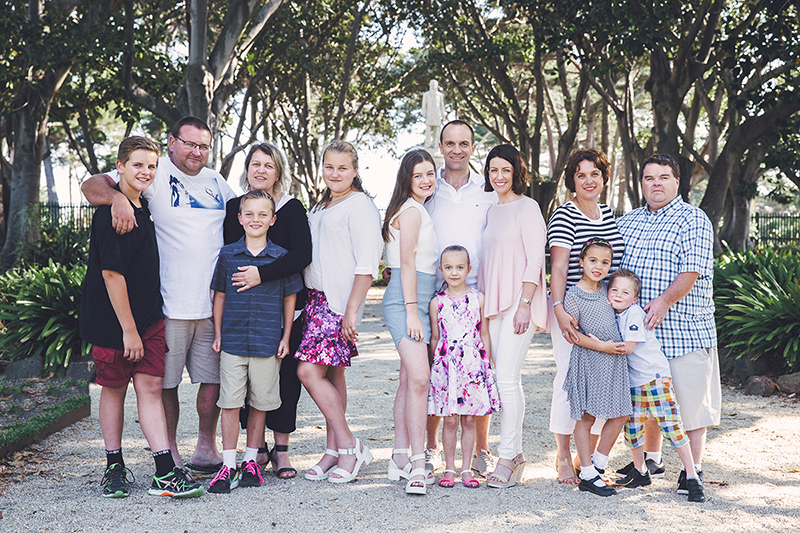
How To Run an Extended Family Photo Session
I don’t believe you can shoot extended family pictures in a lifestyle manner. There are just too many people, and it would be serious mayhem! It would also make it harder to get all the shots you need, as the family will have lots of combos they expect you to get.
But that doesn’t mean the photos have to be stiffly posed!
I still aim for natural smiles and capturing connections within the framework of organised and consistent setups for each combo. The following covers everything you need to know to run an extended family photo session and get a beautiful, cohesive gallery that the family will love!
1. Create a Run Sheet
When shooting extended family photos, ask the family to give you a list of all the groupings they want. They’ll almost always need some guidance. I frequently had families tell me “oh I only want the one big family shot and one of my parents with the grandchildren”.
First of all, you really don’t want to do this extended family session for two pictures, do you?
Second of all…it’s a logistical nightmare for the family to get that many people together on the same day, at the same time…so encourage them to make the most of it! Make at least these suggestions and ask them to tell you which ones they want, and which shots are their priority:
- Whole family
- Each individual family
- Grandparents
- Grandchildren
- Grandparents with grandchildren
- Grandparents with their adult children
- Each group of siblings
- Each couple
- Adult siblings
- All the adults
- Headshots of each child
Once you confirm the shots they want, write them down in the order you plan to take them (more on that soon).
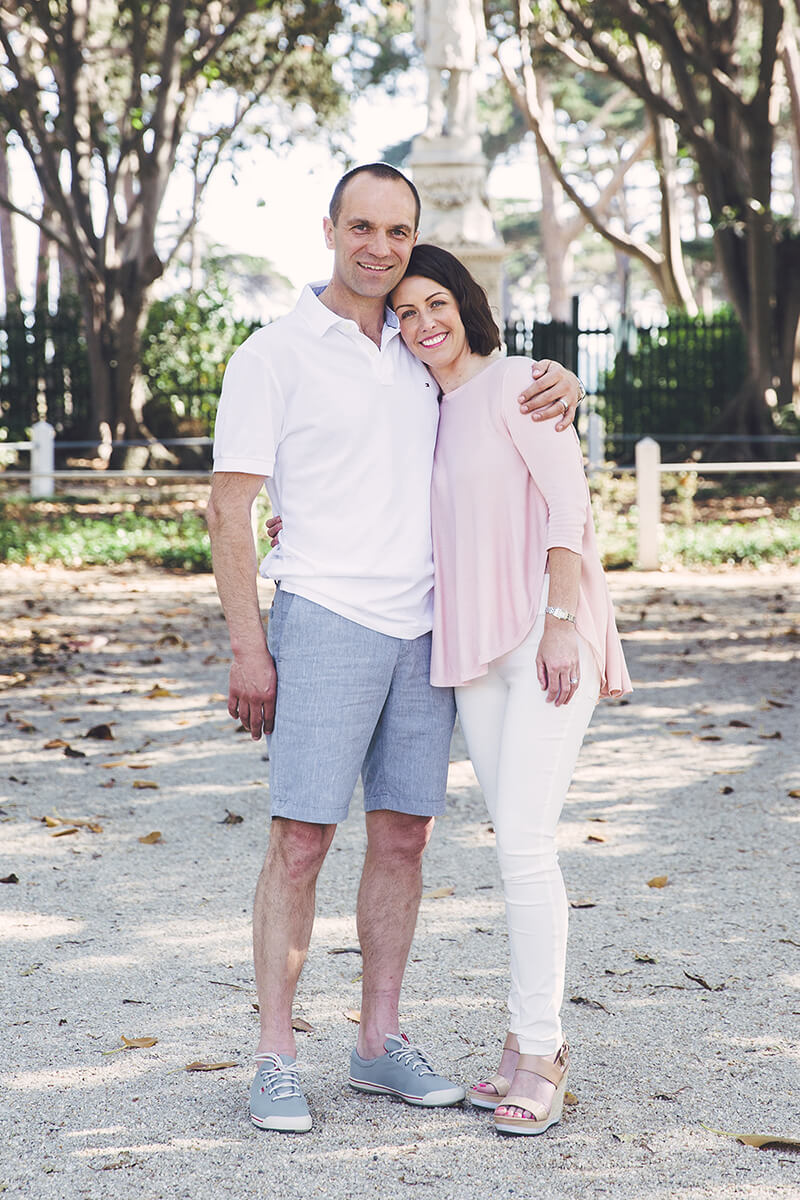
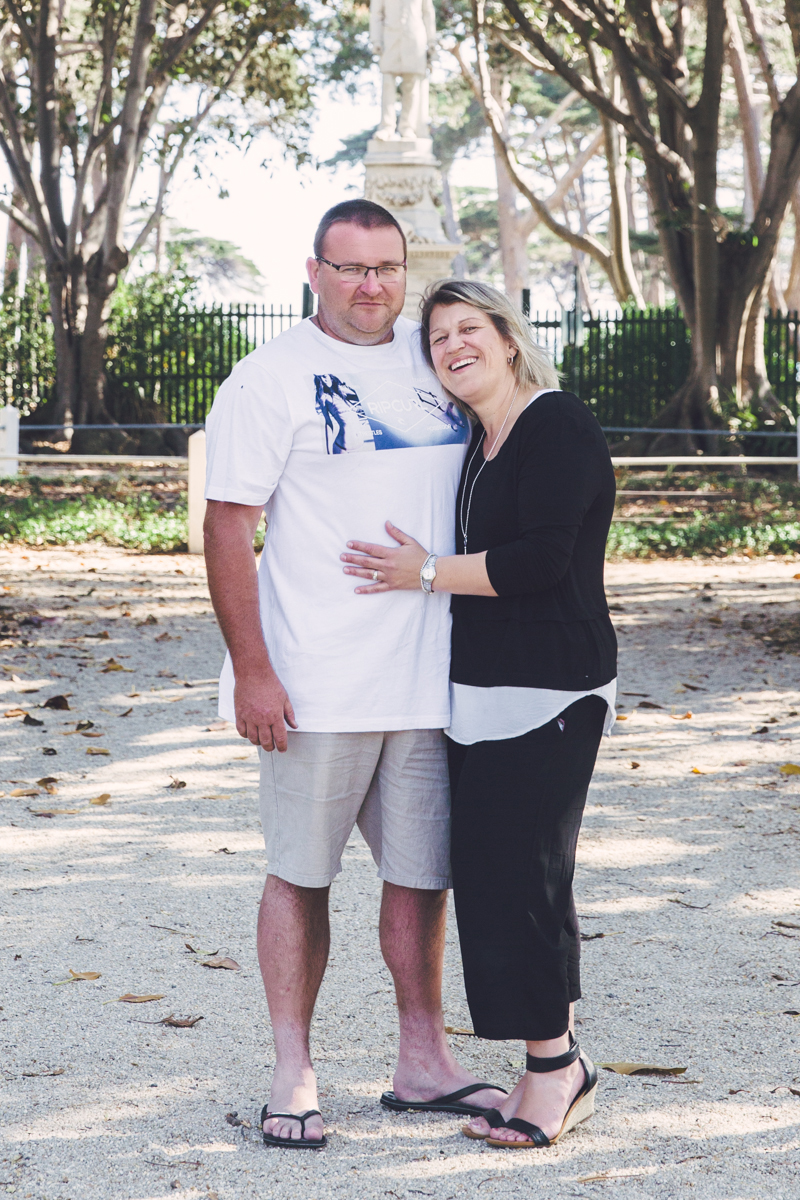
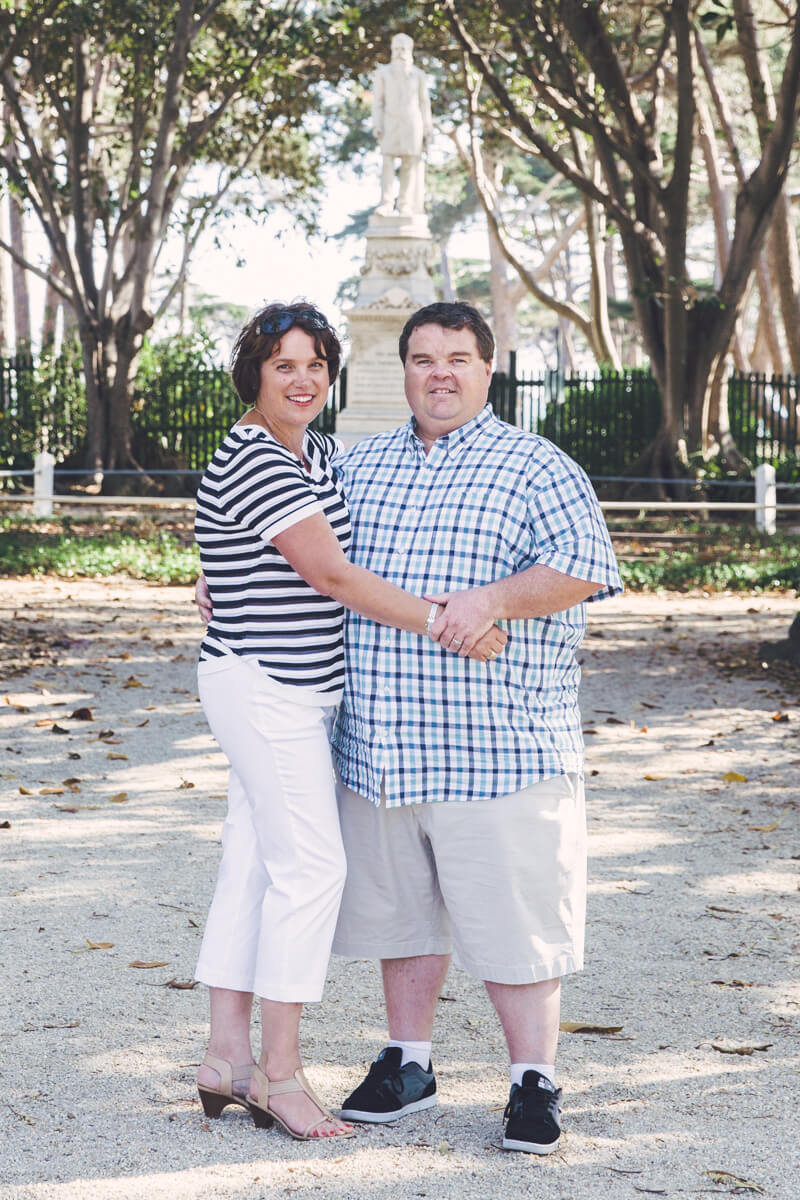
Related: 20 People & Couple Poses Ideas For Natural Photos
2. Clothing
Families always ask me what they should wear. My biggest tip is to suggest they are not all dressed in black or white because it doesn’t make for very vibrant, interesting photos.
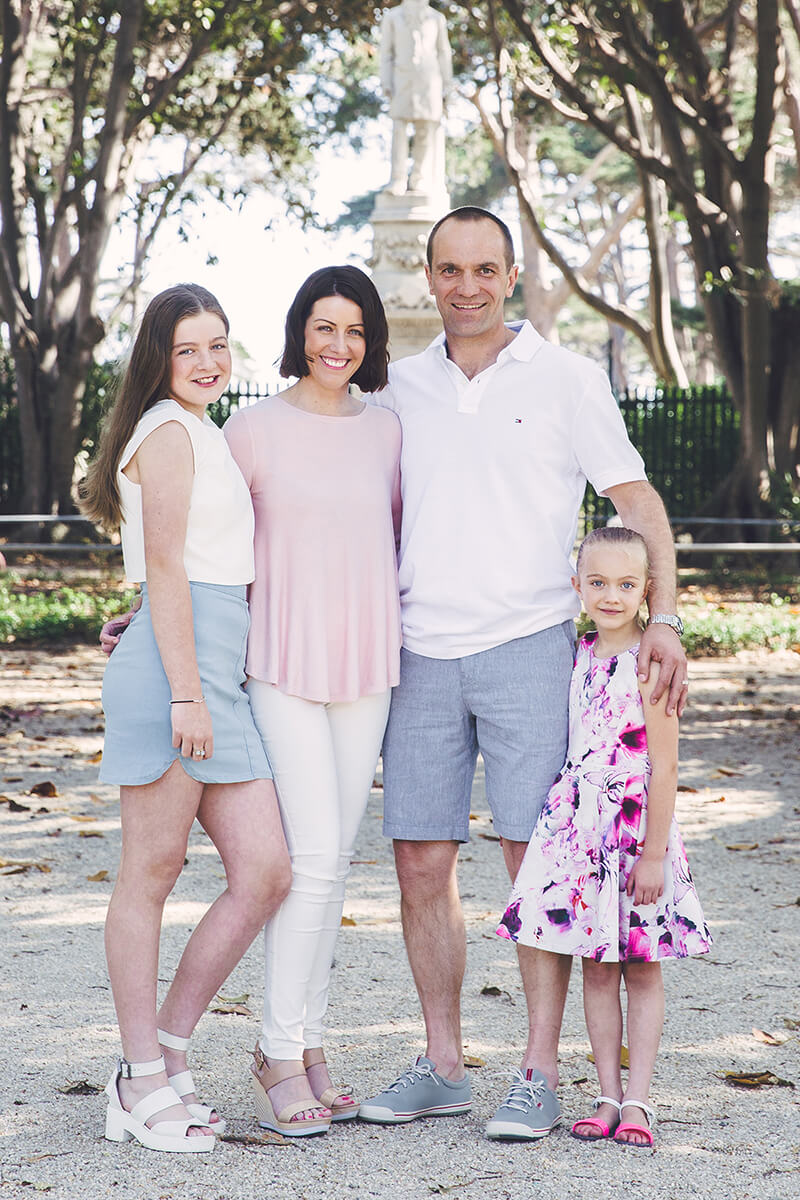
So I always ask them to talk to one another and make sure more than half of them are wearing a mix of colours and classic patterns.
In fact, I started answering this question simply by showing them two photos — one where everyone wore blocks of black, white and navy, and another where they had splashes of colour and classic patterns.
That’s all the explanation it ever needed because the difference between the photos in terms of overall visual appeal was huge.
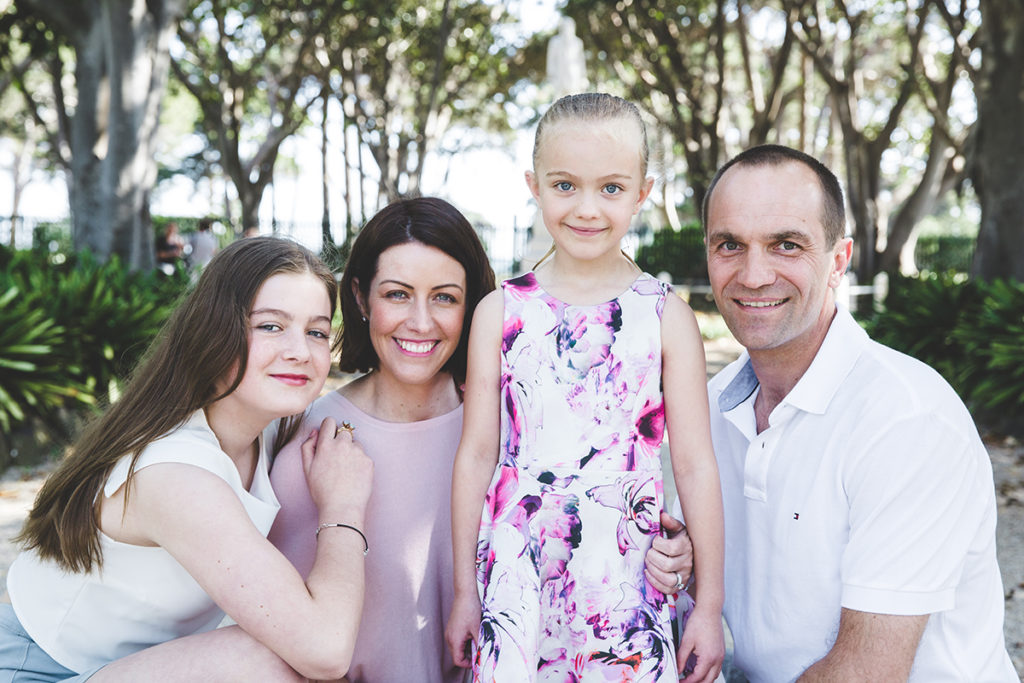
If you have a preference for muted, neutral tones, that’s ok. Just add interest with a classic pattern.
3. Choosing a Location
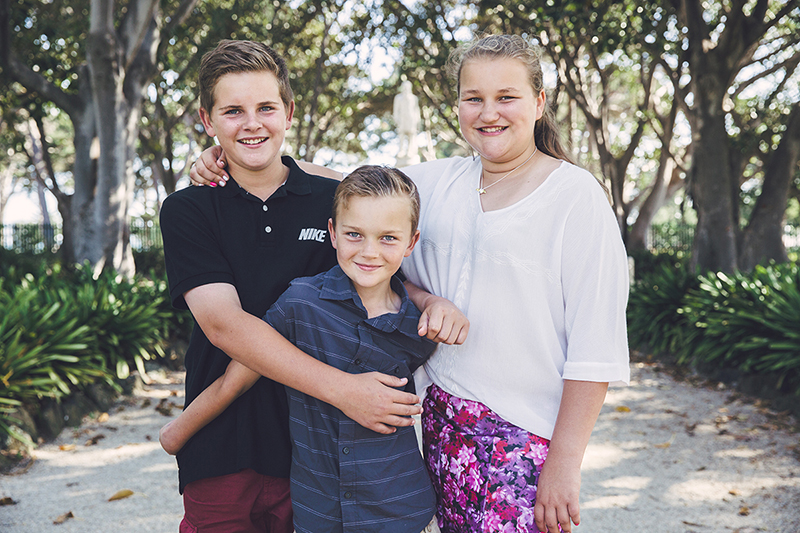
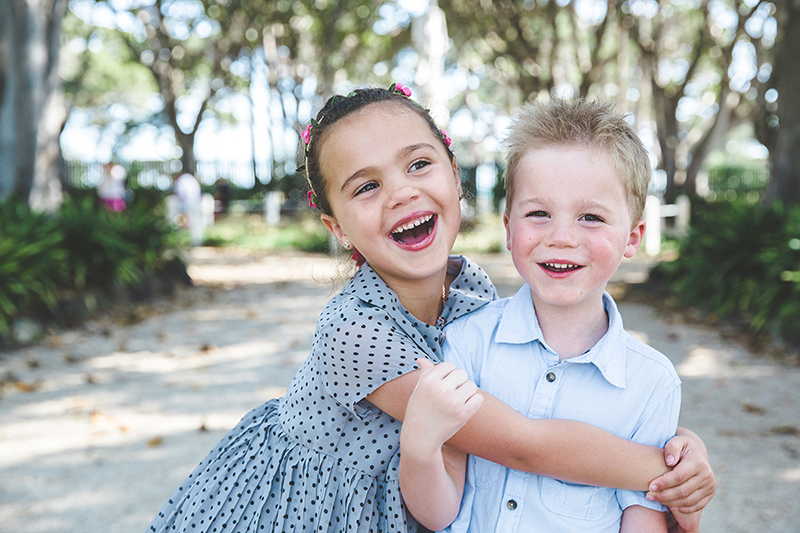
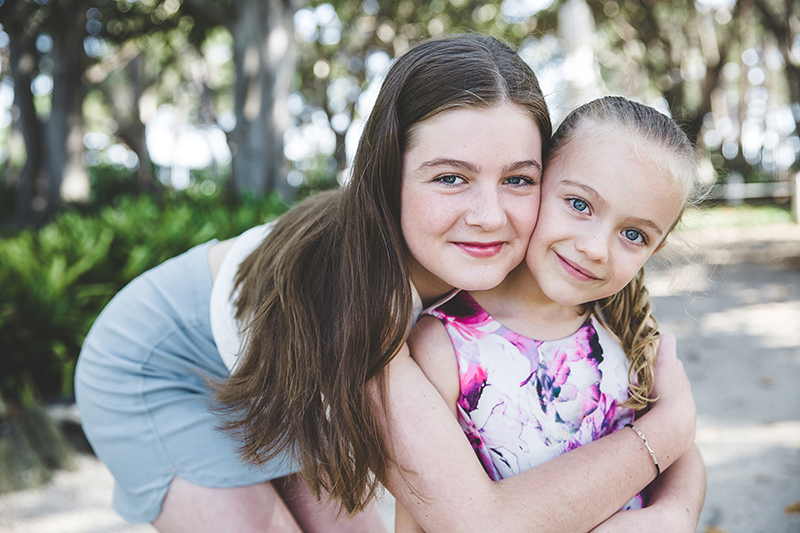
Choosing a location with a good area of open shade with a nice natural backdrop is essential if you wish your extended family pictures to turn out flawless. I aim for a dense foliage backdrop or some repetition, such as an avenue of trees.
Steer the family away from choosing locations that will be busy or in full sun with no open shade available (popular beach at noon, anyone?).
Also consider distance for the family, especially those who have young children. Nothing spells the end of a family session more than the poor child who’s just had to drive an hour to get there and is already worn out.
4. Settings
When I shoot a family session photography, I want to shoot with an aperture of around f/7.1 in order to get everyone in focus from front to back. So this means I’m going to lose some of the beautiful background created when we shoot at wider apertures such as f/2.8.
How To Get Beautiful Bokeh At Narrow Apertures
To compensate for this and bring back some of that gorgeous bokeh, I position the family as far forward of the backdrop as I can without bringing them beyond the edge of the open shade.
Which Lens
You can take that a step further and shoot with a long lens which adds to the background blur. I started out photographing extended families with a 200mm lens, which gave me such a beautiful background blur.
The images in the blog post I linked to above were all shot at 200mm.
However, I eventually got tired of running back and forth to give direction, so I moved to a 135mm lens. Over time though, I went even wider. I now shoot the group photos at 70mm with my Canon 24-70mm f/2.8.
Aperture For Small Groups
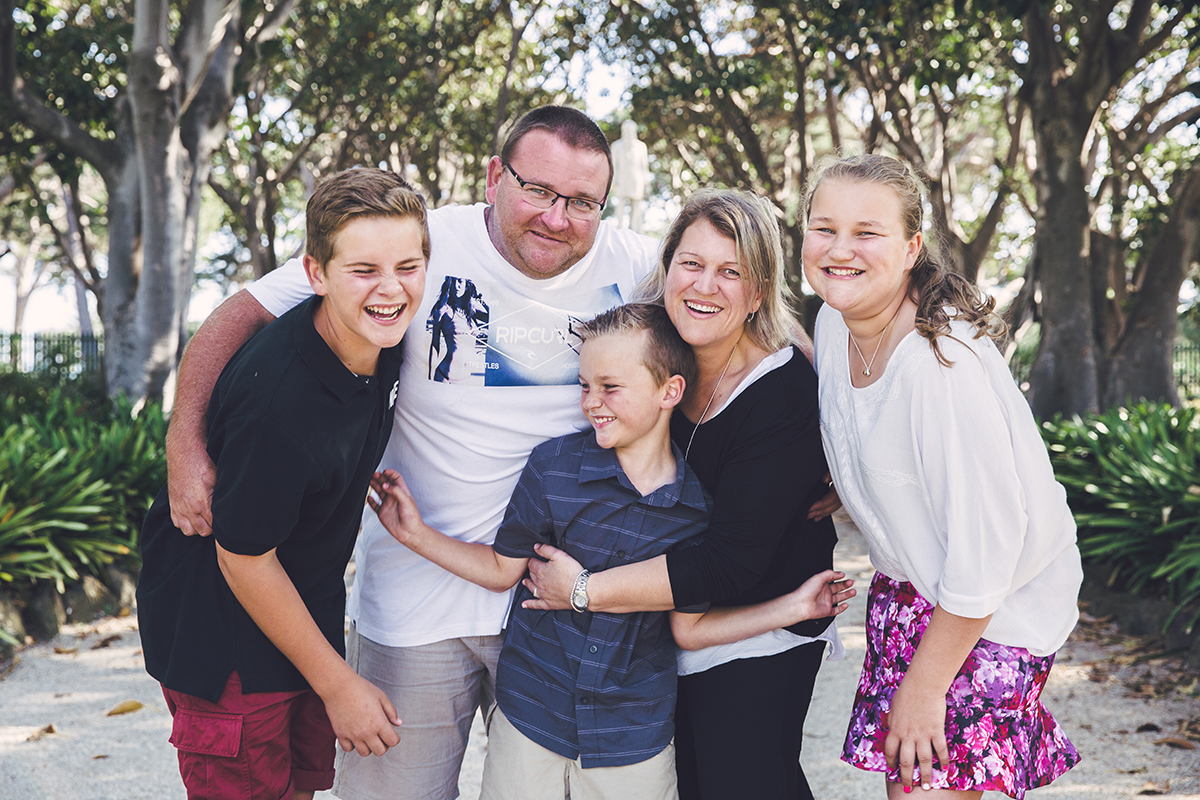
When it’s time to capture the smaller family groups, I position them in the same spot as the extended group pictures and open up the aperture. I tend to shoot groups of 3-5 at around f/4.5 when I’m framing them half or full body.
Who To Focus On
For the large group, always focus on a person near the middle of the frame, and the middle focal plane.
Related: How to Choose Aperture for Large Groups
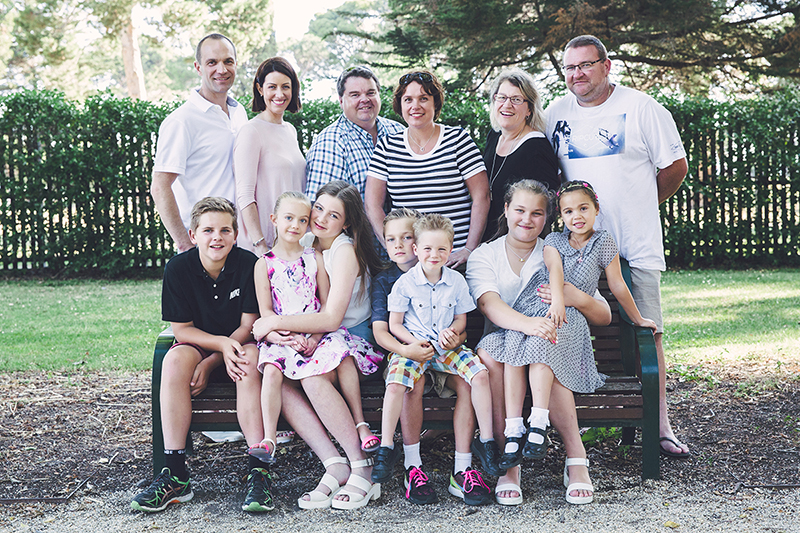
5. Order Of Photos
This isn’t random. There’s always good reasoning behind my decisions.
I always start the extended family photography session with the whole family shot because that’s the shot families say is their #1 priority. Anything else is a bonus.
This has been the case for every single extended family I’ve ever photographed. So if you lose the kids after that shot, at least you got that one they really, really wanted.
Factor in the priority the family put on each shot. If their top priority was grandparents with the grandchildren, do that shot next.
I also try to get shots that include young children (toddlers especially) out of the way early so I don’t miss their window.
Other than that, all the groupings are done before doing any candid stuff that’s not on the list.
Tip: Don’t assume the youngest family member will have the smallest window. Ask the family if there’s anyone that might be particularly reluctant, and bear it in mind when ordering your shots. In my experience, more often than not…it was Grandpa!
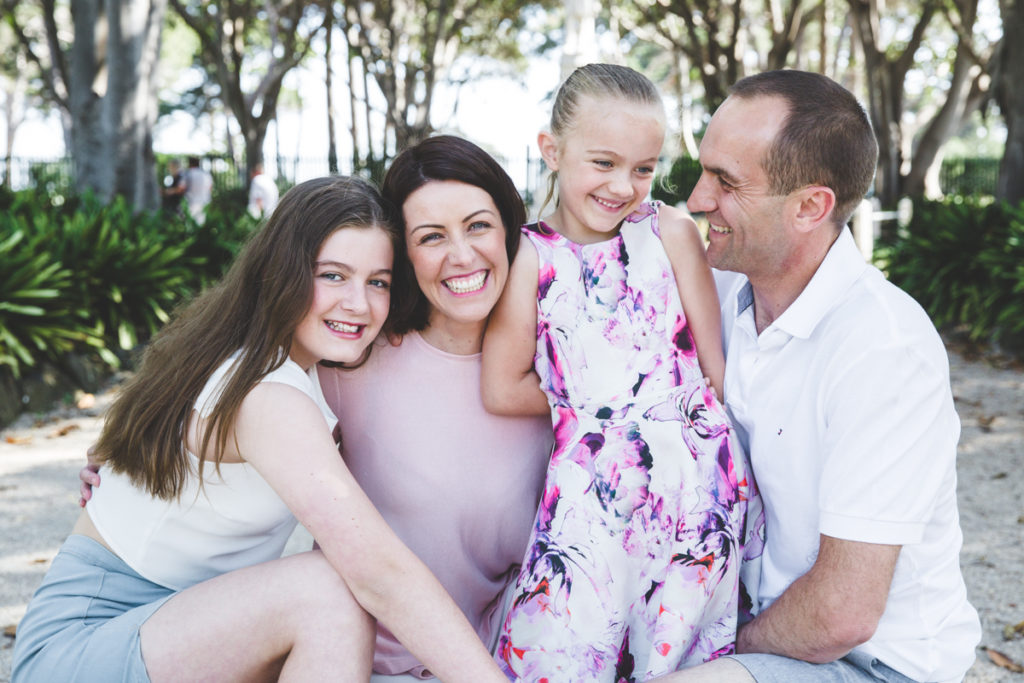
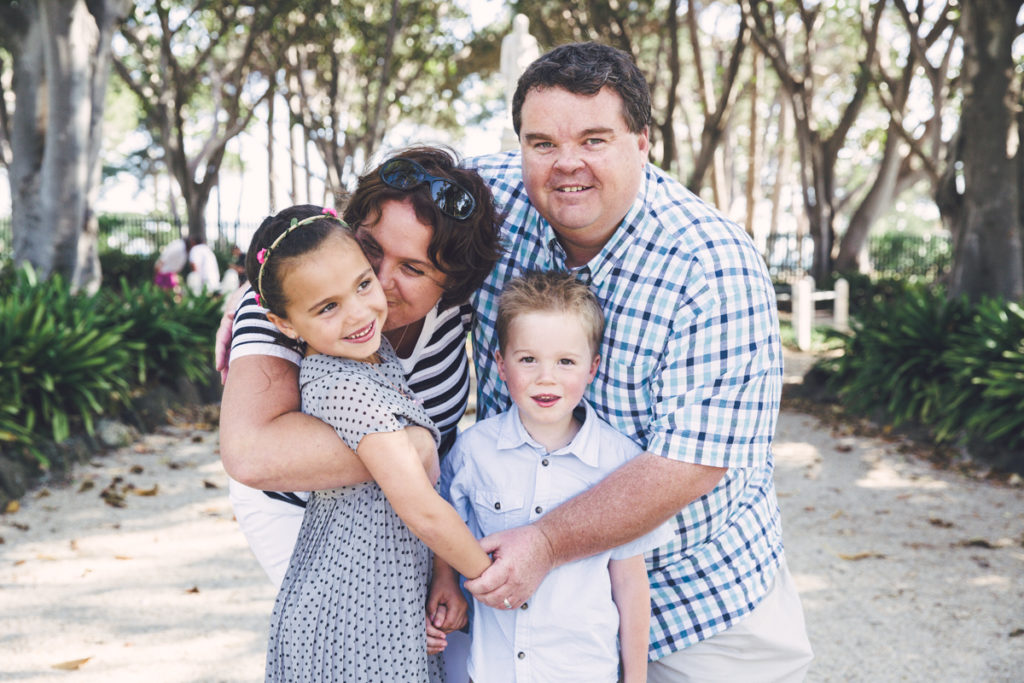
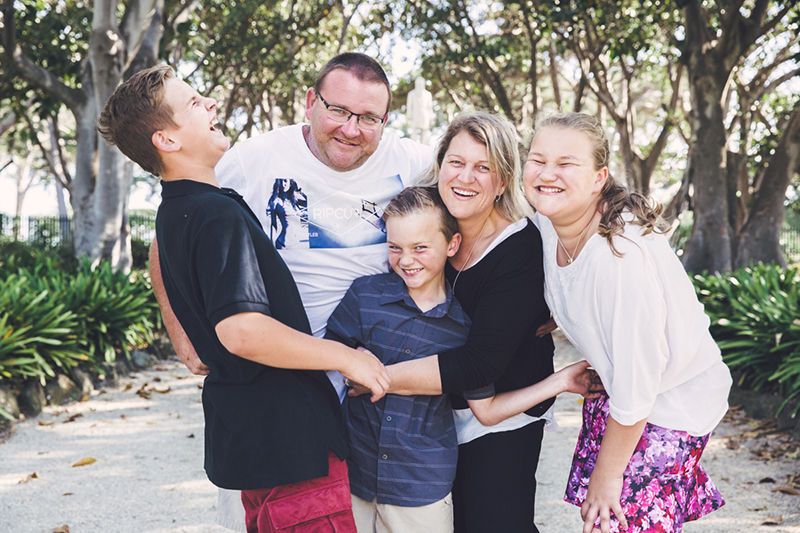
6. Create a Consistent And Cohesive Gallery
I can’t say this enough…your extended family pictures need to be consistent in every aspect.
When the family gets their gallery and needs to decide what to print and frame for their wall, they’ll be looking for photos of each grouping all in landscape, or all in portrait, in the same location, same backdrop, same editing style, etc.
So keep this in mind when shooting every single grouping:
- Use something out of frame to mark the spot where you place each group.
- Take a landscape and portrait, and a close-up and wide shot of every group.
- When framing, leave yourself some room to crop. This is handy if they want to print in an aspect ratio different to the original out of camera ratio.
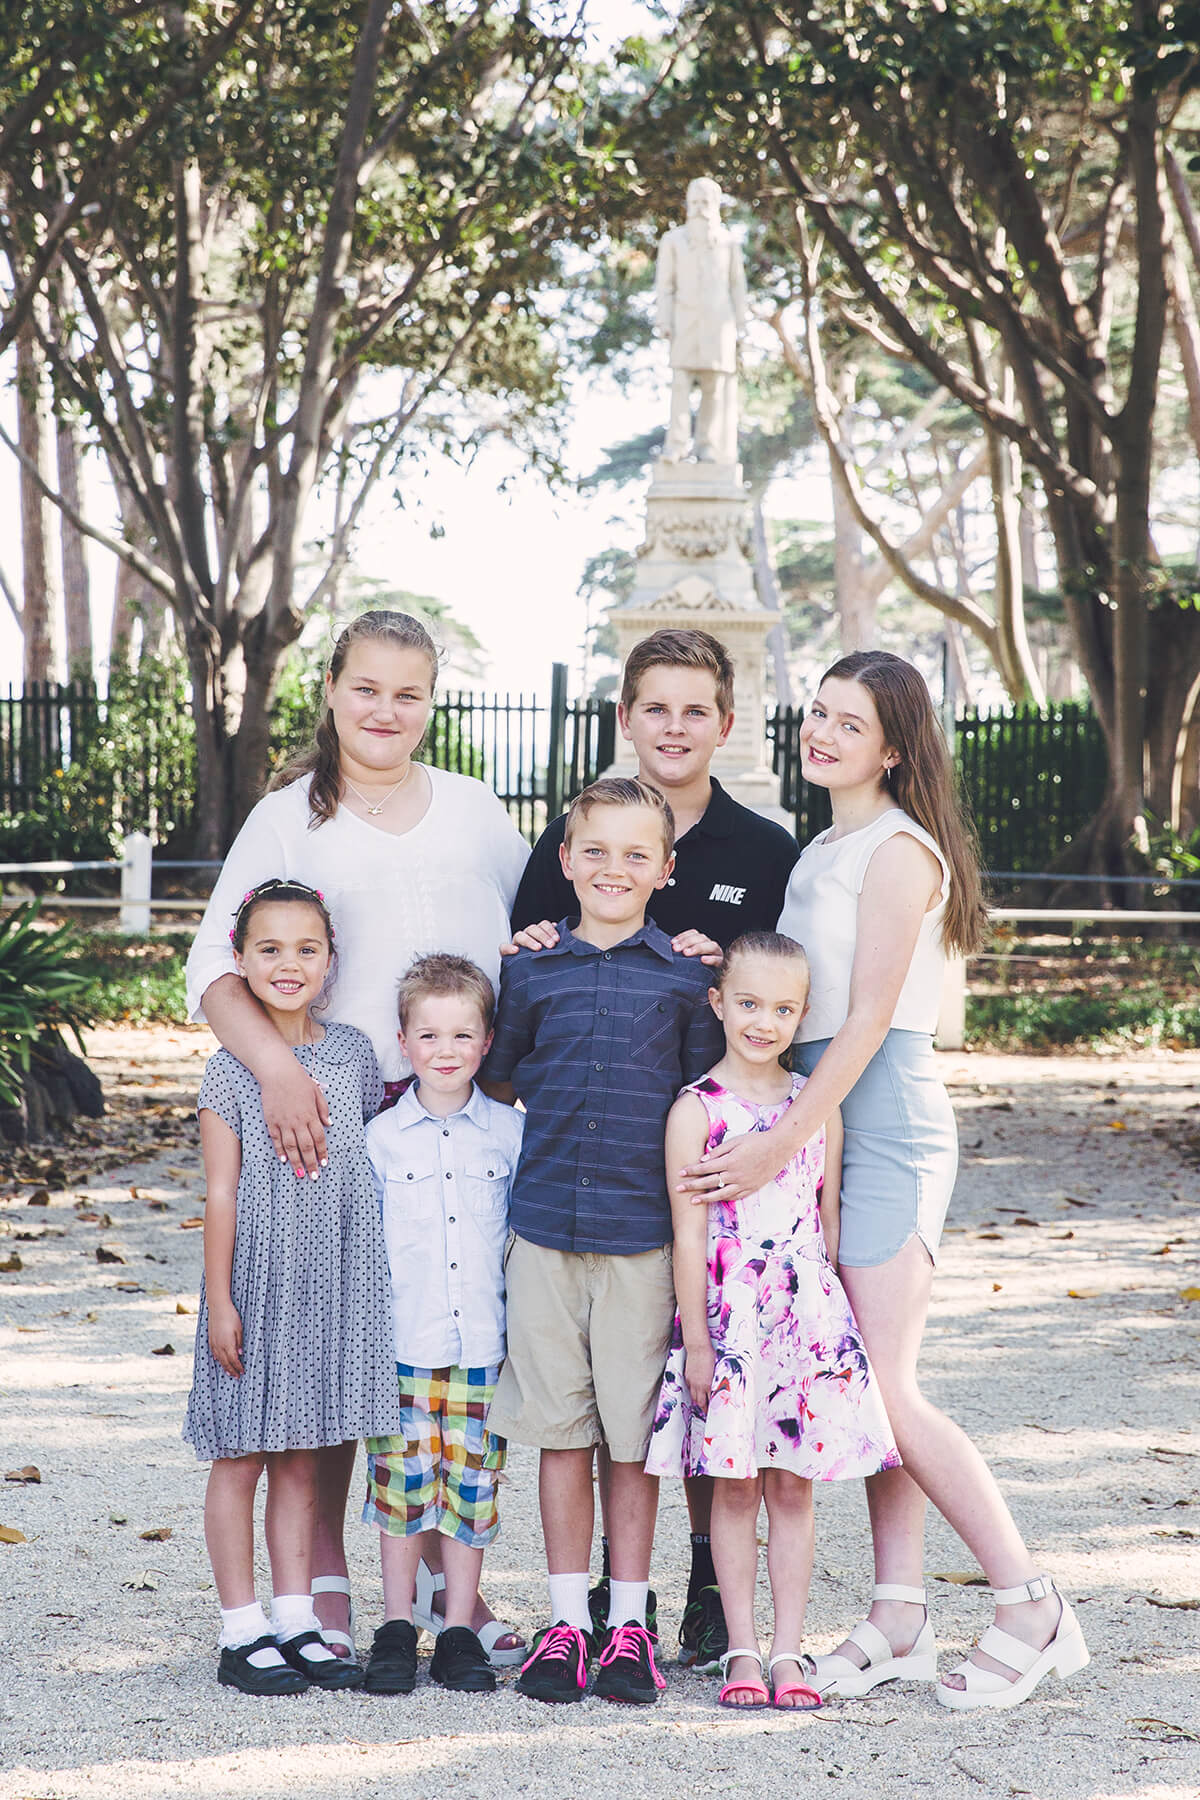
7. How To Pose
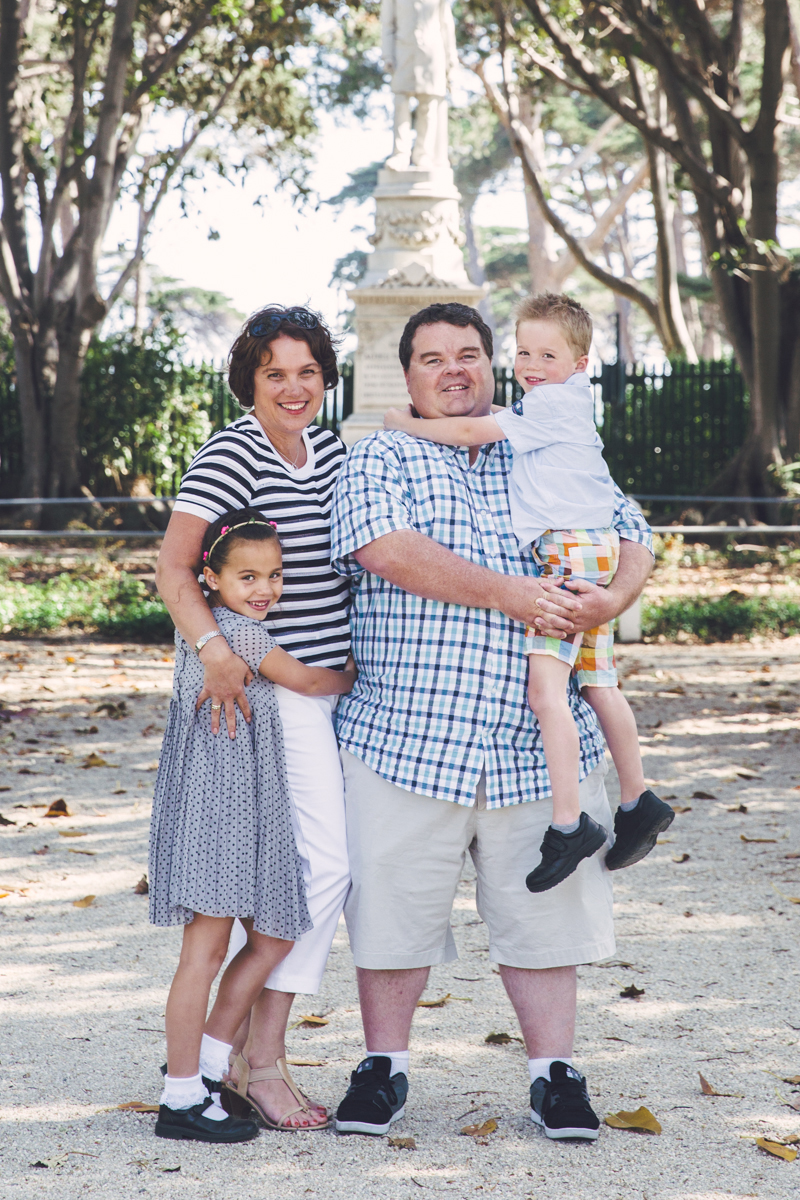
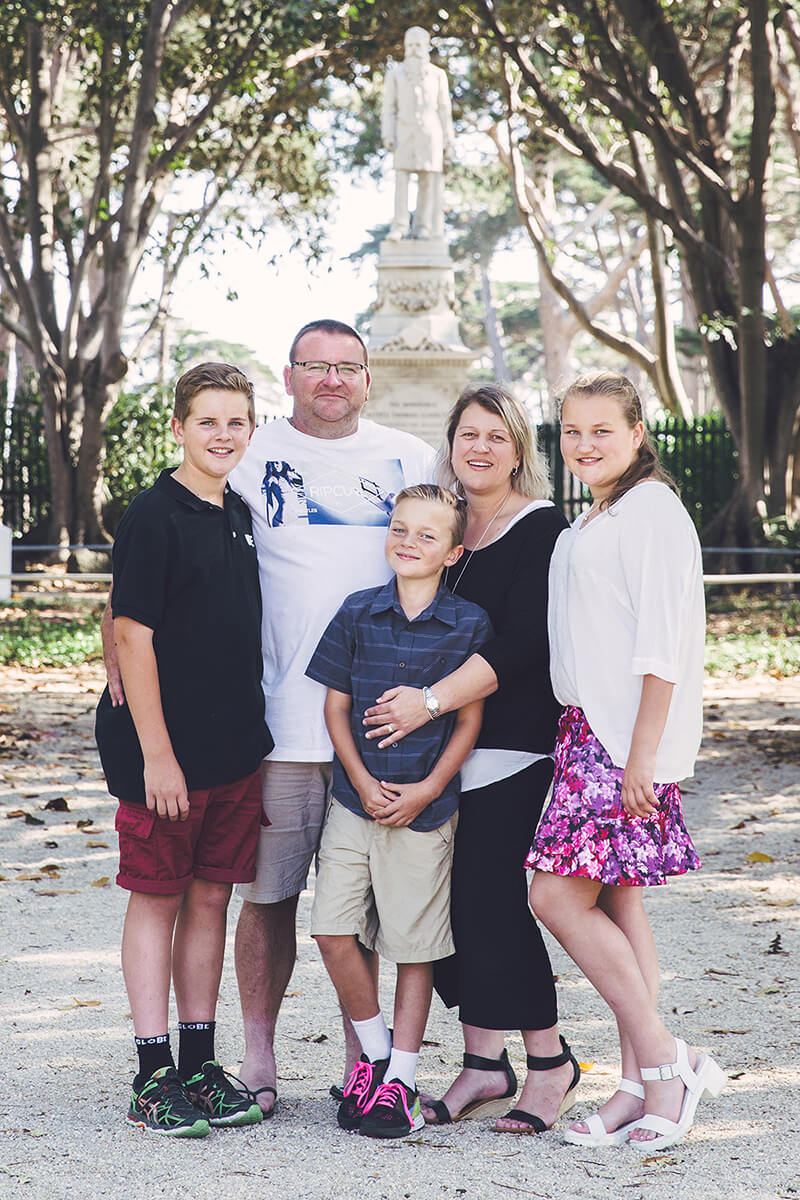
For the whole family shot, you can mix or group them into their individual family groups. Whichever way you do it, place grandparents front and centre.
Make sure they are no more than 3 people deep. This means you can shoot at a mid-range aperture that gets them all in focus whilst still giving you a decently blurred background.
Mix up heights! This is much more visually appealing than straight lines of heads.
I like to add interest by getting grandparents and other adults to either hold one of the babies or pull one of the older children in close.
Ask women to stand at a 45-degree angle to the lens — as it’s more flattering — facing their partner if next to them.
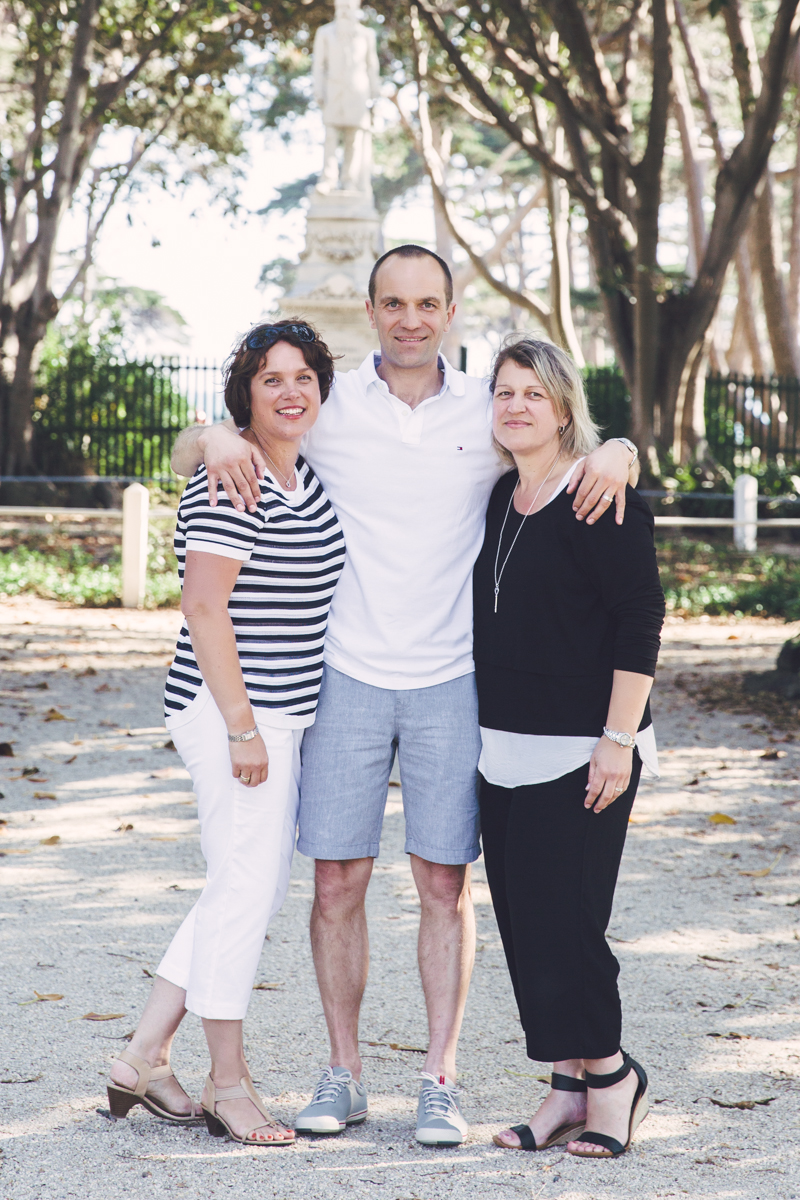
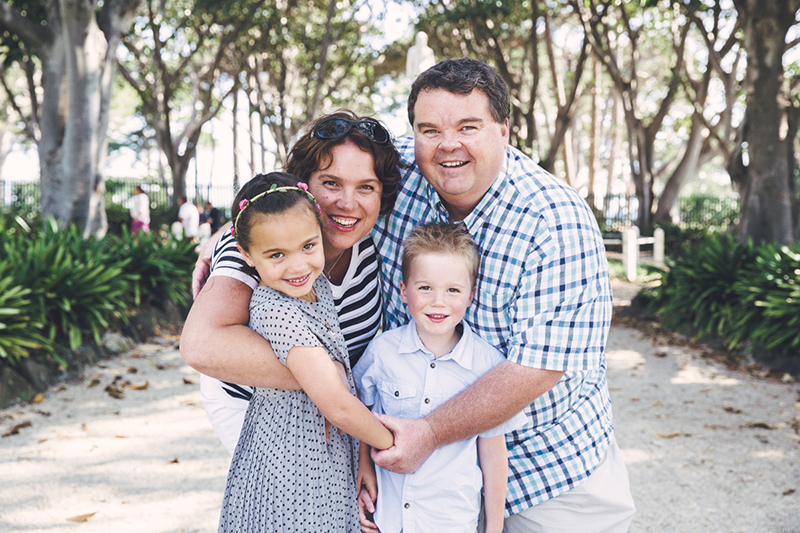
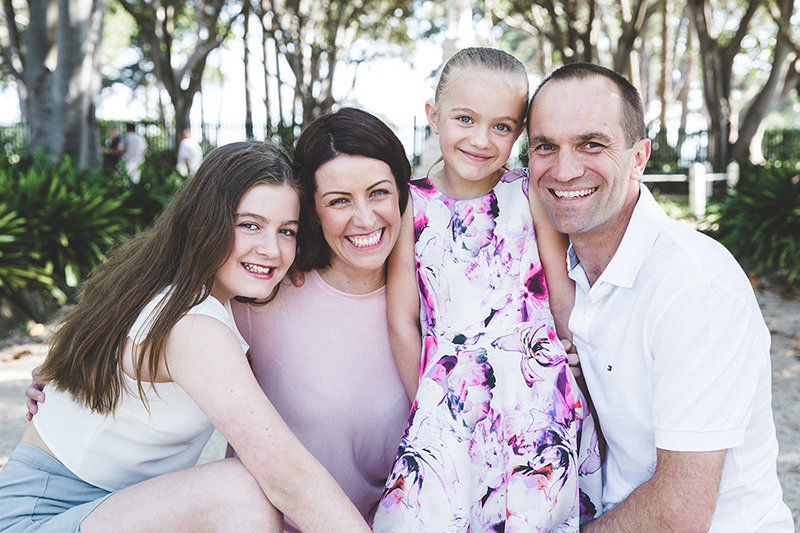
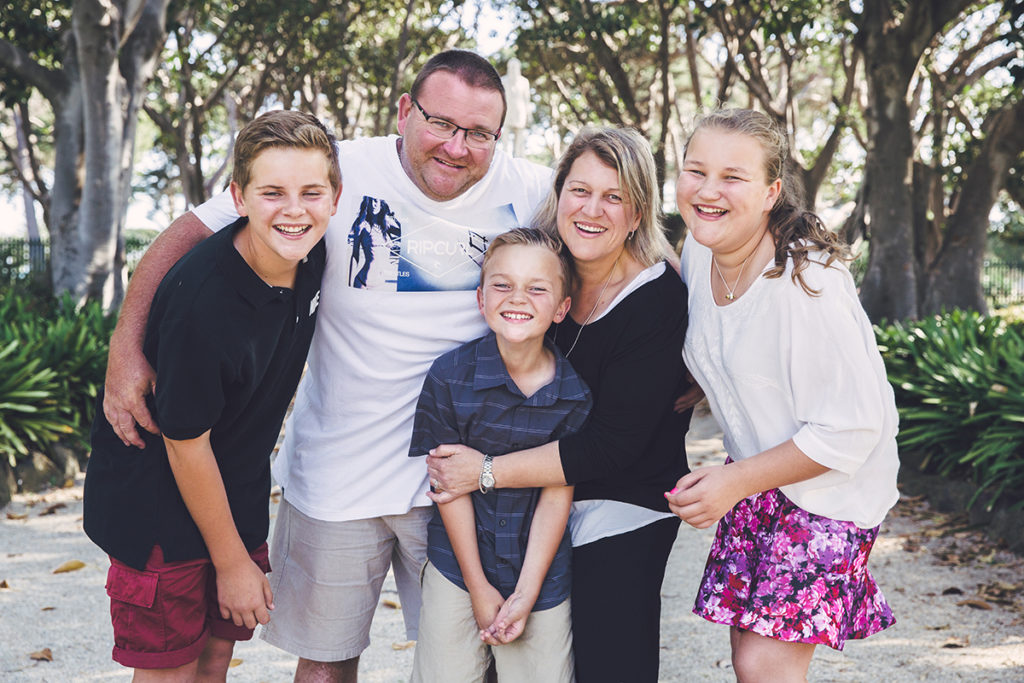
When shooting extended family pictures, ask everyone to make sure they’re touching the person next to them (that always gets laughs). Whether it’s an arm around the shoulder, the waist, head on someone’s shoulder, holding hands, a cuddle from behind. The overall photo will look more relaxed and convey connection.
I tell them not to worry if small children aren’t looking at me. It’s ok for kids to be looking at mum or dad or even kissing them. If you expect to get every single person looking at the camera and smiling at the same time, it will take ALL day and people will get cranky.
As long as they’re interacting with one another or my lens, and not vaguely looking nowhere, the photo will be fabulous!
When I’ve got them all positioned, I check to make sure there are no big blocks of the same colour standing next to one another. I always try to mix it up in terms of colour and patterns.
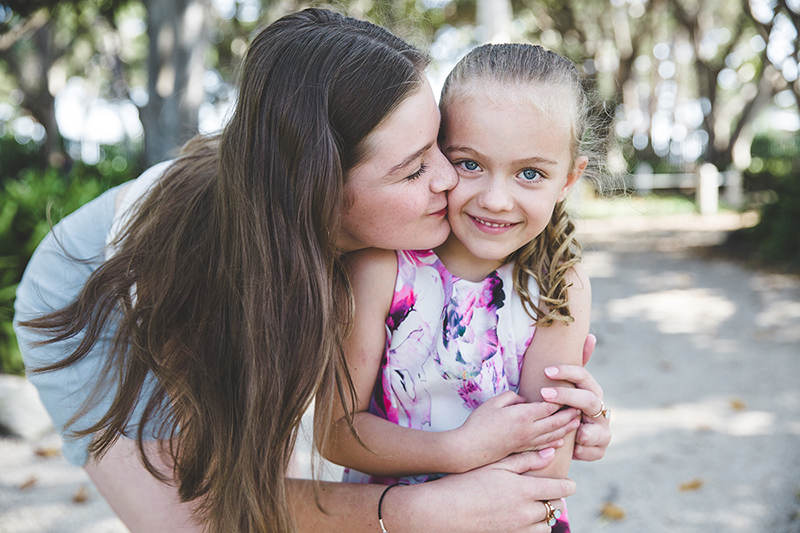
I also check to make sure I can see every face and if not I’ll ask them to move themselves into a gap. The easiest way to do this is to simply tell them to make sure your head is not behind someone else’s head or you won’t be seen.
Once it looks good, I take a LOT of photos of the extended family. Just focus and shoot, focus and shoot, focus and shoot. I’m talking at least 10 or more. Then I’ll zoom riiiight in on my LCD to ensure I’ve got a LOT of sharp focus photos because there is a 99% chance you will need to head swap to get the perfect whole family shot.
Tip: Learn how to head swap in Photoshop, or be prepared to pay someone to do it.
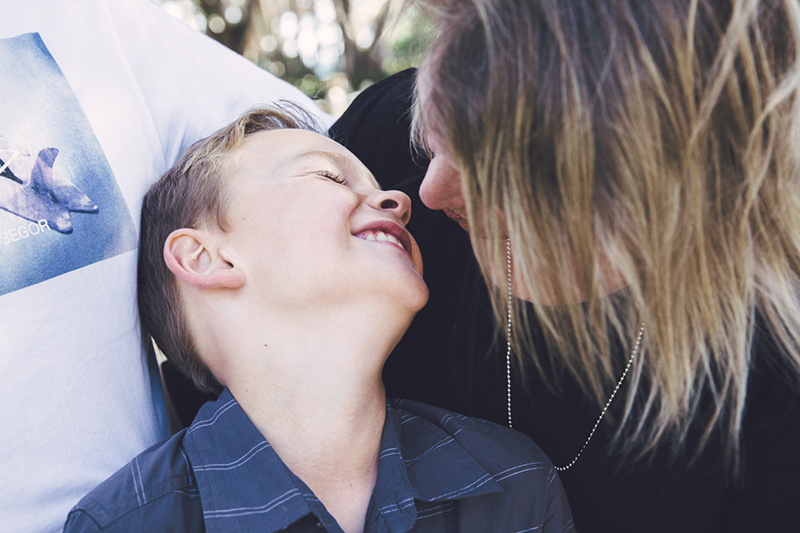
Then I do the rest of the combos. When I think I’m done with a group, I always check my camera to ensure I got at least one perfect shot (before letting them go!).
So, here’s all that in a nutshell:
- Group them no more than 3 people deep
- Ask women to stand at a 45-degree angle to the lens
- Ensure couples don’t have their back to one another
- Mix up head heights
- Have adults hold small children on their hip
- Ask everyone to connect in some way
- Check the overall look for colour and patterns, mix it up if needed
- Ensure you can see every face
- Take LOTS of photos

8. Portraits
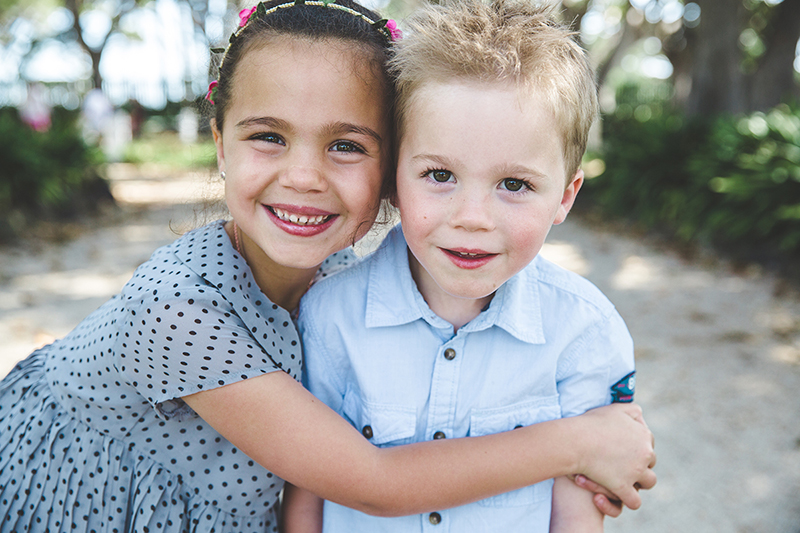
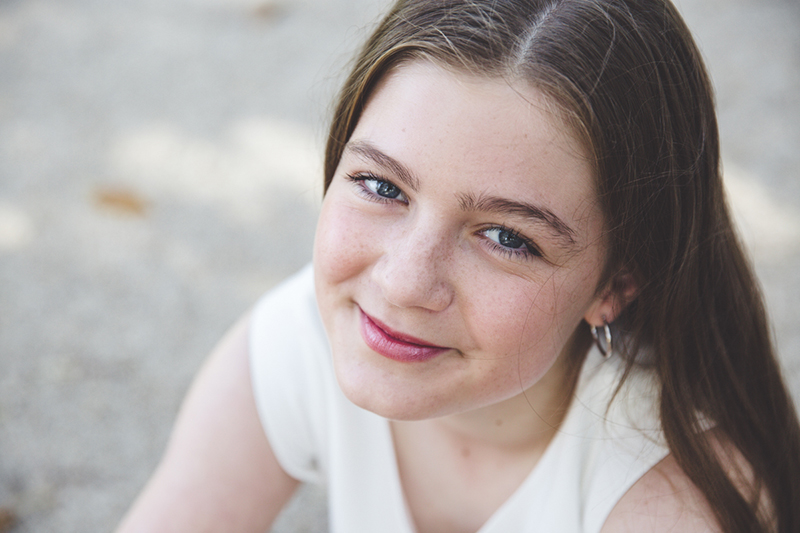
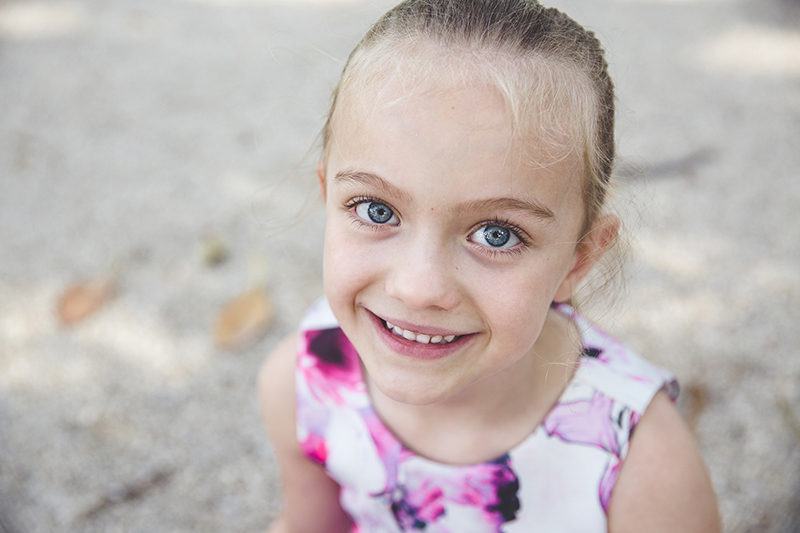
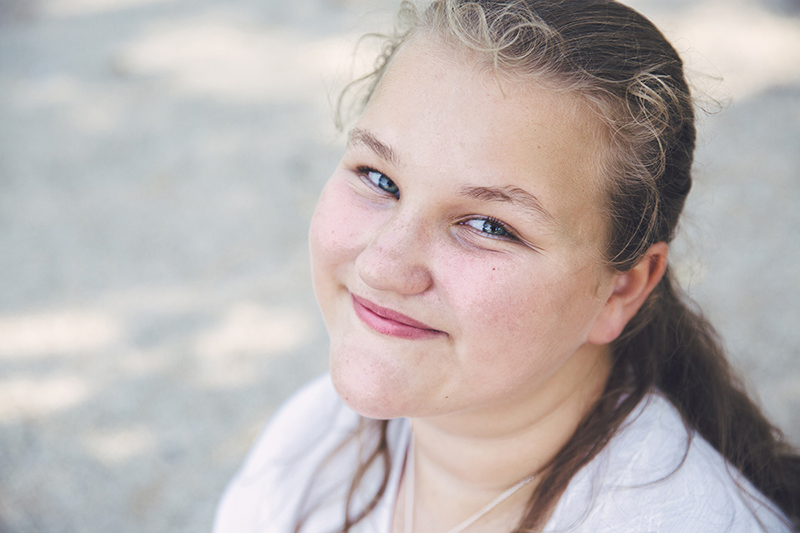
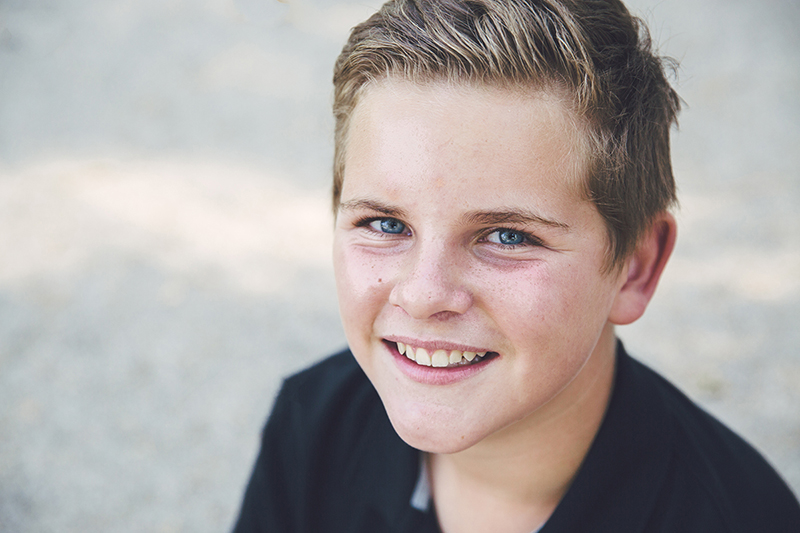
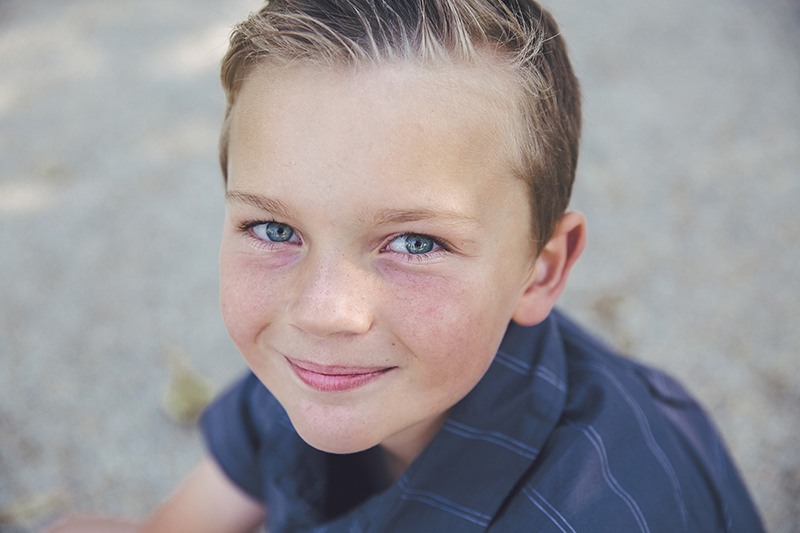
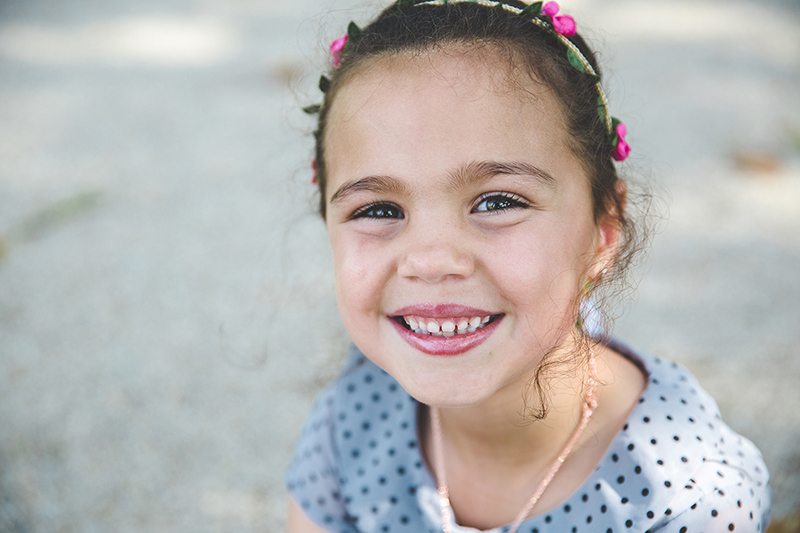
I find an open shade spot with a neutral ground such as gravel which makes a great backdrop. And then, I get the kids to sit cross-legged and take portraits from slightly above them so I can fill the frame with the ground.
This way, I don’t have to be mindful of random people walking into the frame, which lets me work super fast. After all, we are in a public space, so random pedestrians are usual!
I run these in an almost military fashion, but I do it with humour to get the kids laughing and interested and wanting to have a turn. I can easily shoot 10 kids portraits in 10 minutes.
Tip: You only need one good shot, don’t overshoot! Keep it moving.
Once again, be cohesive. Take each portrait from the same angle, same framing, same settings, and leave a little room for cropping just in case.

Related: The Ultimate Guide To Family Portrait Poses
9. Bonus Photos
Once I’ve got all the groupings and the individual portraits in the bag, we can relax! If everyone is still happy and having fun, I’ll keep shooting.
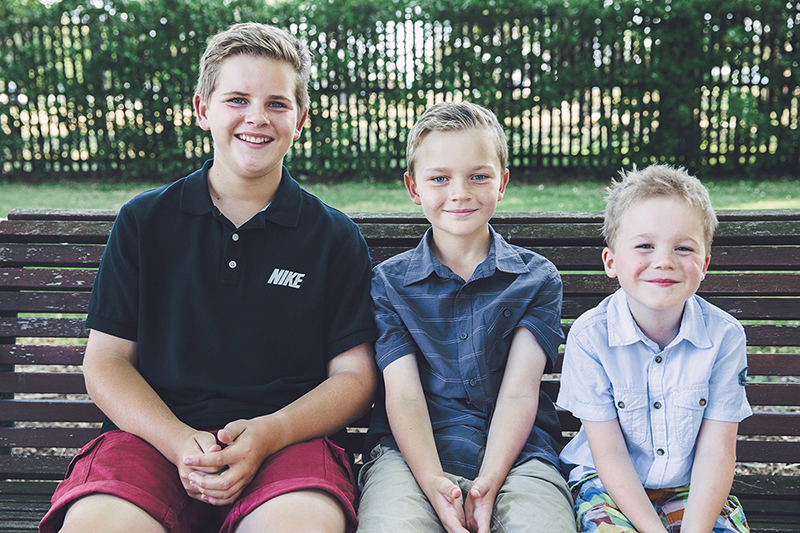
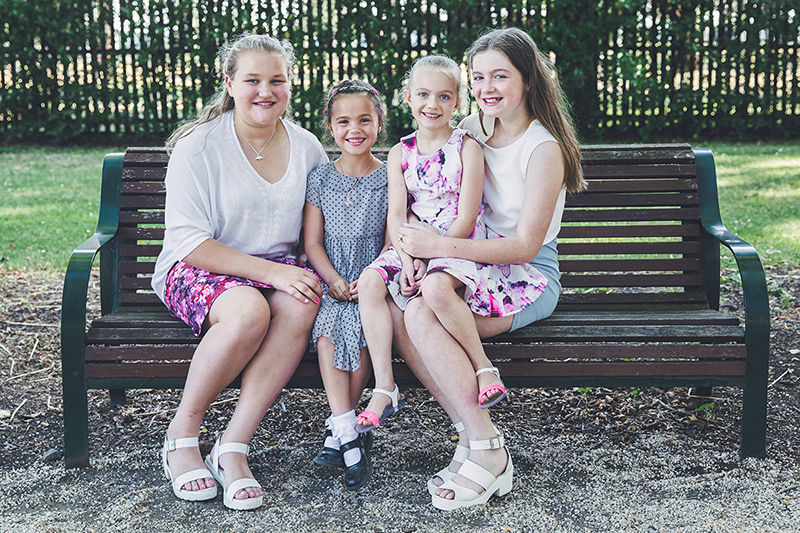
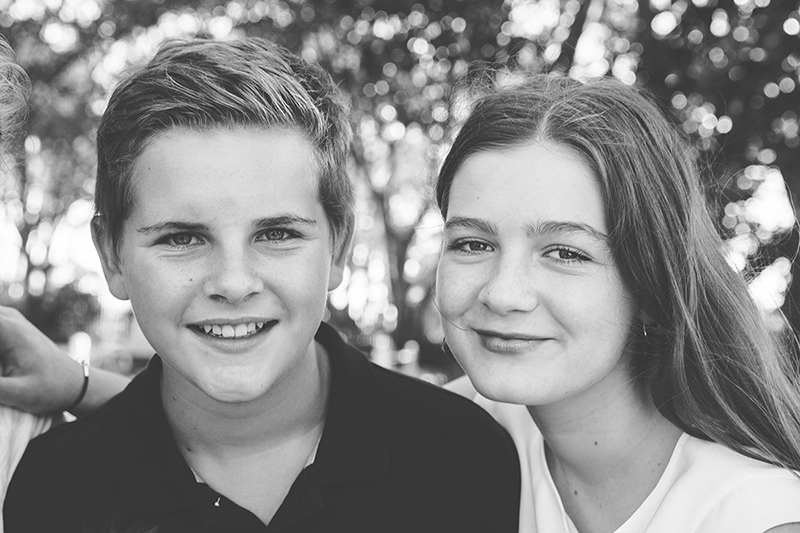
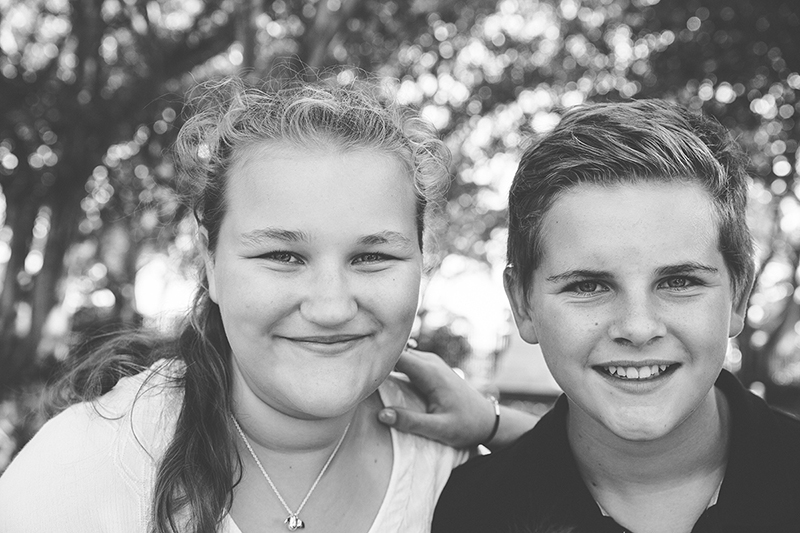
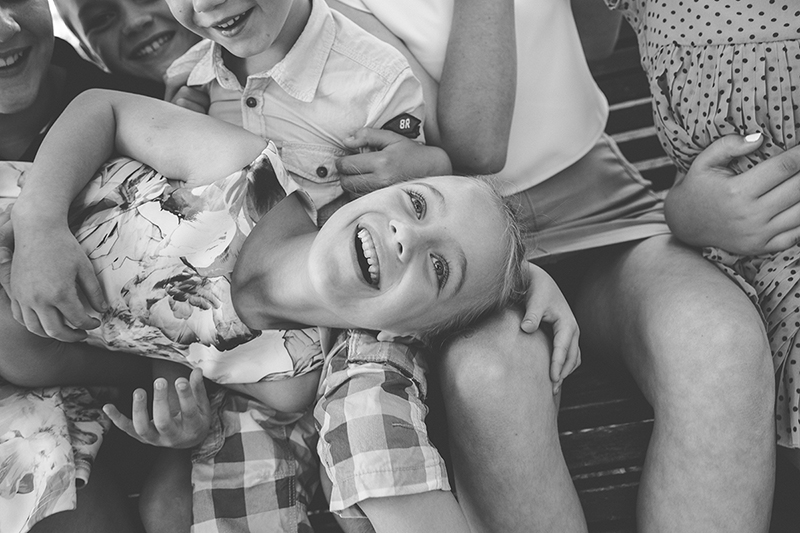
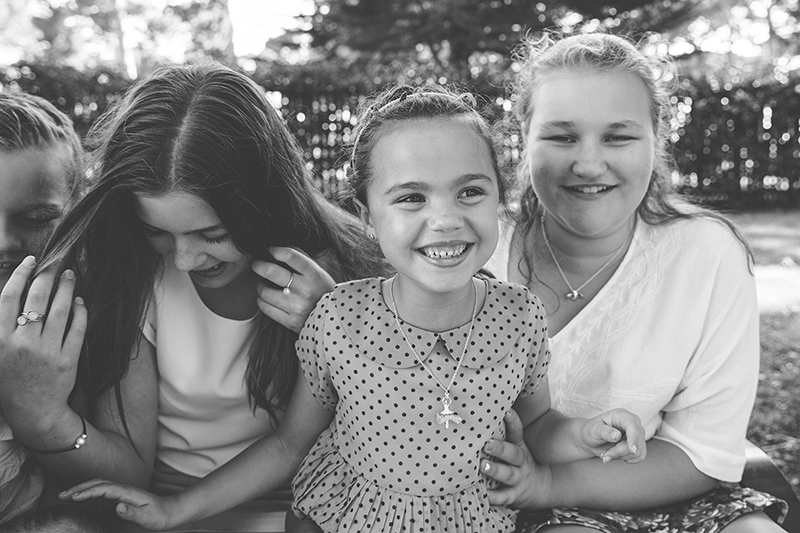
At this point, I whip out my 35mm and bring all the kids together for something more casual.
I tease to encourage silliness to get some candid, playful shots. A good way to kick this off is to tell them to hug. Older siblings can be reluctant to do this, but I have found when cousins come together, it’s very easy to draw out playfulness and connection.
I get in close and the distortion of the 35mm conveys the fun, and I’ll shoot wide, say f/3.2.
If the adults are playful types on the whole, once I have the formal posed shots done I’ll shoot the individual family combos in this way too.
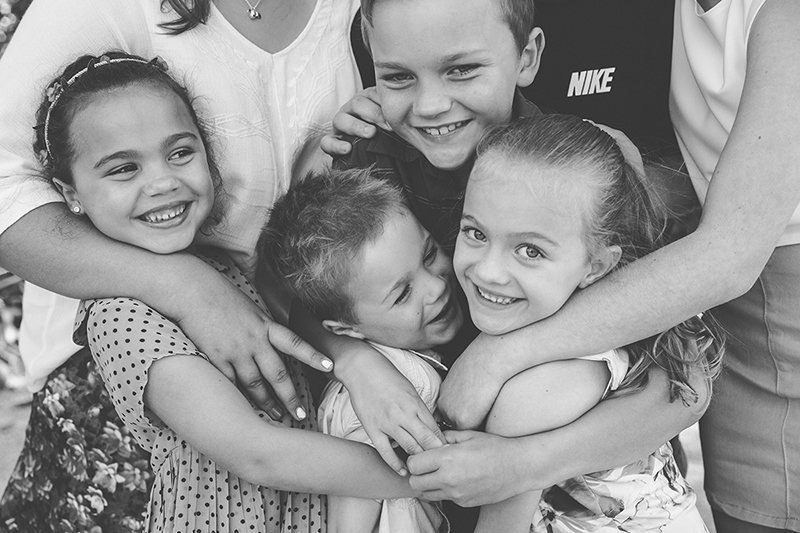
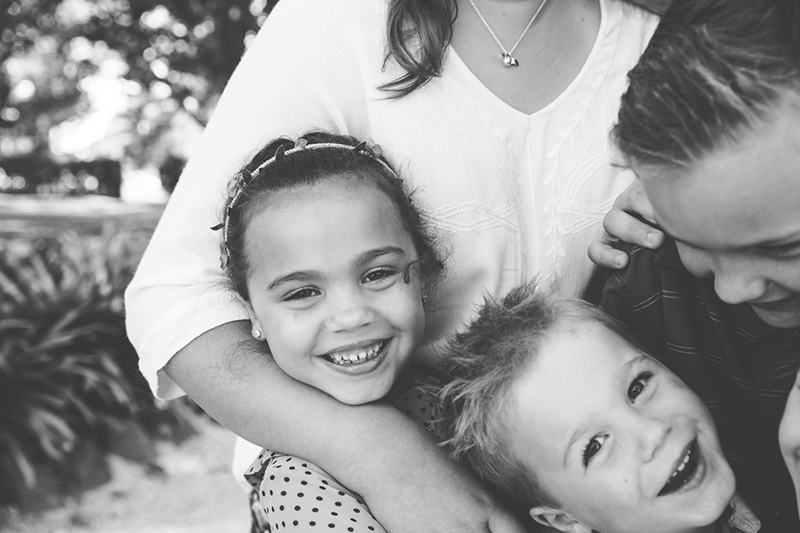
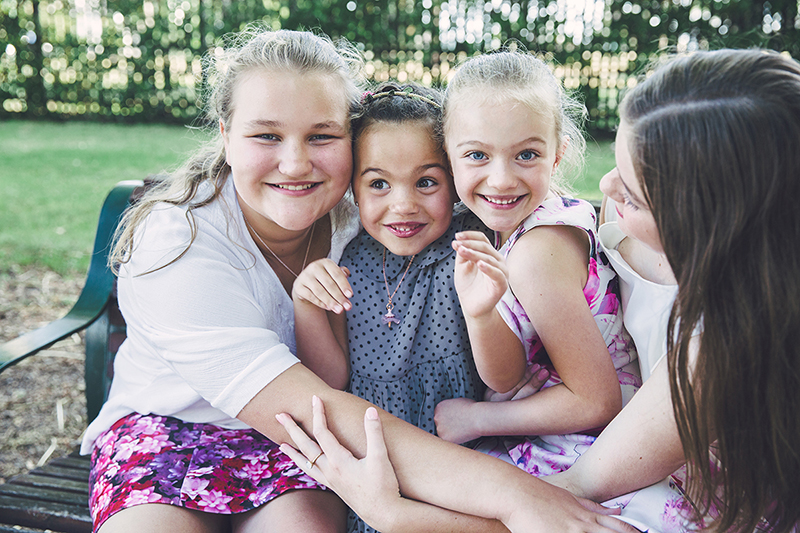
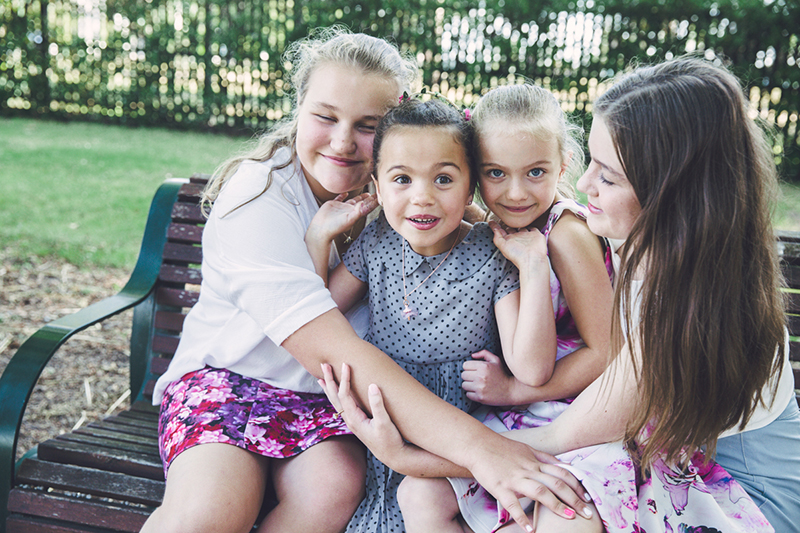
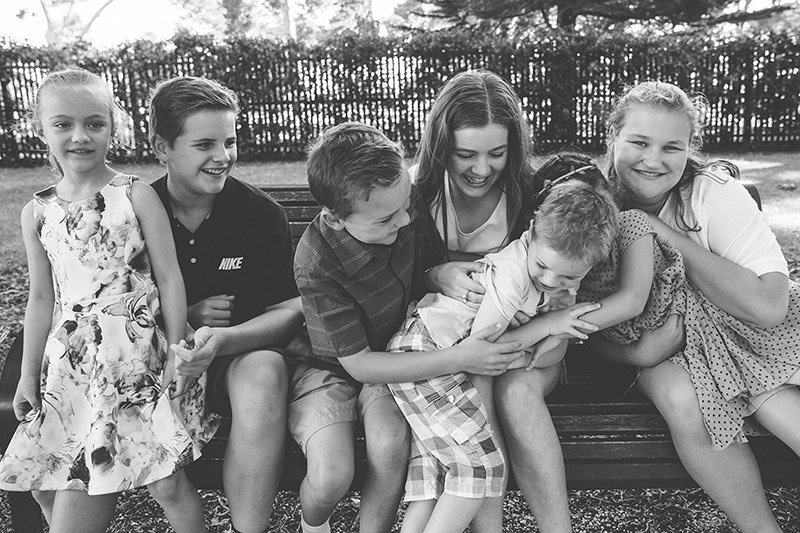
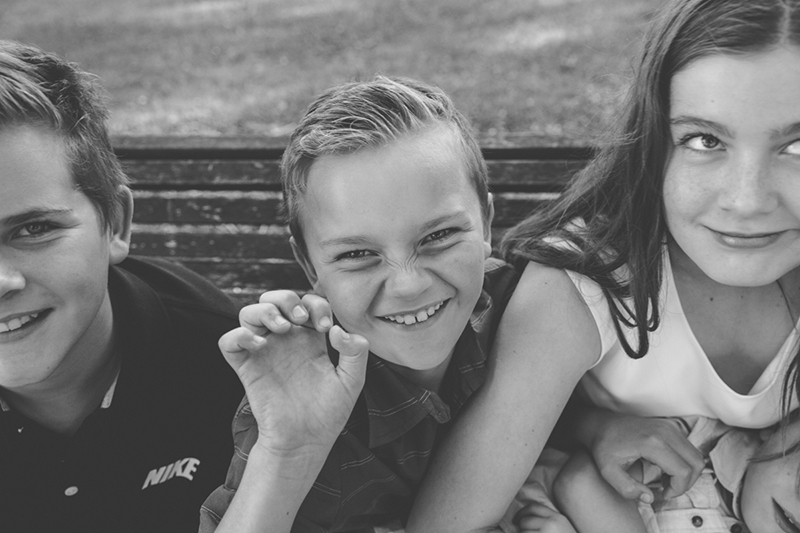
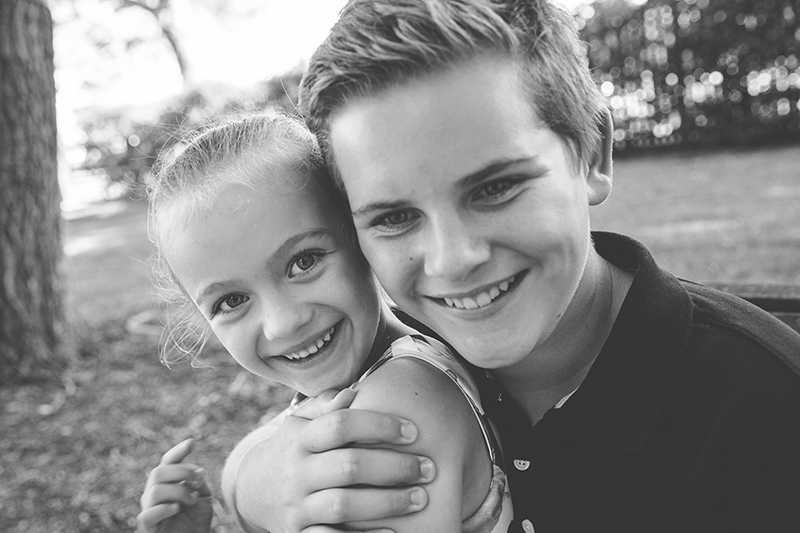
Related: 26 Gorgeous Photos Capturing Connection
10. Be Confident
Shooting extended family pictures requires a bossy hand. You need to keep the session moving and work fast to get all the groupings done before everyone is over it, and for that to happen you need to be confident in a few key areas:
- You’re in charge. Even if you’re not naturally a leader, fake it.
- Know the settings you need without having to think about it too hard; and
- Know your camera backwards so you can change settings super fast.
- Lastly, have a good sense of humour so you can banter, keep people laughing, happy, having fun and giving you natural smiles.
A few things to consider to keep the session moving:
- If the group you need is having a chat, don’t wait for them to finish talking. Tell them politely and brightly “your turn!”.
- If someone from your next group has disappeared to the bathroom, move on to another grouping then come back to them.
- If one of the kids has a meltdown, leave them be for a bit, don’t force it. But don’t wait around! Do another combo and come back to the little one when they’re happier.
If you can do all this, you can finish a typical extended family in an hour. The family featured in these pictures numbered 13, we had multiple posed combos, portraits for 7 children including a gorgeous special needs fella, and lots of candids, and we wrapped it up in 45 minutes.
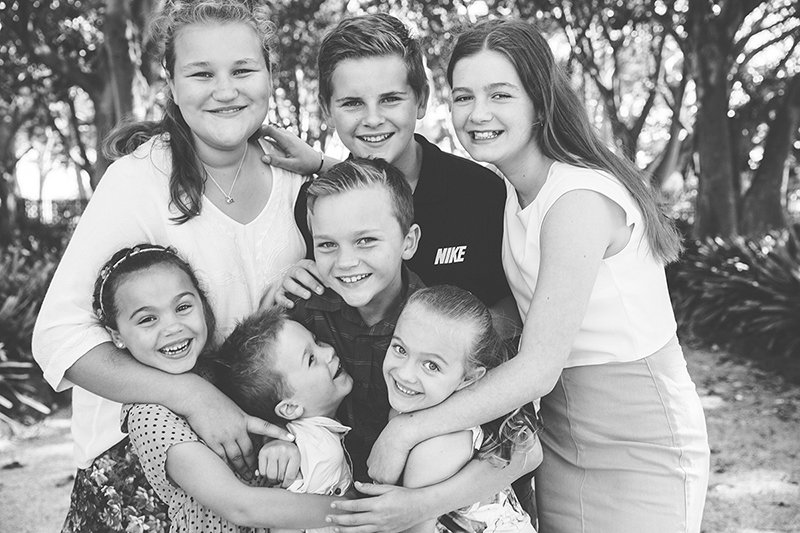
I hope you enjoyed this tutorial and it gives you the confidence to head out and try extended family session photography yourself!
JOIN the Free 5 Day Mini Course
5 Days, 5 Videos Lessons = Photos You'll LOVE!
Learn How to Use Your DIGITAL Camera!
Join my new workshop and learn How to Shoot Pro-Quality Photos With Your DSLR… and it’s totally FREE to join! Register here…

Leave a Reply Cancel reply
PRIVACY POLICY & SITE TERMS AND CONDITONS
CLICK LOVE GROW ™ Pty Ltd - COPYRIGHT 2024 ©
x
Join Now
Enter your info below to join the challenge!
Want a friendly reminder when I go live?
Pop in your number and I’ll shoot you a text.
* We will send text reminders for our live calls during the challenge! Reply ‘STOP’ to end or ‘HELP’ for help.
We promise not to ever share your details with anyone or send you spam! Check our privacy policy and terms of service.
Be the first to comment