Grab the Macro Gear Guide
Download the free macro gear guide to find out exactly what you need to take beautiful macro photos (hint you can get started for less than $20)
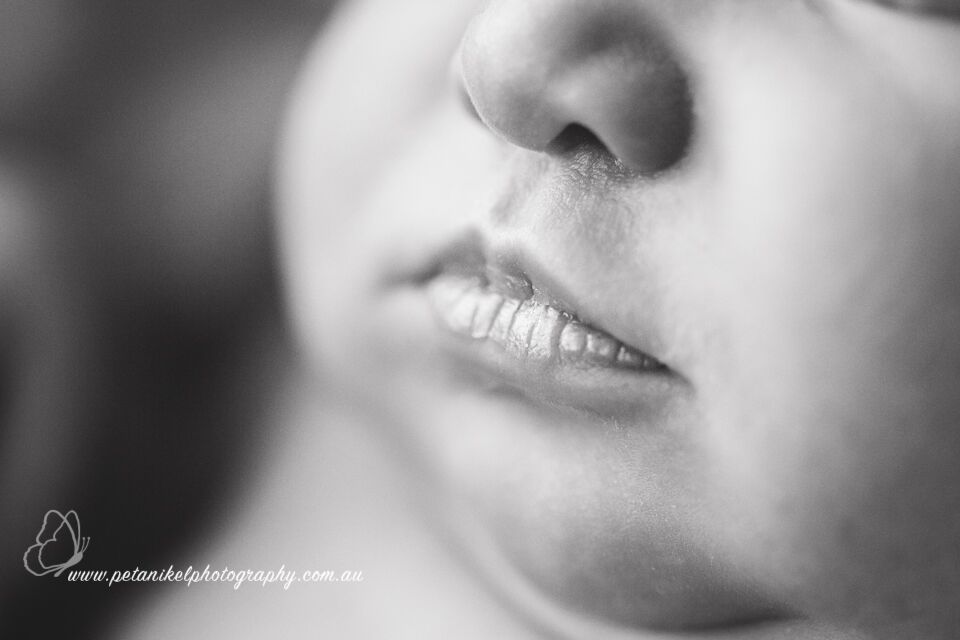
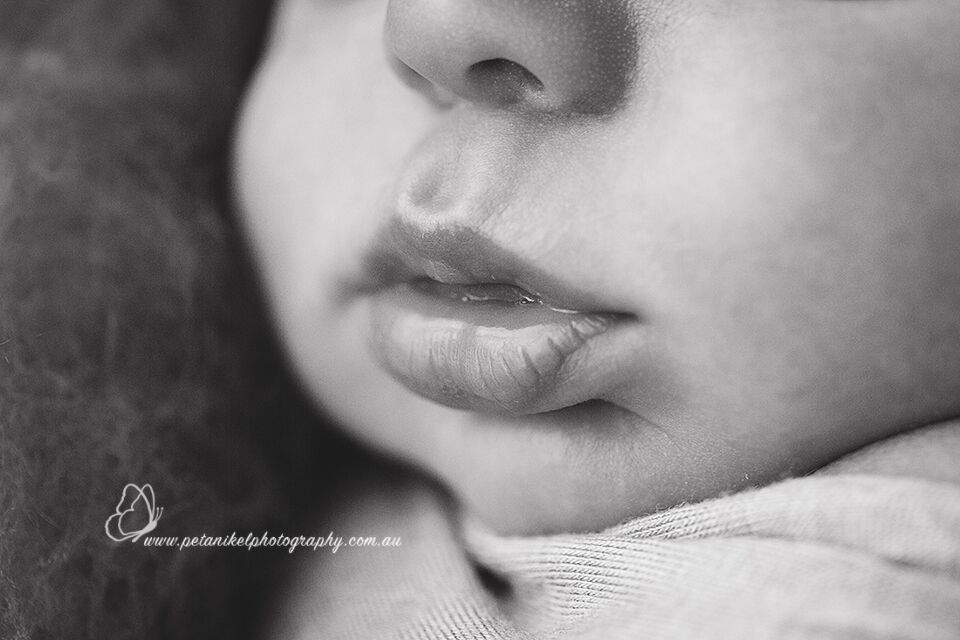
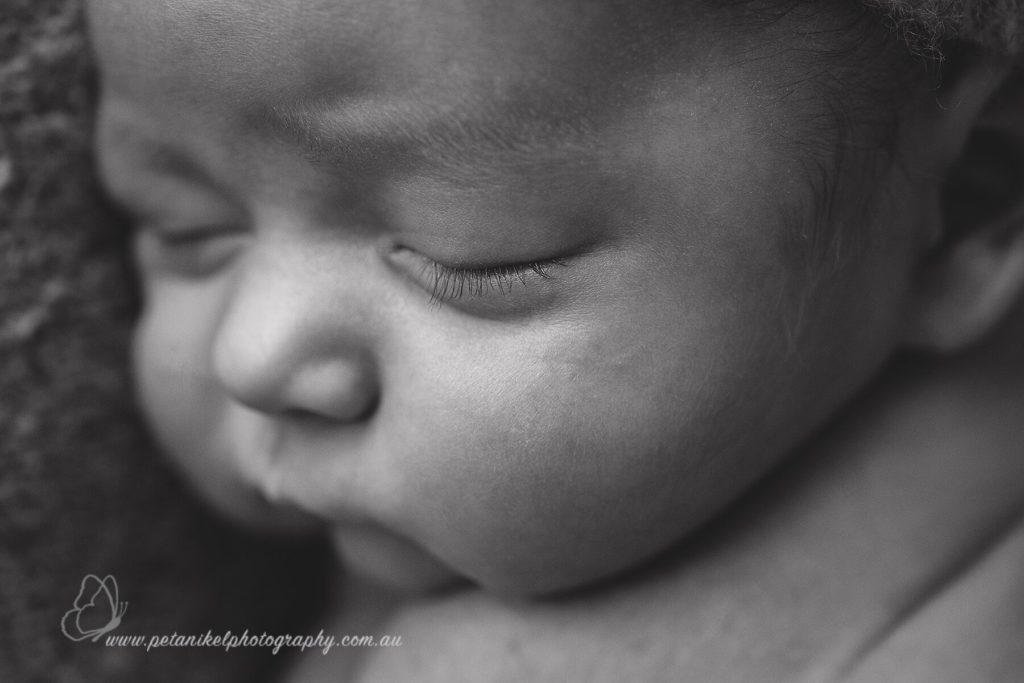
That’s right…macro photography is not all about bugs and flowers! Using a macro lens allows you to focus much closer than regular lenses, which is why it can be used for any very tiny subject. Think about it…is there anything smaller than the eyelashes of a newborn baby?
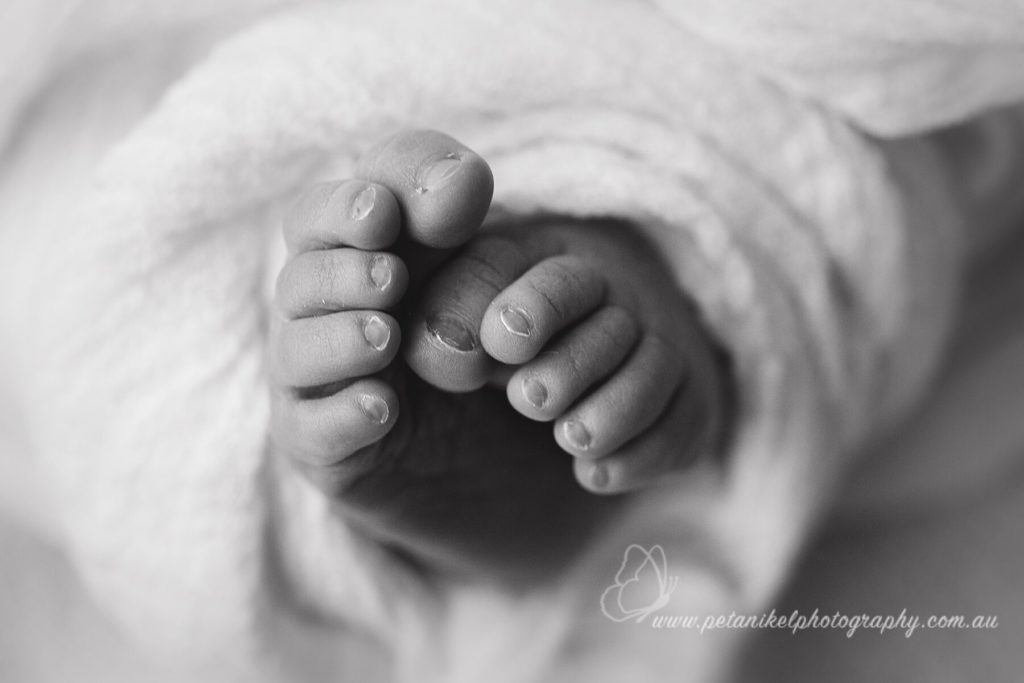
Moreover, the ultimate goal of newborn photography is to capture the essence of that little person whilst they’re still very new to the world. Because that very newness will grow and change in a heartbeat, taking photos of it before it’s gone forever will make a world of difference. Especially the tiny, cute sweet details! You want to get up close to those to really highlight them!
This is where macro lens photography comes into play…
Award-winning Tasmanian Newborn & Maternity Photographer Peta Nikel creates beautiful macro pictures in her newborn work. Peta contributed some of her images and professional tips when using a macro lens for baby photography to help us write this tutorial.
If you’re new to macro photography in general, check out our beginners’ guide, it’s the perfect place to start.
Related: Macro Beginners Guide
Related: 7 Tips For Beautiful 3-Month-Old Baby Pictures
Related: Lifestyle Newborn Photography Guide
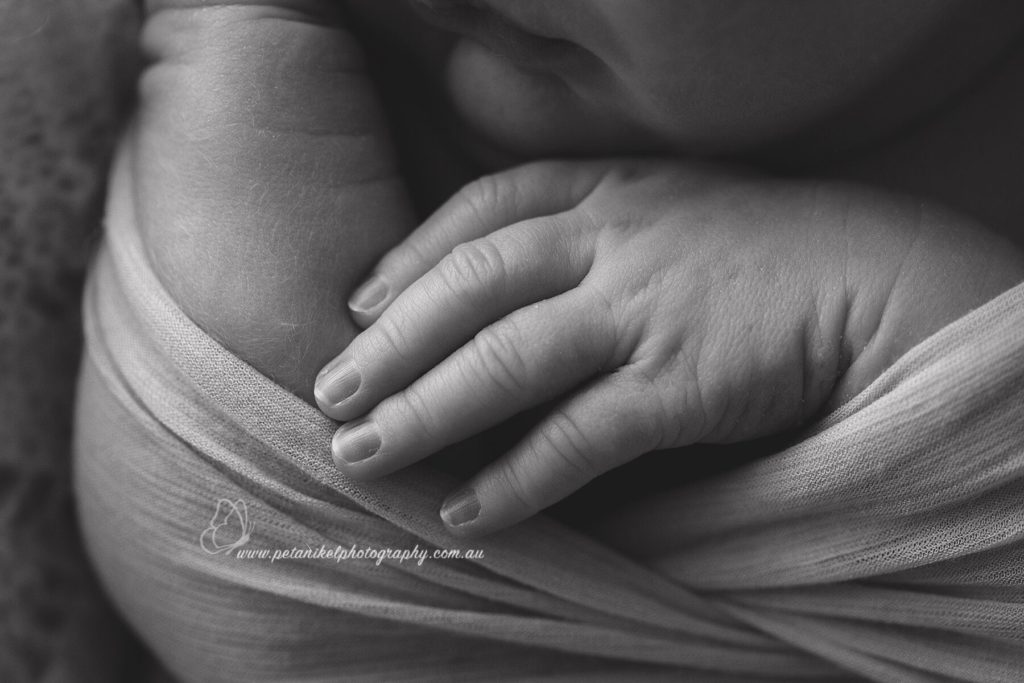
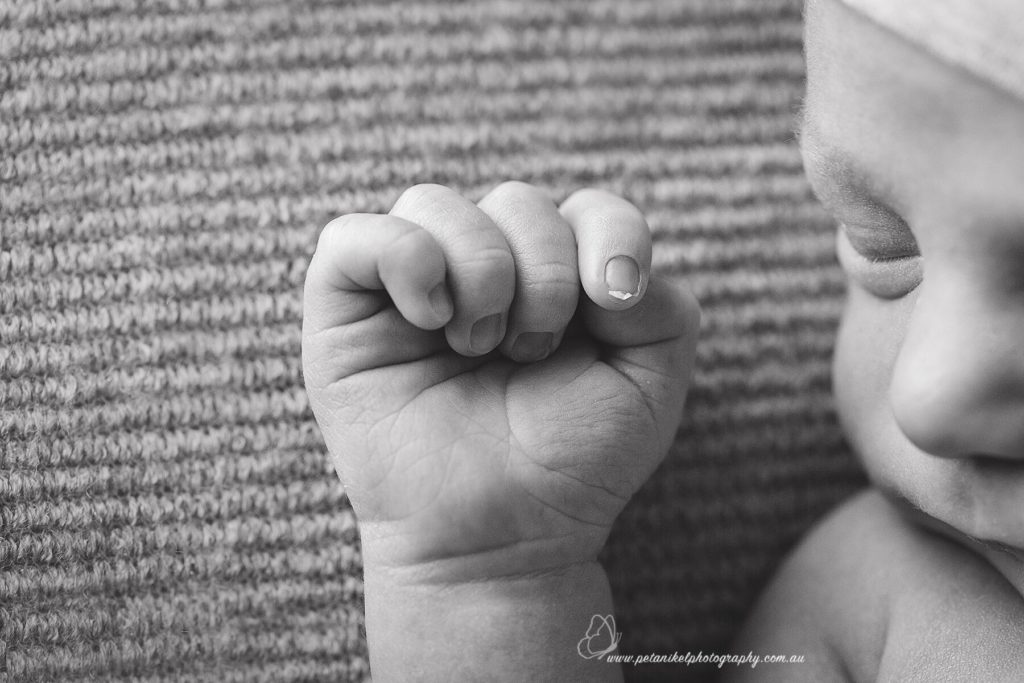
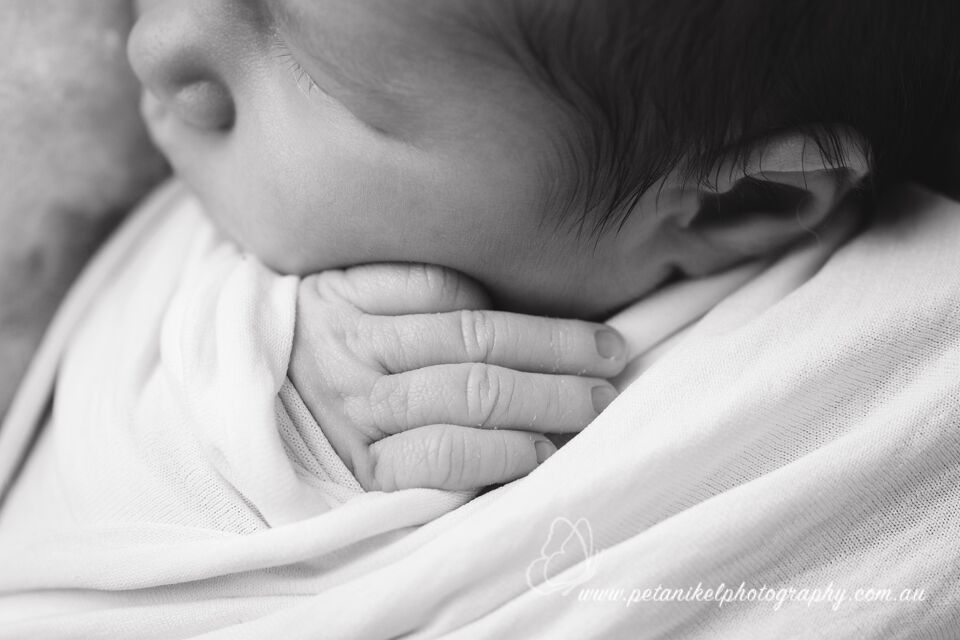
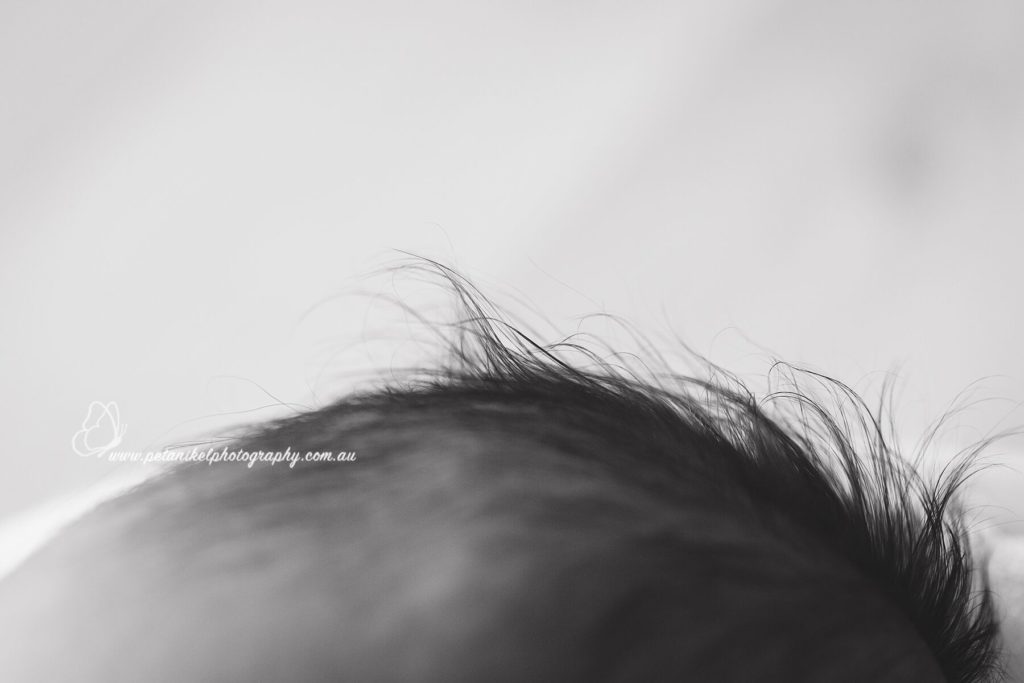
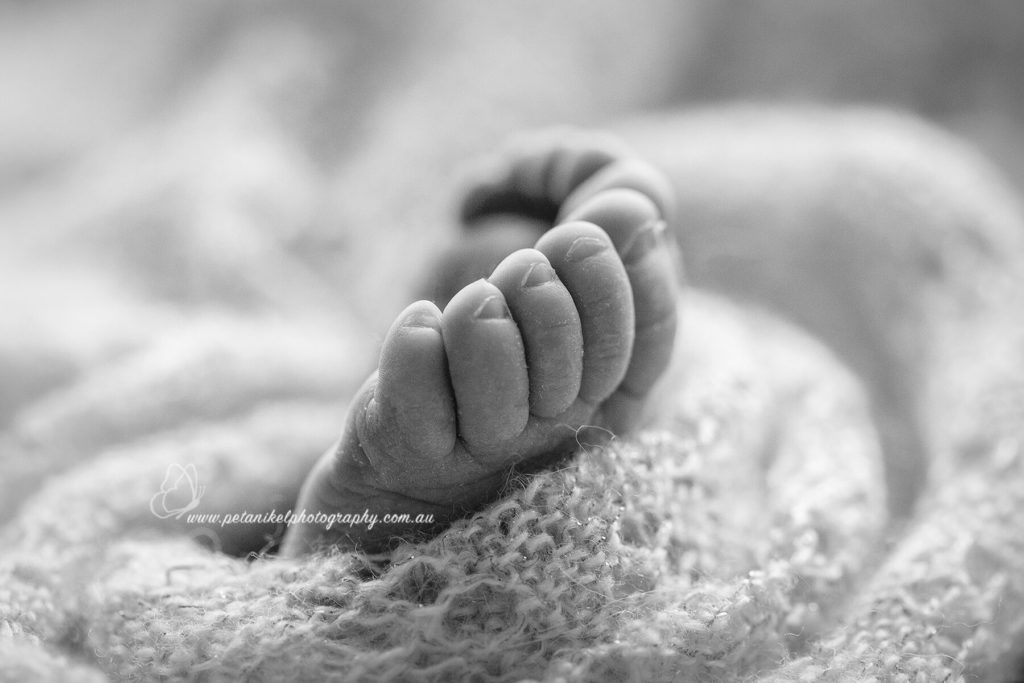
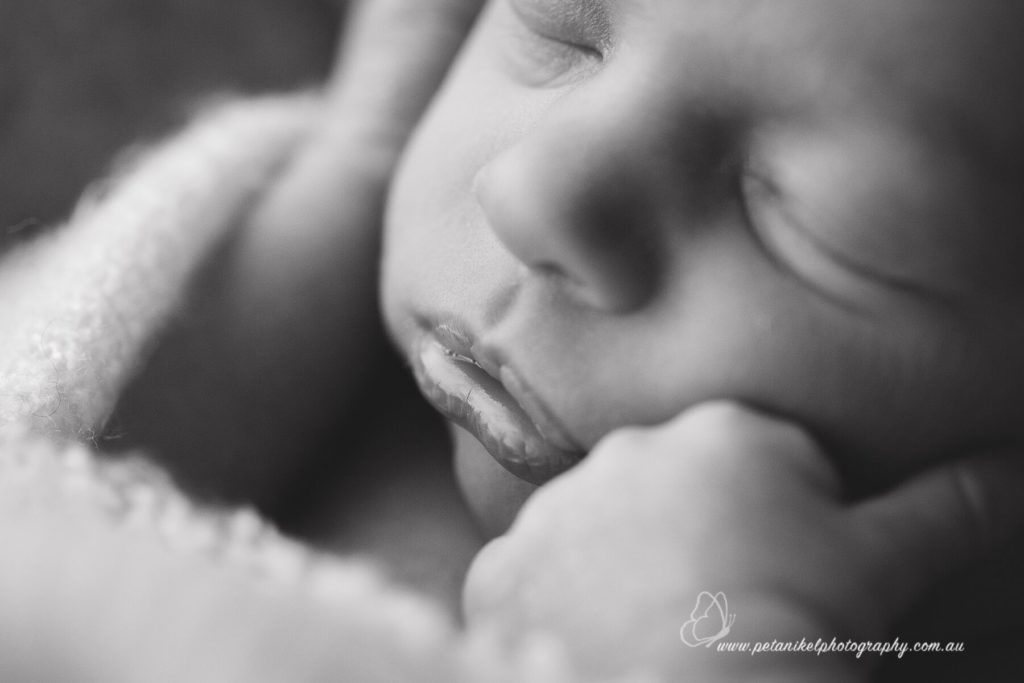
Look at that skin texture and detail…and that tiny wisp of hair! This is the magic of macro lens when shooting newborn baby photography. You could never capture that with a regular portrait lens.
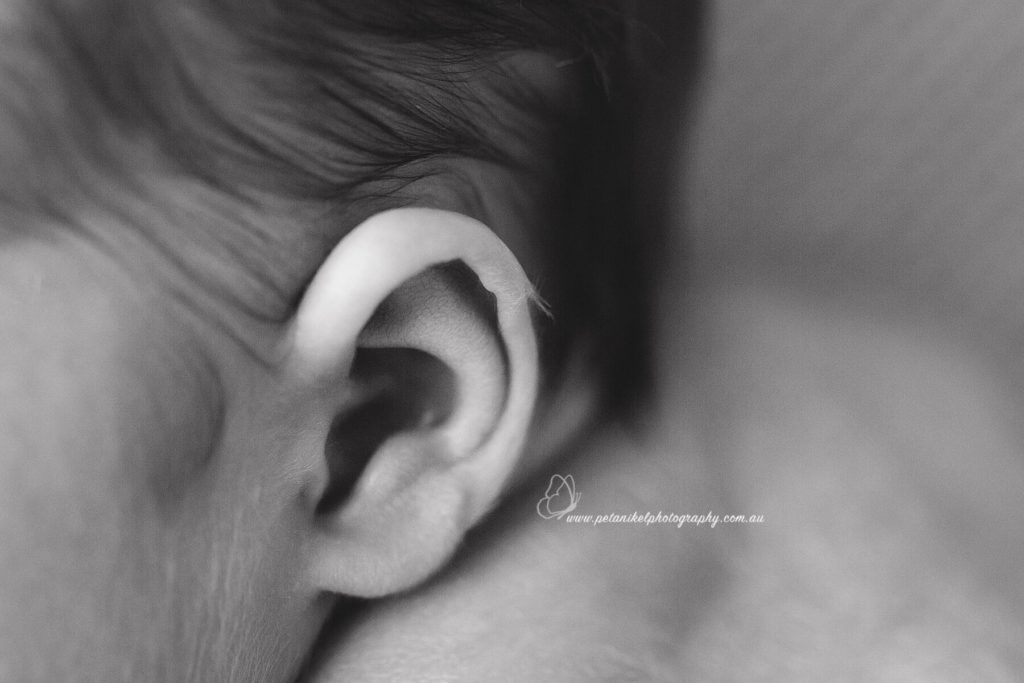
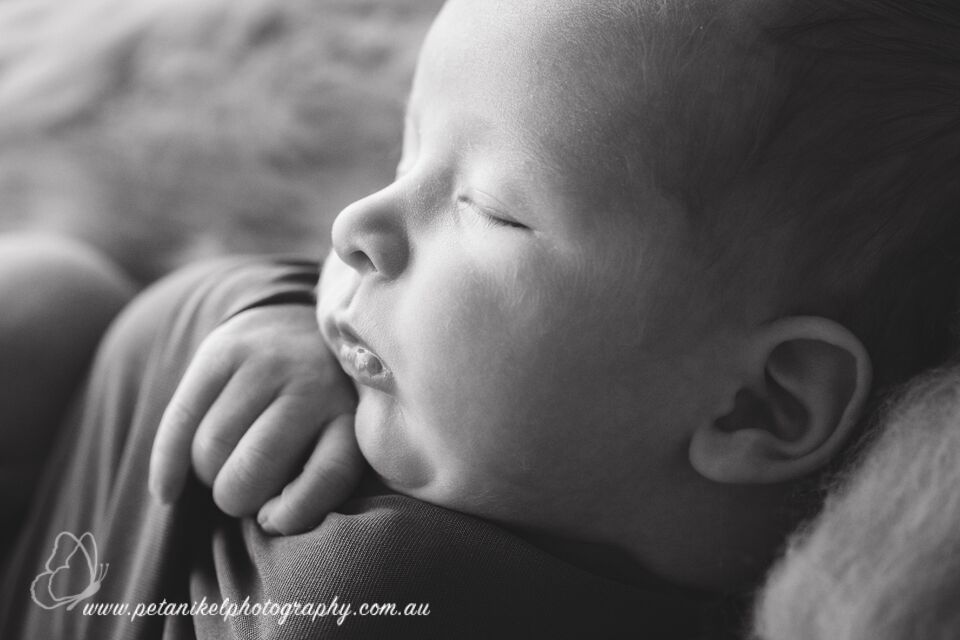
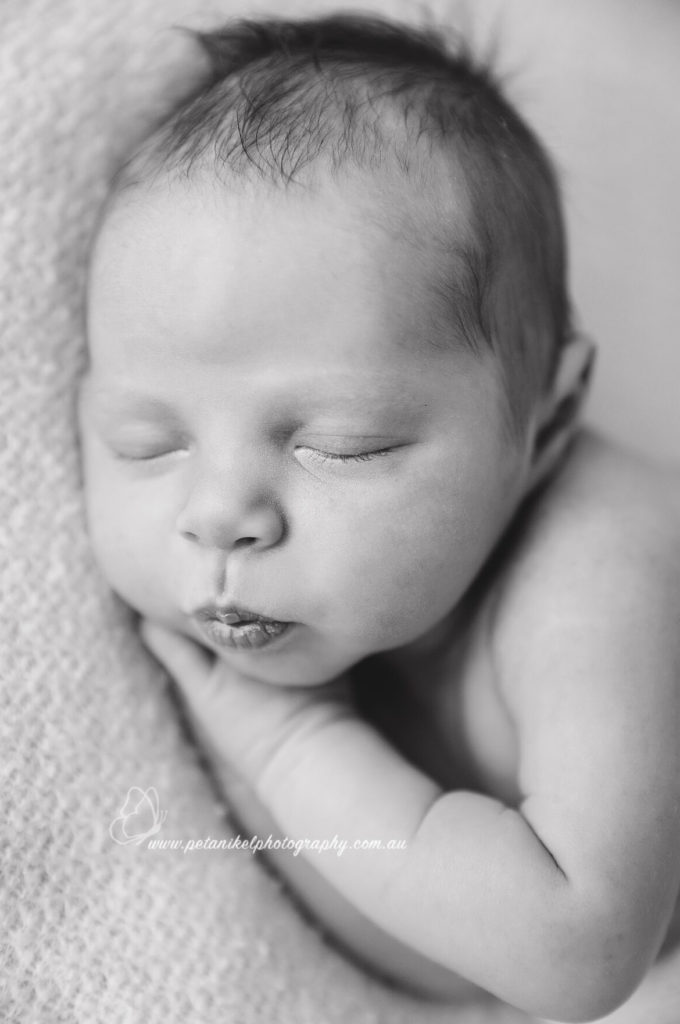
You can use it any time during a session. But my top tip is to nail those shots as soon as the baby is asleep to get them in the bag. Macro lens photography offers a very shallow depth of field (more on that in a moment). For that reason, you don’t want any motion at all. So get those shots whilst you can.
Related: 7 DIY Newborn Photo Tips
Just generally in photography, the closer you are to your subject, the less depth of field you have. So naturally, that shallow depth of field is extreme in macro lens photography.
So you need to forget the go-to apertures you would use for portrait photography with a normal lens.
I shoot these close-up detail shots at f/4, but you could experiment with a little narrower if you like more depth of field.
When working this close to a baby, aiming to focus on such small details, camera shake becomes noticeable.
You’ll see even very minor hand movement or subject movement through the lens.
So whatever the minimum shutter speed you would usually use to combat hand shaking in everyday shooting situations, increase that. As a guide, aim for a minimum of 1/250. If you have to, embrace ISO to enable you to do that.
I always use manual focus when shooting macro. Working with such a shallow depth of field, manual focus allows me to be more precise.
Related: When to Use Manual or Auto Focus
However, you do need a steady hand. Particularly for macro lens photography because the depth of field is so shallow. So if you’re not confident using manual focus, use auto focus, but it does require patience as the lens can hunt a lot more in macro photography. I find it helps to focus on the edge of the element so that it can grab more easily.
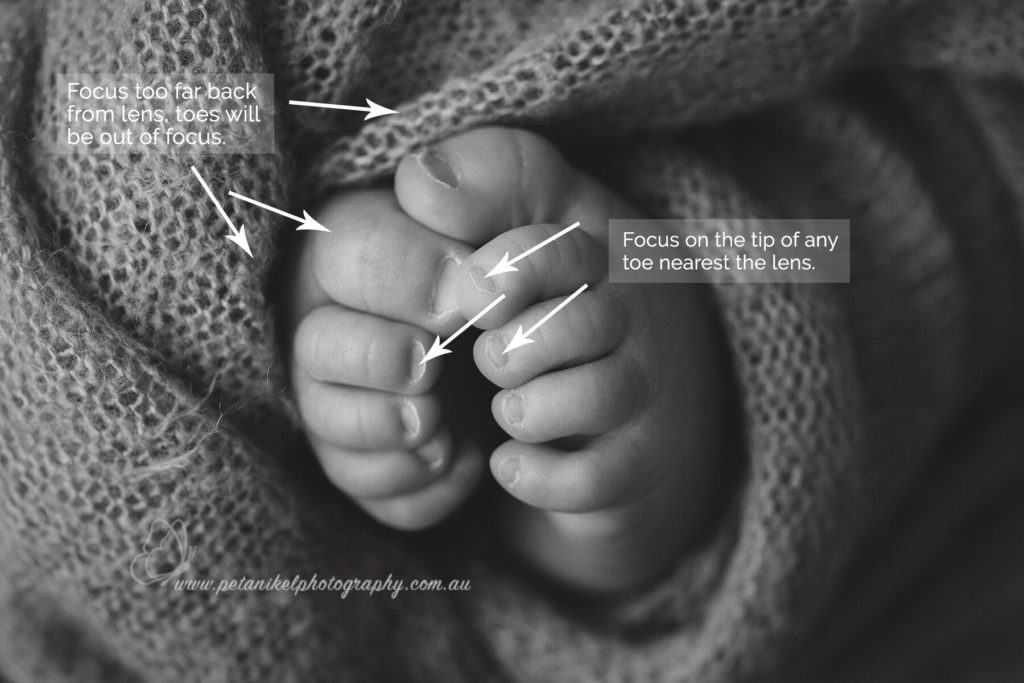
Whether you’re using manual or auto focus, where focus lands is crucial.
When shooting this close, you have virtually no wiggle room with your depth of field, so you really need to nail it.
If you focus just a couple of mm forward or back from the detail you want to highlight, it will be out of focus. If you’re using autofocus, manually select the focus point that sits exactly on it.
Related: Master Your Focus
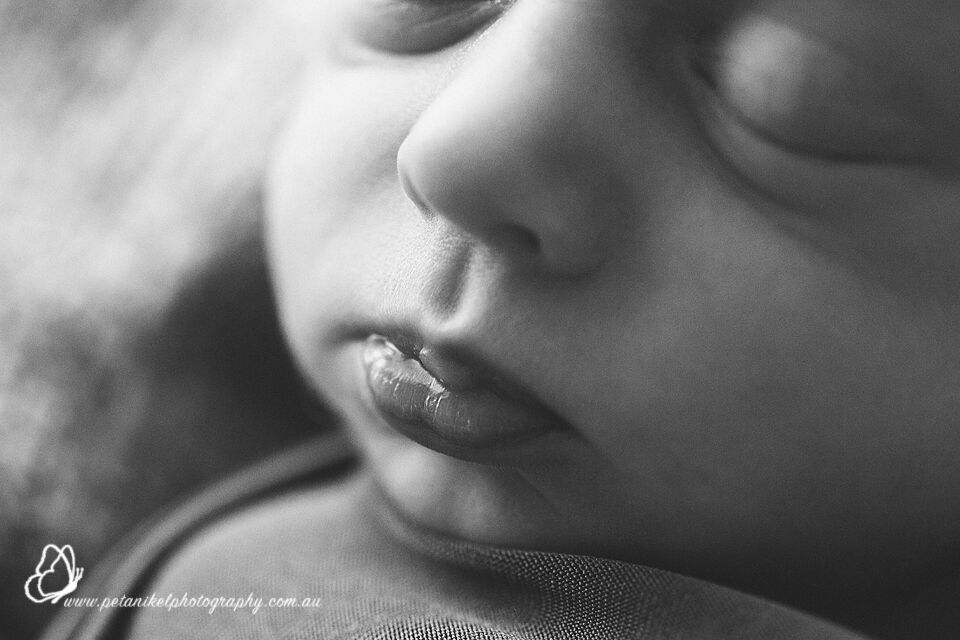
Try different angles and framing to find the best composition. You can fill the frame with those fine details, but I personally prefer to include some of the baby’s other features for a more balanced composition.
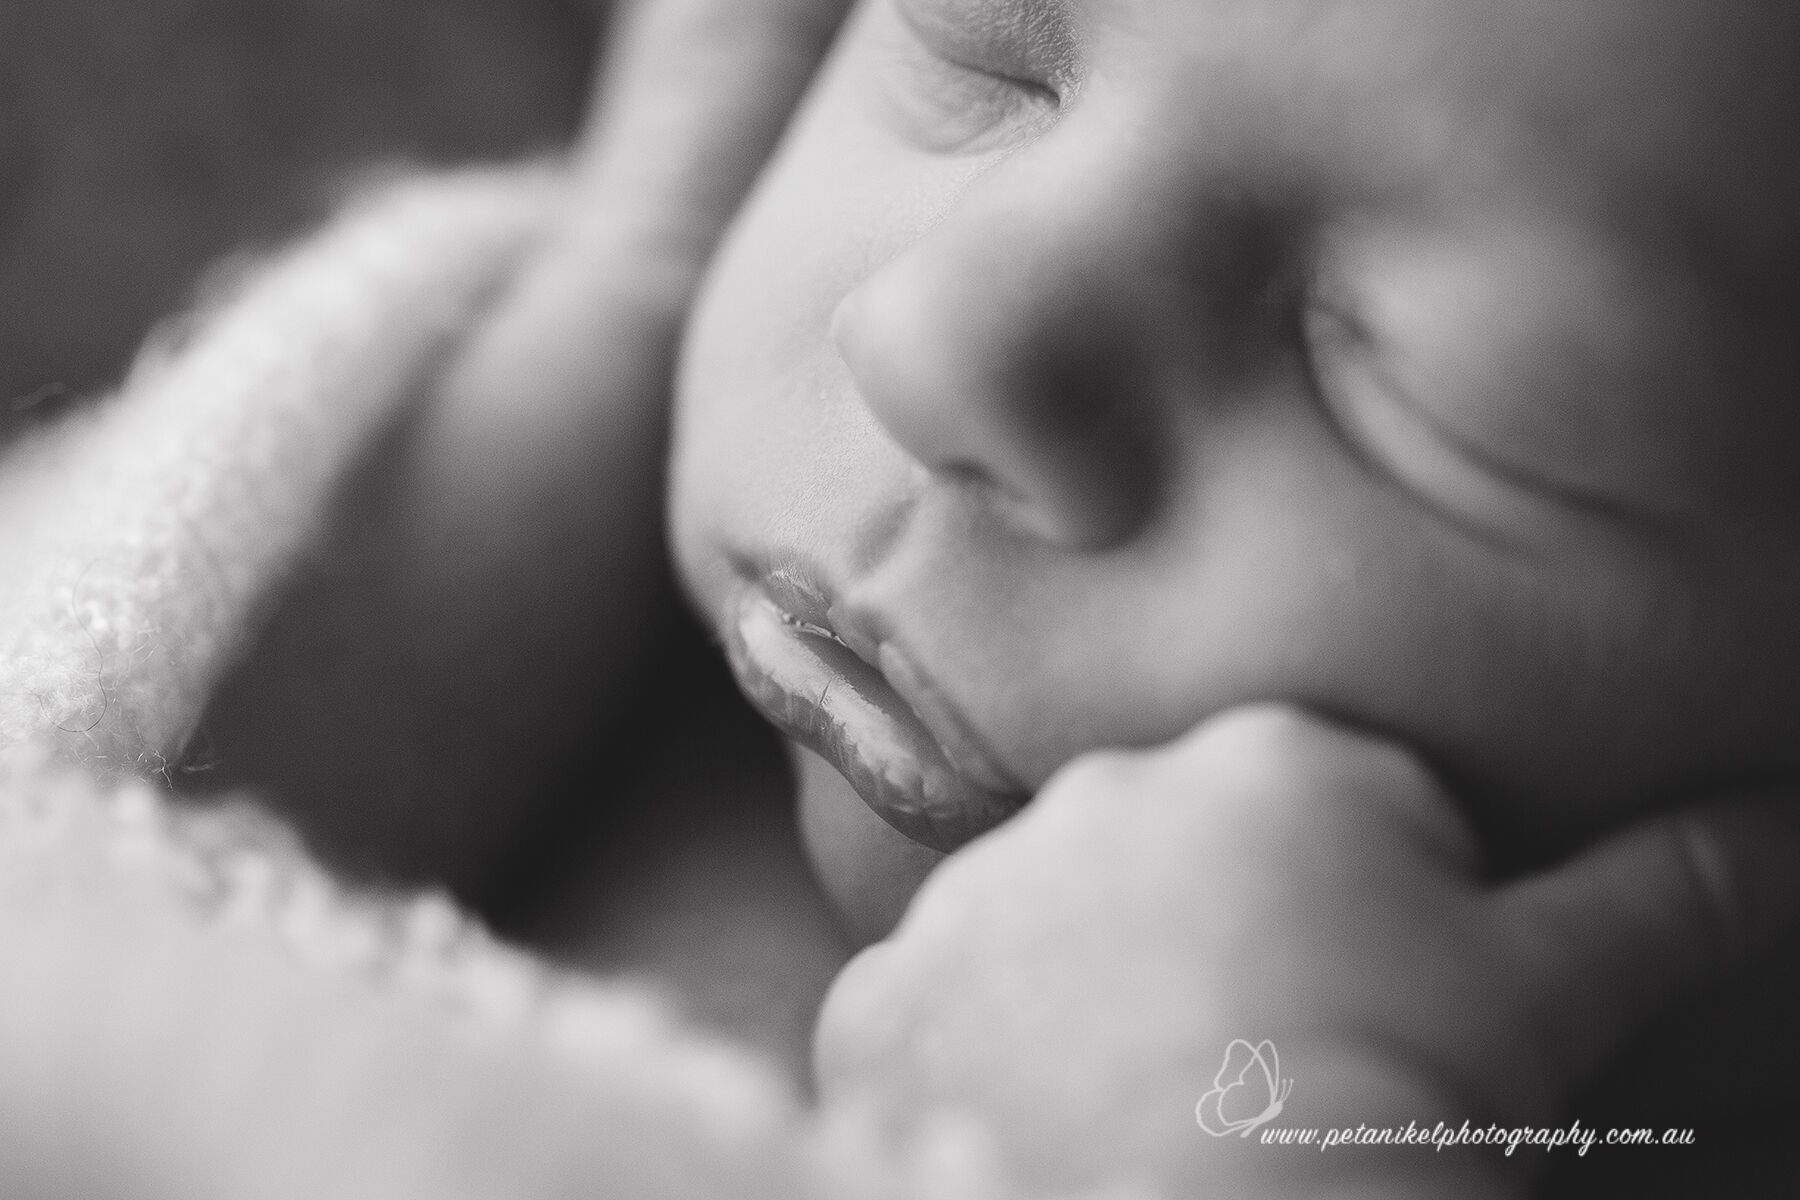
I shoot with a Canon 100mm f/2.8L, which is super sharp and creamy.
CLICK HERE to download our macro gear guide to find out what lenses we recommend
If you have any questions on how to use a macro lens for newborn photography, let us know in the comments!
Much gratitude to the lovely Peta Nikel! Without her beautiful baby pictures and generous advice, this tutorial would haven’t been possible. Go check her out!
JOIN the Free 5 Day Mini Course
5 Days, 5 Videos Lessons = Photos You'll LOVE!
Learn How to Use Your DIGITAL Camera!
CLICK LOVE GROW ™ Pty Ltd - COPYRIGHT 2024 ©
Enter your info below to join the challenge!
Want a friendly reminder when I go live?
Pop in your number and I’ll shoot you a text.
* We will send text reminders for our live calls during the challenge! Reply ‘STOP’ to end or ‘HELP’ for help.
We promise not to ever share your details with anyone or send you spam! Check our privacy policy and terms of service.
Grab the Macro Gear Guide
Download the free macro gear guide to find out exactly what you need to take beautiful macro photos (hint you can get started for less than $20)
Oh Peta I didn’t know you were into macro! I just bought the sigma 105mm a few months ago and I’m loving it, but still a newbie to macro. Simply beautiful shots. Thanks for sharing! xo
Thanks Pam. I’m glad you enjoyed the post. Macro is lots of fun 🙂
Fabulous post and great tips!!!
Thanks Peta; really enjoyed your post; am a photography enthusiast with a crazy creative mind; will keep on shooting.