


7 Essential Tips For Stunning DIY Newborn Photos
DIY Newborn Photography
A professional newborn photo session is a luxury and a treat and, as photographers, we naturally appreciate the value. But we know realistically you can’t employ a pro every other week, and your baby is changing and growing every other day! So if you want to DIY your newborn’s photo session, we’ve got you covered with these 7 essential tips, designed specifically for amateur photographers.
All you need is a DSLR or a camera you can use in manual mode, and you can DIY your baby’s pictures like a pro!

Megan Browne, CLG Advanced Grad
1. Natural Light
You don’t need fancy lights for DIY newborn photography. Moreover, natural light is free, abundant (hopefully!) and easy to use!
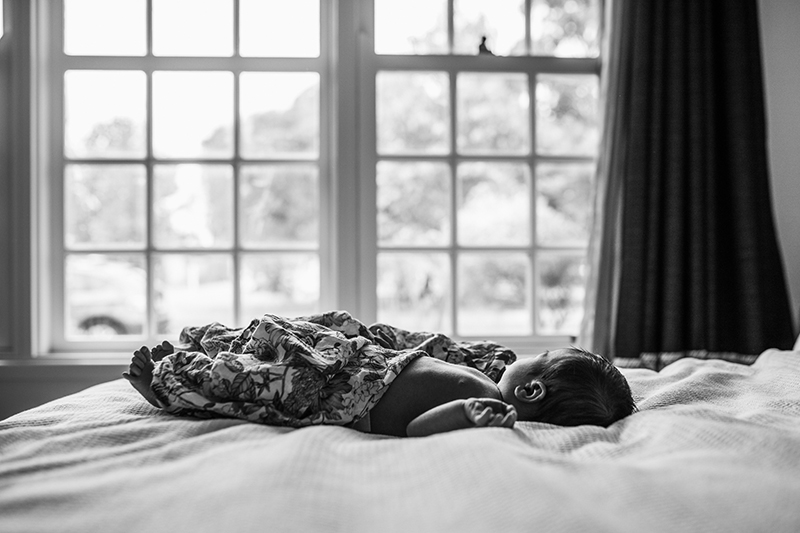
Look for a good amount of soft natural light, which you can find near windows and doorways. Soft light wraps gently around your subject, flattering their features. You can recognise soft light by the absence of harsh shadows, which have sharply defined lines between the light and shade.
How to Position For the Light
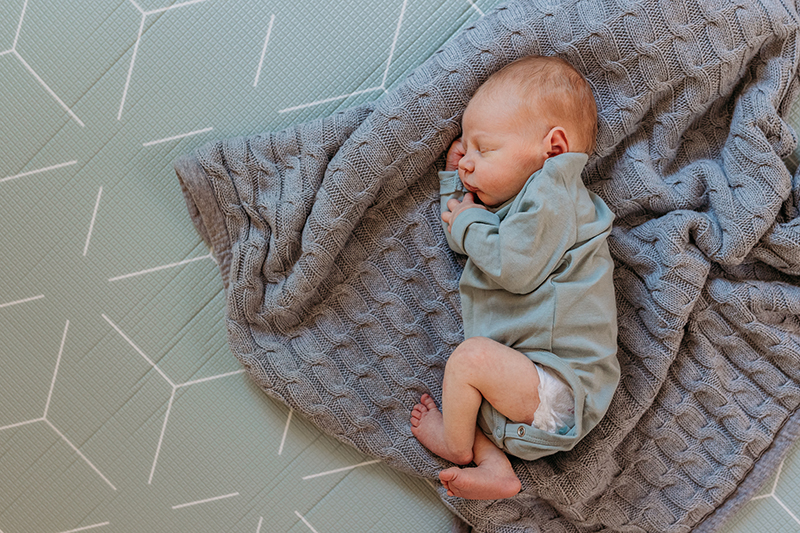
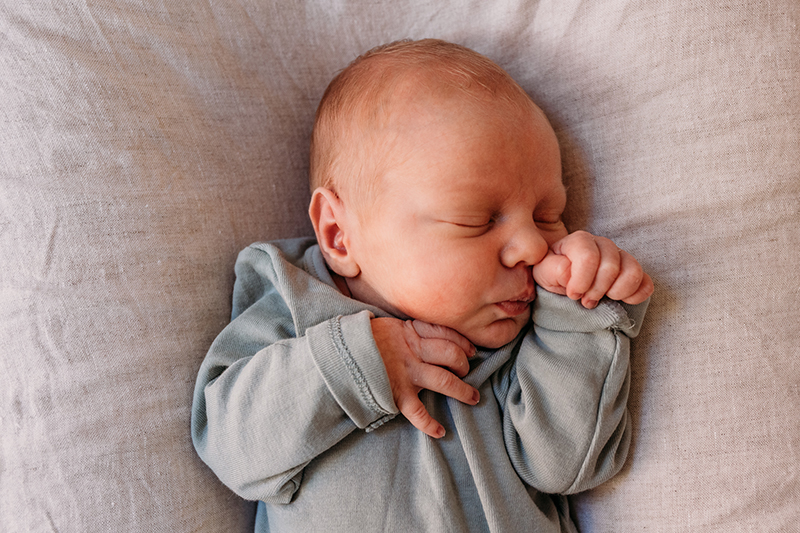
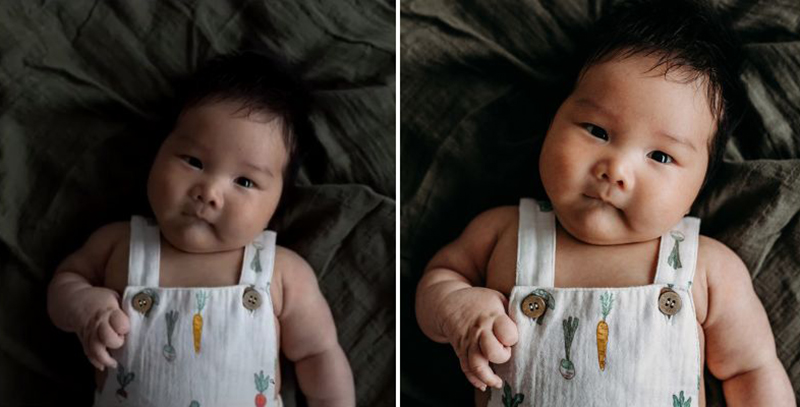
For DIY newborn photos, the best way to position newborns is with their head nearest to the light source so that it washes down their body, rather than up-lighting them and illuminating the inside of their nose! Look for a little shadow under the nose to confirm you’ve positioned your baby correctly.
Depending on the strength of your light, start by placing your newborn around 2m from the source.
Louise Glendon, Click Love Grow
Try to create some soft shadows on one side by placing the baby at a 45-90 degree angle to the light source, and this will add depth and interest to your photos. Look for a gently graduating line between light and shade, rather than a sharply defined line, which indicates harsh, unflattering light.
I encourage you to experiment with the position and distance whilst keeping your eye on the way light and shadow falls on the baby’s face, and ask yourself these questions:
- Is it soft and gentle?
- Does it highlight the baby’s eyes, forehead, nose and cheeks?
- Or is it coming up from the other end, illuminating up the nose?
- If you see catchlights in the eyes (little dots of light) chances are you’ve nailed it in terms of position.
All of these babies have been lit from the top down.
Megan Browne, CLG Advanced Grad

Lauren Kennedy, CLG Enthusiast Grad

Megan Browne, CLG Advanced Grad
2. Gear & Settings
Lens
An indoor DIY newborn photo session usually calls for a wide-angle lens to compensate for small spaces. This also enables you to be physically close to the baby, so you can ensure her safety at all times.
Anything from around 35-50mm with the ability to use wide apertures (low f stop value) will be perfect. However, if your only gear is a kit lens, the 18-55mm will be fine.
We highly recommend the ‘nifty fifty’ when looking to upgrade your kit lenses. The nifty fifty is a 50mm f/1.8 lens, available in both Canon and Nikon. This is an inexpensive lens, but quite good quality for its price.
The fact it’s f/1.8 means you can capture more of the ambient light than your kit lenses allow, and it’s also sharper.
Related: The Nifty Fifty Lens
Megan Browne, CLG Advanced Grad
Camera – Get Out Of Auto Mode!
Any camera you can use in manual mode is essential for DIY baby photography, as it is the only way to control your exposure and effect.
If you’re not shooting in manual mode, check out our intro to manual mode.
Related: Introduction to Manual Mode
Settings
Use apertures of around f/2.8 to f/3.5 — this will give you a nice shallow depth of field and let you capture lots of ambient light.
Set your shutter speed to, minimum, 1/250 (preferably faster) to freeze the baby’s motion. Then balance your exposure by increasing your ISO if needed. If the shot is too bright, increase your shutter speed instead.
If you have a kit lens that doesn’t open up wider than f/3.5, try using it at 24mm. That should give you the ability to shoot at around f/3.5 to f4, and you’ll need to step in closer for a tighter frame (zoom with your feet!)

Megan Browne, CLG Advanced Grad
3. Styling Your DIY Newborn Photos
If you want to add some elements to the set up for extra colour, texture and interest – keep it simple.
Avoid a newborn photo Pinterest fail and keep additional props to a minimum. The more elements you add to the shot, the more you distract from your subject, unless you’re an absolute styling guru!
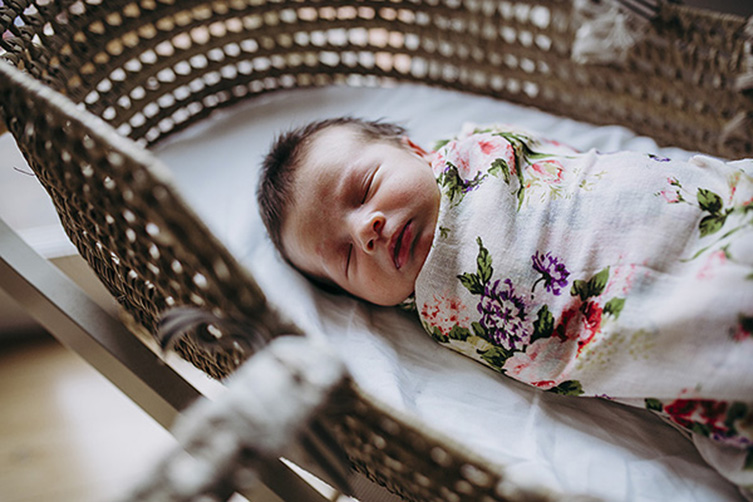
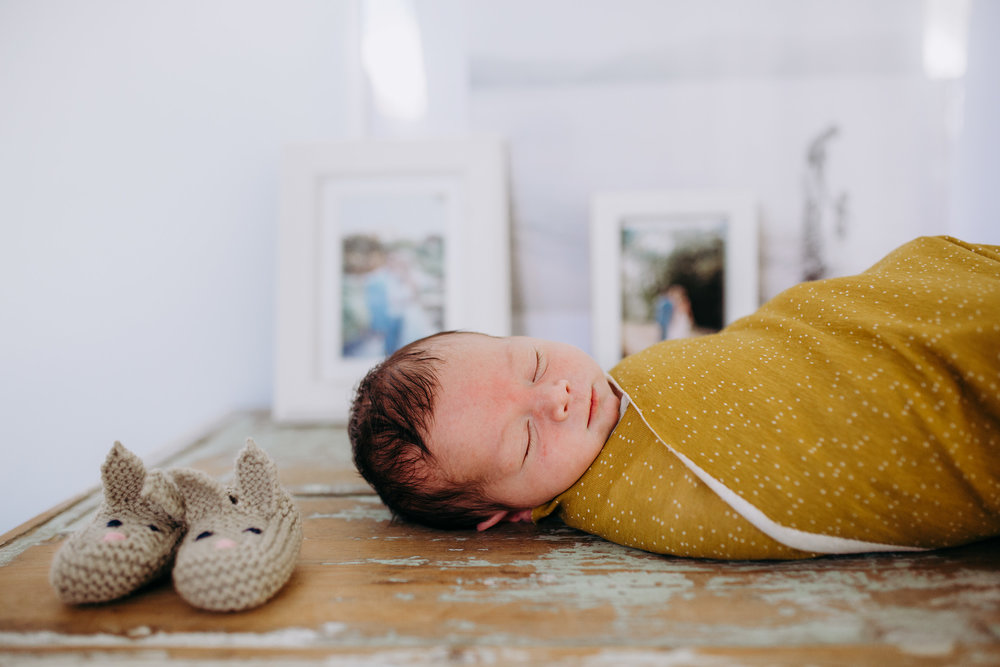
The easiest way to make it work is to add colour and texture in the form of wraps and throws.
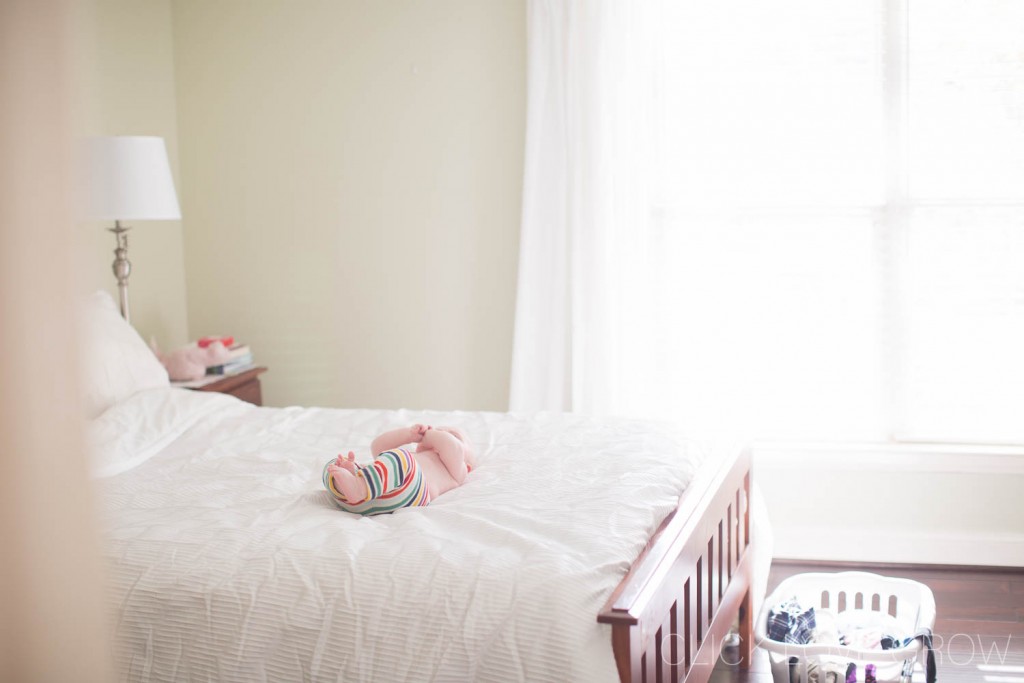
For a light and bright look with added interest that doesn’t go too far, pop baby on a white bed in a wrap with a gorgeous pattern in a pop of colour.

Megan Browne, CLG Advanced Grad
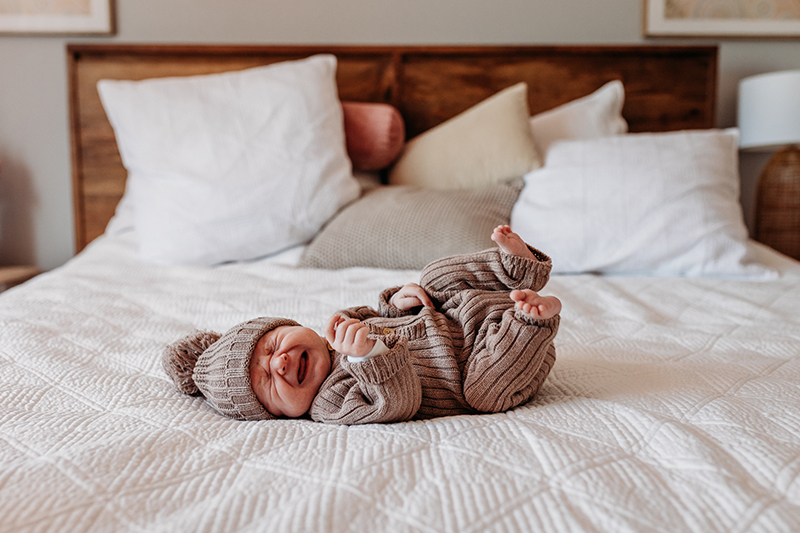
Try pairing one patterned piece and one solid from the same colour family and add neutrals to balance. This will work whether it’s pastels, brights, bolds or muted earthy tones.

Megan Browne, CLG Advanced Grad
If you love brights, add it in one bold statement and balance it with neutral tones in other elements.

Heidi Talic, CLG Advanced Grad
Two completely opposing colours work in this instance as they’re both solids, muted, and similar in tone. Note that tone is not colour – tone refers to the depth (light or dark) of a colour.
Pro Tip
Layer 2-3 items and do it in a loose, casual fashion.
4. Locations
Vary your shots by trying different locations. Think bed, bath, beanbag, bassinet…(we really weren’t trying for only B locations, I promise!).
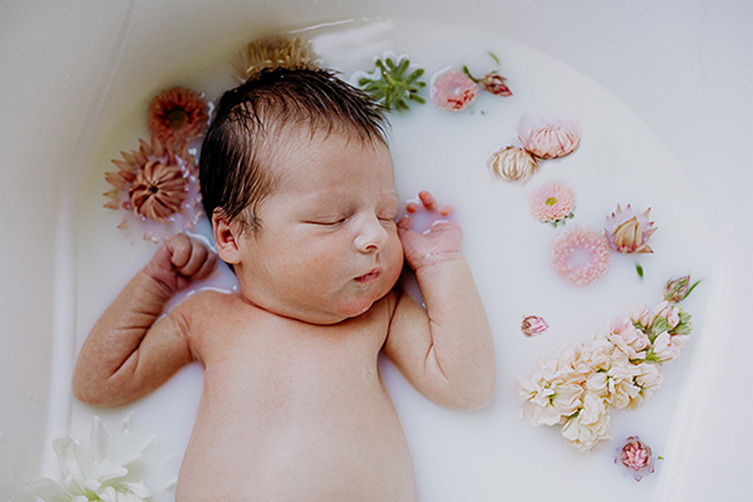
Why not try a milk bath? Add a little milk to a very shallow bath so the baby can lay on their back unassisted and safely. The water should be shallow enough that it only reaches just up to her armpits. You may need to hike the heating up to keep her asleep and comfortable.
Lauren Kennedy, CLG Enthusiast Grad
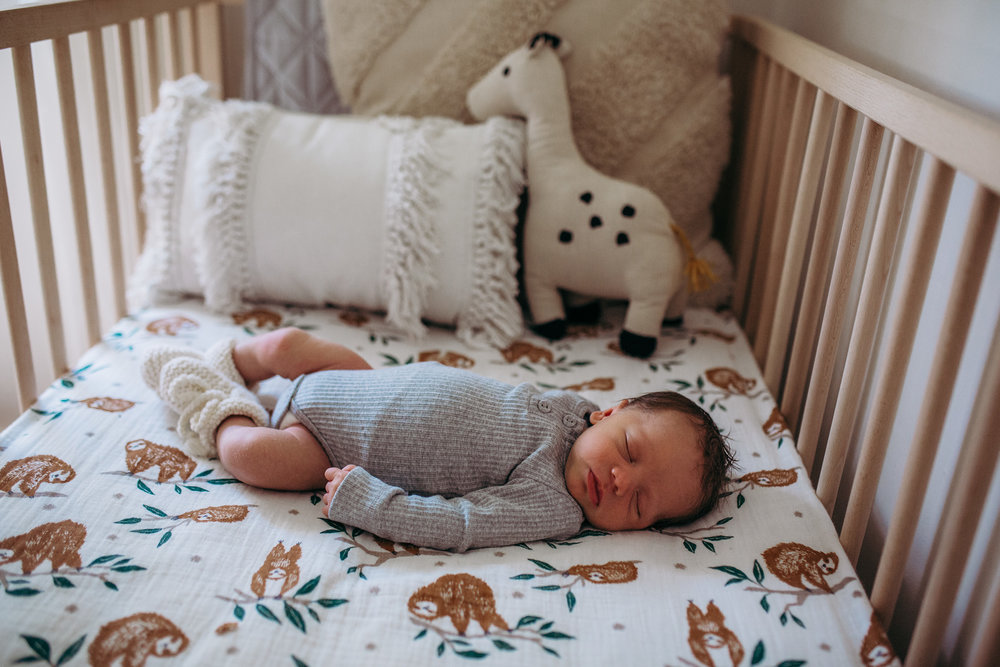
The neutrality of a wicker bassinet or timber cot/crib is a perfect canvas for cute patterned sheets and textured throws or wraps, and create a striking contrast of elements.
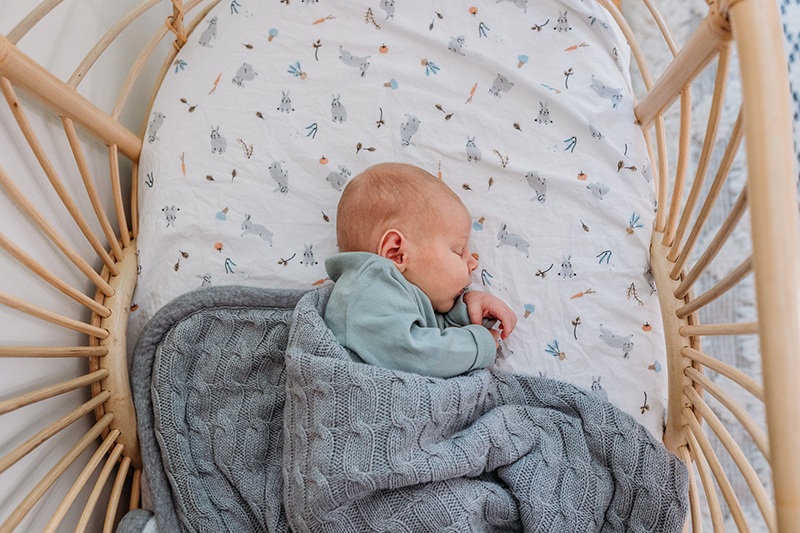
Megan Browne, CLG Advanced Grad
Lauren Kennedy, CLG Enthusiast Grad
Don’t forget wide shots, and when photographing a cot/crib in this way, leave some negative space at the top for balance.
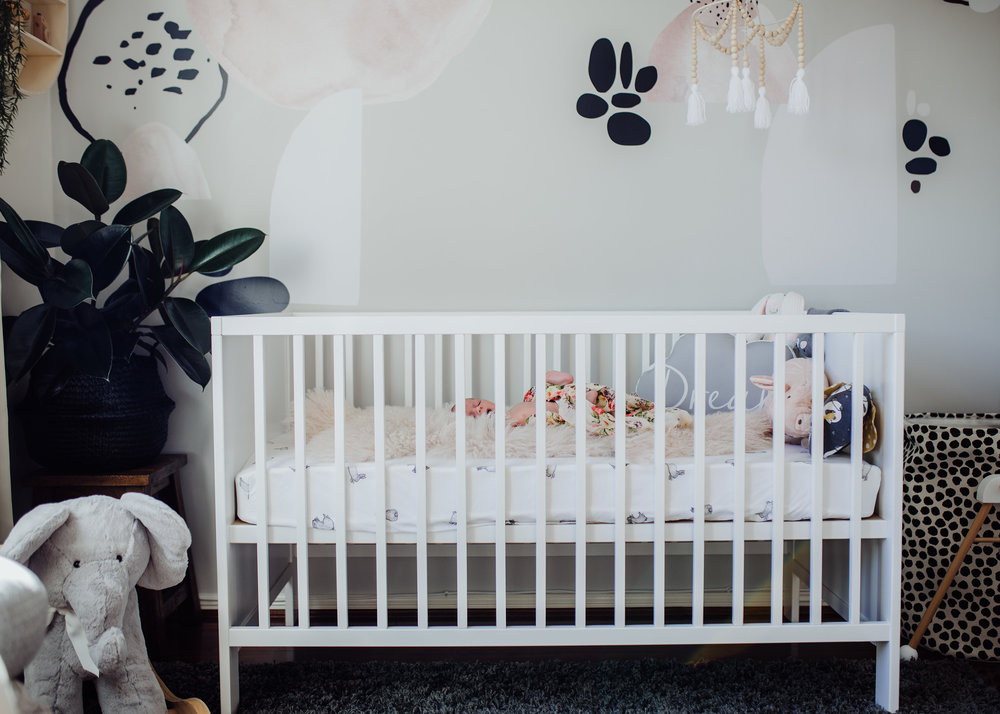
Lauren Kennedy, CLG Enthusiast Grad
Shoot from multiple angles and perspectives for a variety of DIY newborn photos without even needing to move your baby.
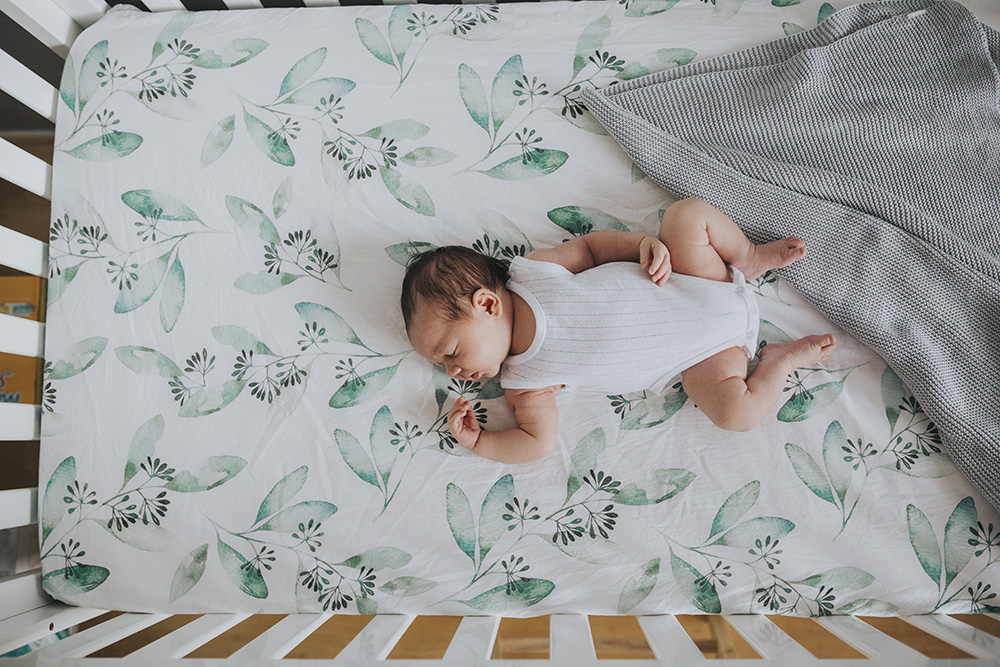
Lauren Kennedy, CLG Enthusiast Grad
If your baby’s bed isn’t near a good source of natural light, and you can’t move it, shoot with the widest aperture your lens allows (lowest f stop value) and high ISO.
Related: Embrace High ISO (and get better results!)
Lauren Kennedy, CLG Enthusiast Grad
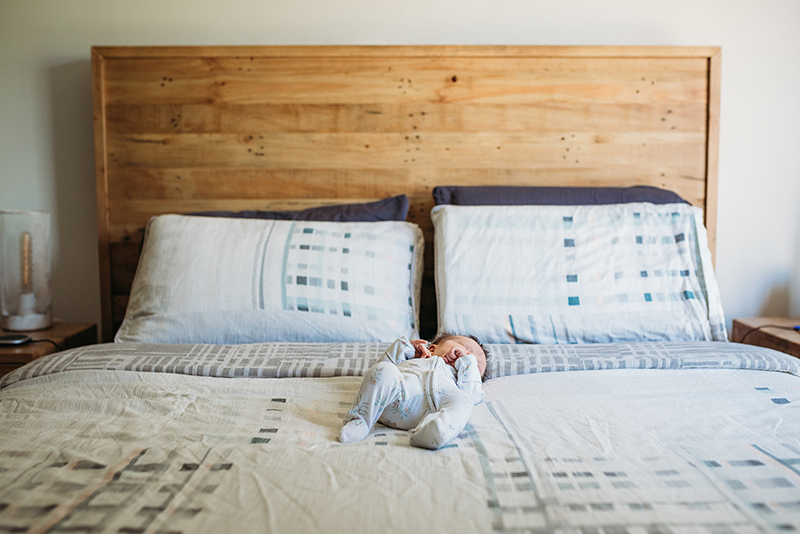
Your own bed is a lovely big space that will allow you to shoot wide frames and still fill the frame with the bed. Secondly, including all this negative space is a great way to highlight your baby’s size.
Step back for a wide shot and take away any surrounding elements that don’t need to be there and could clutter up your photos.
Related: Clear the Clutter
Megan Browne, CLG Advanced Grad
The beauty of a bassinet for your DIY newborn photography session is the ability to place it wherever the good light lives. Winning!
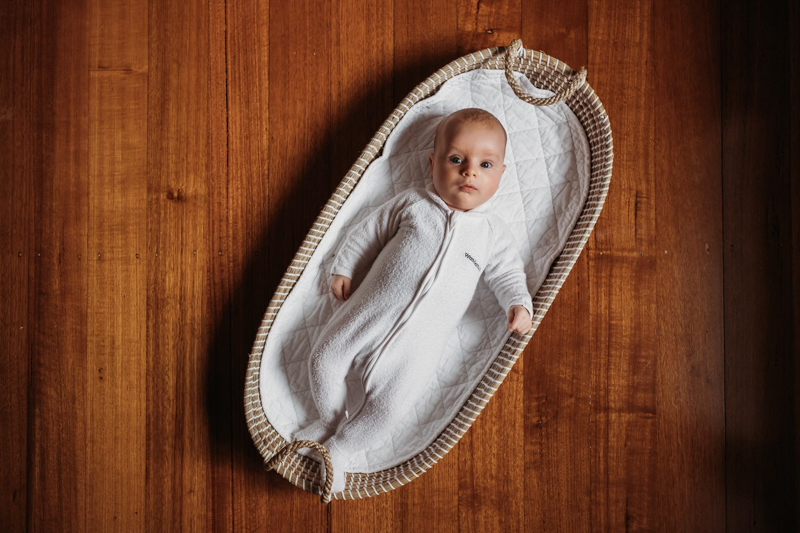
Merissa Wakefield, CLG Advanced Grad
Add some pattern via baby, and casually drape a wrap diagonally across the bassinet, flowing over the floor to add interest. Additionally, this will connect the bassinet and baby to the negative space, bringing balance to the photo. Notice what a big difference this one small change makes?
Related: Photographing Your Baby’s Milestones – A First Year Photoshoot

Merissa Wakefield, CLG Advanced Grad
5. What To Capture
There are only so many ways to pose a newborn! Still, you can get variety in your DIY newborn photo session by taking lots of pictures of the same set-up:
- Get in close to the baby and shoot the details
- Get headshots
- Step back and take full body shots
- Change your perspective and vary your angles
Vary Your Angles
Try every angle possible whilst looking through the viewfinder. Just shoot it! You never know.
- Get down low and shoot side on
- Stand up and shoot directly down
- Compose from baby’s head down, and
- From the feet up
- Raise yourself up for a perspective that is higher than eye level but not directly overhead.
So with those compositions in mind, use them on one or more of the following ideas.
Lauren Kennedy, CLG Enthusiast Grad

Lauren Kennedy, CLG Enthusiast Grad
Megan Browne, CLG Advanced Grad
Details
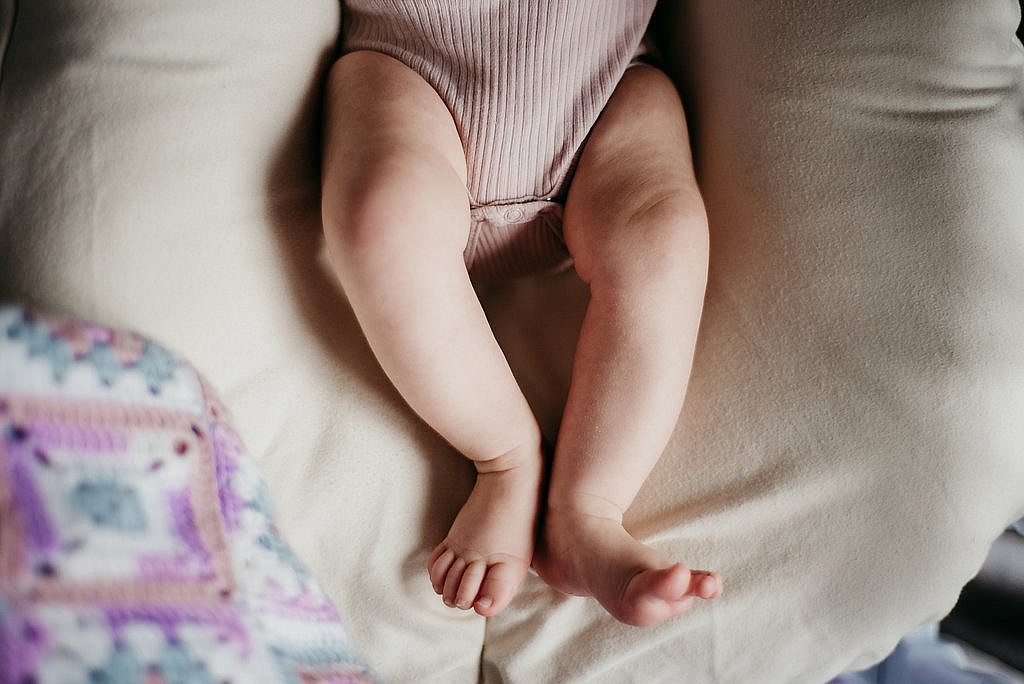
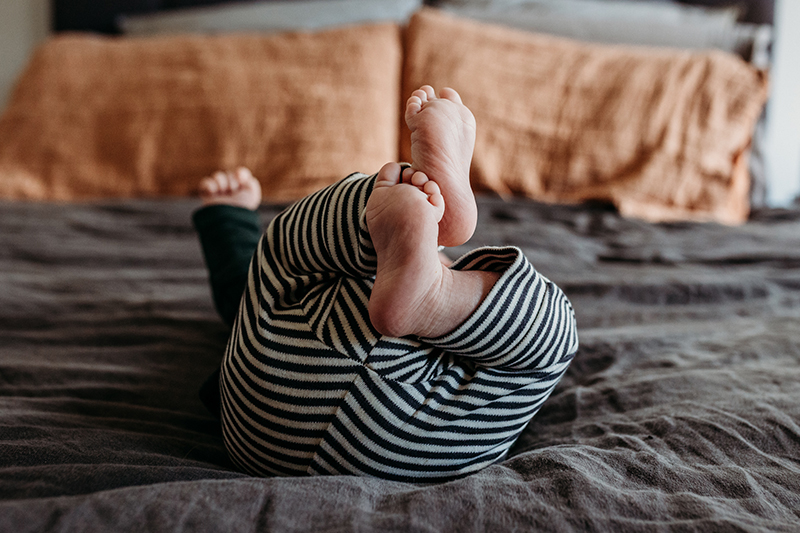
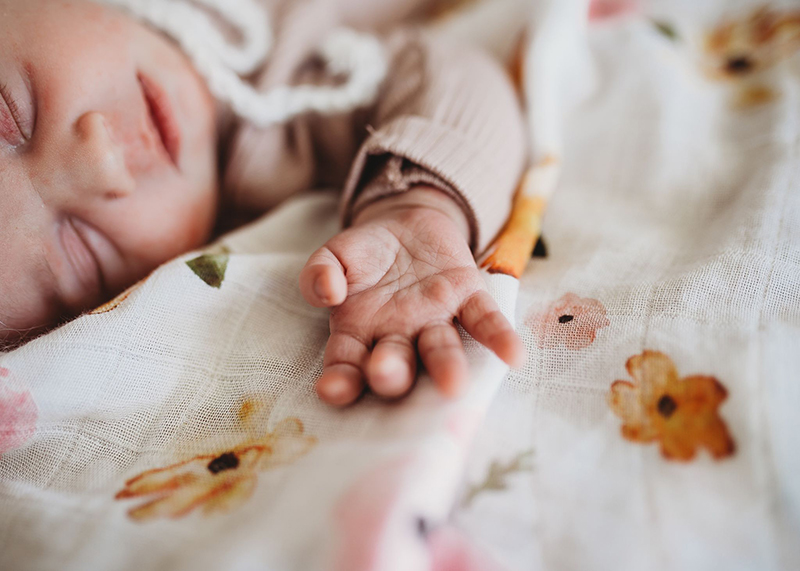
Get in close and capture those sweet details…I’m talking feet, toes, fingers, hands, wisps of hair, ears, lips.
For these shots, use a narrower aperture (higher f stop value, i.e., f/4.5) as you’ll have less depth of focus when you get in this close.

Megan Browne, CLG Advanced Grad

Merissa Wakefield, CLG Advanced Grad
Alana Prosper, CLG Advanced Grad
Megan Browne, CLG Advanced Grad
Alana Prosper, CLG Advanced Grad
Don’t forget to grab a traditional close up headshot!
Megan Browne, CLG Advanced Grad
Related: Using a Macro Lens For Newborn Photography
6. Siblings
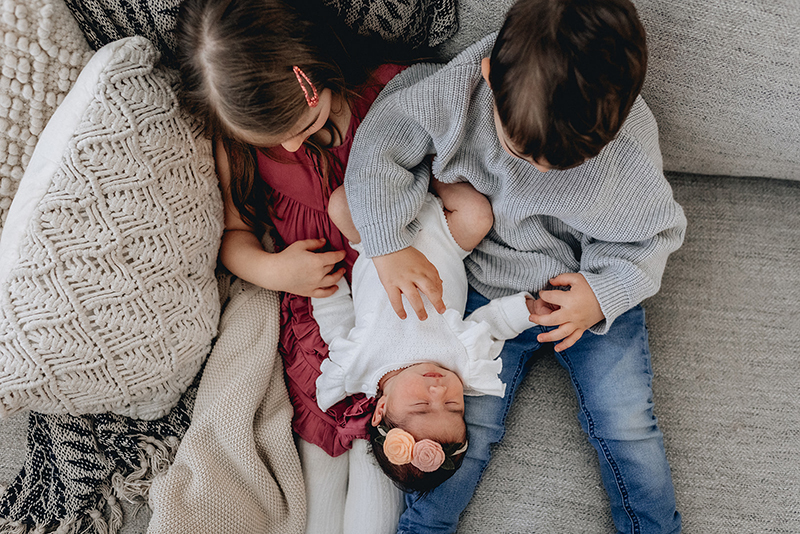
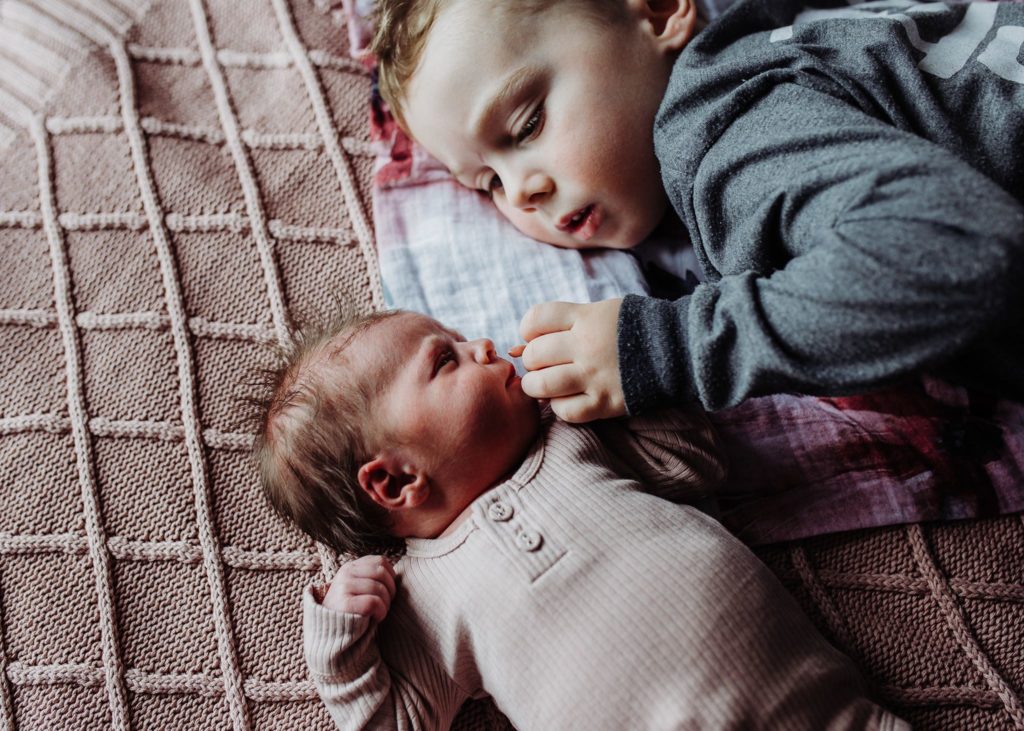
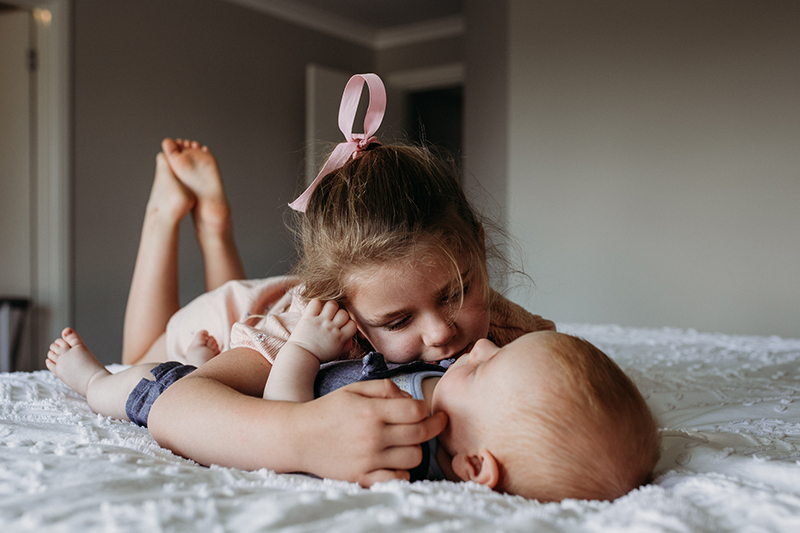
Want to include older children in your DIY newborn photos? The best piece of advice we can give is get your location and settings sorted first. Then bring in the baby and big brother or sister.
Choose a comfortable location near good light. For example, the family bed is a great place to pose them as it’s big enough to place them in the middle of the bed and keep the baby safe at the same time.

Megan Browne, CLG Advanced Grad

Alana Prosper, CLG Advanced Grad
Megan Browne, CLG Advanced Grad
Claire Eastman, CLG Advanced Grad
Megan Browne, CLG Advanced Grad

Alana Prosper, CLG Advanced Grad
Free Newborn Photography Class
We hope you enjoyed our tips for beautiful newborn photos! If you want more, watch our FREE CLASS with talented newborn photographer Megan Browne:
3 Beautiful Set-Ups for Newborn Photography at Home
Click HERE to watch and you’ll also get access to a step-by-step newborn editing video Megan has recorded for you to show you how she transformed the image below!

Leave a Reply
PRIVACY POLICY & SITE TERMS AND CONDITONS
CLICK LOVE GROW ™ Pty Ltd - COPYRIGHT 2024 ©
x
Join Now
Enter your info below to join the challenge!
Want a friendly reminder when I go live?
Pop in your number and I’ll shoot you a text.
* We will send text reminders for our live calls during the challenge! Reply ‘STOP’ to end or ‘HELP’ for help.
We promise not to ever share your details with anyone or send you spam! Check our privacy policy and terms of service.
Be the first to comment