9 Tips for Beautiful Outdoor Cake Smash Photos
DIY Outdoor Smash Cake Photos
Capturing your own outdoor cake smash photos is a really fun way to mark the most special day on your baby’s calendar…their first birthday! But…this is a session type that can be hard to nail, and oftentimes people just can’t put their finger on what went wrong.
The fact is, the elements that make the difference between a professional smash cake photo shoot and (gasp!) a Pinterest fail are very subtle. Seemingly small details, but they make a huge difference to your photos!
So we’re here to unravel the mystery!
In collaboration with Click Love Grow grad Heidi Talic, we’re sharing 9 essential tips that will help you style and capture your outdoor cake smash photos so beautifully your friends will think you paid a professional!
1. Styling
Styling is one of the most important aspects of your outdoor smash cake photos! Often when the photos fall flat, it’s the styling that has let it down. And by that, I specifically mean props, colour, or both.
Colour
When it comes to choosing colours, the key to success is avoiding jarring combinations. The easiest way to do this is to search online for colour palettes, as they’re usually guaranteed to look good together.
If you can’t decide, choose your first element, then find a palette that includes that colour and build everything else around it.
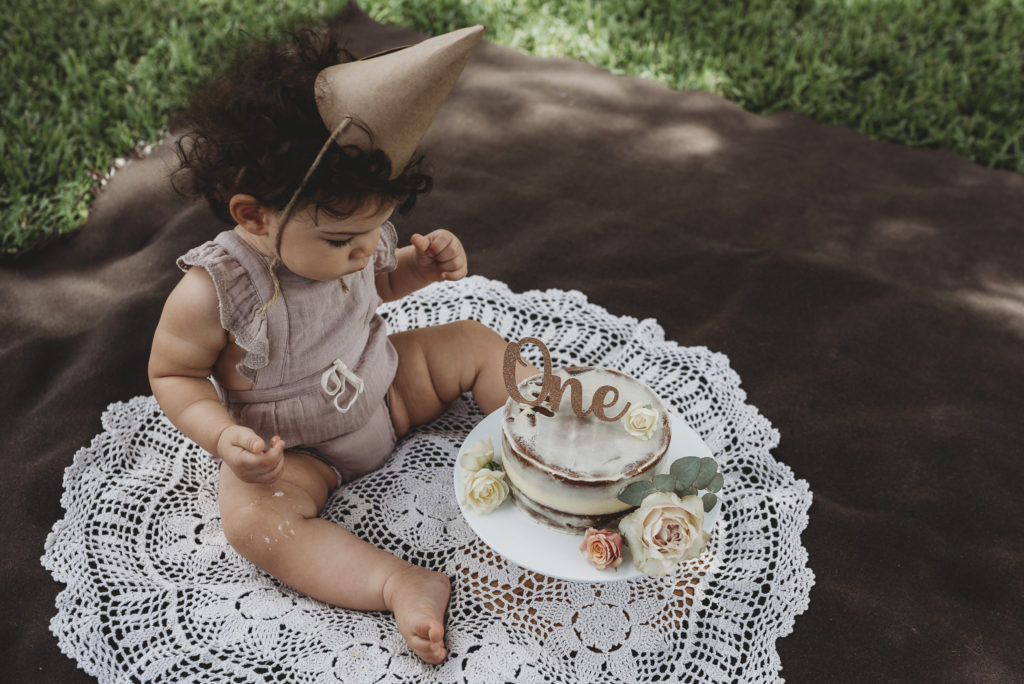
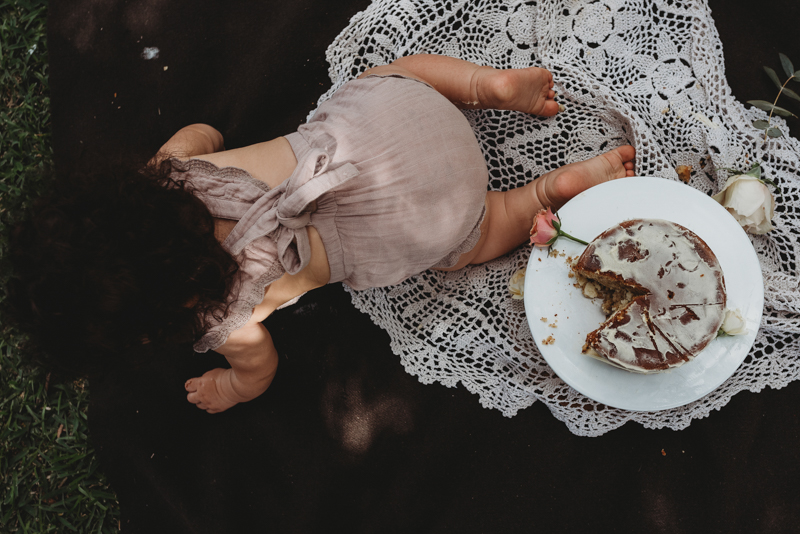
All the elements in Heidi’s outdoor cake smash photo session were chosen to complement the mushroom coloured romper. Moreover, two neutral colours of cream and white were added for balance, seamlessly creating a winning, harmonious scheme.
Note there are 5 colours in this scheme, but it works because the tones are muted. If you were using stronger colours, you’d need to keep it to a minimum so as not to overwhelm.
Note the strong colours are added in smaller items, and the larger items are neutral. A seemingly small thing, but this is a very deliberate styling choice that works with good reason. If the lace cloth had been the deep apricot colour, it would have taken over due to its size relative to the other elements.
Props
I know I know…there are so many cute props available for outdoor cake smash photos! But as tempting as it might be, use restraint and limit to a handful.
This is another way in which smash the cake photos often fall flat! Too many props can make the photos feel cluttered, forcing your little subject to compete for your viewer’s attention.
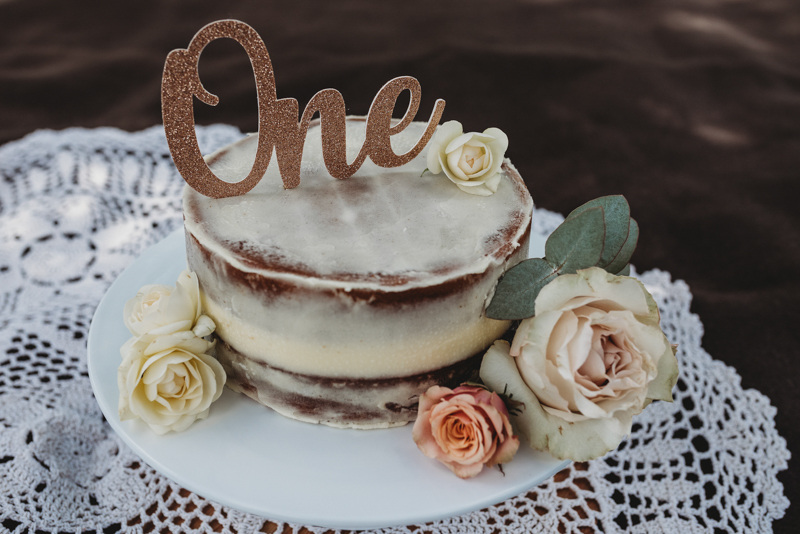
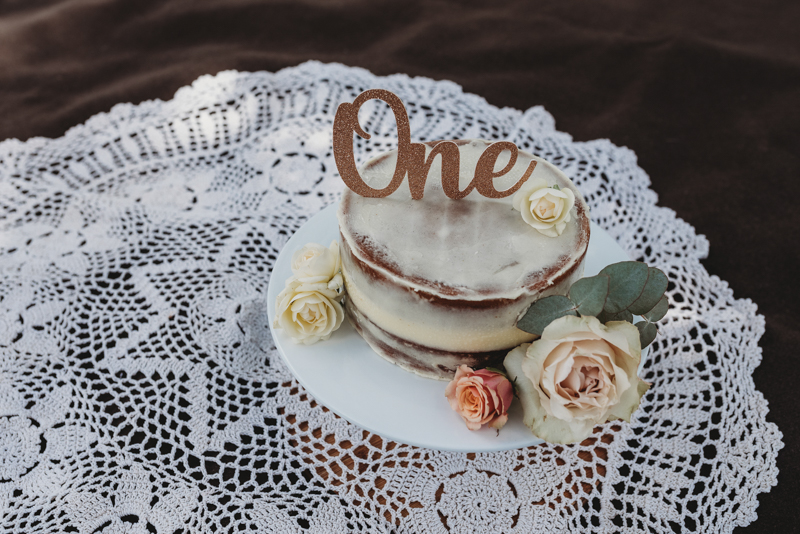
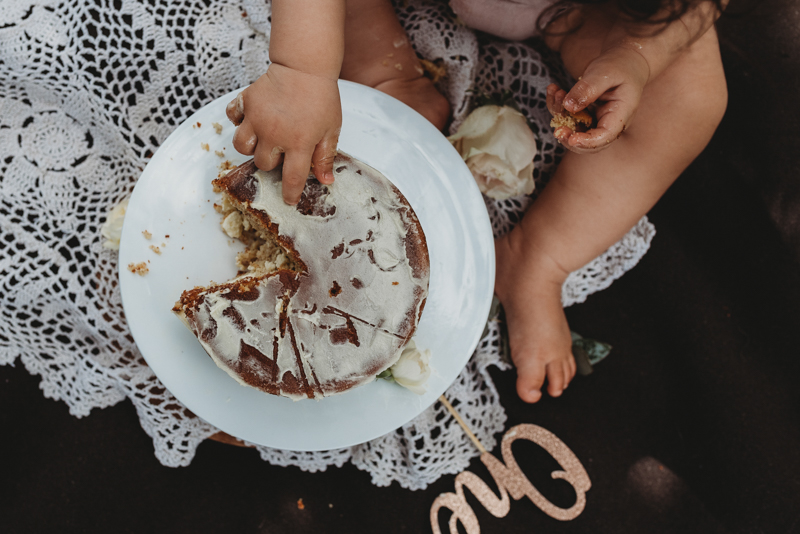
The props for this session were simply the cake, a cake stand, a ‘one’ cake topper, a few roses, a cute simple party hat — no logos or characters — and a vintage lace tablecloth.
Related: Clear the Clutter!
2. The Cake
This will blow your mind!
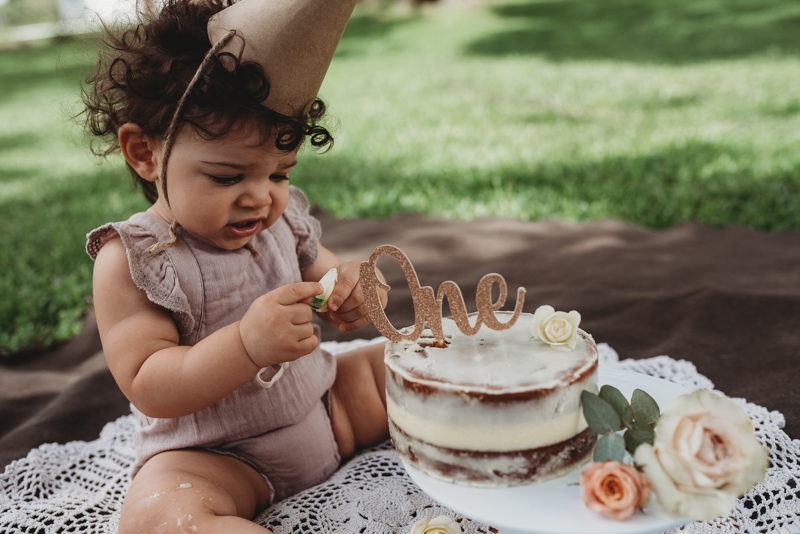
Believe it not, in our graduate community we frequently hear stories where grads have put in a LOT of work to set up for smash cake photos. They bring the baby in, and…the baby won’t eat cake!
What the what?? True story!
Reduce your risk of cake smash photos without the smash by doing the following things:
- Time the cake smash photo session for when she’s hungry;
- Ensure the cake is a mild flavour to appeal to a baby’s sensitive taste buds;
- Cut a slice out of it (but don’t forget to get the cake photo first!); and
- Get it out of the fridge early — babies often reject cold cake!
Wow! Mind blown!
Cake Photos
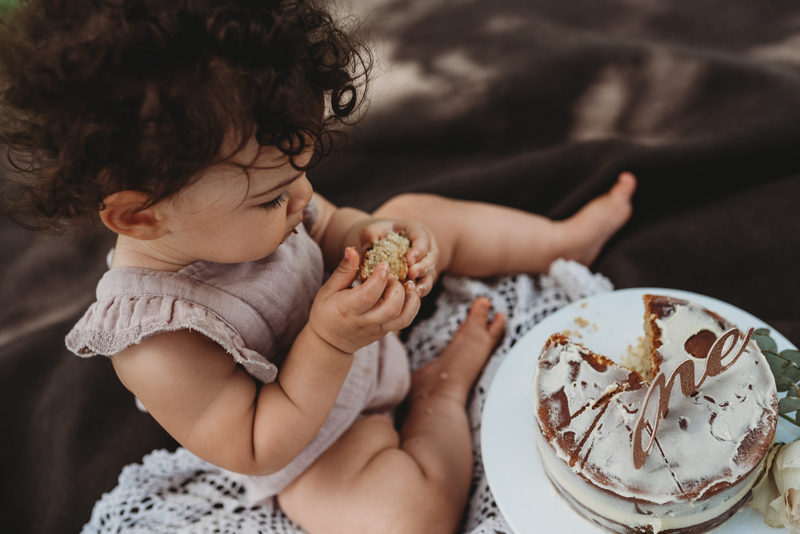
Don’t forget to grab a shot of the cake before you bring the baby in and it gets demolished!
Also, get down to eye level. It’s the easiest way to show off the details, but, surprisingly, it’s a common mistake people make in their photos: taking everything from a stand position without really thinking about what they’re capturing.
Get in close and choose an aperture that will give you a nice area of focus, whilst still giving you a blurry background.
Related: Blurry Backgrounds with a Kit Lens
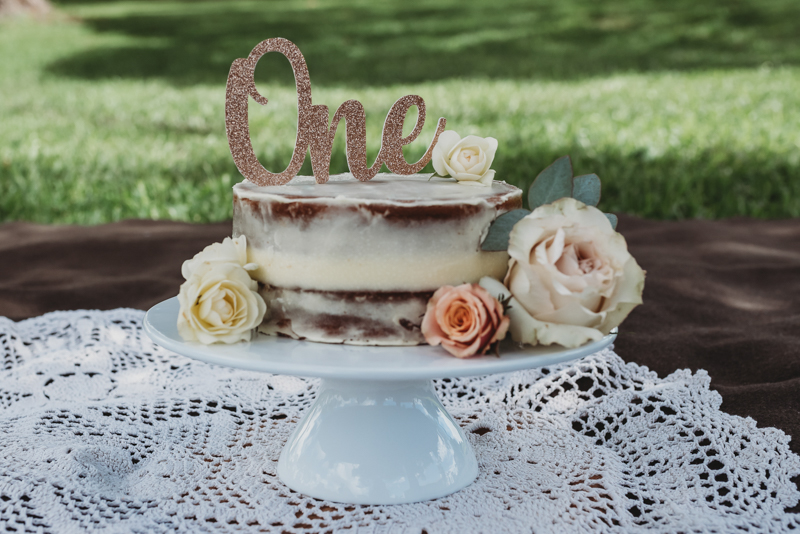
SS 1/1250 Aperture f/5.6 ISO 640 Focal Length 35mm
Also, take a few frames…close up and wide, as well as eye-level and looking down, to get the detail on top.
3. Light
For outdoor cake smash photography, look for soft light outdoors as it’s the most flattering on faces. You can find soft light in an open shaded area such as a back porch or under a tree — make sure it’s quite dense and doesn’t create dappled light on your subject’s face.

Or under a tree, but make sure it’s quite dense and doesn’t create dappled light on your subject’s face.
4. Location
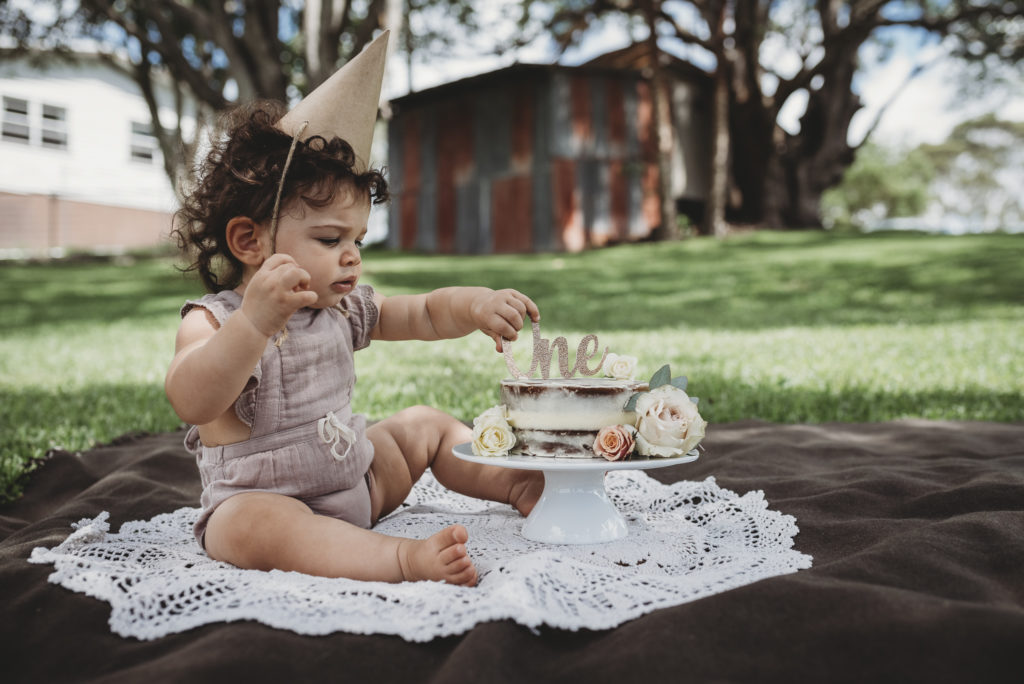
As well as light considerations, when choosing an outdoor location for the cake smash, make sure the background is clutter free.
You should be mindful of harsh backlights, which can also work as an unattractive distraction in your photos.
Put as much distance as you can between your subject and anything in the background for a lovely background blur. Move anything that doesn’t need to be there, assuming it’s portable! Think objects such as a bin, a bike, stray toys, garden tools, etc.
5. Camera Settings
Exposure
Remember, babies have a short attention span, so always get your settings sorted before bringing your little one in!
The last thing you want is for the baby to start without you as you fiddle around trying to get your settings right!
Shutter Speed
I recommend a fast shutter speed of 1/400 as a minimum to eliminate any unwanted blur you could expect from the speed of motion that can come when taking outdoor cake smash photos.
Aperture
Choose an aperture that is wide enough to blur your background but narrow enough to help you nail focus — given the baby may be moving a bit. If you feel confident with your ability to focus using very wide apertures, you could open up to around f/2.8.
If you’re less confident, try around f/3.5 to f4 but bear in mind the resulting depth of field will vary a little depending on the distance between baby and cake, and your focal length.
Then choose an ISO to balance the other two settings and achieve a nice light exposure.
Related: How to Get Sharper Photos of Kids in Motion
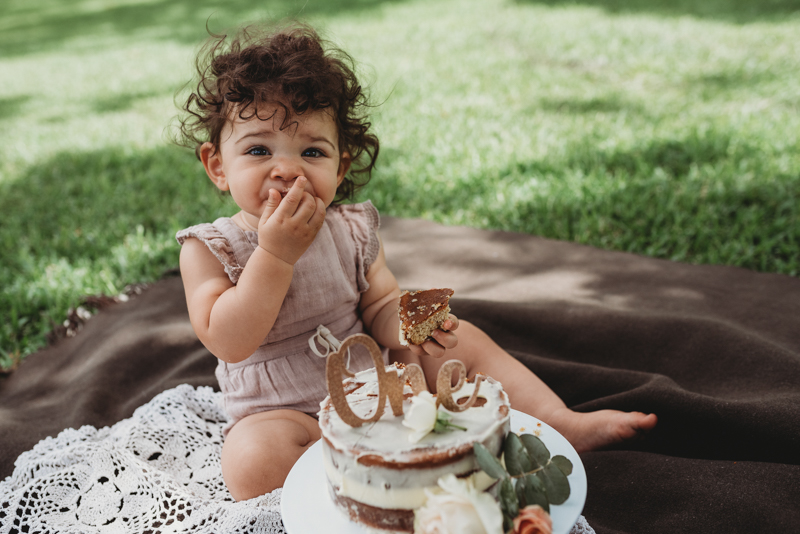
SS 1/2500 Aperture f/3.5 ISO 640 Focal Length 35mm
6. Lens
For smash cake photography, we recommend a wide-angle, which allows you to get in close whilst still incorporating the environment.
It also enables you to be close enough to engage the baby. It would be quite difficult to take outdoor cake smash photos with a long lens (e.g., longer than 50mm) because it requires you to be too far away from the baby to control the action.
This series was shot with a 35mm lens on a full-frame camera, roughly the equivalent of a 24mm on a crop sensor (entry-level) camera. 35mm on a crop sensor camera would also be ok.
7. Compositions
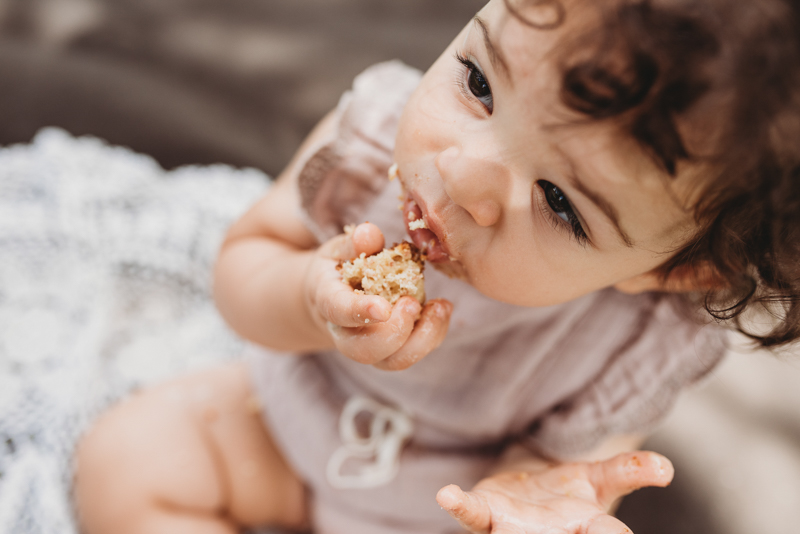
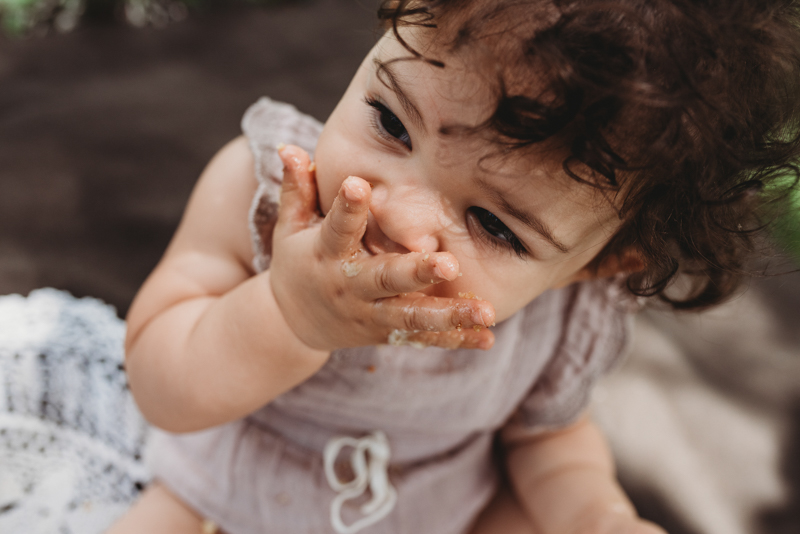
The best perspective for smash cake photos is to get down low and shoot at eye level. It’s a great way to capture a baby eating the cake, makes engaging her easier, and, as a bonus, it helps the viewer better connect with her.
Related: Get Down to Their Level
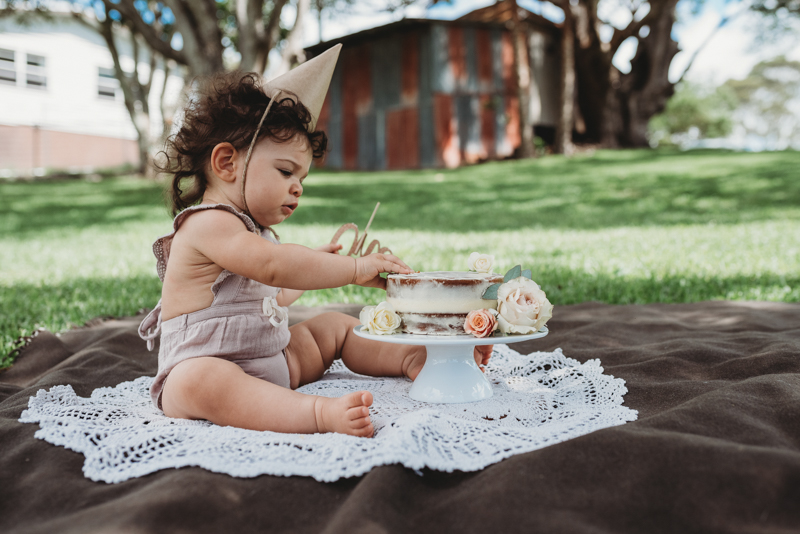
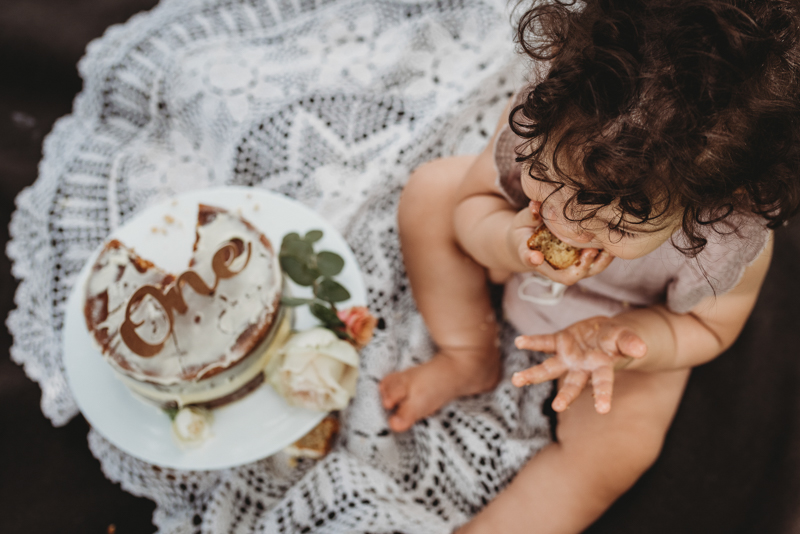
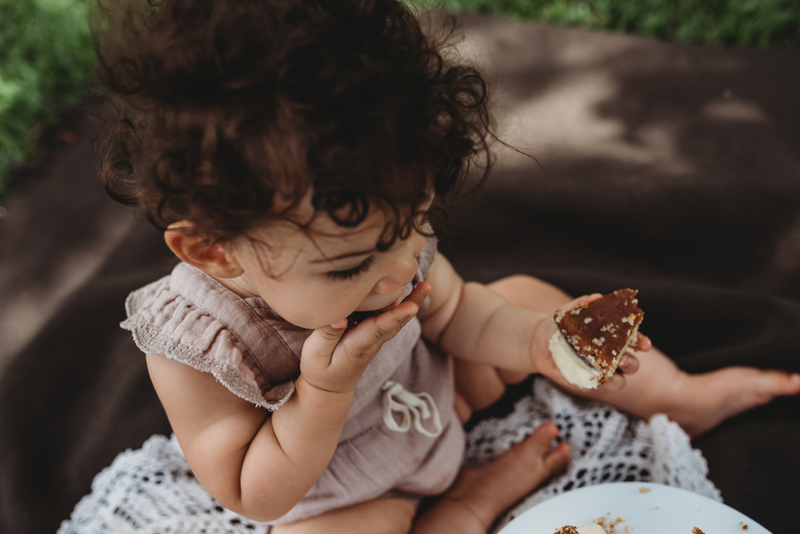
When shooting outdoors from your own standing height, do so with purpose. Get up and shoot down to show the action from a different perspective and to create variety in your cake smash photos.
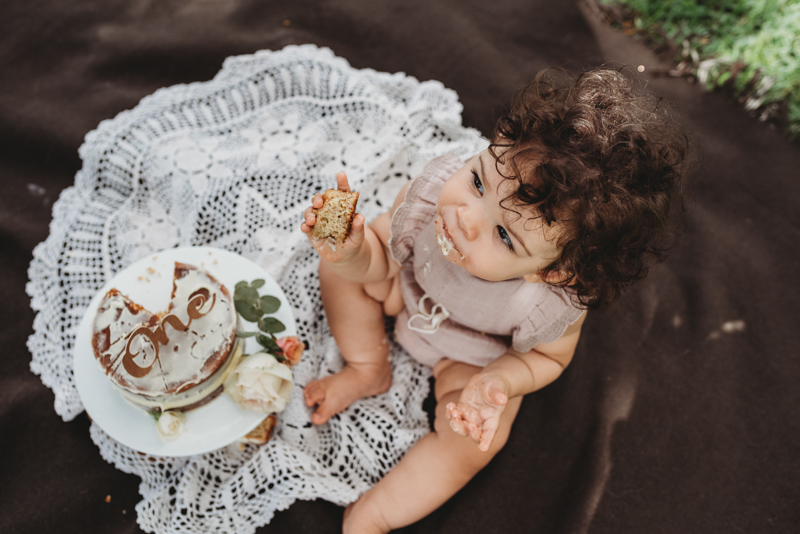
When shooting from your own standing height, do so mindfully.

8. Portraits
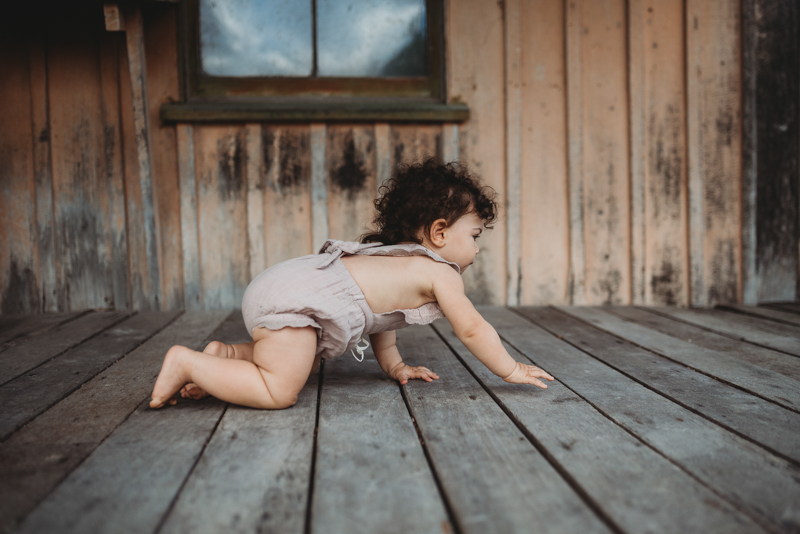
Heidi always makes a point of taking some more traditional (aka no cake!) first birthday portraits when she’s shooting an outdoor cake smash photo session.
Even though we’ve placed this at the end of this tutorial, we recommend getting the shots at the start, before her gorgeous outfit is covered in cake!
The key elements to these portraits, which make the difference between professional photos and snaps shots are:
- Soft light
- Lack of clutter
- Shallow depth of field (wide aperture)
- Tack sharp focus
Ensure you control the focus by manually selecting your focus point and aiming it over one of her eyes.
Related: Master your Focus
Related: How to Shoot in Manual Mode
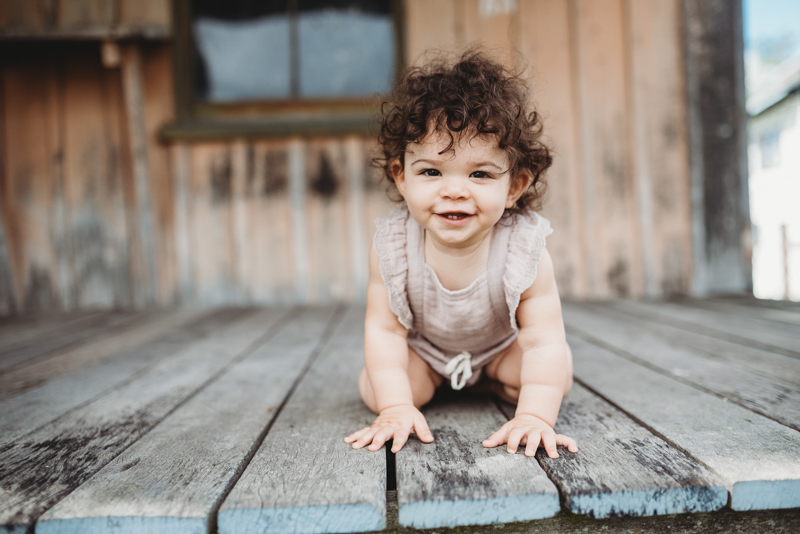
SS 1/4000 Aperture f/2 ISO 640 Focal Length 35mm

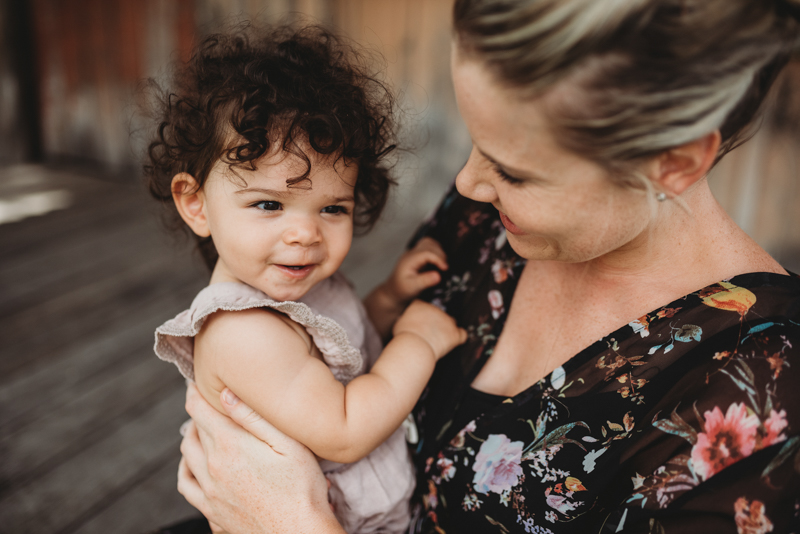
While you’re at it, get some mummy and me portraits as well. Remember, the smash cake moment is yet to come, so be mindful not to wear her out before you’ve even started that part of the session. Make these ones quick, then move on to the cake smash photos.
Related: 21 Gorgeous Photos of Mums Getting In The Frame
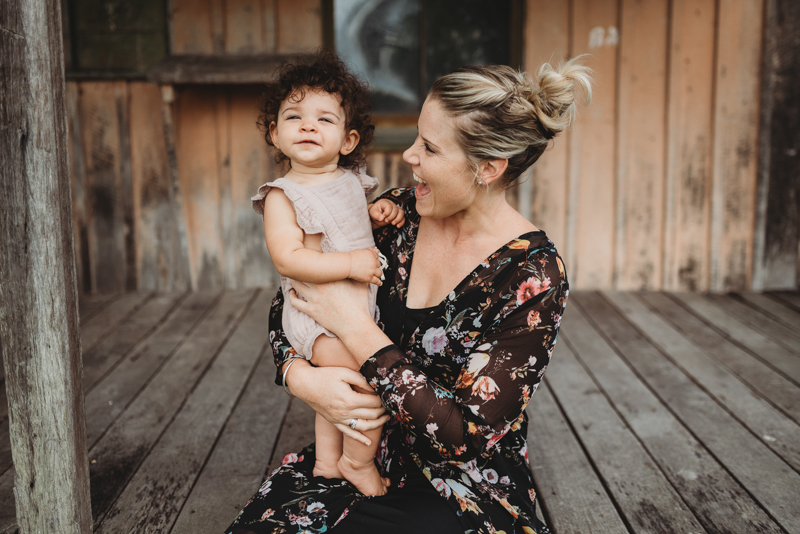


Related: 7 Tips for Gorgeous Motherhood Photo Sessions
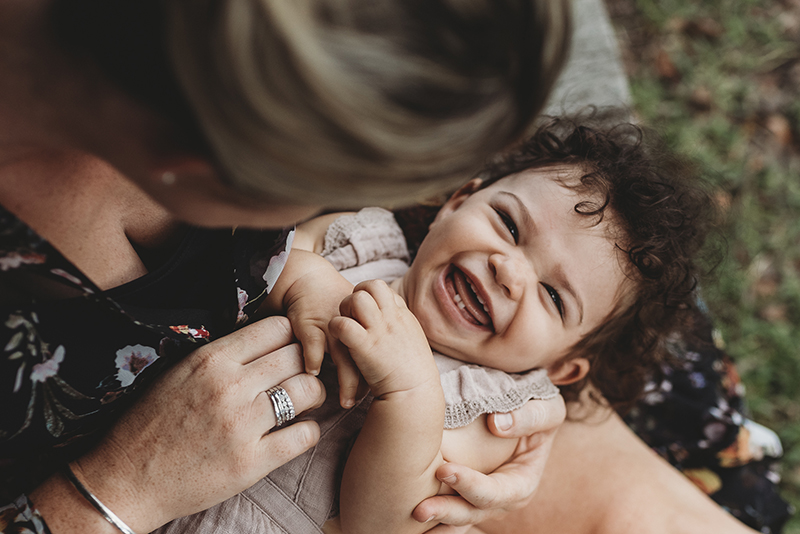
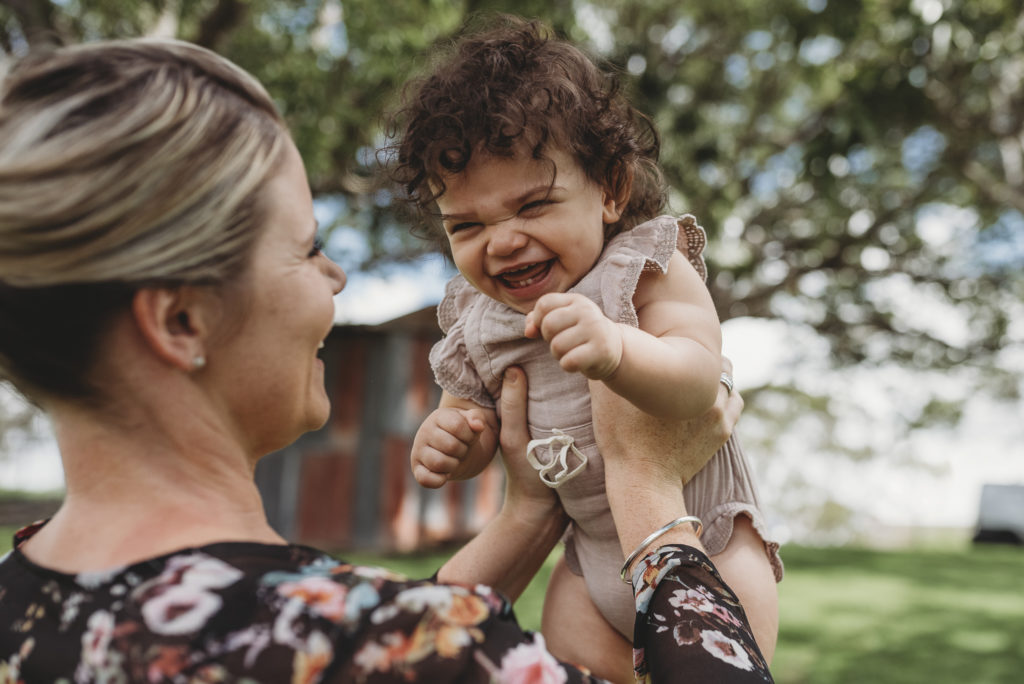
Who’s Minding The Cake?!
A tip from Heidi is to protect the cake when outdoors! If you put it down to deal with other things, or whilst you’re doing the traditional portraits, make sure it doesn’t get eaten by ants! There are no cake smash photos without a cake!
So better yet, maybe just leave it indoors until you’re ready for it!
9. A Milk Bath Clean Up
Always capture the clean up, because: cute!
And what better way to follow up your outdoor cake smash photos than with a little milk bath session?!
Use a tub that photographs well, i.e., vibrantly coloured plastic tubs don’t photograph well!
This neutral coloured tub doesn’t overwhelm the images, and that’s key in these shots working. The little rust adds some interest and a vintage feel.
Heidi arrives with hot tap water in milk bottles and a thermos of boiling water and adjusts the temperature when she gets there. For this set up she used around one litre (1/4 gallon) of milk.
Put bub in first, then add the flowers, fruit or other decoration if you’re using them.
Safety Note
Make sure mum is in charge of baby safety in the water. It’s easy to get distracted taking photos and making funny faces, and it only takes a second for bub to slip, so make sure mum is close.

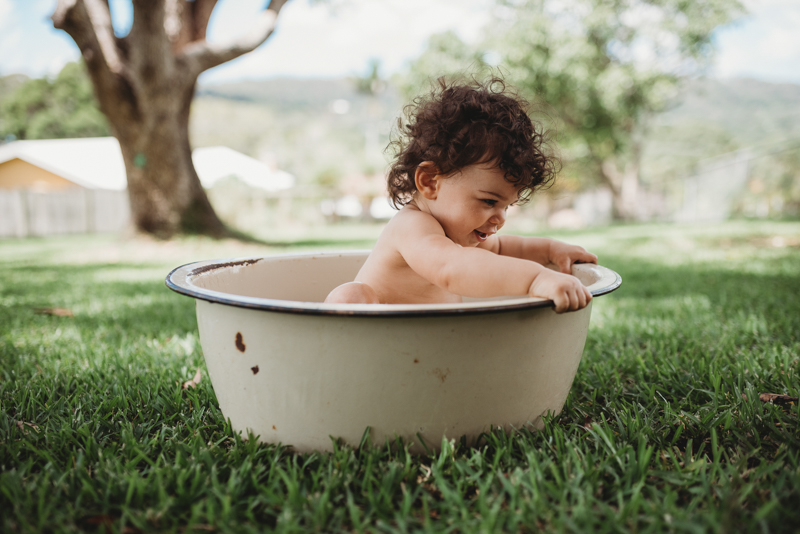
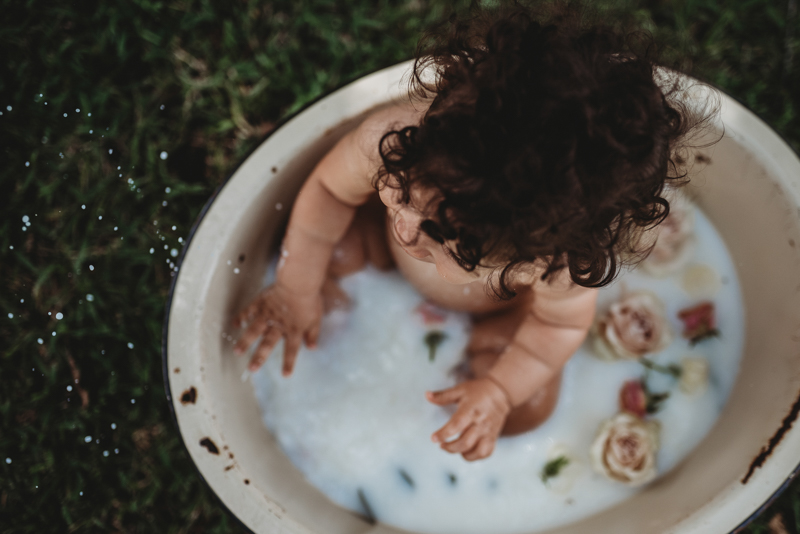



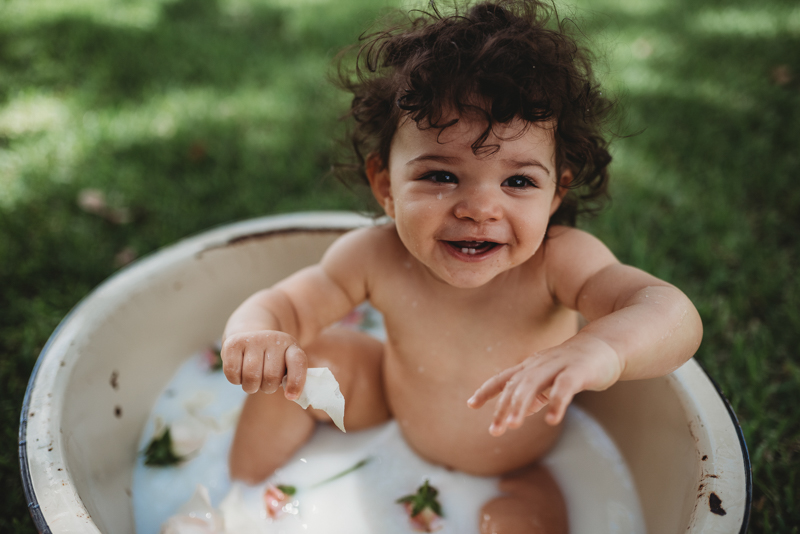
Last but definitely not least, yet more opportunity for a few quick portraits!
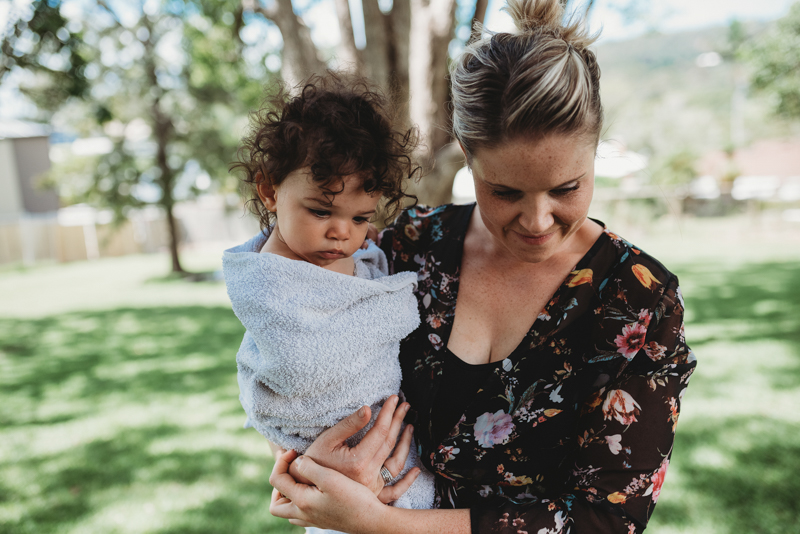

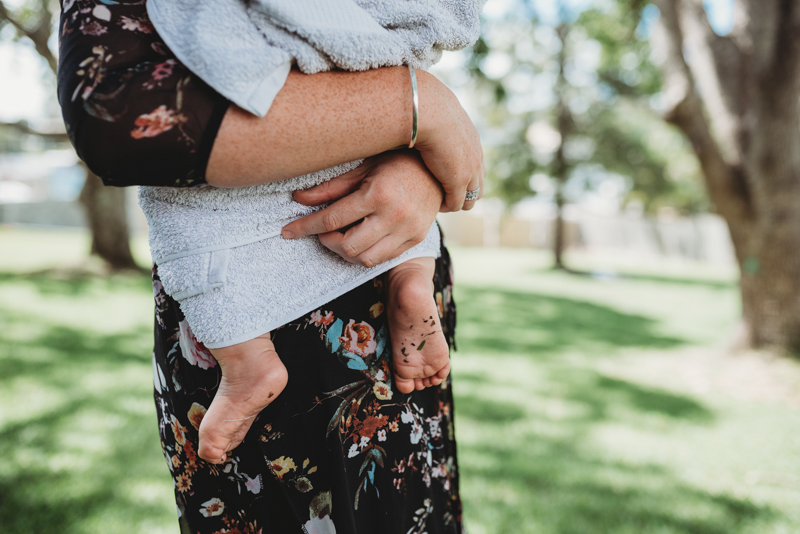
So what do you do if the weather doesn’t permit outdoor cake smash photos? Head indoors! Check out our DIY Indoor Cake Smash Photos tutorial.
Free Photography Workshop
Join my brand new workshop and learn How to Shoot Pro-Quality Photos With Your DSLR…it’s totally FREE to join! Register here…

Leave a Reply Cancel reply
PRIVACY POLICY & SITE TERMS AND CONDITONS
CLICK LOVE GROW ™ Pty Ltd - COPYRIGHT 2024 ©
x
Join Now
Enter your info below to join the challenge!
Want a friendly reminder when I go live?
Pop in your number and I’ll shoot you a text.
* We will send text reminders for our live calls during the challenge! Reply ‘STOP’ to end or ‘HELP’ for help.
We promise not to ever share your details with anyone or send you spam! Check our privacy policy and terms of service.
[…] The article by Click Love Grow gives tips on how to DIY cake smash photo sessions in outdoor. Read more here! […]