Photo Inspiration at Home – Finding Magic in Your Everyday
You don’t have to leave home to find photo inspiration, and indulge your love of photography. And when looking for ideas on what to shoot, we looked no further than Alice Mariette – award-winning photographer with an eye for the little things and the heart of an artist. And as a mother of 3 including toddler twins, she’s mastered the art of wandering around during nap times, harnessing magical light and capturing slivers of her life in exquisite imagery.
So today Alice is sharing her unique way of viewing her world, as photo inspiration for those of you who are stuck at home (or confined to your immediate neighbourhood!).
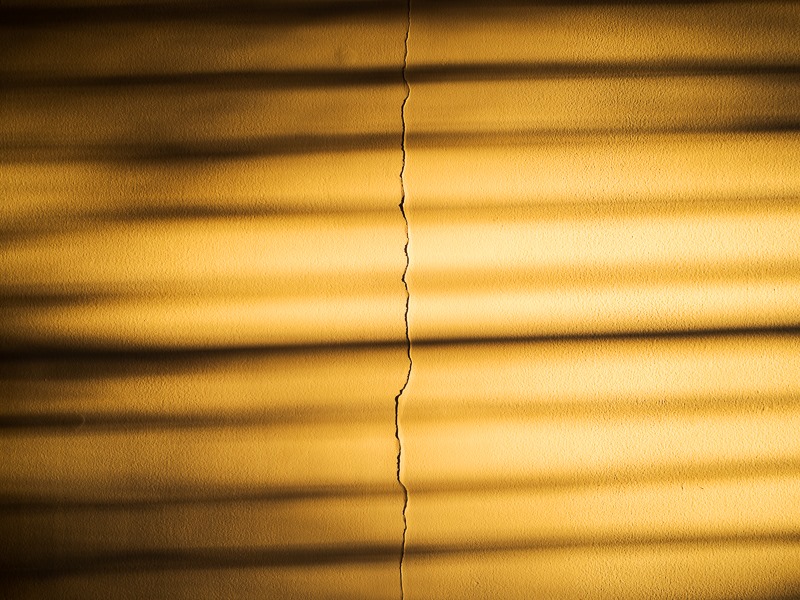
Find Magic in Your Everyday
With a lot of us spending more and more time at home these days, you might find yourself losing your photography mojo – I know I have! Without trips to new places to explore and no travel whatsoever for many of us, you might be at a loss for what to shoot. Maybe your camera is gathering dust on the shelf!
Well, it’s time to pick that camera up again, as there is magic all around you, even in your home and backyard. Read on for some photo inspiration!
What’s In My Camera Bag
First up, gear. You can use any camera with manual mode capability, and any lens combination. There are no rules.
I shoot with Olympus gear and have an OMD EM1iii, which I mainly use with my Panasonic Leica 15mm 1.7 lens. I also have:
- Olympus 12-40mm 2.8 lens
- Olympus 60mm 2.8 Macro lens
- Voigtlander 25mm 0.95 manual focus lens.
I also have an Olympus TG6 underwater point and shoot, which I love, and a fish eye lens attachment for it.
Let’s dive in!
Light Stalking for Photo Inspiration
Photo inspiration comes to me in the form of light, and in fact one of my favourite subjects around my home is the light itself. I have hundreds of images of light spots and patterns on walls, floors, furniture, you name it. Almost any subject will do, even the dirty dishes in the sink.
The dishes never looked so beautiful.
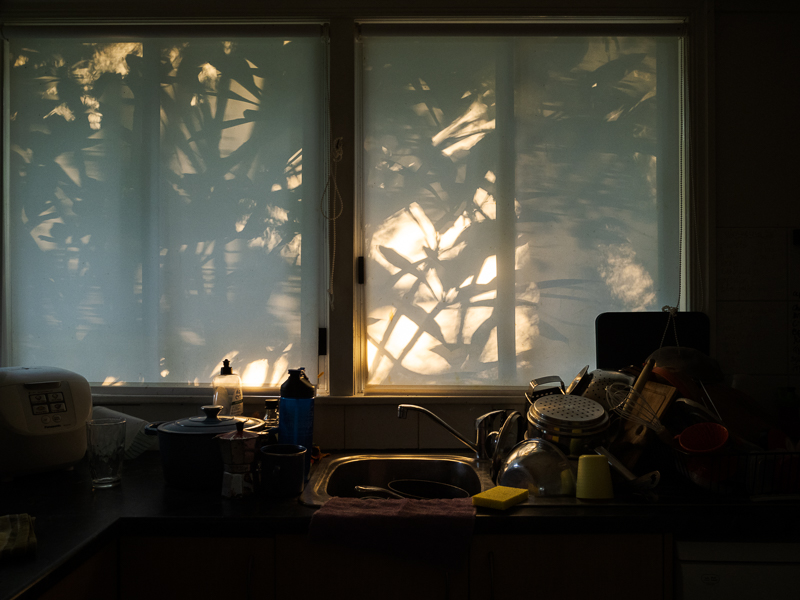
15mm (30mm equiv), f/3.5, 1/25sec, ISO 800
Start to take notice of the light in your home and ask yourself these questions…
When and where does it shine into your house?
It might come in different windows at different times of the day. It might shine in for just a few minutes, through a gap in the trees or buildings. Or it might enter your home reflected off a car outside or a neighbour’s window.
What strength is it?
Morning light is gentle and soft, creating mellow shadow lines. Whereas the light around midday and early afternoon tends to be harsher and creates stronger, more sharply defined shadows. Both can be used to your advantage and create completely different looks.
What colour is it?
Warm light tends to be yellow, cool light is blue, and it can be anything in between. It’s easier to see the colour of light in images that with the naked eye, however when you start looking for it, over time your eye will become accustomed to recognising one or the other. Take some images of it and even play with placing subjects in it. I tend not to do this, as I often don’t have the time between running after kids. But I will take the minute I need to capture it as it catches my eye.
Morning sun patterns on the wall of our children’s bedroom. Note the light is warm with a hint of yellow, and soft as is the nature of early morning sun.
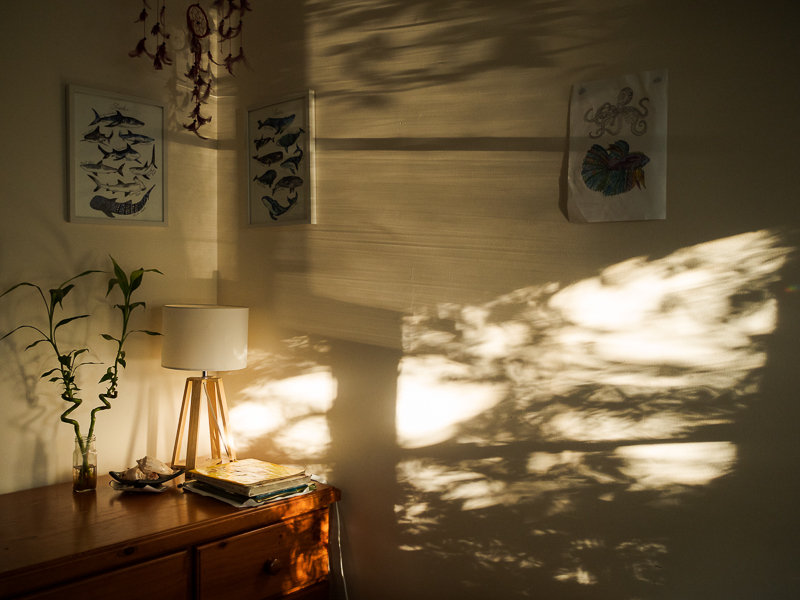
Olympus Digital Camera – 15mm (30mm equiv), f/2.2, 1/100sec, ISO 1000
The morning sun coming through the shutters on our freshly made bed. In a shot like this, expose for the brightest part of the image, in this instance it’s the light pattern falling on the wall.
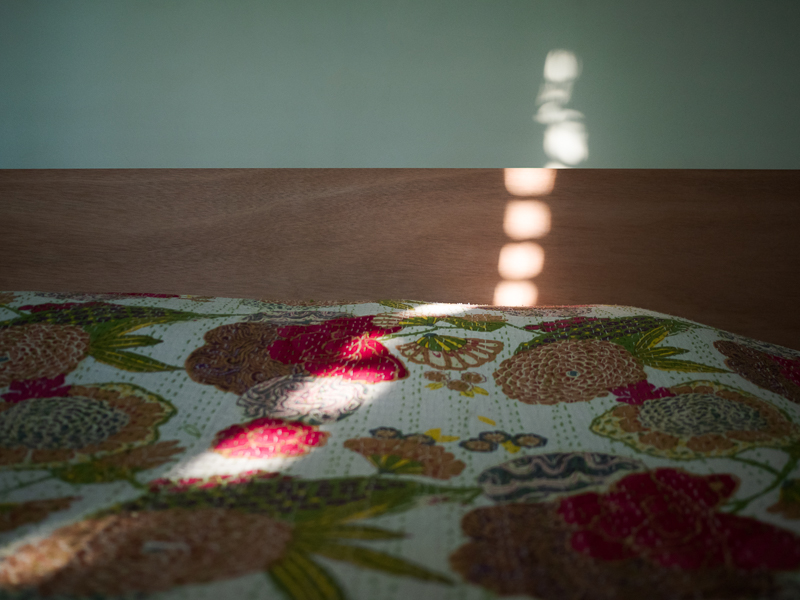
Olympus Digital Camera – 15mm (30mm equiv), f/1.7, 1/100sec, ISO 100
The golden evening light shining through the hedge into the old shed in our garden.
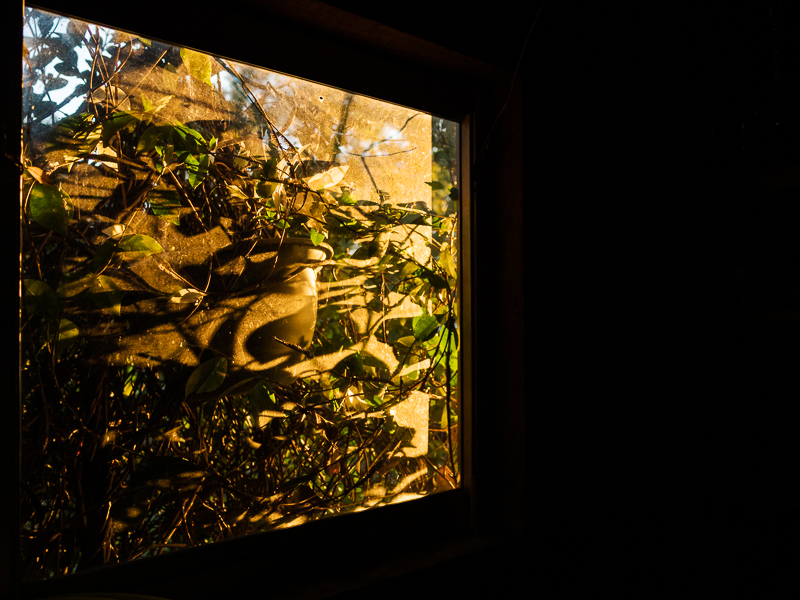
Olympus Digital Camera – 15mm (30mm equiv), f2.5, 1/200sec, ISO 400
The golden hour light illuminating my eldest son’s chalk art on an outside wall.
Related: 10 Golden Hour Shooting Tips for Beginners
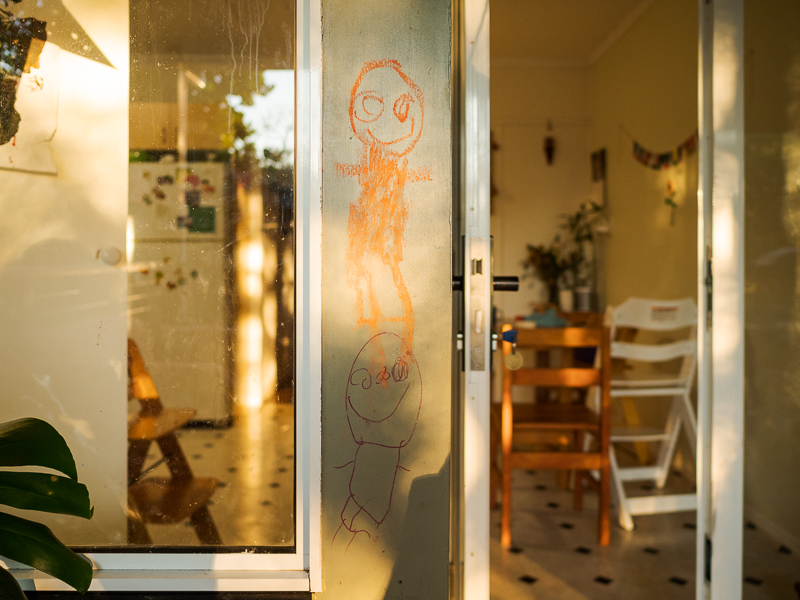
Olympus Digital Camera – 15mm (30mm equiv), f/2, 1/320sec, ISO 800
Go On a Colour Walk
Colour is everywhere and a really good mini project to do when you’re in a funk is to go on a colour walk. Take your camera and head outside for a walk around your neighbourhood. Try and find just one colour, or play with a group of colours from the colour wheel.
Related: 6 Ways to Use Complementary Colour for Dramatic Photos
Look for Striking Contrast
I tend to look for things that stand out against the mostly green and grey backdrop of the trees, grass and road. This means I have a lot of photos of rubbish on the footpath or garbage bins, letterboxes, etc but that colour pop makes for an intriguing image.
Mango season.
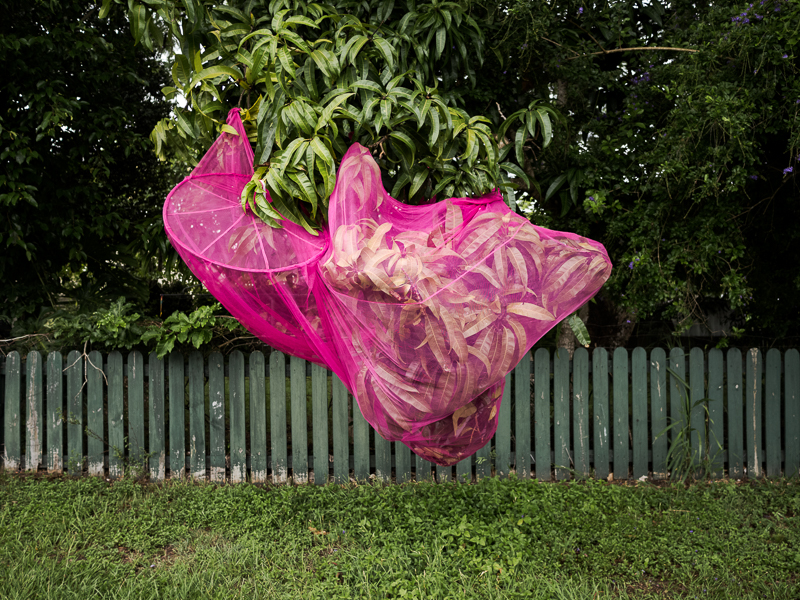
15mm (30mm equiv), f2.5, 1/125sec, ISO 800
Beauty in the Unexpected
Even a discarded shopping bag can look beautiful contrasted against the neutral tones of an urban environment.

15mm (30mm equiv), f/3.2, 1/125sec, ISO 800
Include Layers
When possible, try to include additional layers in your photos to add depth and interest. One of the easiest ways to do this is to include foreground or background elements (or both). In this shot by including the puddle the reflections add depth, texture and interest without distracting from the obvious focal point.
Children were here.
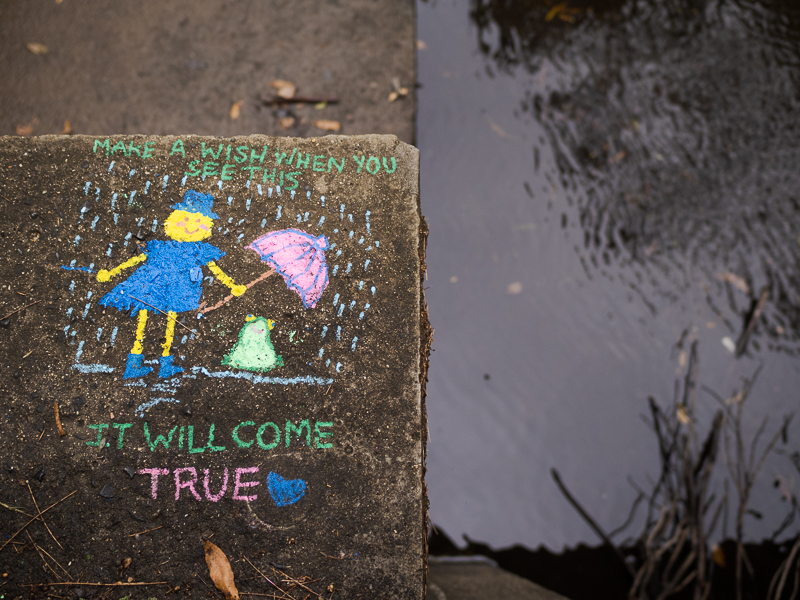
15mm (30mm equiv), f/2.2, 1/200sec, ISO 800
Easy Colour Theory
For easy impactful photos, google a colour wheel and take note of the colours opposite one another – these are complementary colours. Then look for them in objects beside one another in the environment.
Jacaranda time.
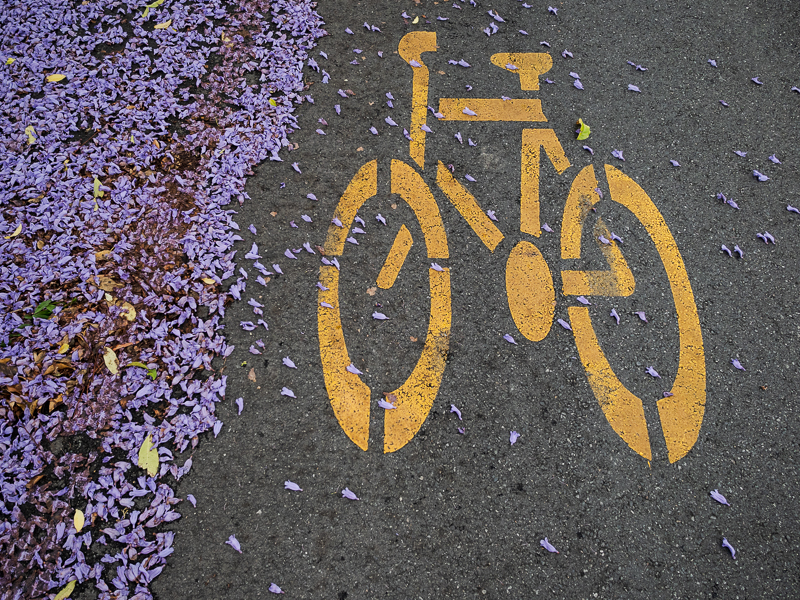
Olympus Digital Camera – 15mm (30mm equiv), f/3.5, 1/250sec, ISO 1000
Leading Lines
Notice the fence and path working as leading lines to frame the subjects and lead the viewer’s eye into the scene.
Related: How to Use Leading Lines for Visually Strong Photos
Sidewalk colours on a family walk.
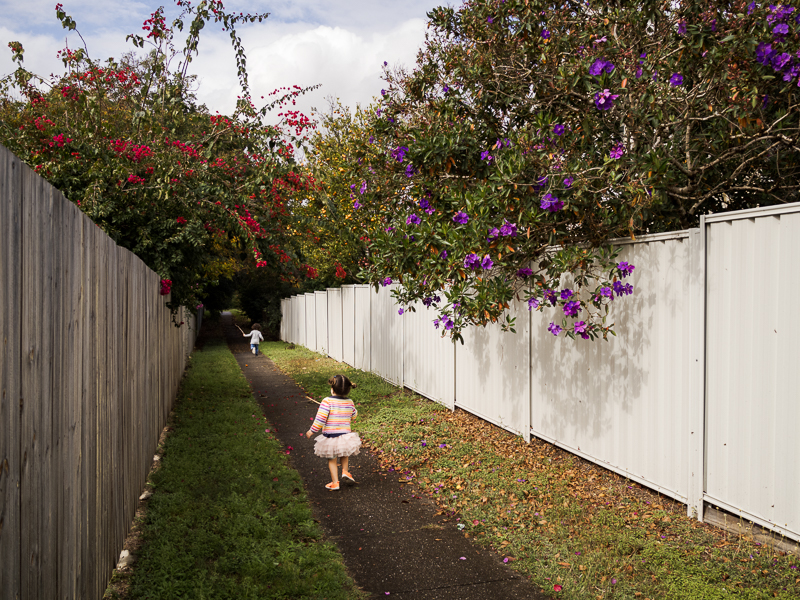
15mm (30mm equiv), f/4, 1/800sec, ISO 200
Storyboard It (and show it off!)
When you’re done, curate about 5 of your favourites into a collage or as an IG post. Often this simple exercise will spark some ideas for more projects or at least just get you wanting to shoot again. If you can’t go outside, then do the same in your house.
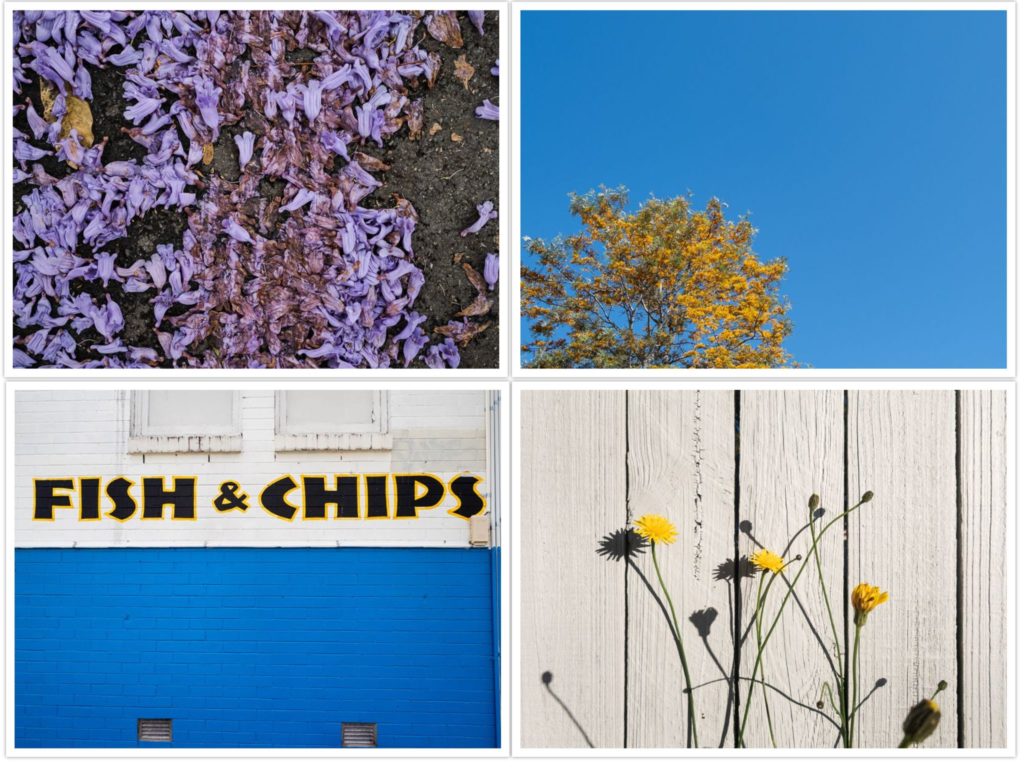
Up Close
Another great way to get inspired is to let go of any expectations and just play. For me, this means heading into the garden with my macro lens, particularly at golden hour. We don’t have many flowers or beautiful plants in our garden, so I take images of leaves and even weeds, which can look beautiful up close.
If you don’t have a dedicated macro lens, then grab the longest lens you have and play with that. My Olympus 12-40mm (equivalent to a 24-80) takes great close ups at 40mm.
Related:
A Beginners Guide to Macro Photography
Finding the Pretty – Fun Photo Ideas at Home
Solitary.
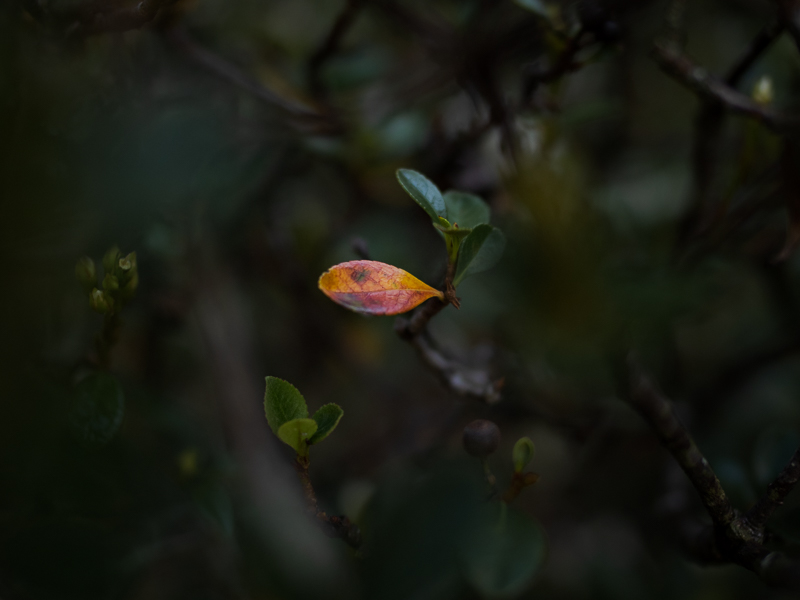
25mm (50mm equiv) Voigtlander manual lens, so unsure of the F stop, but 1/200 sec, ISO 400
Lavender – one of the few flowers in our garden.
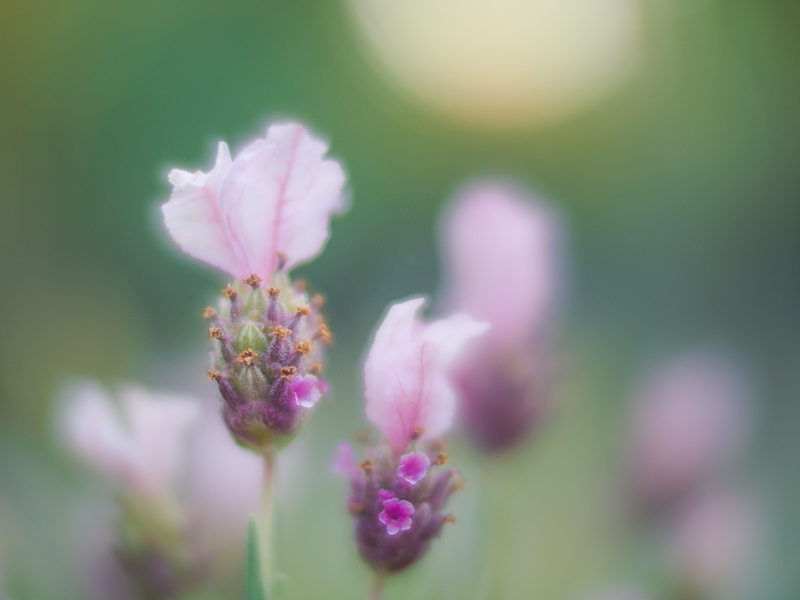
Olympus Digital Camera – 25mm (50mm equiv) Voigtlander manual lens, so unsure of the f stop, but 1/320 sec, ISO 500
Reverse Macro
You can use any prime lens, detach it, and hold it inside the lens housing backwards to experiment with reverse macro. This can be really fun, though a little tricky as you need to move yourself forwards and backwards to focus.
Reverse macro gives you a very shallow depth of field and allows you to get in a lot closer than your lens’ normal minimum focusing distance. When you detach the lens, it reverts to the lens’ widest aperture. Some models have a workaround, for example if you have a Canon lens you can set the aperture, then remove it by holding down the DOF preview button and the lens release button at the same time. If you don’t shoot Canon, google your camera body to see if it’s possible.
A reverse macro shot of tiny flowers in a bouquet I received for my birthday, shot by an open window.
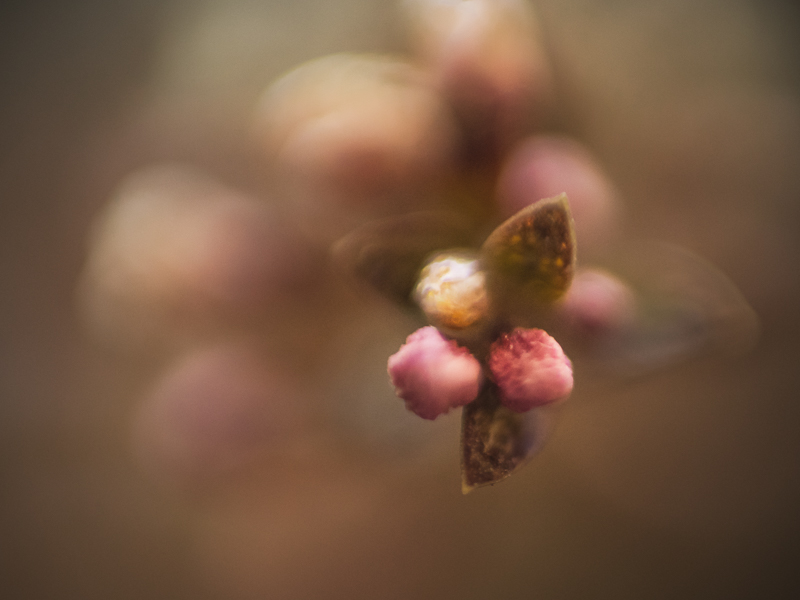
15mm (30mm equiv), 1/320sec, ISO 2000
Out of Focus Art
I also often play with manual focus and deliberately shoot out of focus. This creates a lovely dreamy affect and I find the process quite meditative.
Turning my macro lens on the 1:1 ratio and opening the aperture up completely (smallest f stop number) creates a similar affect due to the tiny slice of focus. Some of my favourite macro images are taken like this, as it creates a really dreamy, painterly image.
My macro lens is just my preferred for this technique, but you can play with focus using any lens. Set it to its widest aperture for the most blur.
Related: Auto Focus or Manual Focus… Which One & When?
Deliberately out of focus shot of the light shining through a straw basket.

15mm (30mm equiv), f/1.8, 1/160sec, ISO 800
Deliberately out of focus shot of a flower.
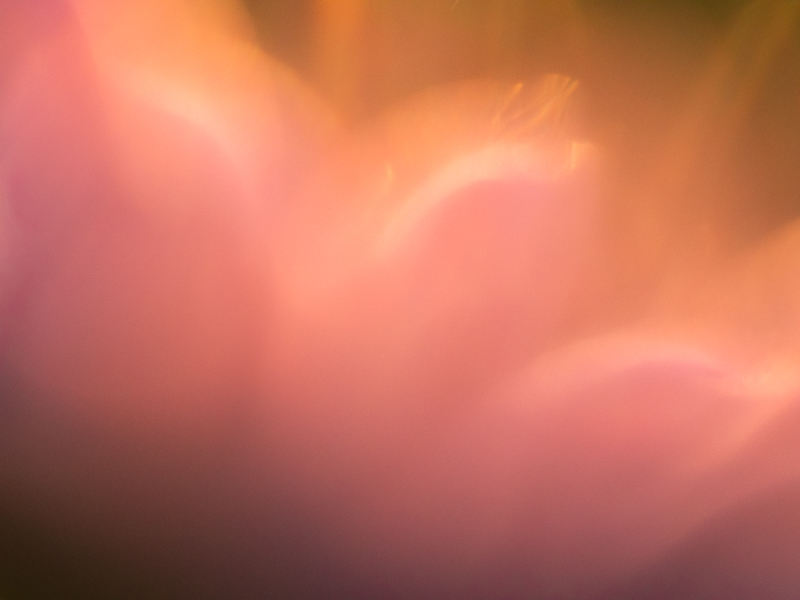
Olympus Digital Camera – 60mm (120mm equiv) macro lens, f/2.8, 1/200sec, ISO 2000
Free Photography Workshop
Join my new workshop and learn How to Shoot Pro-Quality Photos With Your DSLR… and it’s totally FREE to join! Register here…

Leave a Reply Cancel reply
PRIVACY POLICY & SITE TERMS AND CONDITONS
CLICK LOVE GROW ™ Pty Ltd - COPYRIGHT 2024 ©
x
Join Now
Enter your info below to join the challenge!
Want a friendly reminder when I go live?
Pop in your number and I’ll shoot you a text.
* We will send text reminders for our live calls during the challenge! Reply ‘STOP’ to end or ‘HELP’ for help.
We promise not to ever share your details with anyone or send you spam! Check our privacy policy and terms of service.
Be the first to comment