The 4 Essential Ingredients of Beautiful Photos
How to Take More Professional Looking Photos
Once I’d learned to master my camera in manual mode, I thought I was finally going to start taking the kind of light filled and colourful photos of my kids that I had envisioned. You know what I’m talking about… the kind of photos that led you to buy a DSLR in the first place!
But it didn’t happen. They were technically sound (pretty much)… but they lacked the wow factor I was craving.
Eventually I got there, and with the benefit of experience and hindsight I know exactly what those missing ingredients were.
So now I’m sharing them with you! And the best bit? They’re easy! Pay attention to these 4 key ingredients and your photos will look more professional instantly!
1. Light
Light is everything.
Just because you can capture the natural ambient light by pushing all your settings to the max… doesn’t mean you should.
Sure sometimes you just have to take the shot no matter what, or you won’t get a second chance, for example your baby’s first birthday. At those times, you need to take it there and then, and do whatever you can to nail exposure.
But if you want to take beautiful light filled, creamy portraits – you might need to move locations. Sometimes there’s nothing else for it – our cameras aren’t magicians.
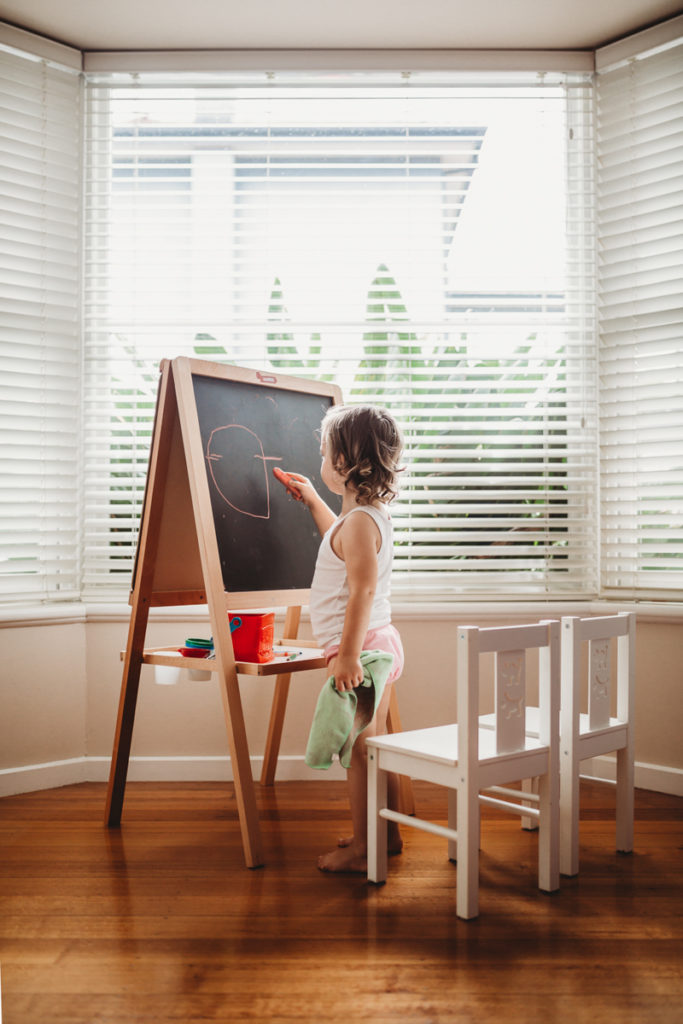
Look for areas with soft light that falls evenly on your subject. Windows and doorways are the most common areas you’ll find this kind of light.
Related: Doorway Light

Embrace ISO
We can’t talk about light without touching on ISO. It’s one of the three elements of exposure that enables us to capture the ambient light.
But something I see a lot of people doing when starting out is being afraid to use it at all! You know it can cause grain if pushed too far, so instead they choose to under expose then fix it later. The problem with that is it actually causes more grain than if you’d exposed correctly with a higher ISO. True story!
Don’t be afraid… unless you have a really old camera, today’s models are designed so that you can easily shoot at around ISO 2000 before you start getting grain that negatively impacts your image.
Also… grain is not the enemy. A little grain is fine and we should only be wary of it when it starts to severely affect the dynamic range of our image. How would we know this? It will lose sharpness and clarity.
The following tutorial explains exactly why pushing your ISO will give you better photos.
Related: Embrace ISO for Better Photos
That being said… once you get to know how far you can push your ISO before your photo is ruined, if you can’t shoot in a particular location without pushing it beyond that limit, see point 1. Move locations! 🙂

2. Sharp Focus
You’ll never see a professional photo that’s out of focus. Professional photographers do miss focus sometimes, but those shots will always end up the bin. The important thing is knowing why it happens so you can avoid it.
There are lots of reason why our photos can end up out focus, but the two main culprits are:
- Shutter speed
- Missed focus
Shutter Speed
Even if your subject isn’t moving at all, I recommend a shutter speed of minimum 1/200. If your baby is waving her arms around, that will be captured in the form of motion blur in your photos. So for that kind of movement, shoot with a shutter speed of at least 1/320.
Related: Intro to Manual Mode
Missed Focus
When shooting in auto focus we have two options – we can let our camera choose the focus point, or you can take control and do it yourself (and why wouldn’t you want total control?!).
When our camera chooses the focus point, it grabs whatever is easiest. Often that’s the nearest thing to the camera, or it’s the element with the most contrast.
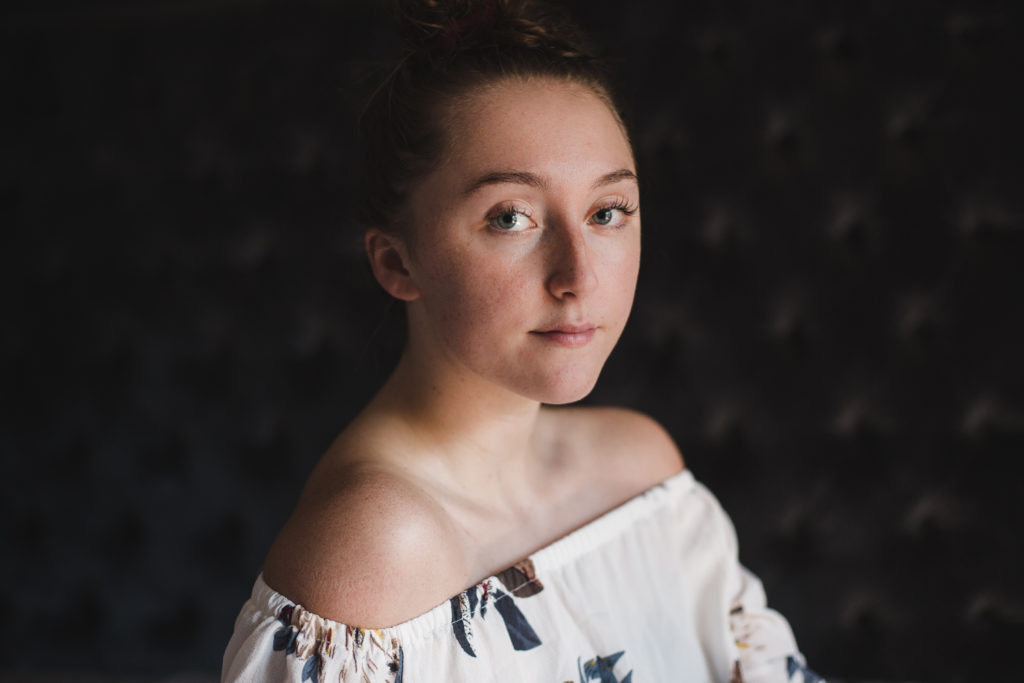
If you’re shooting a portrait, you want focus to fall on your subjects eyes. So if your camera chooses say your subject’s tshirt, their eyes are going to be out of focus. So choose a focal point that you can aim directly over the eye nearest your lens for razor sharp eyes.
This tutorial explains the technique in more detail.
Related: Master your Focus

3. Separation of Subject
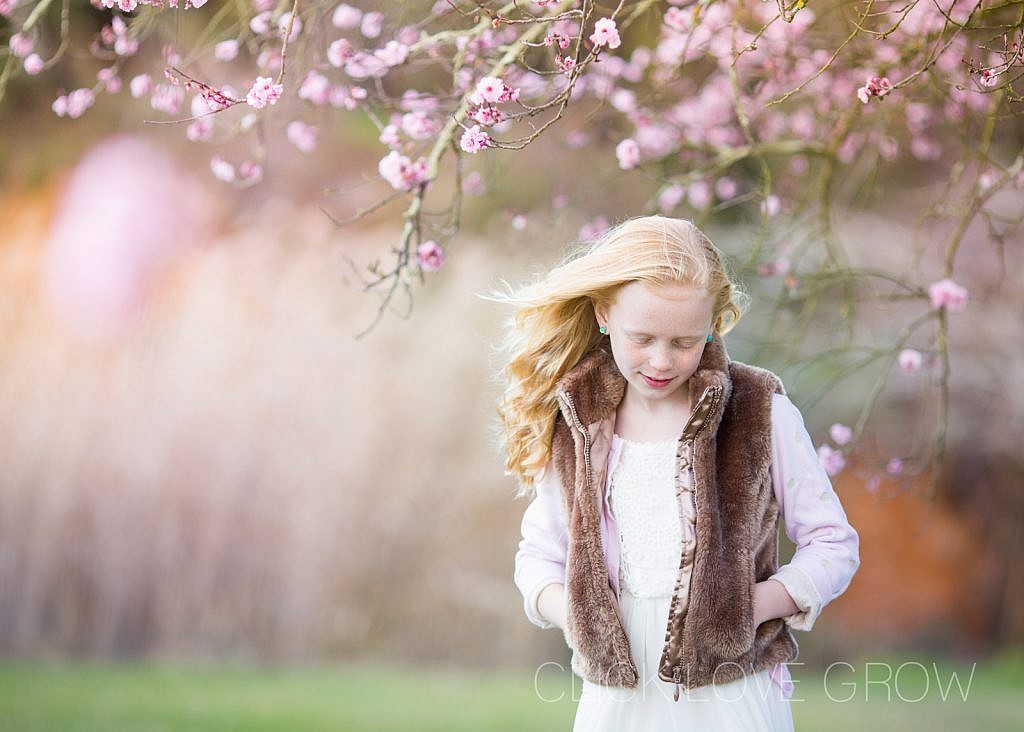
One of the main characteristics of professional photos which sets them apart from snap shots, is a shallow depth of field. It gives you those glorious blurred backgrounds we all love, and it helps separate your subject from the environment.
Aperture is the element that controls depth of field, and you need a wide aperture such as f/3.5 to get the shallow depth of field to take your photos next level.
When I was new to photography, I shot everything at f/5.6 Why? Because I had a kit lens, and when I zoomed in, that’s the widest option it gave me. Unfortunately that’s a characteristic of entry level and some mid range lenses, but you can get around this.
Try instead to shoot at the wider end of your lens, eg. 20mm and get in closer by zooming with your feet. This should enable you to shoot at f/3.5 and get the desired blurred background.
Related: How to Get a Blurred Background

4. Editing
I don’t know any professional photographers who don’t do at least a little tweaking of their images. But most do a lot more than a little.
I often hear beginners saying they feel as though it’s cheating. But back in the days of film, photographers took their film into the dark room and used chemicals to bring out colour, to boost contrast, and other tweaks. Think of editing as a little dark room editing.
I recommend shooting in RAW which is the digital version of a negative, as it gives you much more scope to adjust exposure, white balance, highlights and shadows when you’re editing.
That being said… something I see a lot of beginners doing is taking their editing too far. As exciting and tempting as it can be to use the saturation and contrast sliders to their full effect, it will create a very jarring look.

Instead, get your image right in camera, then use editing for subtle tweaks to enhance your original image.
If you’re not confident with editing, try our free Lightroom class which is a fantastic introduction into the fundamental editing techniques and getting the most out of Lightroom.
Related: Free Lightroom Class
We hope you get your camera out and try these tips!
Join my new workshop and learn How to Shoot Pro-Quality Photos With Your DSLR… and it’s totally FREE to join! Register here…

Leave a Reply Cancel reply
PRIVACY POLICY & SITE TERMS AND CONDITONS
CLICK LOVE GROW ™ Pty Ltd - COPYRIGHT 2024 ©
x
Join Now
Enter your info below to join the challenge!
Want a friendly reminder when I go live?
Pop in your number and I’ll shoot you a text.
* We will send text reminders for our live calls during the challenge! Reply ‘STOP’ to end or ‘HELP’ for help.
We promise not to ever share your details with anyone or send you spam! Check our privacy policy and terms of service.
Be the first to comment