23 Photos Using Magical Light for Impact
Mastering your camera in manual mode is the key to perfect photos and one of the foundations of photography. It gives you total control over the technical aspects so that you can say goodbye to accidentally blurry, out of focus photos that are dark and dingy or jarringly overexposed.
But once you’ve done that… composition and light are the other two foundations of photography that affect the creative aspect of your photos. Both are tools that help you take photos that are more than snap shots. In fact… paying close consideration to light can take your photos from good to holy wow!!
So today’s highlights reel is a collection that used magical light to create photos that stopped us in our tracks! Check em out and grab the tips for ways you can use beautiful light to add wow factor to your photos!
Congrats to our featured Grads!
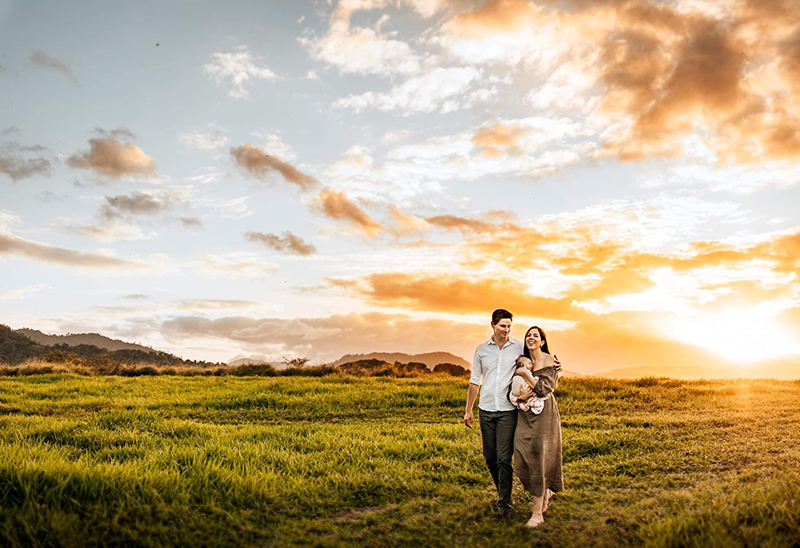
Golden Hour Portraits
If you haven’t heard this term thrown around, where have you been? Kidding! The golden hour happens an hour or so just after sunrise and just before sunset, in certain weather. It’s loved by photographers for it’s dreamy, golden hue. It’s flattering to subjects and will render their skin beautifully creamy when we position them mindfully in relation to the light. It can also frame your subject in a golden halo as it catches the edge of their hair.
So how do you position for it mindfully? Place your subject with the light behind them, and ensure you have open sky behind you to illuminate their face.
Related:
How to Shoot Golden Hour Portraits
10 Golden Hour Photo Tips for Beginners
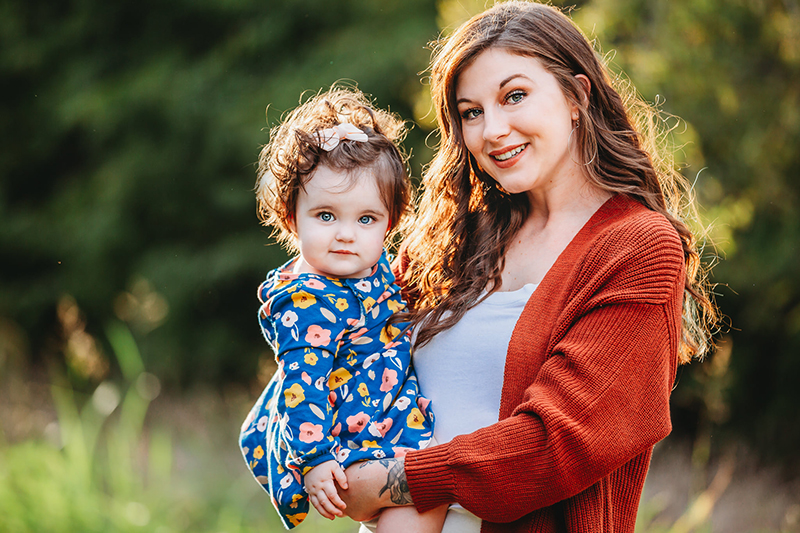
Andrea Megson Reinprecht, Advanced Graduate
Use elements in the environment to frame your subject and add extra depth through layering.
Related: 22 Striking Compositions For Better Photos
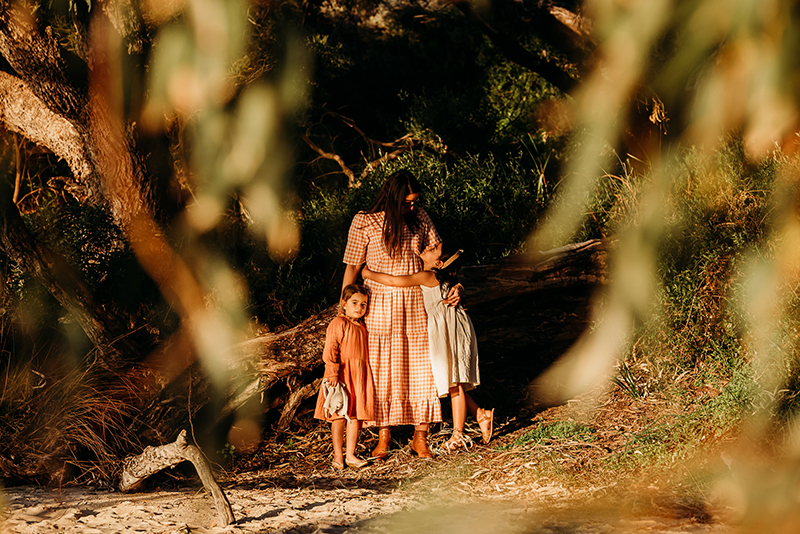
Bek Alexander, Advanced Graduate
Create an incredible painterly backdrop in nature like this one by using a long lens (85mm or longer), which compresses the background into a kaleidescope of colour. The longer your lens, the blurrier the background.
Related: How to Get Blurred Background Photos (even with a kit lens)
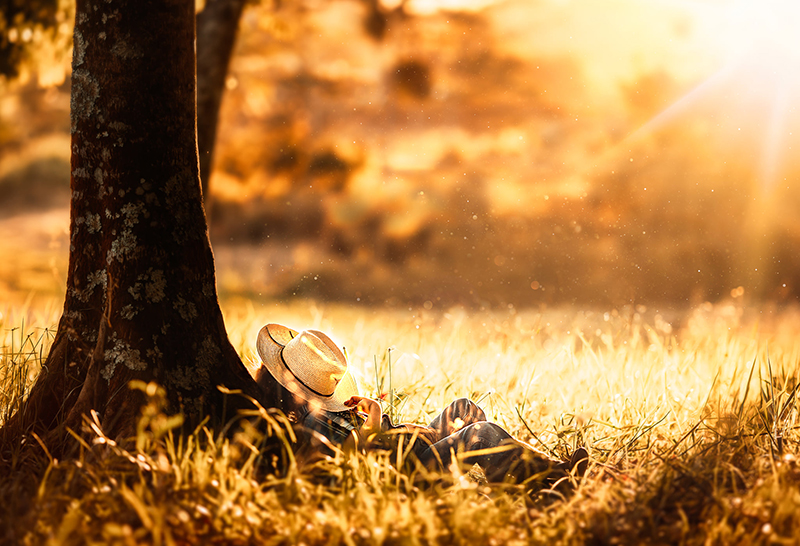
Brooke Hampson, Advanced Graduate
Shoot with the widest aperture your lens allows (low f stop value eg. f/2.8) to create gorgeous light bokeh like in this image below.
Related:
How to Shoot in Auto Mode
How to Take Beautiful Bokeh Photos
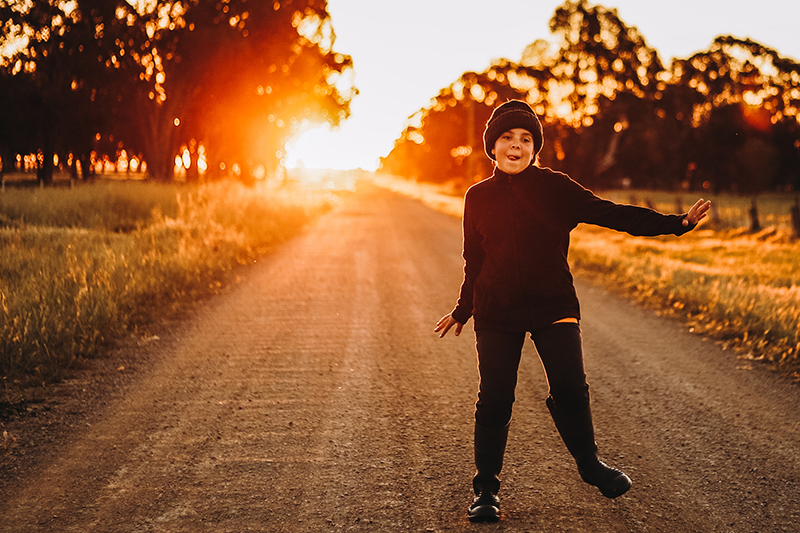
Bec Nave, Advanced Graduate
Another benefit of backlighting during the golden hour is the long shadows it adds when you shoot wide. Don’t try to avoid them… they add extra layers for depth and interest.
Related: 3 Secrets to Beautiful Backlit Photos
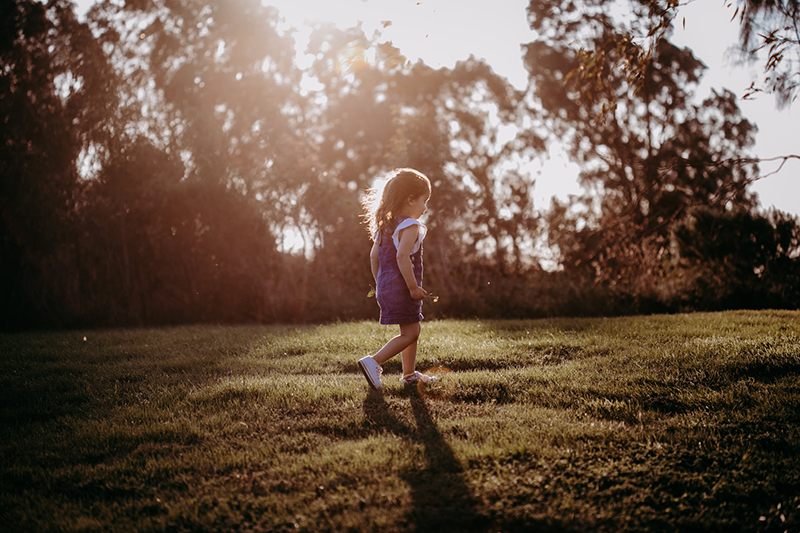
Annabel Sloan, Advanced Graduate
Reflections
Place a reflective object in a low key pocket of light, and capture both the reflected bokeh and the shadow it casts. This is a wine glass placed in a semi dark room, in a pocket of soft light, positioned in a way that the light bounces off the glass and forward onto a surface. Shoot this with a wide aperture of say f/2.8 for good bokeh.
Related: Try Still Life Photography Using Hard Light

Ruth Anne Holloway, Advanced Graduate
Another kind of reflection, and another easy way to use layers for depth in your photos.
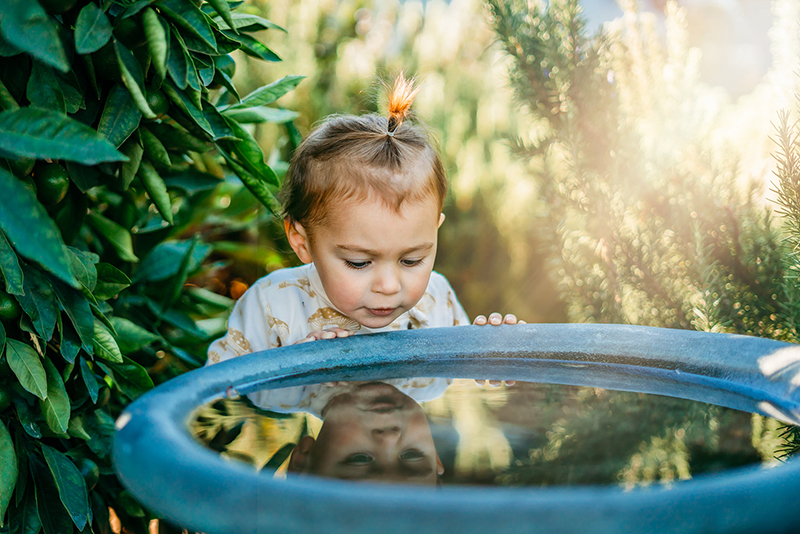
Nicoleta Philpot, Graduate
In The Garden
Anything can be made magical in the garden when we shoot it in beautiful light. This was shot during the golden hour with light skimming off the edges of the surrounding grasses and picking up the detail of the spider web. The wide aperture has created such gorgeous light bokeh in the background you could describe it as nature’s bling!
Related: How to Take Beautiful Bokeh Photos
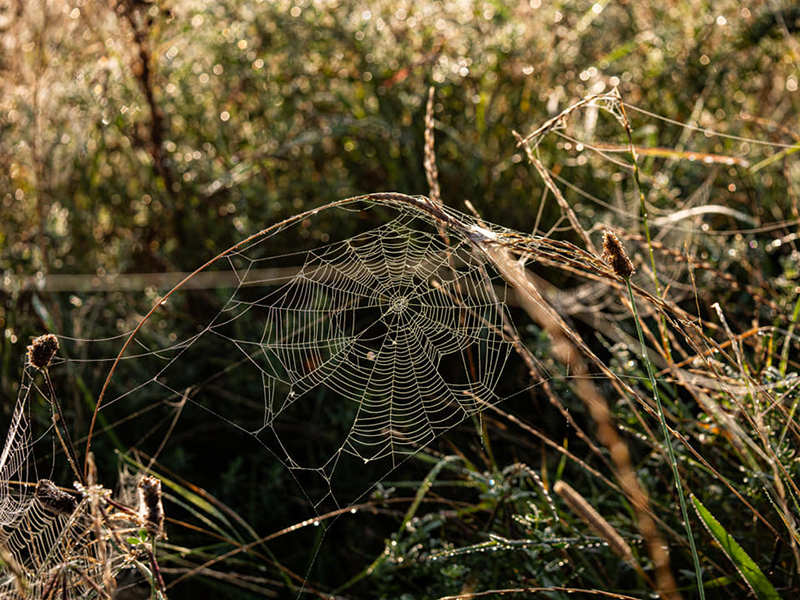
Jo Payne, Advanced Graduate
What’s more… soft golden hour light renders bold colour to its absolute best advantage, and those raindrops add life to the shot. Got no rain? Fake it by sprinkling some water onto your subject.
Related: 50 Beautiful (Non-Portrait) Photo Ideas
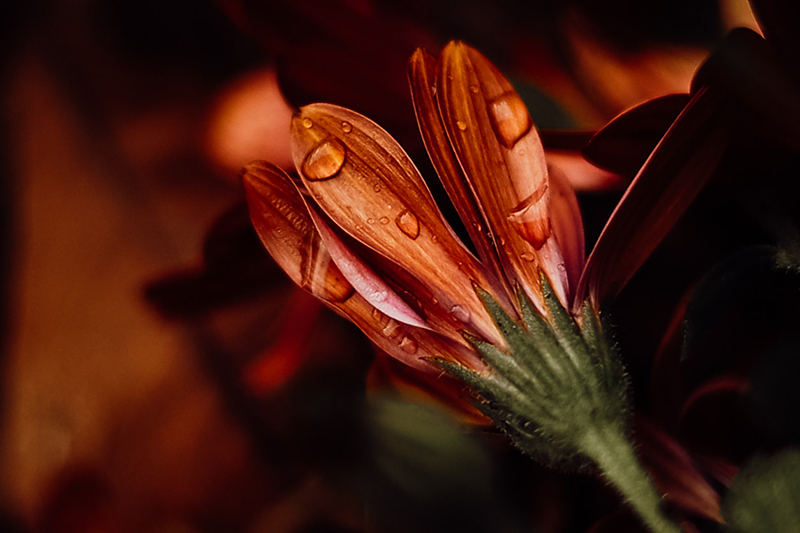
Bec Nave, Advanced Graduate
This feather is backlit with dark surroundings and in doing so, its fine detail is illuminated and showcased exquisitely.
Related: Macro Photography For Beginners

Bec Nave, Advanced Graduate
Create Drama with Dark & Moody Light
Look for low key light, expose for your subject, and allow the shadows to fall away to create a beautifully dramatic, dark and moody image.
Related: How to Take Magazine Worthy Food Photos
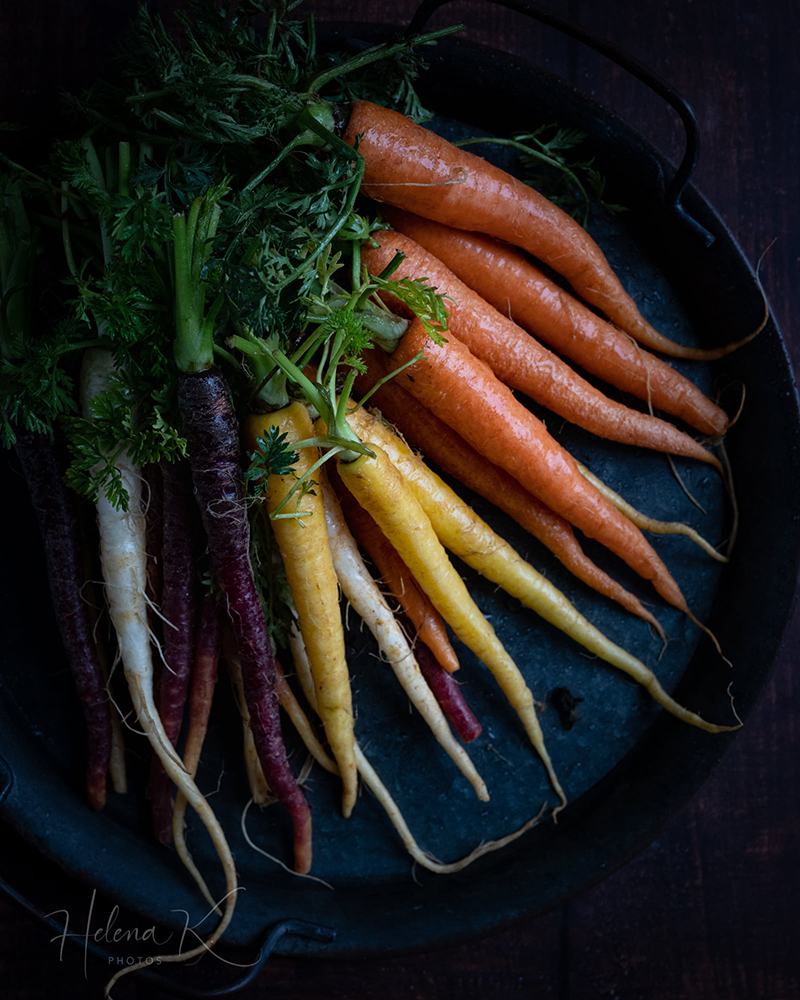
Gee Gee Klein, Advanced Graduate
When shooting dark and moody don’t make the mistake of under exposing. You can expose for the lightest part of your subject in this kind of light and still create a dark and moody image as long as the surroundings are quite low key in tone.
Related: How to Shoot Dark & Moody Photos

Brooke Hampson, Advanced Graduate
Light Patterns
Go light hunting in your house during the early morning and late in the day when the sun is low on the horizon and look for light patterns. Any spot near a window that has trees right outside will create patterns on the floor or walls.
Then place your subject in it for a really dynamic, creative shot.
Related: Try Shadow Photography
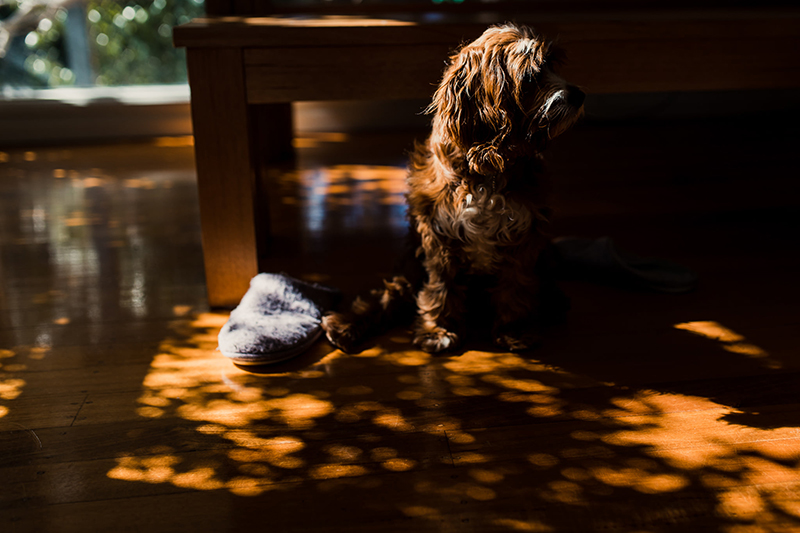
Emily Lomax, Graduate
Also look for more defined geometric patterns created by the light shining in combined with the architecture of your doors and windows. In this instance the light itself is subject and Ruth created a beautiful still life image.
Related: Capture the Magic in Your Everyday

Ruth Anne Holloway, Advanced Graduate
Dramatic Skies for Big Impact
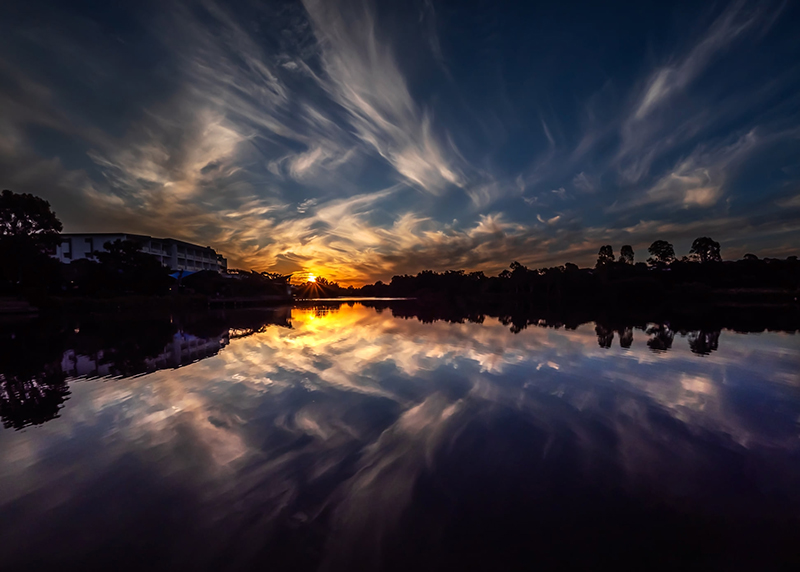
When presented with skies that take your breath away like this one, frame it to take up at least half the frame if not two thirds. A wide angle lens helps – anything from 17 to 24mm only allows you to include more of the scene and sky. Also, those focal lengths come with bonus distortion which elongates and exaggerates length, so it’s perfect for capturing clouds.
Related: How To Choose the Right Lens for Every Situation
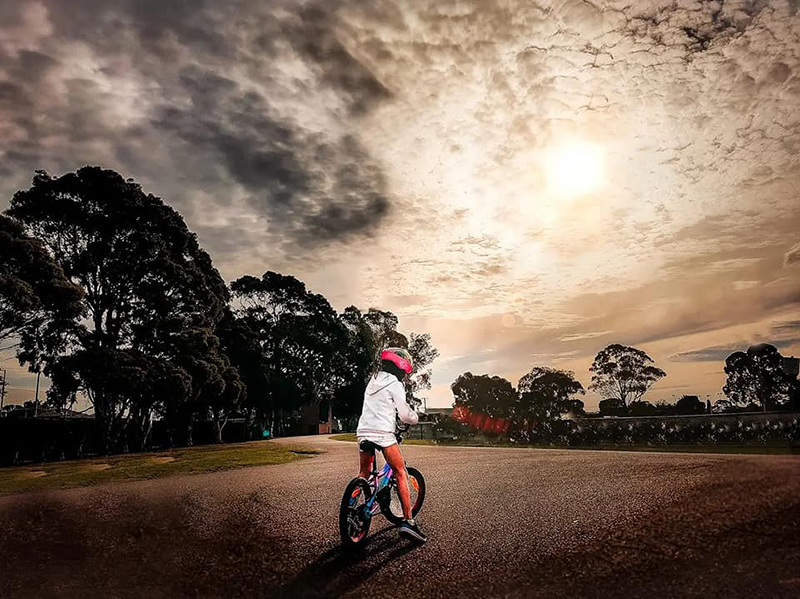
Dinithi Ranathunga, Advanced Graduate
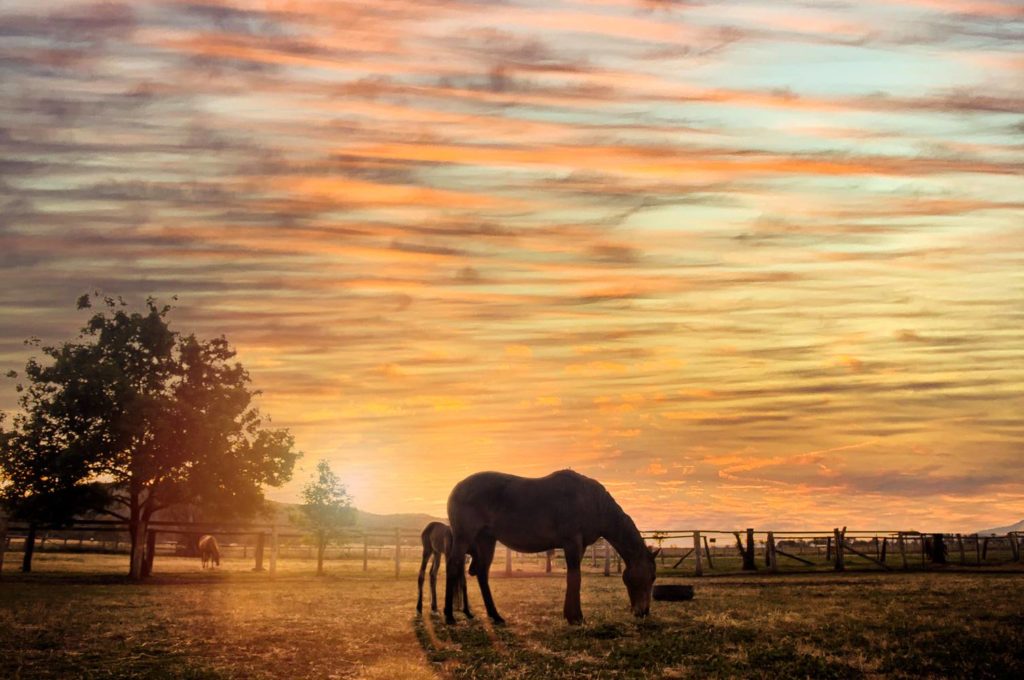
Coral Hagan, Graduate
Brooke Hampson, Advanced Graduate
This mind blowingly beautiful shot is made extra special not just by allowing the sky to take up half the frame, but by including the reflection of the clouds in the water.
Carryl Kilgannon, Advanced Graduate
Elevate Your Landscape Shots
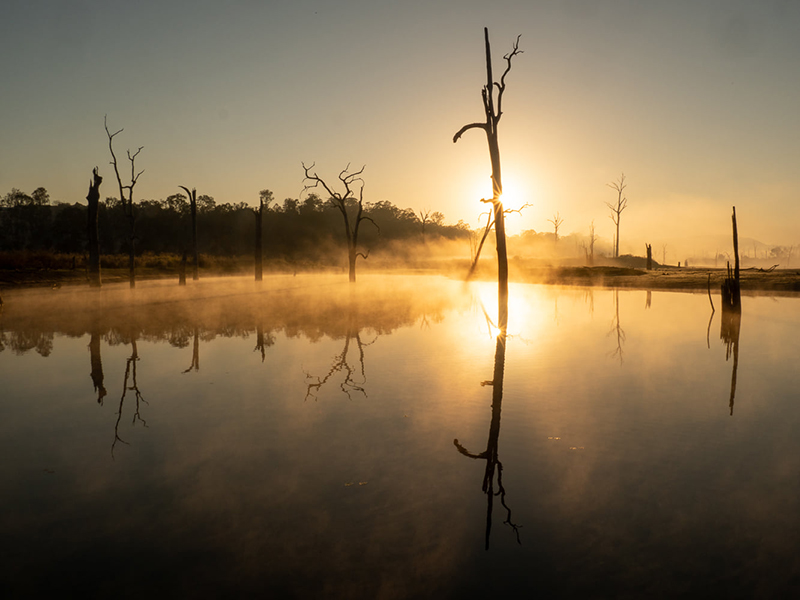
Add extra impact to your landscape photos by capturing the scene in beautiful light. Whether that’s at sunrise or sunset, or just before or after a storm.
Related: Travel & Landscape Photography Guide For Beginners
Lisa Weller, Advanced Graduate
Stunning Silhouettes
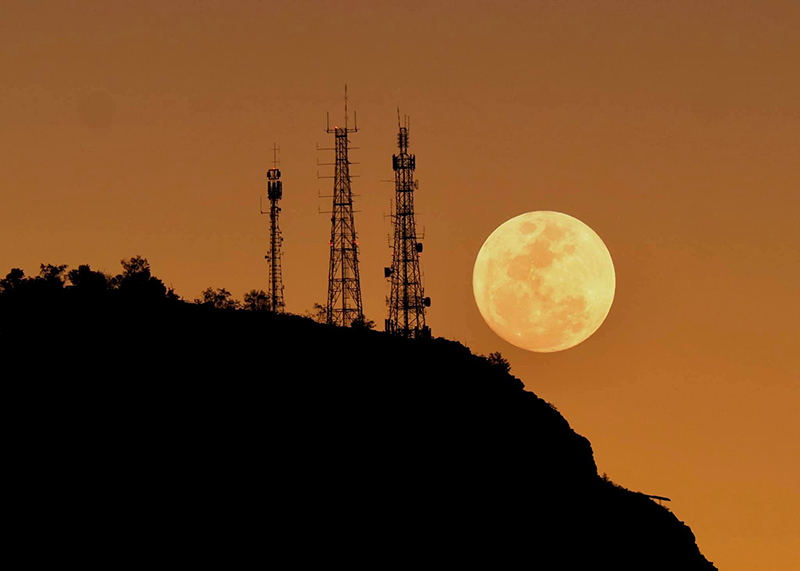
When we have incredible colour in the sky, make it the hero of the shot. Then look for something to include in the scene for context, and silhouette it.
If you expose for the colour in the sky, the additional elements tend to silhouette by default because they’re darker than the sky so you’re essentially underexposing them.
but if not, try this tutorial for a step-by-step on how to take stunning silhouette photos.
Related: How to Take Perfect Silhouette Photos
Suzanne Bitar, Advanced Graduate
When silhouetting make sure those elements have good form. You can’t see the details of silhouetted elements… only the edges. So you need to make sure they have well defined shapes and lines that we can see.
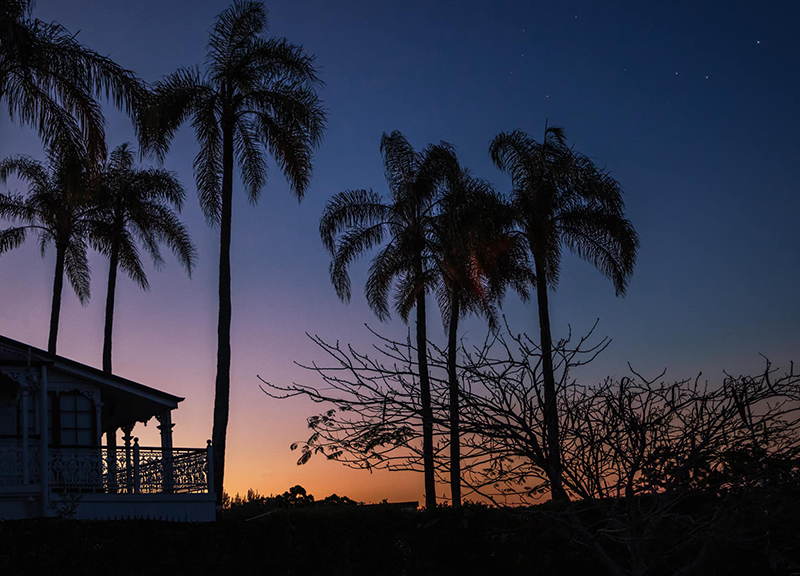
Sandie Peters, Advanced Graduate
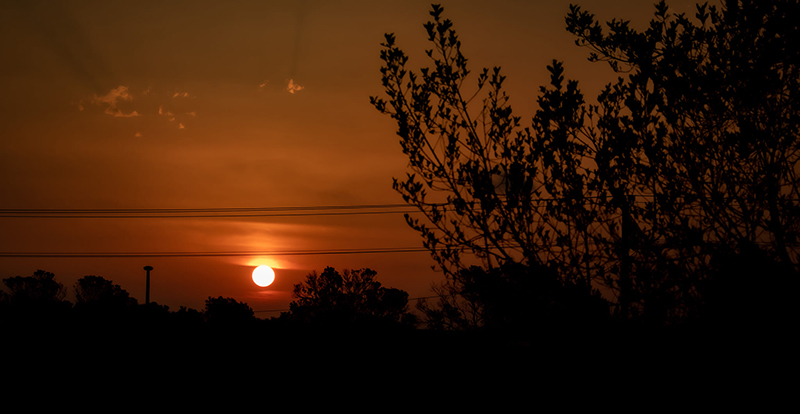
Jeni Freeman, Graduate
Lens Flares
Lens flares are those little circles of light that often appear in our photos as a happy accident to begin with. They’re not always wanted, but in light like this shot below, they suit the scene and add an extra layer of magic and interest.
To create a lens flare, shoot into the light and tweak your position or your camera angle until the light hits the lens, and you see a flare. You can use your hand to partially block the light or make micro adjustments of your angle to control the size, colour and position. In the tutorial below you’ll find a more in depth guide, including how to purposefully include haze for a dreamy effect.
Related: 6 Backlight Photos To Try
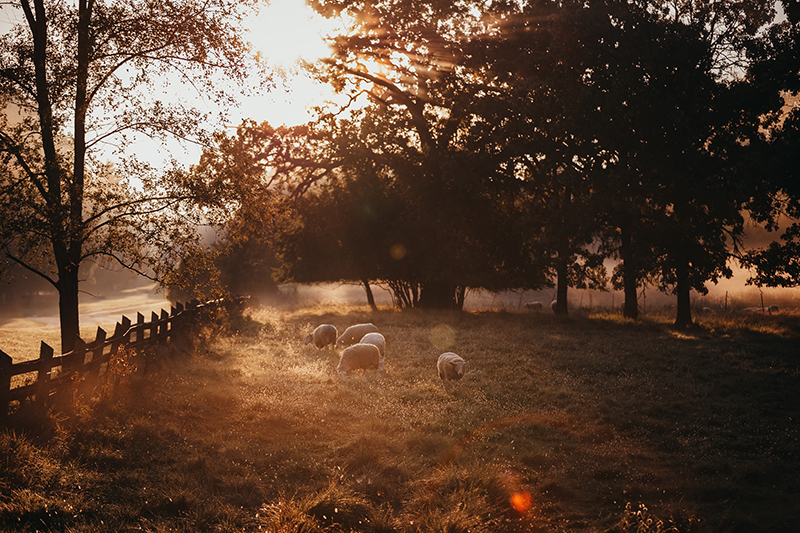
Pam Gosenheimer, Advanced Graduate
Join my new workshop and learn How to Shoot Pro-Quality Photos With Your DSLR… and it’s totally FREE to join! Register here…

Leave a Reply Cancel reply
PRIVACY POLICY & SITE TERMS AND CONDITONS
CLICK LOVE GROW ™ Pty Ltd - COPYRIGHT 2024 ©
x
Join Now
Enter your info below to join the challenge!
Want a friendly reminder when I go live?
Pop in your number and I’ll shoot you a text.
* We will send text reminders for our live calls during the challenge! Reply ‘STOP’ to end or ‘HELP’ for help.
We promise not to ever share your details with anyone or send you spam! Check our privacy policy and terms of service.
Be the first to comment