Ah spring… it’s slowly warming up here in Australia, which means cherry blossoms! They make an absolutely gorgeous backdrop for a portrait session, and today I’m sharing the steps so you can recreate these cherry blossom portraits!
How to Make Your Subject Pop
To create this effect, you need a really blurred background, and sharp focus on your subject.
So how do you do that?
Through a combination of wide aperture, long focal length, and sharp focus where it matters.
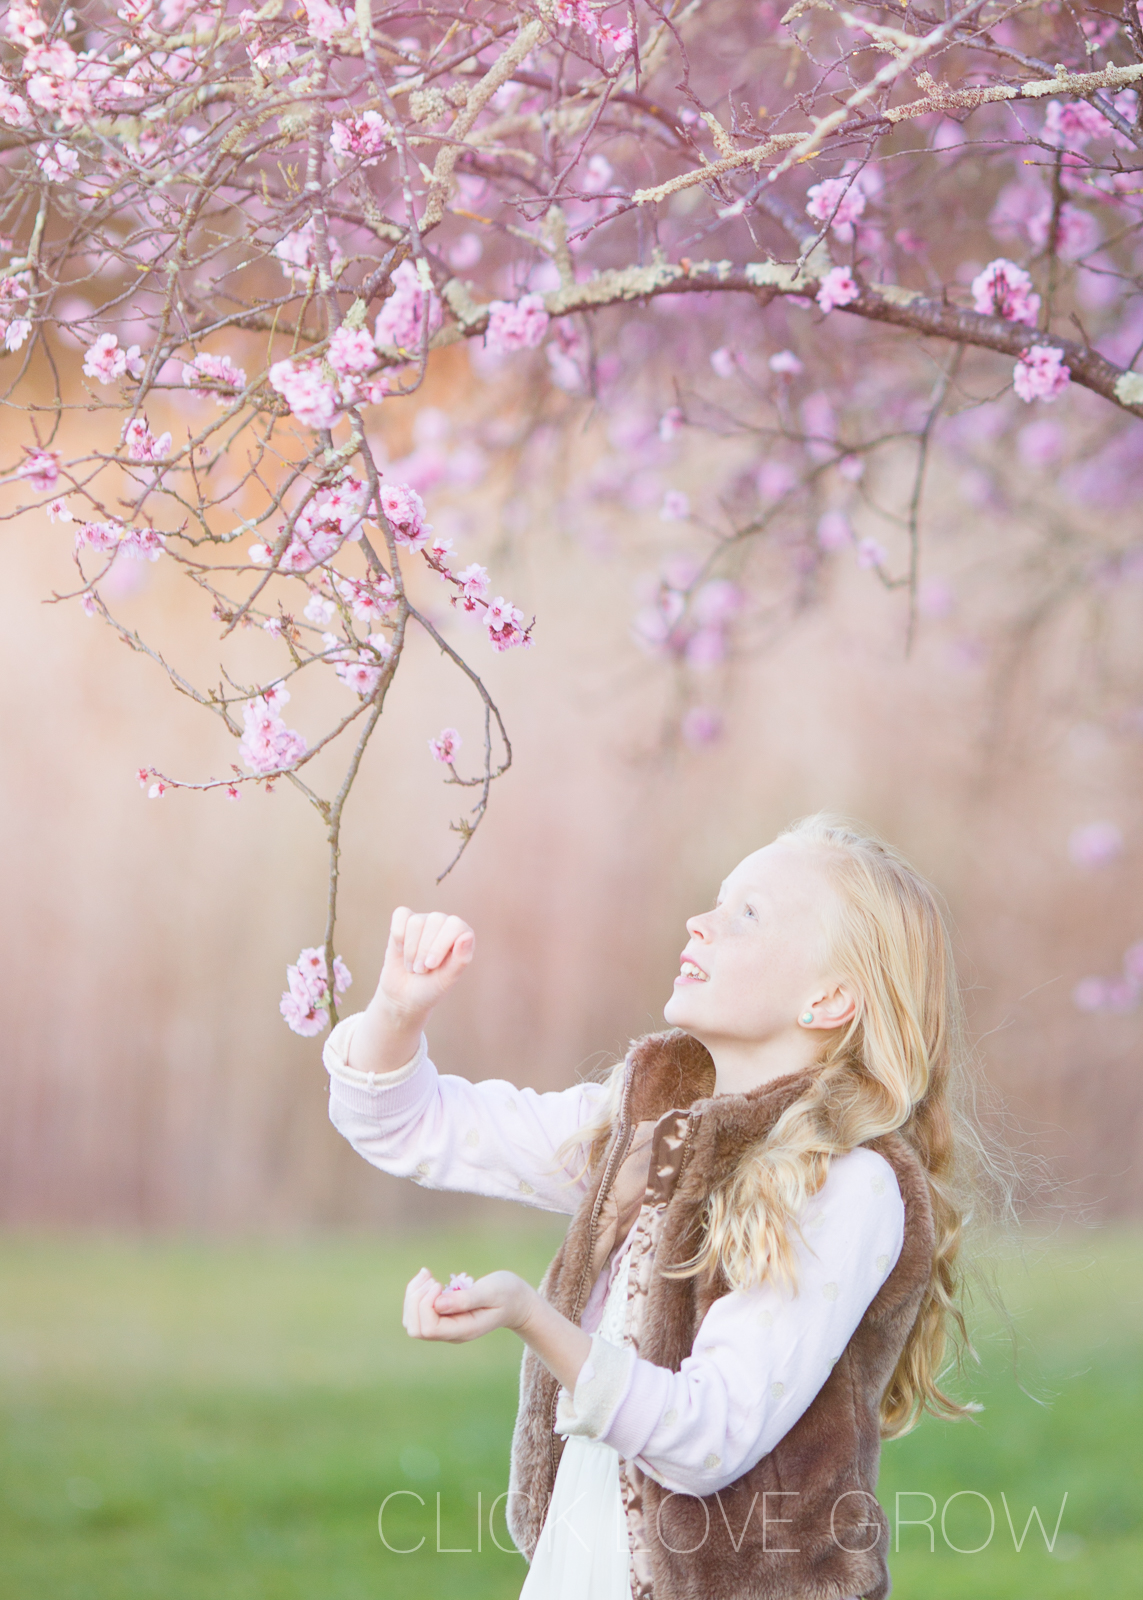
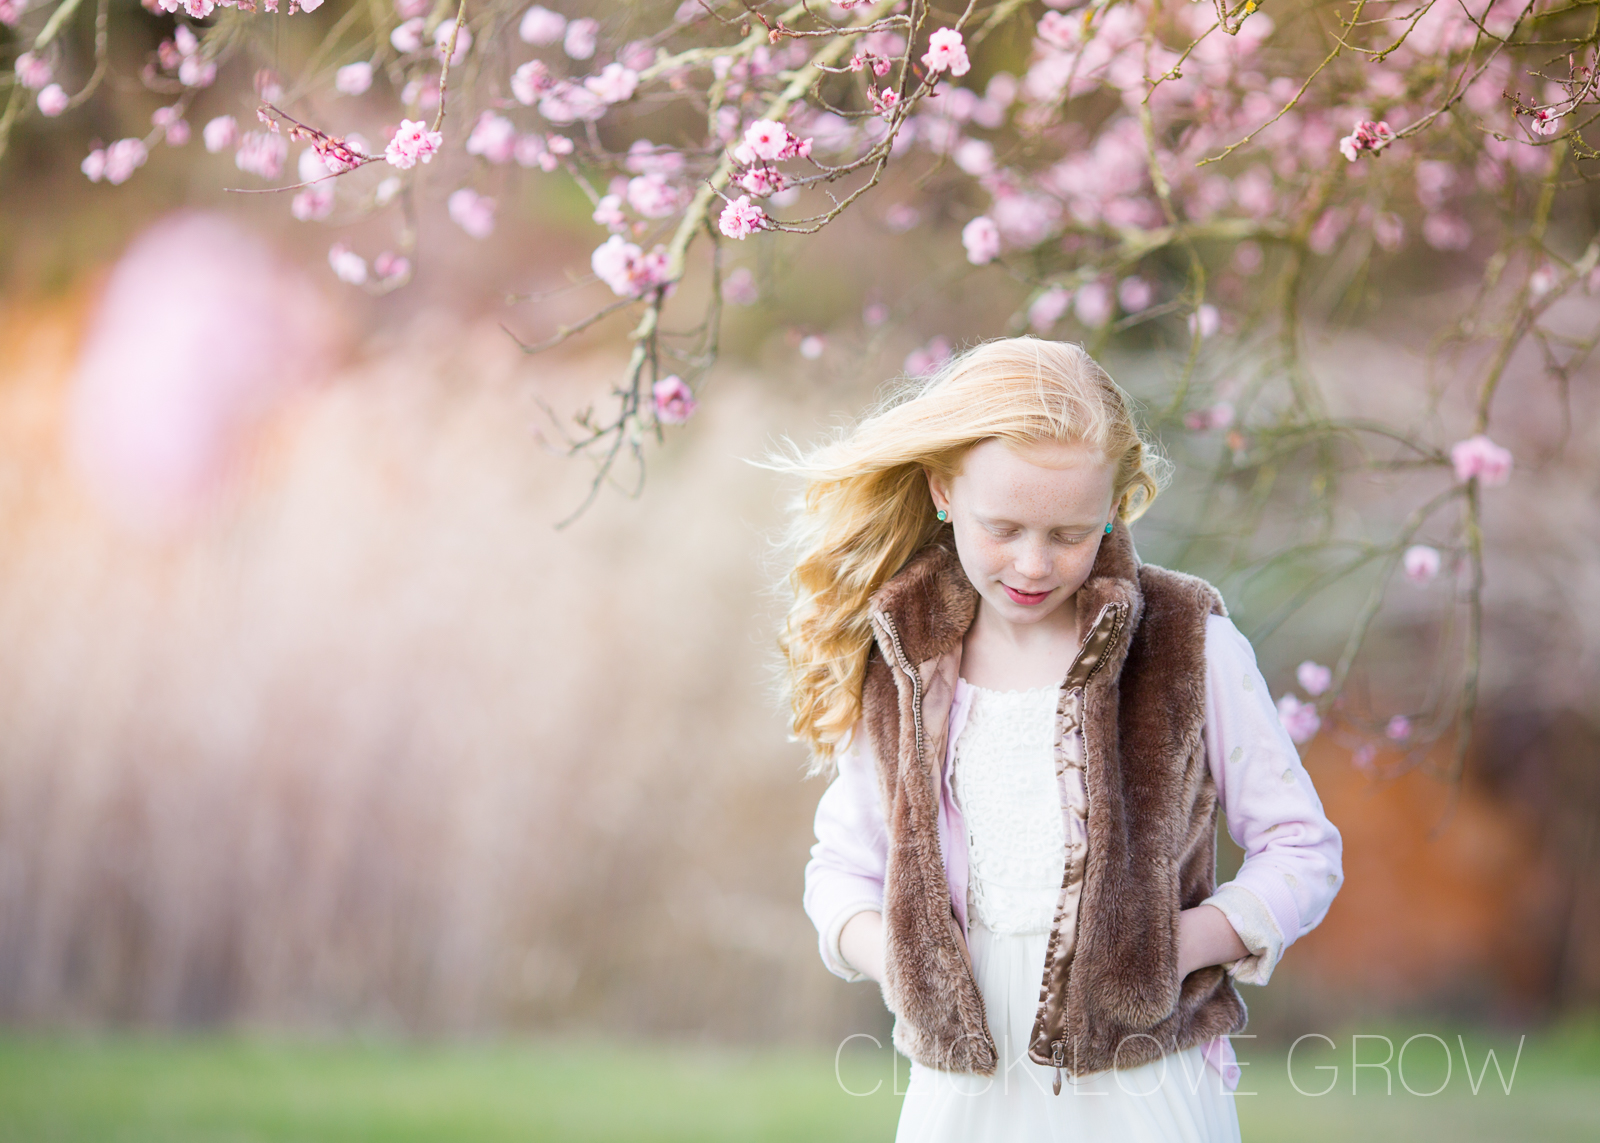
Check out that painterly effect in the background… gorgeous huh? I created it using a long focal length – specifically my Canon 135mm. The longer your lens, the more it compresses the background which is why the cherry blossoms in the background look like a watercolour painting.
Then I chose a wide aperture of f/2 which adds even more blur to the background.
My Settings
I shot these using these settings:
- Aperture: f/2
- Shutter speed: 1/320
- ISO: 400
Your light may not be identical to what I had on the day, so your photo might be brighter or darker than mine. If you need to fix your exposure, leave your aperture at f/2 and adjust your ISO or shutter speed (or a combination of both) instead.
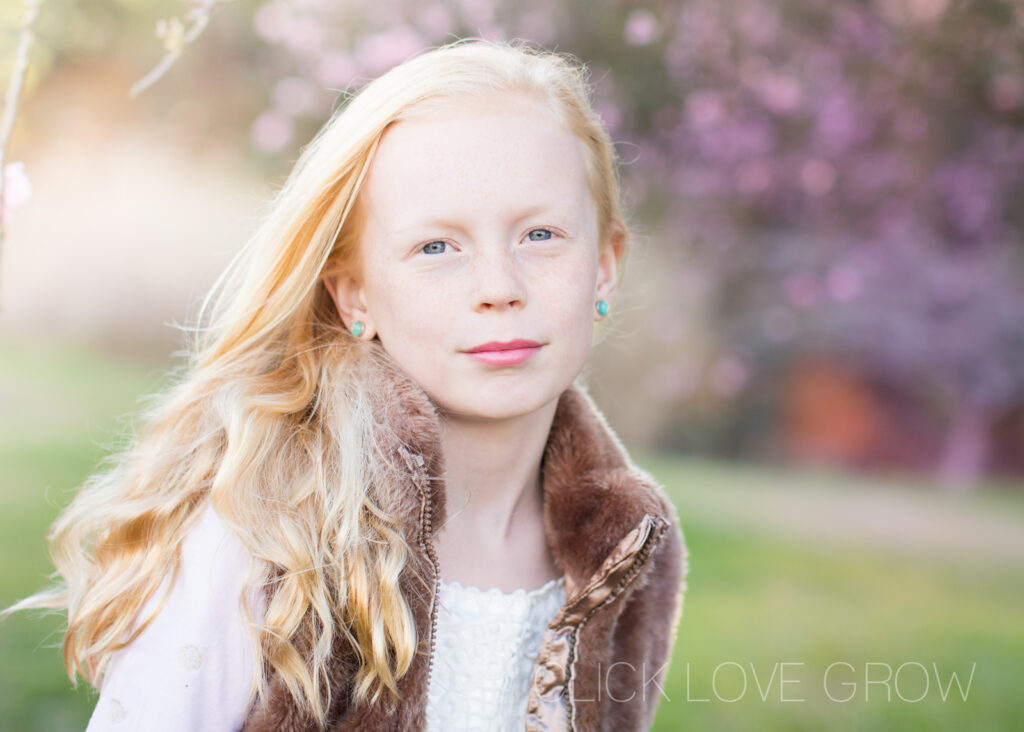
Lastly, make sure you aim focus on one of your subject’s eyes, and then your subject will really pop from the scene and you’ll get a beautiful, artistic fall away in your depth of field.
Related: Getting Out of Auto Mode 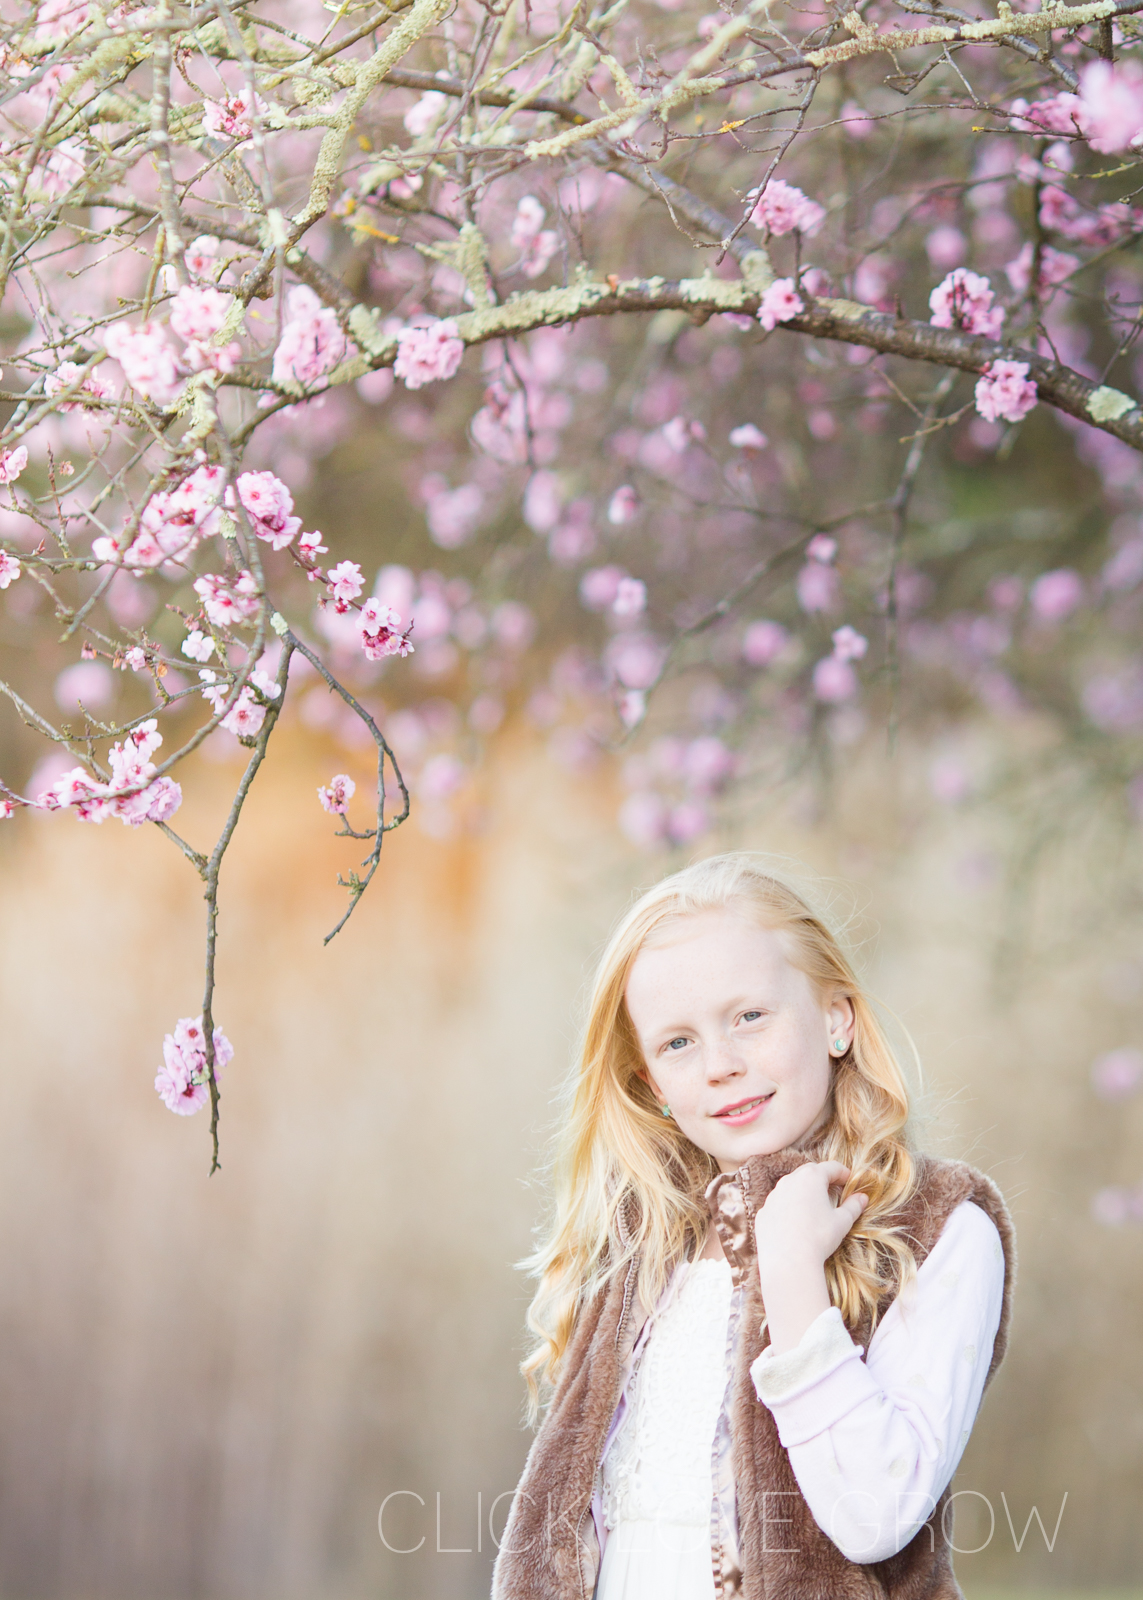
When You Don’t Have the Right Lens
Ok so not everyone has a 135mm lens. If that’s you, use the longest lens you’ve got. And if you don’t have a lens that opens up to f/2, use your lens with the widest aperture.
That might be a kit lens, and that’s ok. But if you zooming all the way in to use it at its longest focal length, you’ll only be able to shoot at f/5.6. Instead, zoom in only as far as you can and still shoot at f/3.5. Then compensate by putting as much distance as you possibly can between your subject and the background, and you’ll get more background blur.
Related: Getting Blurred Background Even With a Kit Lens
Shoot In Magical Light
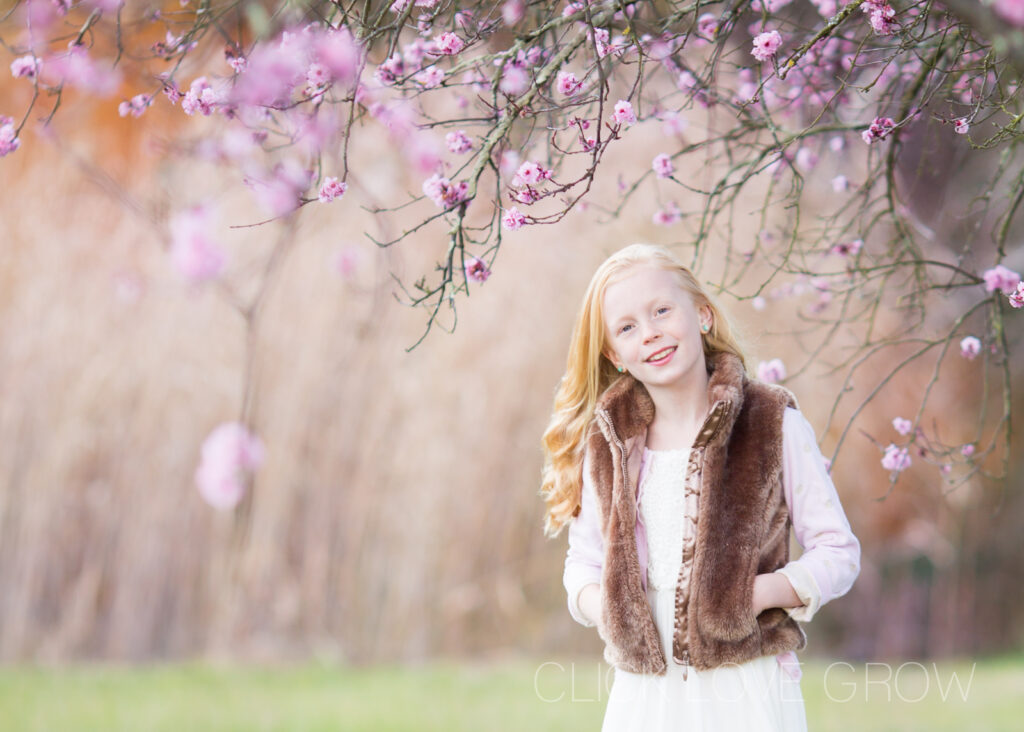
I captured these just as the sun was setting. I positioned her with the sun behind her which created that beautiful golden glow in the background.
Related:3 Secrets to Beautiful Backlit Photos
Pay Attention to Styling
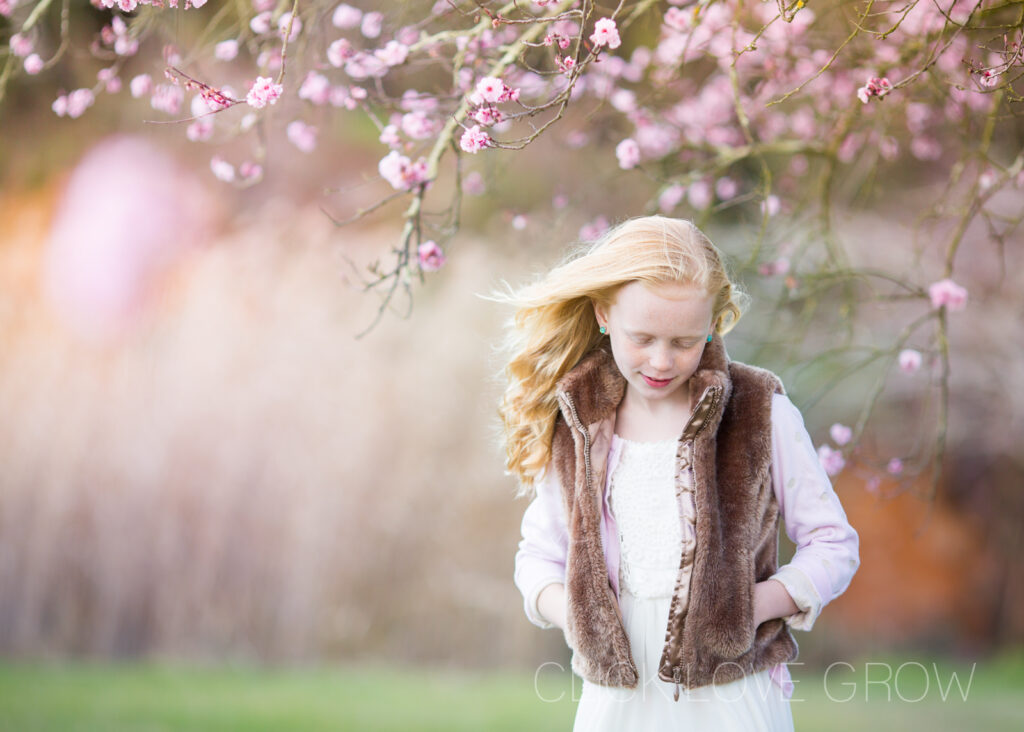
One of the biggest reasons this portrait works so well is the tones of her clothes are in harmony with the environment.
She’s wearing white, pale pink and soft brown which pick out the colours around her. So aim for soft pastels and neutral tones, and avoid logos and any jarring colours or patterns. The fur jacket adds some contrasting texture.
Avoid Awkward Portraits
One of the biggest mistakes I see in beginners portrait photography is subjects that appear awkward and uncomfortable.
The answer is to give them something to do with their hands or body. It could be leaning against a wall, holding something, or putting their hands in their pockets as i did for most of the portraits in this session.
For some variety, in this shot below I asked her to reach up toward the tree and pick a couple of blossoms (but please don’t remove more than one or two!).
For a change from looking at camera, I asked her to look down and I still aimed focus at her eyes.
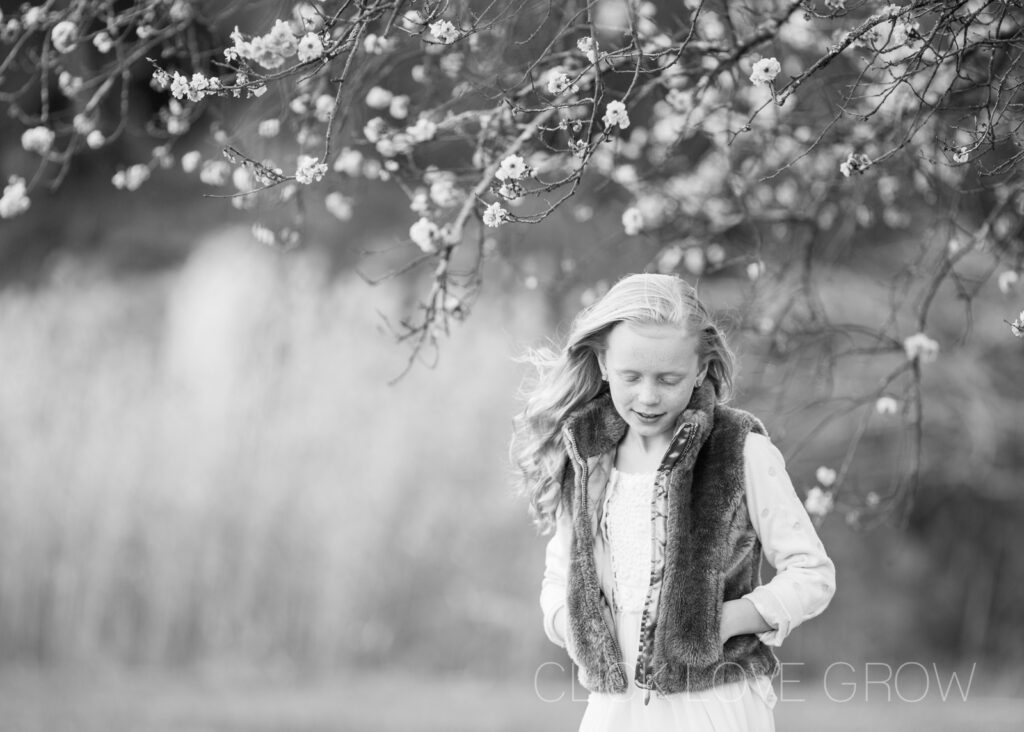
While it’s true all that delicious colour is the hero of this session, that doesn’t mean you can’t convert some of your images to black & white. It works because this scene has all the ingredients of a great black & white portrait – a good range of tones from dark to white, and some texture.
Related: Black & White Photo Essentials
I hope you loved these tipes! If you get an opportunity to capture your own cherry blossom portraits come share them on Insta and tag us @clicklovegrow!
Join my new workshop and learn How to Shoot Pro-Quality Photos With Your DSLR… and it’s totally FREE to join! Register here…


These are so so SO gorgeous Lou! And she has changed, she’s growing up. Beautiful.