How To Take Beautiful Portraits Of Your Pets
If you’ve got more photos of your pets on your phone than your regular two-legged family members, we’ve got you covered!
In this gorgeous post, we’re sharing our fave tips and tricks for getting beautiful photos of your furbabies, including how to capture your pet with your kids. Plus a load of inspiration!
How to Get Beautiful Classic Pet Portraits
Great lighting is the key to beatiful portraits, and that applies whether it’s people or pet photography. So you might ask “what’s the perfect light for portraits?”.
Soft light is the answer.
It’s gentle and flattering, and devoid of the jarring shadows that will ruin a photo! You can recognise it from its gentle graduations of light and shadow, making it hard to determine exactly where the light ends and the shadow begins. By contrast, harsh light has very sharp defined lines.
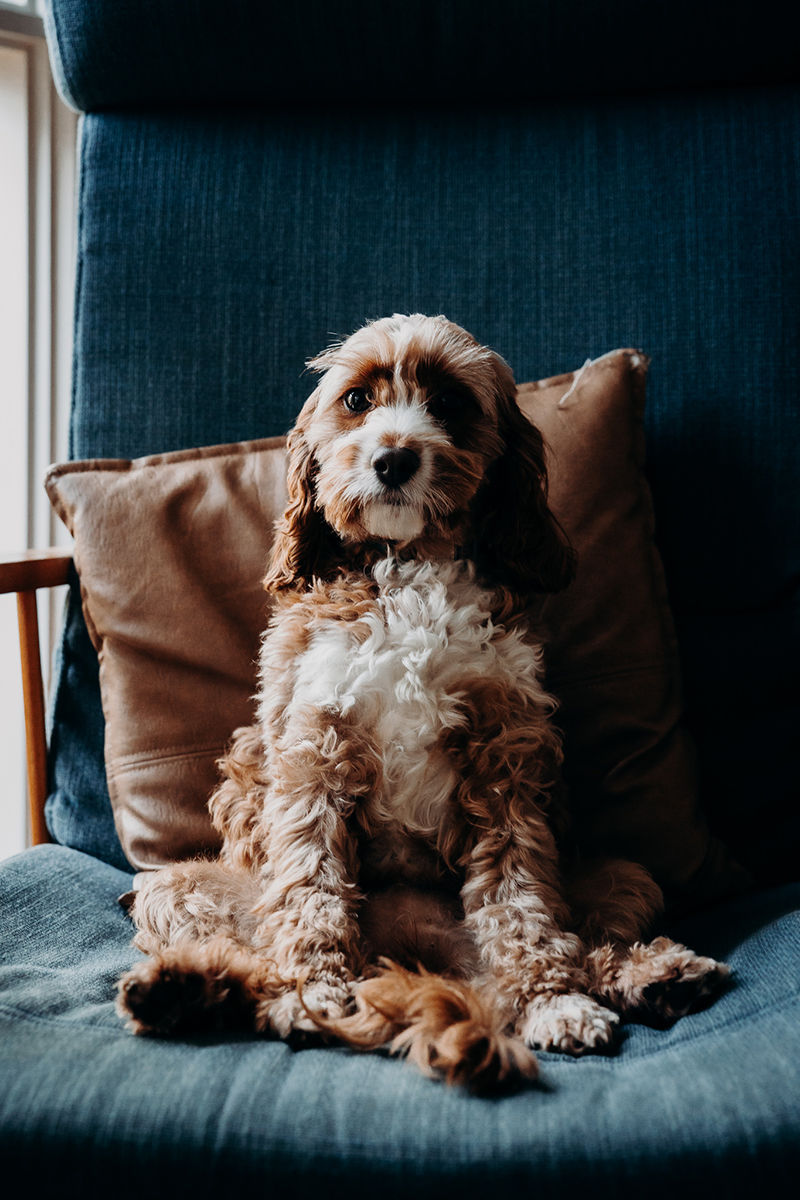
Windows and doorways are a great place to find soft light, especially late in the day when the sun is low in the sky and softly diffused.
In this portrait below, soft light is coming in through the window at camera left, and there are some subtle shadows on the right which really helps to sculpt this pooch’s features.
Related: How to Find Good Light Indoors
Emily Lomax
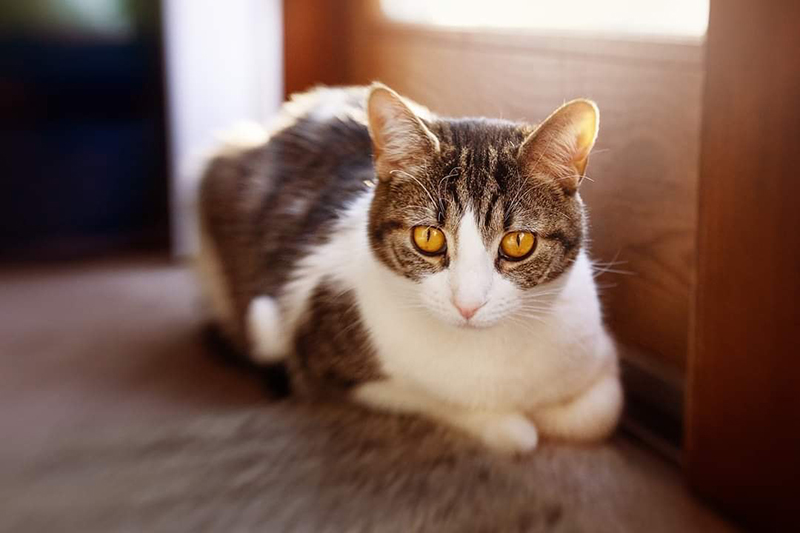
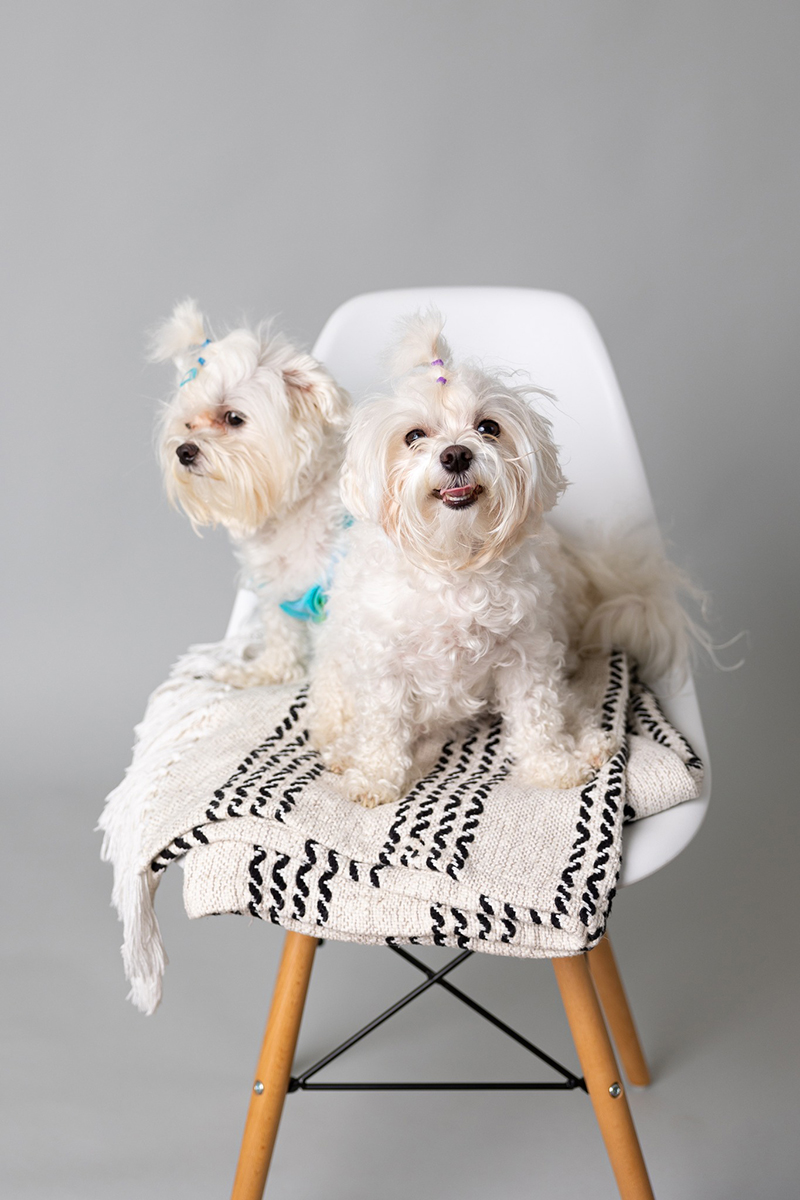
Soft light can have a light and airy feel…
Michele Scott
Rebekah Taylor Pittman
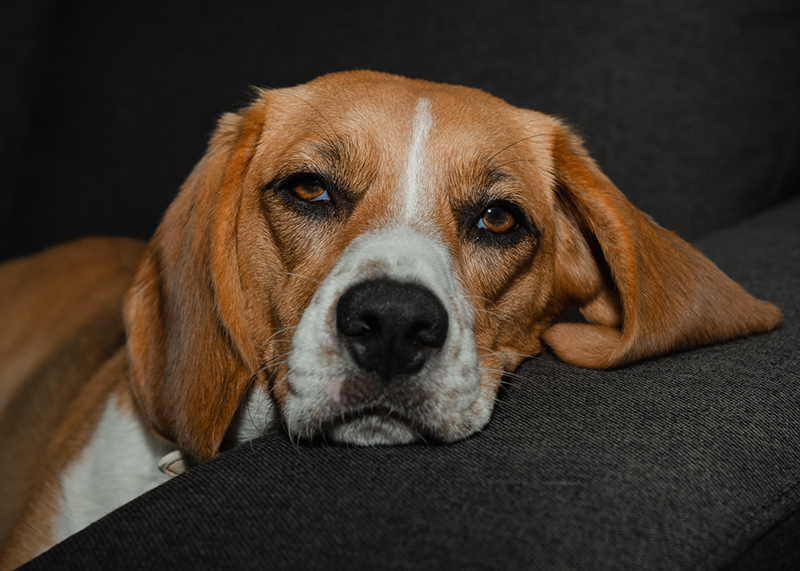
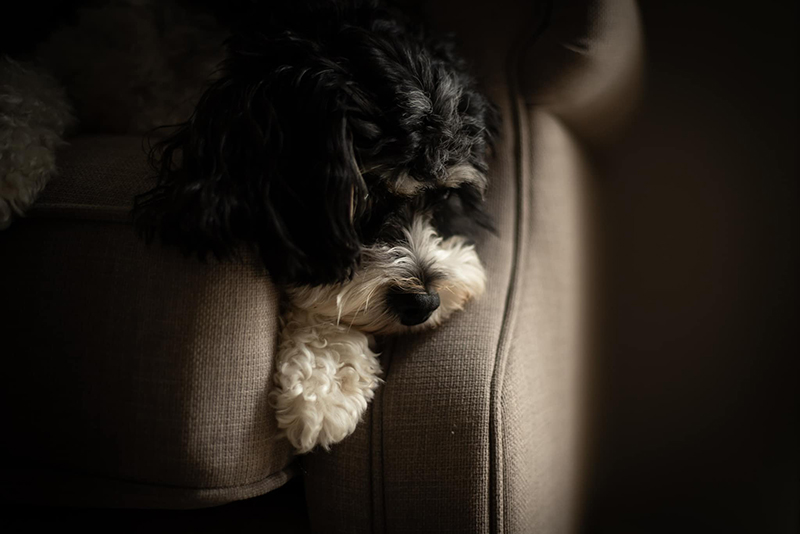
…or it can be deliciously dramatic! This is what we call “low key” light, which means there are lots of dark tones but the light is still soft.
Related: How to Shoot Dark & Moody
Sandie Peters
To make sure you get it right, when shooting in a light and airy situation, meter for the highlights to make sure you don’t blow them out.
When shooting in a more dramatic, dark and moody light, meter for your pet’s face to make sure you get some detail in the shadows.
Related: What is Metering (and how to do it!)
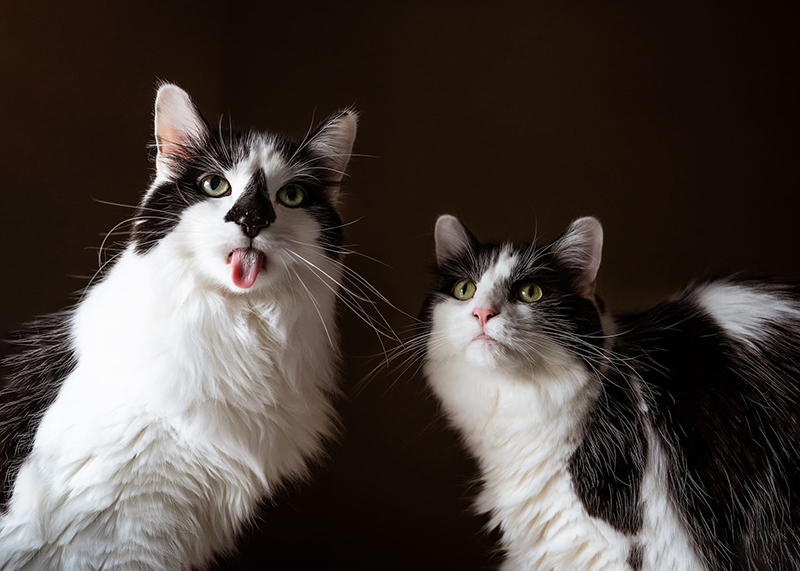
Suyong Pak
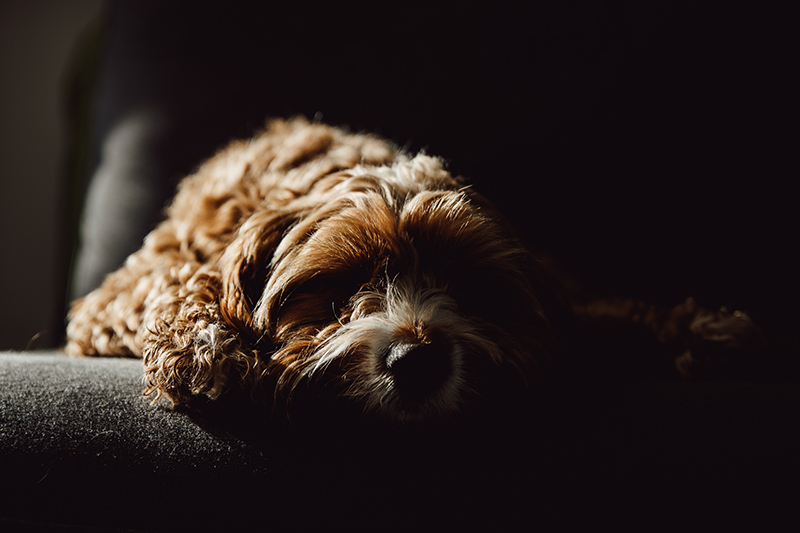
Emily Lomax
Later in the day during the golden hour, the light coming through your windows will be even softer and take on a dreamy golden hue, like this image.
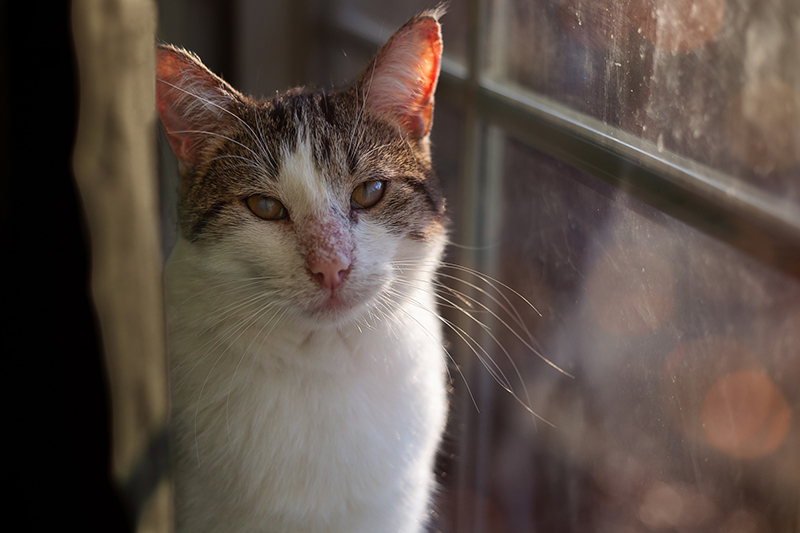
Betsy Cease
How to Find Great Light Outdoors
If you want to get portraits outdoors, you’re more likely to be dealing with full sun. Especially from mid morning to mid afternoon (and even earlier morning to later in the afternoon in summer).
Full sun is basically the opposite soft light, so it’s harsh and unflattering, and not great for portraits.
But that doesn’t mean you need to avoid the outdoors altogether during those times – you just need to know where to find the soft light. You will find it in open shade, for example on a porch or the shade of trees, or a spot where shadows are cast from your house.
And here’s the great thing about some pets – if they’re small, you can find soft light in smaller patches of shadow that you wouldn’t be able to use for human portraits.
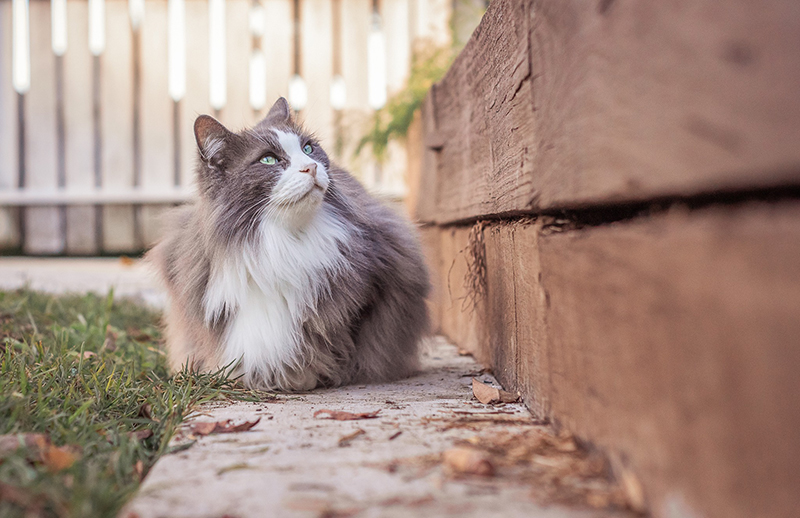
Sandie Peters – a patch of shadow in the garden is a perfect location for this gorgeous portrait
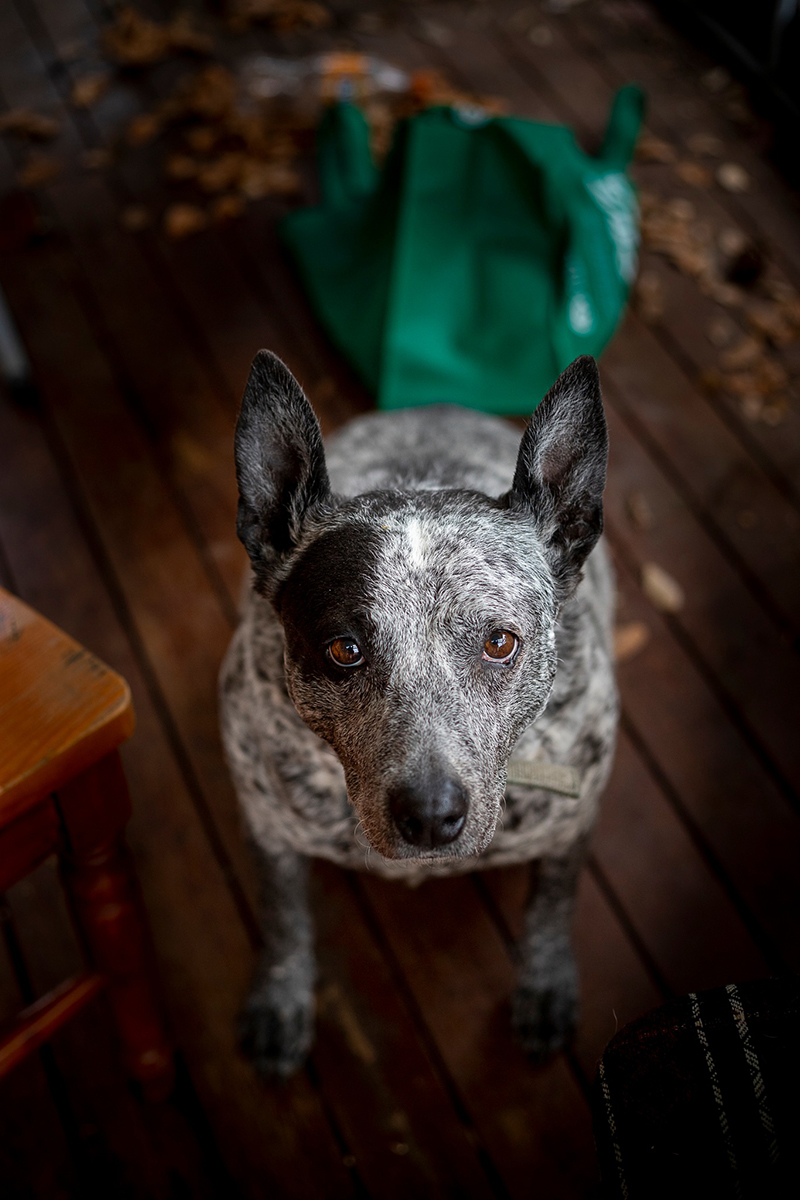
Kerri Tom – the soft light of open shade found on a covered deck
On overcast days you’re in luck, because the sun is filtered by clouds providing a natural diffuser. Although the light can be a little flat, it’s still soft and easy to work with. This portrait below was captured in overcast light. Beautiful huh?!
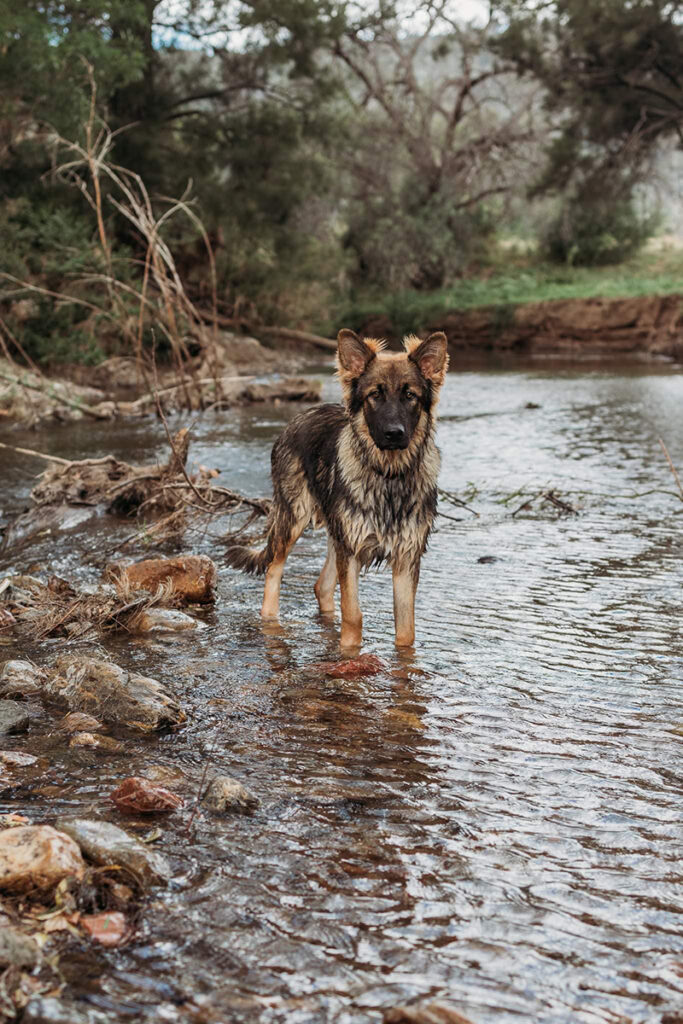
Kylie Thompson
Get Sharp Action Photos of Your Pets
Heading outdoors is a great time to get some action shots of your pet, and one of the easiest action shots is your pet running toward you. You need a lot of space to do this so if you don’t have the room at home, head to a park with a great backdrop.
To set up for a shot like this below, another person would be a great help but not essential. Position yourself so you’re shooting toward something photogenic such as trees. Avoid a carpark backdrop or rows of trash bins!
- Get down low to eye level with your dog.
- Set your camera onto high speed burst mode and continous focus mode. How your camera does this varies from model to model but they call call it the same thing, so check your user guide to learn how to switch to those two modes.
- Set your shutter speed to a minimum of 1/800.
- Frame your shot with your centre focus point positioned over your dog’s face.
- Press and hold the shutter button as he runs toward you
- Adjust your frame to ensure the focus point stays over your dog’s face
You’ll get a lot of focus misses but that is perfectly normal for this shooting technique – hence shooting in burst mode, to increase your hit rate!
Focusing Tip
This technique is harder to do if your pet is running from left to right, relative to the camera. The reason is the camera’s continous focus mode – which is used for getting moving subjects in focus – can’t focus on the subject when it runs out of the frame. But when your dog is running toward you, he’s always in frame and it’s just a simple matter of making sure the focus point you’re using is always over your dogs face.
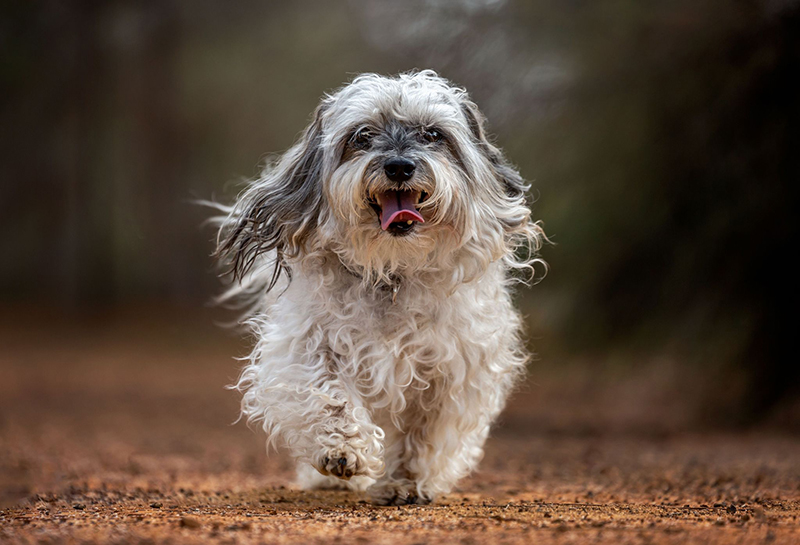
Corina Clarke
What Shutter Speed Should You Use for Pets?
Even if you’re capturing a traditional portrait where your pet is sitting relatively still for you, animals can surprise you with an unexpected movement like a bark, a yawn, or raising their paw to shake. And if your shutter speed is too slow, you’ll capture it in unwanted motion blur. So be ready for it and shoot with minimum shutter speeds to combat the problem.
For pets that are sleeping you can get away with a slower shutter speed, but otherwise be prepared so you don’t miss a great shot! The following is a guide and applies to any pet:
- Sleeping – 1/100
- Awake and sitting/standing – 1/200
- Walking/playing – 1/400
- Running/jumping – 1/800 to 1/1000
The faster your pet, the faster your shutter speed will need to be in order to get sharp photos, but these shutter speeds should give you plenty of wiggle room.
Related: Get Sharp Photos of Kids in Motion
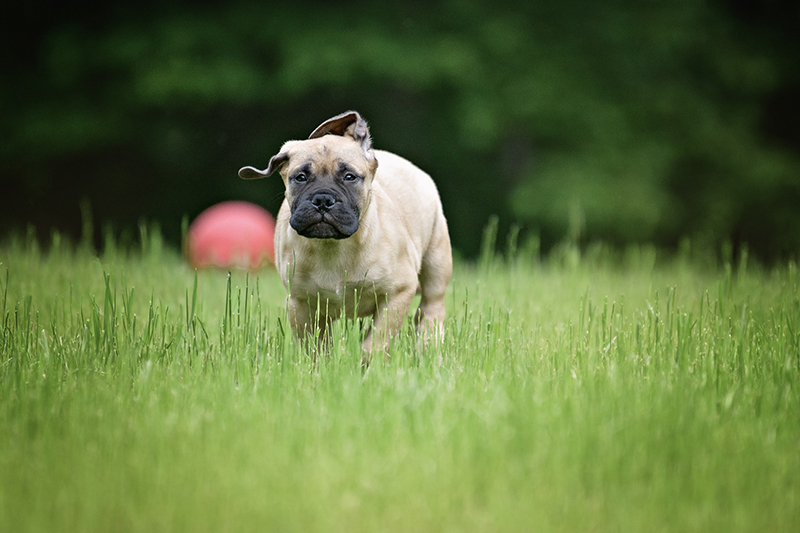
Tara Chumsae
A Trick to Get Great Shots of Your Energetic Puppy or Kitten
Got a furbaby that won’t.stop.moving? Anchor them in one spot by giving them a toy or treats (or both!).
Remember, fast shutter speed! This movement wasn’t overly fast but they were captured with a shutter speed of 1/500 partly because there was an abundance of light – but mostly because it provided an assurance that if they play got faster, the images would be nice and sharp.
For a really great shot, remove any distracting elements in the scene, and use a wide aperture to blur your background. These were shot using an aperture of f/2.
A bonus of this toy is the fabulous pop of red really lifts the scene.
Related: 8 Pro Tips for Beautiful Dog Portraits
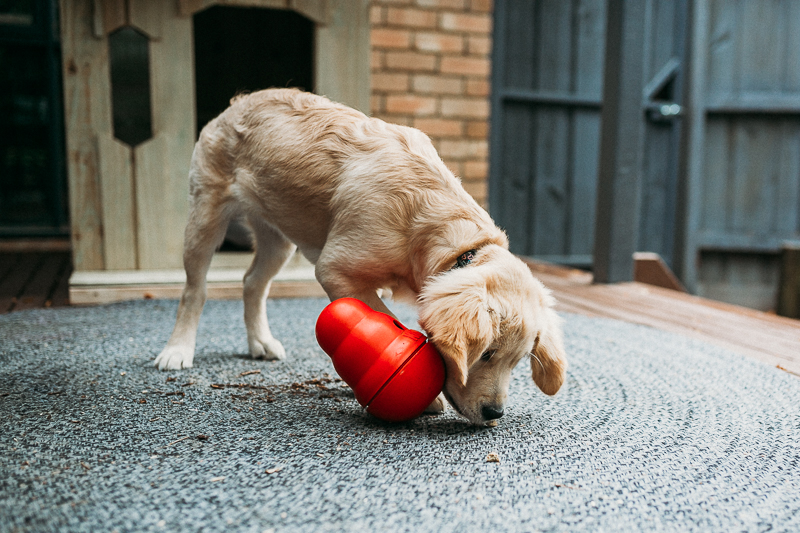
Pam Bradford – SS 1/500 f/2 ISO 800
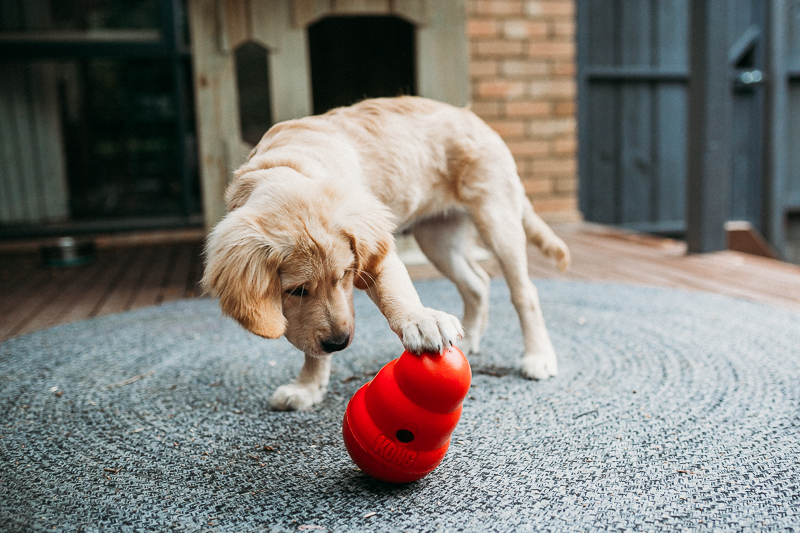
Pam Bradford – SS 1/500 f/2 ISO 800
Here’s another trick for wiggly pets – contain them. And preferably in something photogenic. This striped hammock provides some texture, pattern for interest, and it frames her beautifully without overtaking the shot. Plastic containers don’t photograph well, think natural fibres such as seagrass, timber, wicker, fabric.
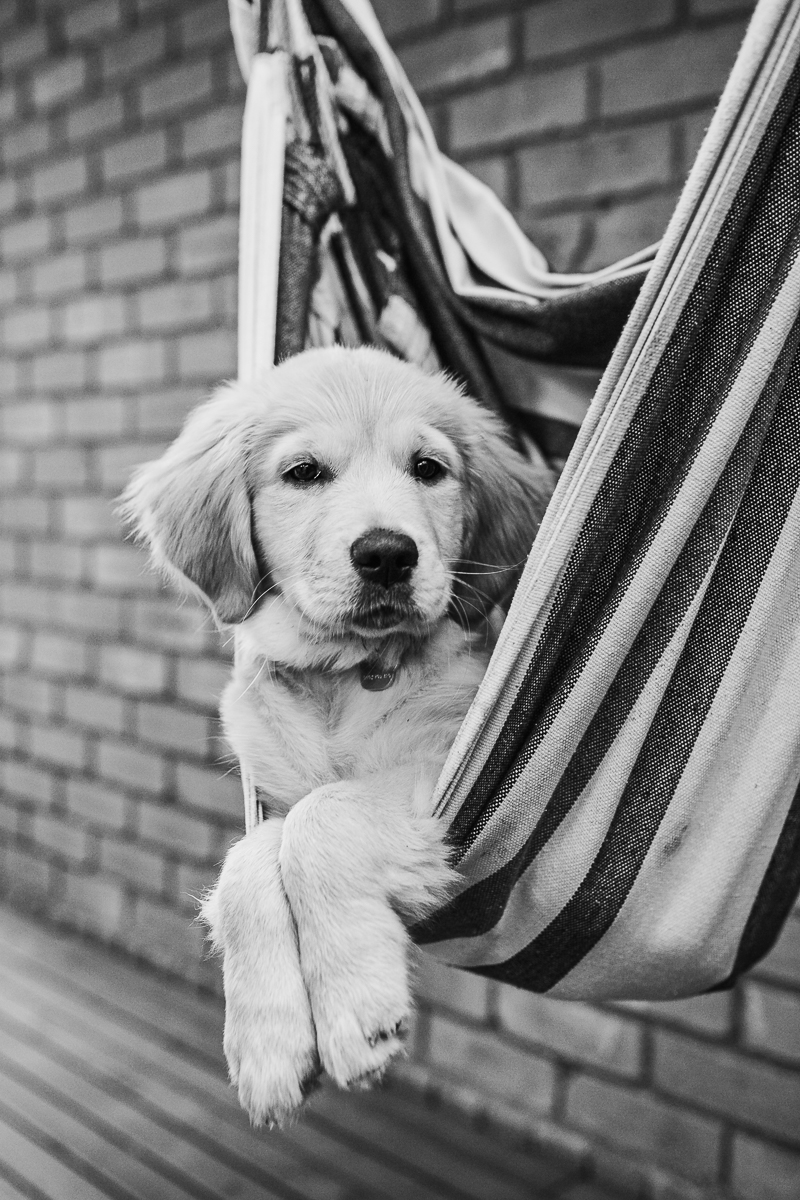
Pam Bradford
The Sweet Details
Just as we love to capture the sweet details of our children as babies, our furbabies grow even faster! Capture them before it’s too late.
You could use a macro lens but it’s not essential. Just grab your sharpest lens, get in close and choose your focus point.
Related: Master Your Focus
A common mistake among beginners is using super wide apertures such as f/1.8 even when they’re shooting really close. But the closer you are, the smaller your depth of field. So if your aperture is too wide, you can end up with a shot that has such a small sliver of focus it actually looks out of focus and the eye doesn’t know where to settle.
So when you’re framing up close, give yourself a little more wiggle room and user narrower apertures of say f/3.5 to f/5.6.
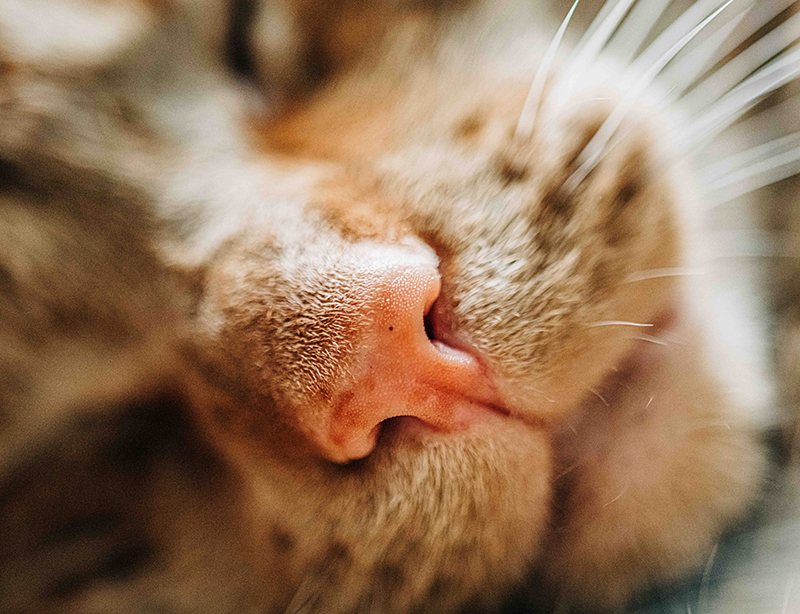
Jennifer Magnuson
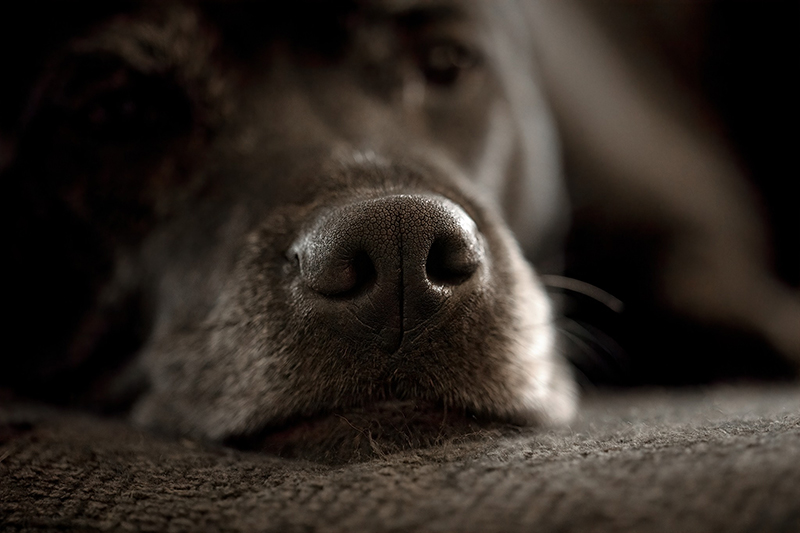
Michele Scott
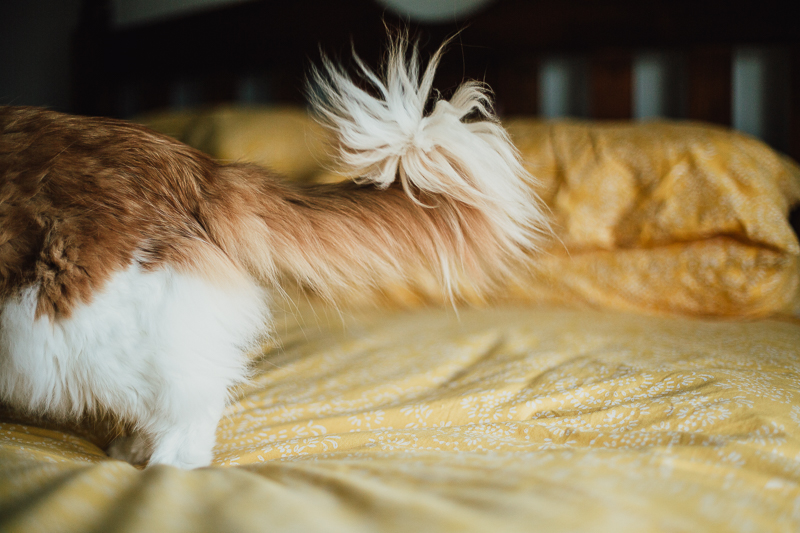
Pam Bradford
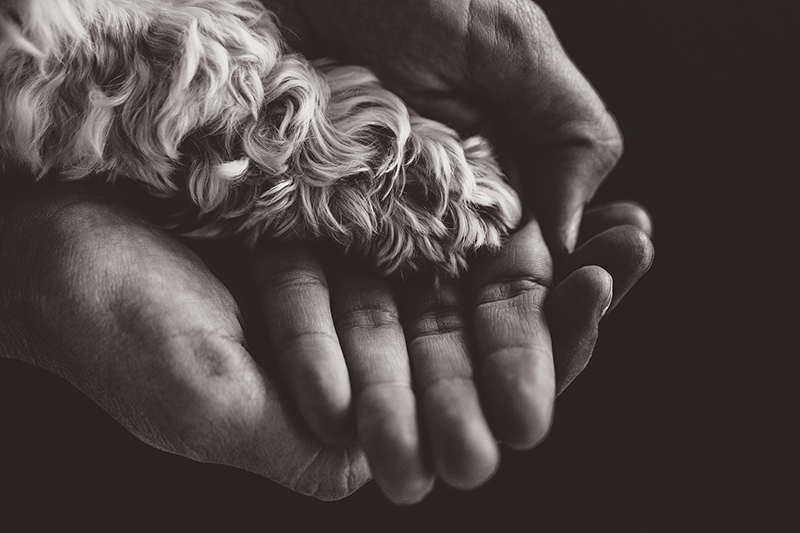
Corina Clarke
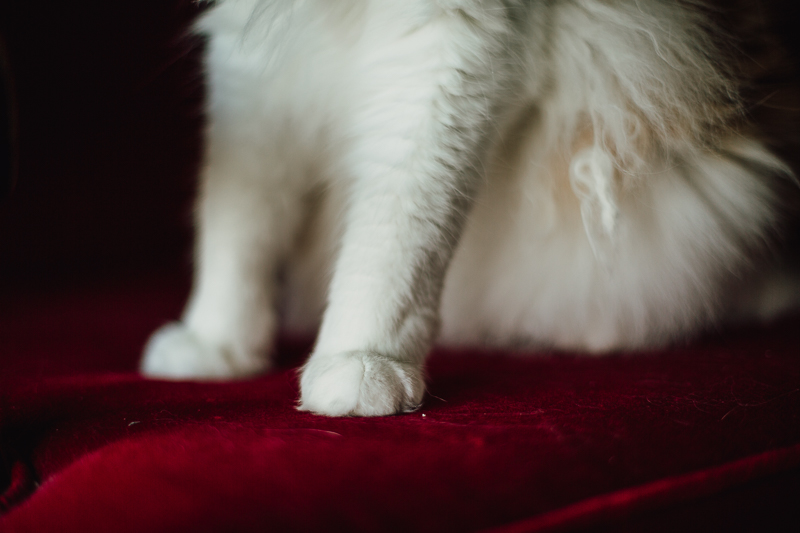
Pam Bradford
Storytelling Photos
Photos like these tell the story of your pet’s everyday life, their personality, and help spark a memory one day in the future.
Remember that time your cat was obsessed with crawling into paper bags?
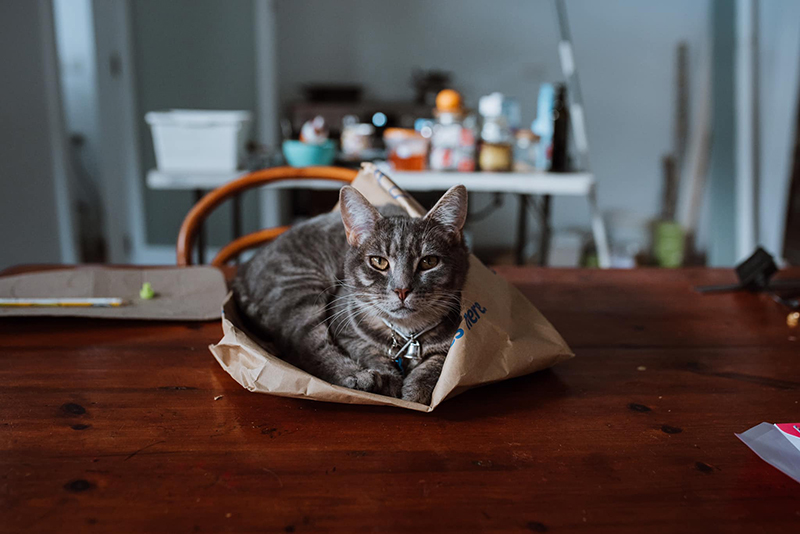
Chantel Harding
Bathtime is perfect for some really cute storytelling shots.
As a bonus, bathrooms can offer great light because there is often a lot of white, which bounces the natural light around.
If your bathroom is not light and bright like this one, use a wide aperture of around f/2.2 and a shutter speed of no slower than around 1/160 to freeze any motion. Then increase your ISO until you’ve got a balanced exposure.
Or just bathe them somewhere else!
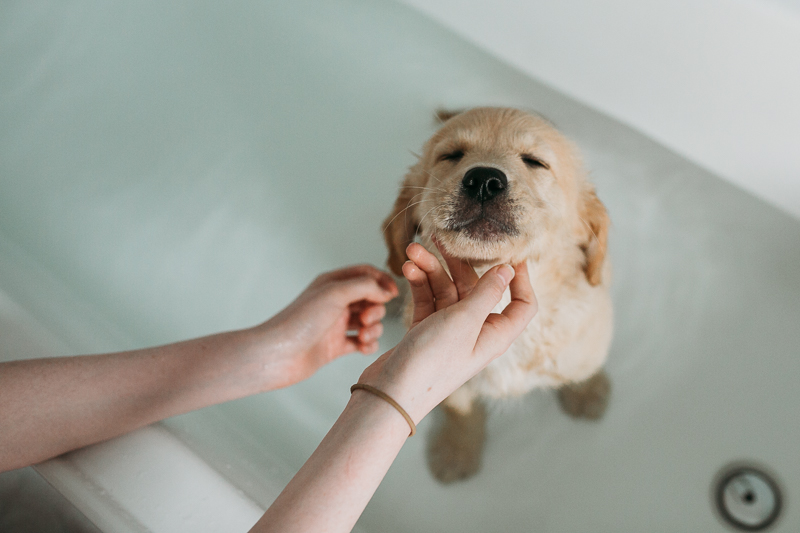
Pam Bradford – SS 1/320 f/2.2 ISO 1600
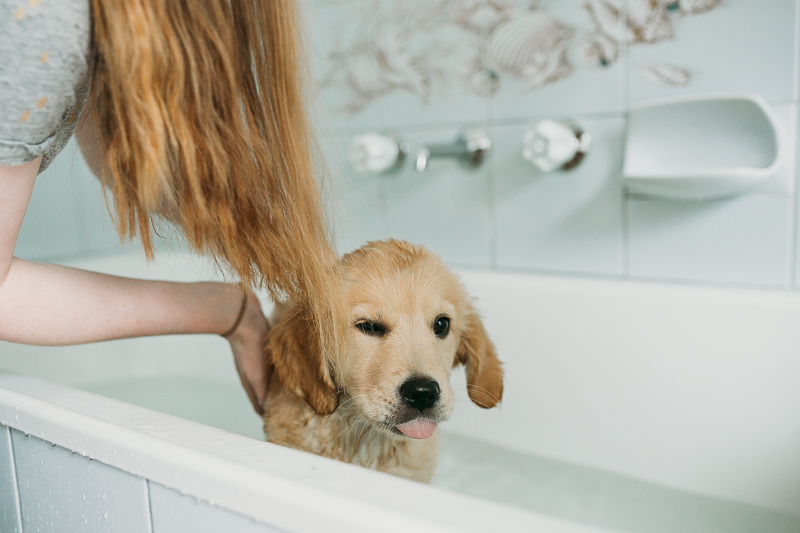
Pam Bradford – SS 1/320 f/2.2 ISO 1600
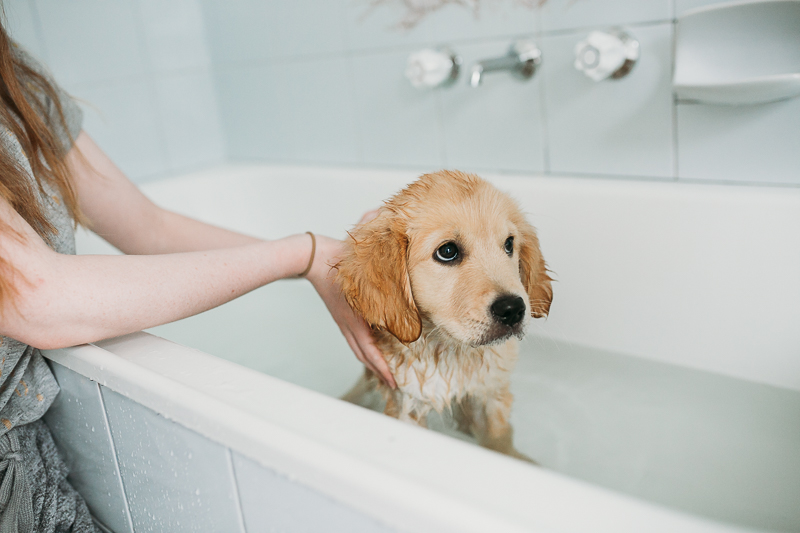
Pam Bradford – SS 1/320 f/2.2 ISO 1600
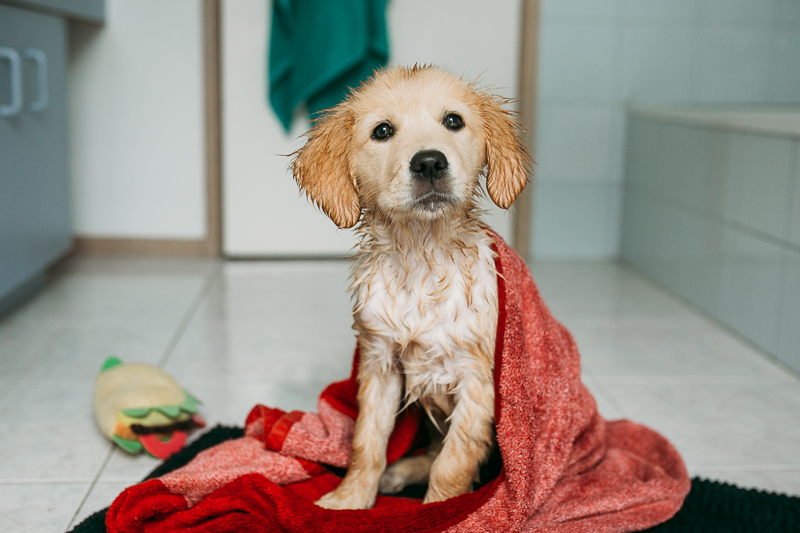
Pam Bradford – SS 1/320 f/2.2 ISO 640
How To Get Variety
The easiest way to avoid taking photos that all look the same, is to move yourself around and try different angles and frames.
Get down to eye level and frame the face and part of the chest for a classic portrait.
Always try to avoid cutting off your pets ears as it will almost always look like an accidental crop.
Get The Eyes in Focus
When we photograph human portraits, we love a nice wide aperture of say f/2, with sharp focus on the eyes and a beautiful blurred background.
And of course want the same effect with our pet portraits, right?
But when it comes to dogs with a long snout, if you’re shooting them directly front on and close up like this shot below, a really wide aperture will risk one of two things:
- If you focus on their eyes, their nose will be so out of focus as to be a little distracting; or
- You focus on their nose because it’s closest, and their eyes are out of focus.
The reason is their eyes and nose are on completely different focal planes, so you can’t get both in focus unless you use a really narrow aperture. And you don’t want to do that either because then you’ll lose your lovely fall away in focus and that blurred background that looks so gorgeous in portraits.
Find a middle ground instead – it’s ok for the nose to be out of focus, but just a little, like this one. Aim for around f/2.8 or wider if you’re roughly this distance away, and aim focus on the eyes.
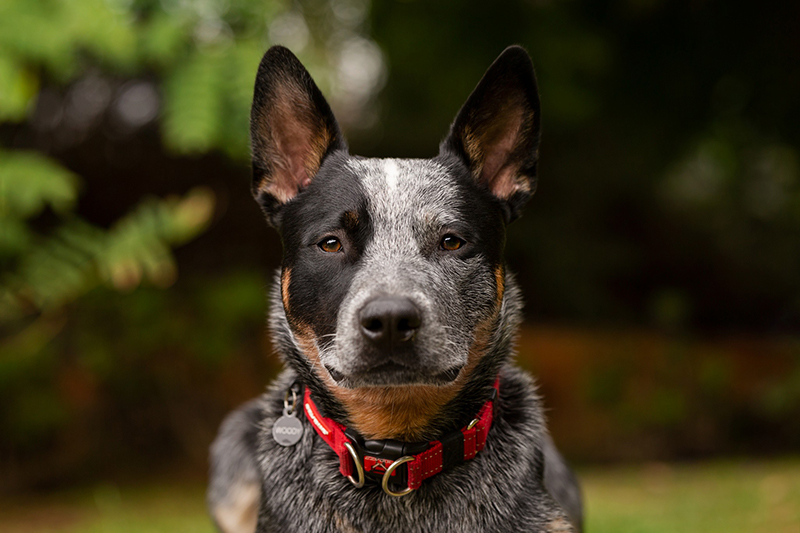
Corina Clarke
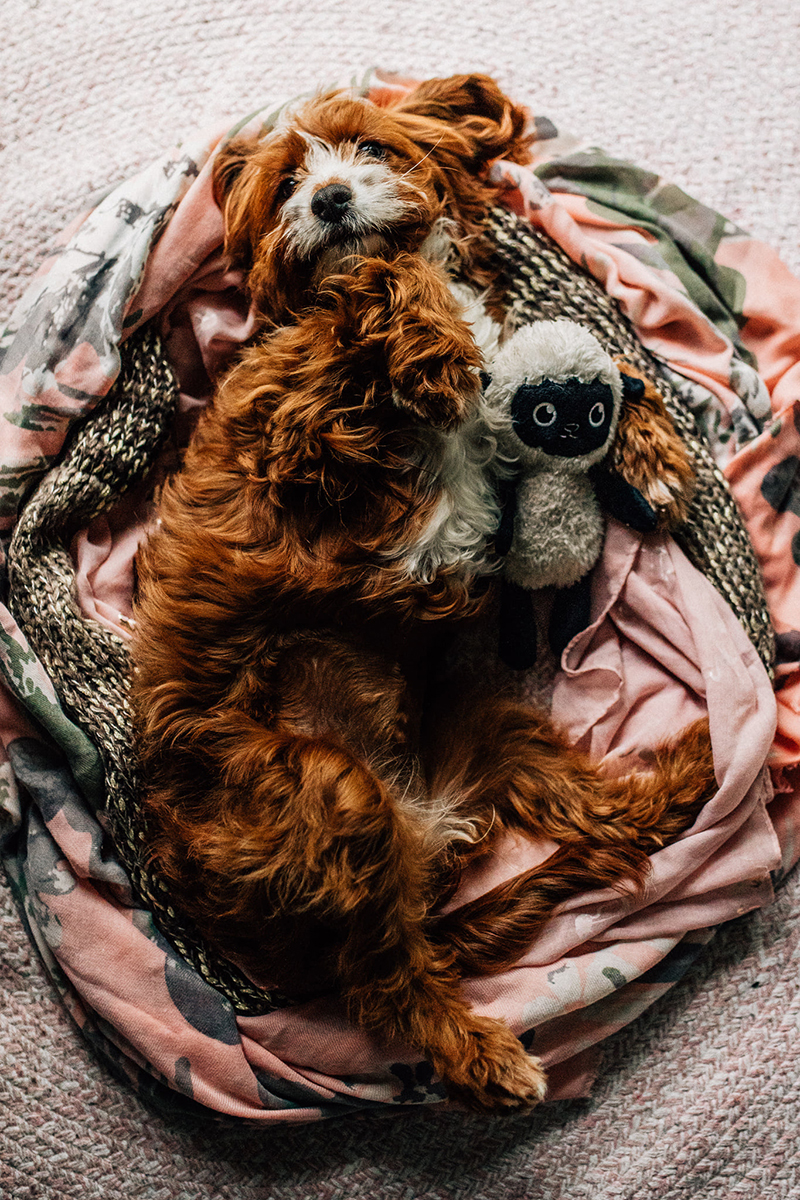
Stand up and shoot down…
Tina Demasi
Emily Lomax
Get down low and shoot up.
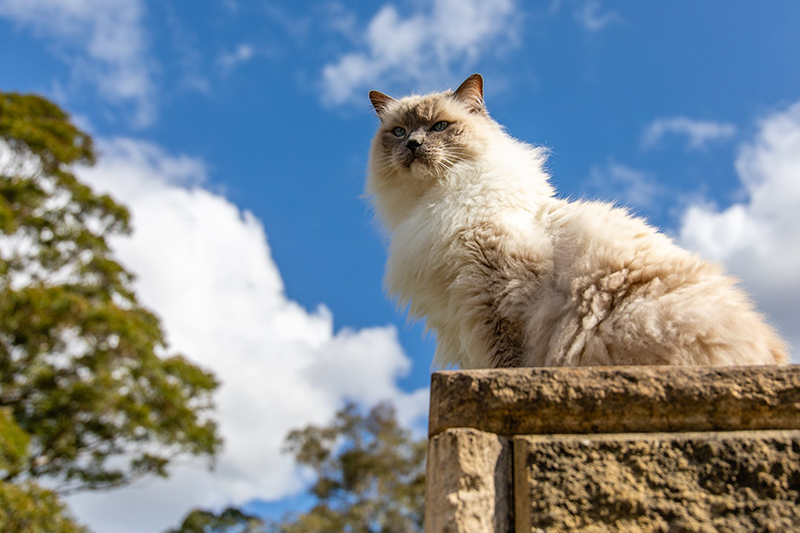
Dawn Balcombe
Take wide environmental shots…
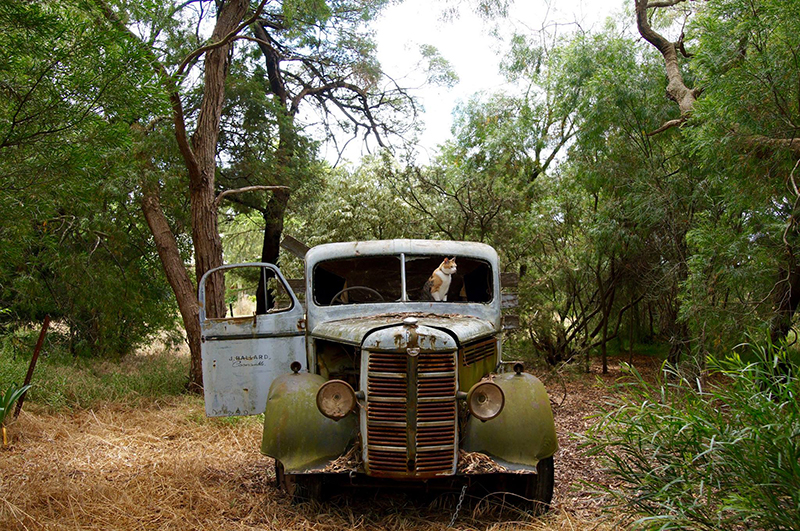
Kirsty Draper
Pro-Level Tips For Wall Worthy Pet Portraits
So now you have some tricks for photos you’ll love… are you ready to elevate your skills and get some really wall-worthy portraits? Read on for some professional tips…
One of the easiest things you can do – and makes the difference between snap shot and pro shot – is to ensure there’s no distracting clutter around.
What do I mean by clutter? I’m talking about anything that doesn’t need to be there – think your breakfast dishes, a pile of newspapers , a stray toy. Or if you’re outdoors, a trash bin, a street sign, parked cars.
Related: Clear the Clutter!
Normally we’d say if you can’t move the clutter, move your subject. But sometimes moving your subject means missing the shot.
When you can’t move the clutter or your subject, here’s 3 easy ways to get a nice clean portrait type shot.
1. Sky as Backdrop
Get down low and fill the frame with sky, effectively and very easily removing all background clutter.
This particular shot works especially well because it’s a beautiful blue sky day with gorgeous clouds to add depth to the shot.
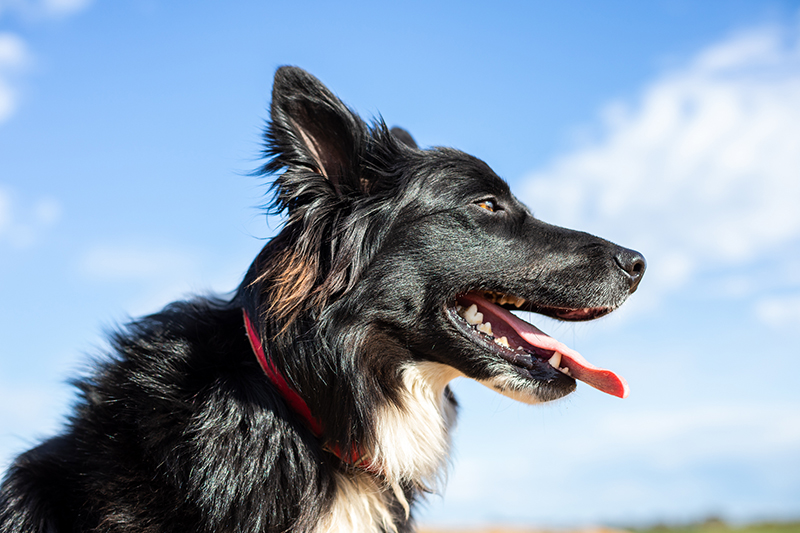
Marie Tapscott
Stand up and shoot down on your subject, again framing out anything that doesn’t need to be there.
2. Ground or Floor as Backdrop
Dog on a bed in a messy room? Stand up and shoot down.
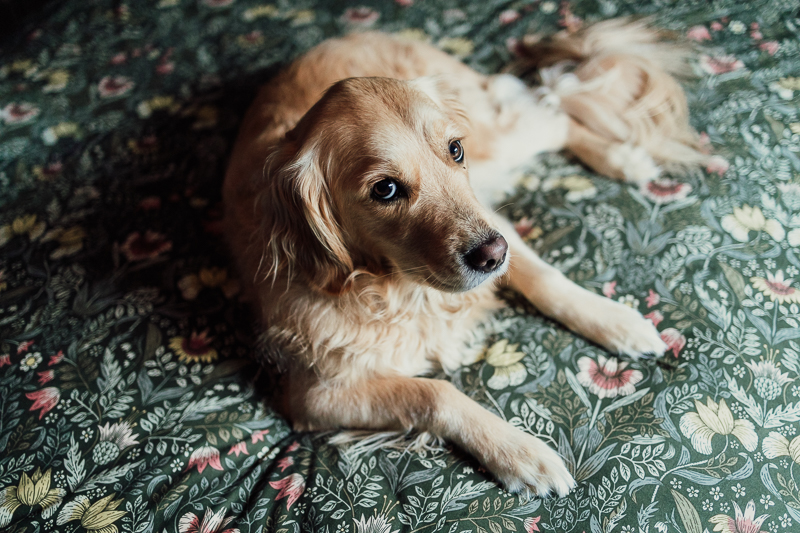
Pam Bradford – A quilt cover makes an easy backdrop just by getting up higher.
A gravel path outdoors makes great blur!
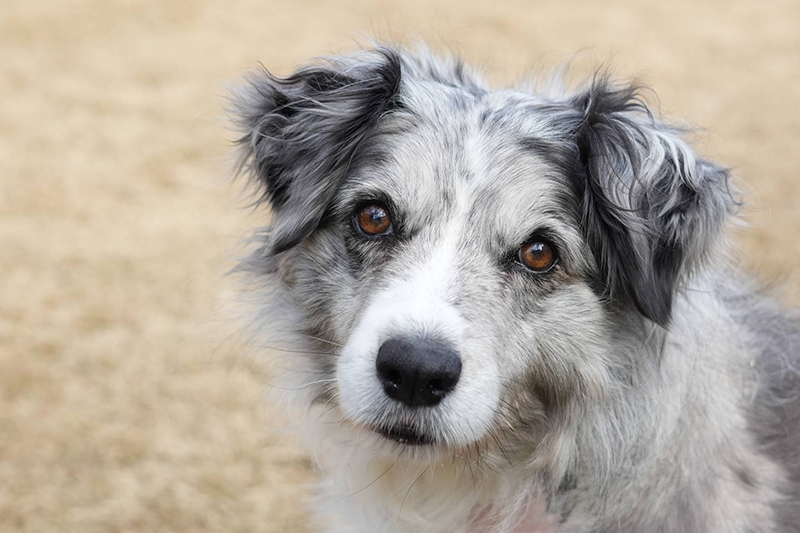
Fredrika Nordh – Stand up a little higher and fill the frame with the ground for a seamless, natural backdrop
Grass is an easy backdrop too. Also: super cute puppy alert!
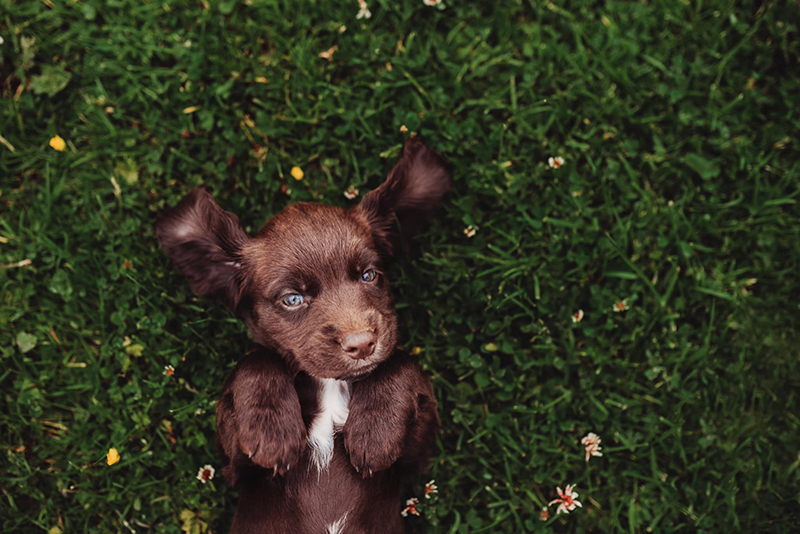
Lisa O’Doherty
3. Foliage as Backdrop
If you’re outdoors, look around for a different angle. Maybe the background is filled with parked cars… but maybe you just need to move yourself around your subject until there’s something else behind your pet. Don’t worry if they’re not facing the right way… as soon as you move, your pet should turn to look at you.
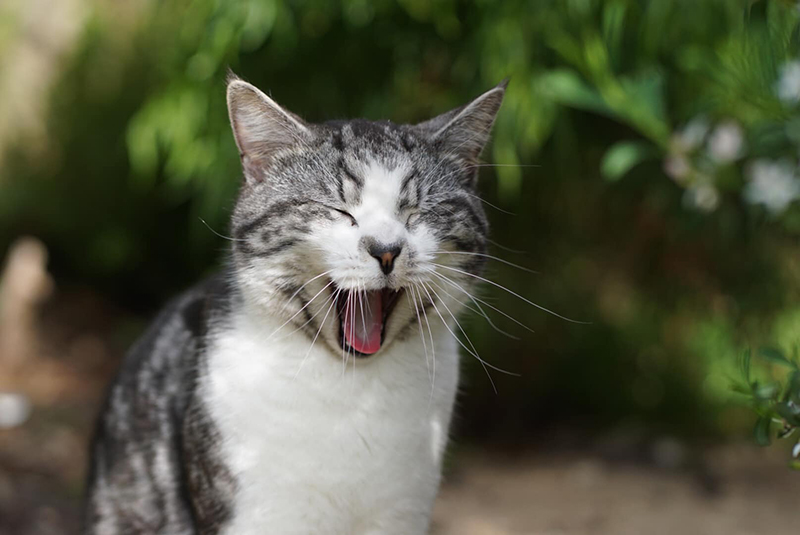
Jacqui Hutton
Use Magical Light
To capture the kind of beautiful pet portraits that have your family asking “how did you do that?!”… shoot during the golden hour.
The golden hour – which occurs just after sunrise and just before sunset – is a favourite light of photographers for good reason! It’s warm, dreamy, flattering, it adds a beautiful glow and can elevate any shot!
You might think photos like this are beyond your skills but we’re here to help.
How to Position Them
Position your subject with the beautiful light behind them. And here’s a tip that might surprise you – the sun can be behind them, but it doesn’t need to be. You can also position them with the setting sun to the side or in front of them, if it’s casting a beautiful glow behind them onto foliage or dense trees. The clearer the sky and the more intense the sunset, the more likely you are to get light bouncing back onto foliage that is opposite the sunset.
To get this kind of shot below, head outdoors just before the sun sets, on a day when those last rays of light are beautifully golden. Often you’ll get this kind of really intense golden light at the end of a hot summer day with no cloud cover, but you can definitely experience it in winter too. Position your pet with the golden light behind them, and use a wide aperture of around f/2.5 to create this incredible bokeh.
Plan Ahead
If you head out when you notice the sun setting, you’re almost too late (unless you’re really experienced and fast!). So the moment you notice this kind of heady golden light starting to fall on your surroundings, head out straight away and get yourself ready. Get your pet in place with a plan to keep them there, whether it’s with treats or a toy or good old fashioned obedience. Frame your shot, take some test shots, and know what settings you need before it’s too late – this light doesn’t hang around long, the sun sets fast and it will be gone quickly!
Even better, if it’s been a warm day with clearl skies, you can often anticipate a good show of golden hour light so head out 10 mins or so before the scheduled sunset.

Corina Clarke
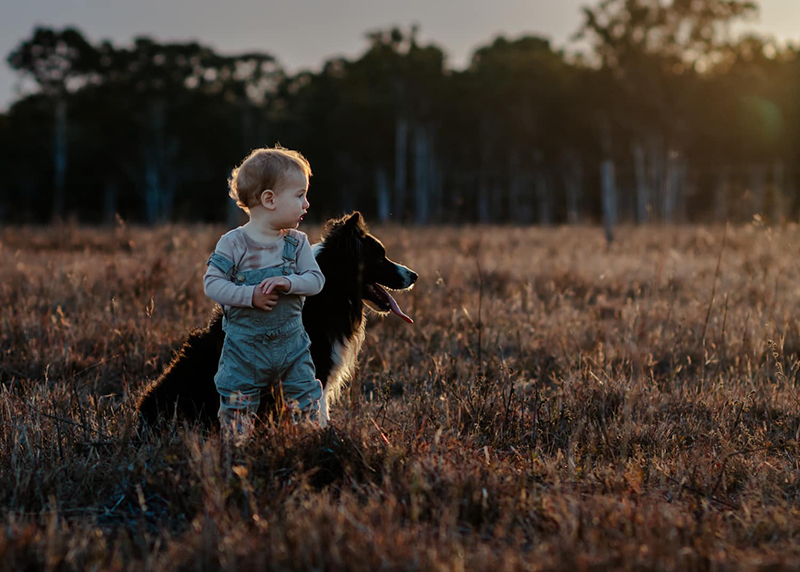
This next shot was captured in the golden hour too. Although the light has a lot less intense warmth and golden hue as the shot above, it’s still dreamy and beautiful.
The sun us positioned behind them and a little to the side – approximaetely 45 degrees to camera right. It created a beautiful halo effect around both dog and baby, and helped separate them from the environment so they really pop.
There’s also a little haze and an almost indescernable lens flare at the top right which is fine and no need to avoid. It happens when the sun hits the lens directly, and it gives your golden hour portraits a dreamy feel.
Related: 10 Tips for Breathtaking Golden Hour Photos
Zoe White
Use a wide aperture of around f/2.8 or wider to get beautiful bokeh in your background like this shot below.
Related: How To Take Beautiful Bokeh Photos
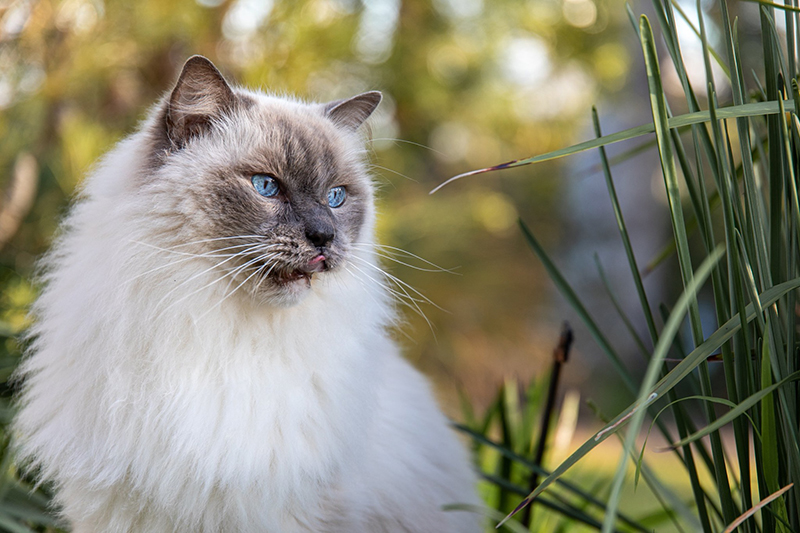
Dawn Balcombe
Take A Classic Studio Portrait
Use a plain wall located near some soft window light for a classic studio look. In this shot the light is situated camera right, creating some beautiful directional light shadows on the left.
Related: Easy Dramatic Portraits
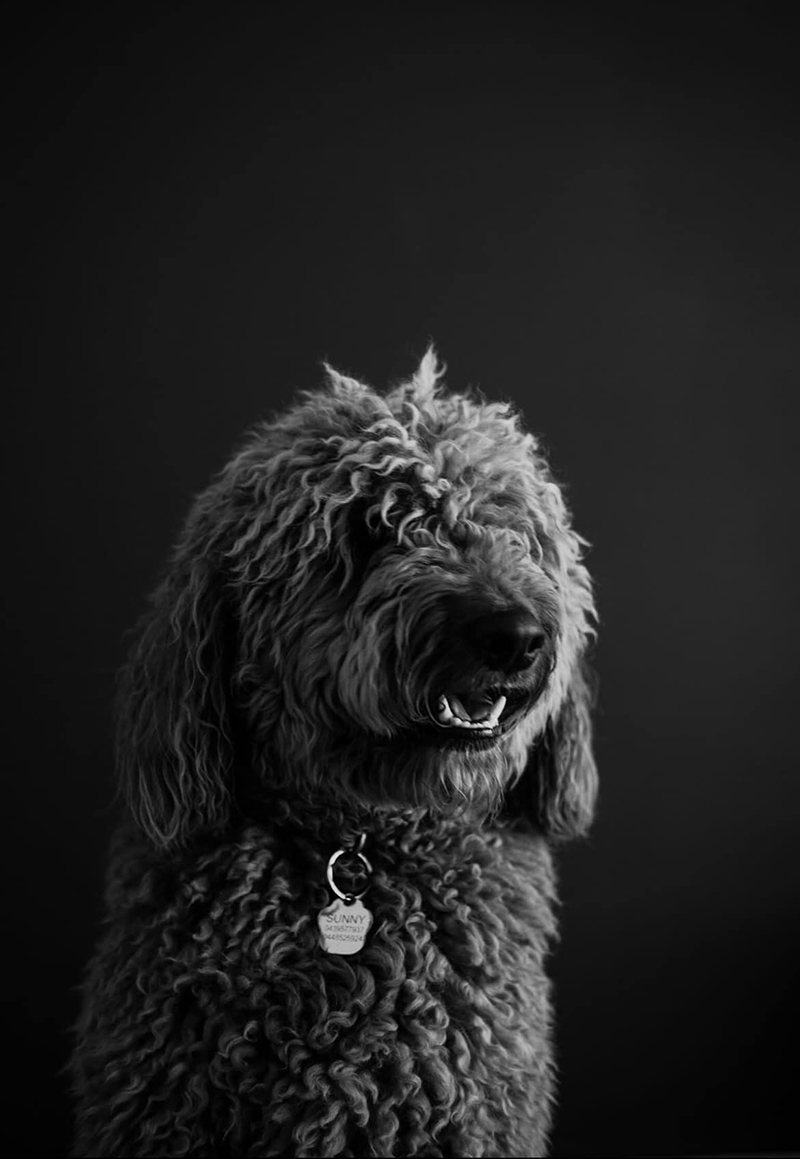
Erin Reghenzani
More Ways to Elevate Your Pet Portraits
All good shots have depth, and we can do that in lots of different ways. What’s more, it’s a lot of fun to think outside the square!
Shoot Through
Finding things to shoot through adds layers and texture to your shot, and frames your pet to draw the eye exactly where you need it to go.
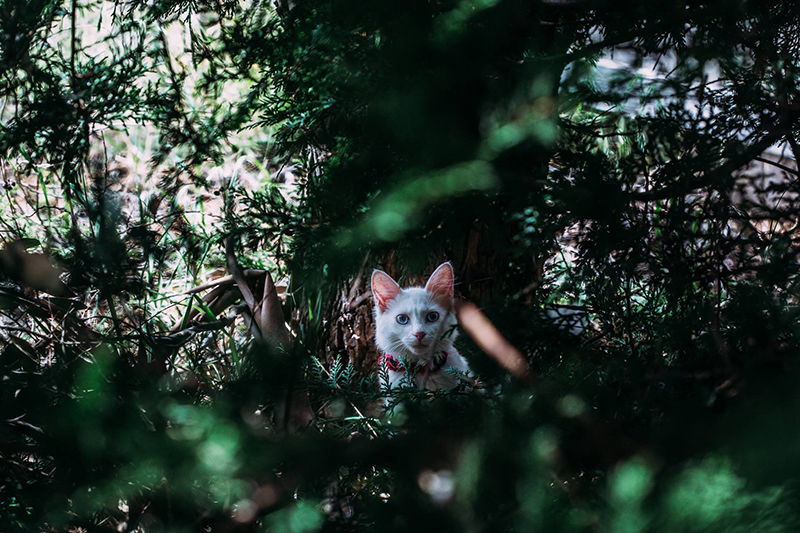
Vinna Cole
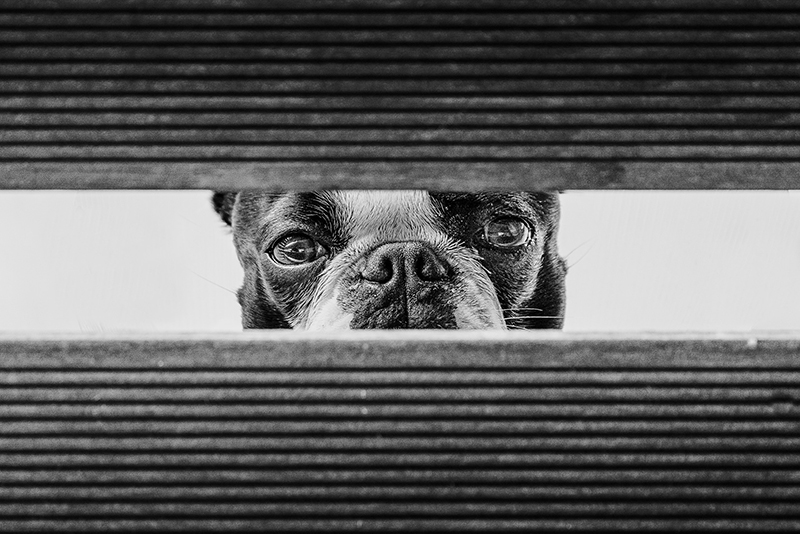
Esther Kramer
Shoot through a window. And if it’s not really working…
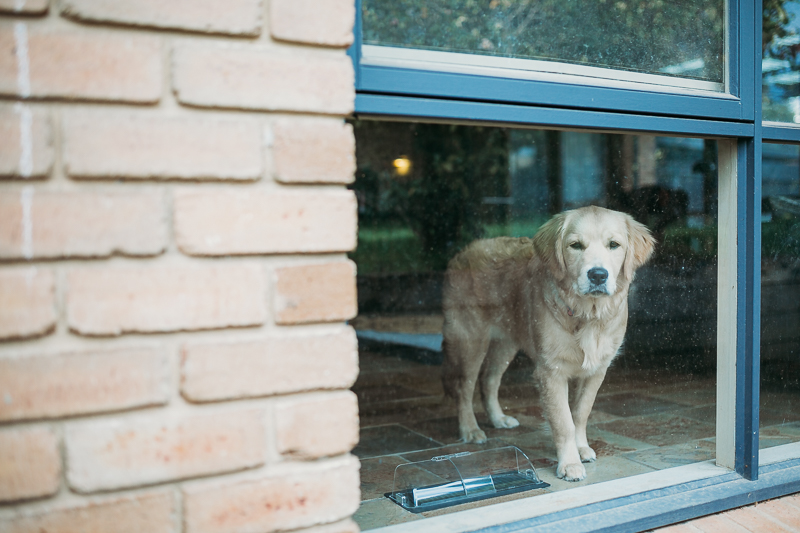
Pam Bradford
Convert it to B&W, one of the easiest ways to help your subject stand out amid a busy scene or elevate a shot that’s a little blah!
Related: The Essential Ingredients of Great B&W Photos
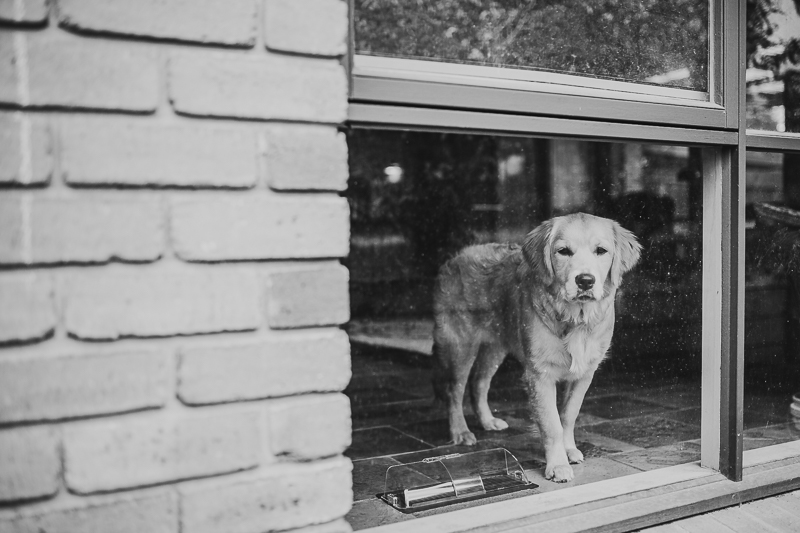
Pam Bradford
Reflections
Including the reflection is an easy way to add depth an interest to a portrait.
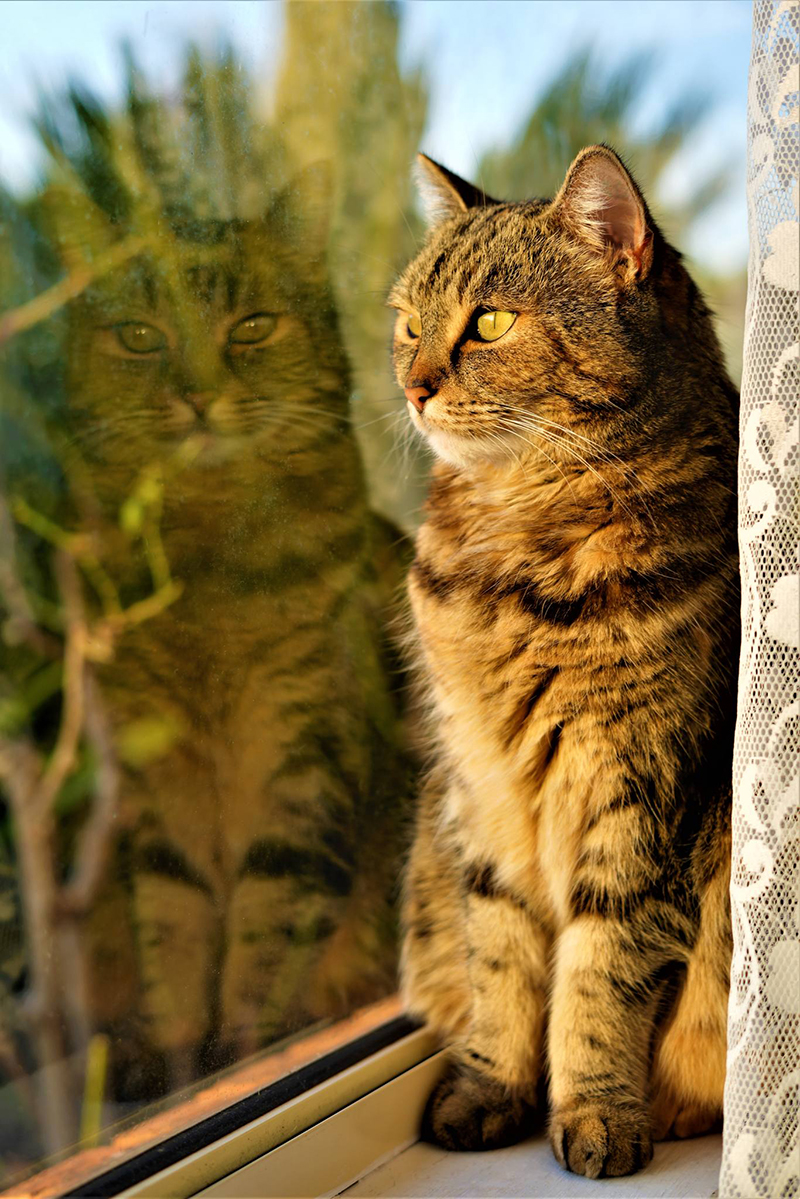
Fredrika Nordh
Foreground Elements
Including objects in the foreground can work both as a leading line and a layer to add depth.
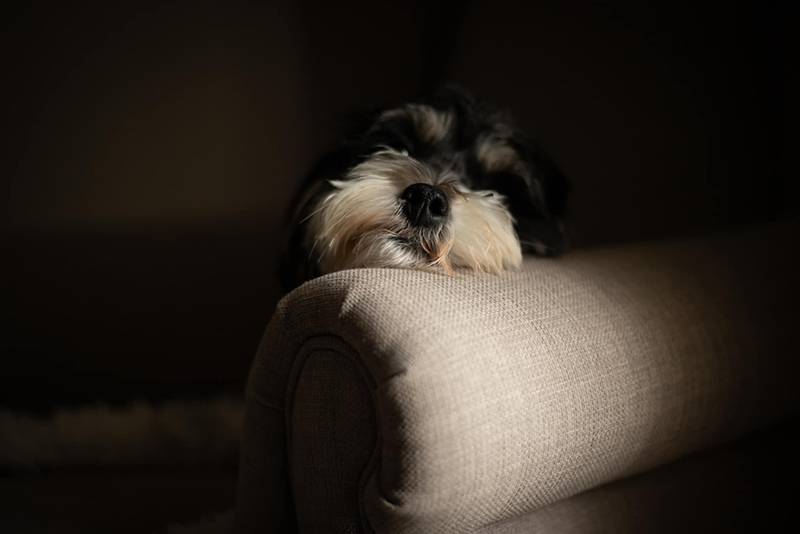
Tina Demasi
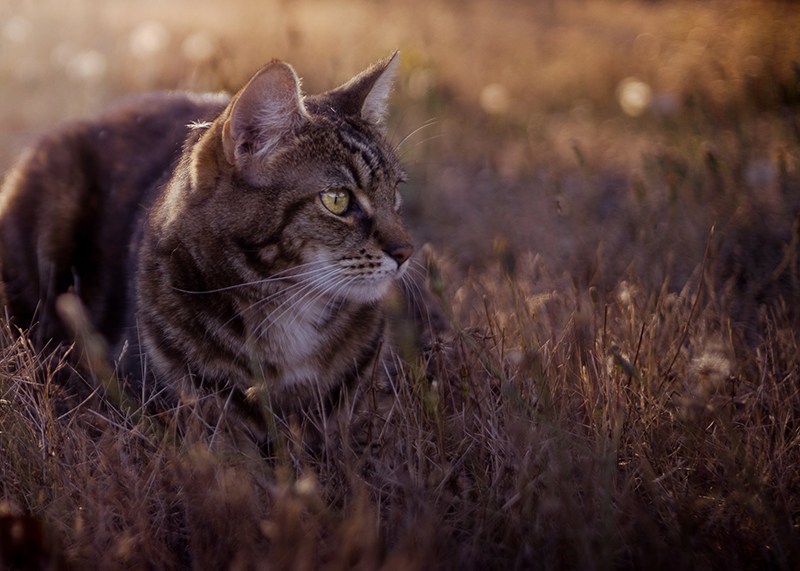
Stacy Gibson
It doesn’t have to be complicated. In this shot below, the foreground element is simply the front of the cat’s bed.
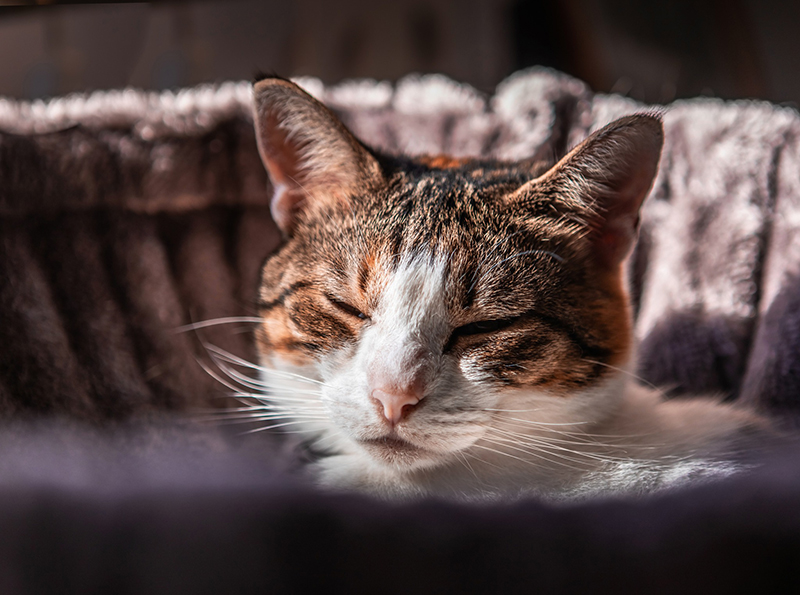
Sandie Peters
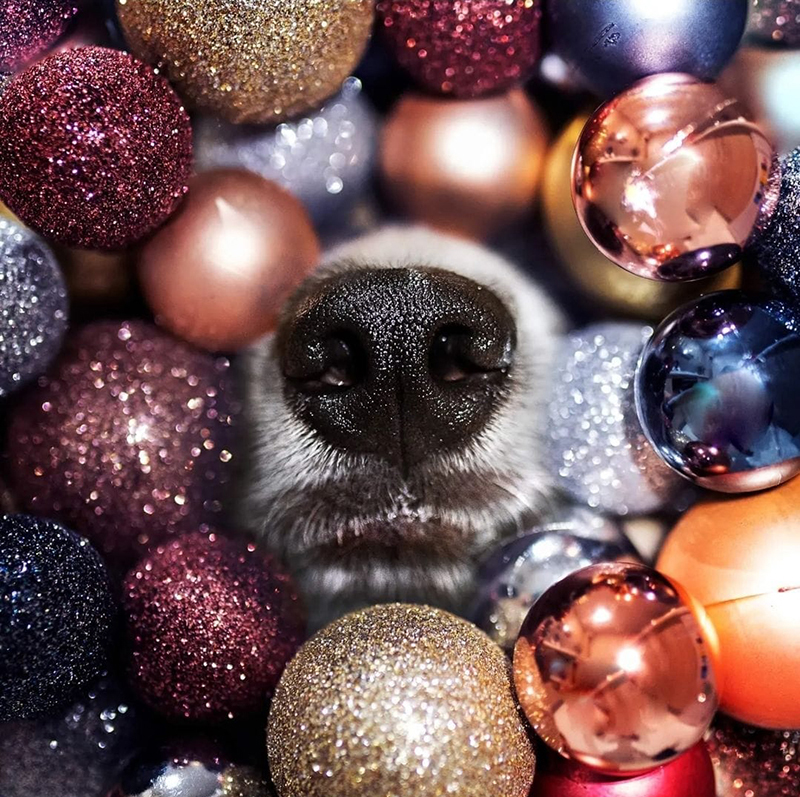
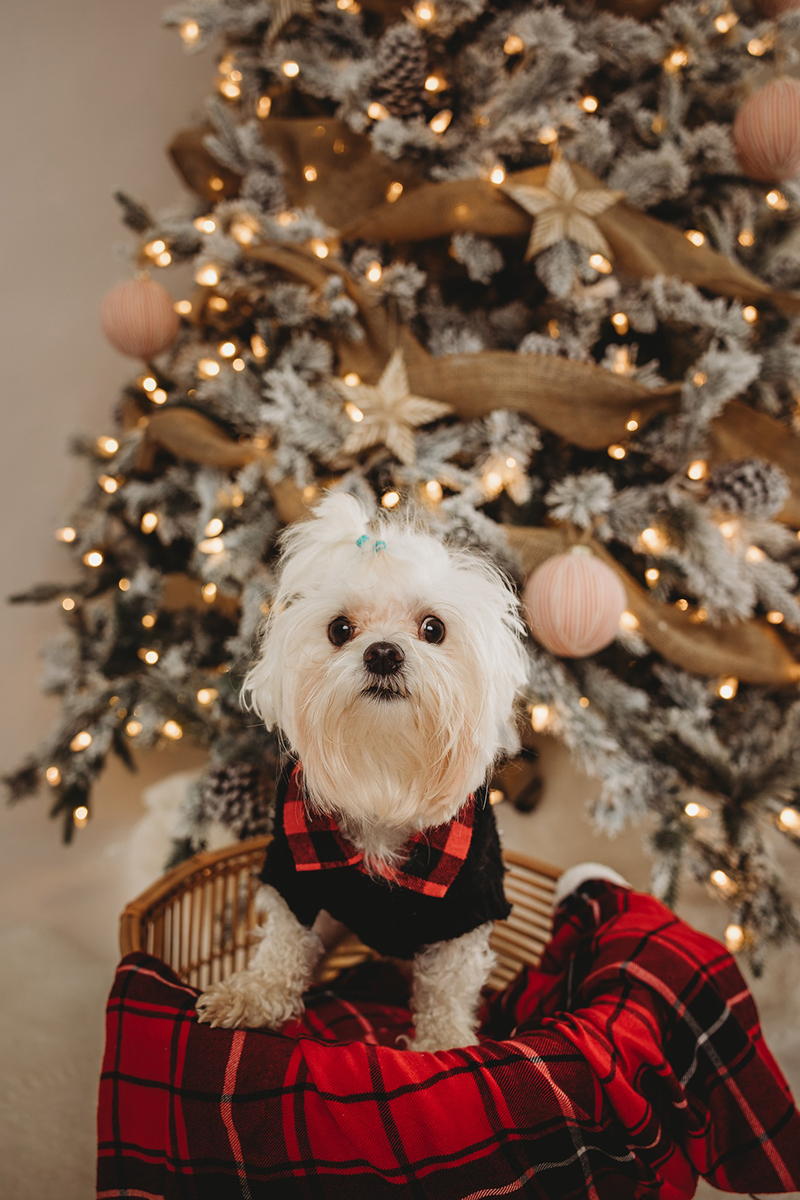
Christmas Portraits
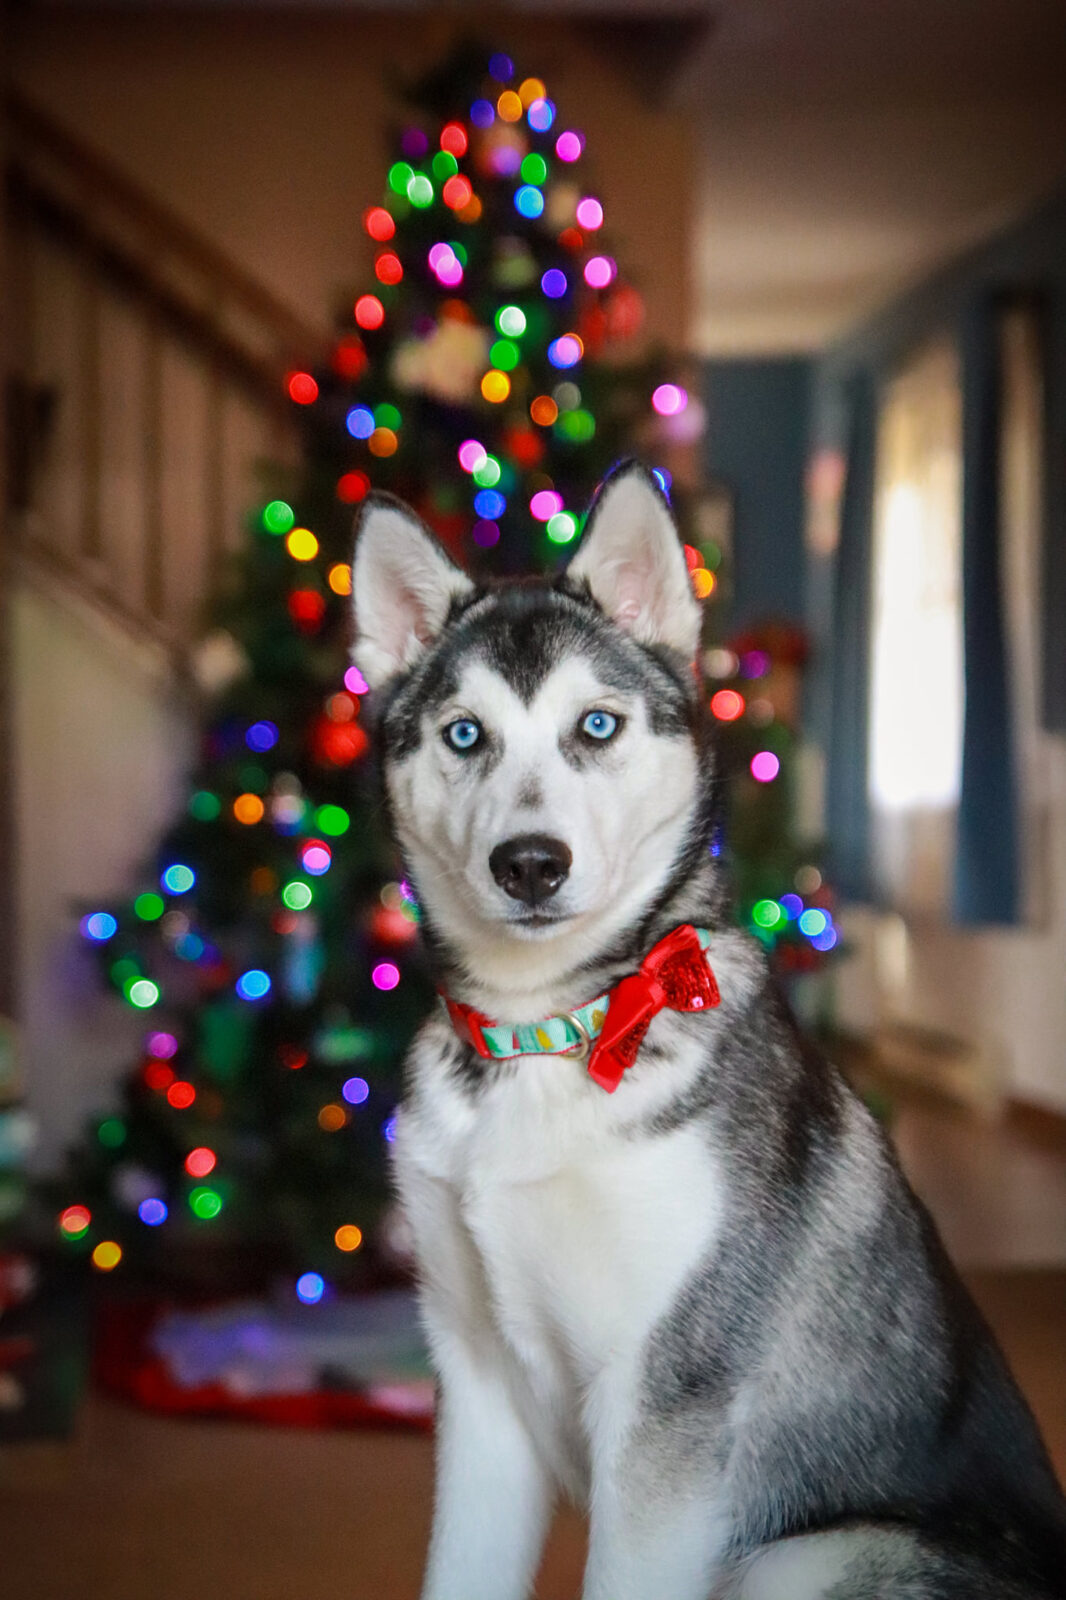
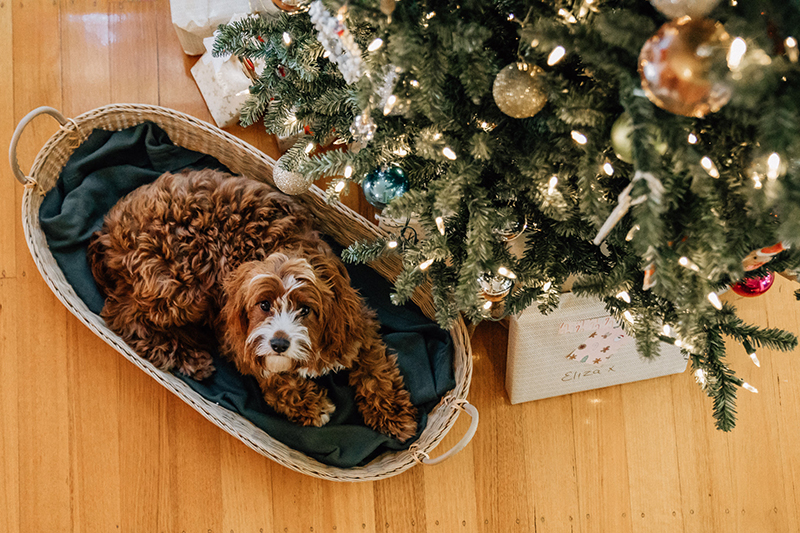
Why should our pets miss out on seasonal portraits?
Try some fairy light shots with our easy step-by-step tutorial.
Related: Easy Twinkle Light Portrait Tutorial
Debbie Darcey
Emily Lomax
Justine Eacott
Rebekah Taylor Pittman
How to Capture Kids & Pets
They say don’t ever work with kids and animals. Although “they” were talking about the movie business, it definitely goes without saying photographing both is difficult too, let alone together! But it’s not impossible and we have some tips to help you succeed.
Take Artistic Control in Manual Mode
First and most importantly, the best way to get great photos of kids and pets is to use your camera in manual mode. Kids move fast and so do animals, and if you leave it up to your camera by shooting in auto mode, you’ll end up with a lot of blurred shots!
Related: How to Shoot in Manual Mode
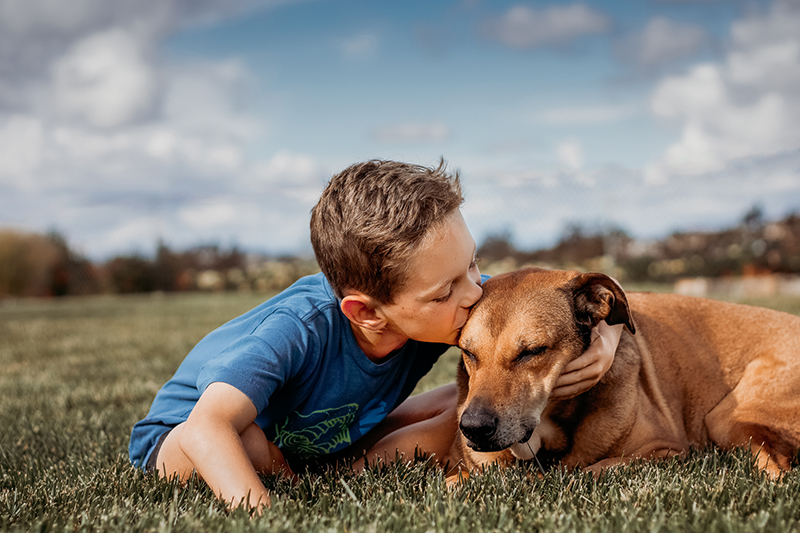
Keep it Candid
One of the best tips I can offer for getting beautiful photos of kids with their pets – especially dogs – is that they don’t need to be looking at the camera. Instead, make it about their love and connection and capture them interacting. You’ll save yourself a tonne of frustration!
Renee Johnson
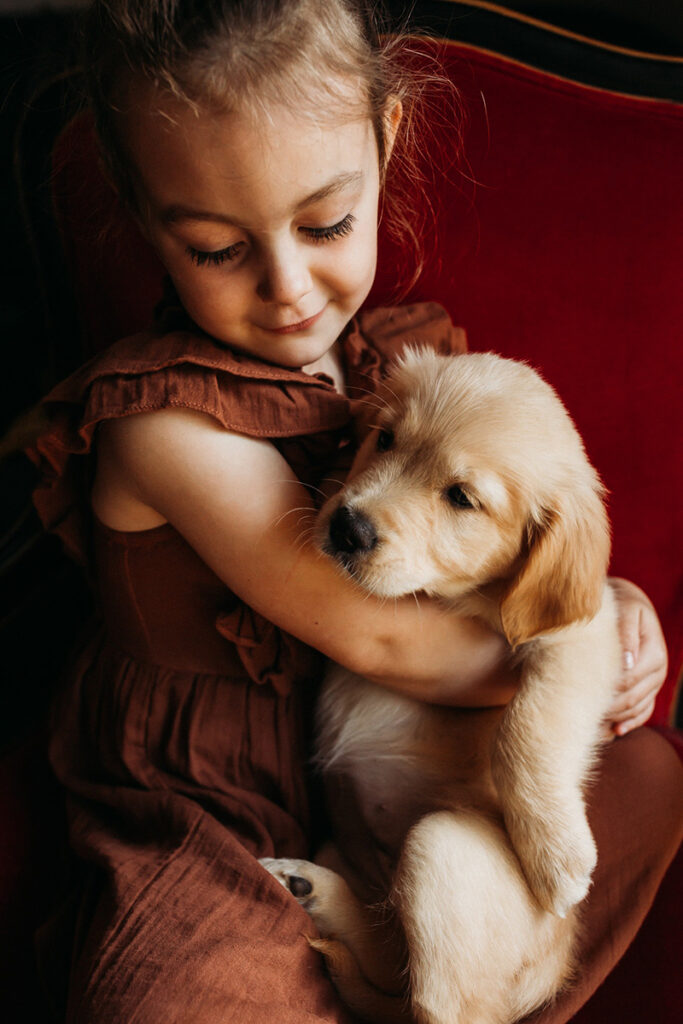
Ensuring Connection
When you have a big physical distance between subjects faces, it can create a disconnect. You can intentionally bring out their connection by having your child get down to the level of the animal or hold them and bring them up high. Then shoot them at eye level to get the best view of them.
Merissa Wakefield
Tire Them Out First
Got a particularly energetic dog that just can’t sit still? Wear them out with exercise first then get those photos when your furry one is all out of puff and happy to sit.
Likewise choose the best time of day for your child too. A tired child doesn’t make for great photos!
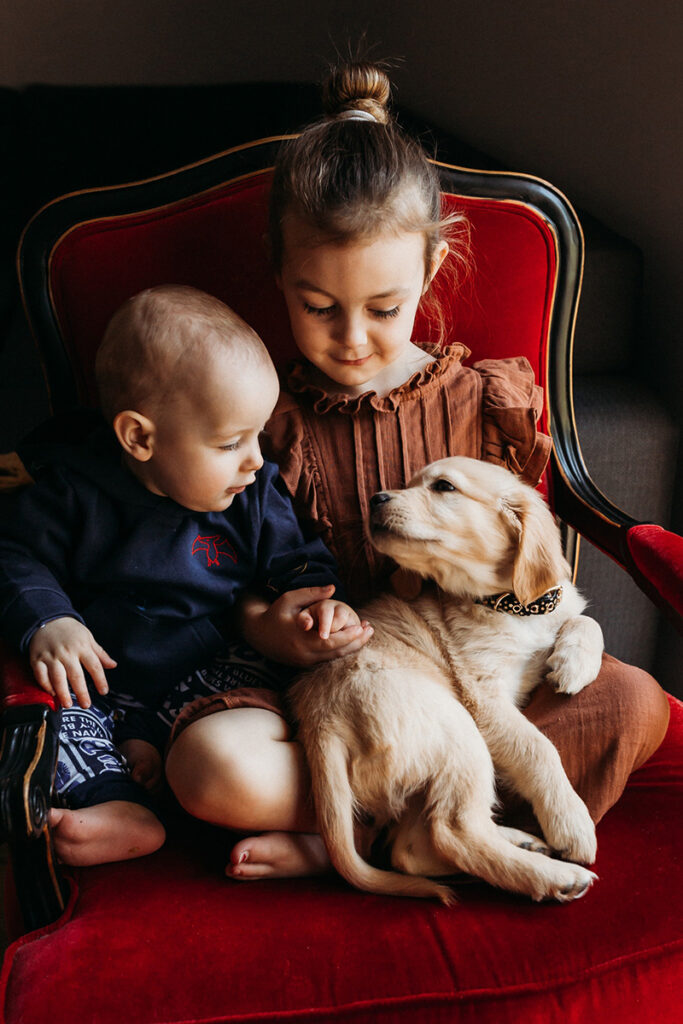
Merissa Wakefield
Get Good Focus on Both
Use an aperture that will get both subjects in focus. If they’re lined up side by side like this they’re on the same focal plane, so you can use a wide aperture of say f/2.5 and still get both in focus and get a nicely blurred background at the same time.
Related: How to Select Your Aperture To Get Groups in Focus
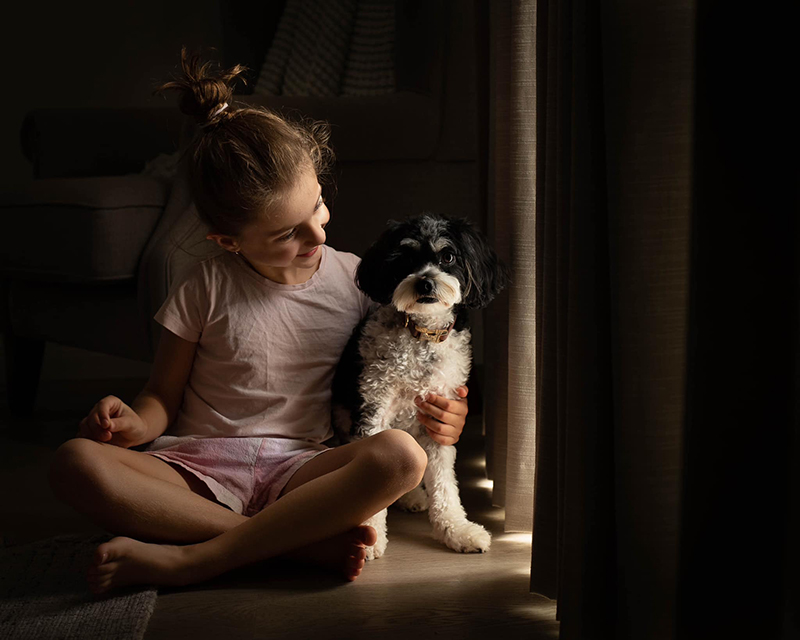
Tina Demasi
If they’re not on the same focal plane, you can still use a wide aperture (eg. f/2.5) but only if you intentionally want to focus one one subject, like this shot.
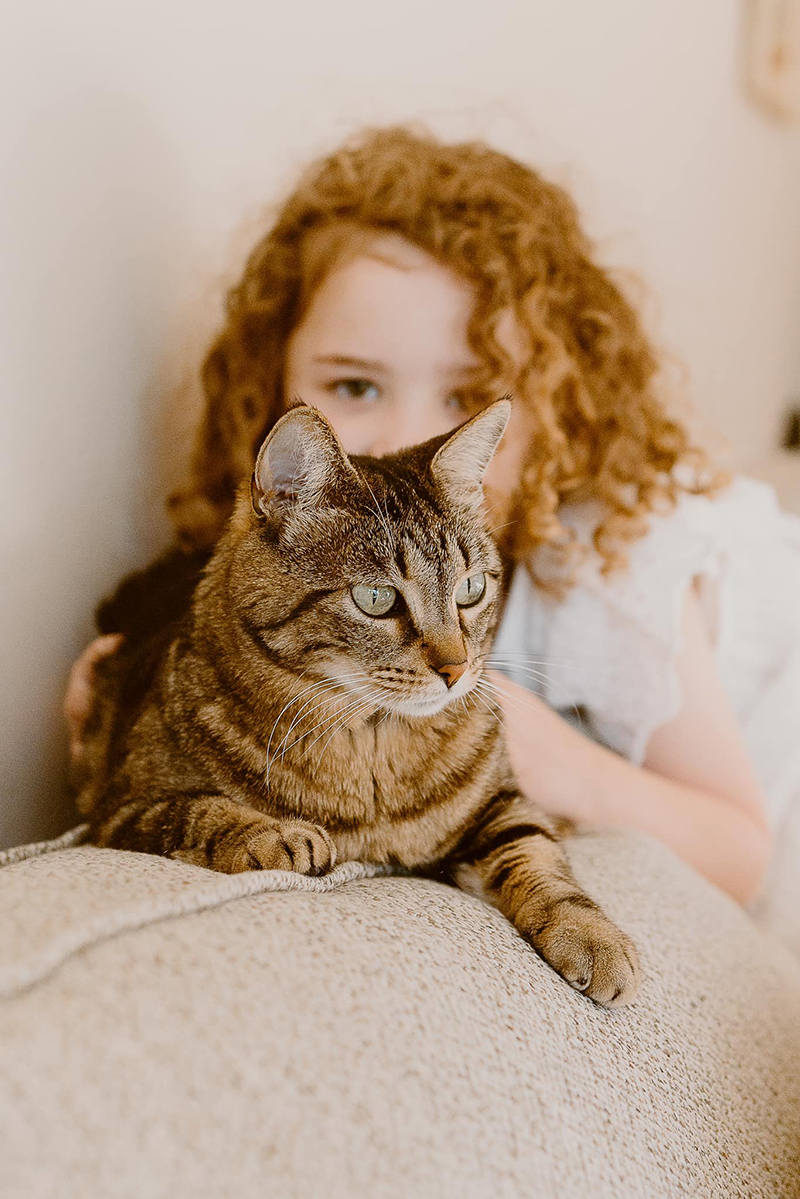
Rachel Davison Wachowe
But if you want both in focus and they’re not on the same focal plane, like thism you’ll need to go narrower, eg. f/4.5.
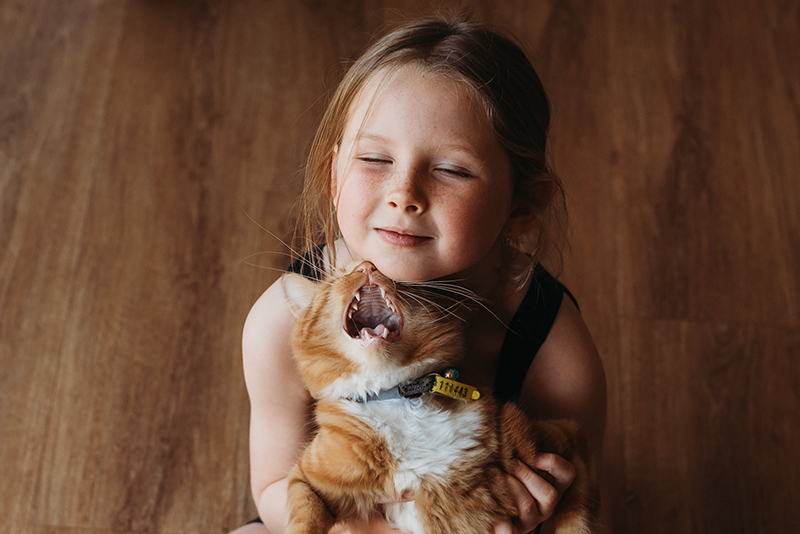
Melissa O’Neill
The same applies whether its a pet and child or two pets.
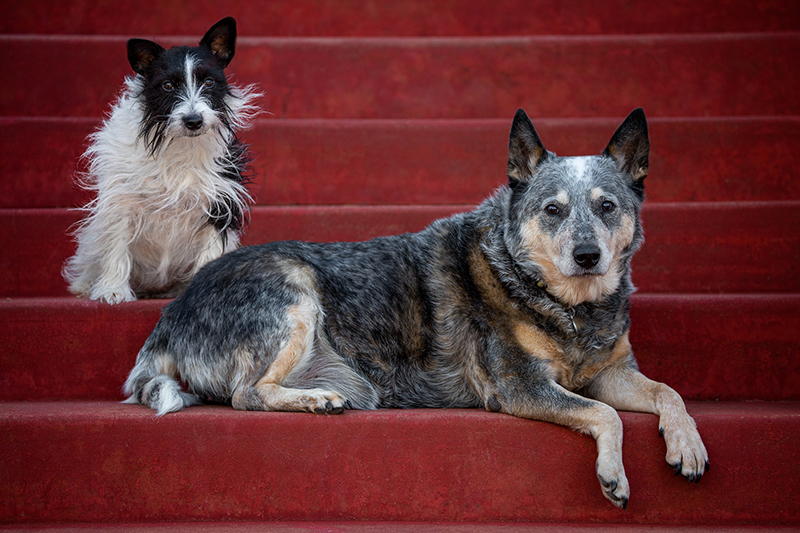
Corina Clarke
Capture the Action
Even if they’e just sitting and interacting, that movement can result in blurry photos if your shutter speed is too slow. It can also be hard to know where to focus when there’s so much unpredictable movement happening. Use a fast shutter speed, and capture the pauses in between as much as you can. You can also use burst mode and continuus focus mode as we talked about earlier to capture the action. Set your shutter speed to a minimum of /320 to get sharp photos of all that love.
If they’re running around, use the the same shooting technique we recommended for capturing your pet running toward you.
Have Fun With Your Portraits!
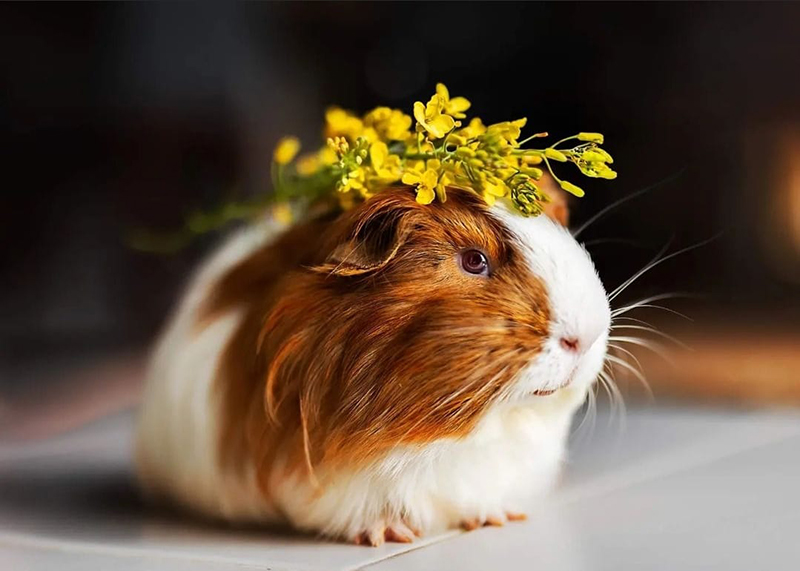
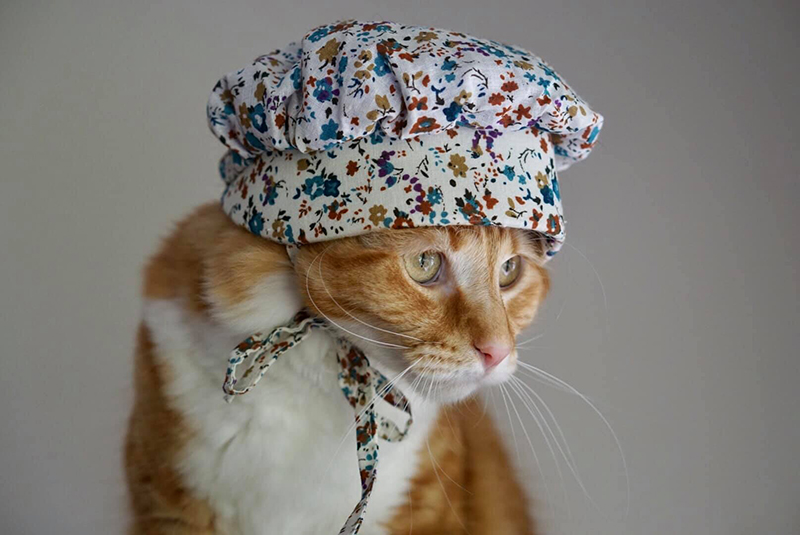
Just as you might bring in some props to take some fun portraits of humans, why not do the same with your pet? We admit not all pets are open to wearing a hat (or a flower crown!) but if you do have a placid pet, make the most of it!
We love this set of shots and couldn’t go past including them, we hope they inspire you to try some of the tips we’ve shared today!
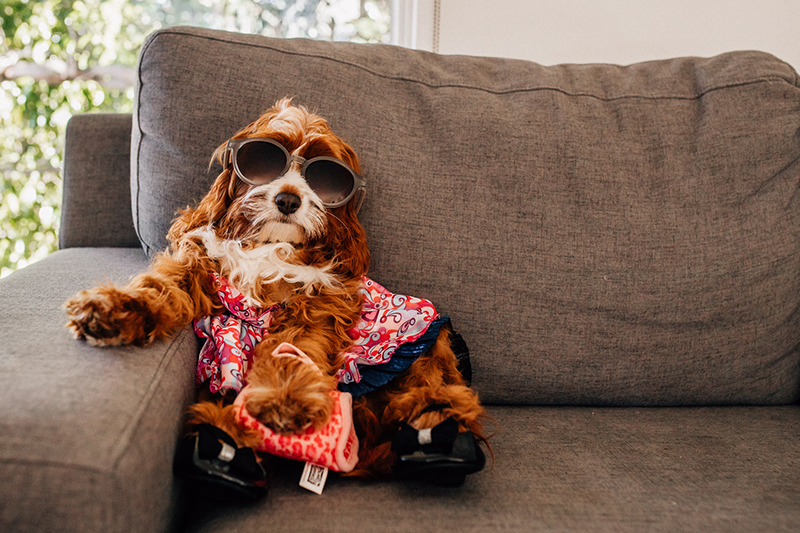
Emily Lomax
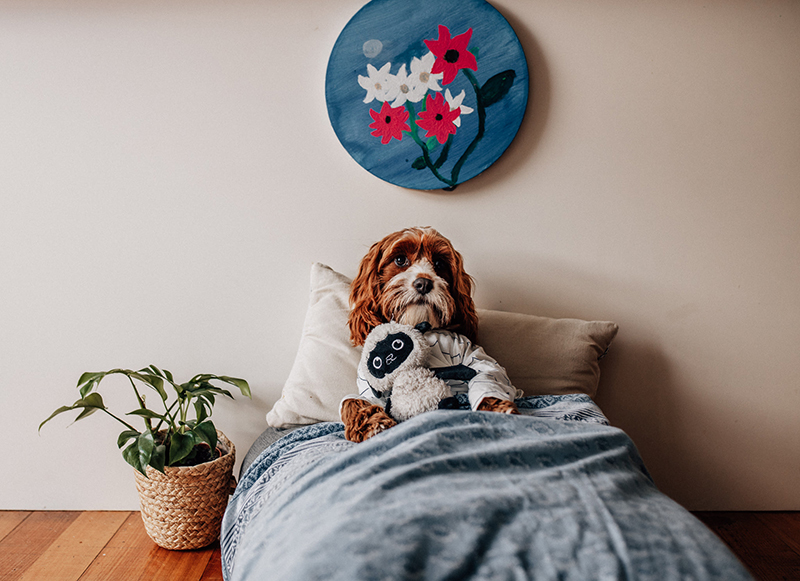
Emily Lomax
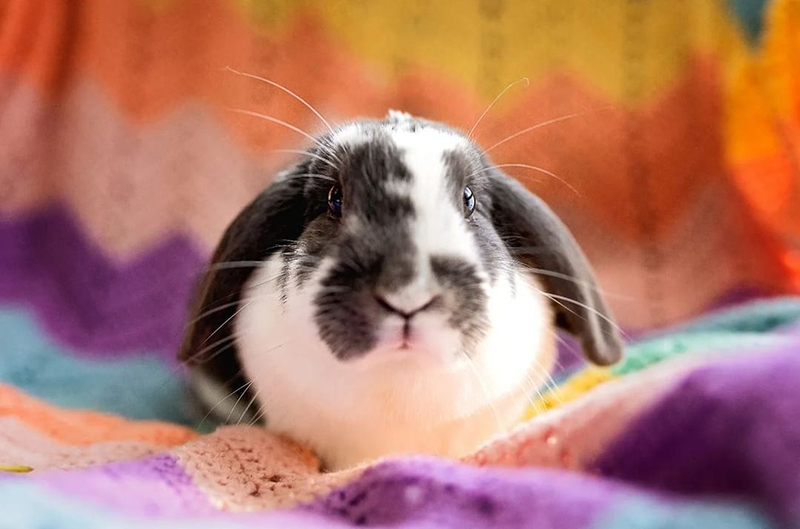
Justine Eacott – beautifully textured & colourful throw as a makeshift “studio” backdrop
Justine Eacott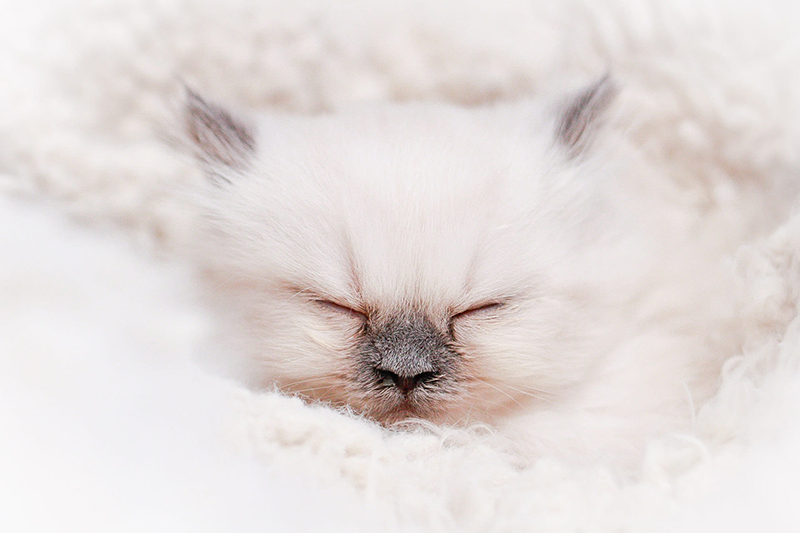
Kristen Tscherkassow
Jacqui Hutton
Join my new workshop and learn How to Shoot Pro-Quality Photos With Your DSLR… and it’s totally FREE to join! Register here…

Leave a Reply Cancel reply
PRIVACY POLICY & SITE TERMS AND CONDITONS
CLICK LOVE GROW ™ Pty Ltd - COPYRIGHT 2024 ©
x
Join Now
Enter your info below to join the challenge!
Want a friendly reminder when I go live?
Pop in your number and I’ll shoot you a text.
* We will send text reminders for our live calls during the challenge! Reply ‘STOP’ to end or ‘HELP’ for help.
We promise not to ever share your details with anyone or send you spam! Check our privacy policy and terms of service.
Be the first to comment