It’s portrait week! Get your inspo here…
Hello CLG students! So you’re getting to the pointy end of the Enthusiast Course and this week will see you diving into one of our most popular lessons… portraits!
So in the spirit of supporting and inspiring you on your learning journey, we’ve created this blog post especially for you… it’s a small collection of some of our favourite close up portraits taken by our talented CLG Advanced Grads, and includes some tips to help you this week as you start exploring portraiture and taking your challenge photos!
Enjoy!
Backlight
Backlight can bring magic to your photos if you know how to use it. Place your subject with the light behind them for some stunning backlit portrait like these. Use a wide aperture (eg. f/2.8 or smaller number) to create that stunning bokeh effect. Backlighting is a lesson in its own right in the Advanced Course, and traditionally it’s a fave of all our students!
Related: 6 Backlight Photo Ideas

Hope de la Rosa, Advanced Graduate

Emma Davis, Advanced Graduate
Shape & Line
So you’ve learned about the rule of thirds, one of the most commonly used tools of composition, to help you begin to “see” and so you can create visually strong and harmonious images. Another tool you can use is incorporating shapes, and in this image Morvern used her daughter’s hat to frame her face. Those curvedlines created by the hat convey a sense of tranquility to the moment.
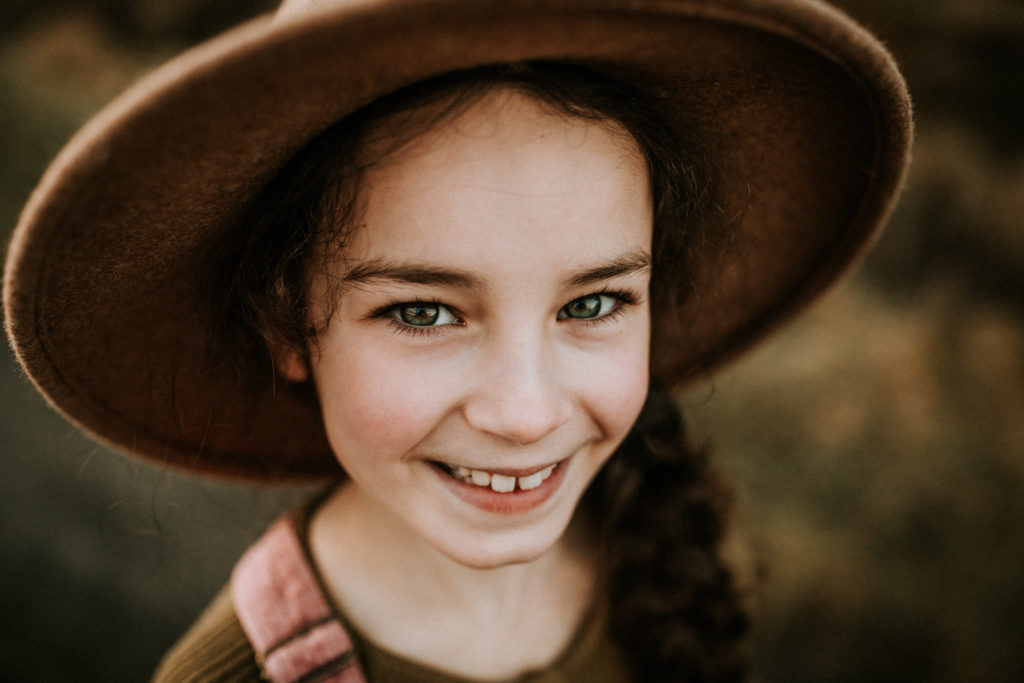
Morvern Shaw, Advanced Graduate
Leading lines… look at the way mama’s hand leads the eye into the frame and straight to those eyes.

Dana Whitley, Advanced Graduate
Move Yourself
Remember in Lesson one you also learned to move around your subject and try lots of different angles, frames and perspectives? In this shot, Charlie’s looking down shot provided her with a clutter free background, made the most of the light, and gave her daughter stunning catchlights in those baby blues.
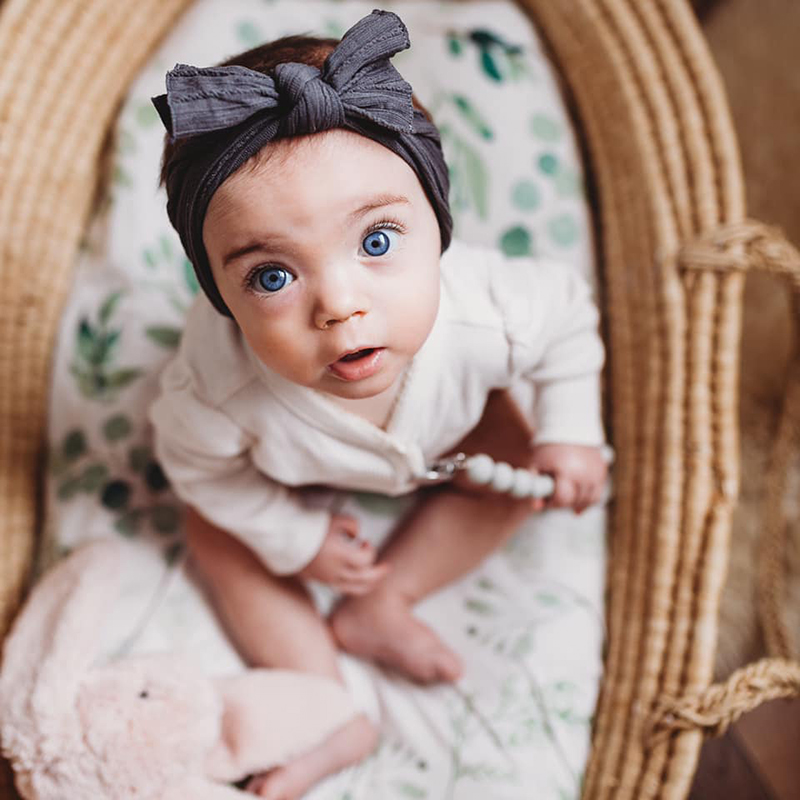
Charlie O’Neill, Advanced Graduate
It’s also a really easy way to capture babies that aren’t sitting up yet.

Morvern Shaw, Advanced Graduate
Creative Exposures
There’s a lot in between correct and incorrect exposure. There’s low key, high key, and mid tone, and they’re all just a matter of both taste, and artistic vision according to the subject matter. You might have heard a lot about dark and moody images, or light and airy… these are simply low key and high key exposures, and in fact it’s lesson one in our Advanced Course.
It’s one of our most challenging lessons, but it’s also our most popular for obvious reasons! Lots of our Advanced grads say that lesson was an absolute game changer for them.
Related: How to Shoot Dark & Moody
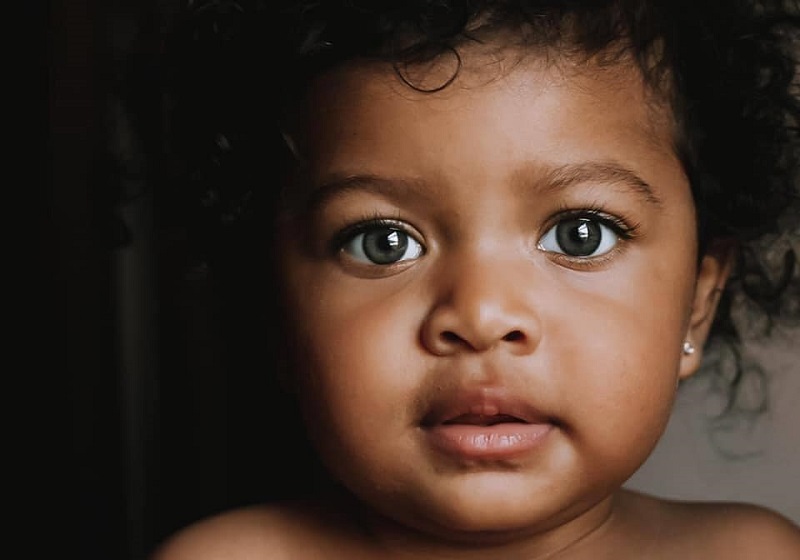
Desiree Wade, Advanced Graduate – low key image

Christie Veen, Advanced Grad – high key image
Oh and ps. your portrait doesn’t have to be a child…
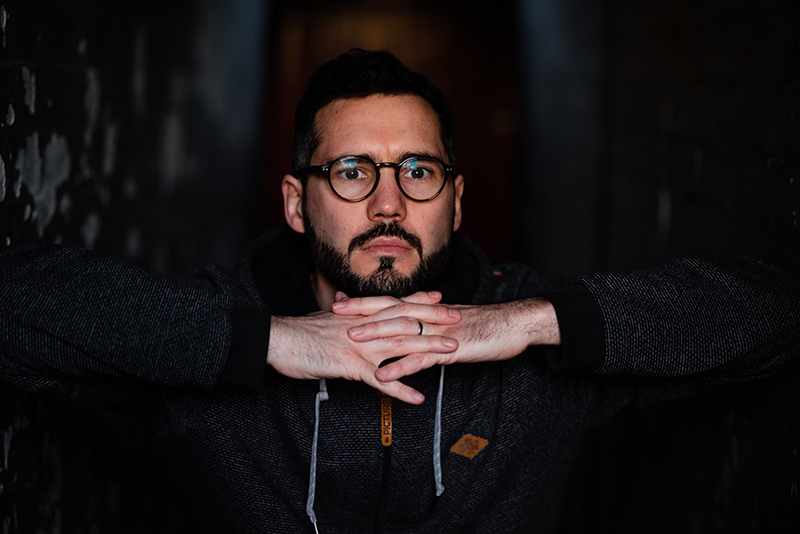
Mariana De Albuquerque, Advanced Graduate
Or even a person…

Amanda Limbaugh, Advanced Graduate
Directional Light
Want to try some more advanced light? To take a dramatic light portrait like Sue’s image below, position your subject at a 45-90 degree angle to the light source, using natural light from a window or doorway. This will create shadows on the opposite side to the light. If you want to level it up even more, on the Advanced Course we show you how to sculpt your subjects with light.
Related: How to Take Dramatic Natural Light Portraits

Sue Thorn, Advanced Graduate
Backdrops
So you know how you learned about background clutter creating distractions? And how one of the key elements of professional portraits is a well isolated subject? Well we know sometimes the good light is not in a clutter free area, and you can’t always move it! So think about using a backdrop, and that doesn’t have to mean a professional backdrop and stand ordered from Amazon. There are loads of ways to DIY a backdrop with things you have at home.
Related: DIY Backdrops
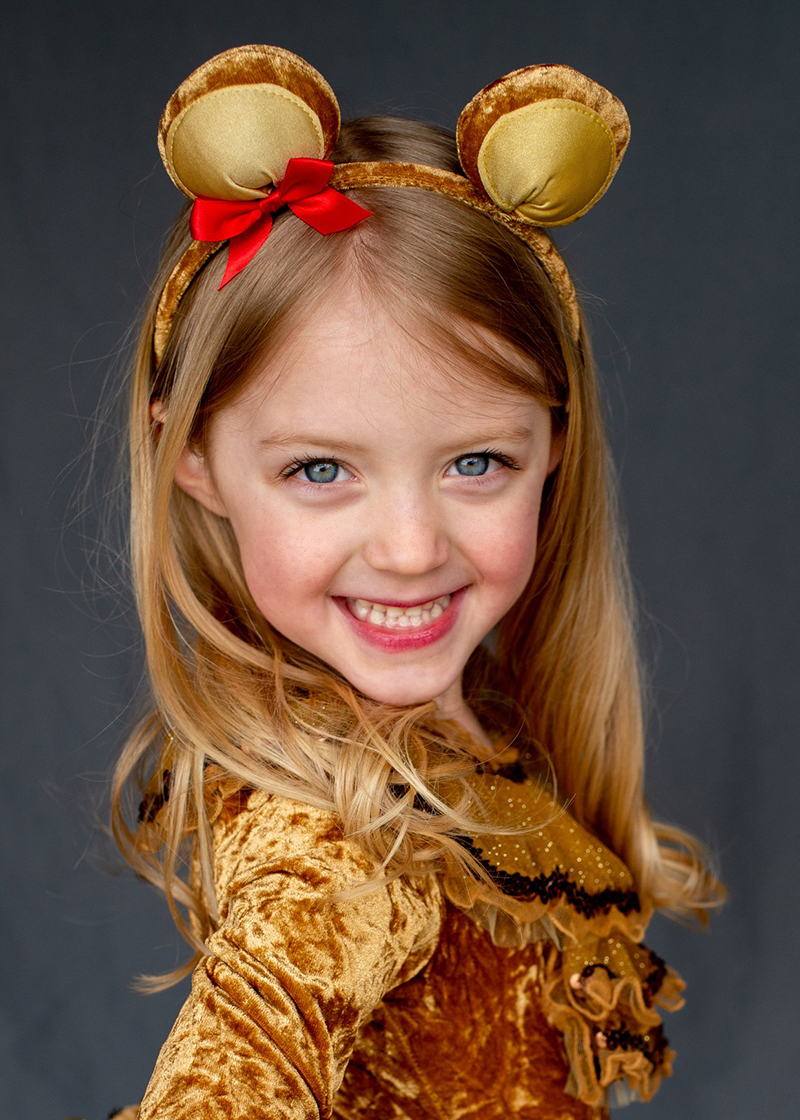
Bria Anderson, Advanced Graduate
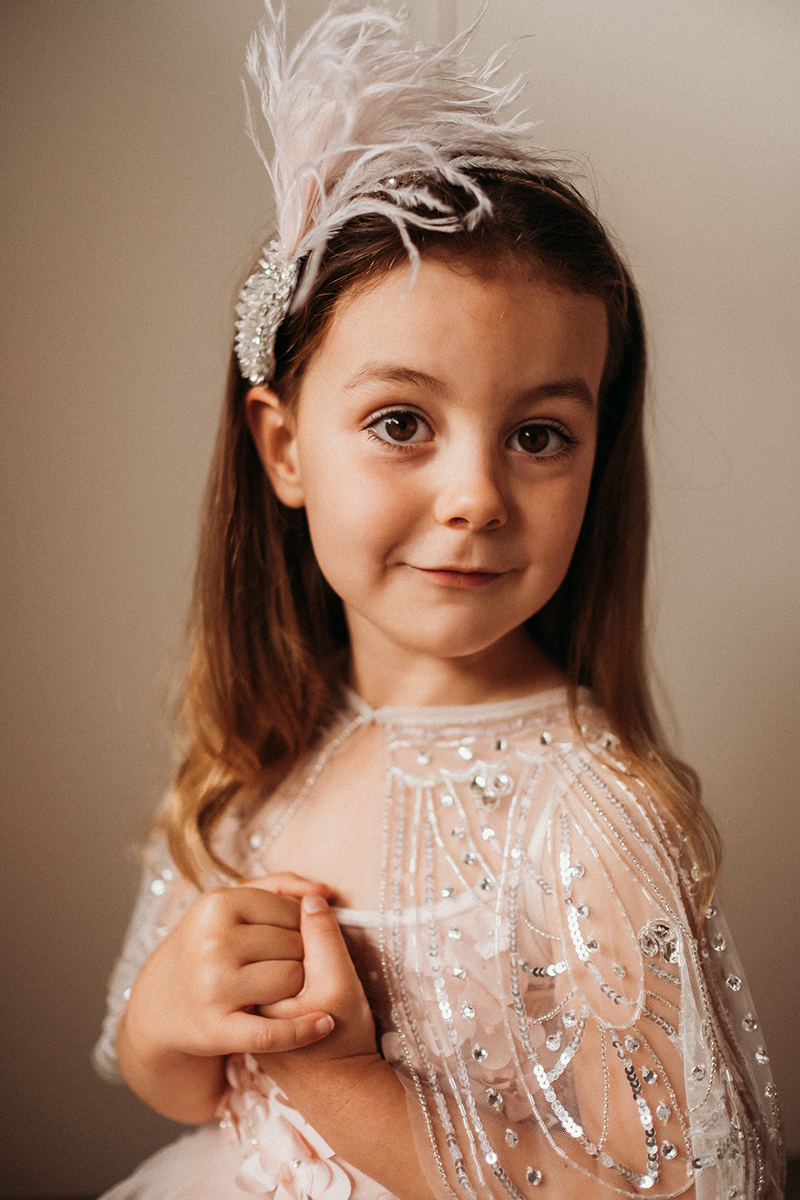
Merissa Wakefield, Advanced Graduate
More Inspo!

Dana Whitley, Advanced Graduate
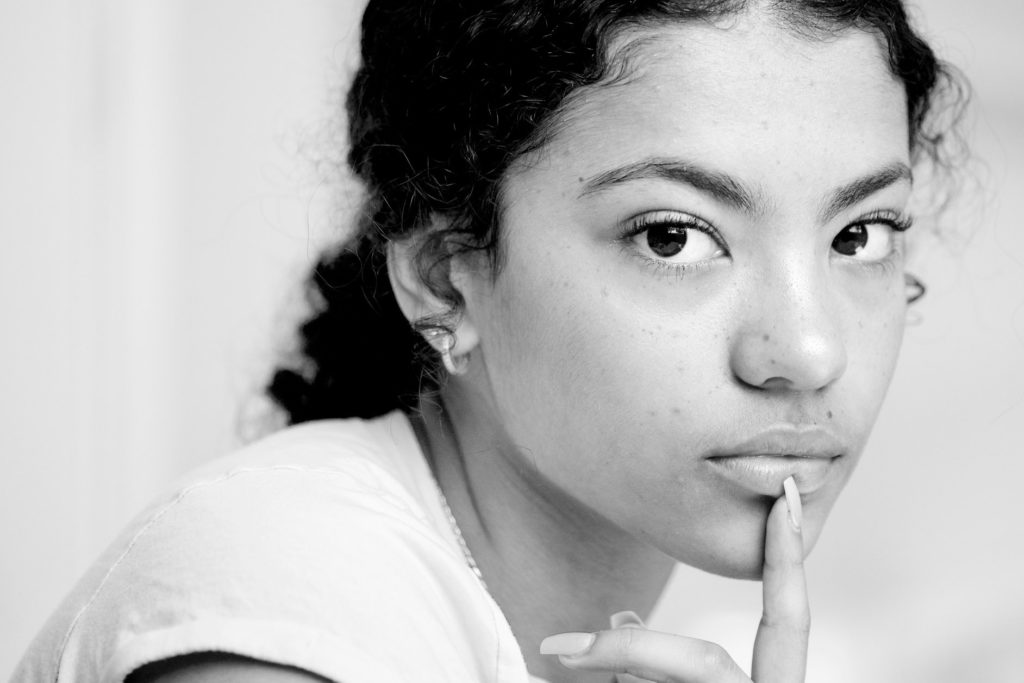
Gee Gee Klein, Advanced Graduate

Fiona Taddich, Advanced Graduate
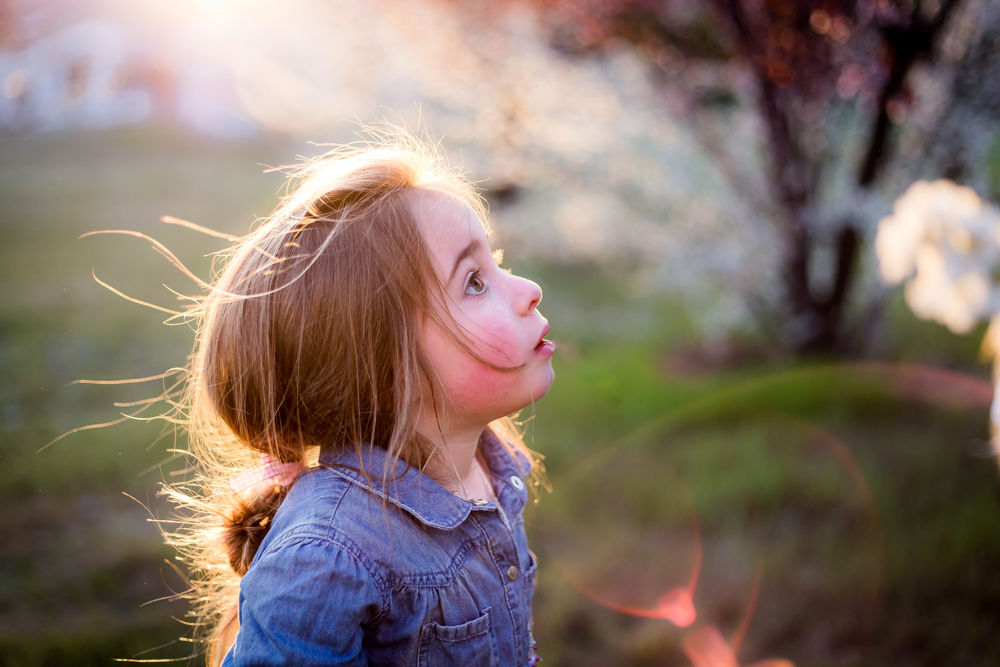
Kate Clulow, Advanced Graduate

Dinithi Ranathunga, Advanced Graduate

Lauren Green, Advanced Graduate
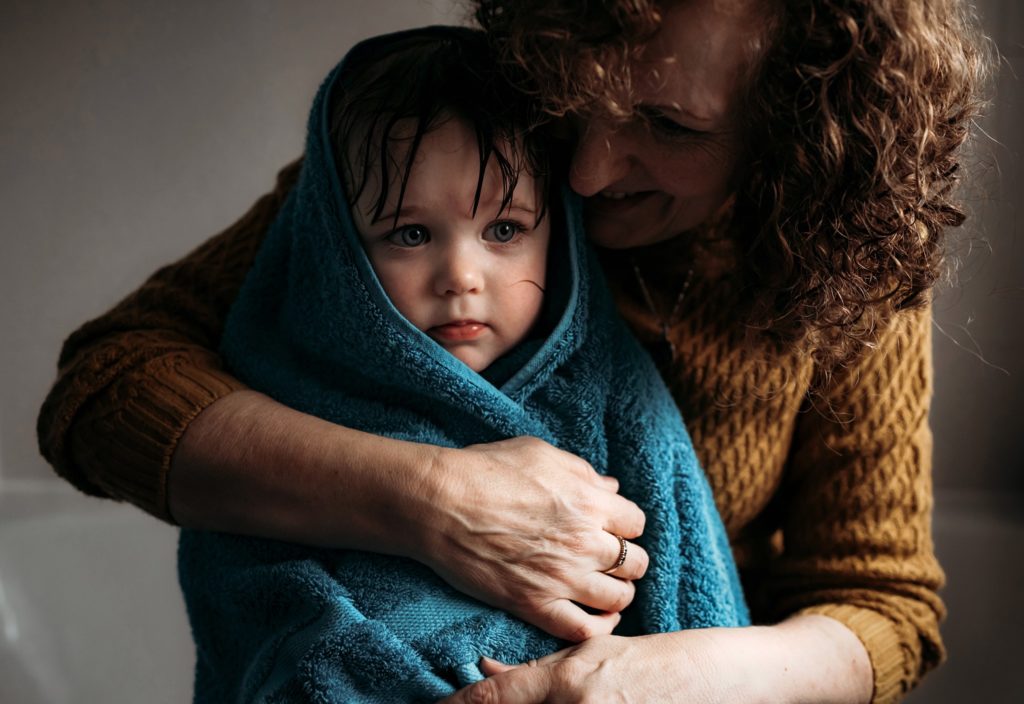
Becca Lord-Lyon, Advanced Graduate

Laurie Bingley, Advanced Graduate

Heidi Talic, Advanced Graduate

Leave a Reply Cancel reply
PRIVACY POLICY & SITE TERMS AND CONDITONS
CLICK LOVE GROW ™ Pty Ltd - COPYRIGHT 2024 ©
x
Join Now
Enter your info below to join the challenge!
Want a friendly reminder when I go live?
Pop in your number and I’ll shoot you a text.
* We will send text reminders for our live calls during the challenge! Reply ‘STOP’ to end or ‘HELP’ for help.
We promise not to ever share your details with anyone or send you spam! Check our privacy policy and terms of service.
Be the first to comment