Photographing Your Baby’s Milestones – A First Year Photoshoot
Your baby’s first year will go super fast! Moreover, it’s a year filled with more baby milestones, special moments, and details that change in a heartbeat than any other year in life.
When it’s happening, you assume it will all be imprinted on your memory forever. However, that year tends to be a bit of a blur and you’ll be amazed how fast you’ll forget all the little things!
This is why capturing the milestones in your newborn’s first year of life in as many photos as you can, is vitally important!
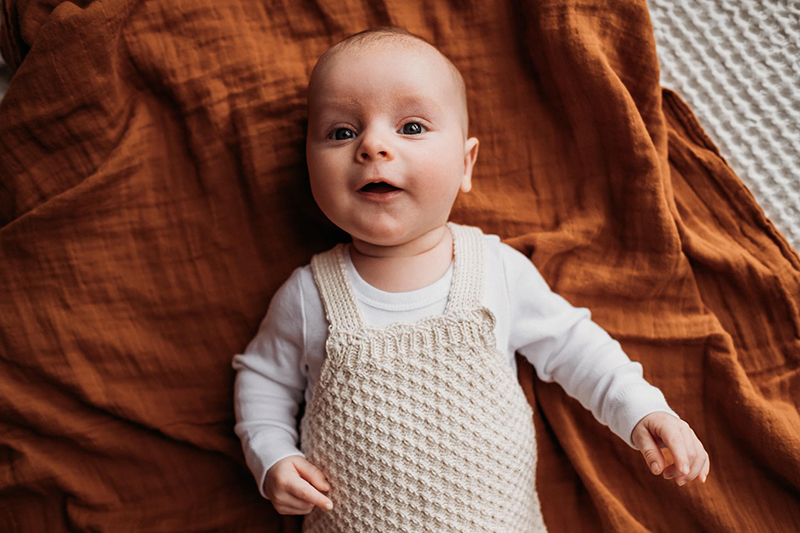
Merissa Wakefield, Advanced Graduate
Capture The Moments Before They’re Gone Forever
And I’m not just talking about the usual milestones such as the baby’s first steps and first smile.
Their features grow every day, like their tiny toes and button nose. That curly wisp of newborn hair. The ordinary, everyday moments (all of them!) must be preserved because the days and weeks fly by so much faster than they ever did pre-kids.
Speaking as a mother of 3, I was so frightened that in the blur of motherhood’s first year I would forget it all, and it would be trapped in the past, gone forever!
Aaand I wanted to capture it all in photos I loved, that I’d be proud and excited to get into photo books and on my walls.
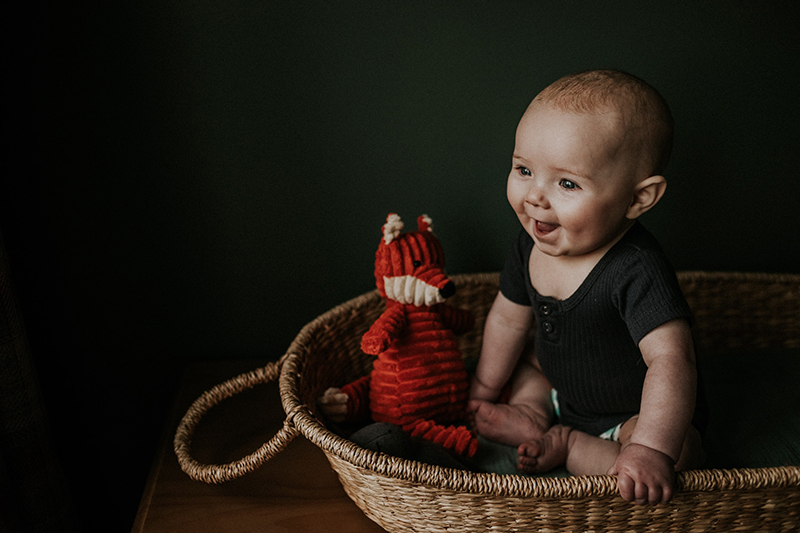
Morvern Shaw, Advanced Graduate
DIY Baby Milestones Photos
So what do you do…hire a professional photographer to come by every day? Whilst that would be fabulous (imagine!) it’s not practical in any sense!
So today I’m sharing simple photography tips and tricks you need to capture your own baby milestones month by month, in a first year photoshoot…in the kind of photos you can be proud to hang on the wall, and gift to your family!
What To Capture
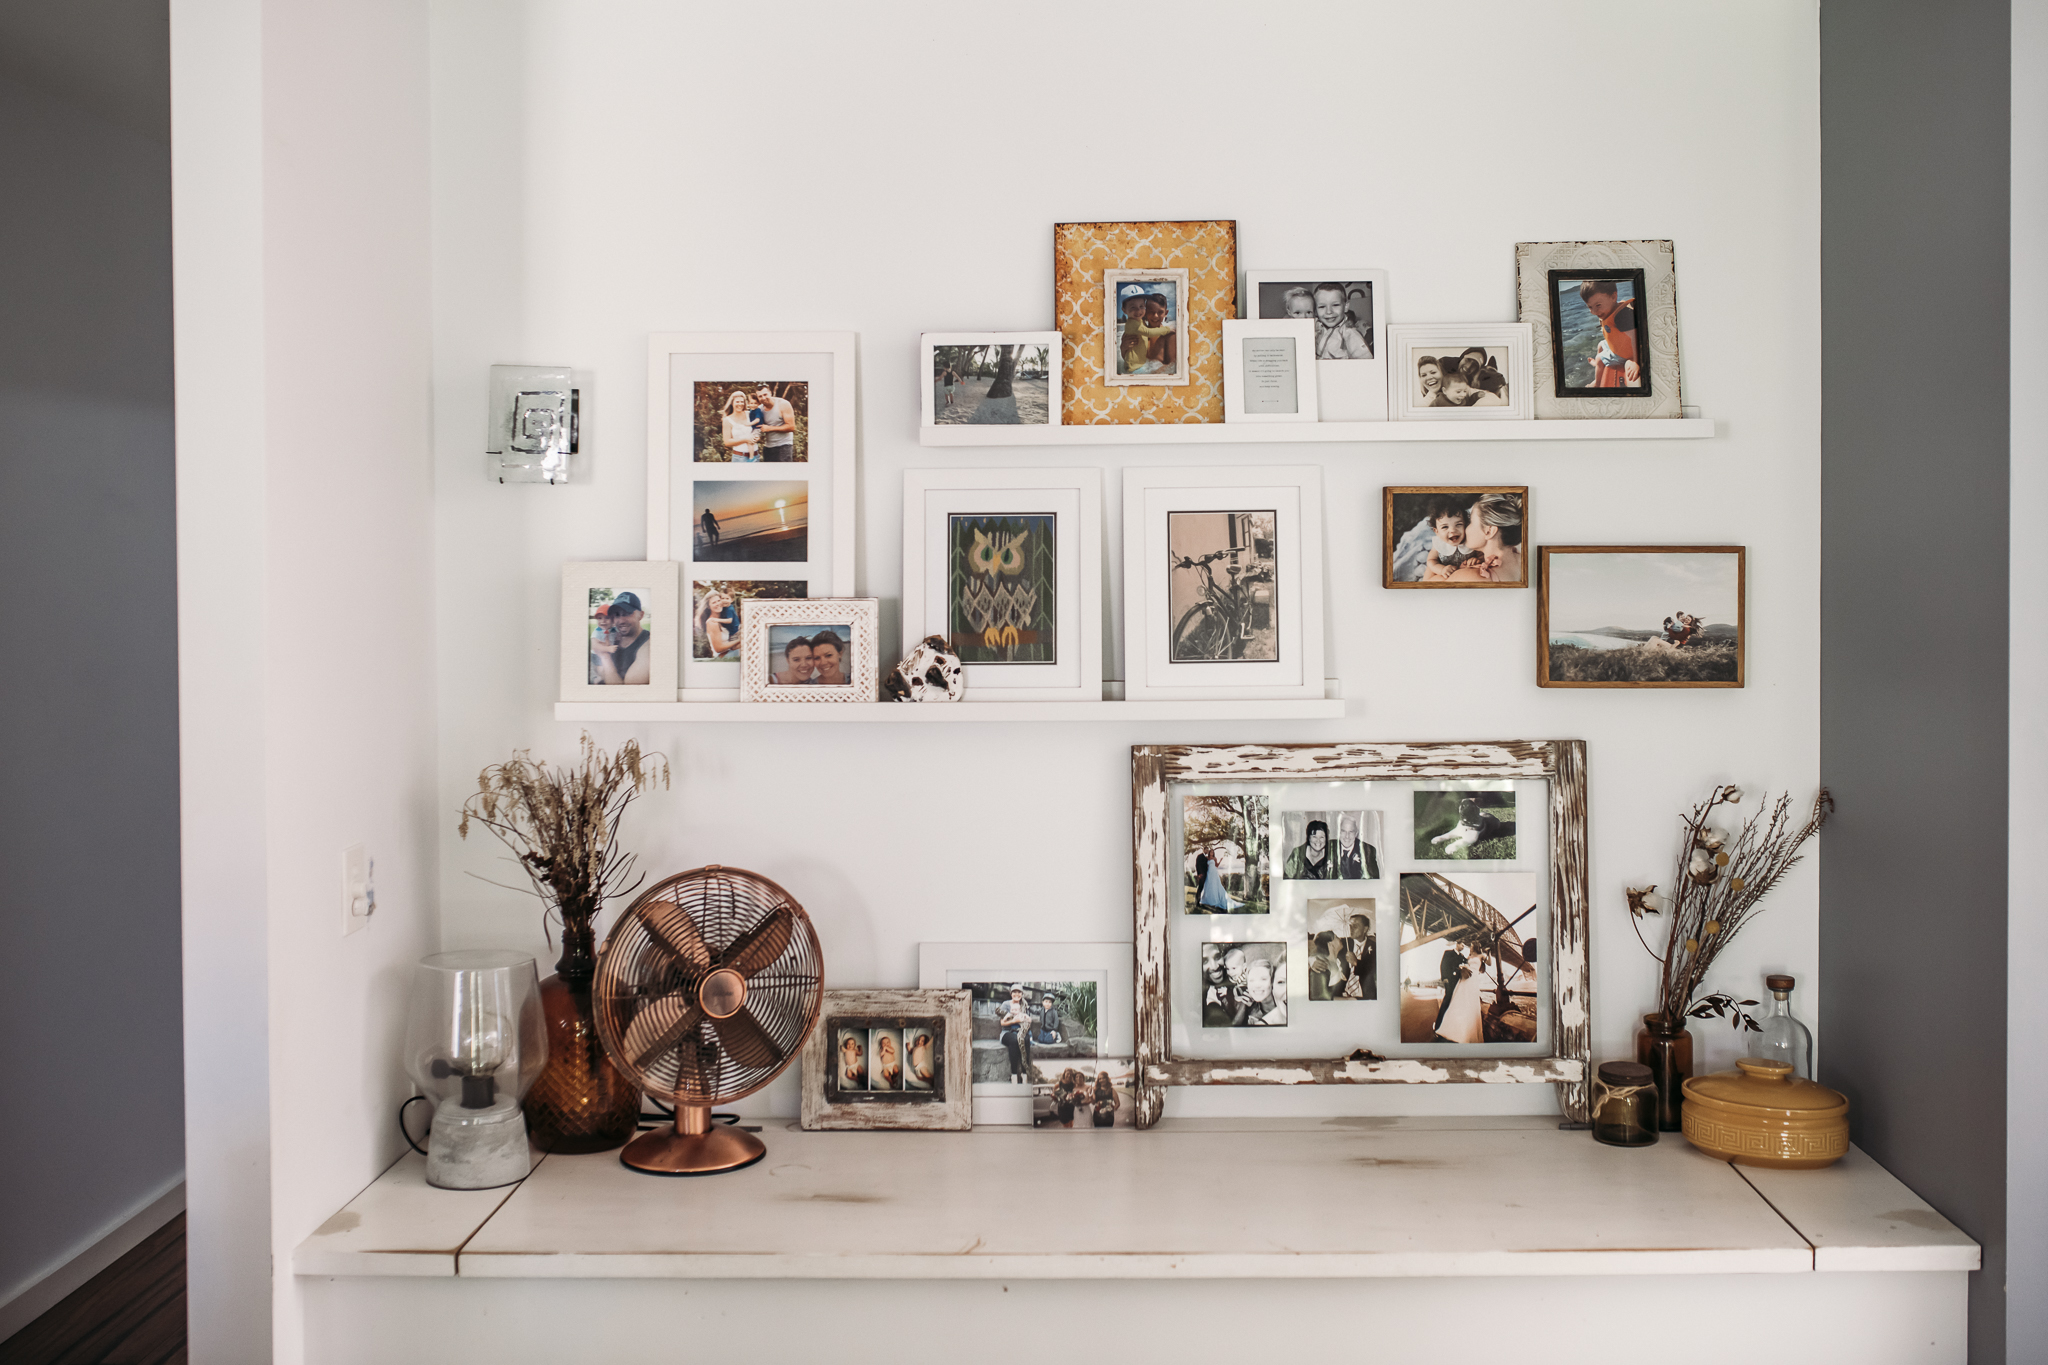
I suggest starting with a list of shots you want to capture throughout the first year of the baby’s life, including all the usual milestones, firsts and special occasions. But I also encourage you to keep your camera close by at all times so that you can grab it at a moment’s notice to snap those unplanned, unexpected, spontaneous moments that only a baby can do perfectly well!
Ok, let’s dive into the fun…the foundational ingredients that go into taking beautiful photos, plus some of our top tips for specific shots!
1. Light
Light is the numero uno key ingredient in photography, firstly because it’s how your camera makes a photo. But secondly and more interestingly, light is everything because you can use it to sculpt your subject, create gorgeous light bokeh, and capture stunning bold colour! And when good light is used well, it creates beautiful, creamy skin and brings sparkle to the eyes…yum!
When shooting newborn milestones, soft light is the best as its subtle quality is kind to a baby‘s delicate skin. It scatters beautifully and wraps around their features gently.
You’ll find it in open doorways and near windows, as long as it’s not direct sunlight. You’ll know if you’ve found soft light as the line between the shadow and light is soft and gradual, whereas the lines in harsh light are sharply defined and quite jarring.
Related: Natural Light Portraits – Finding Good Light Indoors

Danielle Alana Medford, Advanced Graduate – soft light = gentle and flattering, creamy skin, and gorgeous catchlights in the eyes
2. How To Position Your Baby
Lighting Newborns
If your baby is laying down, ‘top down’ light is the easiest way to take flattering photos. To create top down light, position them with the light source coming at them from the head so it washes down their body. This will highlight their best features and avoid lighting up the nose.
What To Avoid
Don’t uplight your baby. In other words, when they’re positioned, the light is coming at them from their feet up. It illuminates their nostrils and puts shadows in all the wrong places, and you won’t get that sparkle in their eyes.
In this shot, the light is at the top of the frame and washes down her for an easy and beautiful portrait.
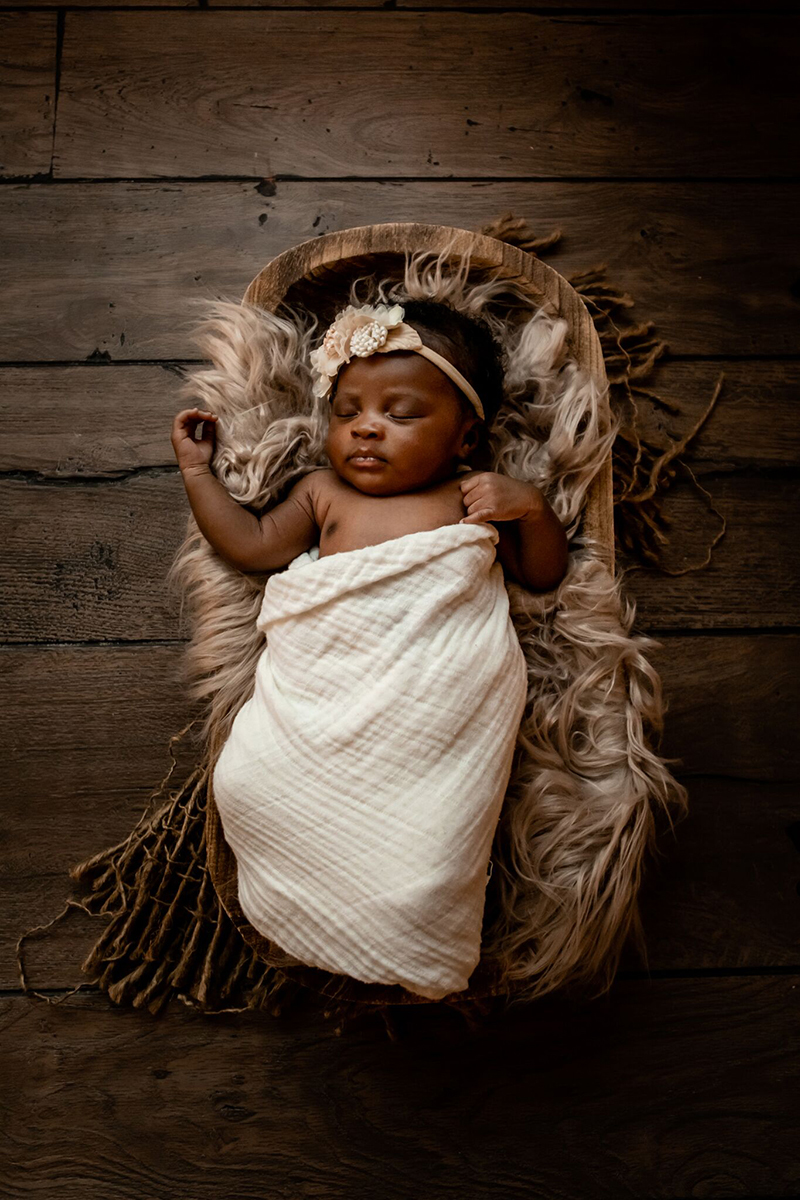
Kellee Kromarek Hann, Graduate
For a more directional, dramatic look you can try side lighting. Position the baby at a 45 to a 90-degree angle to the light source.

Claire Eastman, Advanced Graduate – for side lighting, position baby at a 45-90 degree angle to the light source

Pam Hart, Advanced Graduate – a beautifully and gently dramatic side-lit portrait
The baby’s first bath is an important milestone to capture. When taking that first bath photo, if your bathroom is too dark or cramped to take great photos, use a portable bath that you can place near the good light.
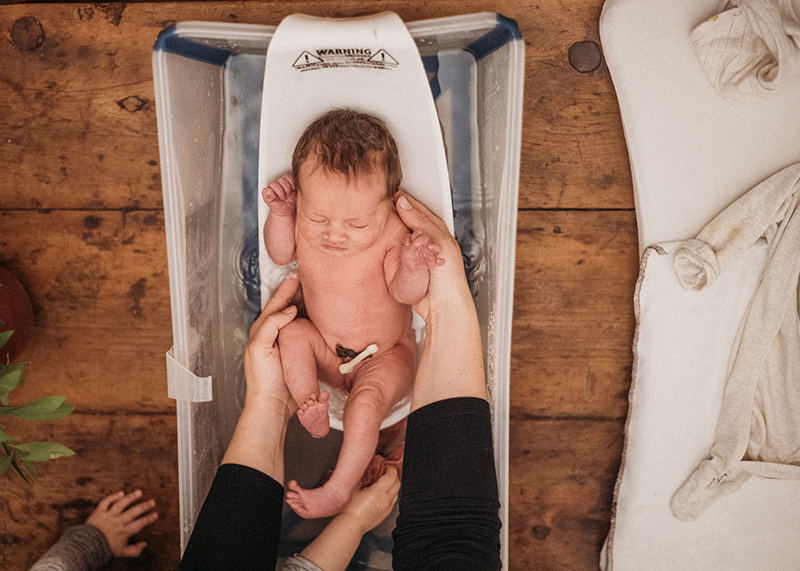
Vicki Cardilini, Advanced Graduate
Lighting Older Babies
If your baby is sitting or standing, use the side light in the same way as mentioned above. This will light their face beautifully on one side, and fall away to gentle shadows on the other side.
A lot of beginning photographers think they need to avoid shadows. But shadows add depth and interest to photos and showcase the beautiful curves of a portrait’s features. If you had no shadows, your image would look flat and lack form.
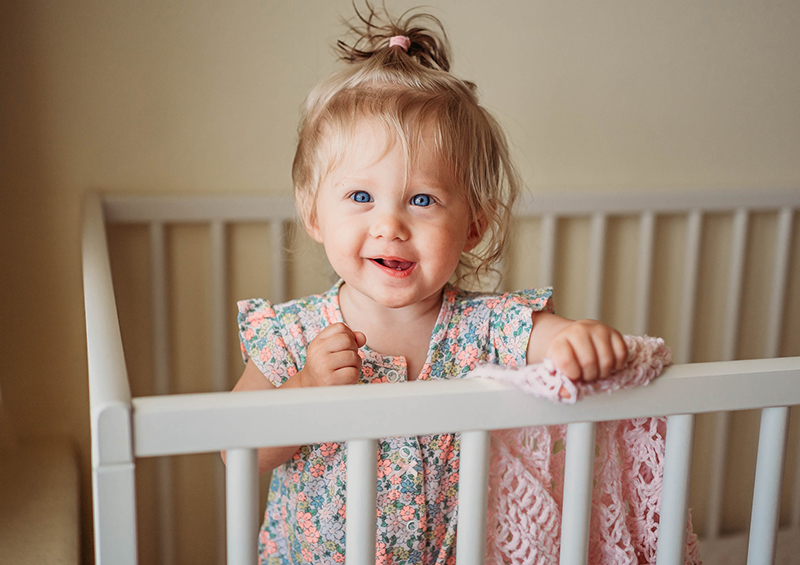
Amanda Marenghi, Graduate – light source at camera left, gentle shadows on the right. Notice the play of light and shadow highlight the beautiful curve of her cheeks.
3. Angles
Get Down Low
One mistake beginners often make when starting out is shooting everything from their standing height. Instead, get down to their eye level for great connection and a better view of the moment.
Related: Are You Making These Rookie Mistakes?
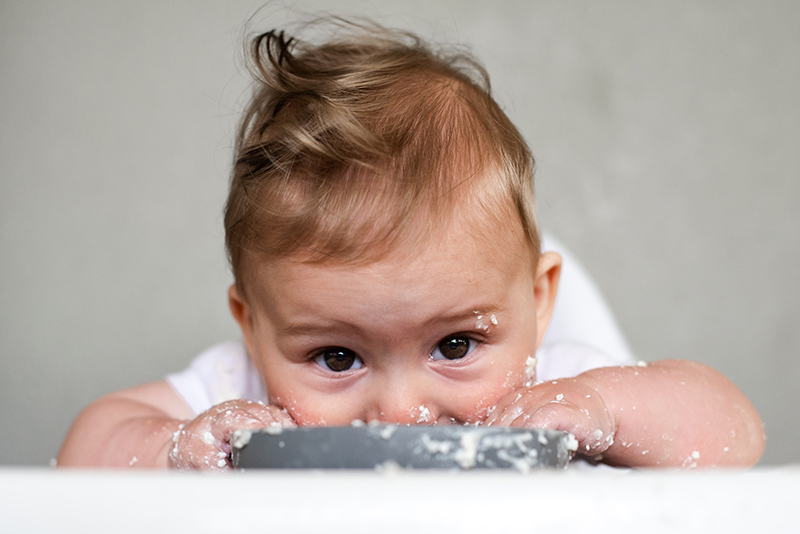
Kelsey Carrillo, Advanced Graduate – first solid foods is one photo you don’t want to miss!
Getting down to eye level makes it easier to engage babies that are sitting.
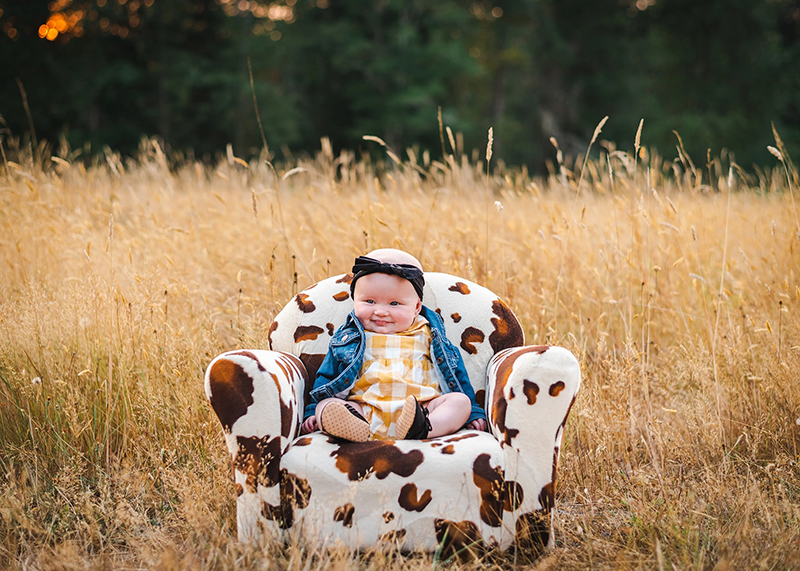
April Lashley, Graduate
Stand Up And Shoot Down
Get up high and shoot directly down. It’s a great way to capture babies in all kinds of poses, including detailed shots.
Related: 101 Lifestyle Newborn Photo Ideas
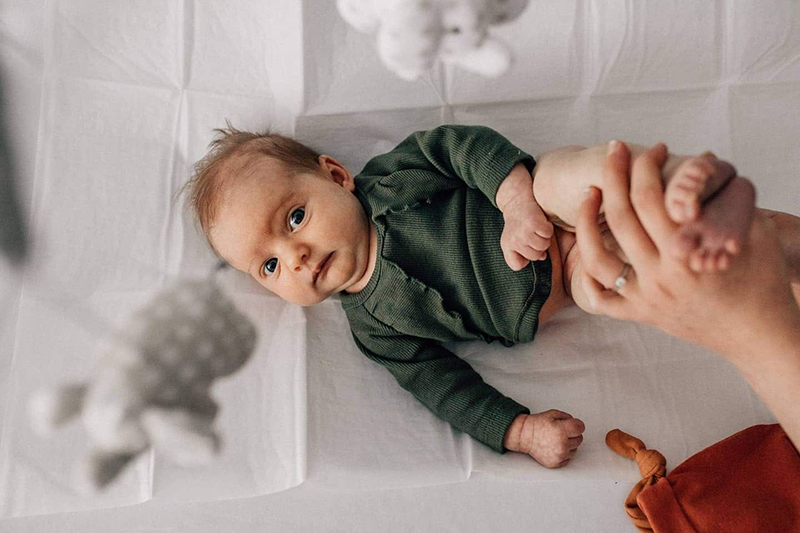
Emily Lomax, Advanced Graduate
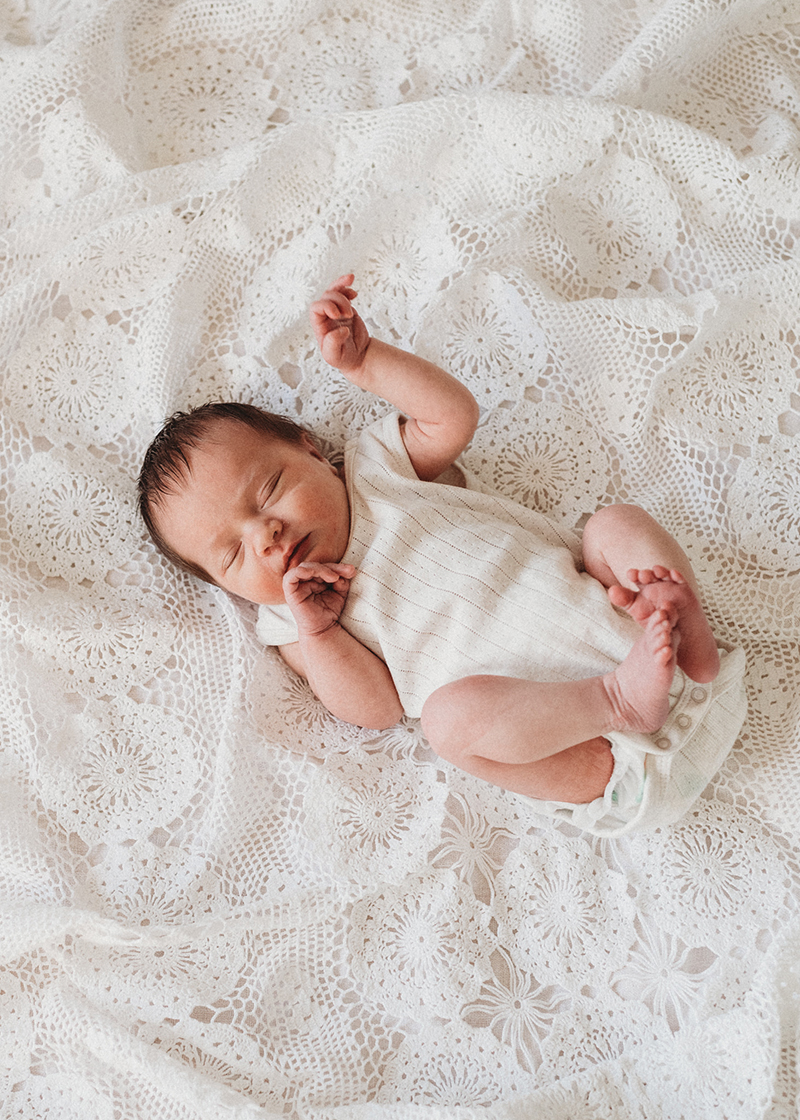
Vicki Cardilini, Advanced Graduate
Side On
There are only so many ways to pose a newborn, so the easiest way to get variety in your photos is by varying your angles, and getting down low at their side is one of them.
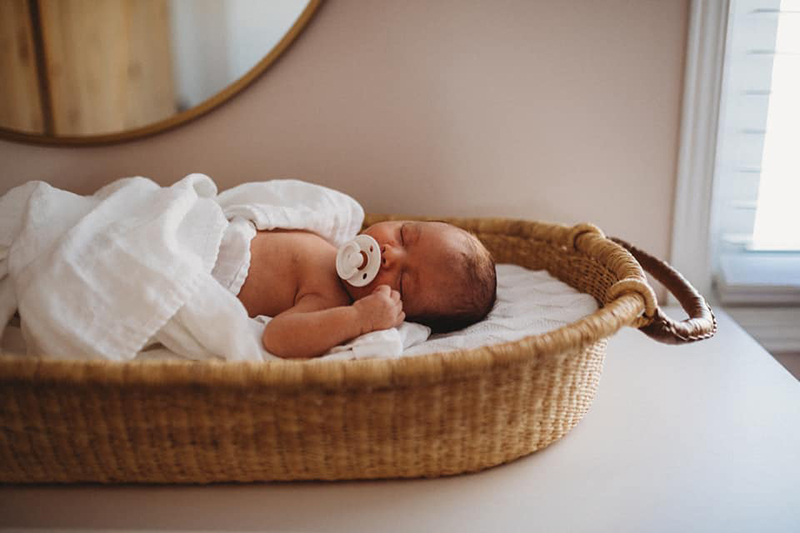
Charlie O’Neill, Advanced Graduate
Then move in for a different shot without even needing to move the baby.
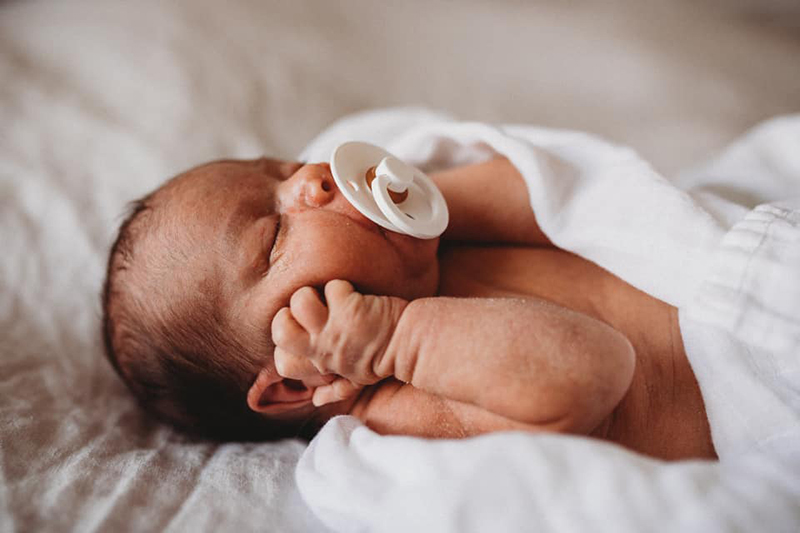
Charlie O’Neill, Advanced Graduate
Front On And Down Low
Once they’re able to hold their head up on their belly, or when they’re sitting, you can get down low and shoot them straight on at eye level.

Clare Bremerkamp, Advanced Graduate
45 Degrees
This one is halfway between getting down to eye level and shooting directly top down.
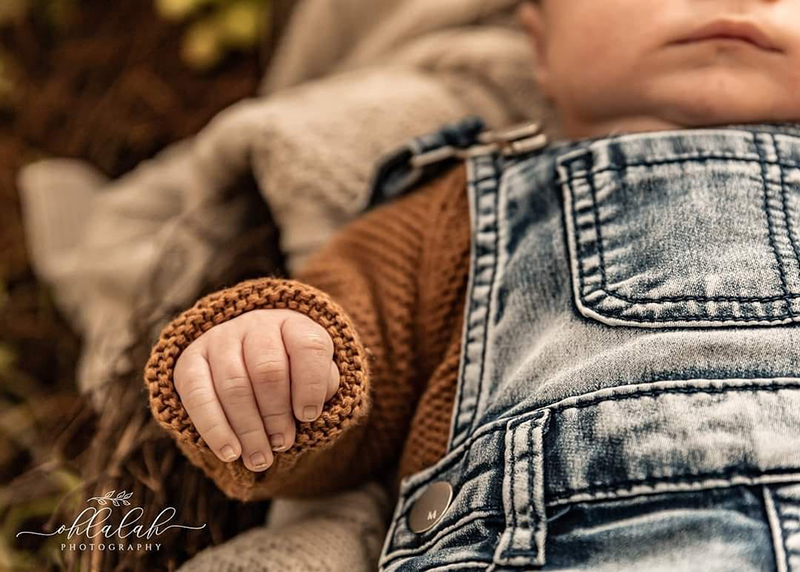
Ashleigh Harrison, Advanced Graduate
This one is a combo of the 45-degree angle and side on the baby.
There are no hard and fast rules. Just experiment by moving up, down, and around your baby and look through the viewfinder to see what works.
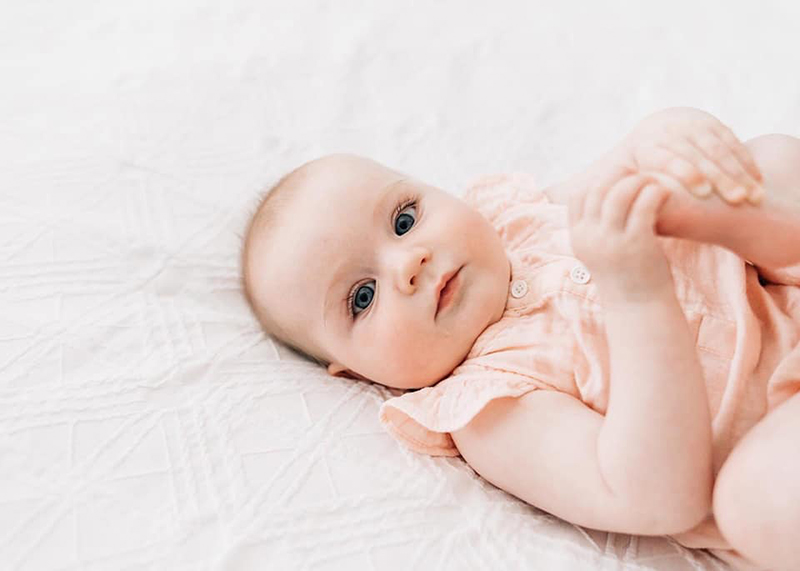
Sara Sparrey, Advanced Graduate
Older Babies
Even when your older baby is crawling, standing and walking, that top down angle is still a great way to capture a quiet, classic portrait.

Elaine Mak, Advanced Graduate
Shoot Wide
Don’t think you have to get in close in every single shot. Sometimes a scene or moment calls for context, and in those times, you want to shoot with a wide-angle focal length, e.g. 24-35mm to capture some of the environment to help tell the story.
And that is especially true for outings, so when looking back on the photos, you’ll know exactly where you were and what you were doing!
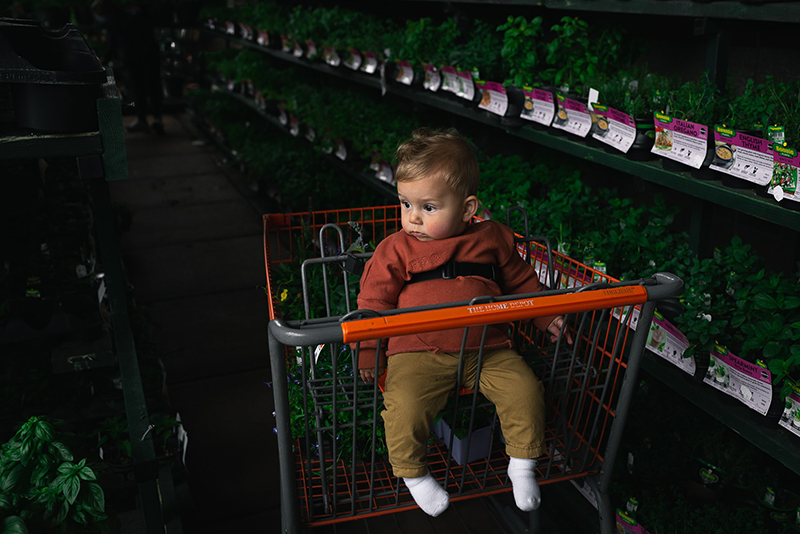
Kelsey Carrillo, Advanced Graduate
4. Baby Milestones By Month
Gorgeous baby milestone by month portraits are a fantastic way to show your baby’s growth across their first year.
Take one on day one, then every week for up to 3 months if you like, then monthly thereafter.
Related: Tips for Capturing a 3 Month Old Baby
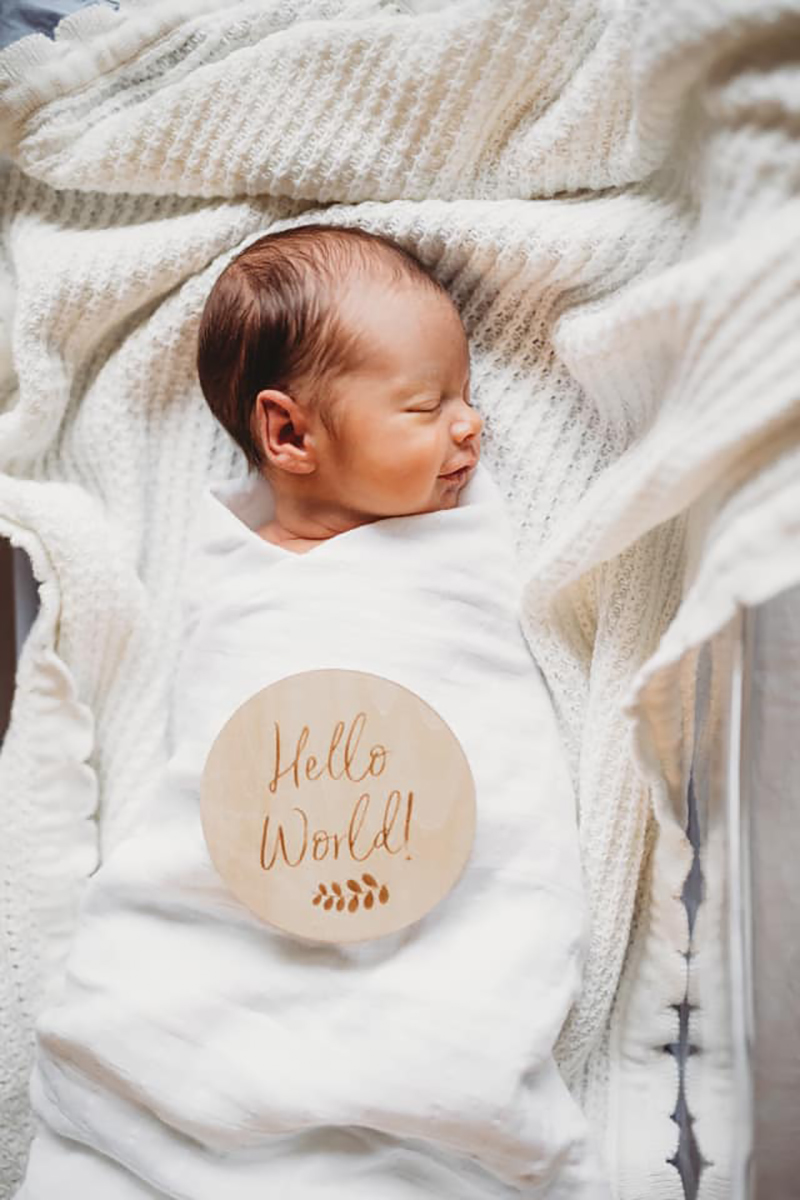
Charlie O’Neill, Advanced Graduate
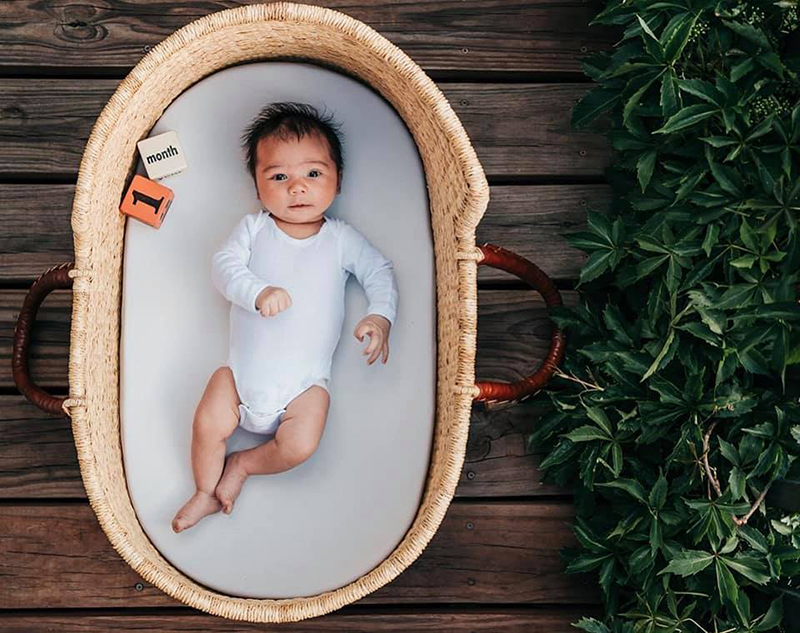
Hope de la Rosa, Advanced Graduate
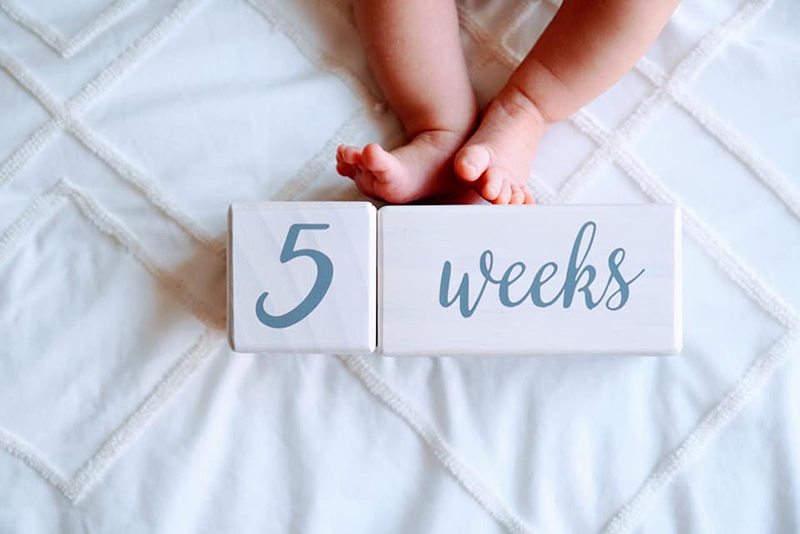
Arielle Christine Payne-Summerfield, Graduate
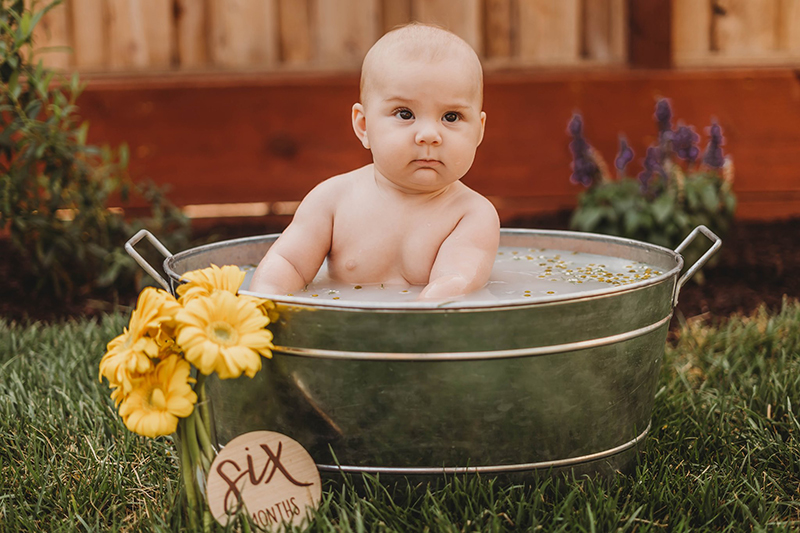
Nicoleta Philpot, Graduate
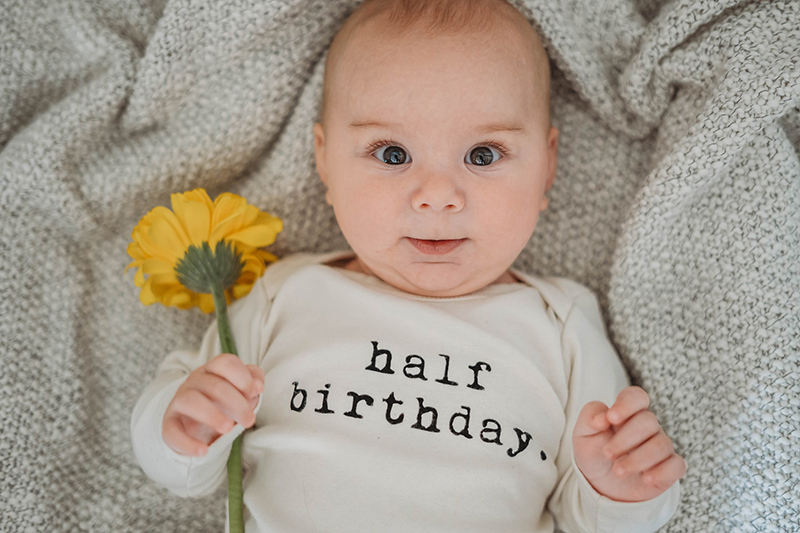
Nicoleta Philpot, Graduate
5. Everyday Moments
When looking to shoot your baby milestones, remember that, in many ways, the everyday moments are the most important. We tend to remember their first birthday, first steps, first Easter and all the other momentous occasions — even without photos. But the ordinary, everyday moments can be a bit of a blur!
However, whilst they may not be the hero moments of our lives, they have a wonderful storytelling element to them as they show us what we did on regular days. And this is why you should always keep the camera handy at all times and be ready to capture those moments.
After all, the fabric of our lives is not made up only of our birthdays, Christmases, and our first shoes. There is SO much going on in between! These are the connecting elements of the stories in our family albums.
Think eating, bathing, dressing, playing, outings and interactions with the family pets, just to name a few.
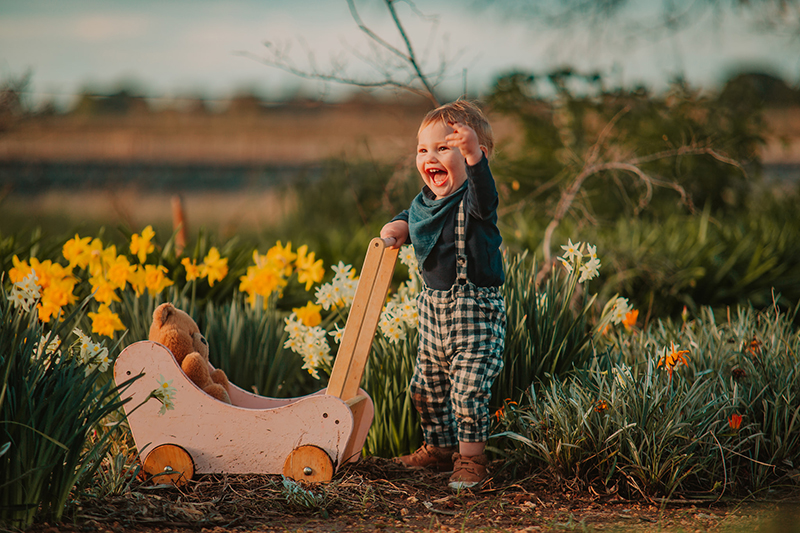
Kids Jypsie Cronan, Advanced Graduate

Sam Maker, Advanced Graduate
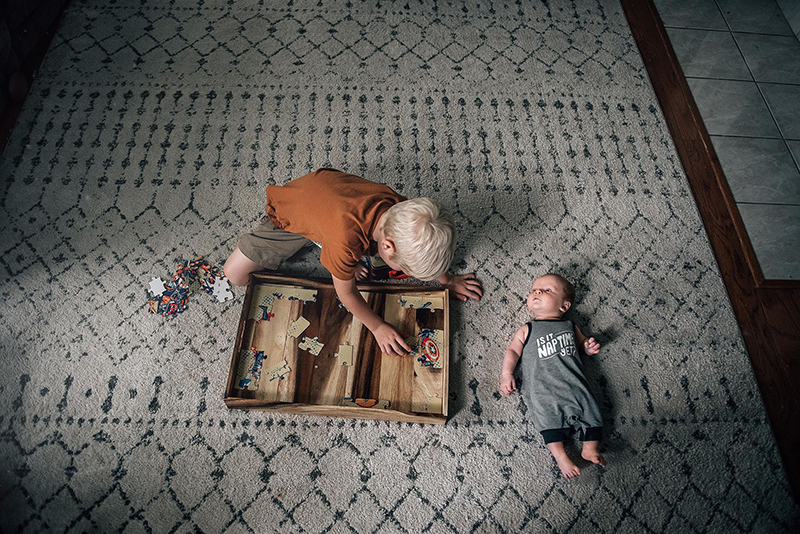
Tandra Nicole, Graduate

Robyn Harding, Graduate

Hope de la Rosa, Advanced Graduate
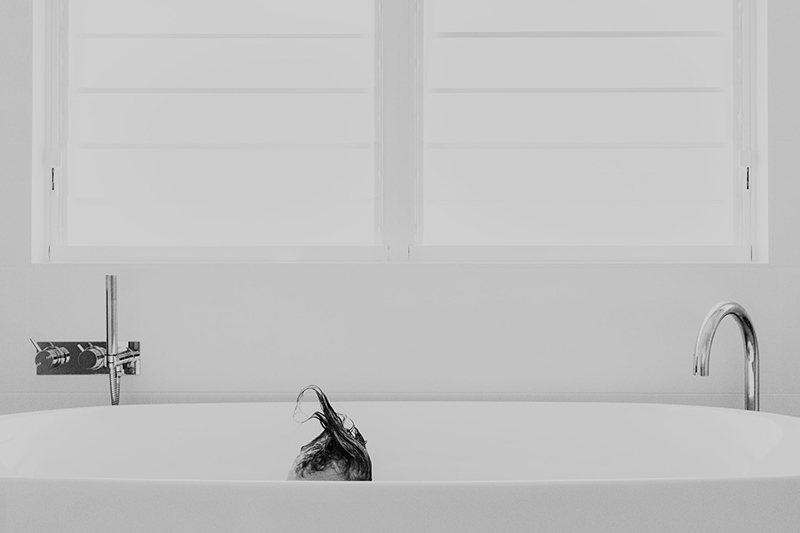
Sam Maker, Advanced Graduate
6. Details
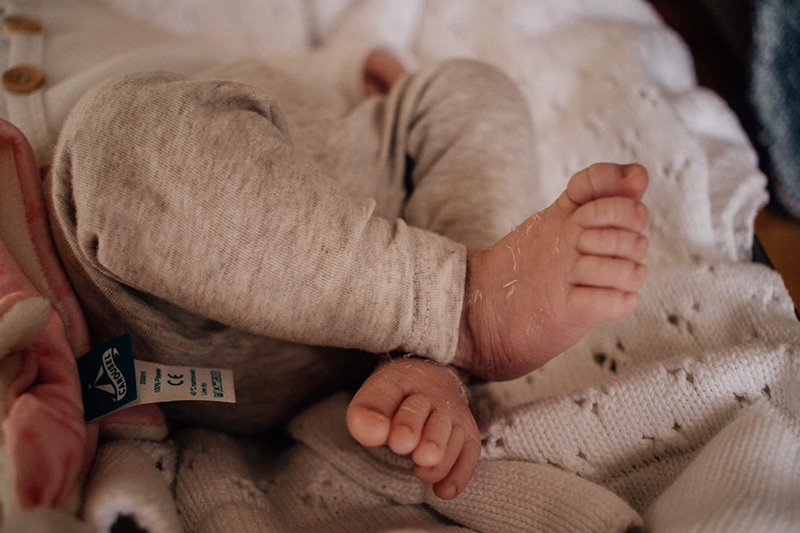
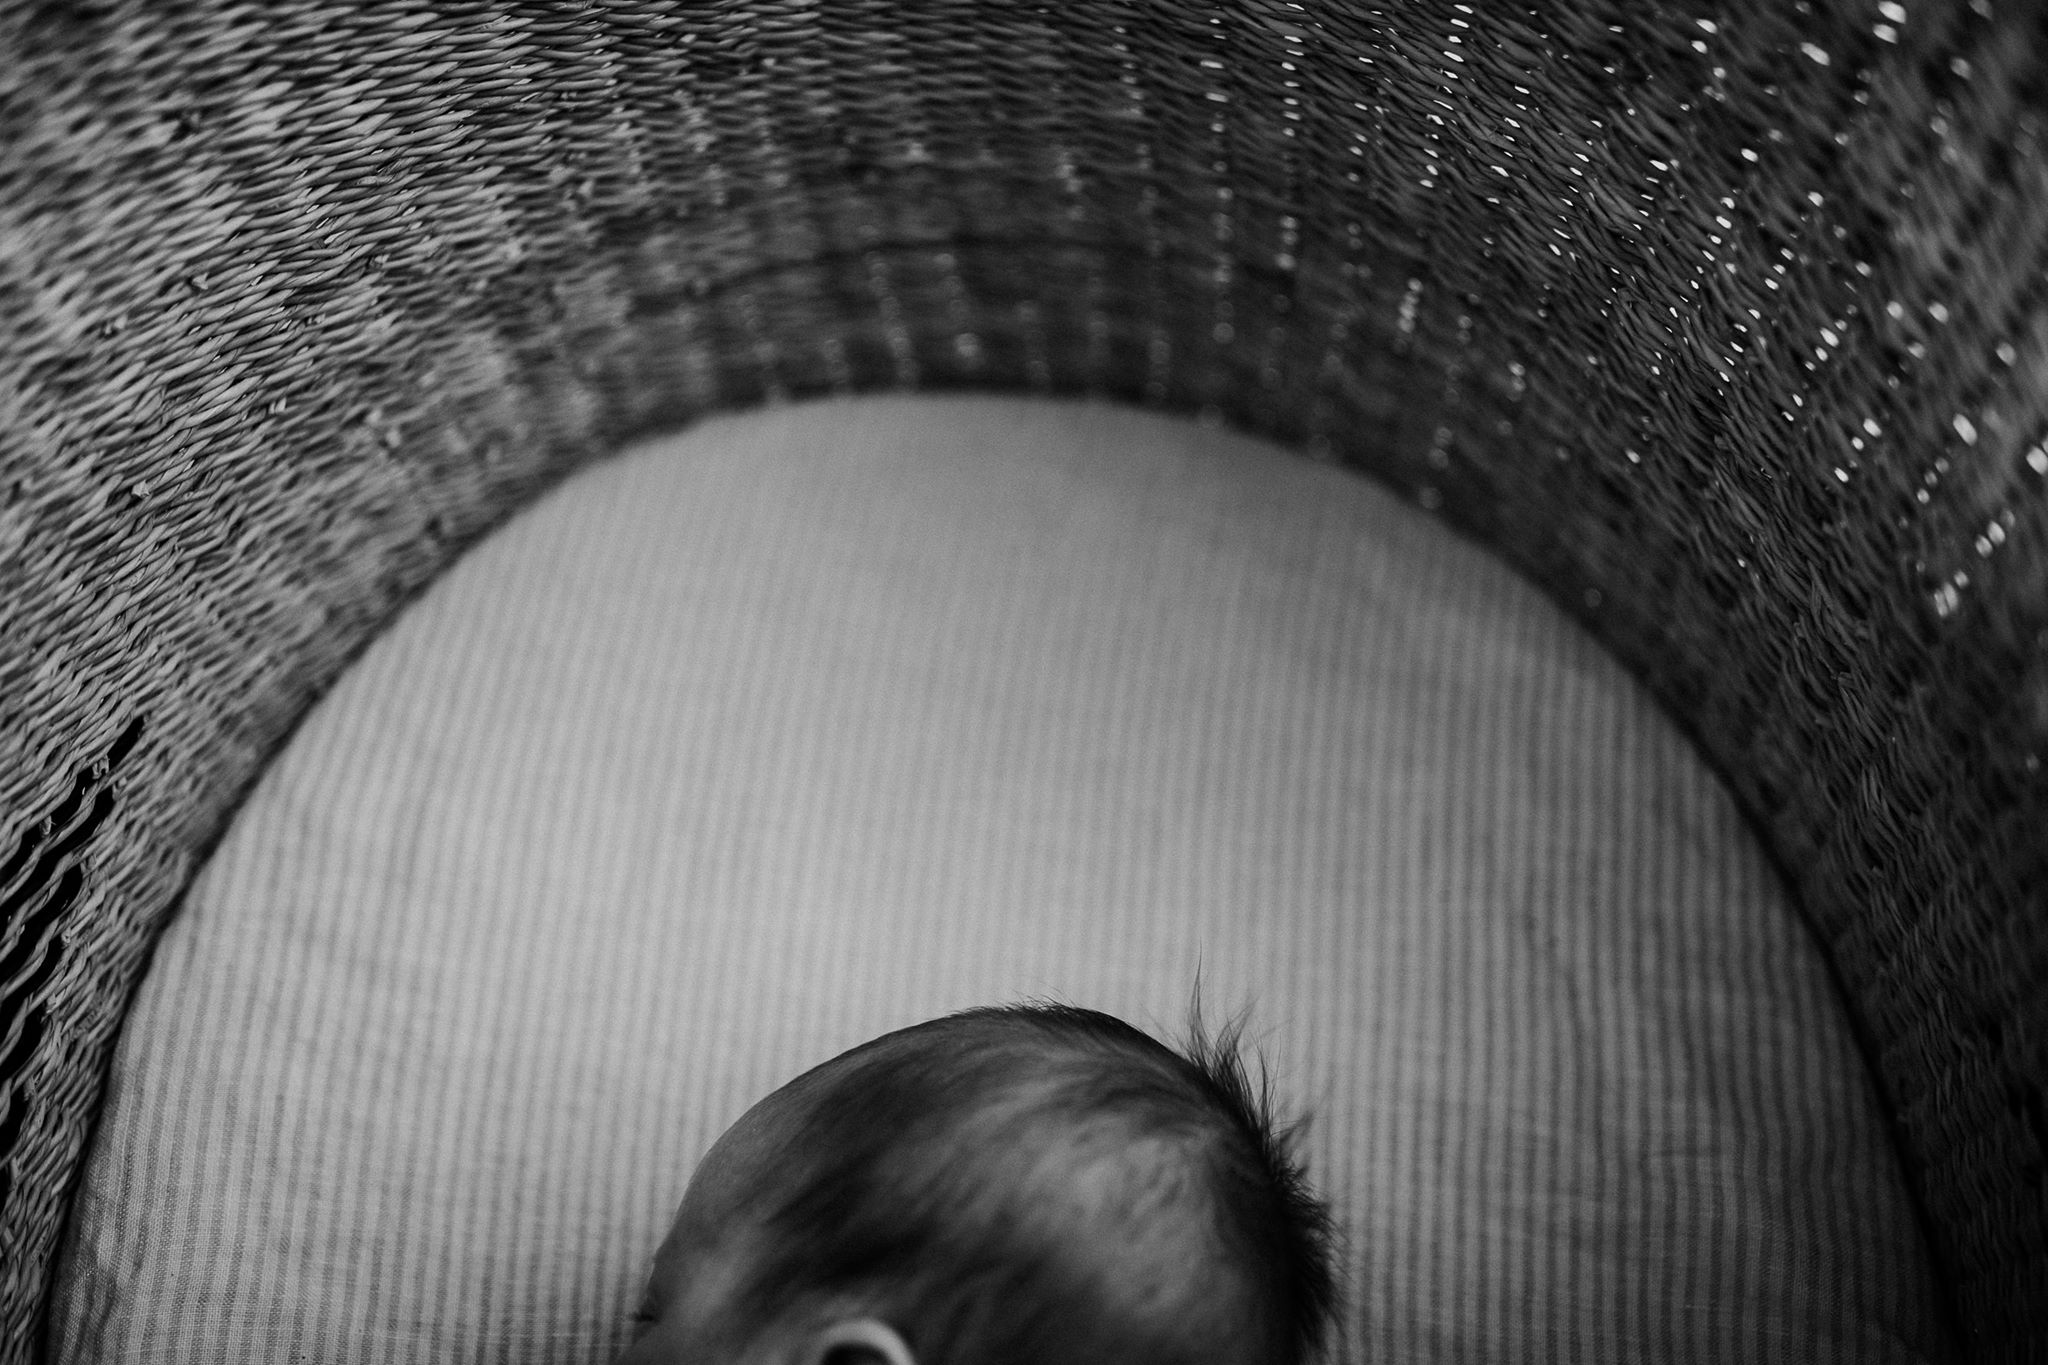
During your newborn’s first year, take the time to capture not only milestones but all those tiny details that we marvel over when they’re sleeping or feeding, and that change and grow in the blink of an eye.
Think toes, feet, fingers, hands, a wisp of newborn hair, rosebud lips, and button nose.
When you get in close, you have a smaller depth of field, so you’ll need to use a narrower aperture (bigger f stop numbers, e.g. f/4.5) to get enough focus on the detail you’re highlighting.
Related: Macro for Newborn Photography
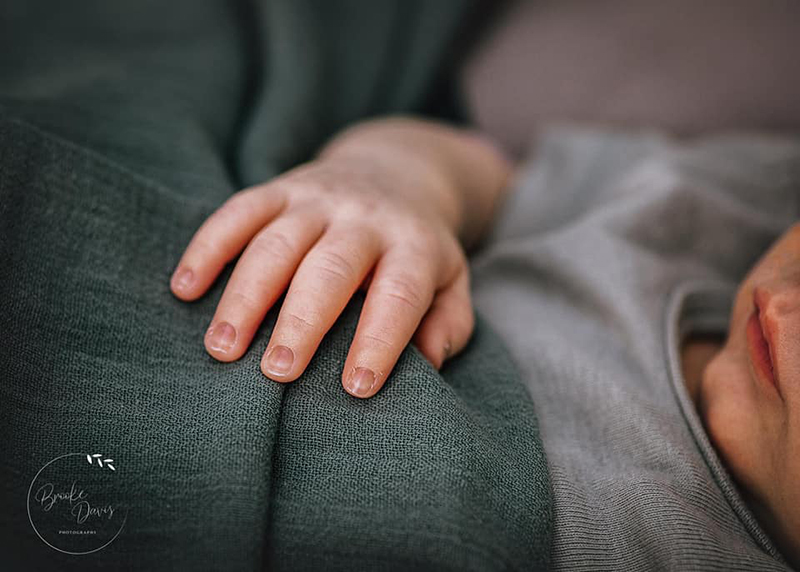
Brooke Hampson, Advanced Graduate

Nicoleta Philpot, Graduate
Jenelle Murnane, Advanced Graduate

Kellee Kromarek Hann, Graduate
Bronwyn Pickering, Advanced Graduate
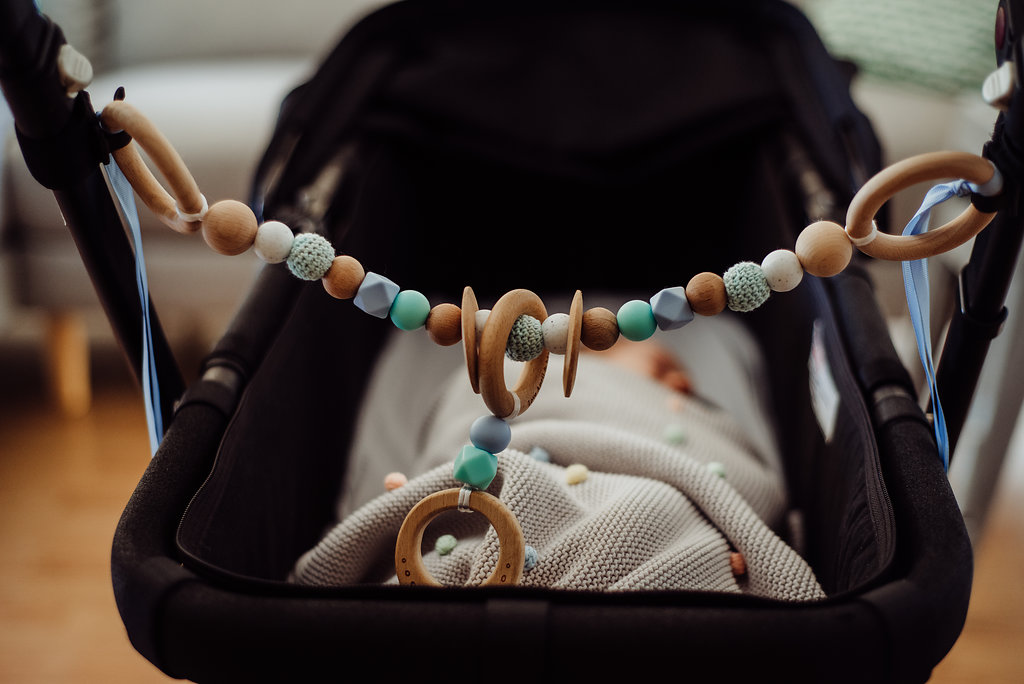
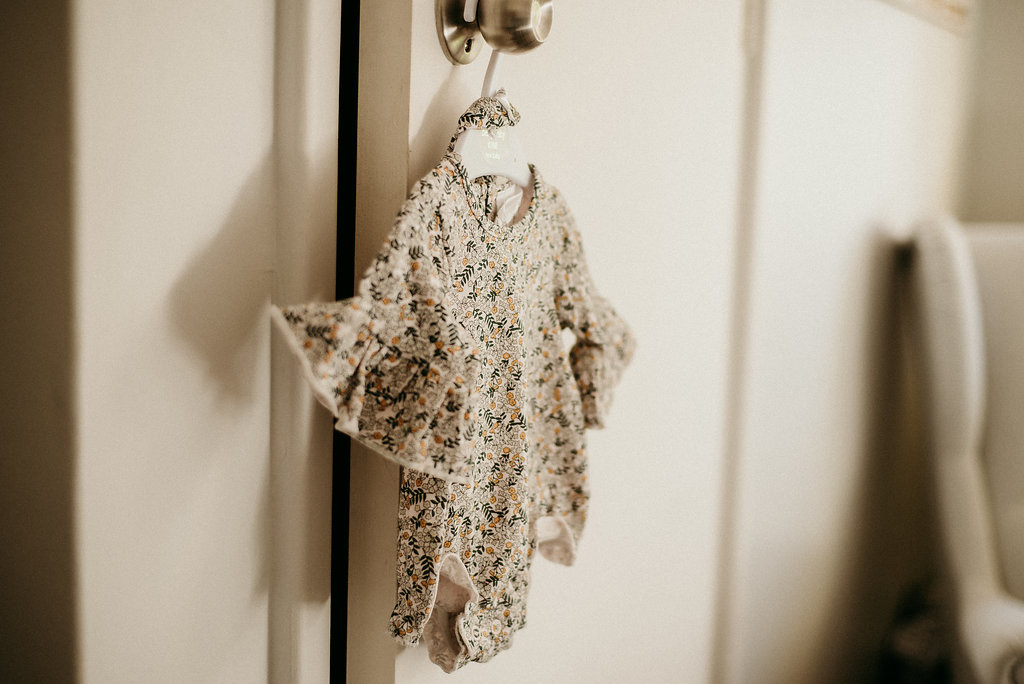
The same applies when getting in close to capture special belongings.

Tonya M Backes, Advanced Graduate
Alana Prosper, Advanced Graduate
Alana Prosper, Advanced Graduate
To complete your baby milestones, don’t forget the nursery! Use a wide-angle for this type of shot, e.g., 18-24mm to allow you to get everything in.
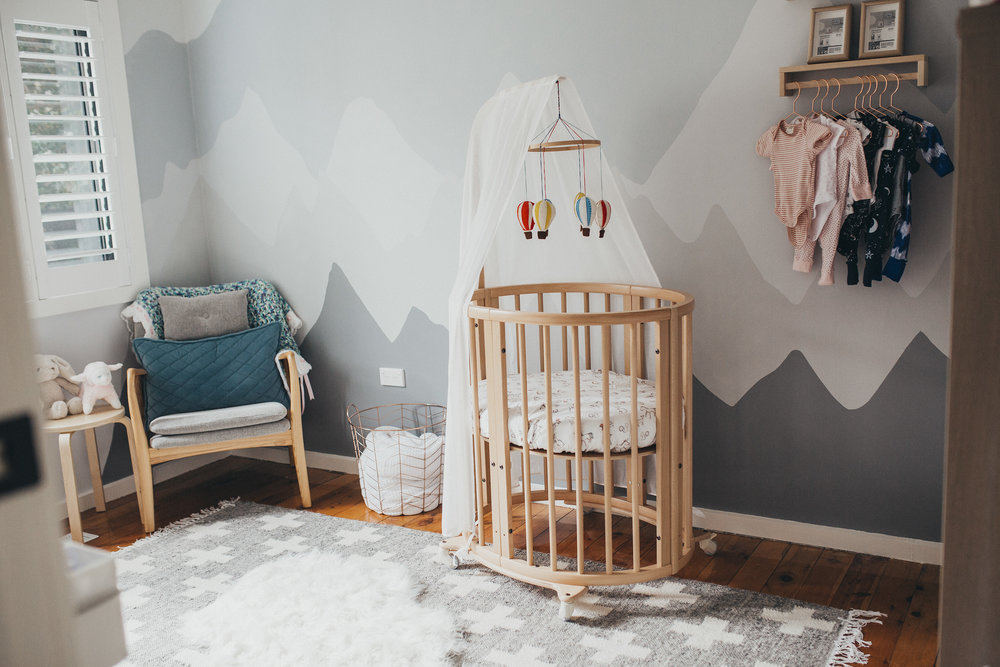
Lauren Kennedy, Graduate
7. Portraits
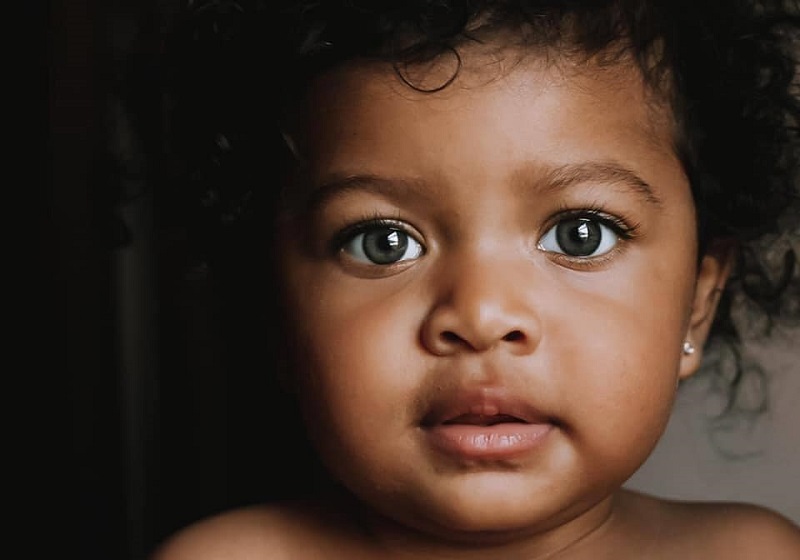
You’ll be taking loads of portraits during this first year!
Think about a close-up headshot every week, that you can then frame together in a storyboard to show how much they’ve changed from week to week. If you’re doing baby milestone by month photos with a little sign, you can take this close up portrait at the same time.
Related: How to Take Gorgeous Baby And Toddler Portraits

Kelsey Carrillo, Advanced Graduate
Desiree Wade, Graduate
Make your portraits with the other parents and family members more interesting than the standard sit, smile and pose photos. Shots like this make it all about the connection and the love.
Related: Lifestyle Newborn Photography Guide
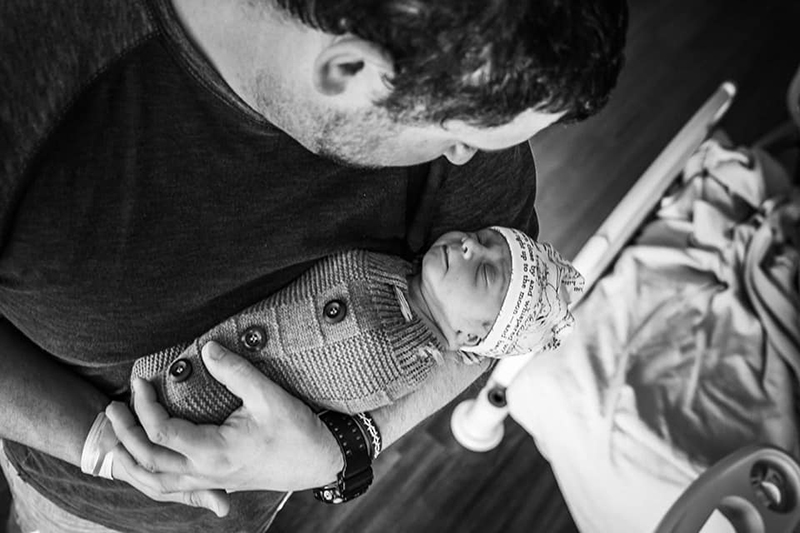
Tonya M Backes, Advanced Graduate

Sara Sparrey, Advanced Graduate
It’s so important to get yourself in the frame too. For instance, imagine when your baby is grown and flicking through these albums, you don’t want them to wonder… “where is mum?”
Hand the camera to another adult or use a tripod and self-timer. Firstly, frame the shot and focus on a spot where you’ll be sitting and take a test shot. If you’re happy with it, flick the camera to M focus mode so that it doesn’t refocus. After that, hit the self-timer, then jump in the shot!
Related:
21 Inspiring Photos of Mums Getting In The Frame

Alana Prosper, Advanced Graduate
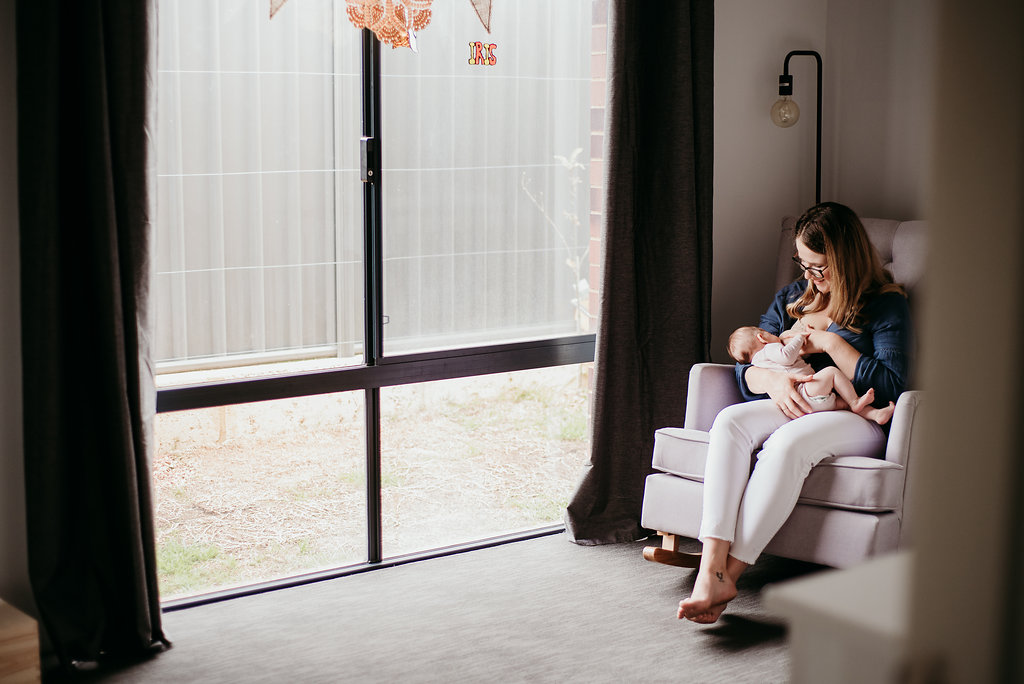
Speaking of getting in the frame, please do not miss out on capturing your own breastfeeding photos. This is a special and fleeting time you want to be able to look back on.
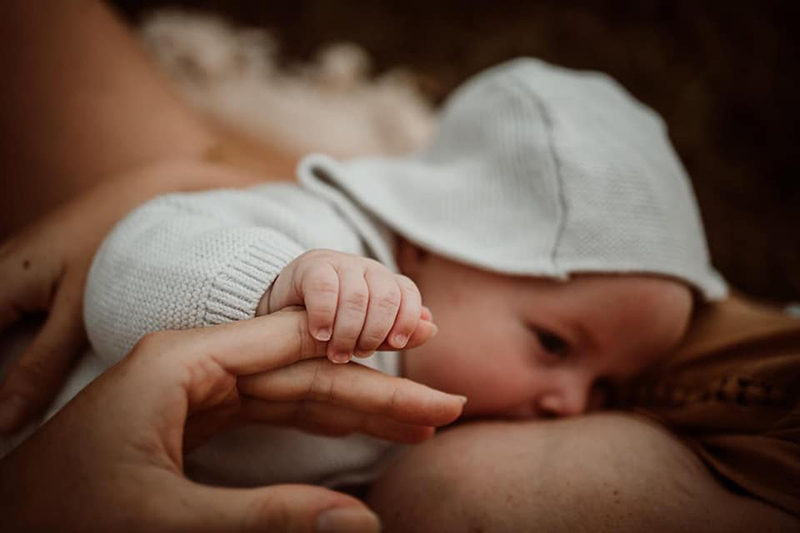
Brooke Hampson, Advanced Graduate
Alana Prosper, Advanced Graduate
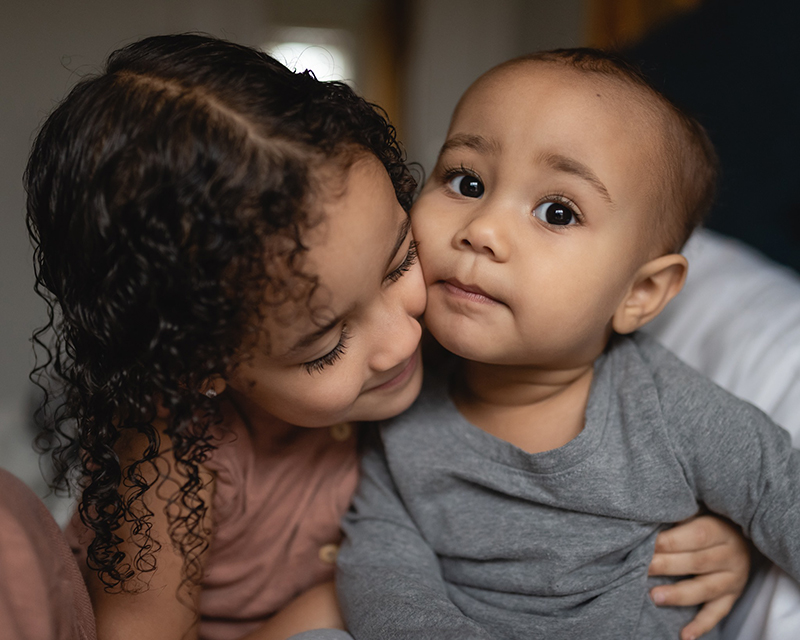
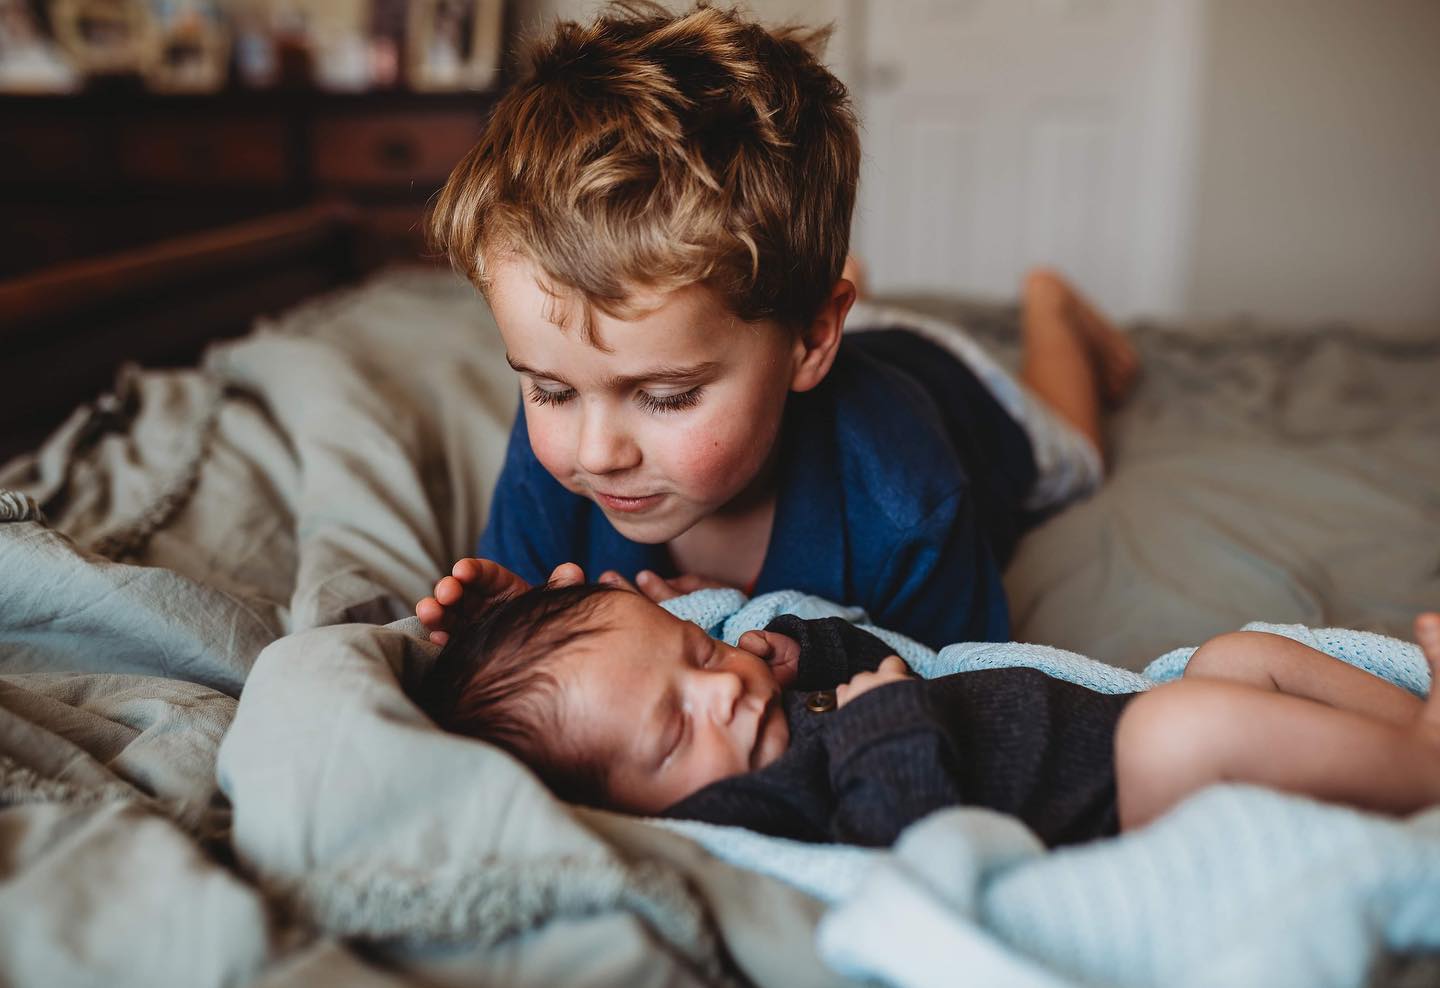
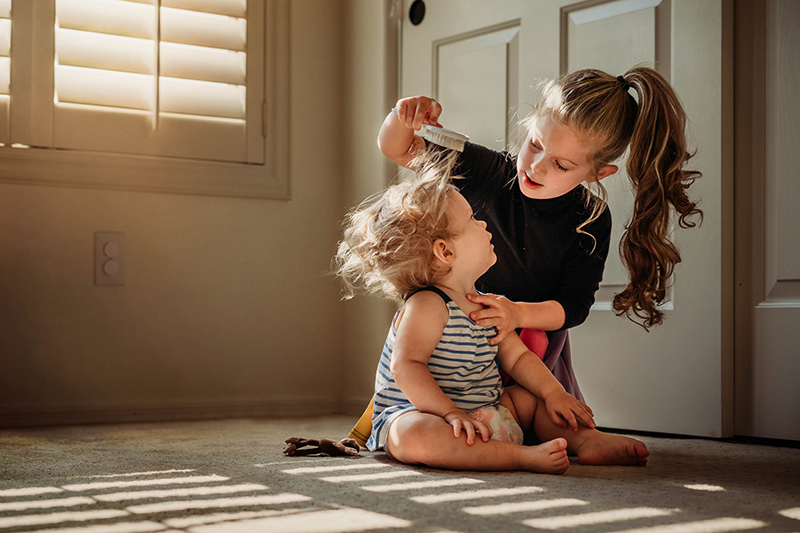
Don’t forget siblings and special friends, and whenever you can, set them up near good soft natural light. As a result, you’ll get gorgeous, crisp, light filled photos.
Related: Toddler And Newborn Photography Guide
Quadaé Blackwell, Advanced Graduate
Claire Eastman, Advanced Graduate
Amanda Marenghi, Graduate
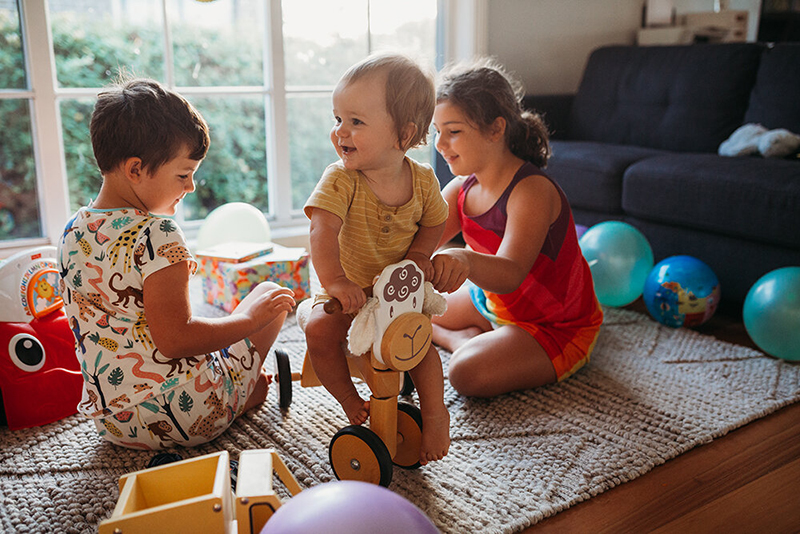
Lauren Kennedy, Graduate
Pets are family too! This shot avoided the harsh light you often find outdoors by shooting in the soft light of an open shaded area. Consequently, the light is even and pleasing to the eye, without any distracting bright spots.
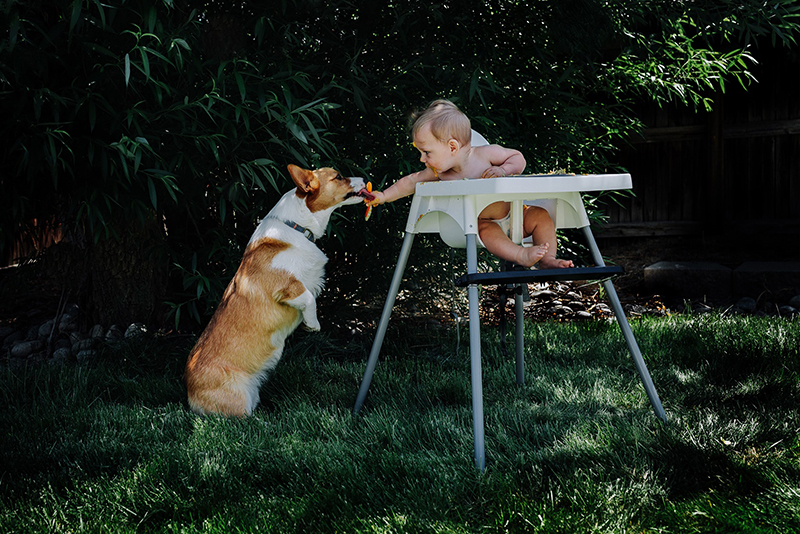
Kelsey Carrillo, Advanced Graduate – don’t forget the furbabies!
8. First Birthday
This is such a great age, given they can now crawl or walk. As a result, it offers so much more variety of shots for your baby milestone album.
When they’re on the move like this, you’ll often get an unwanted blur in your photos. However, you can control it simply by using a fast shutter speed such as 1/500.
Related: How to Get Sharp Photos of Moving Kids
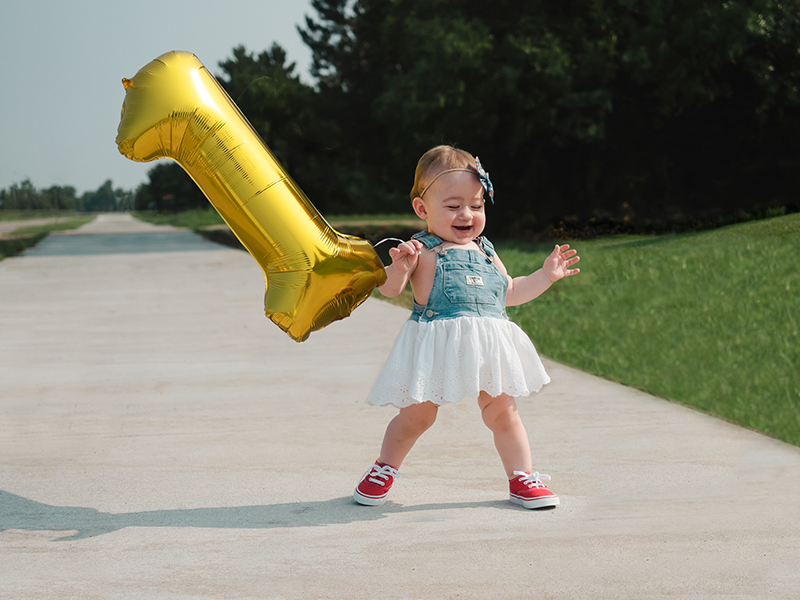
Shelly Wonders, Advanced Graduate
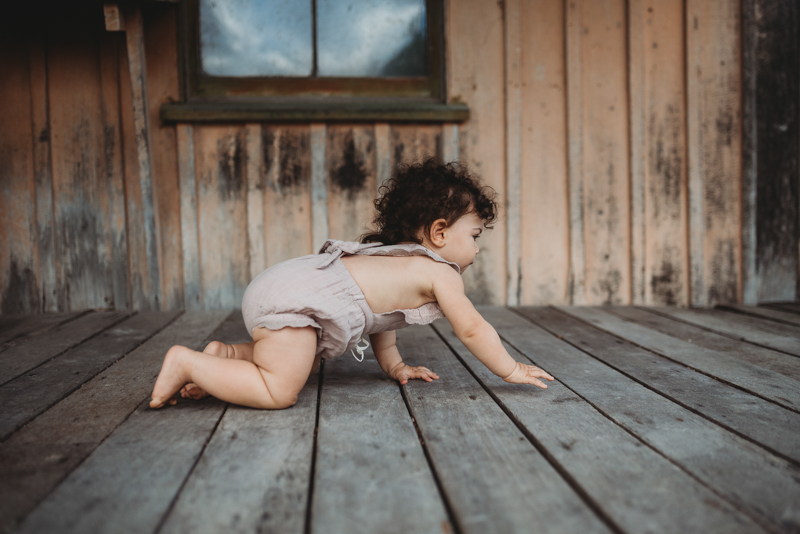
Heidi Talic, Advanced Graduate
Try a cake smash, most babies love them! Consequently, they make for fun photos filled with natural smiles and laughter.
Related:
9 Tips for a Beautiful Outdoor Cake Smash Session
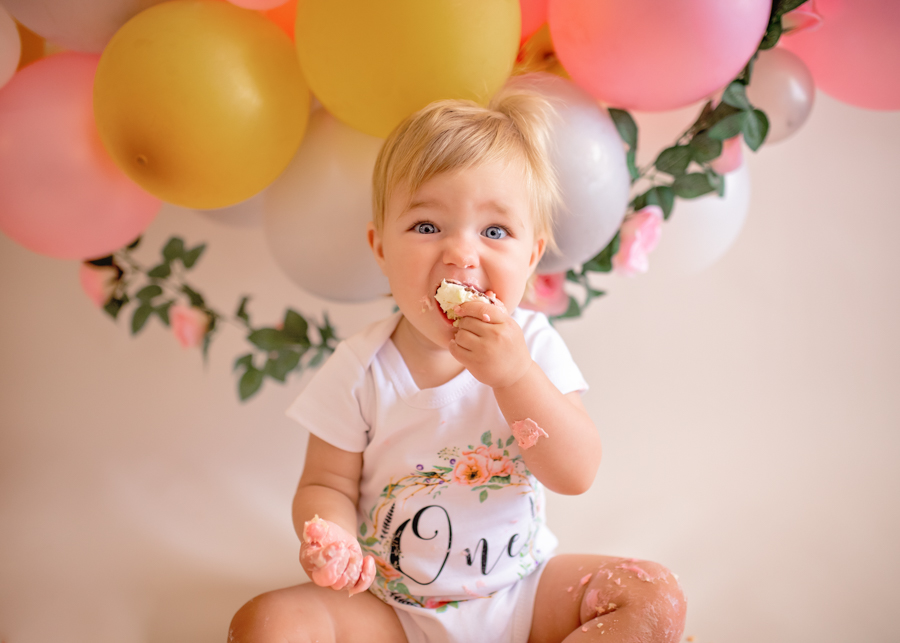
Justine Eacott, Advanced Graduate
DIY Photo Shoot
You could hire a pro to take a series of shots throughout Baby’s first year, or if you are like me and you love to DIY, you can totally do this yourself!
To get the best results from your camera, shooting in manual mode is the perfect way to get pro-looking shots…and I have a free short class you can watch on exactly how to do that.
The Best Lens For Baby Milestone Photos
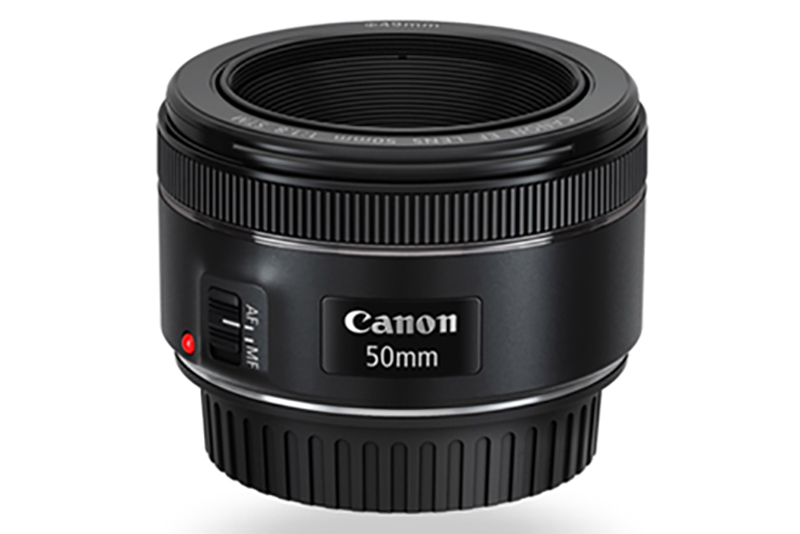
Any lens you have that is somewhere in the range of 24mm up to 50mm will be perfect for a first year milestones’ photoshoot.
If you have a bit of a low light situation in your home, you might want to consider getting a nifty fifty. That’s the nickname for a 50mm f/1.8 lens, and whatever brand you’re shooting, there will be a nifty fifty for your camera. It’s a great all-rounder focal length that is nice and sharp for a tiny price.
So why is it great for low light? Because that number I mentioned – f/1.8 – means it lets in more light than your kit lens.
Related: Why You Need a Nifty Fifty
I hope you got loads of great tips and ideas to start capturing your baby’s milestone photos throughout their first year! We’d love to see your photos! If you’re on Instagram, come share them and tag with #clicklovegrow!
If you’re ready to take full control of your camera to confidently take photos you love (on purpose, every time, we’ll help you get there on our Enthusiast Photography Course. The next round starts soon… click here to find out more and reserve your spot!

Leave a Reply Cancel reply
PRIVACY POLICY & SITE TERMS AND CONDITONS
CLICK LOVE GROW ™ Pty Ltd - COPYRIGHT 2024 ©
x
Join Now
Enter your info below to join the challenge!
Want a friendly reminder when I go live?
Pop in your number and I’ll shoot you a text.
* We will send text reminders for our live calls during the challenge! Reply ‘STOP’ to end or ‘HELP’ for help.
We promise not to ever share your details with anyone or send you spam! Check our privacy policy and terms of service.
Be the first to comment