CLG Course Love – A Highlights Reel of Student Images
A Highlights Reel of Inspiration & Photography Tips
This week’s highlights reel is a celebration of our wonderful students!
Our current Advanced course students have just finished up Lesson One, so today we’re showing off a handful of our favourite photos from those albums. We’re in love with their beautifully lit portraits, so we’re including some easy natural lighting techniques that will help you creatve more dramatic portraits.
Meanwhile our February Enthusiast course students are past the halfway mark and their dedication to learning is obvious in the albums, so we’re also sharing some of our faves taken from all their lessons to date along with some tips to address the most common photo mistakes.
So this week Check em out, grab the tips and have fun applying them to your own photos!
Low Key Portraits
Place your subject in a dark environment, near a sliver of soft natural light. Expose for the highlights and don’t try to fill those shadows. This will create beautiful, dramatic low key imagery. If you can’t expose for the highlights without filling the shadows, move your subject a little closer to the light. If the highlights are too bright, move them a little further away.
Related: 6 Ways to Use Dramatic Natural Light

Melis Mursaloglu Fialho, Advanced Student
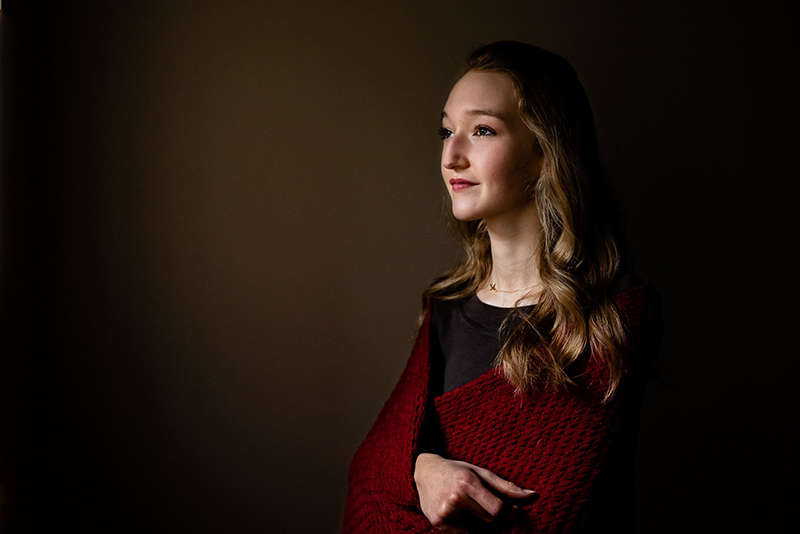
Pam Thorne-Gosenheimer, Advanced Student

Amber Shay, Advanced Student
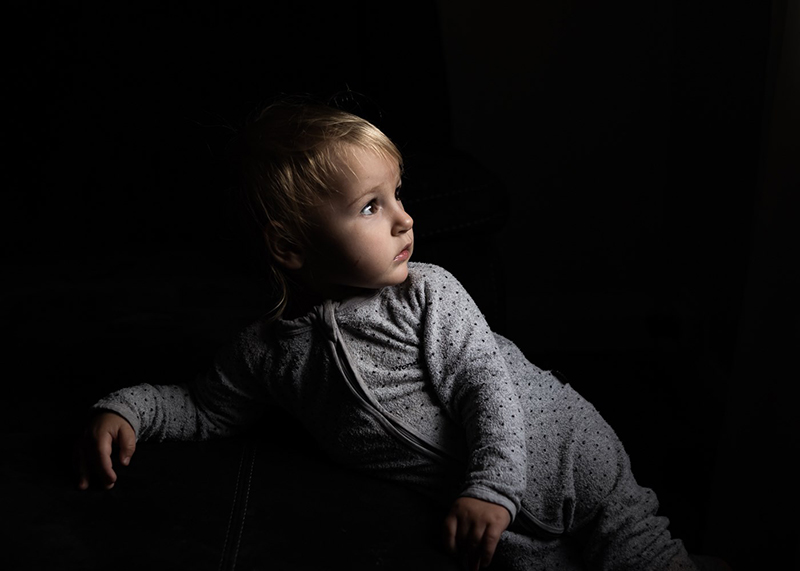
Natasha Louise Eves, Advanced Student
Garage Light
A location guaranteed to provide that low key/stunning light combo is… your garage. Yep that’s right… place your subject at the edge of the darkness, just t the doorway opening, and make magic. That’s exactly how this image below was shot – you’d never guess it was inside her garage would you?
Related: Garage Light 101

Mariana De Albuquerque, Advanced Student
High Key Portraits
This gorgeous collection of high key portraits are created through the use of soft, bright light in light coloured surroundings. At home you can find light like this in doorways and near windows. E
Experiment with your subject’s position in relation to the light – too close and you’ll get hotspots on their face. What are hotspots? Little patches of light that is so bright it has no detail and you can’t fix it in processing. Too far away from the light and you’ll have difficulty getting a beautifully crisp, light exposure.
There’s no one size fits all distance from the light that we can suggest, as it will vary depending on how strong the light source is. But a good starting point would be around 1m from the source, then tweak.
Related: Doorway Light

Amber Shay, Advanced Student

Lauren Vanier, Advanced Student
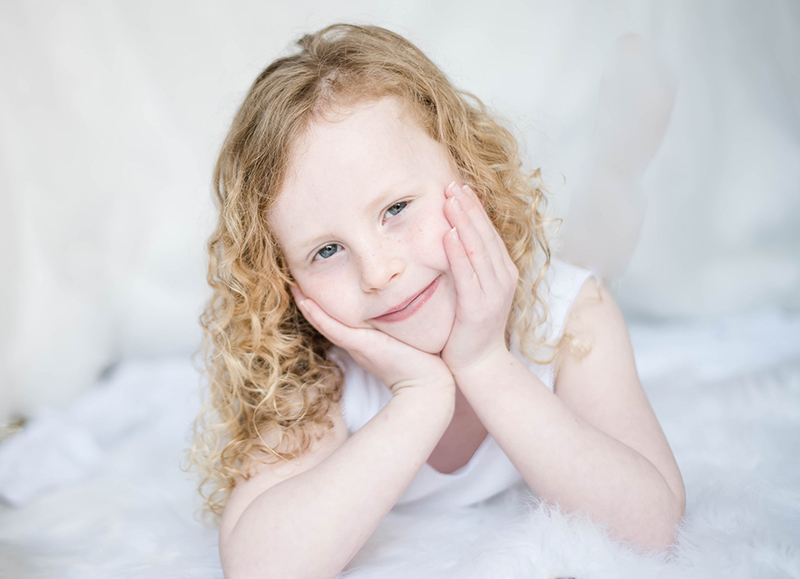
Marjorie Campbell, Advanced Student
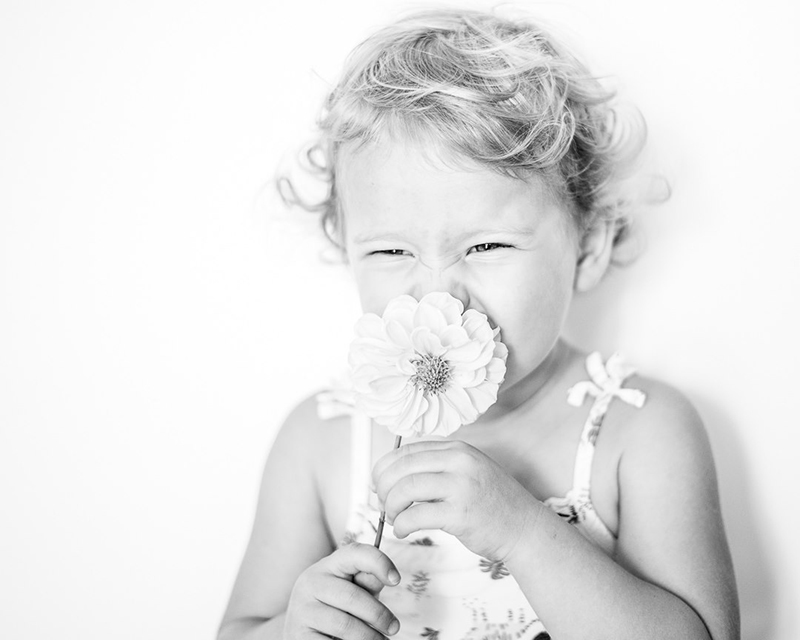
Kirsty McKenzie, Advanced Student
Directional Light Portraits
Something I see beginners doing a lot is trying to eradicate shadows completely from their portraits. The thing is, shadows are not the enemy! They add depth and convey form, and when used well they will elevate a portrait from good to holy wow!
The key is to ensure the shadows are subtle, and you do this by using soft light from a window or doorway. Position your subject either directly side on or at a 45 degree angle to the light source to create gentle shadows on the opposite side.
Related: Easy Dramatic Natural Light Portraits

Tori Horner, Enthusiast Student
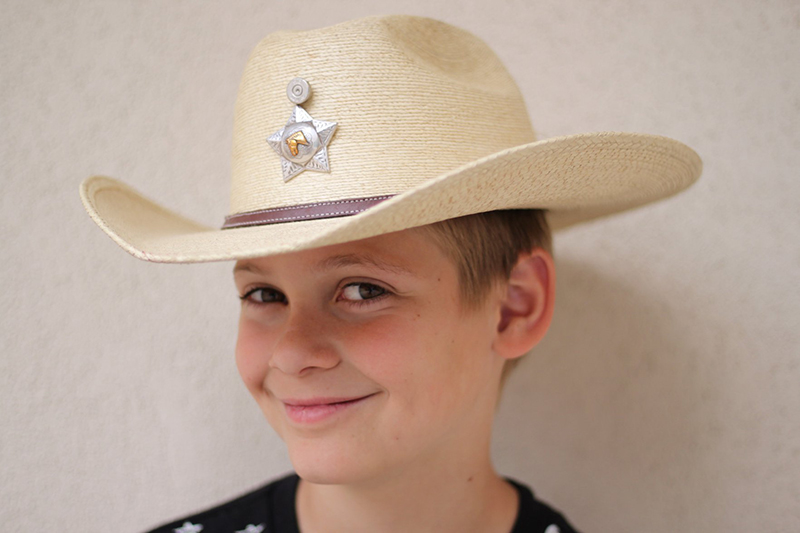
Tessa d’Autremont, Enthusiast Student

Jessica Skarlupka, Advanced Student
Isolate Your Subject
Clutter in the background of your photos is one of the biggest mistakes beginning photographers will make. They work to distract your viewer and render the shot chaotic. In a nutshell… clutter will place your image firmly in snap shot territory!
So what if you have clutter and distractions in the background that you can’t move? Stand up and shoot down, using the ground as backdrop. Problem solved!
Related: Clear the Clutter

Samantha Watson, Enthusiast Student
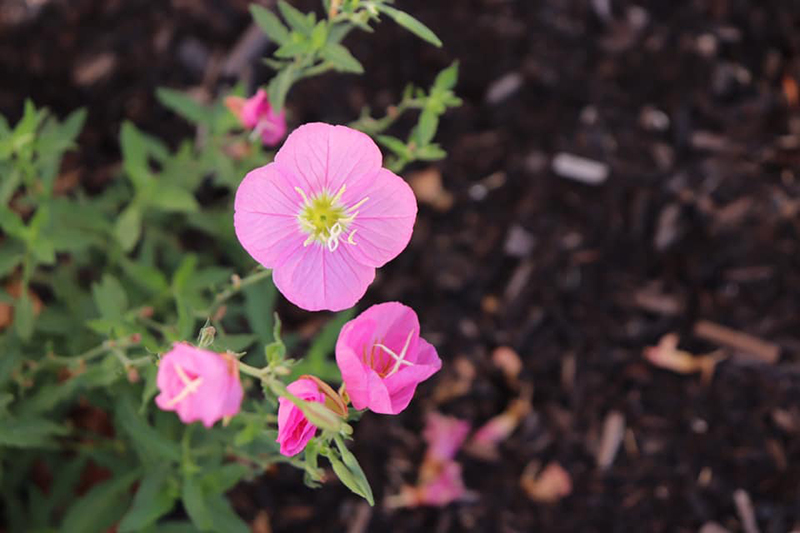
Bradie Baldisseri, Enthusiast Student

Danielle Tunnicliffe, Enthusiast Student
Narrow Your Focus
Another way to minimise background clutter is to simply narrow your focus by selecting a wide aperture, which will blur your background into insignificance. As a bonus, this adds depth to your shot and makes your subject pop!
Related: Intro to Manual Mode, How to Get Blurry Backgrounds with a Kit Lens
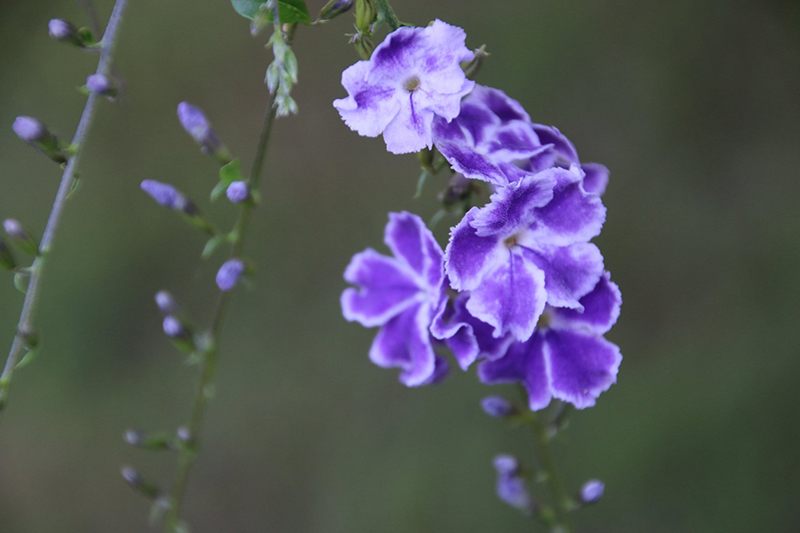
Loretta Zanardi, Enthusiast Student

Jo Dixon, Enthusiast Student
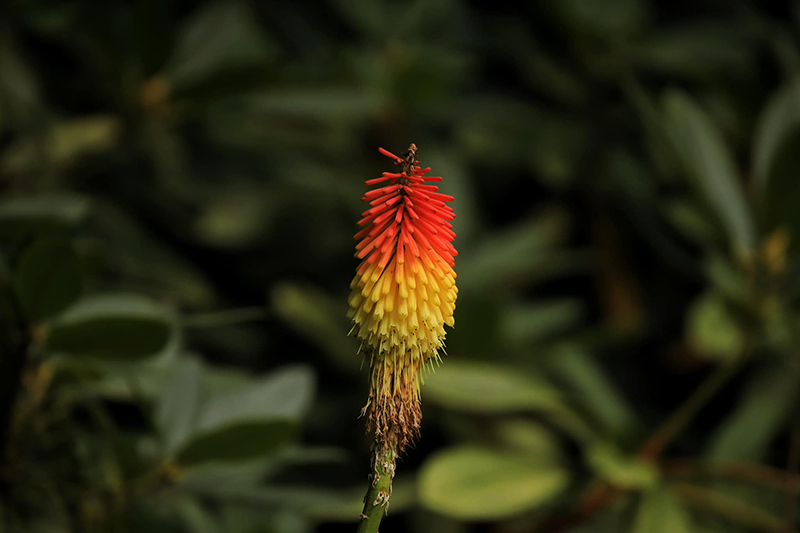
Jade Christensen, Enthusiast Student
Use a Backdrop
Lastly, another way to isolate your subject is to use a plain backdrop. But it doesn’t have to be an actual studio backdrop, a plain wall will do the trick.
Related: DIY Photography Backdrops

Dawn Carrier, Enthusiast Student
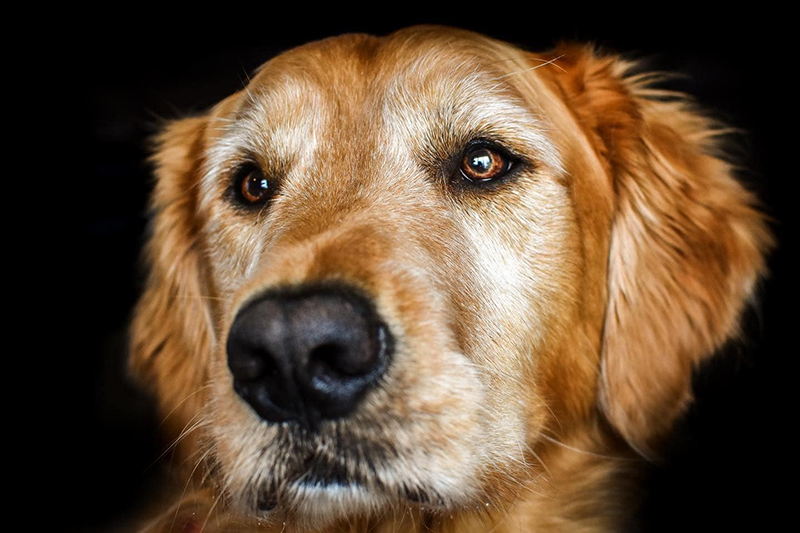
Carly Schlegel, Enthusiast Student
We hope you enjoyed this collection! Please leave some love for our hard working students!
JOIN the Free 5 Day Mini Course
5 Days, 5 Videos Lessons = Photos You'll LOVE!
Learn How to Use Your DIGITAL Camera!
Join my new workshop and learn How to Shoot Pro-Quality Photos With Your DSLR… and it’s totally FREE to join! Register here…

Leave a Reply Cancel reply
PRIVACY POLICY & SITE TERMS AND CONDITONS
CLICK LOVE GROW ™ Pty Ltd - COPYRIGHT 2024 ©
x
Join Now
Enter your info below to join the challenge!
Want a friendly reminder when I go live?
Pop in your number and I’ll shoot you a text.
* We will send text reminders for our live calls during the challenge! Reply ‘STOP’ to end or ‘HELP’ for help.
We promise not to ever share your details with anyone or send you spam! Check our privacy policy and terms of service.
Be the first to comment